
Español
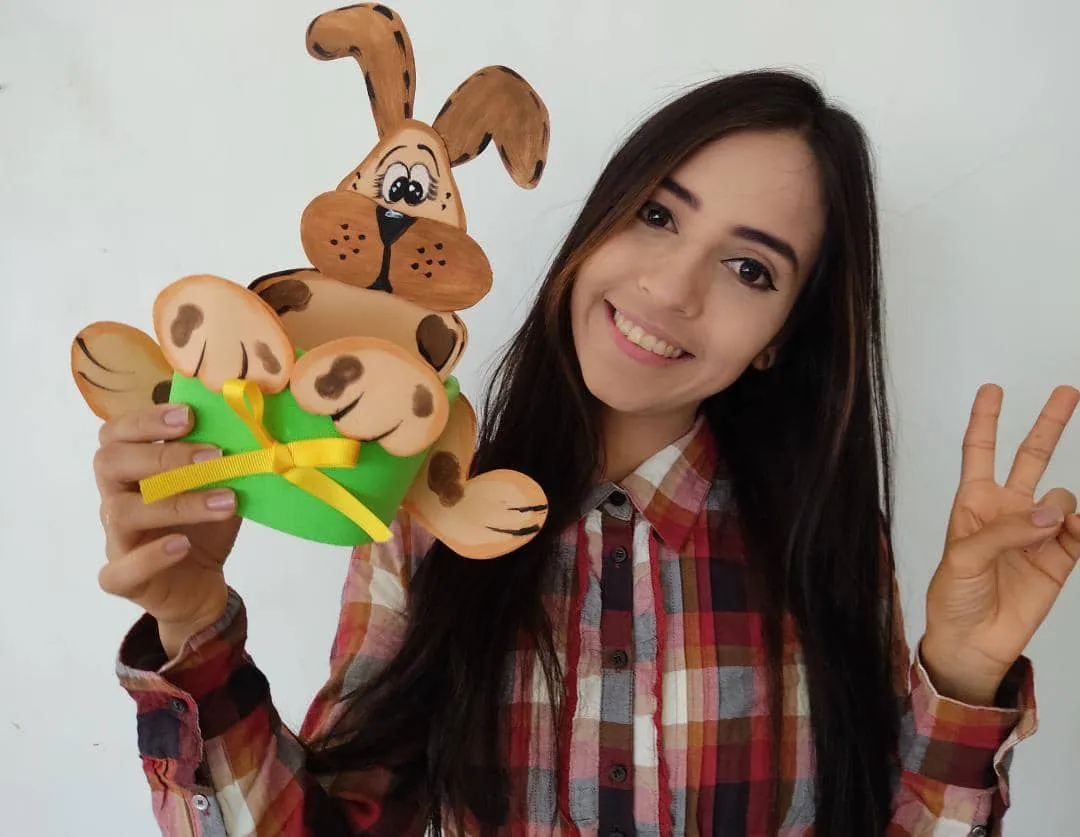
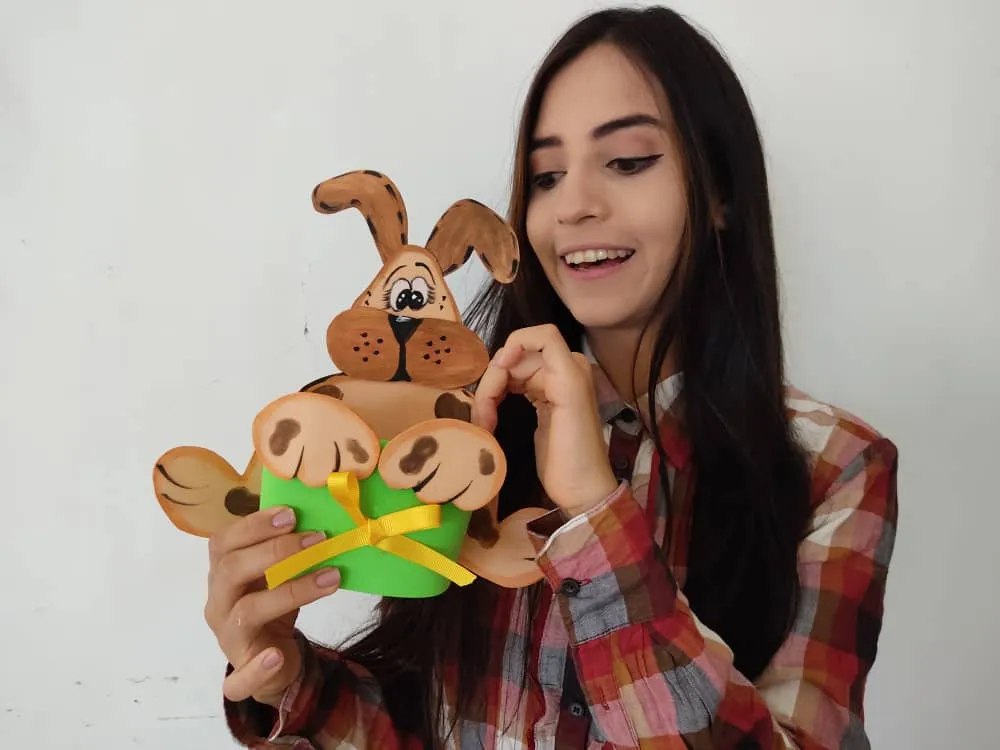
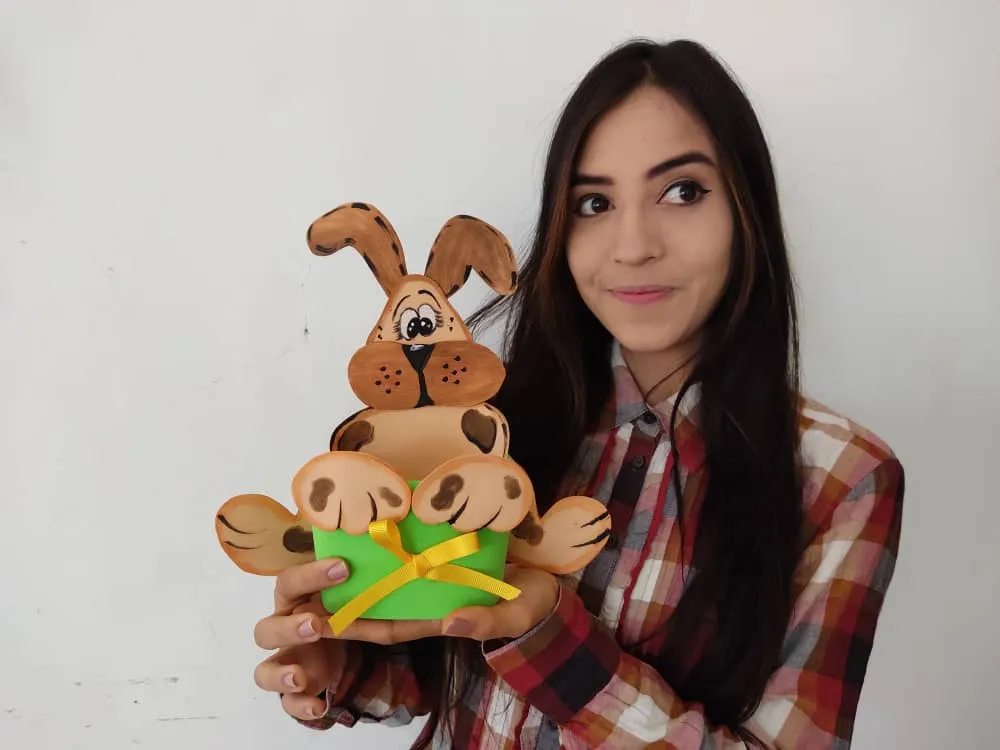
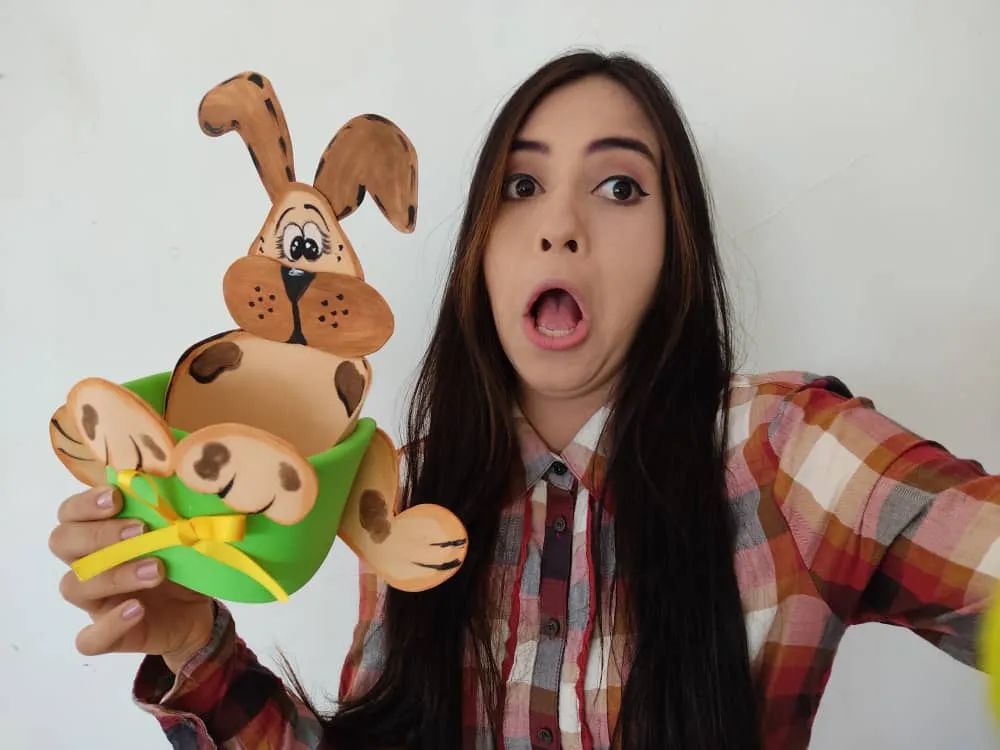
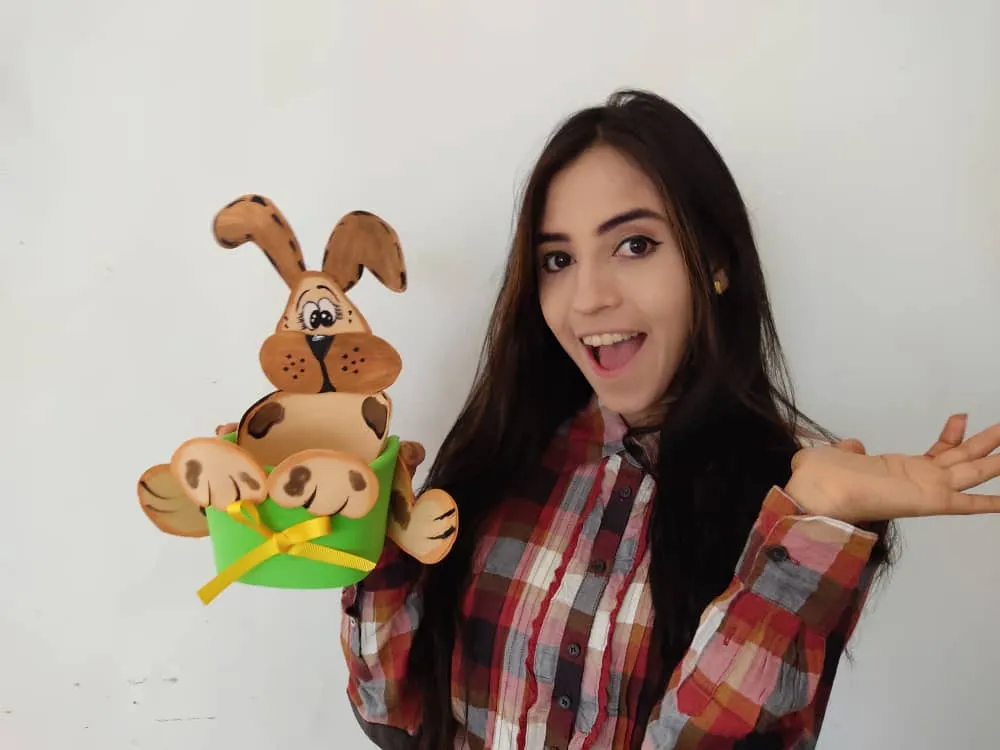
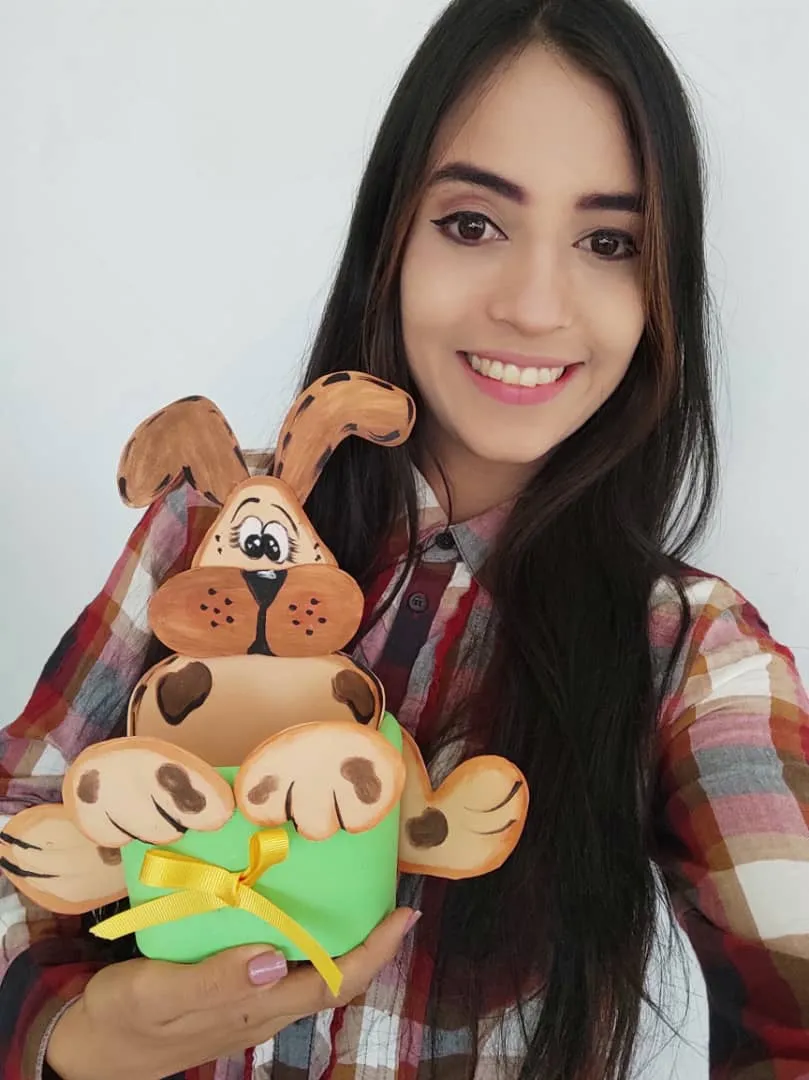
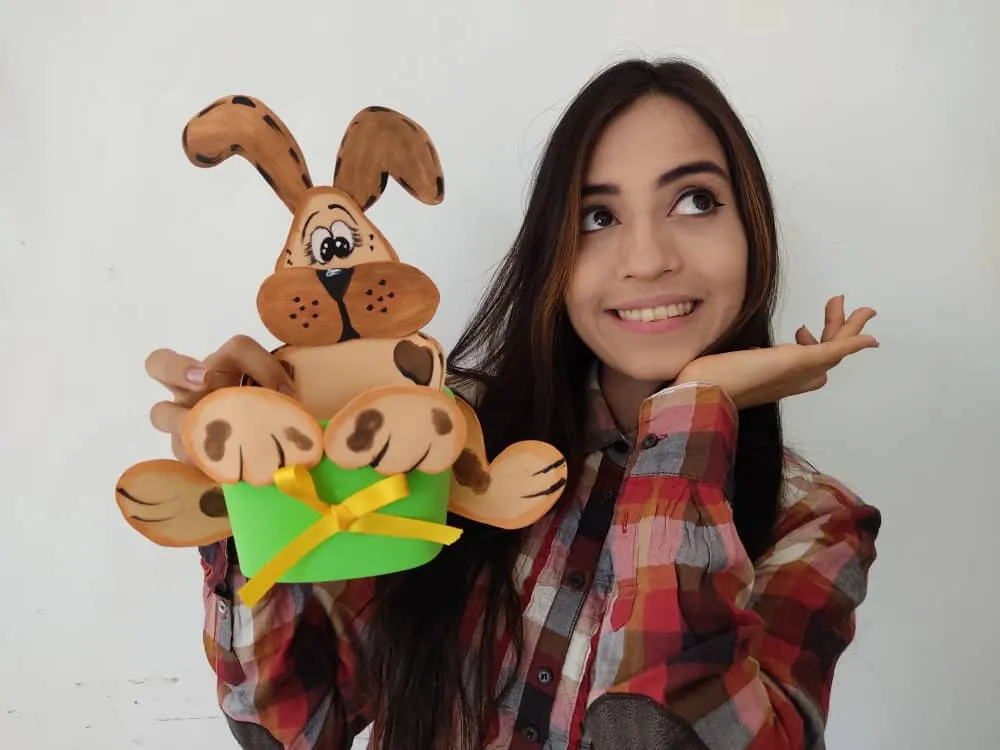
Hola querida familia de HIVE 🖖 En esta linda ocasión traigo para ustedes un nuevo y divertido paso a paso, en dónde les mostrare como elaborar un perrito organizador, el cual mantendrá a salvó todos nuestros materiales, herramientas o accesorios favoritos. Este lindo perrito está hecho de materiales muy económicos y fáciles de conseguir, y además de ser muy hermoso es bastante útil, así que no dejen de intentar en casa este increíble tutorial, y verán que felices se pondrán los más pequeños de la casa desarrollando está actividad tan genial. Además es una idea perfecta para pasar un rato agradable con nuestros pequeños en casa e incentivarlos, ya que, pueden ir, de a poco, desarrollando su ingenio y acercándose un poco más al trabajo artístico.
English
Hello, dear HIVE family 👋 On this beautiful occasion, I bring you a new and fun step by step, where I will show you how to make an organizing puppy, which will keep all our favorite materials, tools, or accessories safe. This cute puppy is made of very cheap materials and easy to get, and in addition to being very beautiful it is quite useful, so do not stop trying this incredible tutorial at home, and you will see how happy the little ones of the house will be developing this such a great activity. It is also a perfect idea to spend a pleasant time with our little ones at home and encourage them, since, they can go, little by little, developing their ingenuity and getting a little closer to artistic work.
¿Qué están esperando?
Utilizar estos hermosos materiales para transformarlos en un hermoso perro organizador es una idea muy original y económica para decorar nuestro entorno y mantener a salvo nuestras cositas. Antes de comenzar no olvidemos lavarnos nuestras manos.
What are they waiting for?
Using these beautiful materials to transform them into a beautiful organizing dog is a very original and economical idea to decorate our environment and keep our little things safe. Before we start, let's not forget to wash our hands.

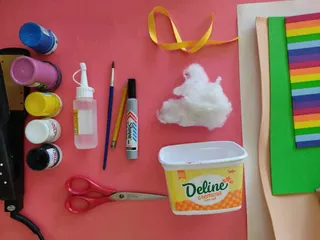
[Materiales | Materials]
Para hacer este precioso organizador necesitaremos:
- Moldes.
- Foami o goma eva.
- Papel vegetal o calco.
- Envase de plástico desechable.
- Lápiz.
- Tijera.
- Pincel o brocha.
- Pinturas.
- Cinta.
- Algodón o relleno.
- Plancha para cabellos.
- Pegamento o silicón liquido.
To make this beautiful lady we will need:
- Molds.
- Foamy or EVA foam.
- Vegetable paper or tracing.
- Disposable plastic container.
- Pencil.
- Scissors.
- Brush or brush.
- Paintings.
- Ribbon.
- Cotton or filler.
- Hair straightener.
- Glue or liquid silicone.
Procedimiento (paso a paso)
Process (step by step)
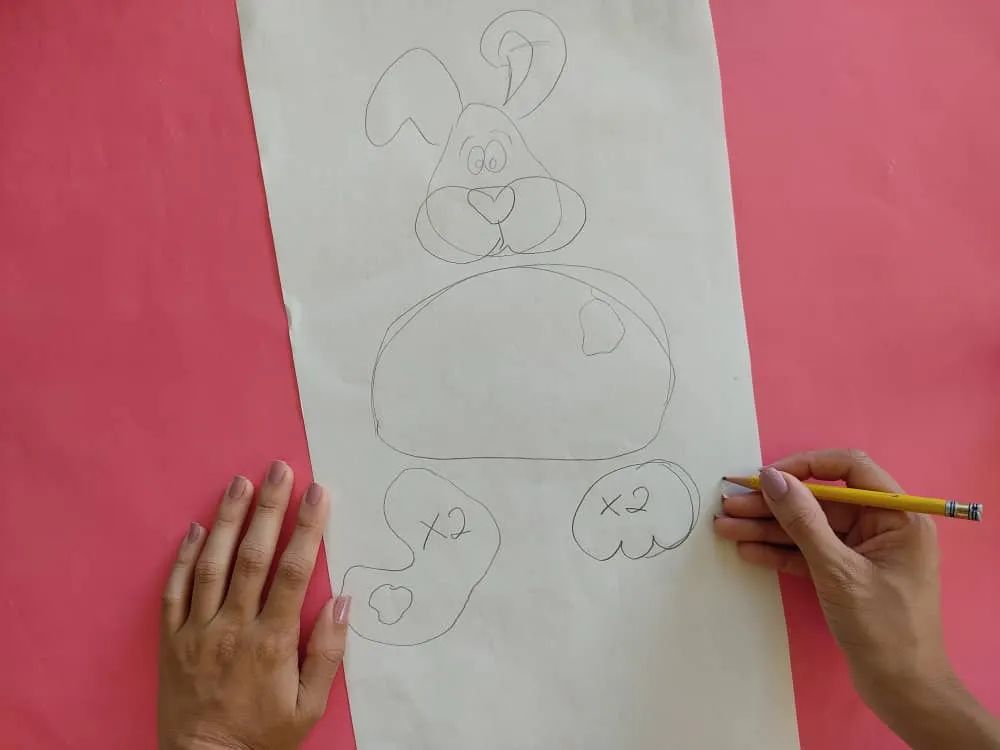
Primero, dibujamos un lindo perrito, pero esta vez, separamos por partes para que sea más fácil de recortar, y así, obtenemos los moldes para nuestra obra. En cuanto, a la trompa y las patas debemos hacerlas dobles, ya que, estás piezas irán rellenas. Seguidamente, recortamos cuidadosamente para mantener intactas las medidas.
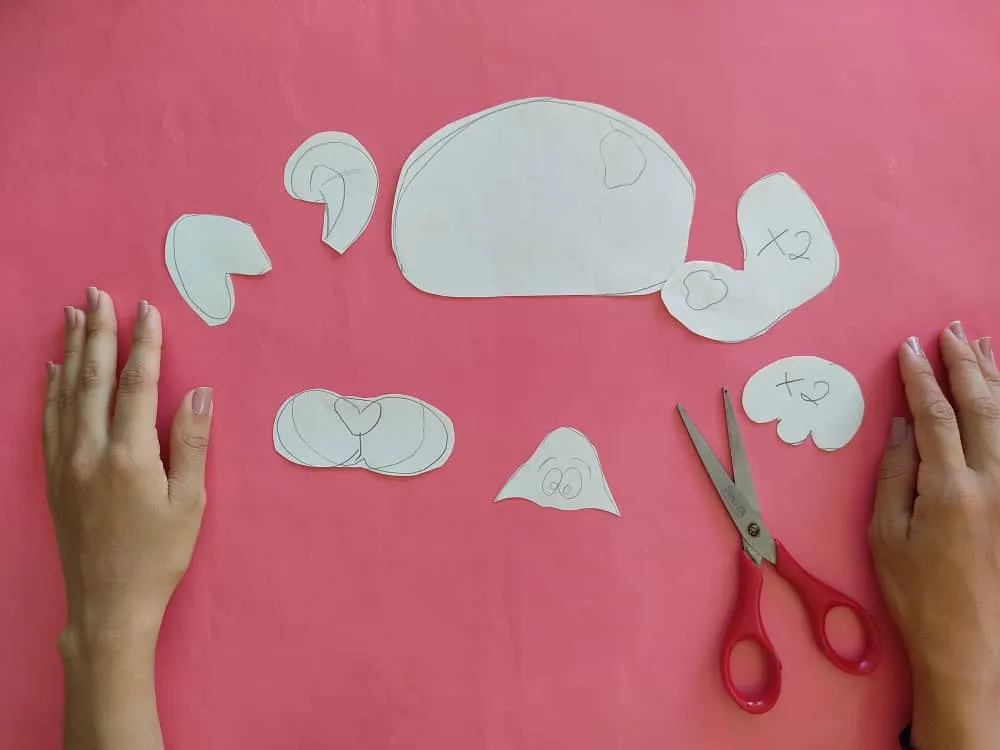
First, we draw a cute puppy, but this time, we separate by parts so that it is easier to cut, and thus, we obtain the molds for our work. As for the trunk and legs, we must make them double since these pieces will be stuffed. Next, we trim carefully to keep the measurements intact.
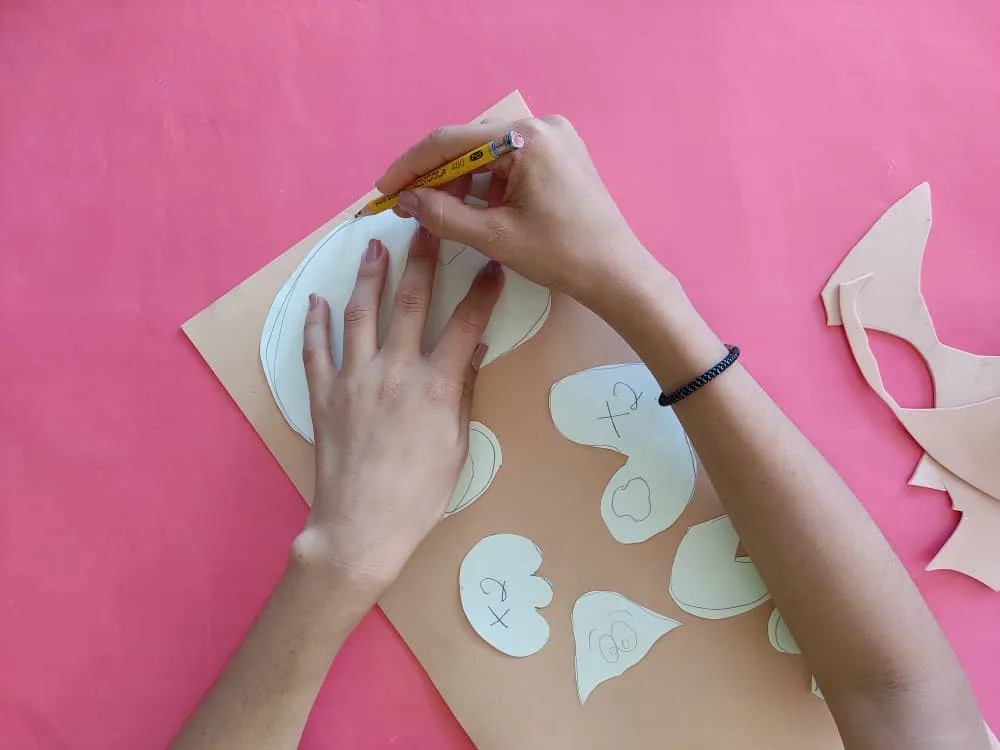
Una vez obtenidos los moldes, transferimos al foami del color que mas nos guste, y sin olvidar repetir la cantidad de las patas y trompa en este caso serían 8 patas y 2 trompas, y luego recortamos con sumo cuidado.
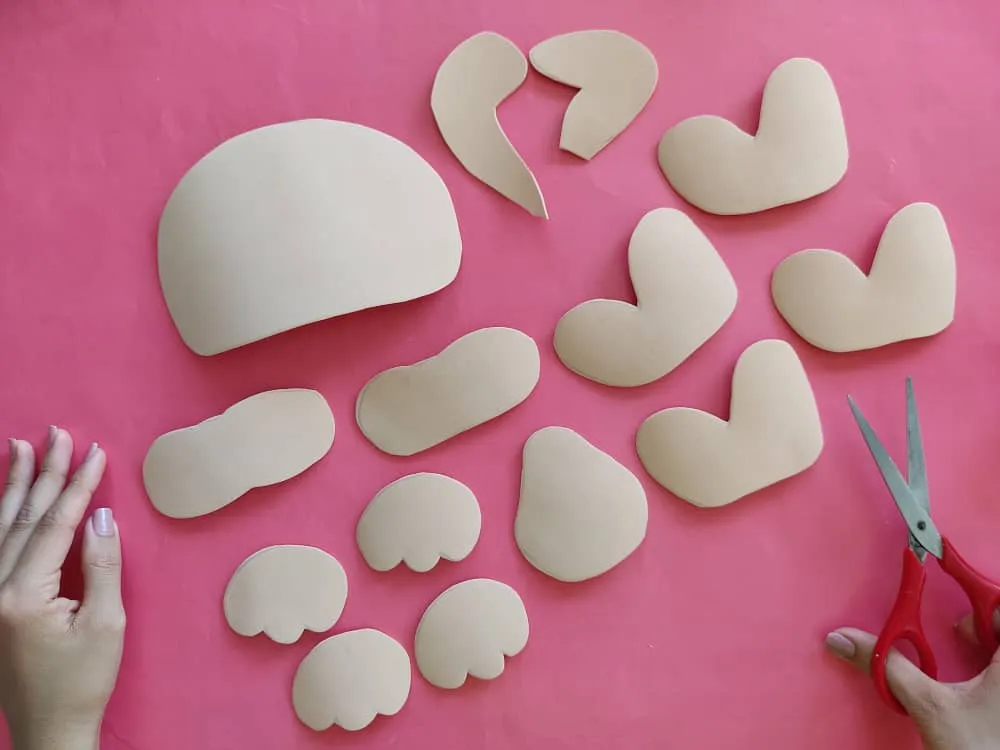
Once the molds are obtained, we transfer to the foamy of the color that we like the most, and without forgetting to repeat the number of the legs and trunk, in this case, it would be 8 legs and 2 tubes, and then trim carefully.
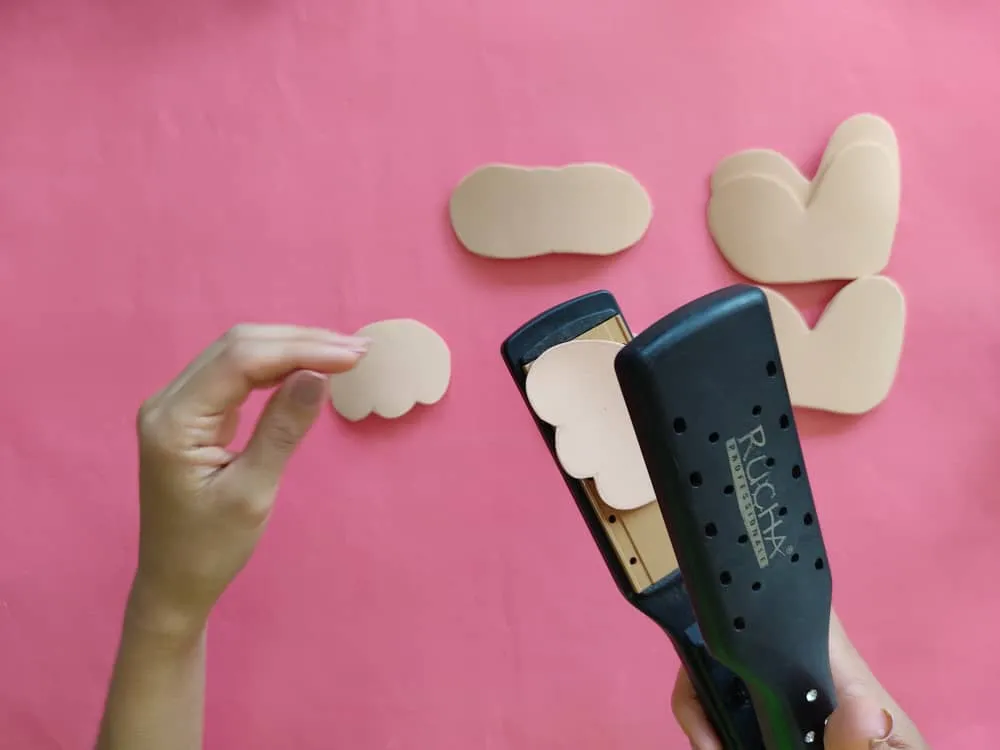
Con la ayuda de una plancha para cabello, aplicamos la técnica de termoformado a nuestras figuras de foami, para darle una forma abultada a las orejas patas y trompa.
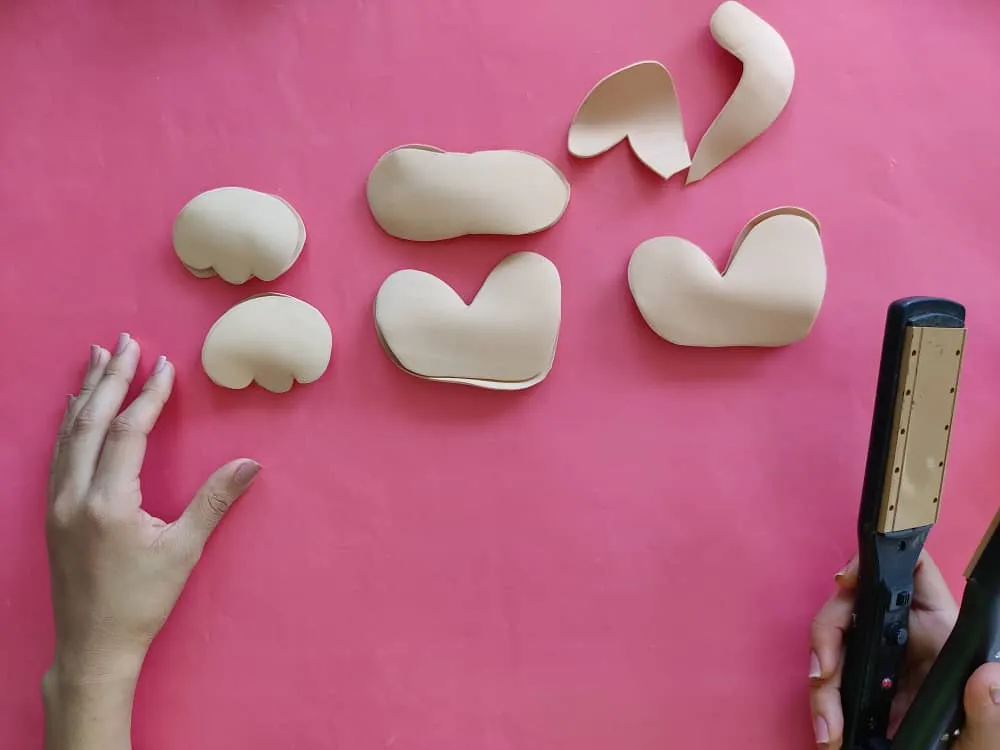
With the help of a hair straightener, we apply the thermoforming technique to our foamy figures, to give the ears, legs, and trunk a bulky shape.
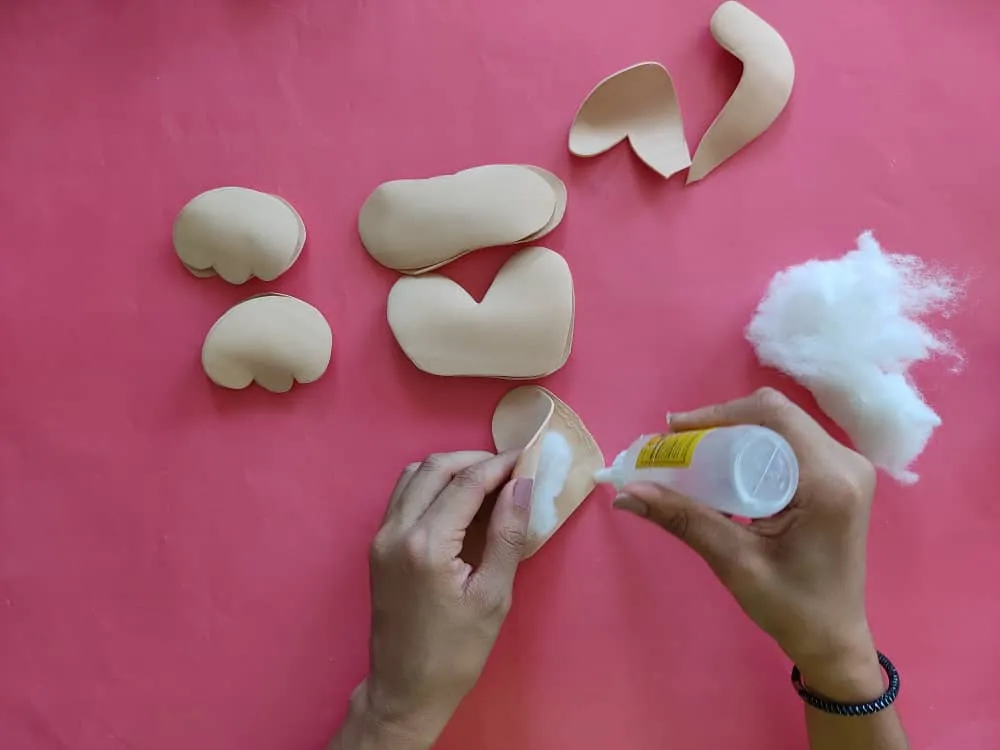
Ahora, armamos la trompa, orejas y patas, rellenando y uniendo las piezas con la ayuda de pegamento o silicón en los bordes de las partes internas de las piezas.
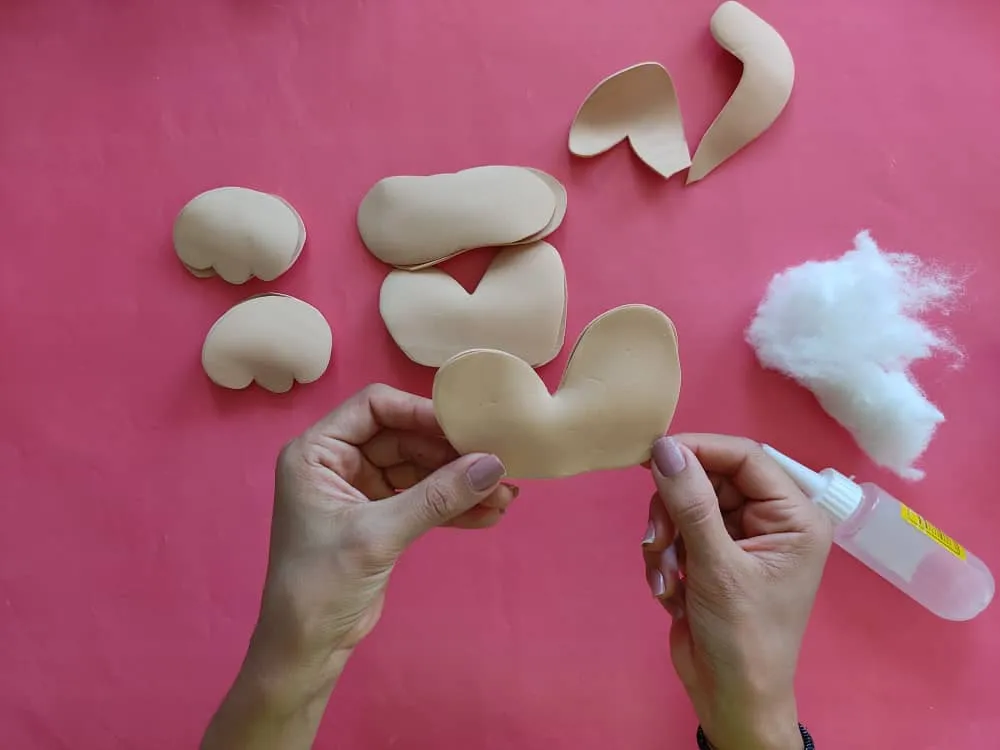
Now, we assemble the trunk, ears, and legs, filling and joining the pieces with the help of glue or silicone on the edges of the internal parts of the pieces.
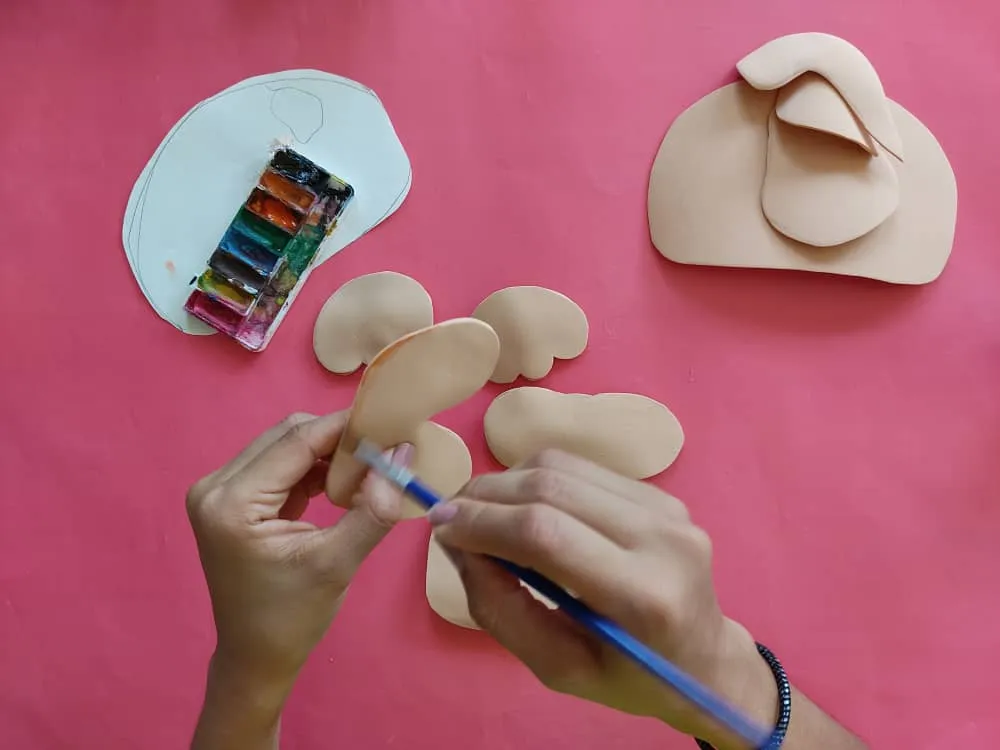
Luego, con la ayuda de un pincel y pintura le damos vida y color a las partes de nuestro perrito. Dejamos volar nuestra imaginación y pintamos nuestra obra con mucho amor y ternura, definiendo su cara, patas y todos los detalles que quieras agregar.
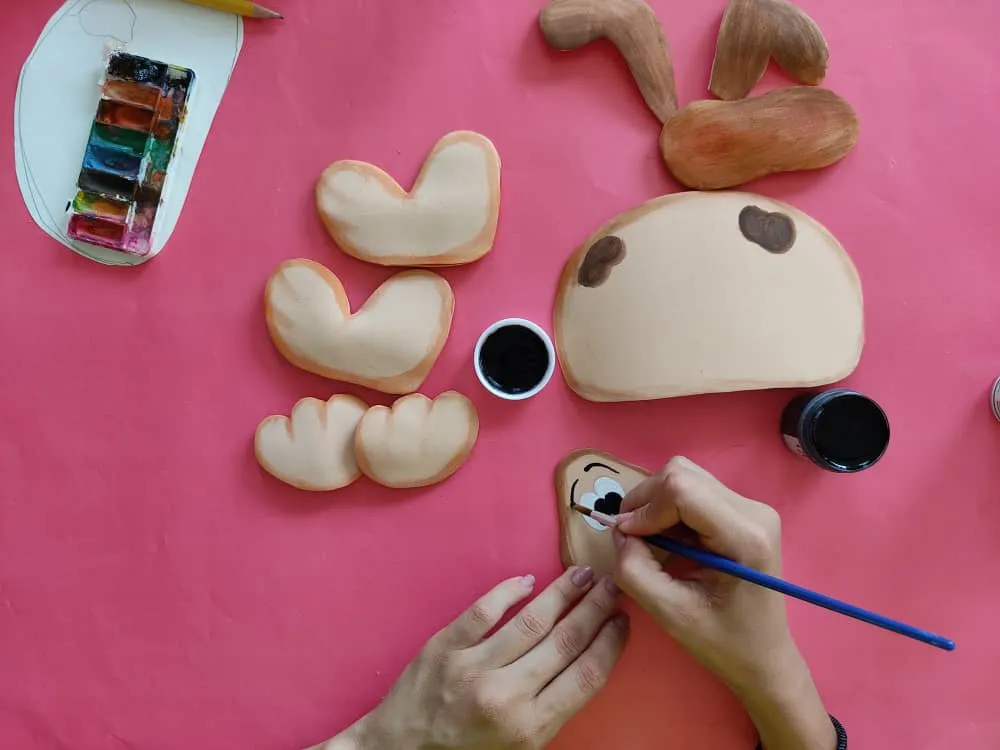
Then, with the help of a brush and paint, we give life and color to the parts of our puppy. We let our imagination run wild and we paint our work with a lot of love and tenderness, defining its face, legs, and all the details you want to add.
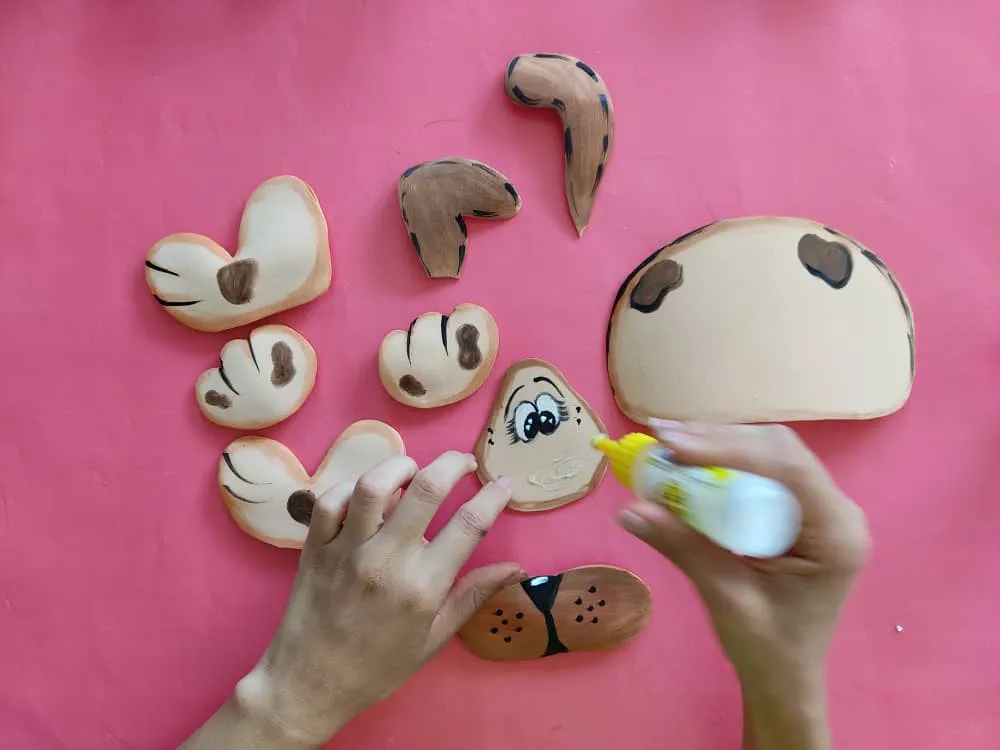
Seguidamente, armamos la cabeza del perrito, pegando orejas, trompa y su cara. Debemos hacer un poco de presión para asegurarnos que quede bien pegada.
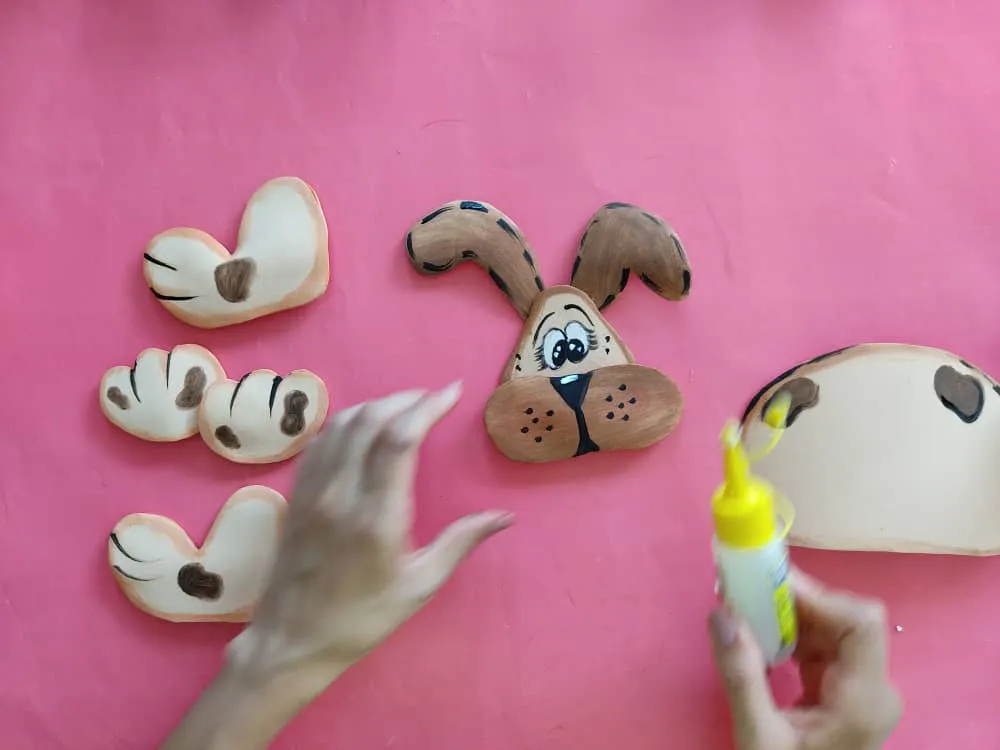
Next, we assemble the puppy's head, gluing ears, trunk, and his face. We need to apply a little pressure to make sure it fits well.
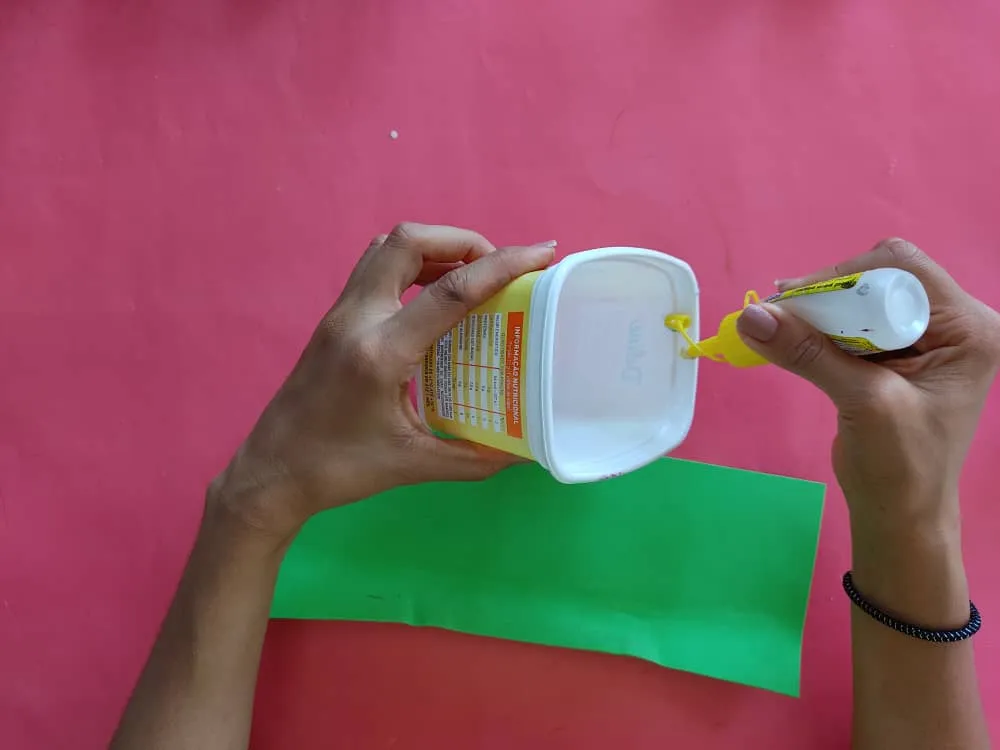
Ahora, utilizamos un envase de plástico desechable y lo forramos con foami del color que más nos guste. Debemos asegurarnos que el foami quede bien pegado al plástico.
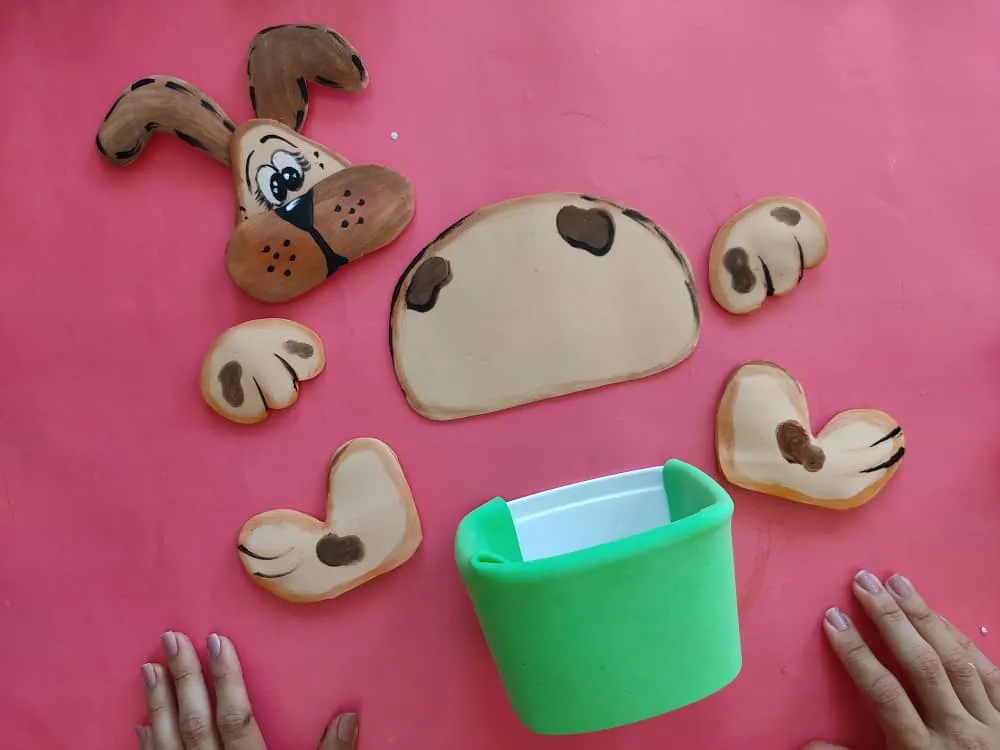
Now, we use a disposable plastic container and line it with foamy of the color that we like the most. We must make sure that the foamy is well glued to the plastic.
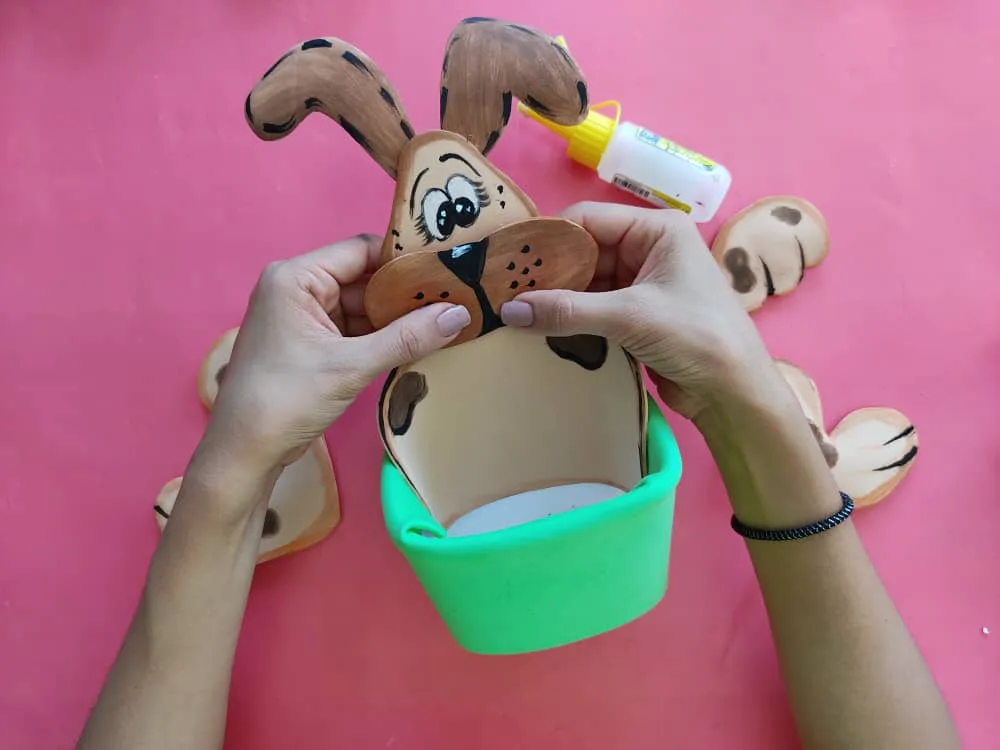
Luego, armamos nuestro perrito organizador, pegando el cuerpo en la parte interna del envase, y seguidamente las otras partes de su cuerpo. Asegurándonos que todo quede bien pegado.
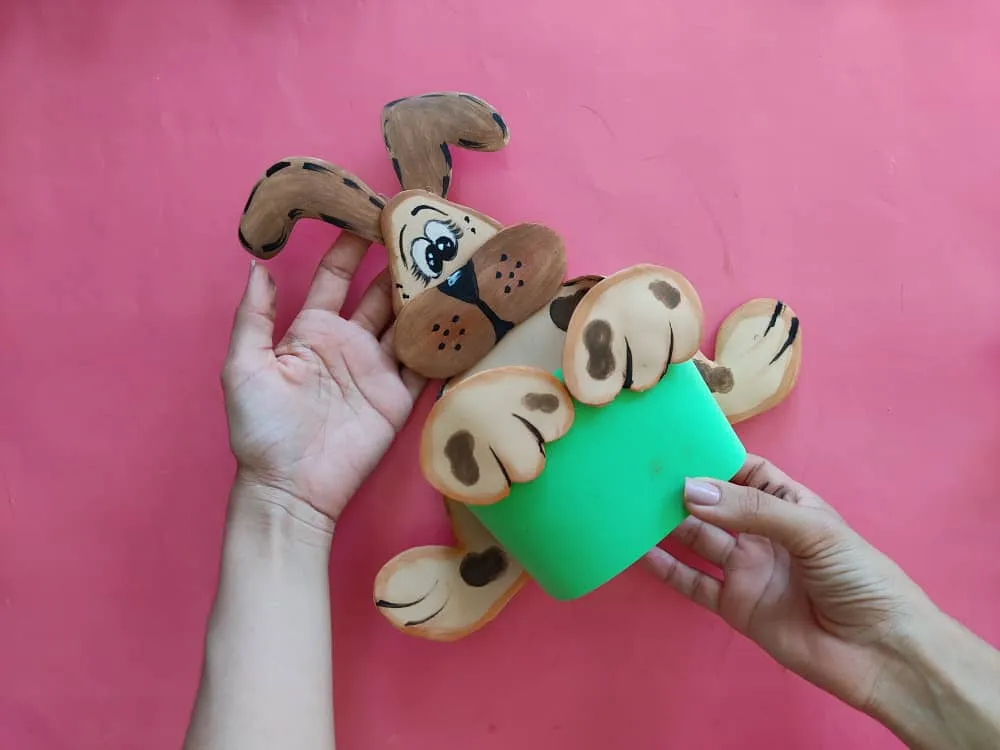
Then, we assemble our organizing puppy, gluing the body on the inside of the container, and then the other parts of its body. Ensuring that everything is well glued.
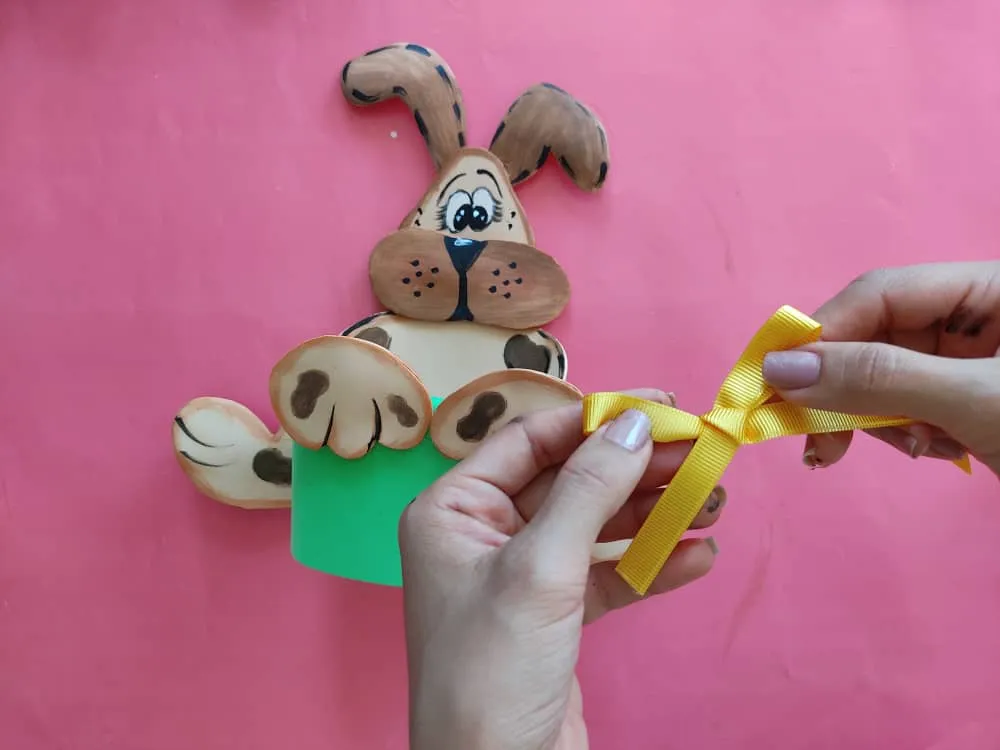
Finalmente, decoramos dejando volar nuestra imaginación, en este caso yo opte por agregar un lindo lazo decorativo al envase y listo.
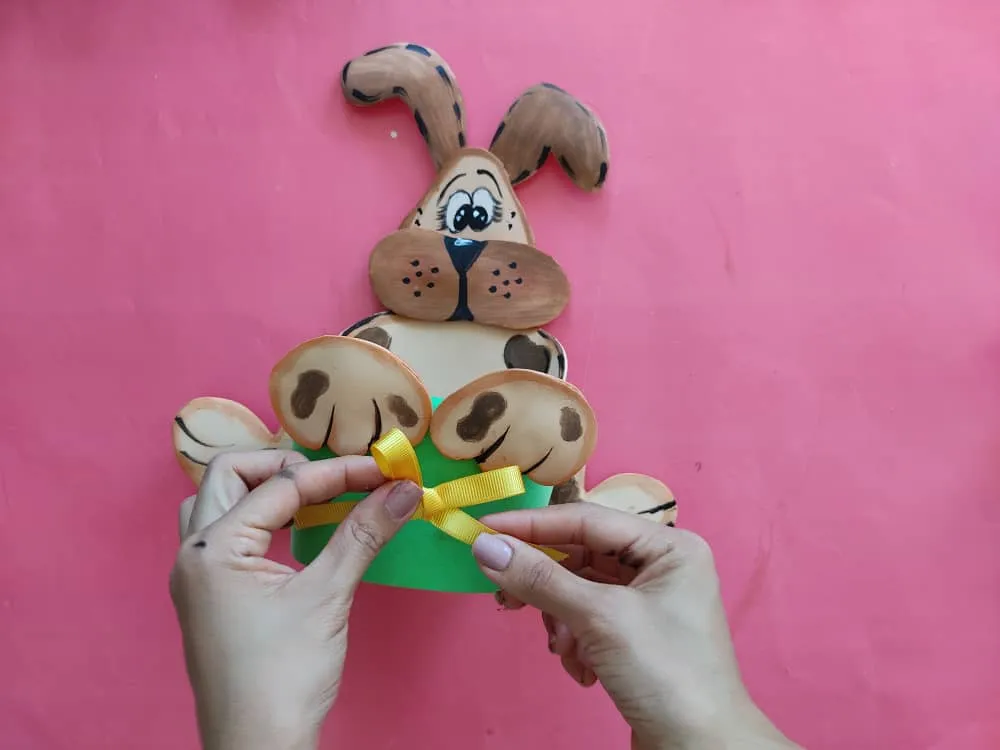
Finally, we decorate by letting our imagination run wild, in this case, I chose to add a nice decorative bow to the container and that's it.

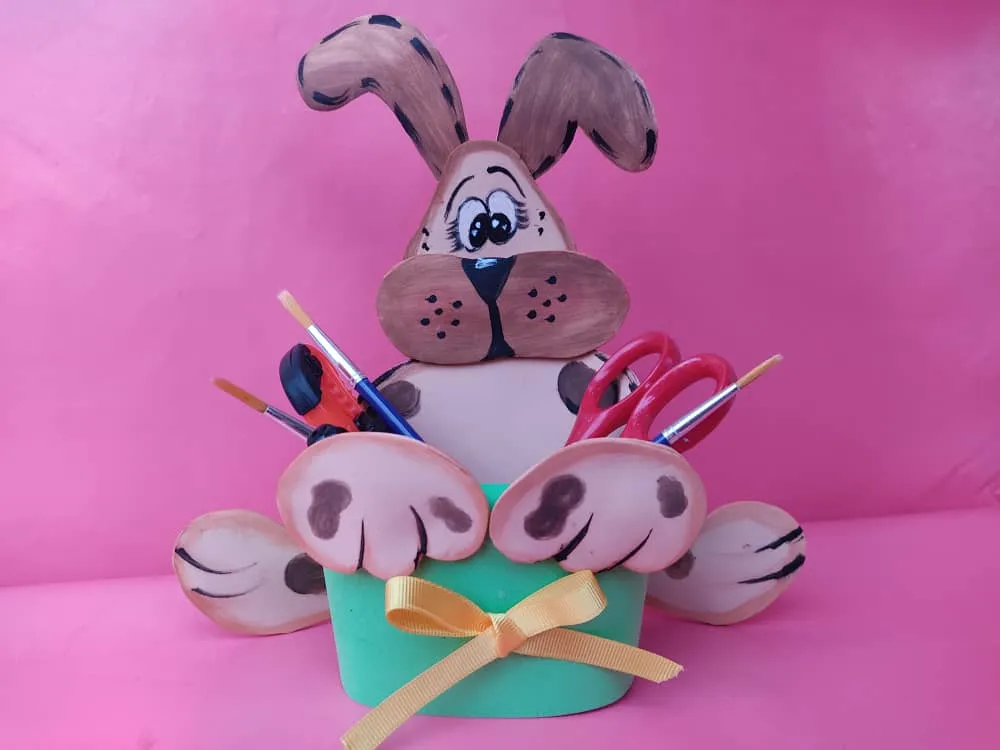
Gracias por acompañarme y espero que lo hayan disfrutado. ❤️
Thanks for joining and I hope you enjoyed it.❤️
