
Español
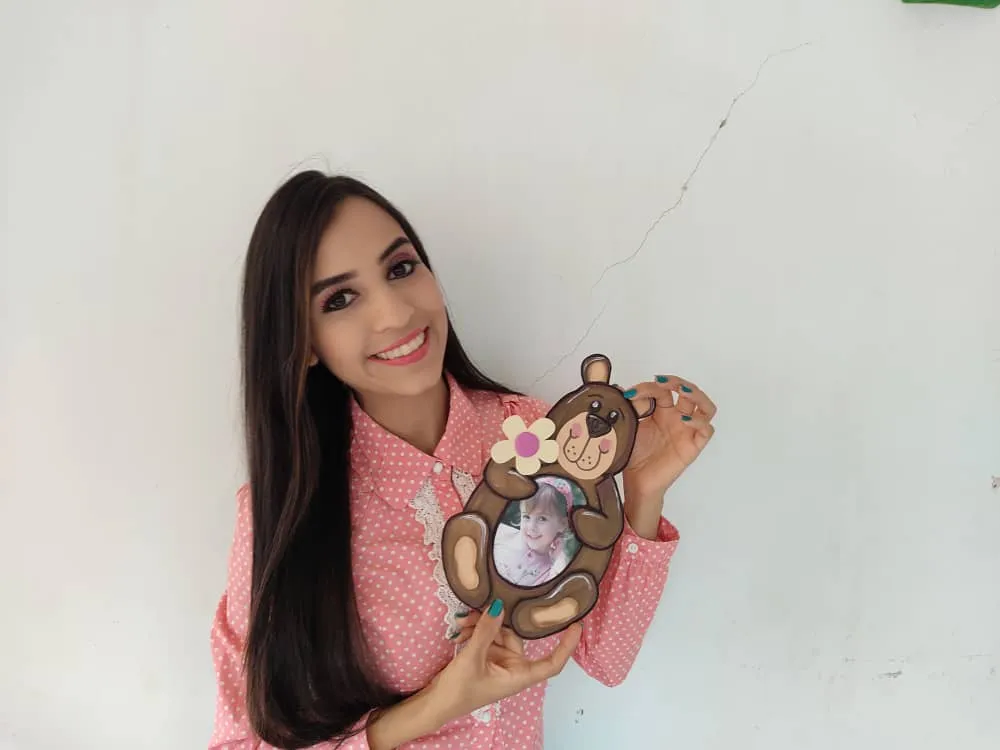
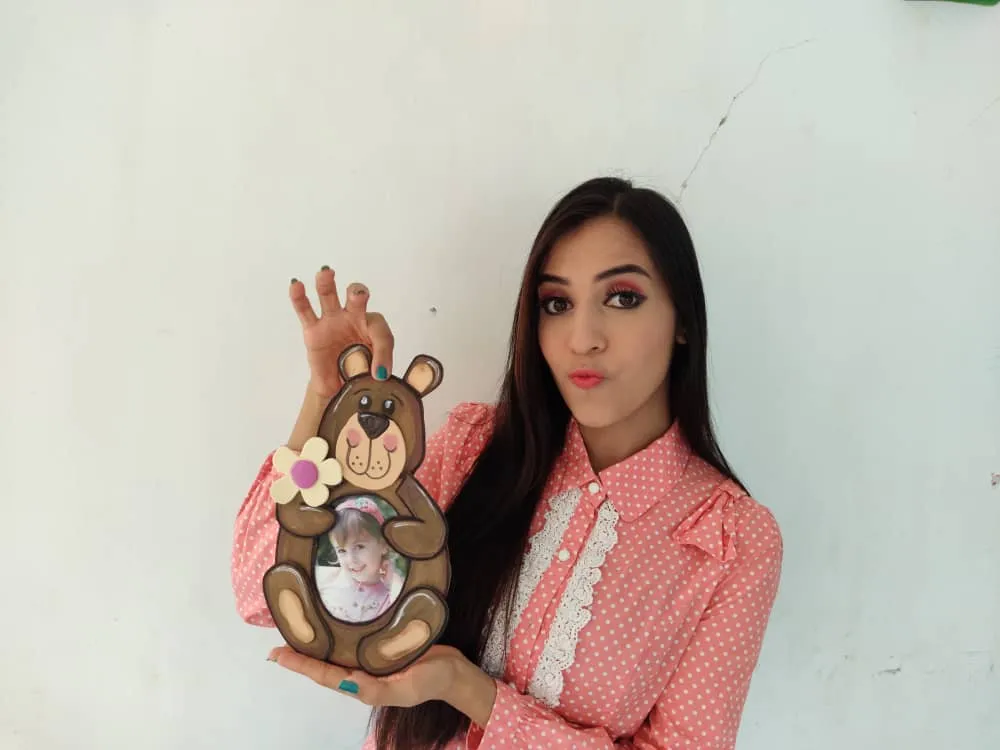
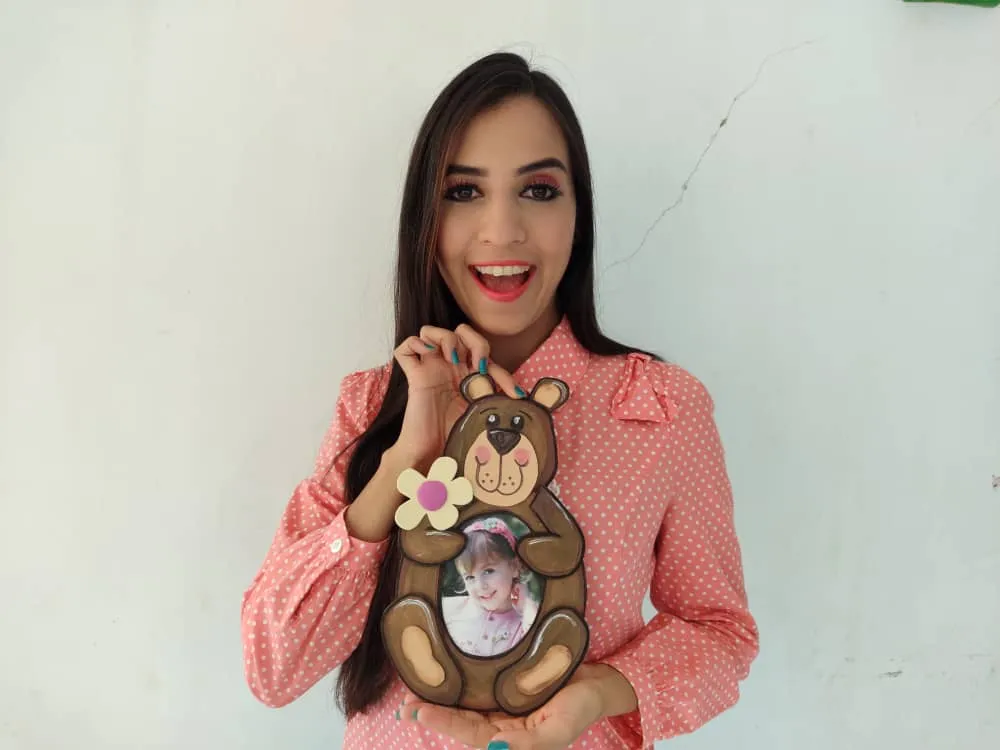
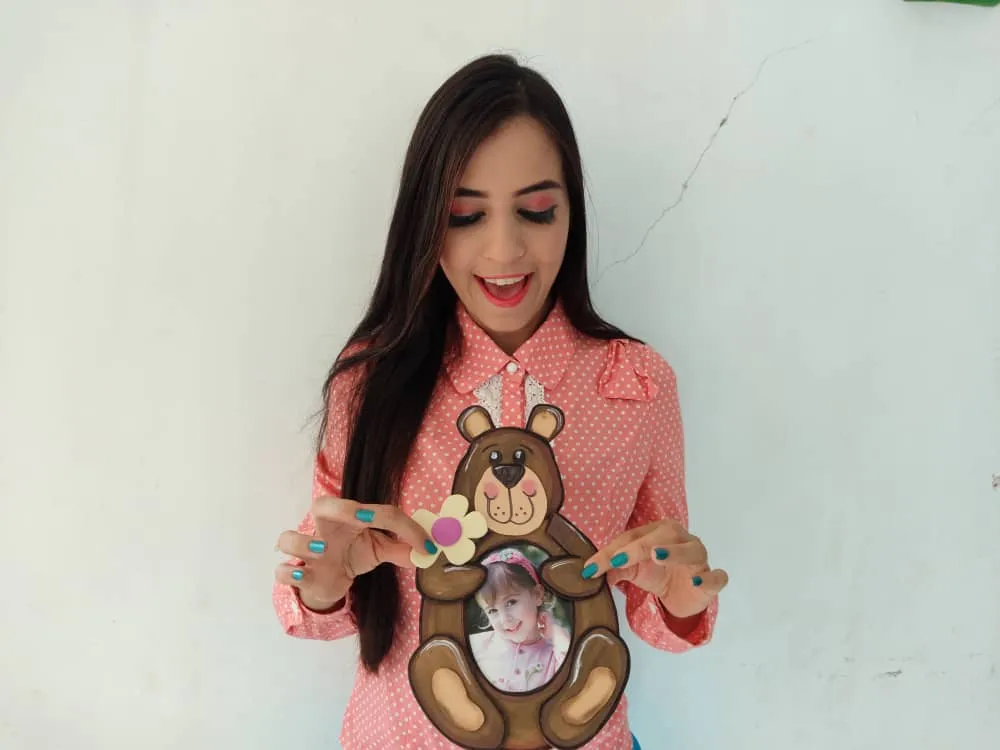
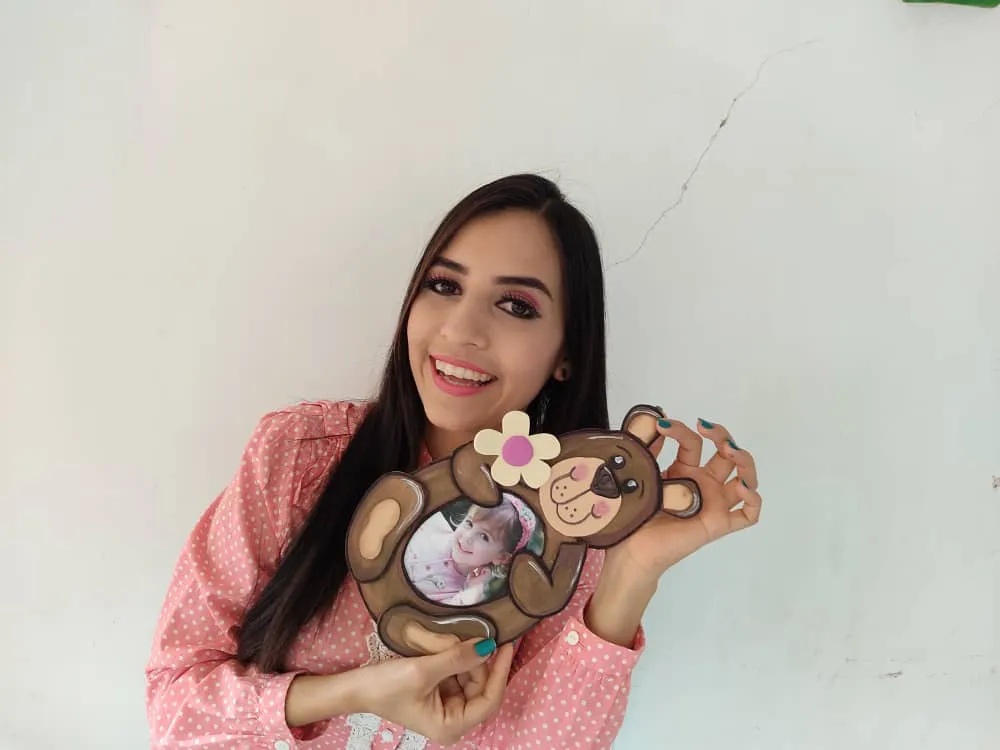
Hola queridos amigos ❤️ Hoy les traigo una idea súper hermosa para que no dejes de divertirte en esta cuarentena al lado de tu familia, se trata de un divertido paso a paso donde les mostrare como hacer un portaretrato de osita para tus fotos favoritas, se qué tal vez algunas personas prefieren guardar estos lindos retratos en sus teléfonos o computadoras, pero por qué perder la costumbre de decorar las mesas de nuestras habitaciones, y salas con hermosas fotos, y más aún si las exhibe una osa tan tierna como está. Así que, los invito a disfrutar de este divertido momento, ideal y perfecto para el desarrollo de la creatividad tanto de niños como adultos. Además es una idea perfecta para pasar un rato agradable con nuestros pequeños en casa e incentivarlos, ya que, pueden ir, de a poco, desarrollando su ingenio y acercándose un poco más al trabajo artístico.
English
Hello dear friends❤️Today I bring you a super beautiful idea so that you do not stop having fun in this quarantine with your family, it is a fun step by step where I will show you how to make a bear photo frame for your favorite photos, I know maybe some people prefer to keep these cute photo frame on their phones or computers, but why lose the habit of decorating the tables in our rooms, and rooms with beautiful photos, and even more so if they are displayed by a bear as tender as it is. So, I invite you to enjoy this fun moment, ideal, and perfect for the development of creativity for both children and adults. It is also a perfect idea to spend a pleasant time with our little ones at home and encourage them, since they can go, little by little, developing their ingenuity and getting a little closer to artistic work.
¿Qué están esperando?
Utilizar estos hermosos materiales para transformarlos en un hermoso portaretrato es una idea muy original, perfecta y económica para decorar nuestras mesas preferidas. Antes de comenzar no olvidemos lavarnos nuestras manos.
What are they waiting for?
Using these beautiful materials to transform them into a beautiful photo frame is a very original, perfect, and cheap idea to decorate our favorite tables. Before we start, let's not forget to wash our hands.

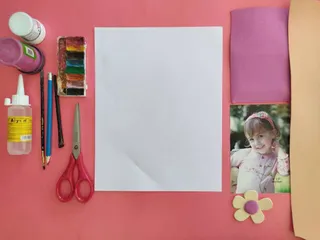
[Materiales | Materials]
Para hacer este hermoso portaretrato necesitaremos:
- Moldes.
- Foami o goma eva.
- Papel vegetal o calco.
- Fotografia impresa.
- Lápiz.
- Tijera.
- Marcador.
- Pincel o brocha.
- Pinturas.
- Pegamento.
To make this beautiful photo frame we will need:
- Molds.
- Foamy or EVA foam.
- Vegetable paper or tracing.
- Printed photograph.
- Pencil.
- Scissors.
- Bookmark.
- Brush or brush.
- Paintings.
- Glue.
Procedimiento (paso a paso)
Process (step by step)
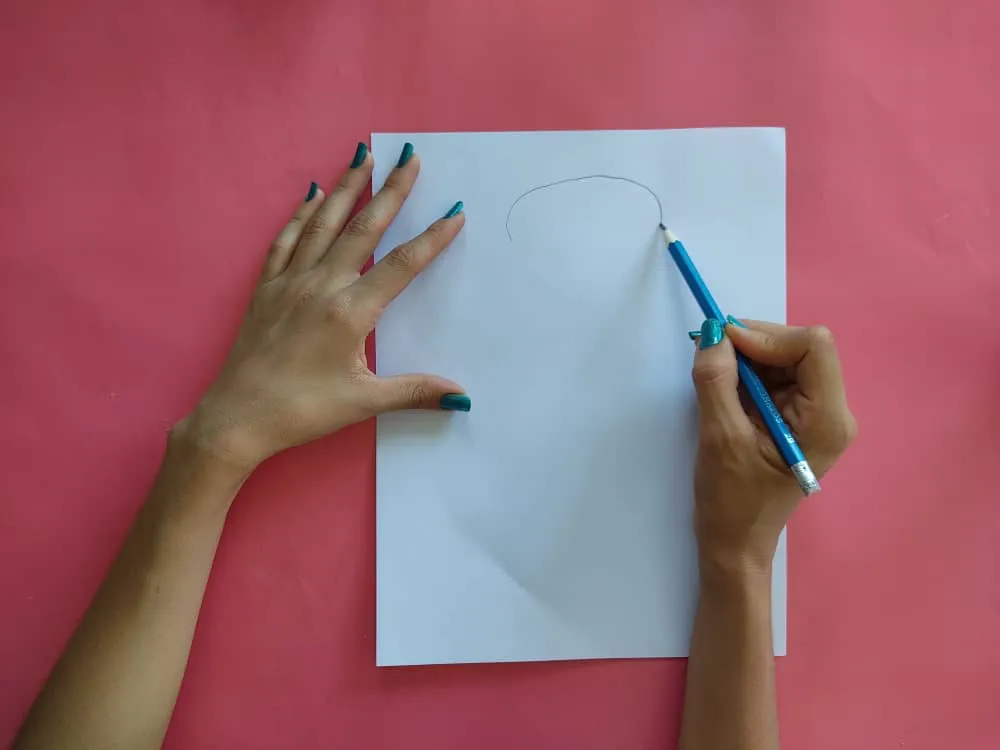
Primero, dibujamos sobre el papel una linda osa, con una tierna cara, y en la zona de su barriga hacemos un óvalo para ubicar la foto que vamos a colocar en el retrato. Este dibujo será la silueta y nos servirá obtener el resto de las partes de nuestra dulce osa.
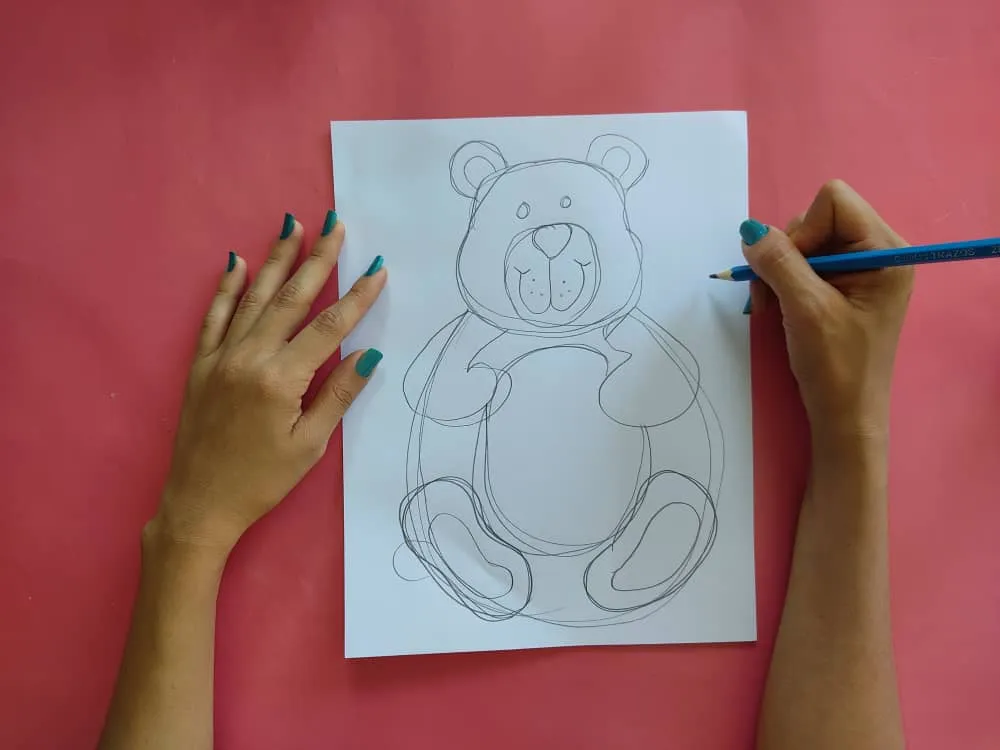
First, we draw on the paper a cute bear, with a tender face, and in the area of her belly, we make an oval to locate the photo that we are going to place in the photo frame. This drawing will be the silhouette and it will help us to obtain the rest of the parts of our sweet bear.
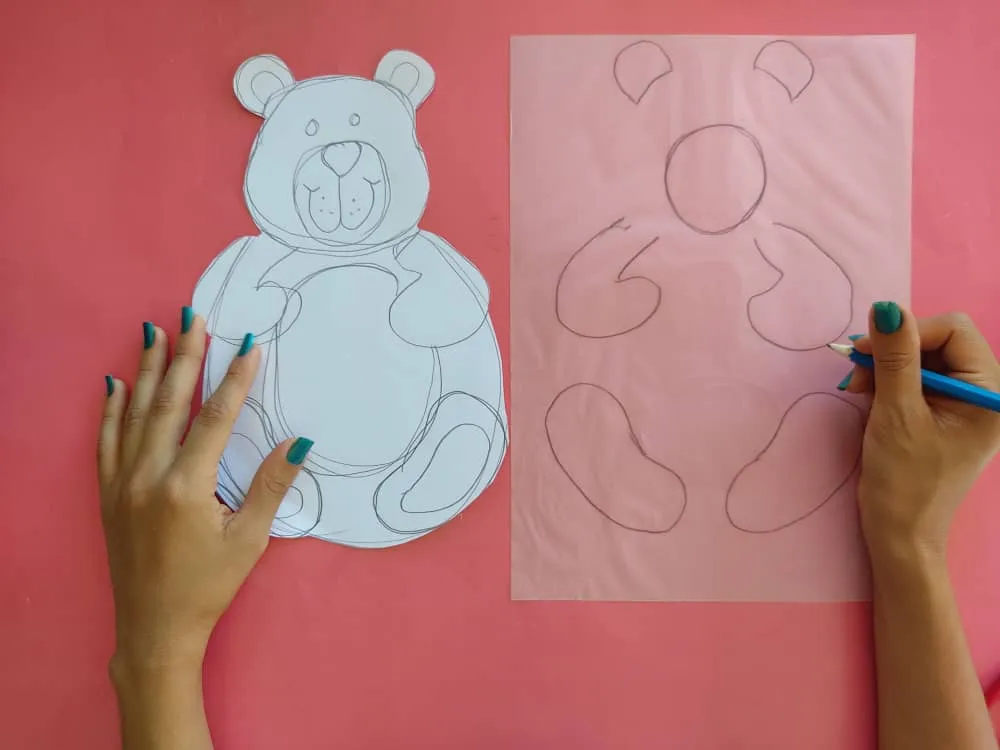
Ahora, recortamos la silueta de la osa respetando sus medidas, y seguidamente, separamos las partes de la osa, utilizando una hoja para sus orejas, trompa, brazos y patas, y otra para la parte de su panza dónde se ubicará la foto, y recortamos cuidadosamente cada figura.
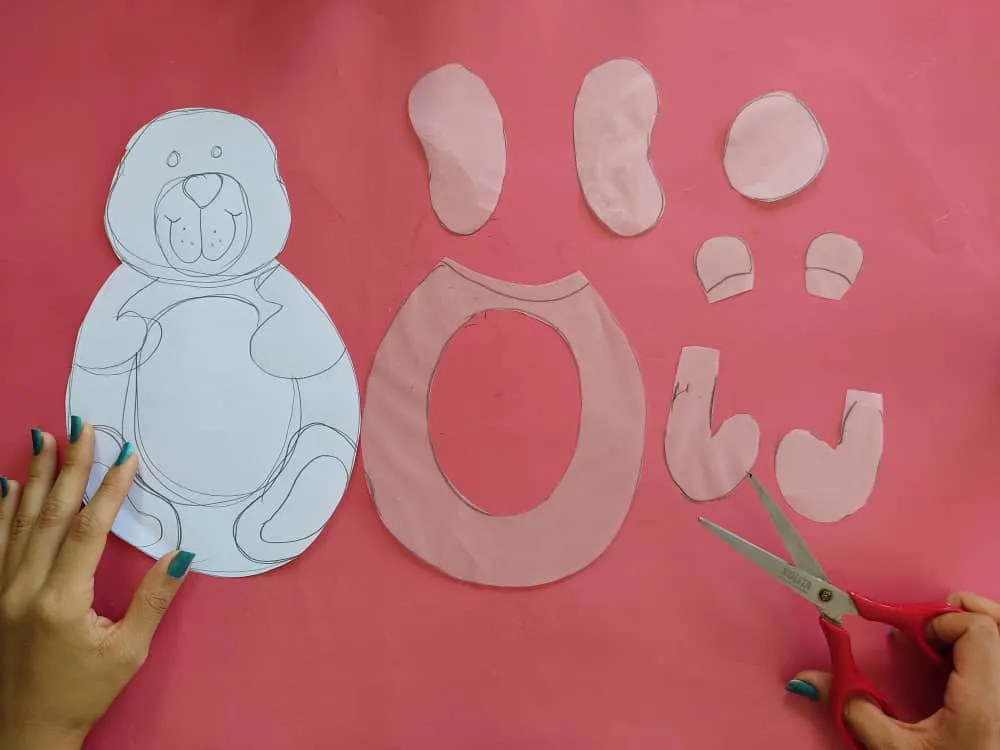
Now, we cut the silhouette of the bear respecting its measurements, and then, we separate the parts of the bear, using a sheet for its ears, trunk, arms and legs, and another for the part of its belly where the photo will be located, and we carefully cut out each figure.
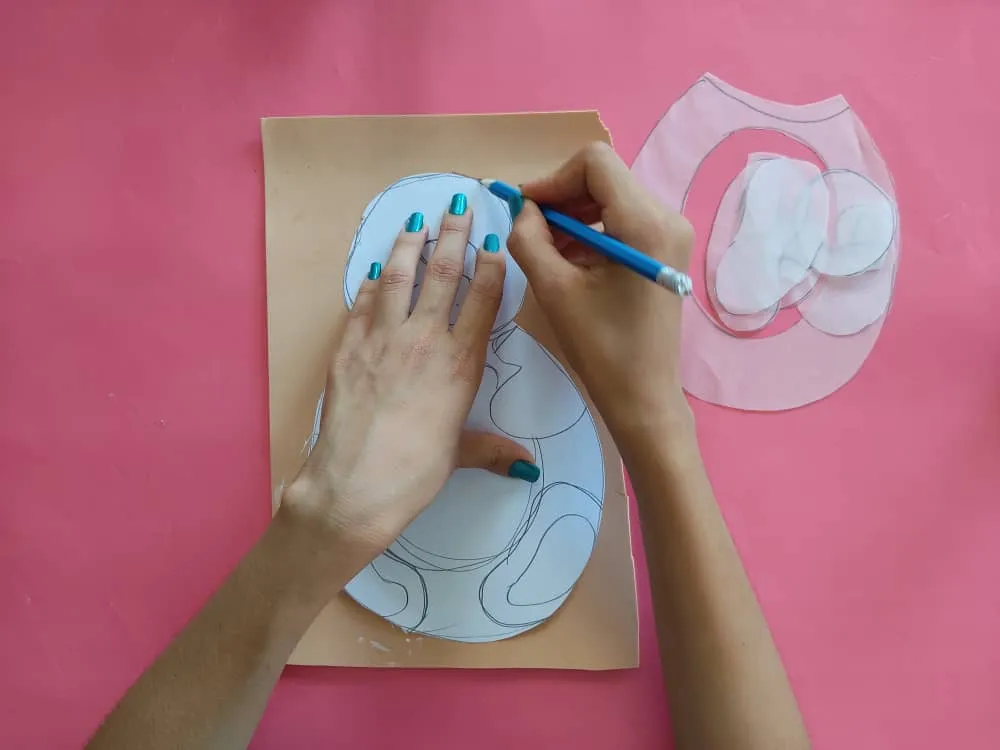
Luego, transferimos cuidadosamente las partes al foami del color que más nos guste, ya que, le daremos el color natural de la osa aplicando pintura de color marrón.
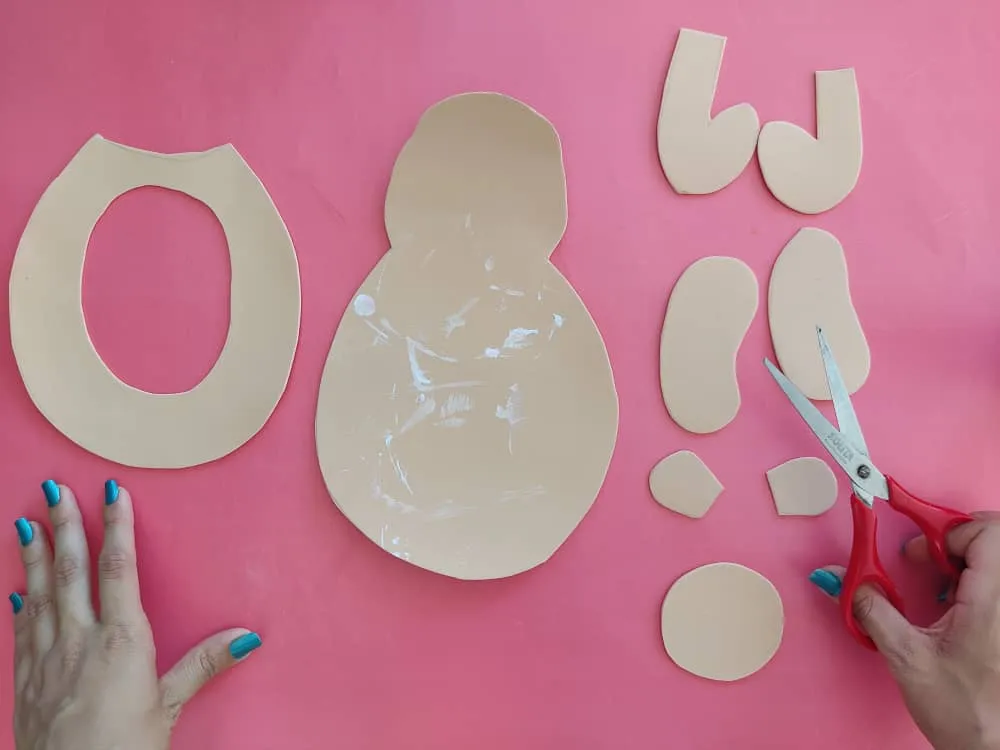
Then, we carefully transfer the parts to the foamy of the color that we like the most since we will give it the natural color of the bear applying brown paint.
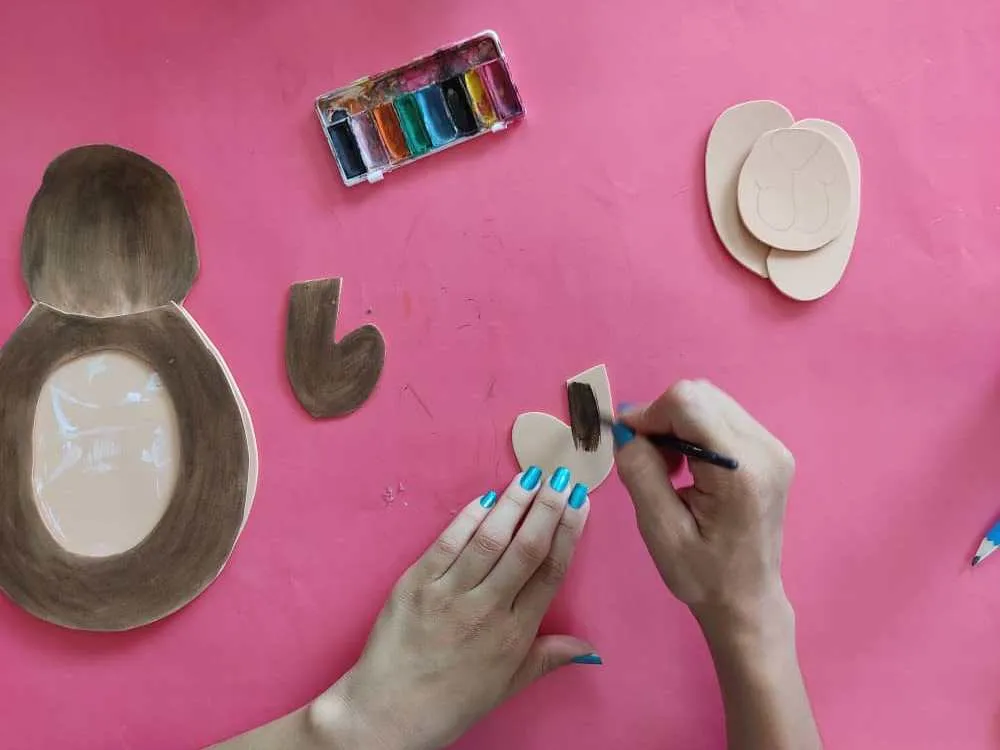
Ahora, le damos un toque de alegría a nuestra hermosa osita dejando volar nuestra imaginación y llenándola de colores marrones para que luzca como un oso real. Pinta todas sus partes exceptuando la trompa.
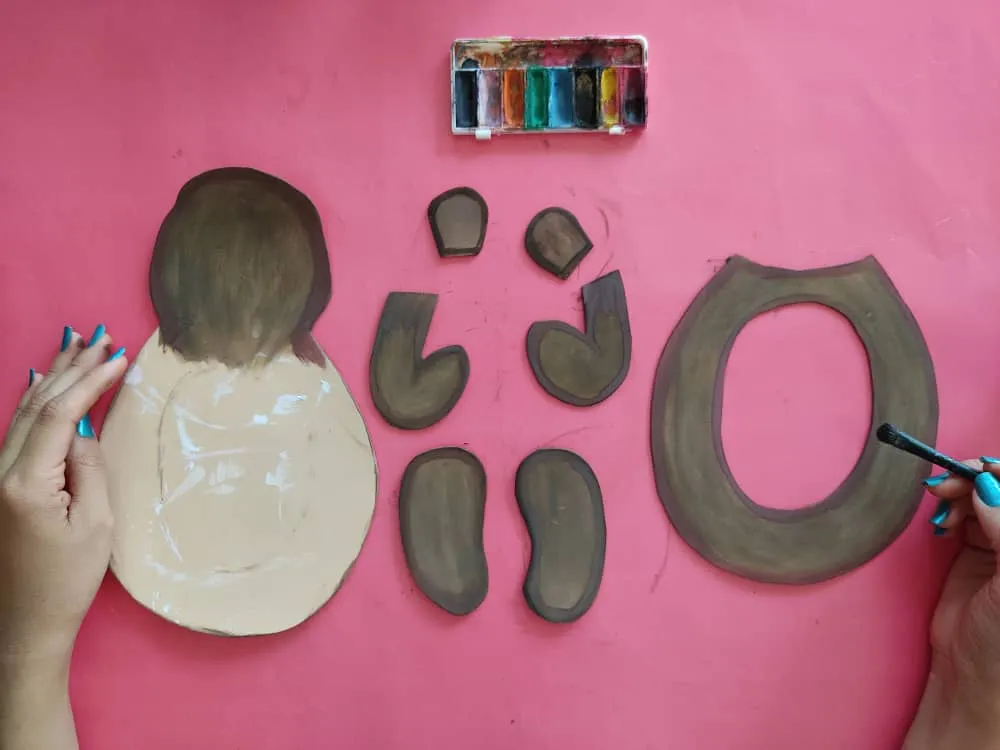
Now, we give a touch of joy to our beautiful little bear by letting our imagination fly and filling it with brown colors to make it look like a real bear. Paint all its parts except the trunk.
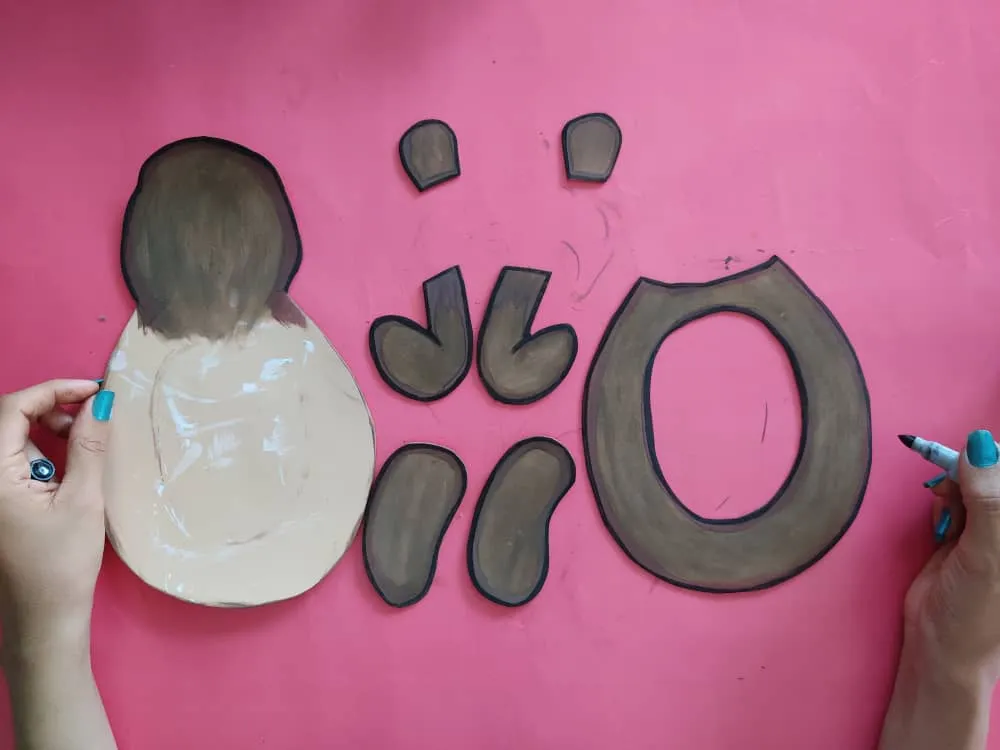
Una vez que todas las piezas de marrón estén bien pintadas y se haya secado la pintura, marcamos sus bordes utilizando el marcador de punta fina, y definimos la nariz y trompa de nuestra linda osita.
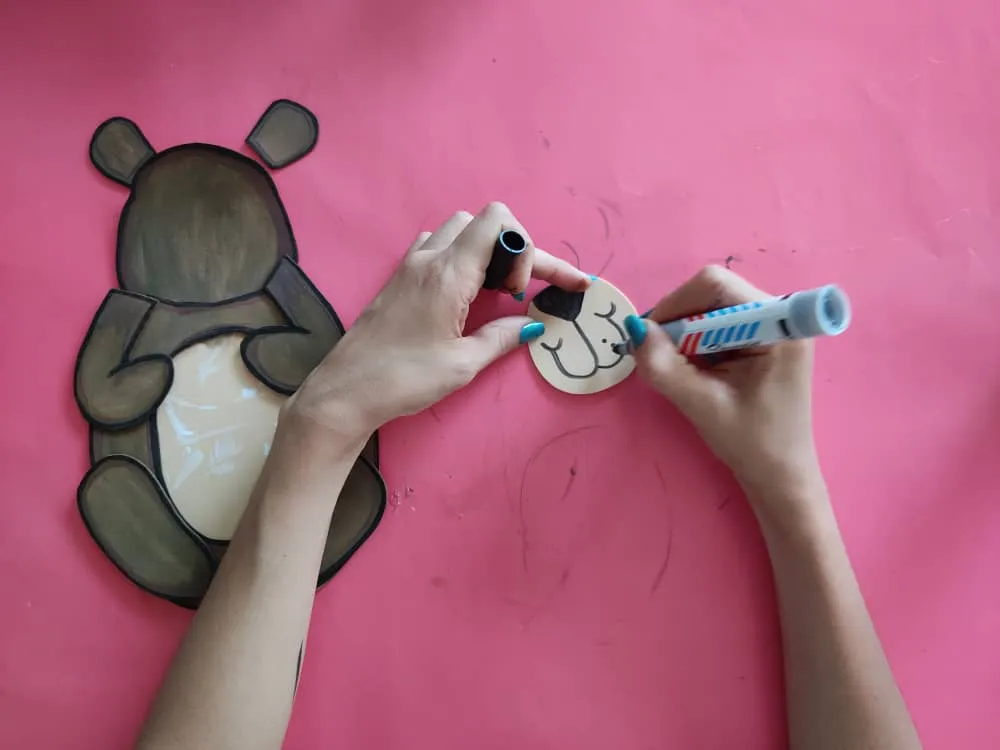
Once all the brown pieces are well painted and the paint has dried, we mark its edges using the fine point marker, and define the nose and trunk of our cute little bear.
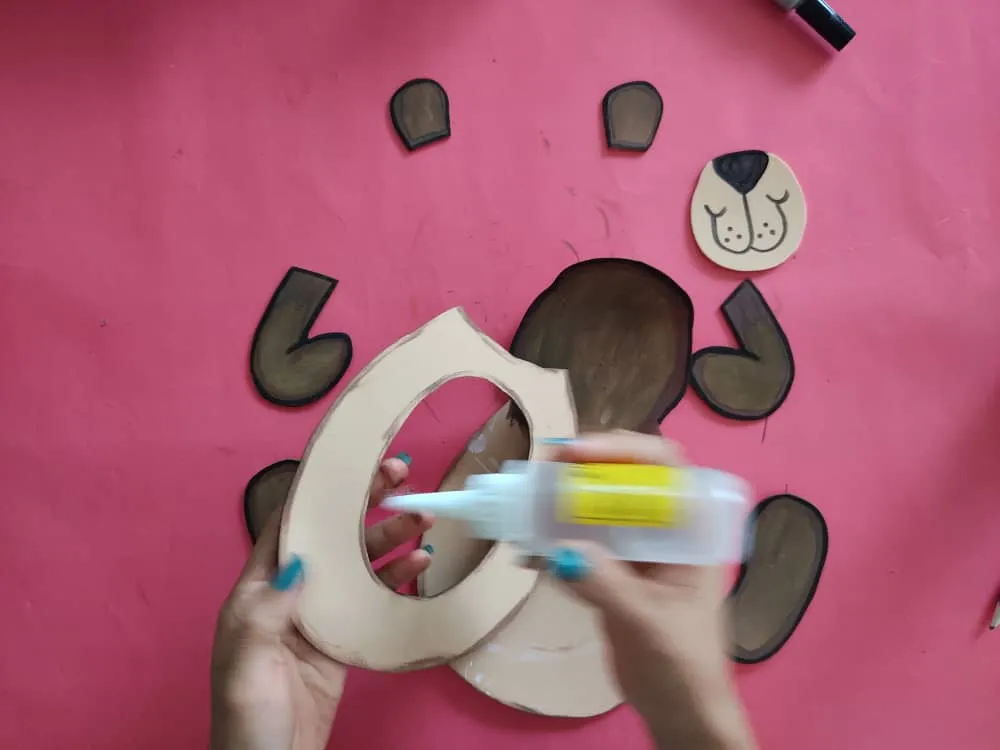
Ahora, armamos nuestro portaretrato utilizando pegamento o silicón liquido, comenzamos con el ovalo, dejando libre sus extremos superiores para que a través de este entre la foto, luego si es necesario recorta algunos extremos de la foto para que está encaje perfectamente.
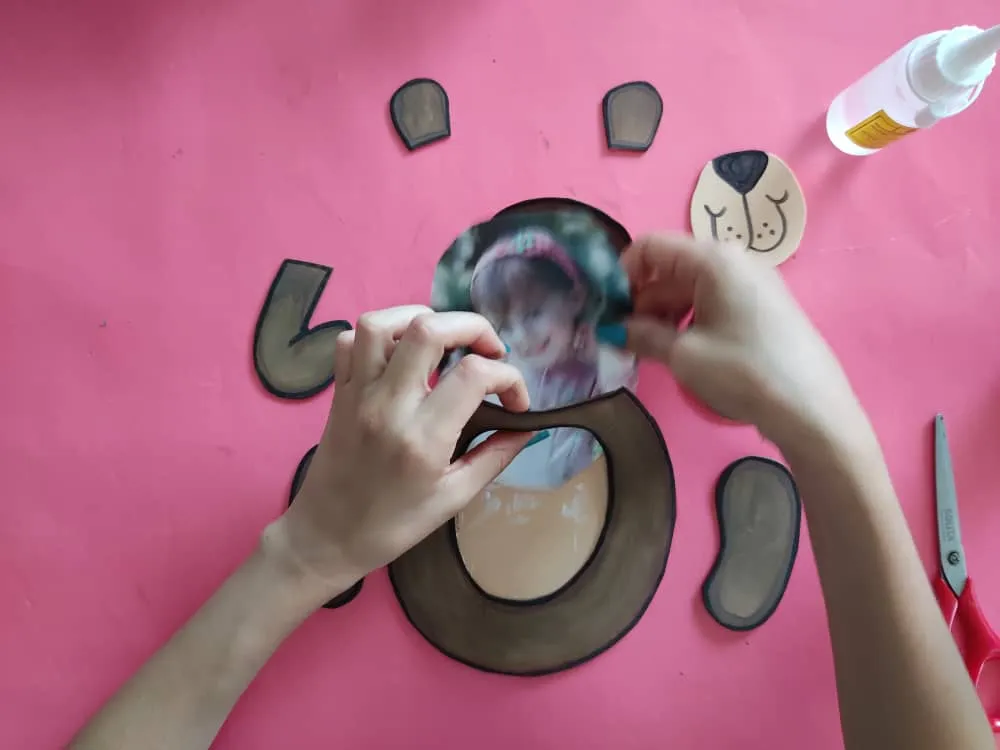
Now, we assemble our photo frame using glue or liquid silicone, we start with the oval, leaving its upper ends free so that the photo enters through it, then if necessary cut out some ends of the photo so that it fits perfectly.
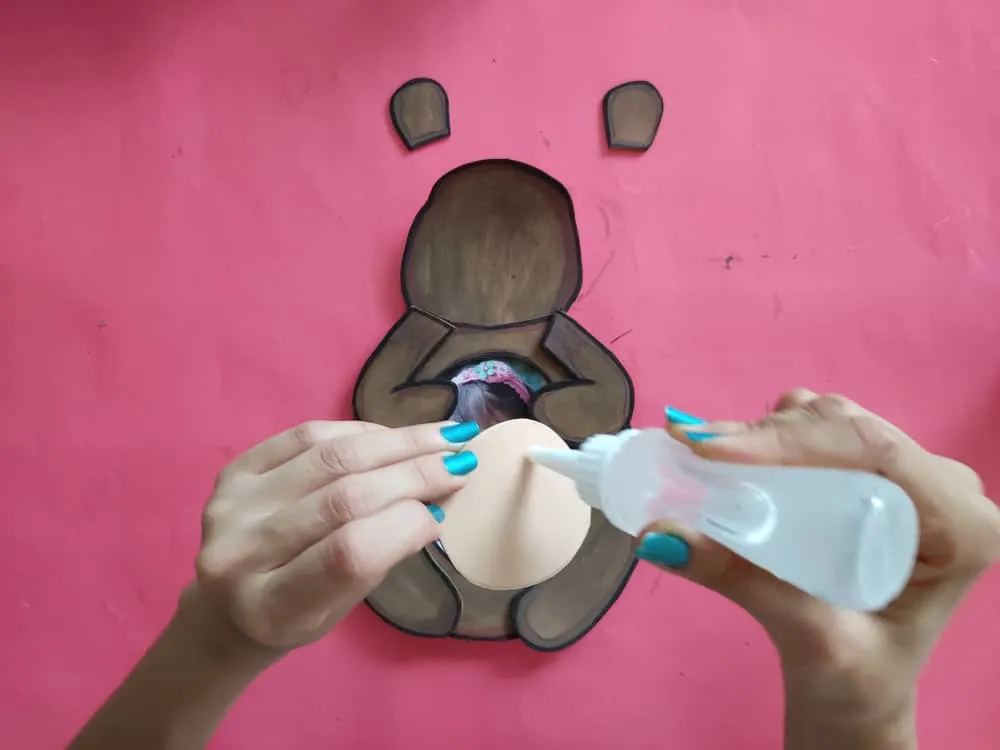
Seguidamente, pegamos las siguientes partes (patas, brazos y trompa) de nuestra bella osita, y una vez que cada parte se encuentre en su sitio, pintamos los ojos.
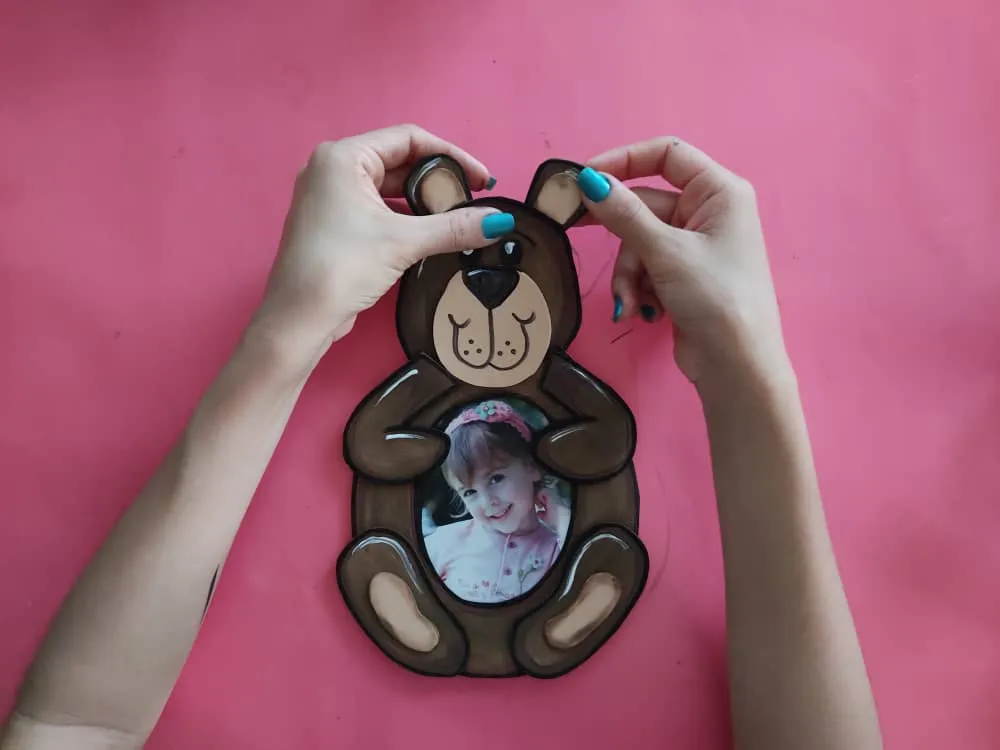
Next, we glue the following parts (legs, arms, and trunk) of our beautiful bear, and once each part is in place, we paint the eyes.
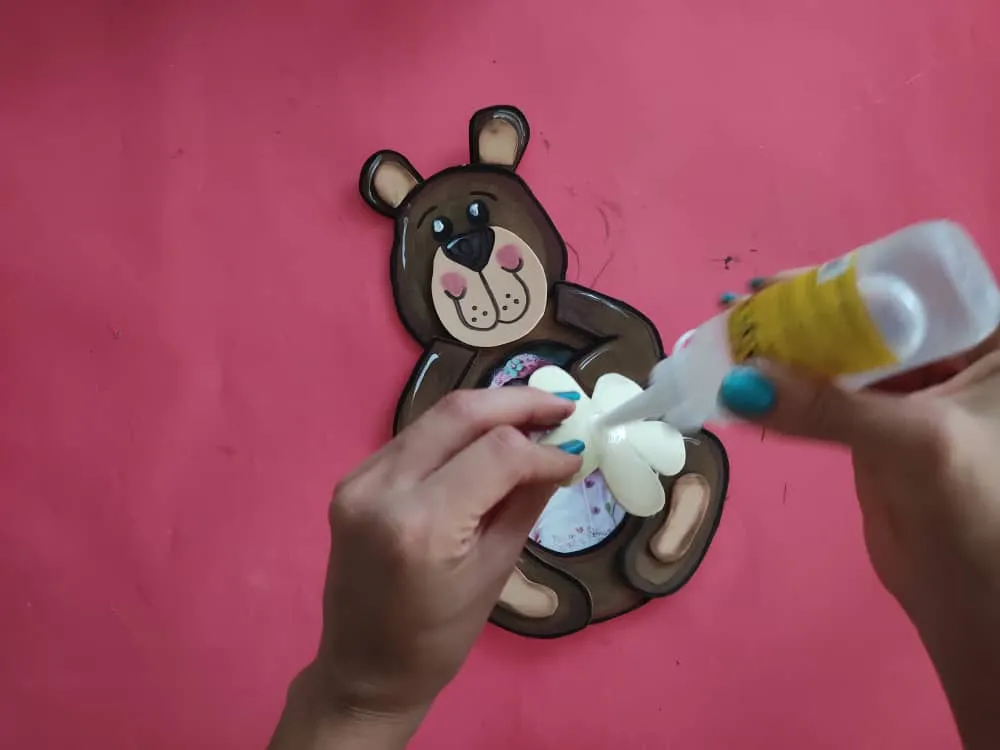
Luego, decoramos nuestra osita agregando detalles a las orejas y a las patas, también podemos agregarle otros detalles que más nos gusten en este caso yo decidí agregarle una linda flor.
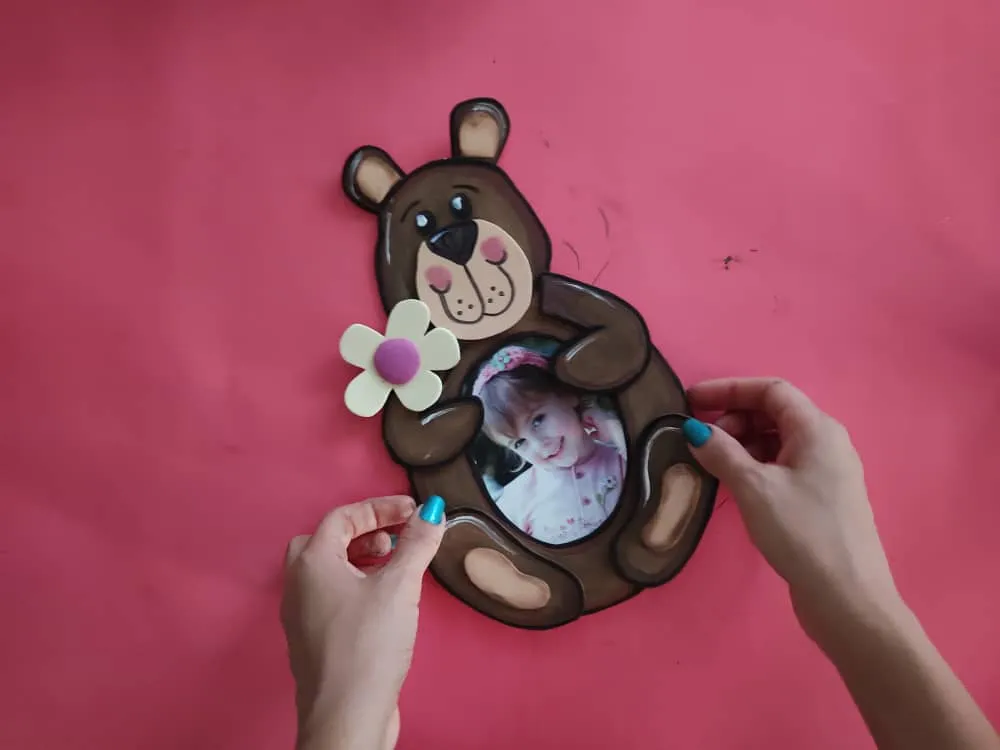
Then, we decorate our bear adding details to the ears and legs, we can also add other details that we like the most, in this case, I decided to add a cute flower.
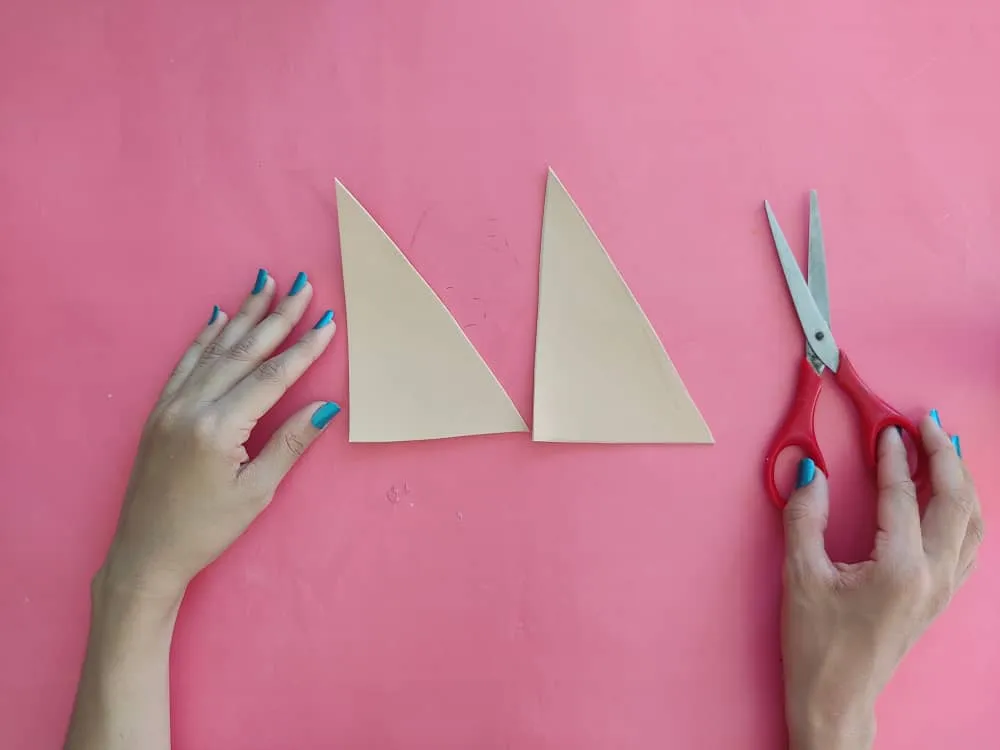
Finalmente, fabricamos una base o soporte en forma de triangulo hechas de foami, y la pegamos en la parte trasera para este se mantenga firme.
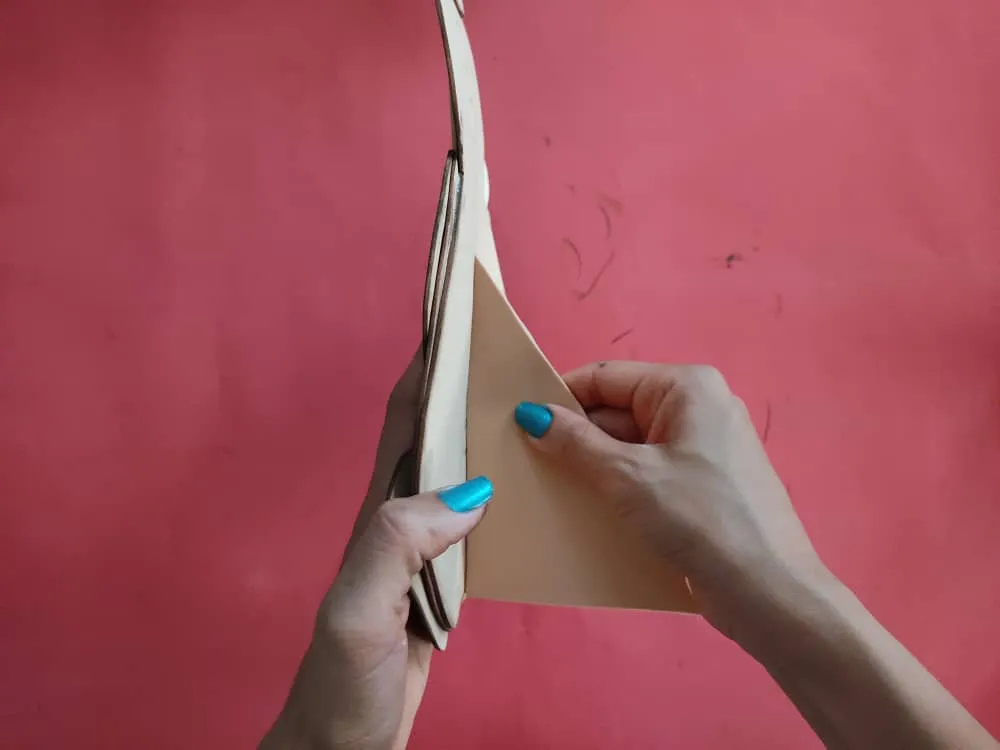
Finally, we make a base or support in the shape of a triangle made of foamy and stick it on the back so that it stays firm.

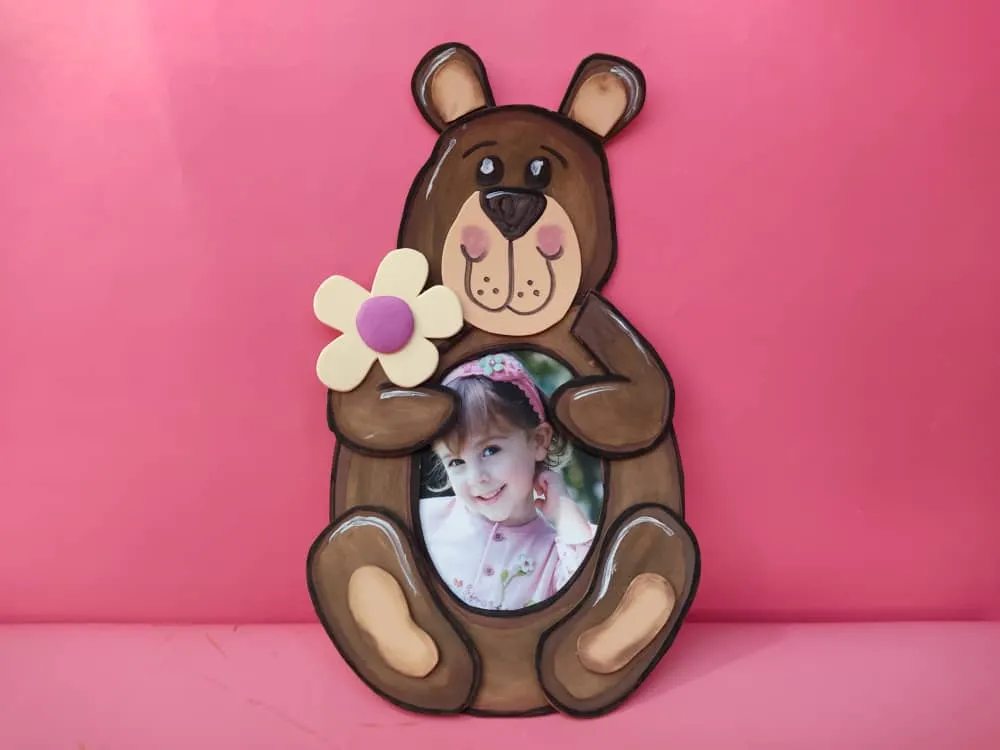
Gracias por acompañarme y espero que lo hayan disfrutado. ❤️
Thanks for joining and I hope you enjoyed it.❤️
