
Español
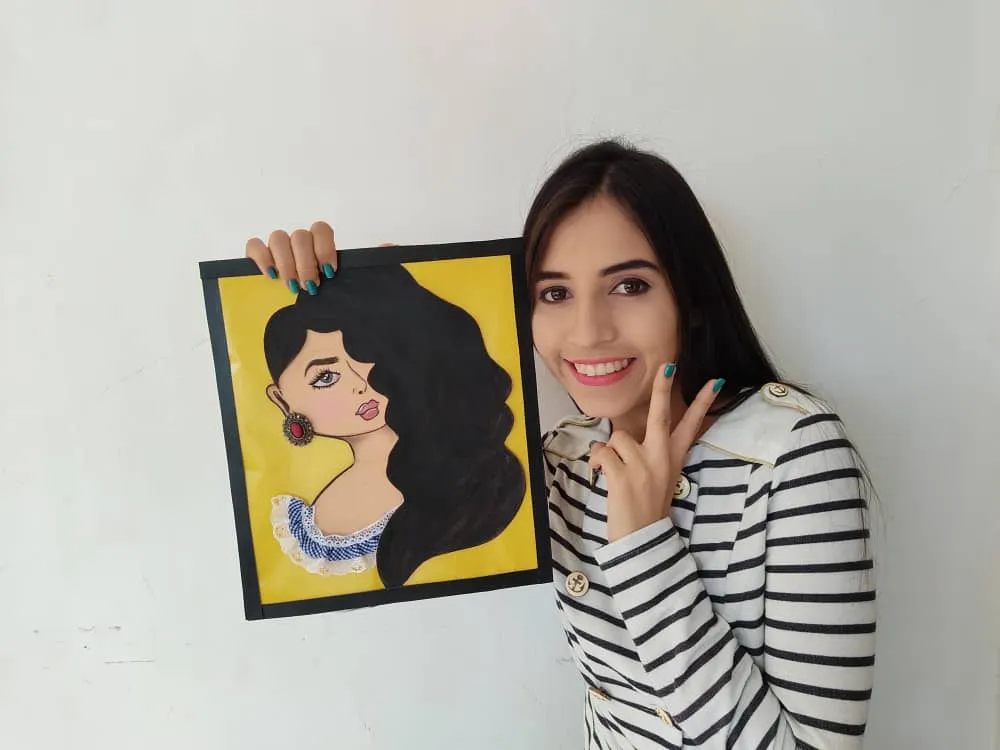
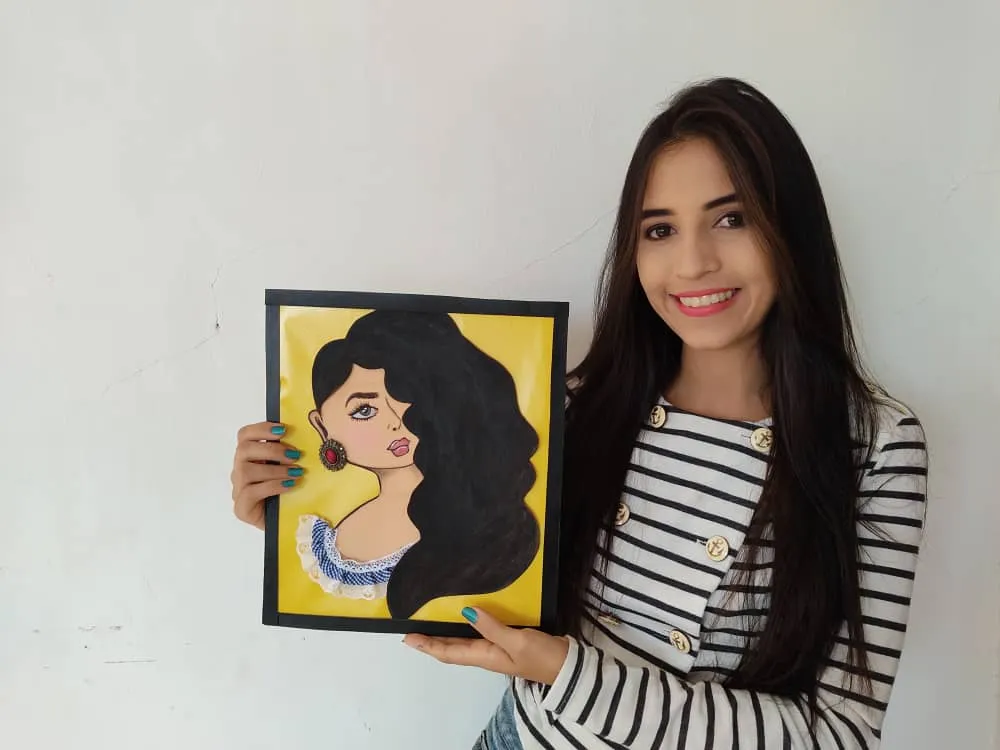
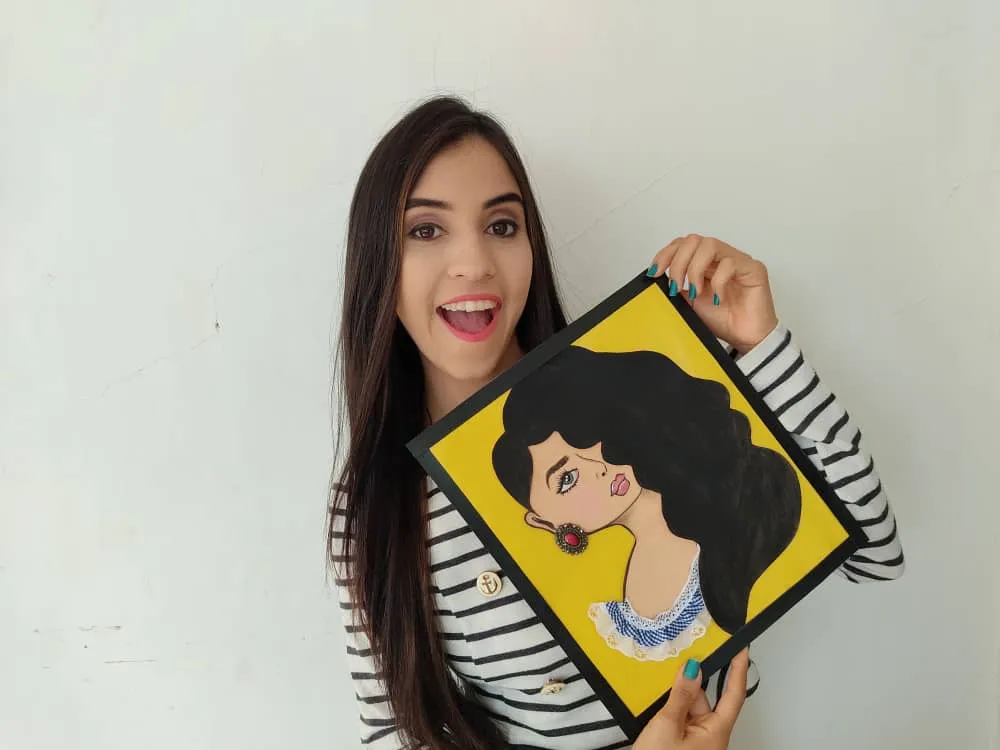
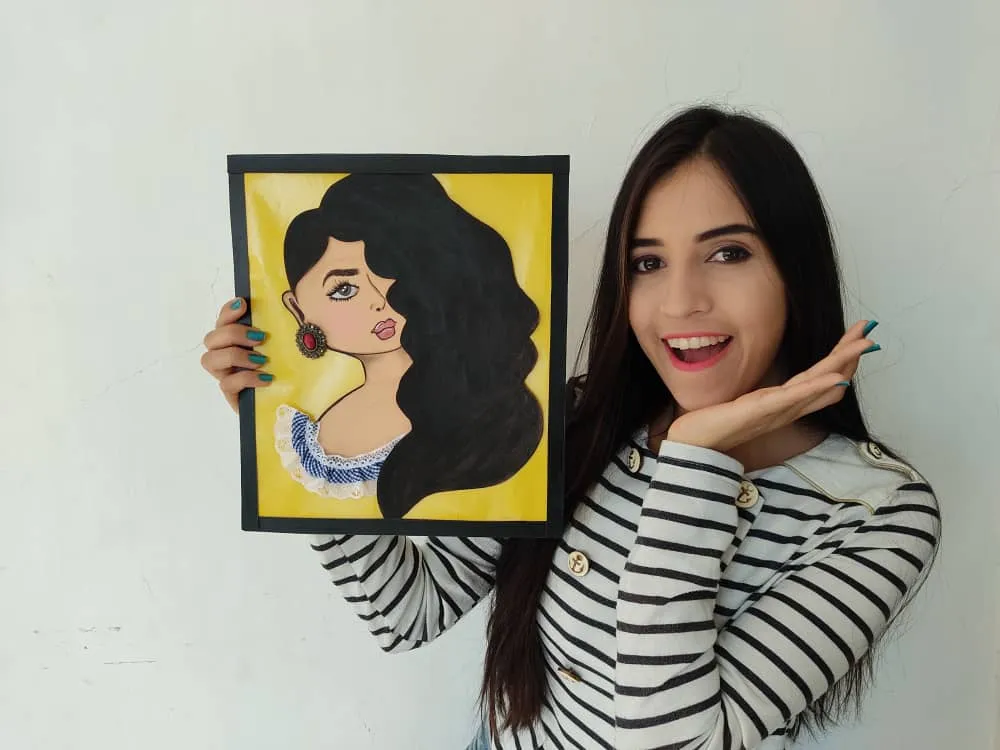
Hola queridos amigos ❤️ Hoy les traigo para ustedes un increíble y divertido paso a paso, donde les mostrare como hacer un cuadro o retrato de una hermosa chica de cabello negro muy frondoso, pues me gusta su cabello porque es muy parecido al de una de mis hermanas xD. Que esperan vamos a divertirnos imaginando las ideas más auténticas y a crearlas con mucho amor para obtener esos resultados perfectos que todos deseamos a la hora de fabricar alguna cosa. Además es una idea perfecta para pasar un rato agradable con nuestros pequeños en casa e incentivarlos, ya que, pueden ir, de a poco, desarrollando su ingenio y acercándose un poco más al trabajo artístico.
English
Hello dear friends❤️Today I bring you an incredible and fun step by step, where I will show you how to make a picture or portrait of a beautiful girl with very lush black hair because I like her hair because it is very similar to that of one of my sister's xD. What are you waiting for? We will have fun imagining the most authentic ideas and create them with much love to obtain those perfect results that we all want when manufacturing something. It is also a perfect idea to spend a pleasant time with our little ones at home and encourage them, since they can go, little by little, developing their ingenuity and getting a little closer to artistic work.
¿Qué están esperando?
Utilizar estos hermosos materiales para transformarlos en un hermoso retrato es una idea muy original, perfecta y económica para decorar nuestras paredes favoritas. Antes de comenzar no olvidemos lavarnos nuestras manos.
What are they waiting for?
Using these beautiful materials to transform them into a beautiful portrait is a very original, perfect, and cheap idea to decorate our favorite walls. Before we start, let's not forget to wash our hands.

[Materiales | Materials]
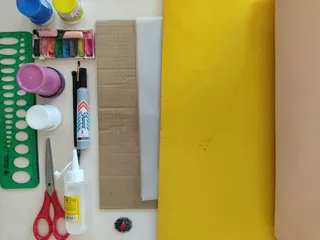
Para hacer este hermoso retrato necesitaremos:
- Moldes.
- Foami o goma eva.
- Papel vegetal o calco.
- Fotografia impresa.
- Lápiz.
- Tijera.
- Marcador.
- Pincel o brocha.
- Pinturas.
- Pegamento.
To make this beautiful poatrait we will need:
- Molds.
- Foamy or EVA foam.
- Vegetable paper or tracing.
- Printed photograph.
- Pencil.
- Scissors.
- Bookmark.
- Brush or brush.
- Paintings.
- Glue.
Procedimiento (paso a paso)
Process (step by step)
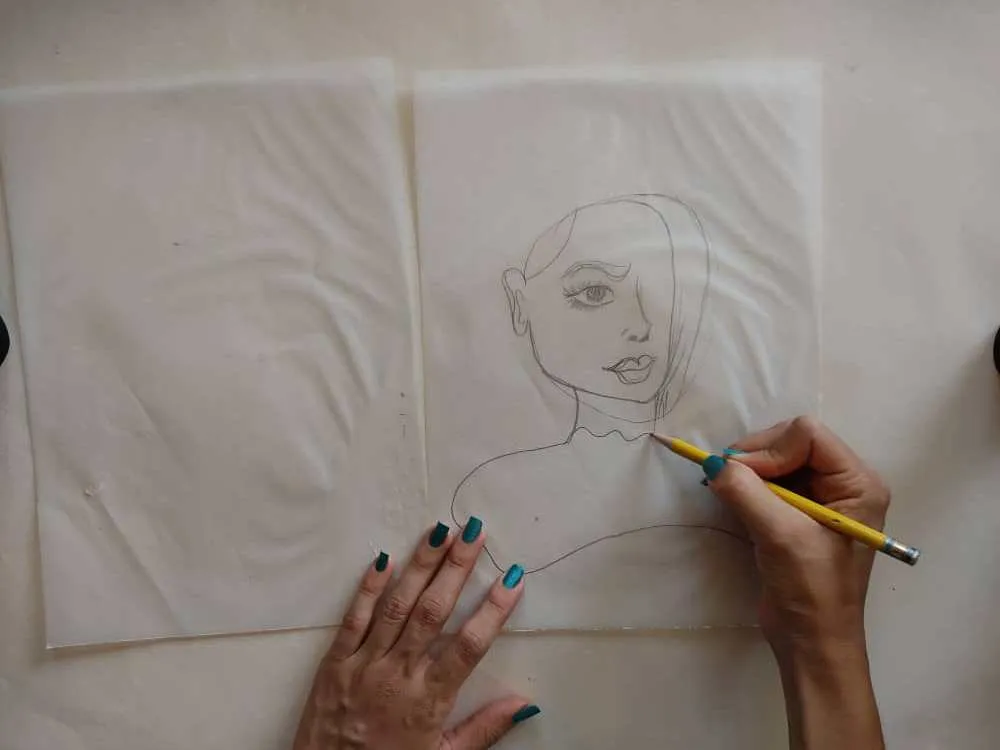
Primero, dejamos volar nuestra imaginación y dibujamos una chica con un hermoso cabello, en las hojas de papel vegetal. Debido a lo frondoso y abundante de su cabello debemos utilizar una hoja de papel extra.
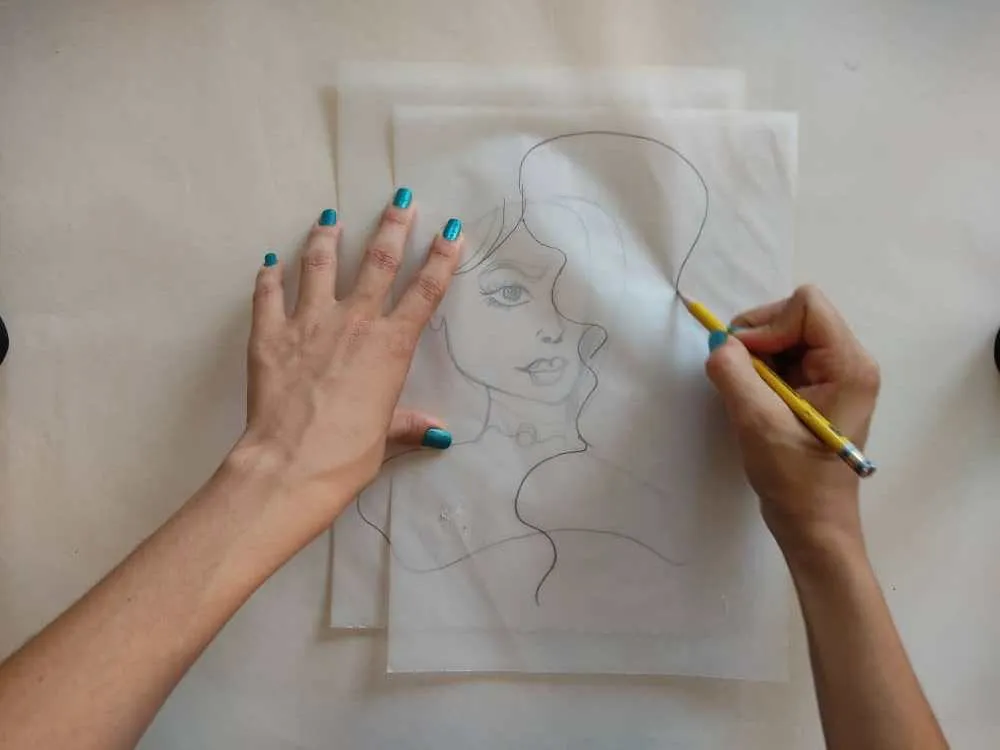
First, we let our imagination run wild and draw a girl with beautiful hair on the sheets of parchment paper. Due to the lush and abundance of her hair, we must use an extra sheet of paper.
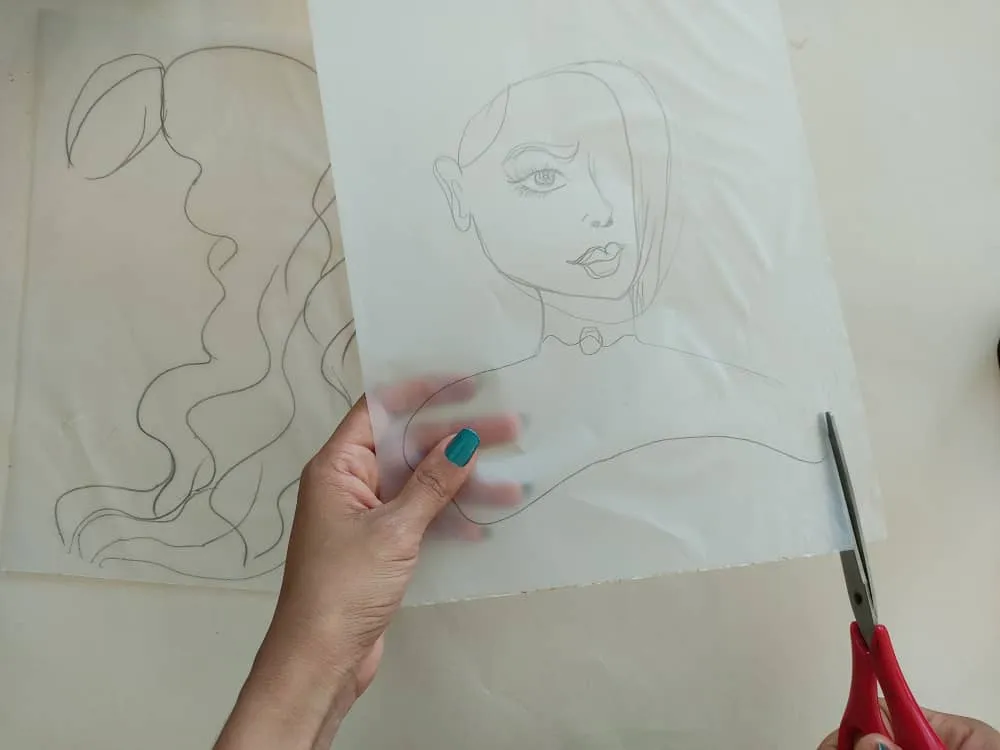
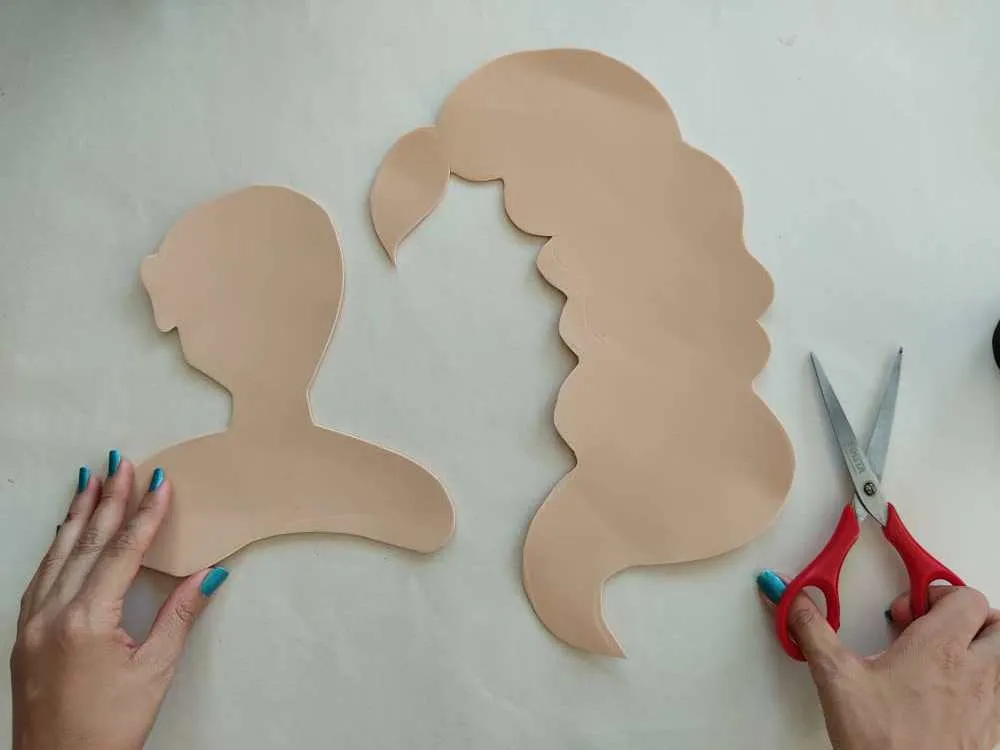
Seguidamente, recortamos el cabello y la silueta de nuestra hermosa chica, respetando su patrón y manteniendo las medidas intactas. Debemos tener cuidado de evitar accidentes al utilizar la tijera.
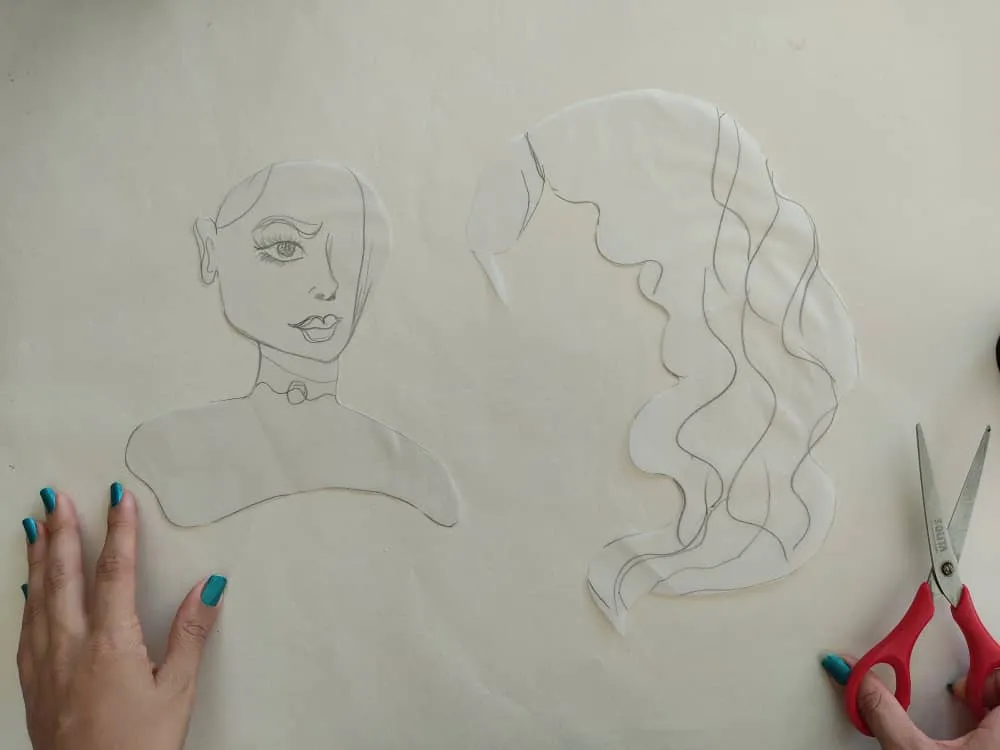
Next, we cut the hair and silhouette of our beautiful girl, respecting her pattern and keeping the measurements intact. We must be careful to avoid accidents when using scissors.
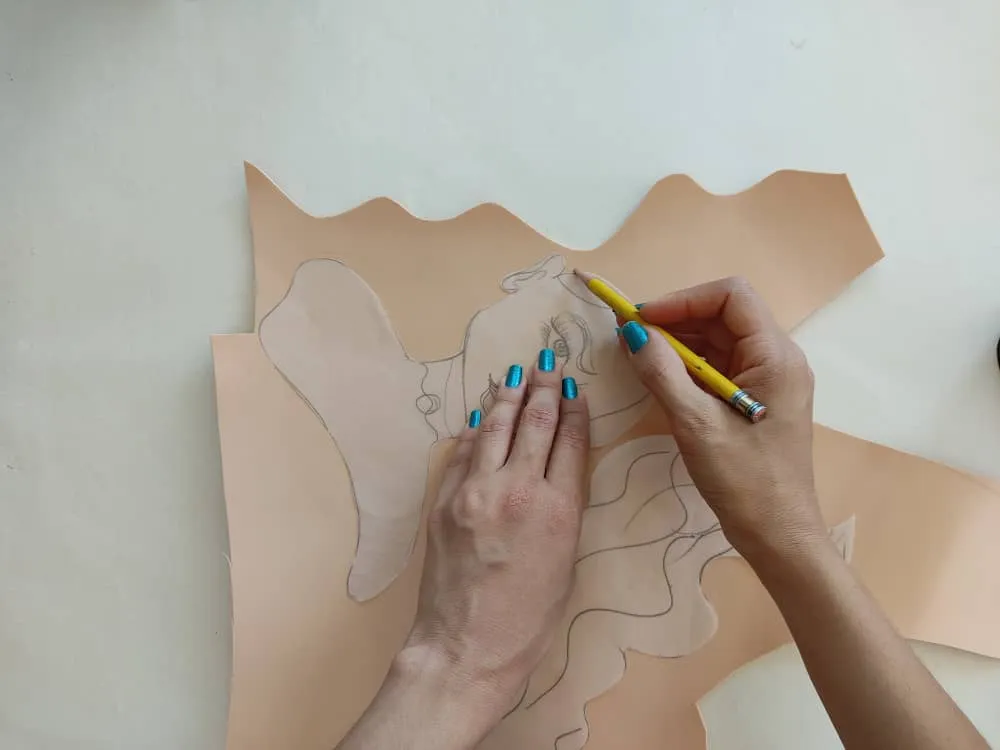
Una vez que hayamos obtenido los patrones o moldes en el papel, transferimos al foami y luego recortamos cuidadosamente.
Once we have obtained the patterns or molds on the paper, transfer to the foamy and then carefully trim.
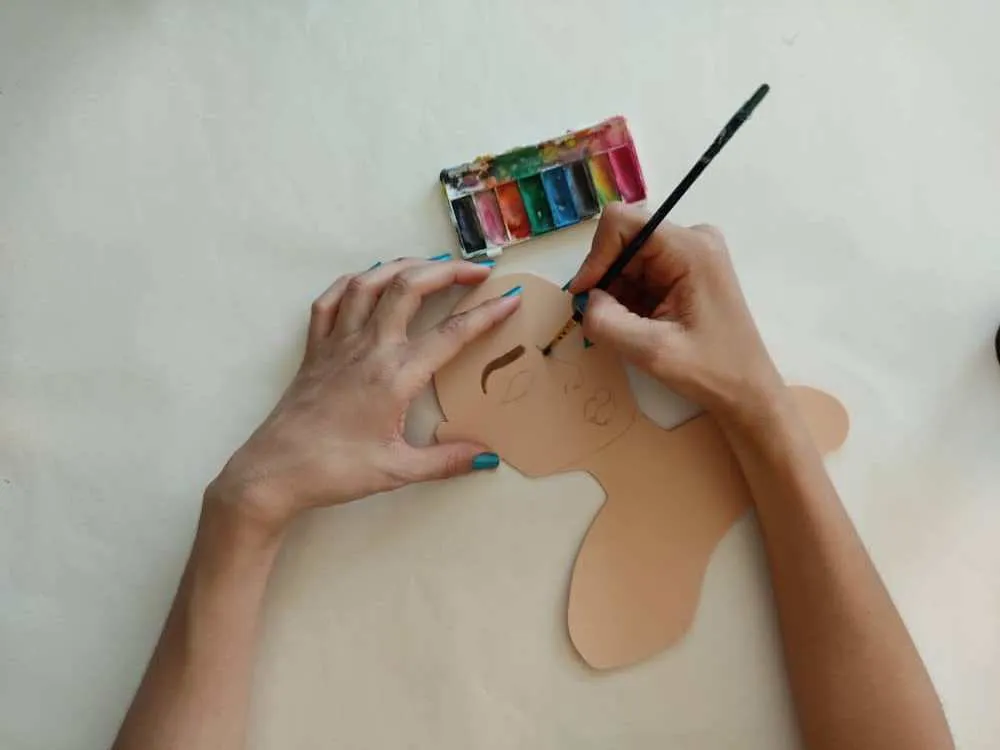
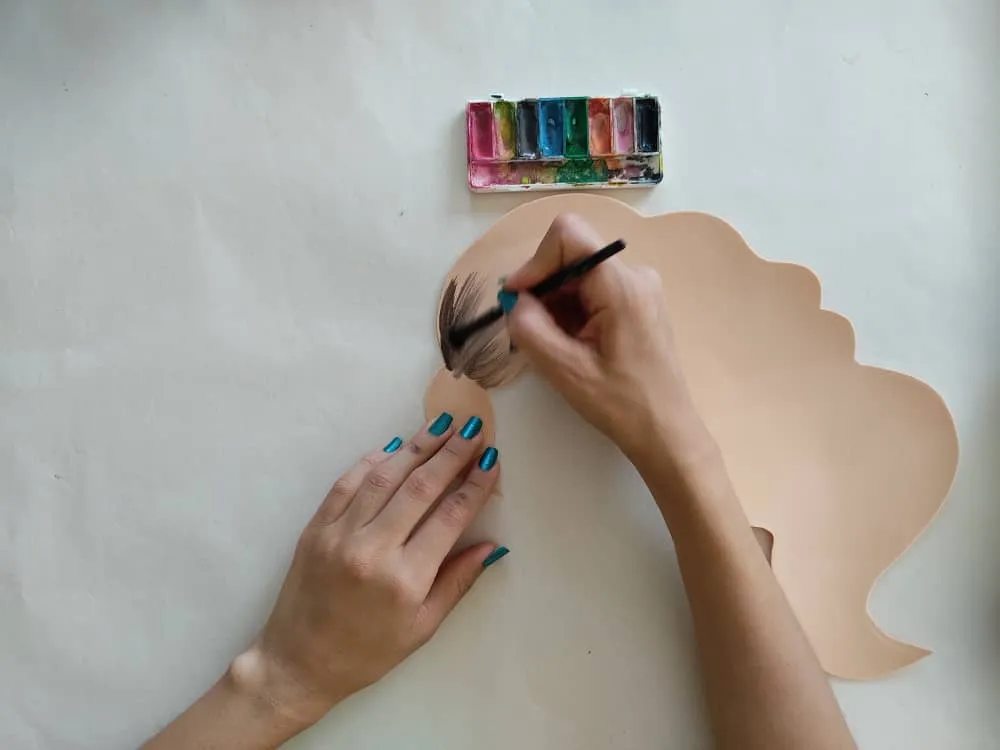
Ahora, ha llegado el momento más divertido de todos, de hecho este paso mientras más lo practiquemos nuestros trabajos futuros serán increíblemente mejores, que los que hacemos hoy en día, así que a practicar este paso. Con la ayuda de un lápiz, pincel, pintura de acuarela y marcador de punta fina, le damos vida al rostro de nuestra hermosa chica, sin olvidar remarcar los bordes para que la silueta resalte aun más.
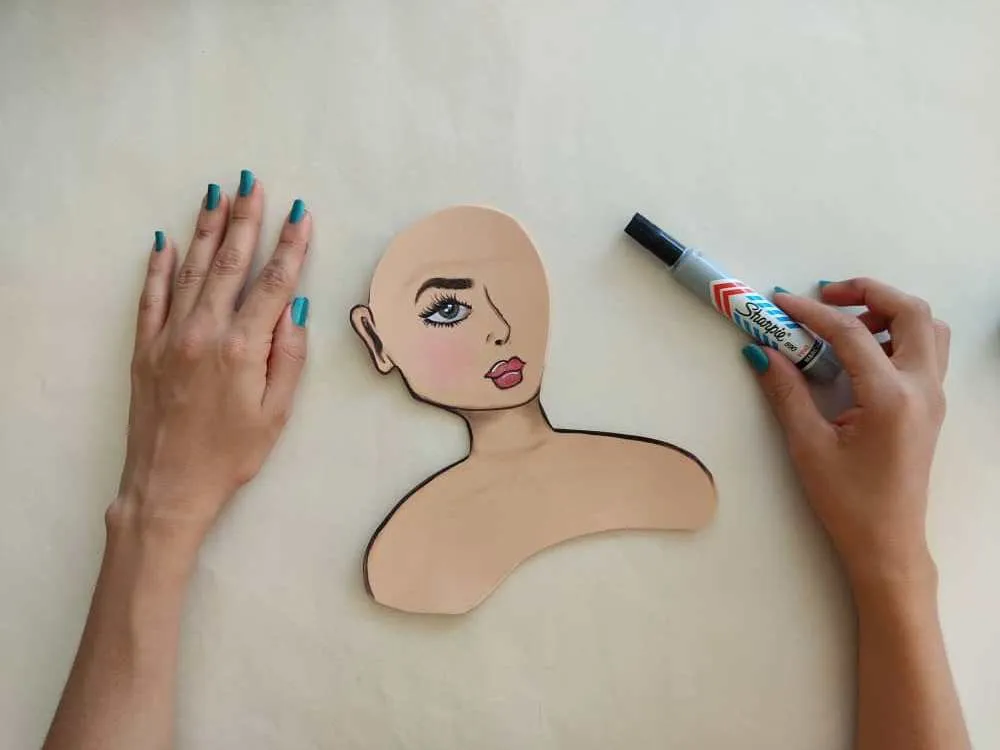
Now, the funniest time of all has come, in fact, this step the more we practice it our future works will be incredibly better, than what we do today, so to practice this step. With the help of a pencil, brush, watercolor paint, and fine-tip marker, we give life to our beautiful girl's face, not forgetting to highlight the edges so that the silhouette stands out even more.
Luego, aplicamos una hermosa pintura negra al frondoso cabello de nuestra señorita.
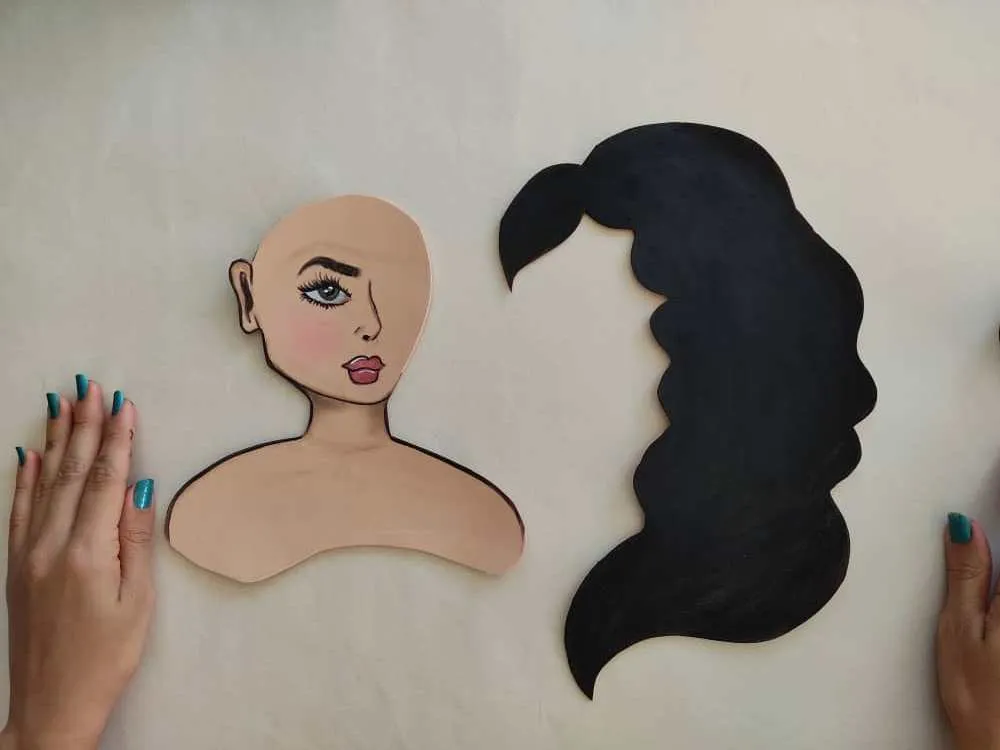
Then, we apply a beautiful black paint to our lady's lush hair.
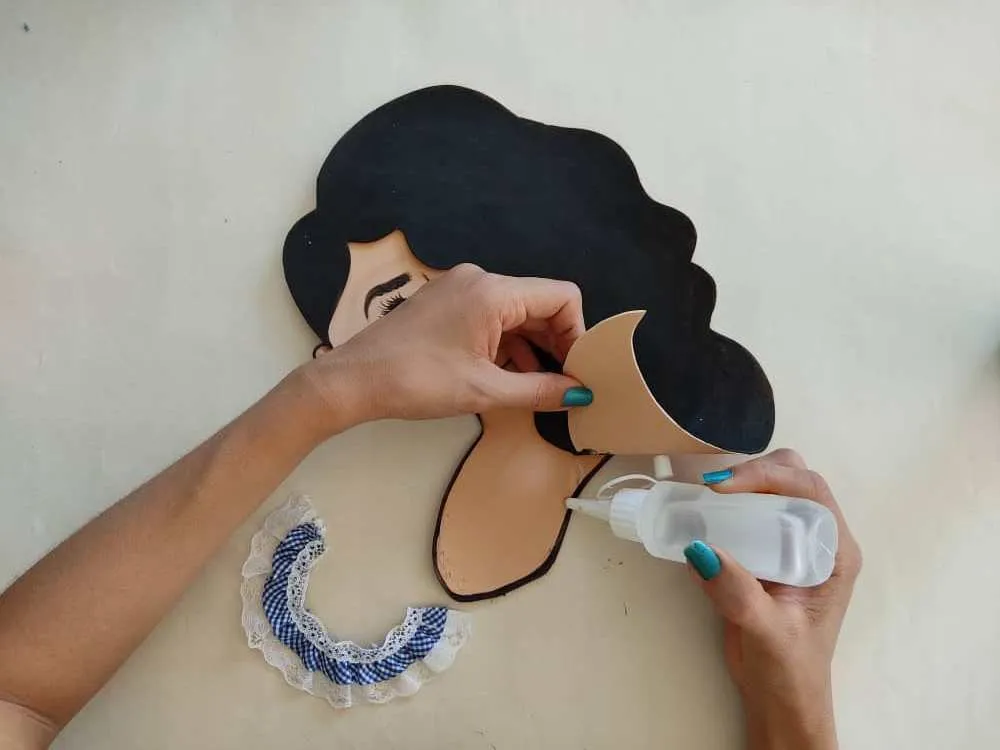
Una vez listas nuestras piezas, las unimos con la ayuda de pegamento o silicón líquido respetando el orden para que su cabello quede bien ubicado, y luzca muy hermosa, opcionalmente coloca un pequeño detalle que simule una blusa, en este caso añadí un trozo de encaje.
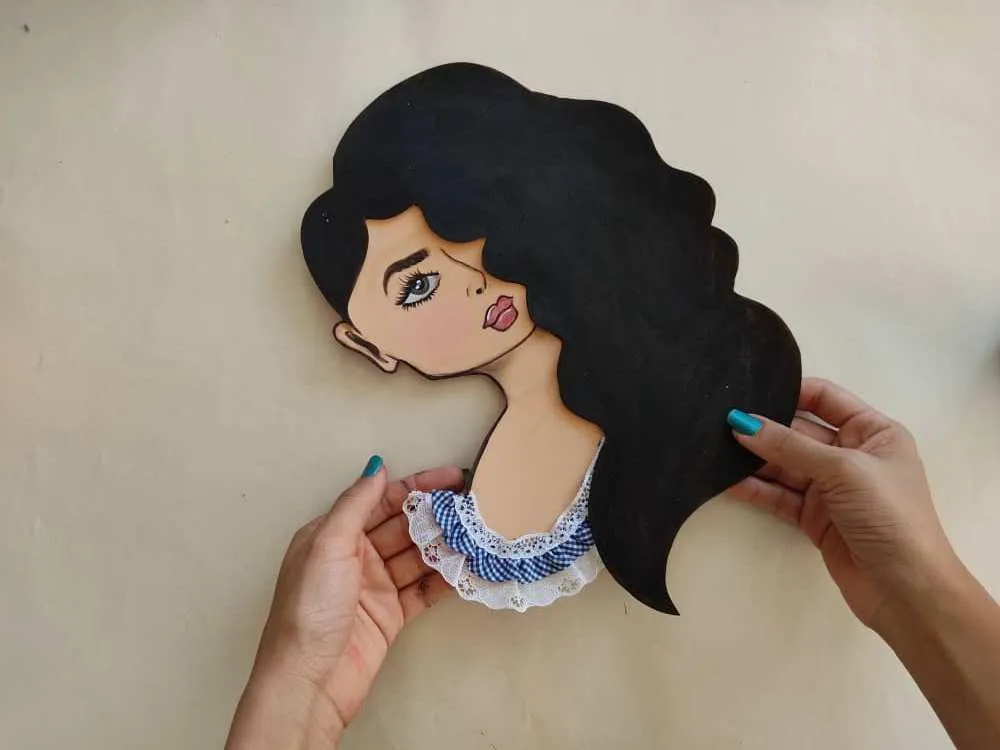
Once our pieces are ready, we join them with the help of glue or liquid silicone respecting the order so that your hair is well located, and it looks very beautiful, optionally place a small detail that simulates a blouse, in this case, I added a piece of lace.
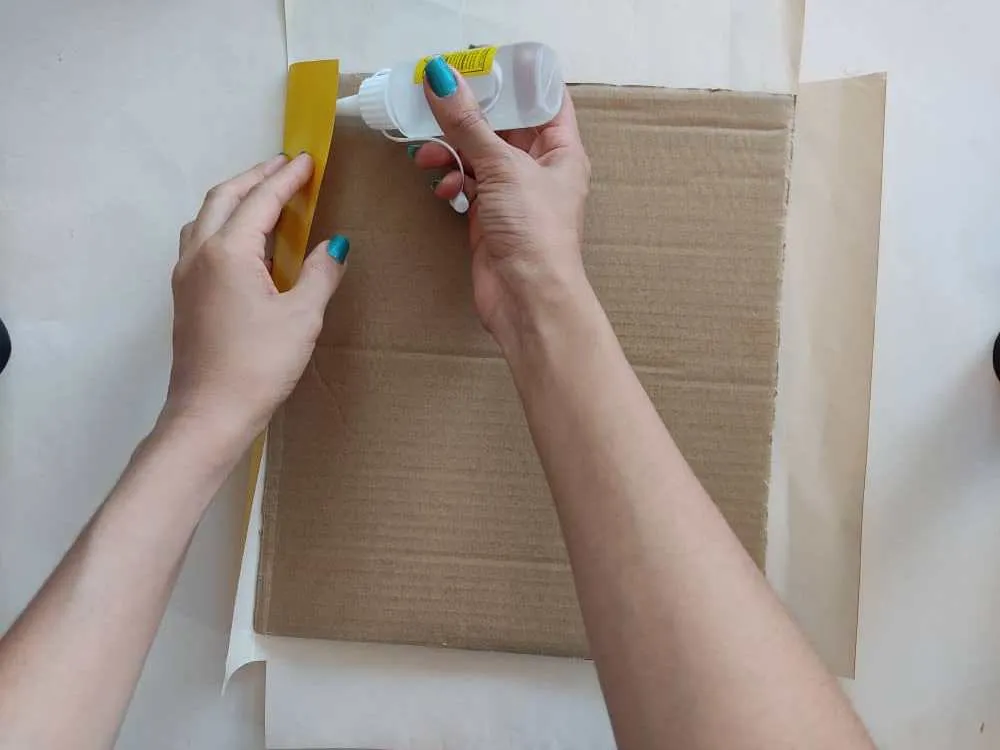
Ahora, fabricamos una base o fondo para nuestro cuadro con una lámina de cartón de 30cm x 20cm, y la forramos con el papel lustrillo de color amarillo. Debemos hacer un poco de presión para que el papel quede bien distribuido y bien pegado.
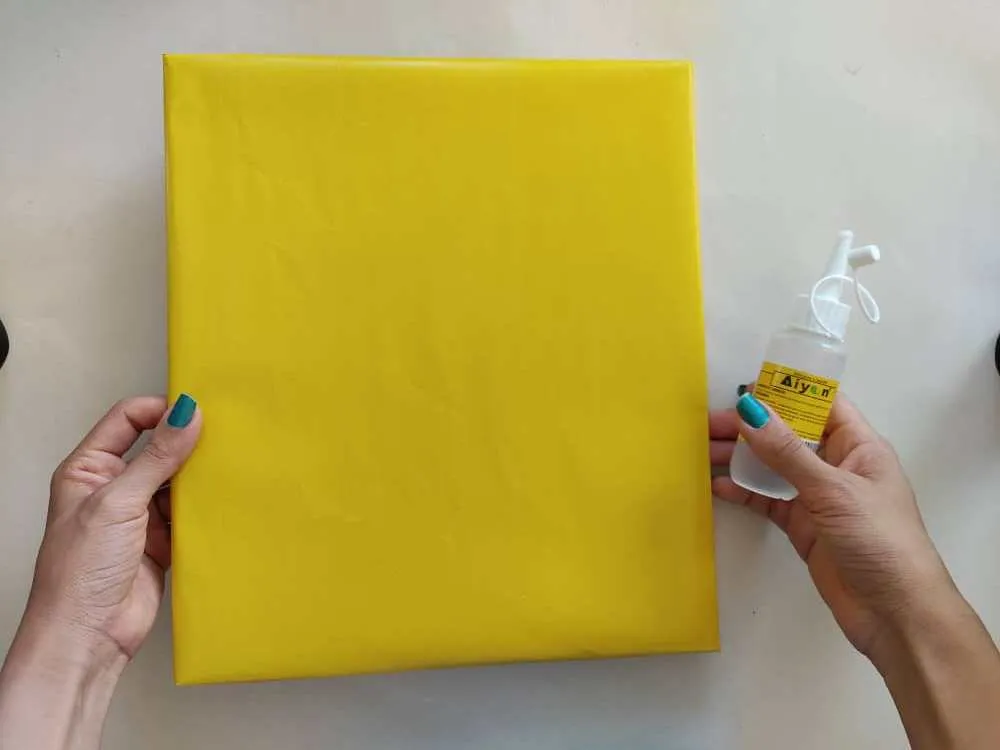
Now, we make a base or background for our painting with a cardboard sheet of 30cm x 20cm, and we cover it with the yellow luster paper. We must apply a little pressure so that the paper is well distributed and well glued.
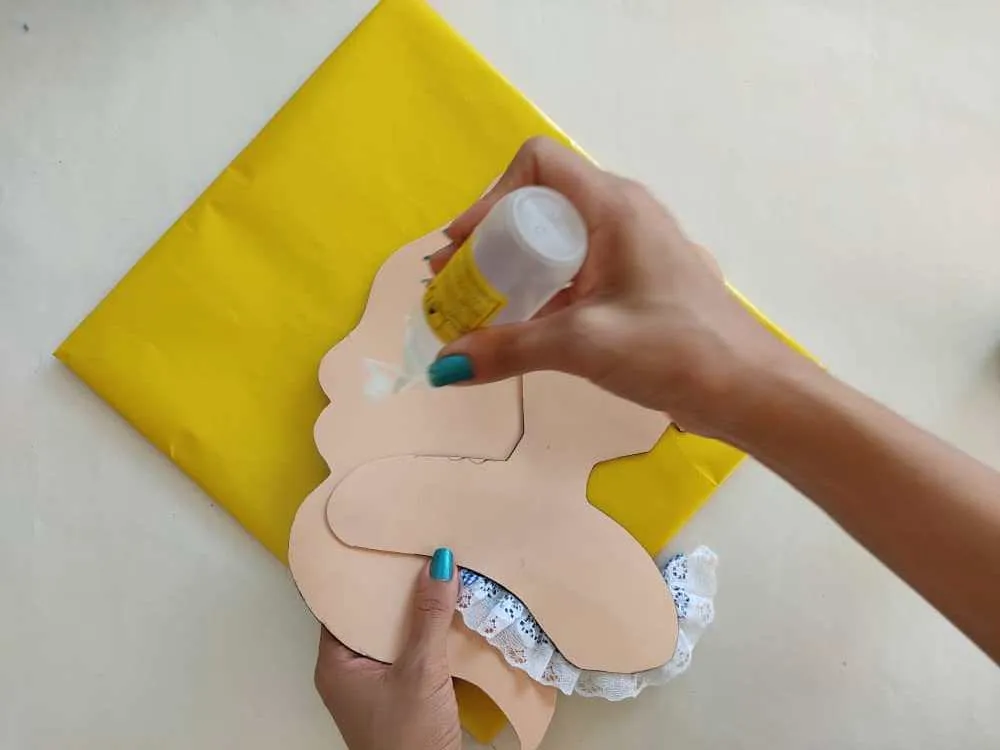
Luego pegamos a nuestra linda chica sobre la base. Asegurándonos de que quede bien pegada.
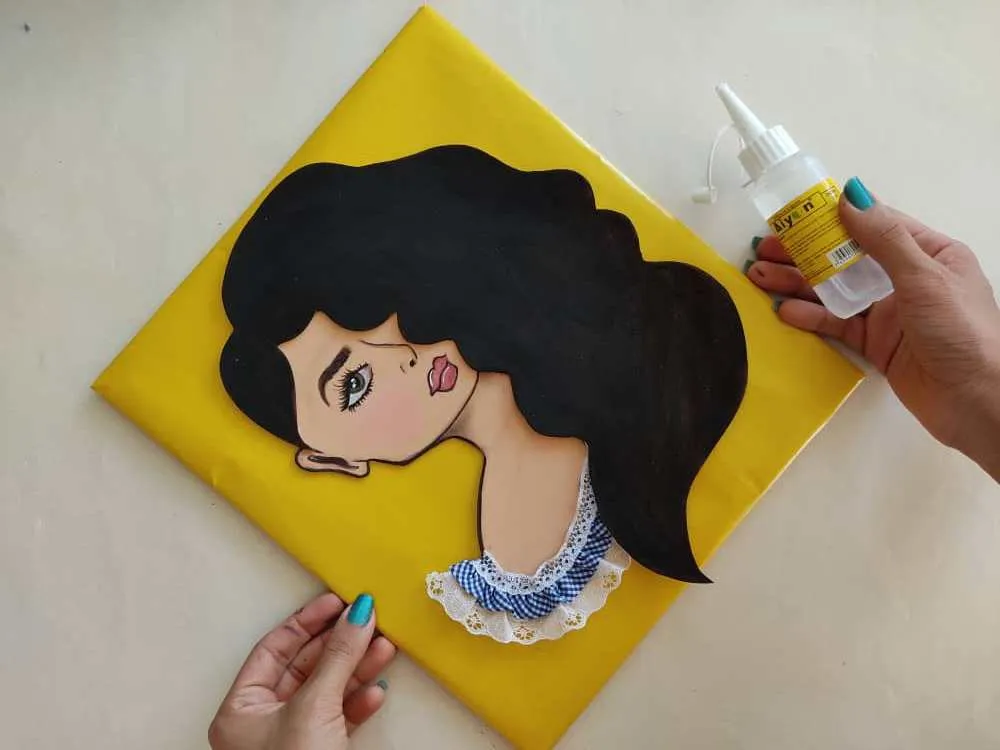
Then we glue our cute girl on the base. Making sure that it is well glued.
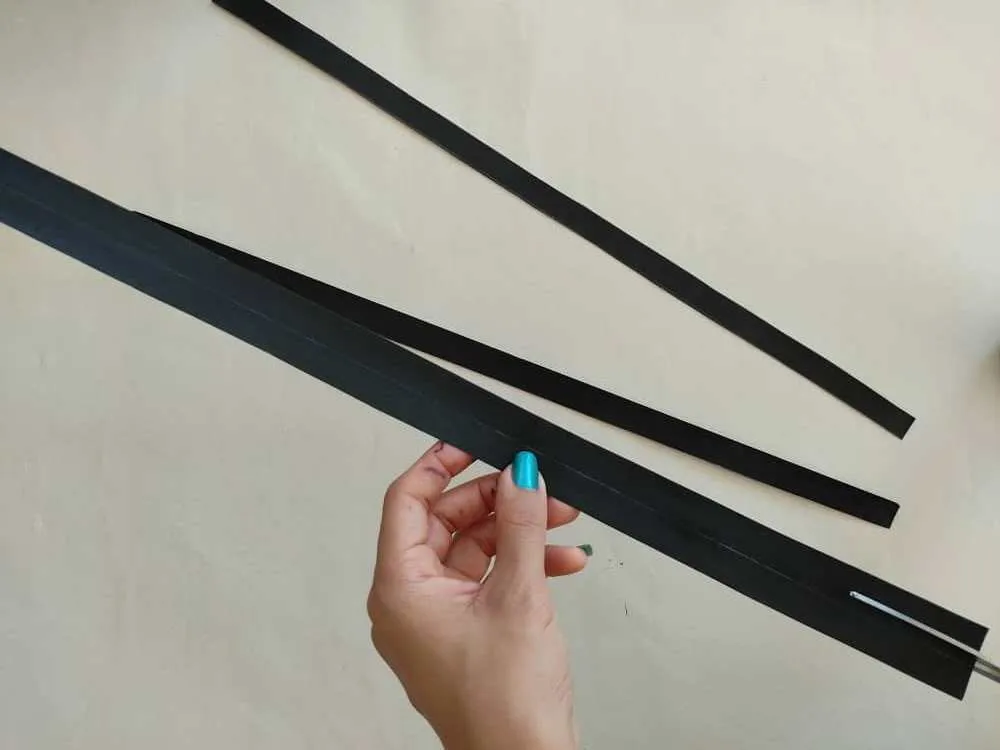
Finalmente, elaboramos un marco para nuestro cuadro, utilizando tiras de cartón negro recortadas, y pegamos al borde de la base o fondo. Y decoramos dejando volar nuestra imaginación.
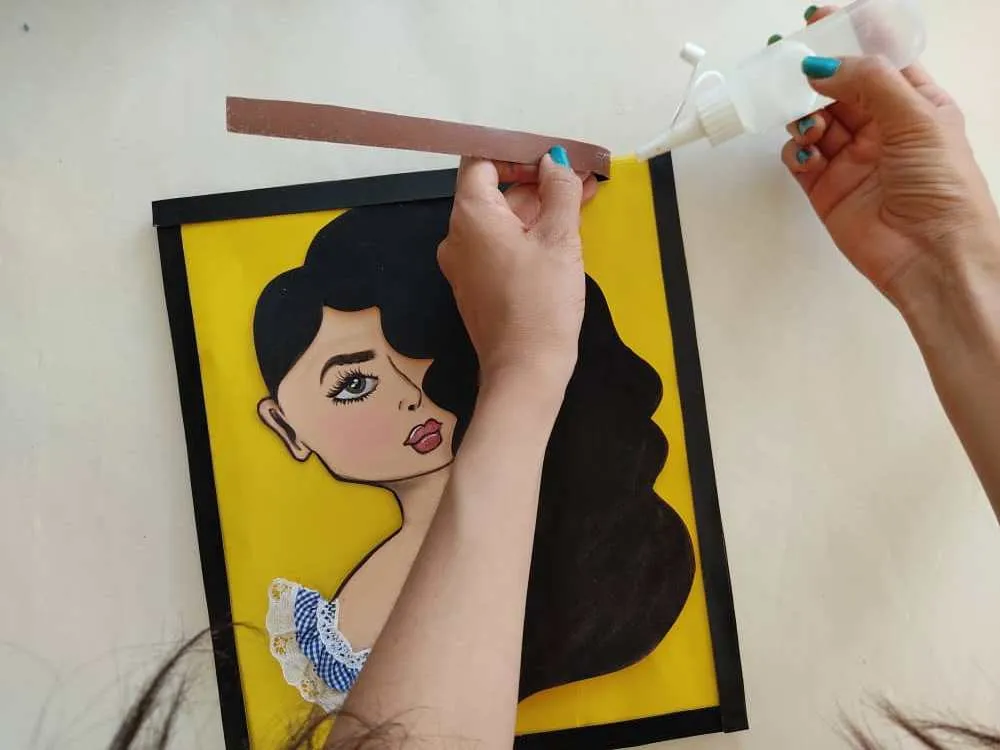
Finally, we make a frame for our painting, using strips of black cardboard cut out, and glue to the edge of the base or bottom. And we decorate by letting our imagination run wild.

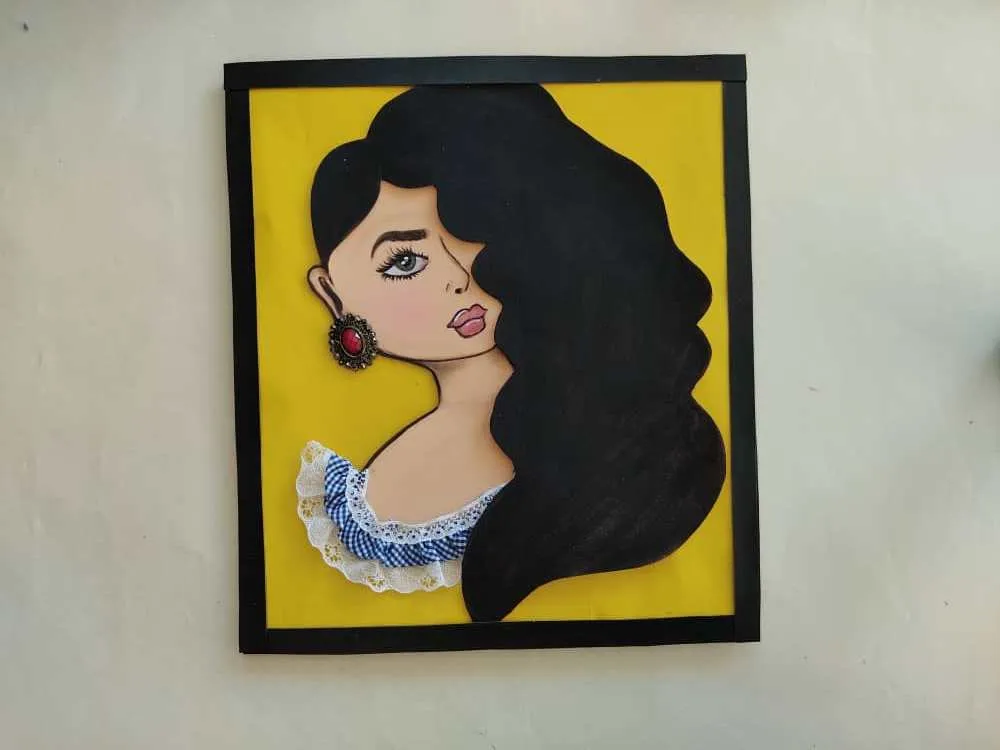
Gracias por acompañarme y espero que lo hayan disfrutado. ❤️
Thanks for joining and I hope you enjoyed it.❤️

