
Español
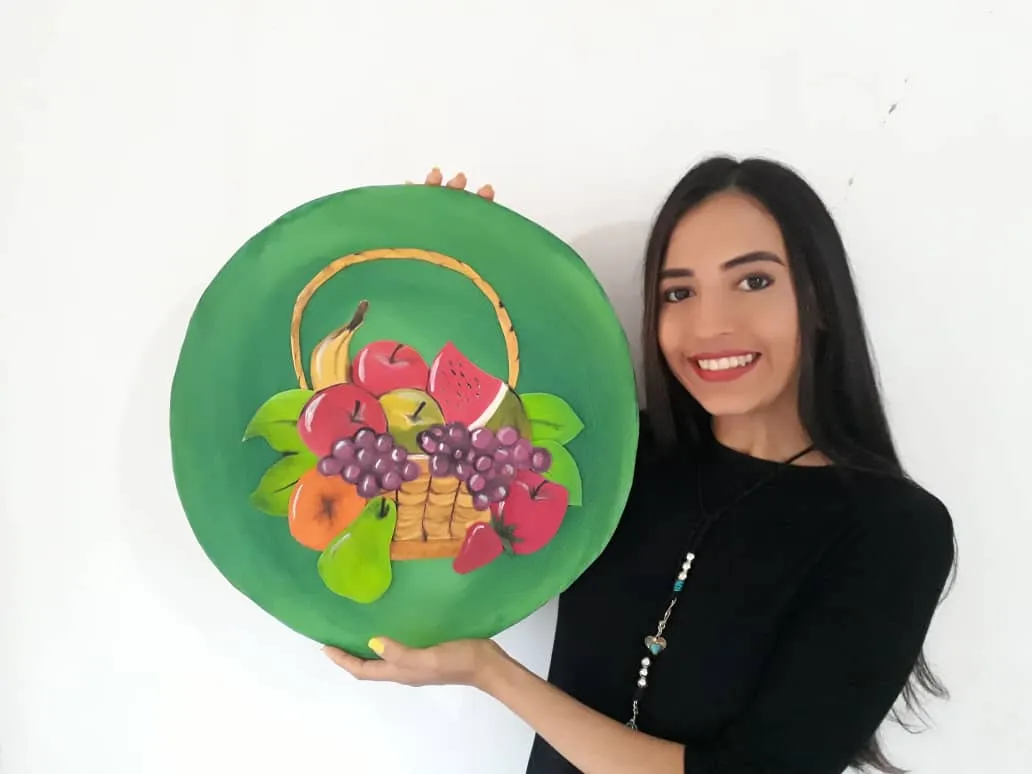
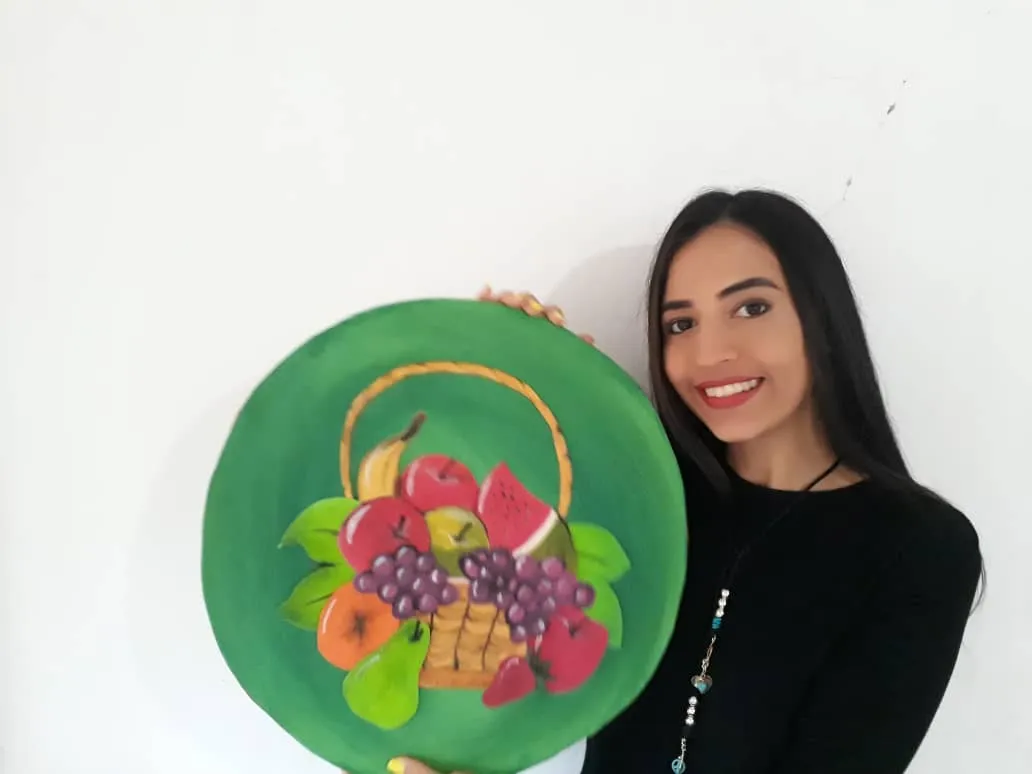
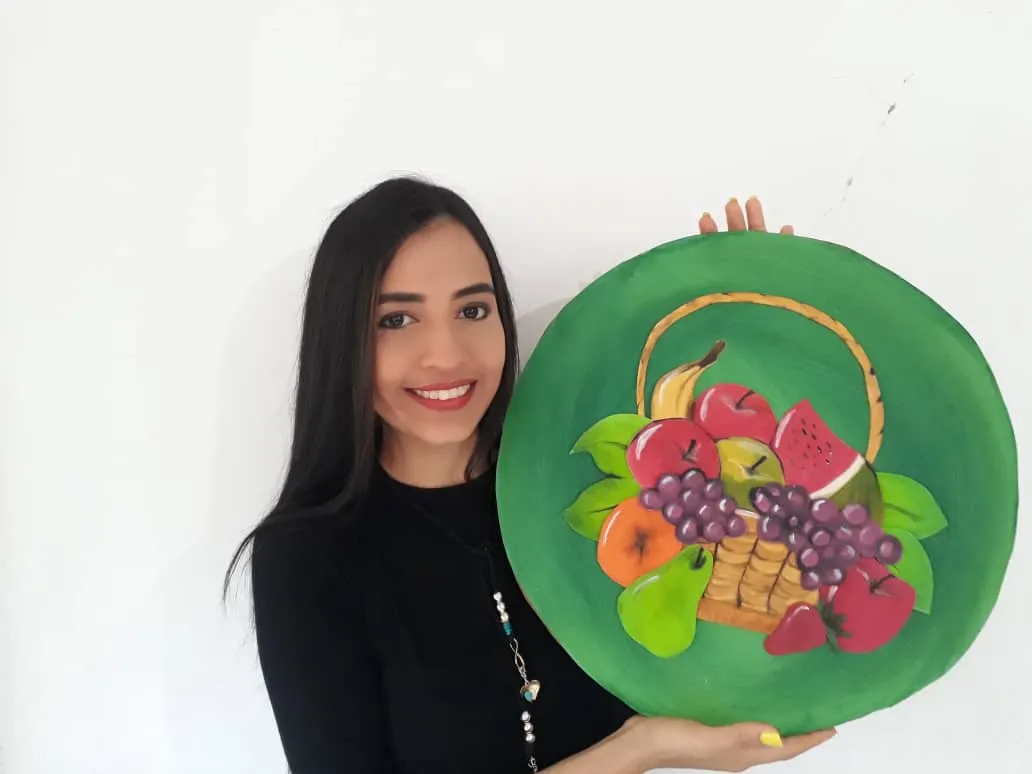
Hola querida familia de HIVE 💋Los cuadros son una pieza fundamental a la hora de decorar nuestras paredes, por tal razón, el día de hoy les traigo un nuevo y divertido paso a paso en donde les mostrare como realizar un hermoso cuadro de bodegón de frutas, hecho con foami y otros materiales muy económicos y fáciles de conseguir. Esta es una idea muy económica para decorar nuestras paredes. Así que, los invito a disfrutar de este divertido momento, ideal y perfecto para el desarrollo de la creatividad tanto de niños como adultos. Además es una idea perfecta para pasar un rato agradable con nuestros pequeños en casa e incentivarlos, ya que, pueden ir, de a poco, desarrollando su ingenio y acercándose un poco más al trabajo artístico.
English
Hello, dear family HIVE 👄 The paintings are a fundamental piece when decorating our walls, for this reason, today I bring you a new and fun step by step where I will show you how to make a beautiful fruit still life painting, made with foamy and others very cheap materials and easy to get. This is a very economical idea to decorate our walls. So, I invite you to enjoy this fun moment, ideal, and perfect for the development of creativity for both children and adults. It is also a perfect idea to spend a pleasant time with our little ones at home and encourage them, since they can, little by little, develop their ingenuity and get a little closer to artistic work.
¿Qué están esperando?
Gracias a esta técnica podemos crear nuestros propios bodegones de frutas para colgarlos es nuestras paredes, además, un hermoso cuadro hecho en casa, es una manera creativa y muy económica de darle un toque de alegría a nuestro hogar. Antes de comenzar no olvidemos lavarnos nuestras manos.
What are they waiting for?
Thanks to this technique we can create our own fruit still lifes to hang on our walls, in addition, a beautiful home-made painting is a creative and very economical way of giving a touch of joy to our home. Before we start, let's not forget to wash our hands.

[Materiales | Materials]
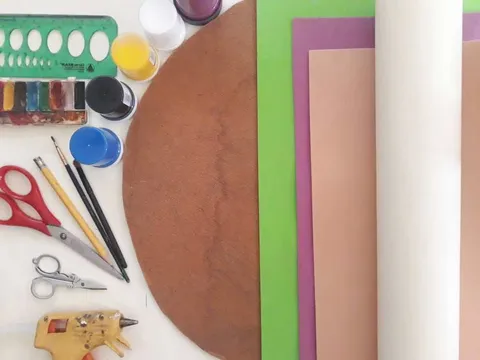
Para hacer este hermoso cuadro necesitaremos:
- Moldes.
- Foami o goma eva.
- Papel vegetal o calco.
- Papel de color.
- Regla.
- Lápiz.
- Marcador.
- Tijera.
- Pincel o brocha.
- Pintura de acuarela.
- Madera MDF o Cartón.
- Silicona caliente o Pegamento.
To make this beautiful painting we will need:
- Molds.
- Foamy or eva foam.
- Vegetable paper or tracing.
- Colored paper.
- Rule.
- Pencil.
- Marker.
- Scissors.
- Brush or paintbrush.
- Watercolor paint.
- MDF wood or cardboard.
- Hot silicone or glue.
Procedimiento (paso a paso)
Process (step by step)
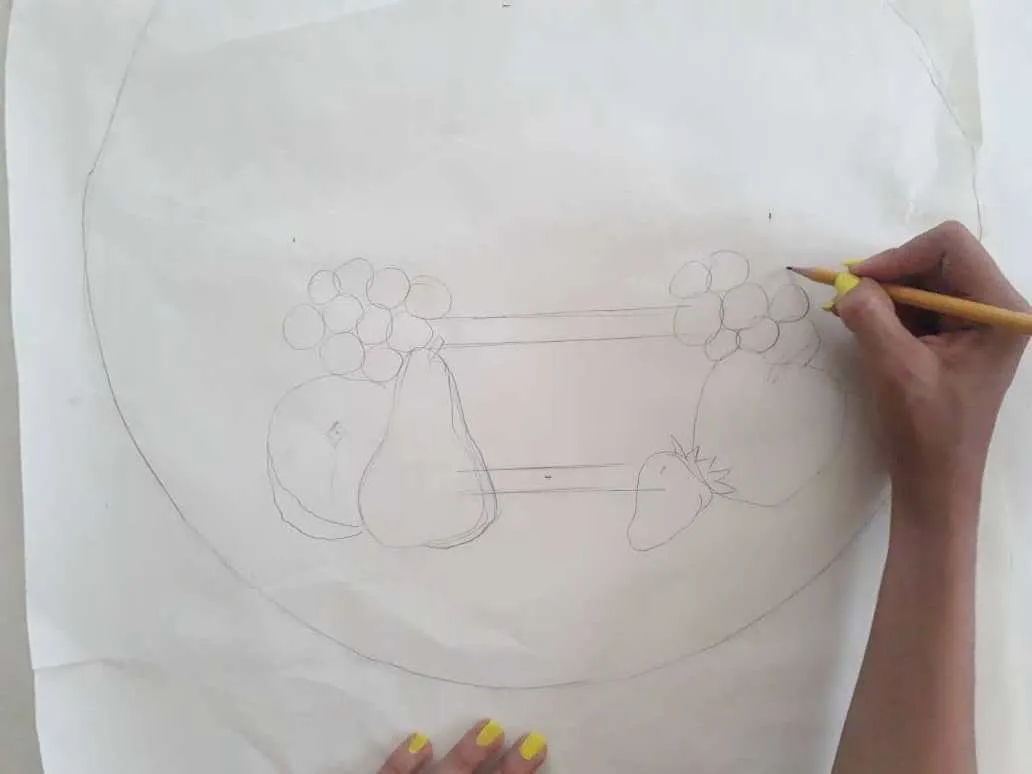
Primero, dibujamos nuestro bodegón de frutas en una lámina de papel vegetal o de calco, o cualquier otro papel de dibujo que encontremos. Para este paso podemos utilizar un lápiz común de grafito o cualquier otro con el que se sientan más cómodos.
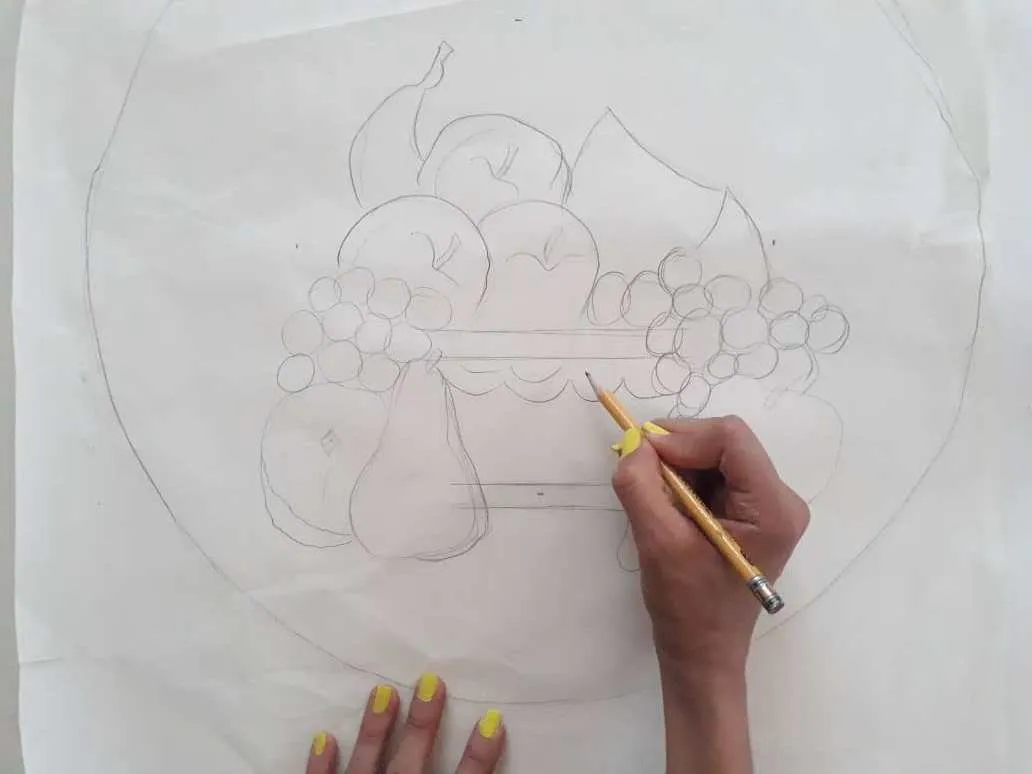
First, we draw our fruit still life on a sheet of tracing paper or tracing paper, or any other drawing paper we find. For this step, we can use a common graphite pencil or any other with which they feel more comfortable.
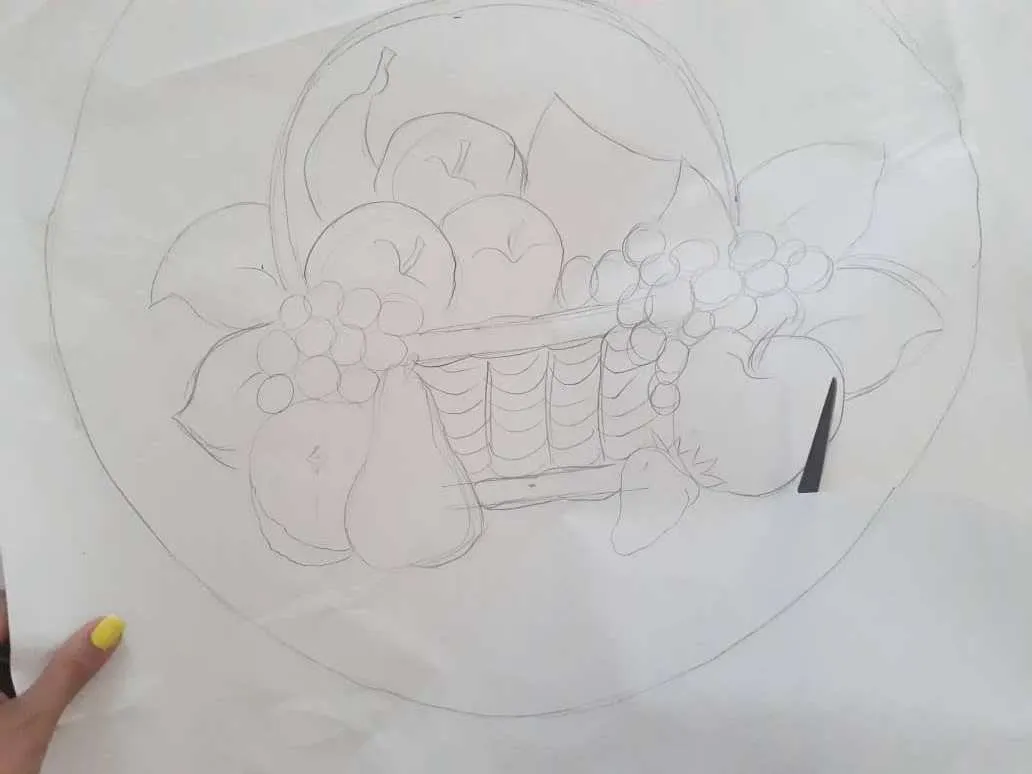
Ahora, recortamos separando la cesta, frutas sobresalientes y hojas, según indica la imagen. Debemos tener mucho cuidado para mantener las medidas intactas y evitar accidentes al utilizar la tijera.
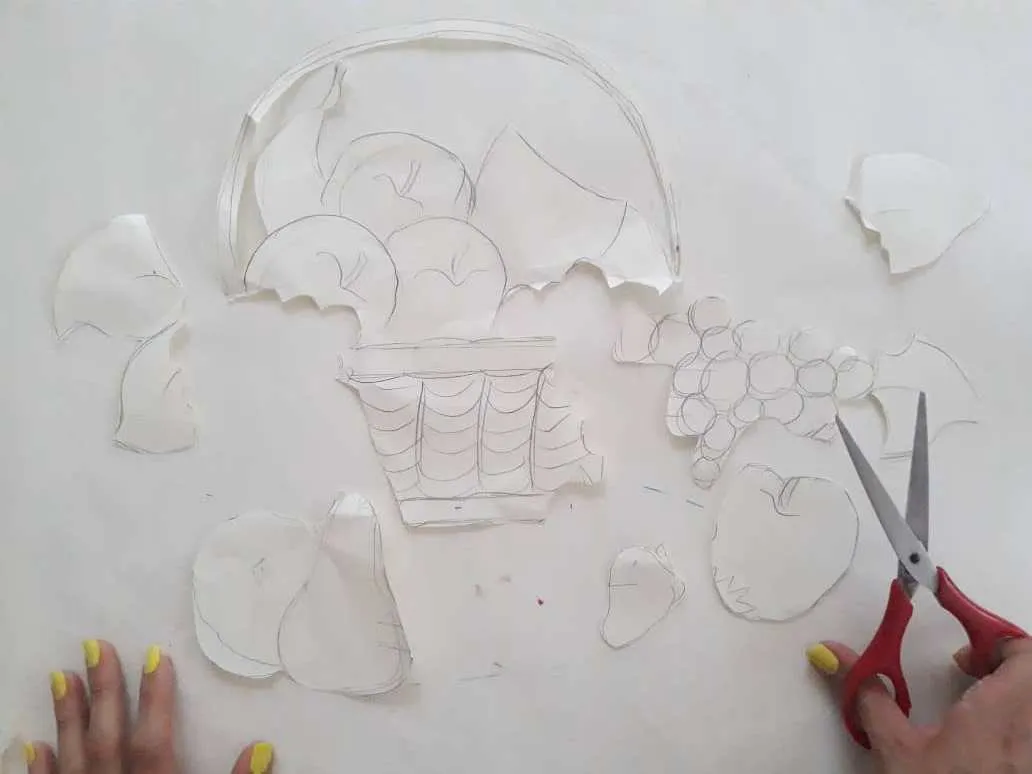
Now, we cut separating the basket, outstanding fruits and leaves, as indicated in the image. We must be very careful to keep the measurements intact and avoid accidents when using scissors.
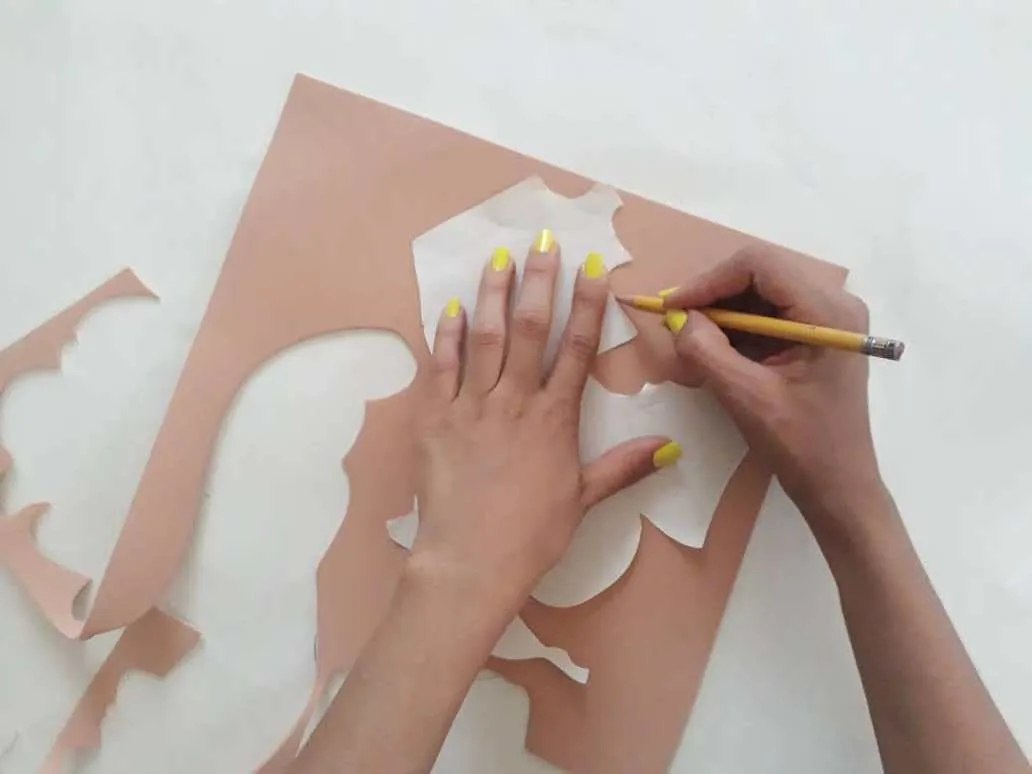
Luego, transferimos los moldes obtenidos al foami del color que más nos guste o que tengamos, al final le daremos el color original de cada cosa utilizando pintura. Debemos recortar cuidadosamente para conservar las medidas de los moldes.
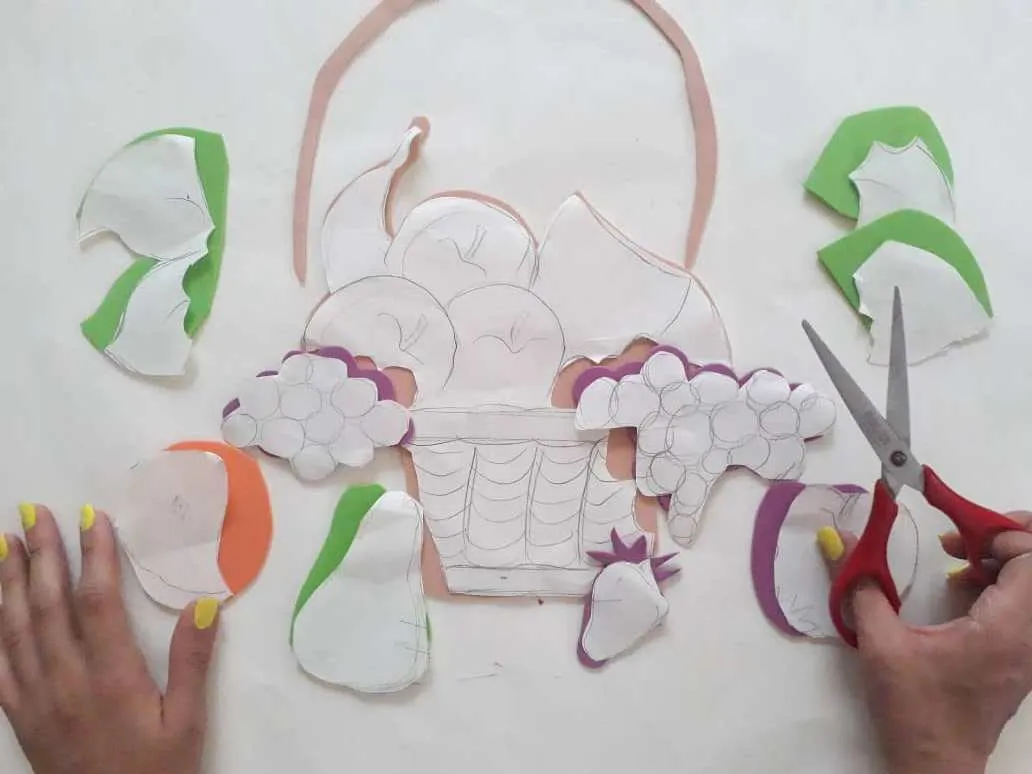
Then, we transfer the molds obtained to the foamy in the color that we like or that we have, in the end, we will give the original color of each thing using paint. We must trim carefully to preserve the measurements of the molds.
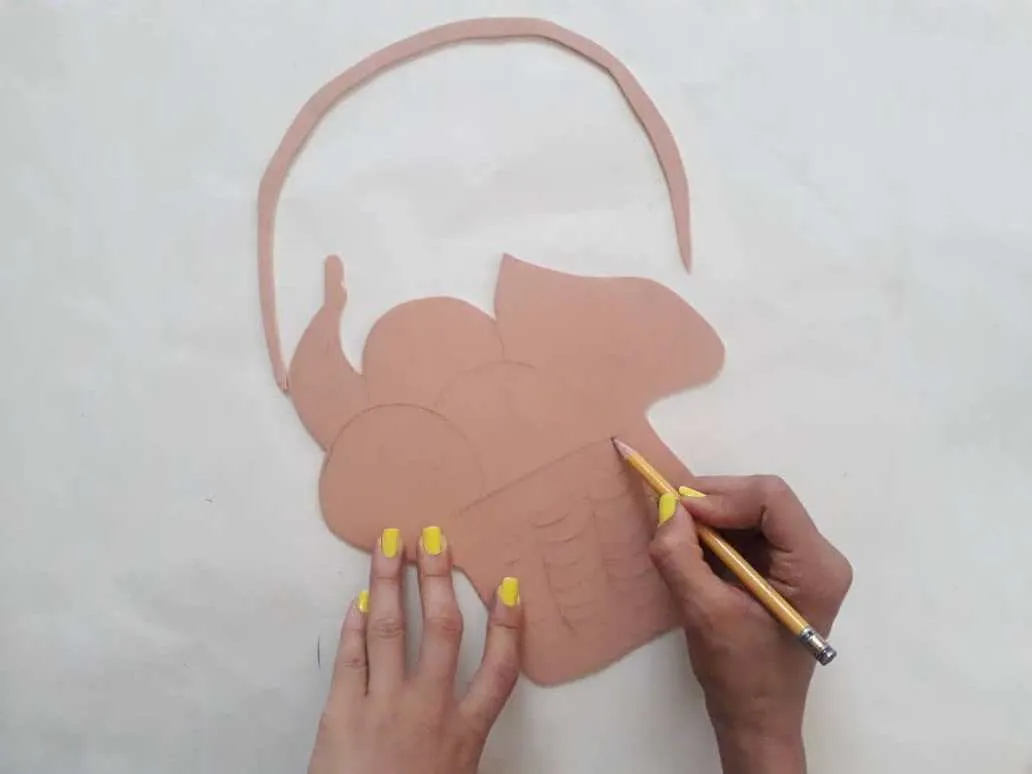
Una vez obtenidos los moldes en el foami comenzamos a dar sentido a nuestra cesta de frutas remarcando sus líneas con el lápiz de grafito y con el pincel y pintura de la damos el color original a nuestra figuras.
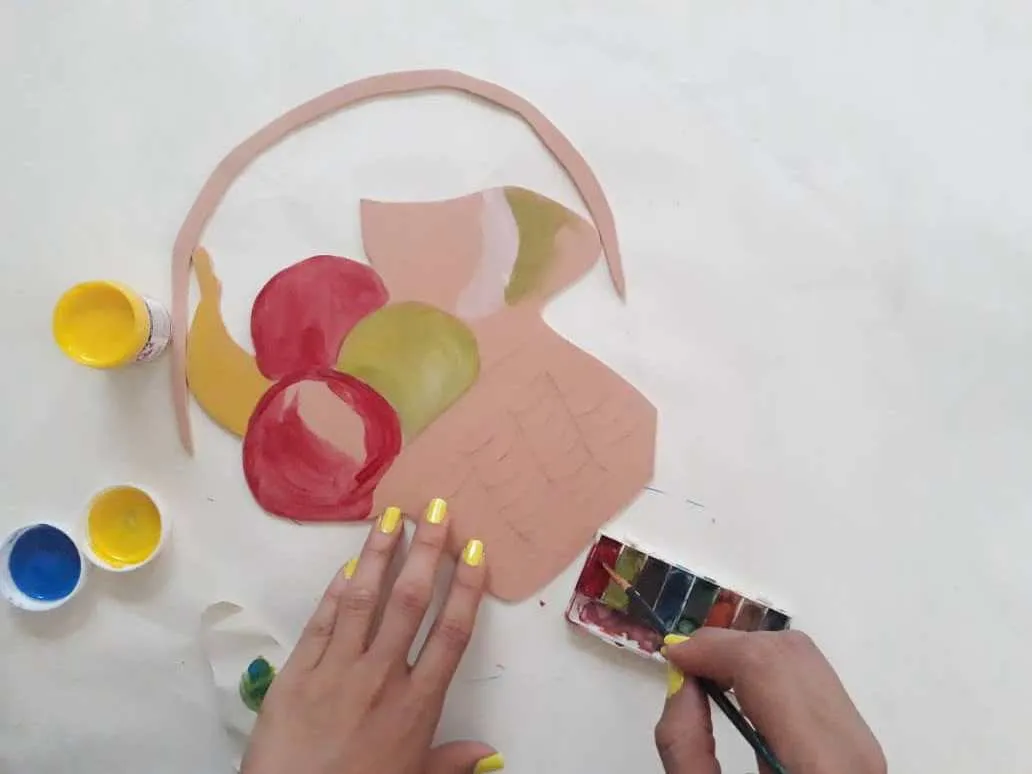
Once the molds have been obtained in the foamy we begin to make sense of our fruit basket by highlighting its lines with the graphite pencil and with the brush and paint we give the original color to our figures.
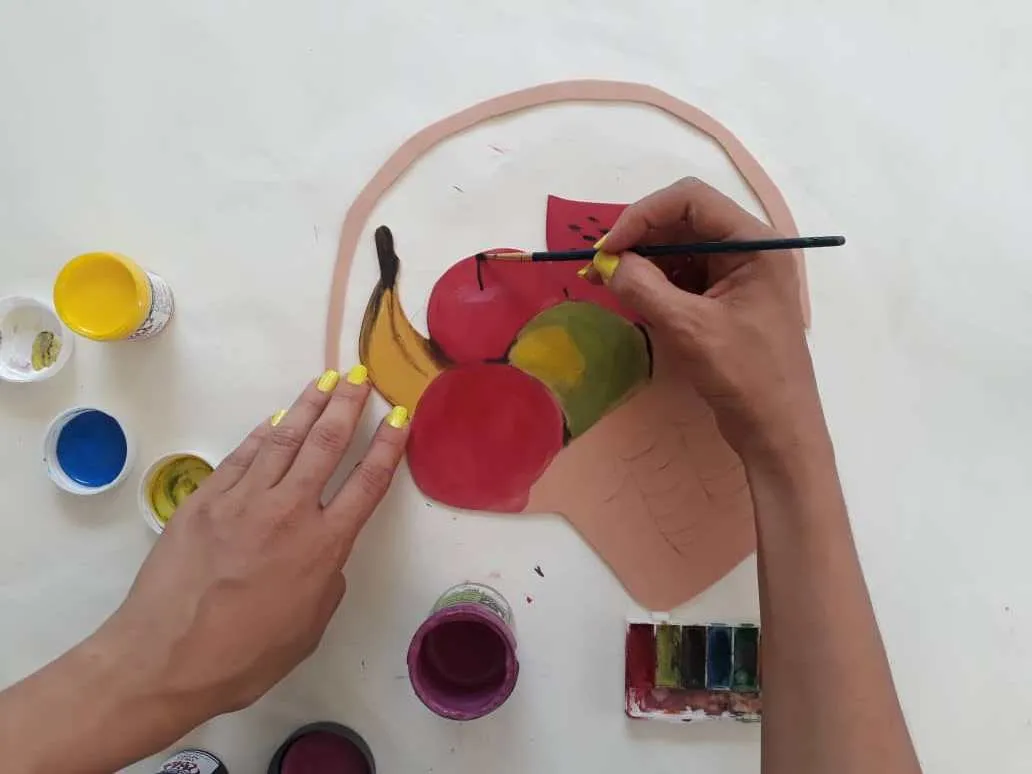
Ahora, definimos los detalles de nuestra figura central (cesta de frutas) utilizando un pincel o un marcador de punta fina.
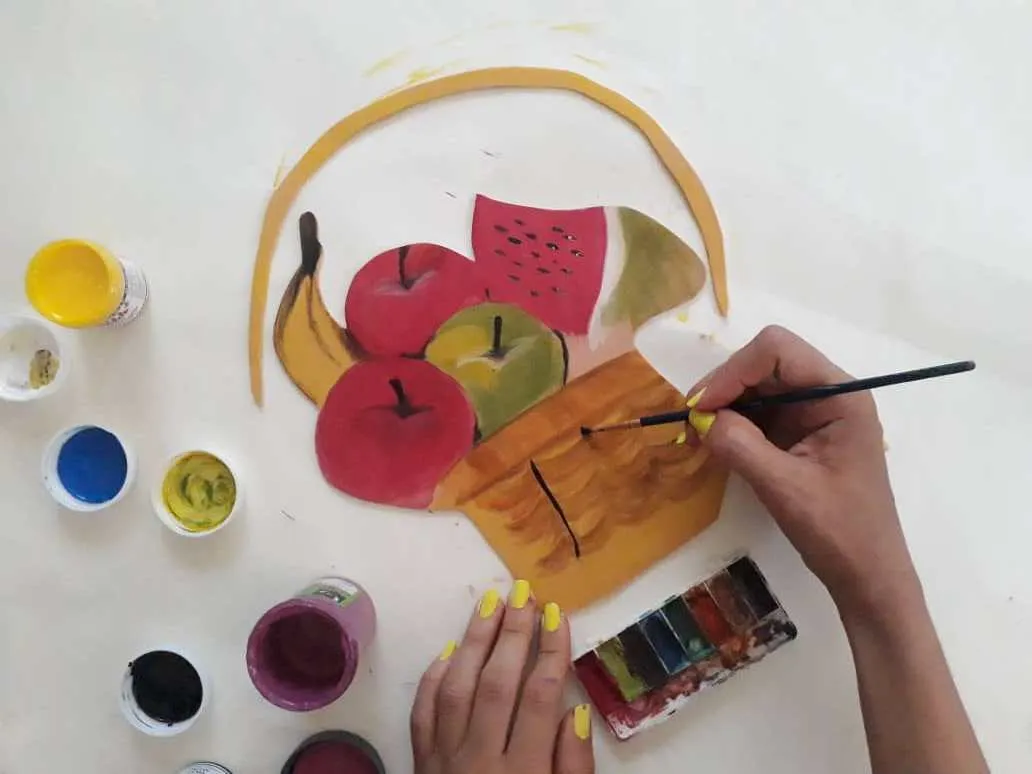
Now, we define the details of our central figure (fruit basket) using a brush or a fine-tip marker.
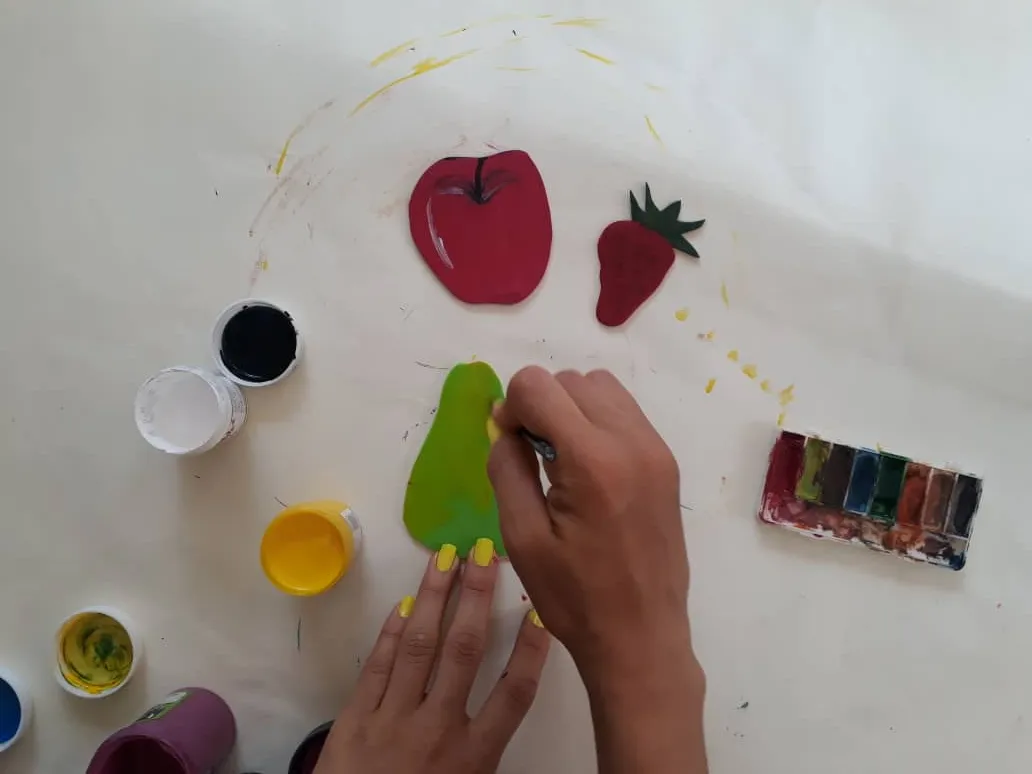
Luego, aplicamos la misma técnica para darle vida al resto de las figuras o frutas sobresalientes (uvas, hojas, etc.) Debemos esperar un poco a que se seque la pintura de todas las figuras.
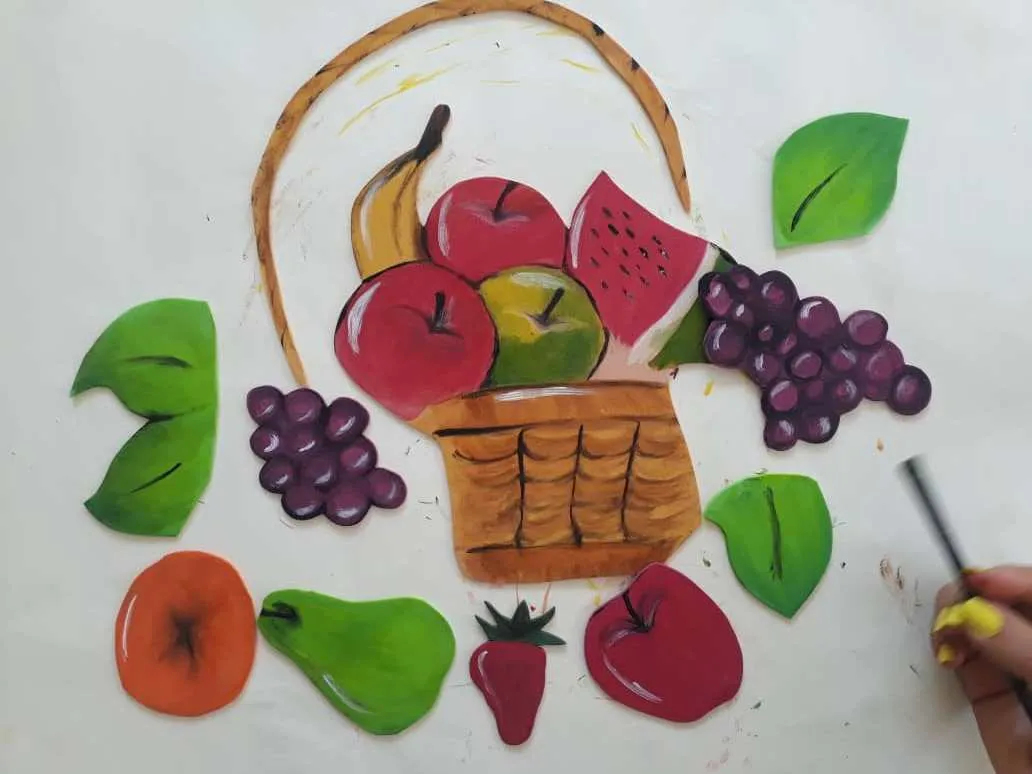
Then, we apply the same technique to give life to the rest of the figures or outstanding fruits (grapes, leaves, etc.). We must wait a bit for the paint to dry on all the figures.
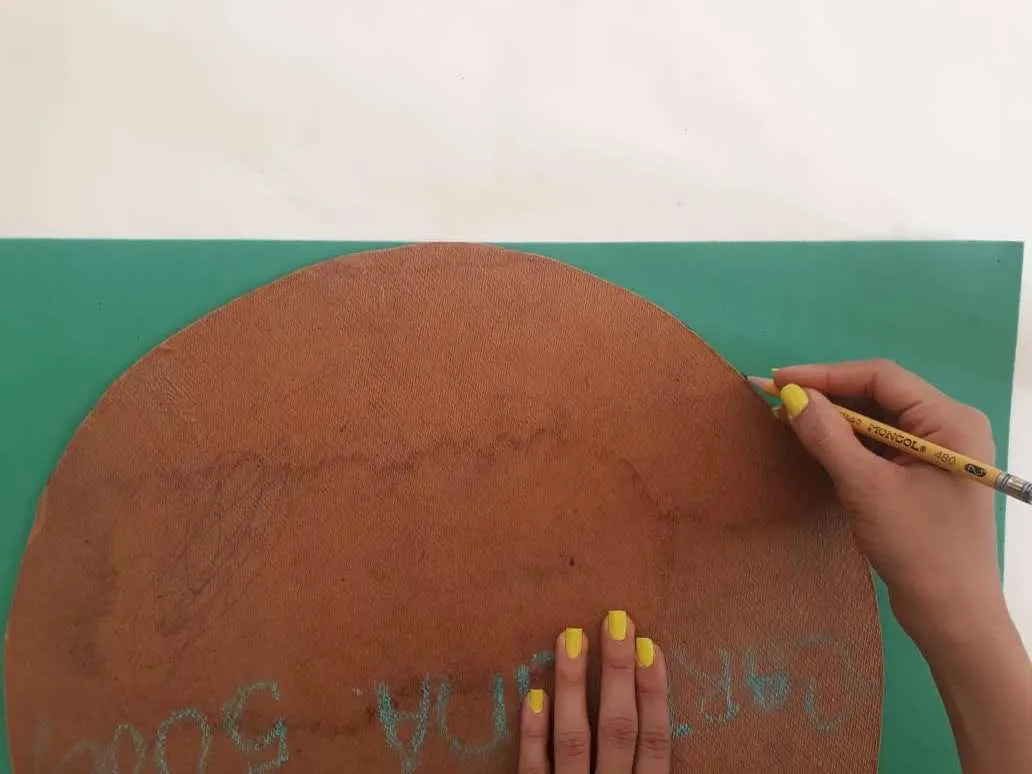
Ahora, fabricamos una base redonda en madera MDF o cartón, con la medida que queramos que sea nuestro cuadro. Seguidamente recortamos una lámina de foami de la misma medida para cubrir dicha base de madera.
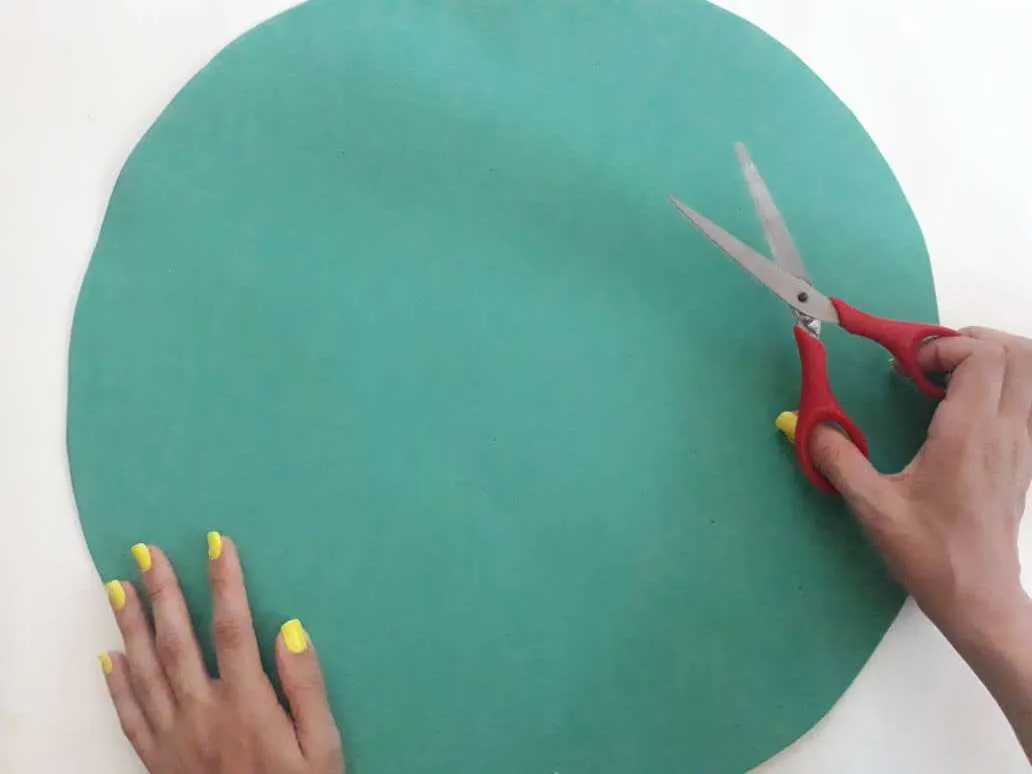
Now, we manufacture a round base in MDF wood or cardboard, with the measurement that we want our painting to be. Next, we cut a foamy sheet of the same size to cover the said wooden base.
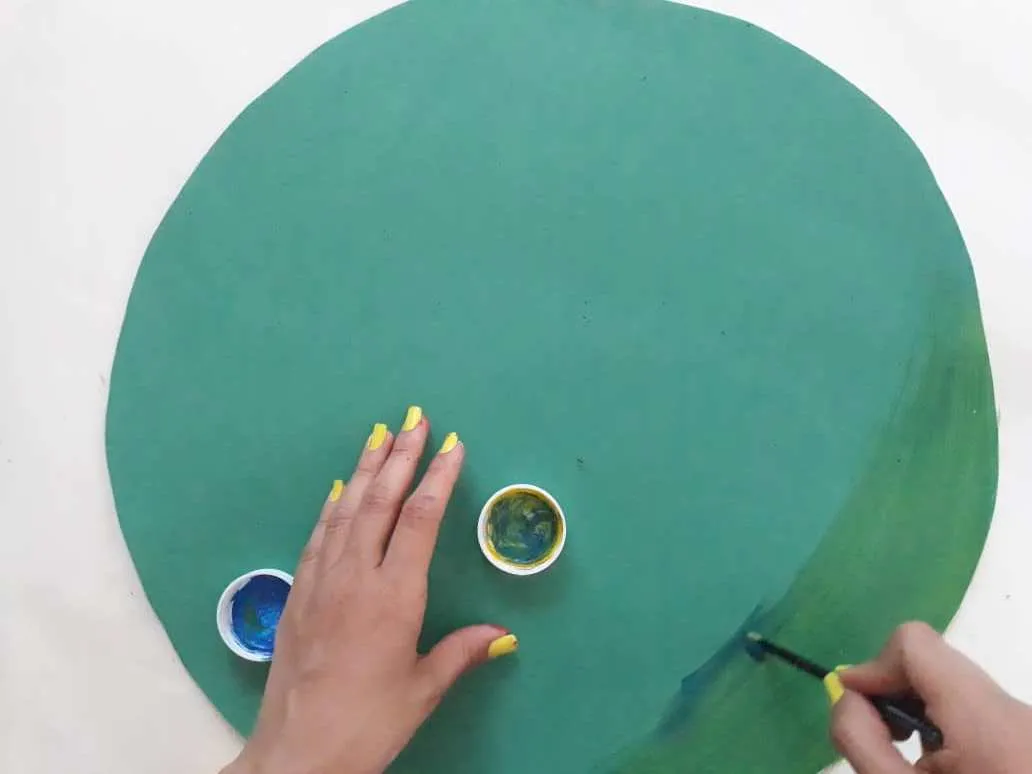
Luego, le damos un poco de alegría al foami base para que resalte mas y el fondo de nuestro cuadro sea aun más hermoso, después que seque la pintura lo pegamos a circulo de madera para cubrirlo. Debemos hacer un poco de presión para asegurarnos que quede bien unida a la madera.
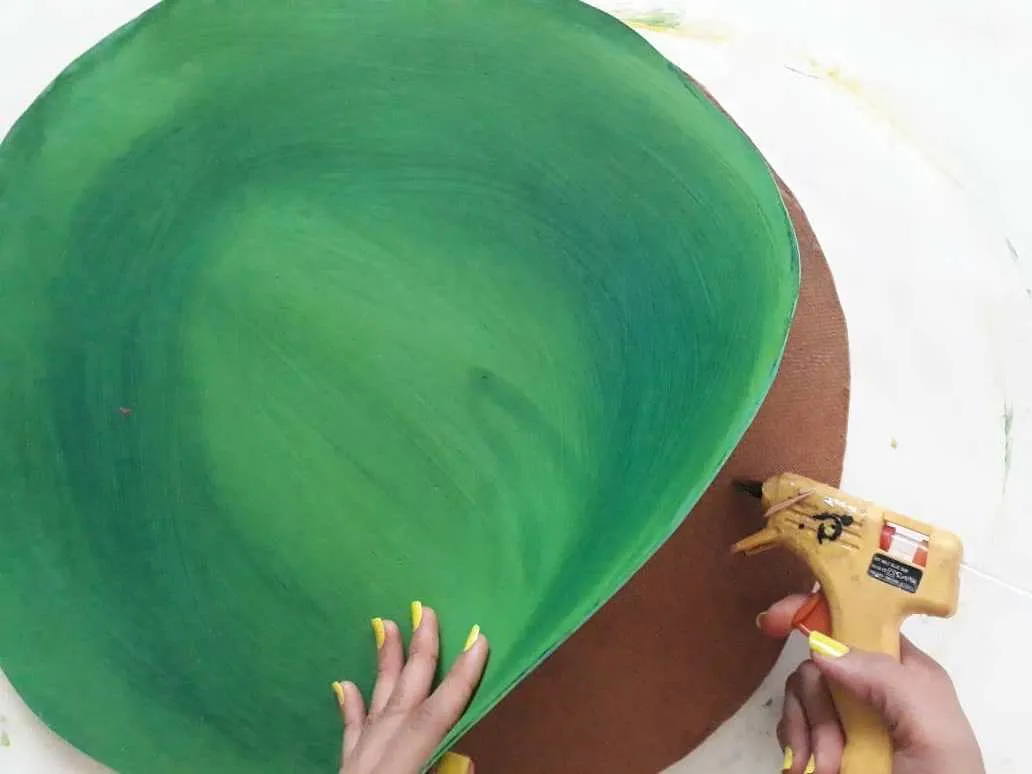
Then, we give a little joy to the base foamy so that it stands out more and the background of our painting is even more beautiful after the paint dries we glue it to a wooden circle to cover it. We must apply a little pressure to make sure it is well attached to the wood.
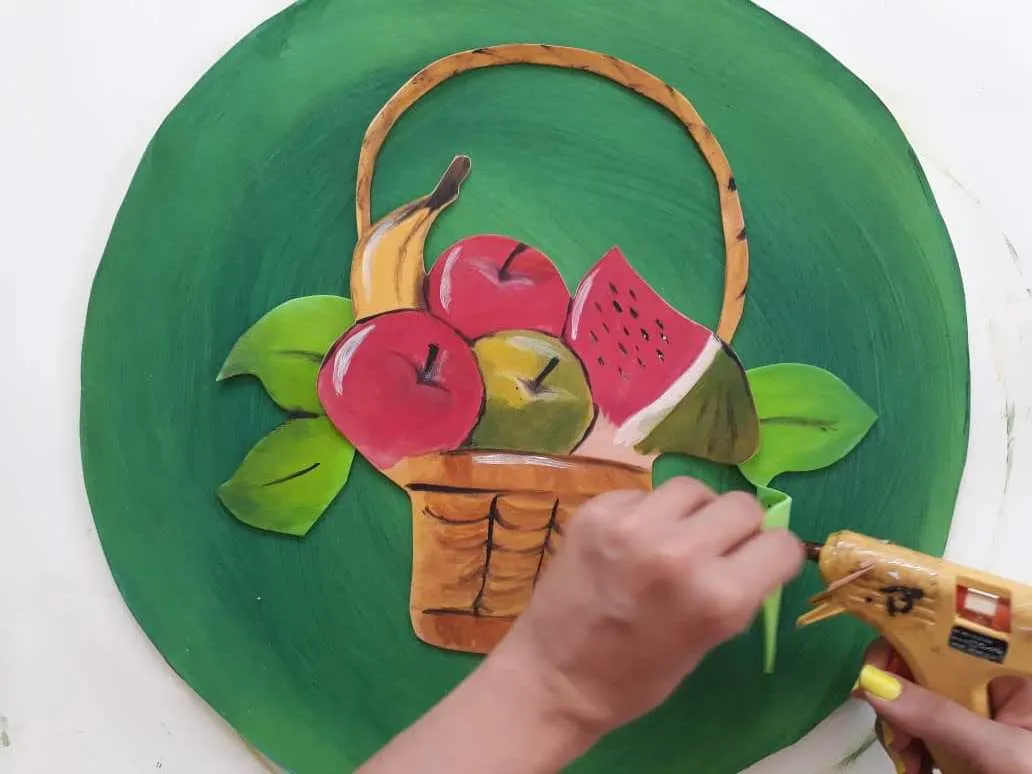
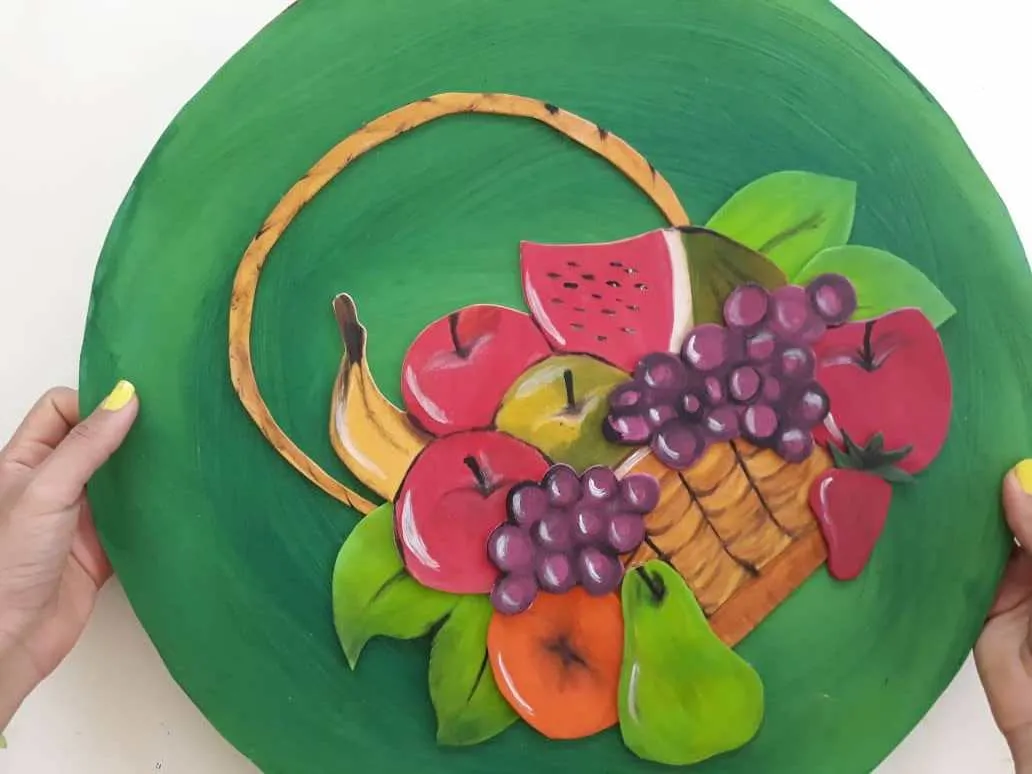
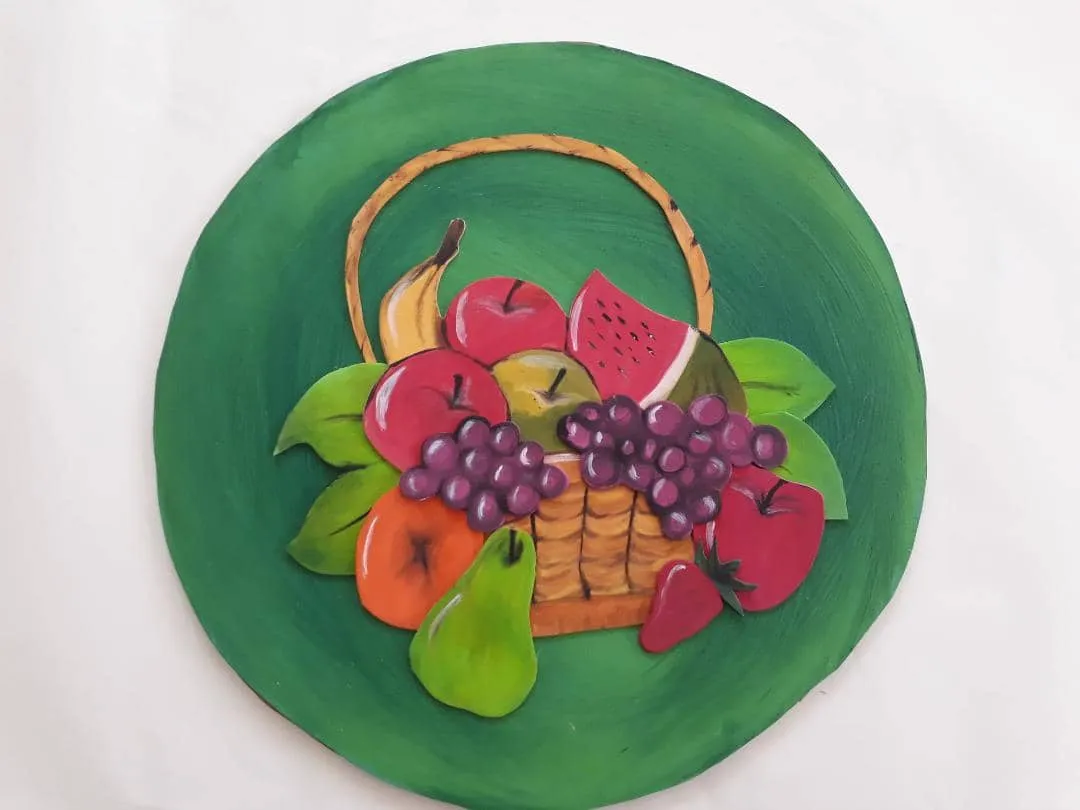
Finalmente, pegamos las partes de nuestro cuadro (cesta de frutas, hojas, frutas sobresalientes) y base. Y decoramos dejando volar nuestra imaginación.
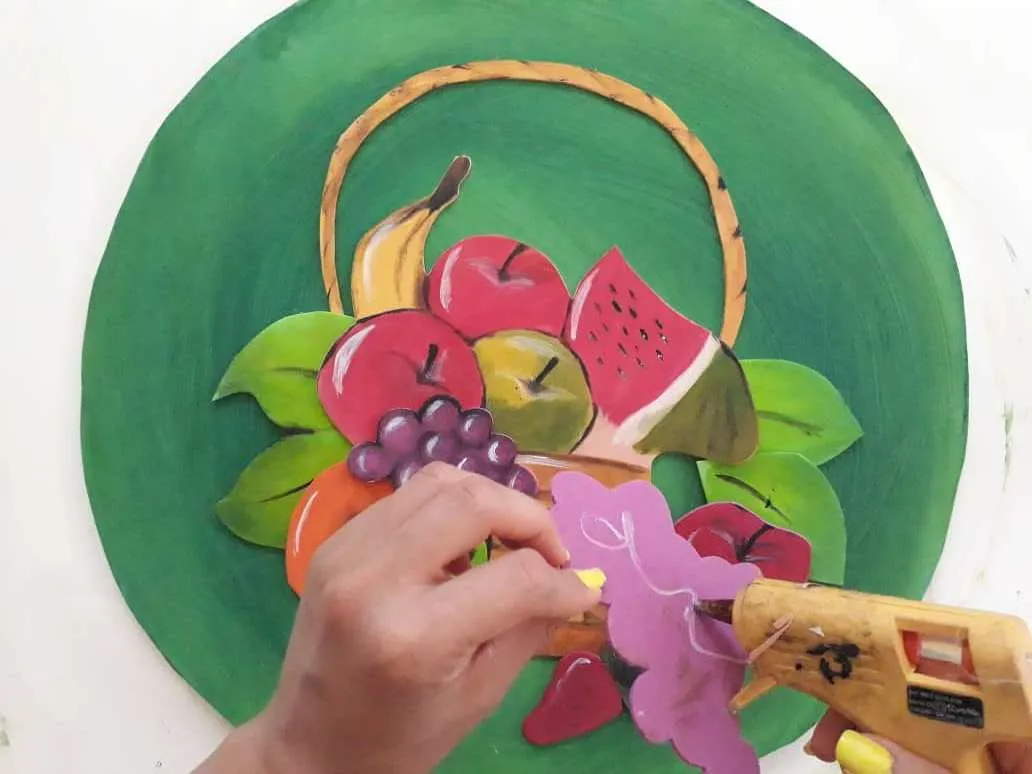
Finally, we glue the parts of our box (fruit basket, leaves, outstanding fruits) and base. And we decorate by letting our imagination run wild.

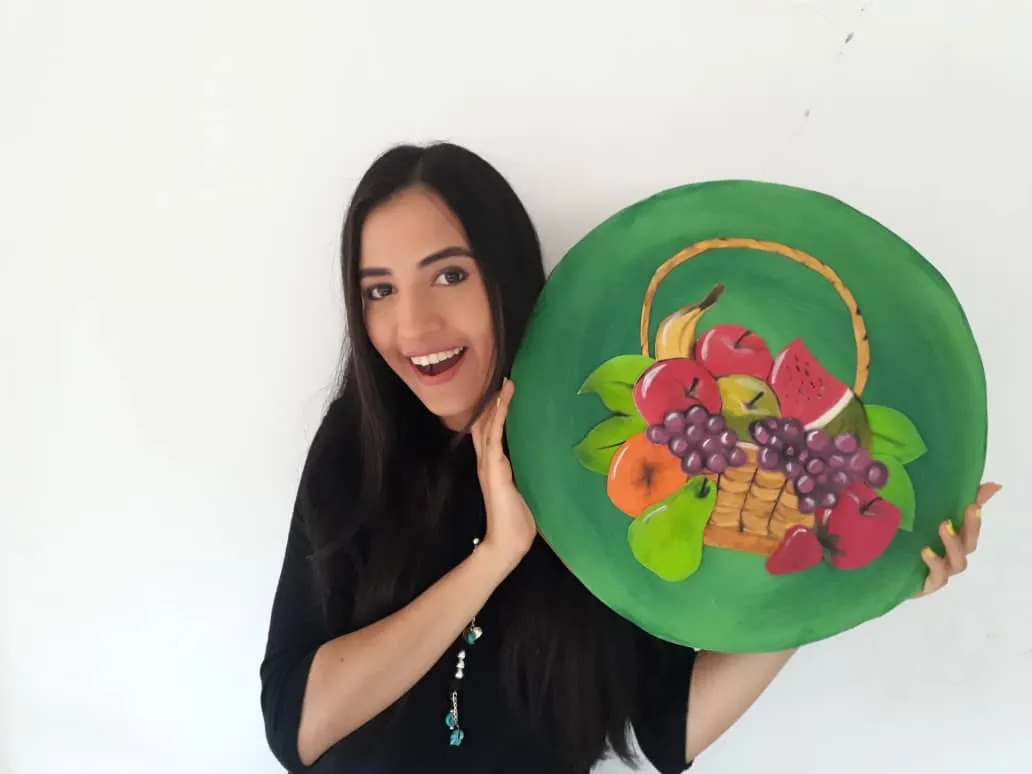
Gracias por acompañarme y espero que lo hayan disfrutado. ❤️
Thanks for joining and I hope you enjoyed it.❤️


.jpeg)
