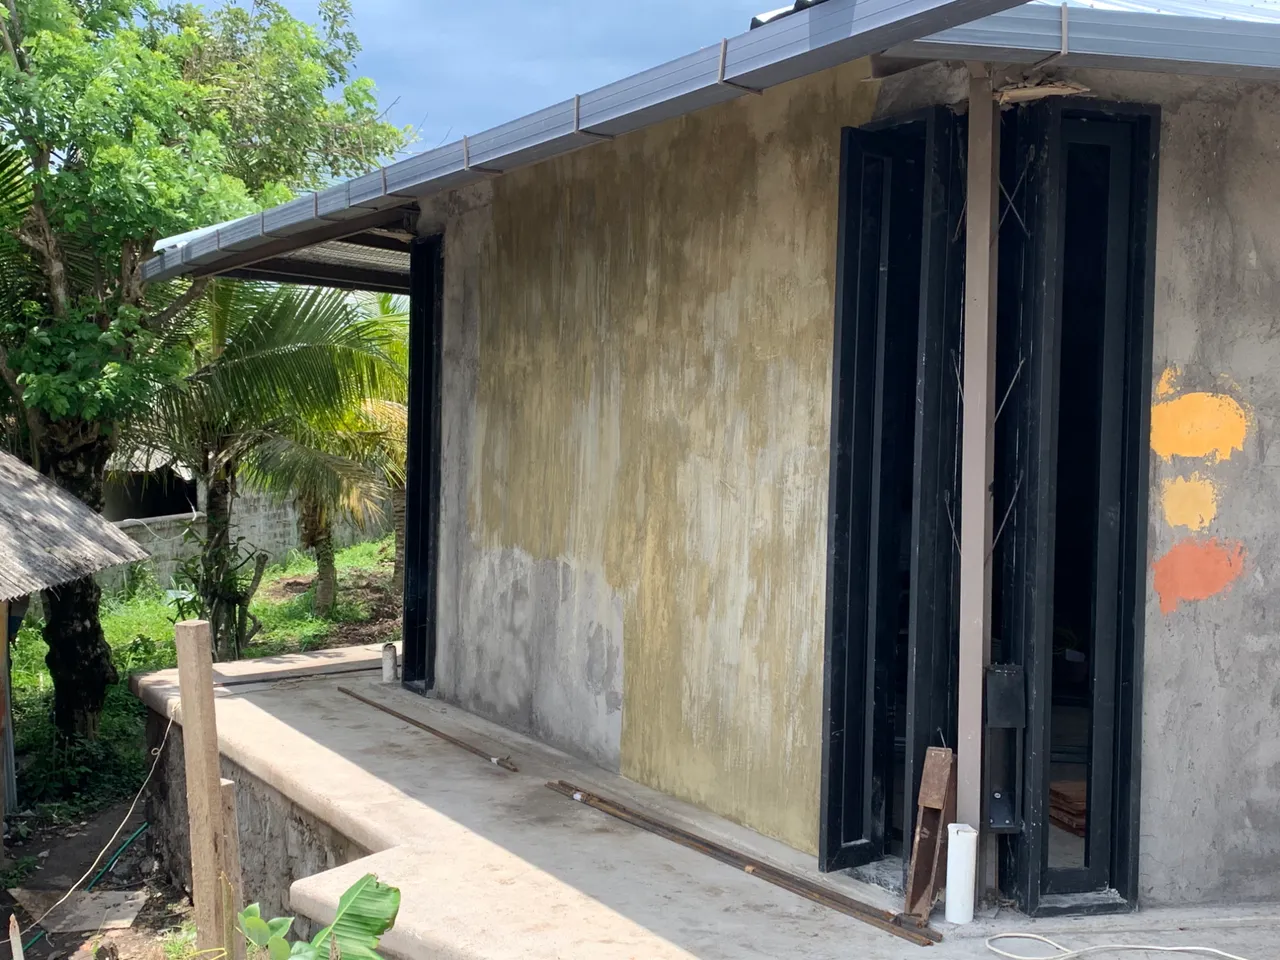
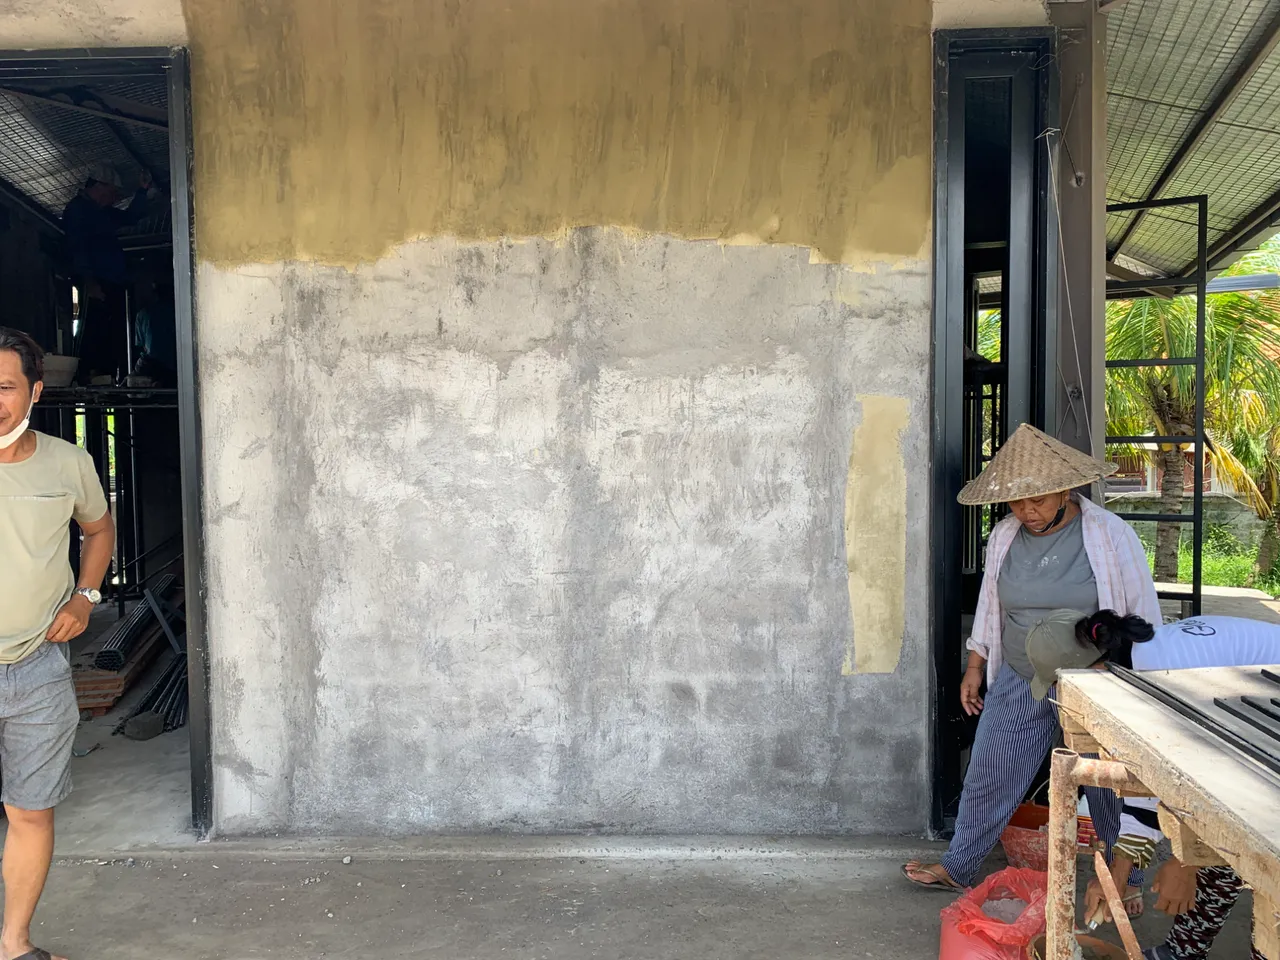
The first wall finish sample is not conclusive. They did a lazure with vertical strikes which is not what we are looking for.

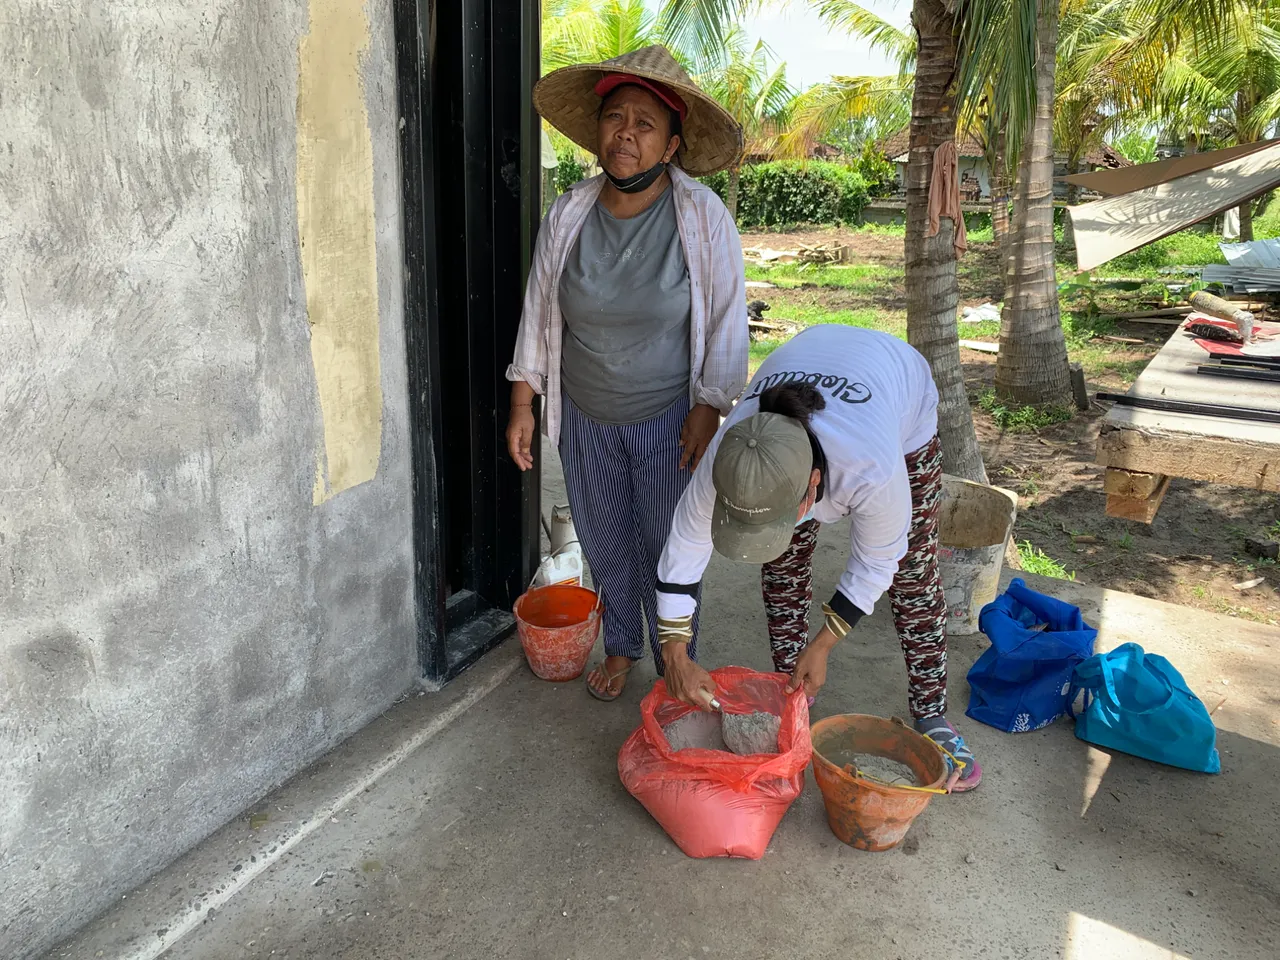
In order to give better directions I ask to have the workers make the wall finish in front of me.
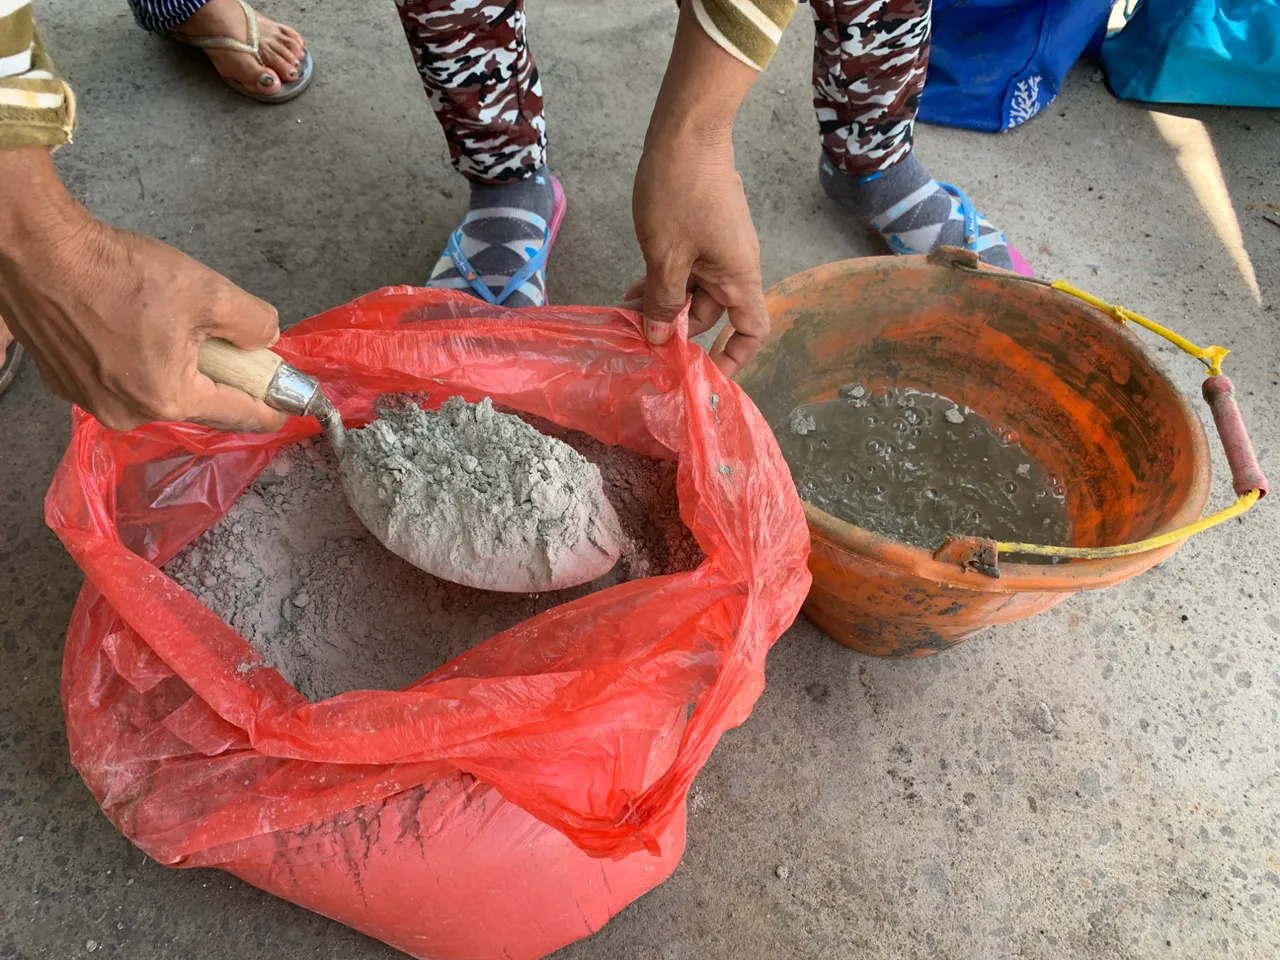
They already prepared mix of cement and colorant. Just add water...
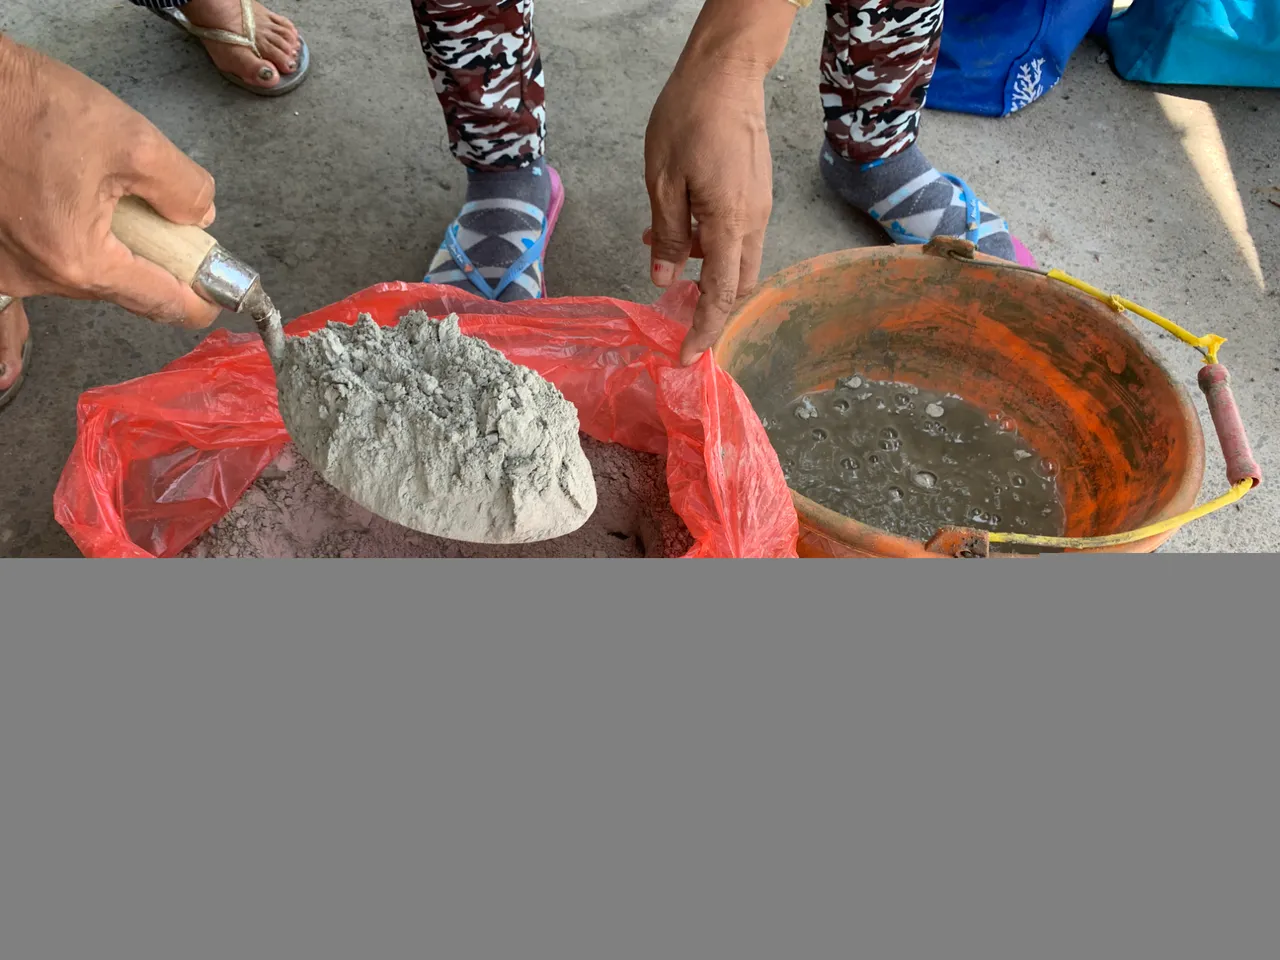
and stir.
They did another test earlier which was thicker than the first one but still not what we asked for.
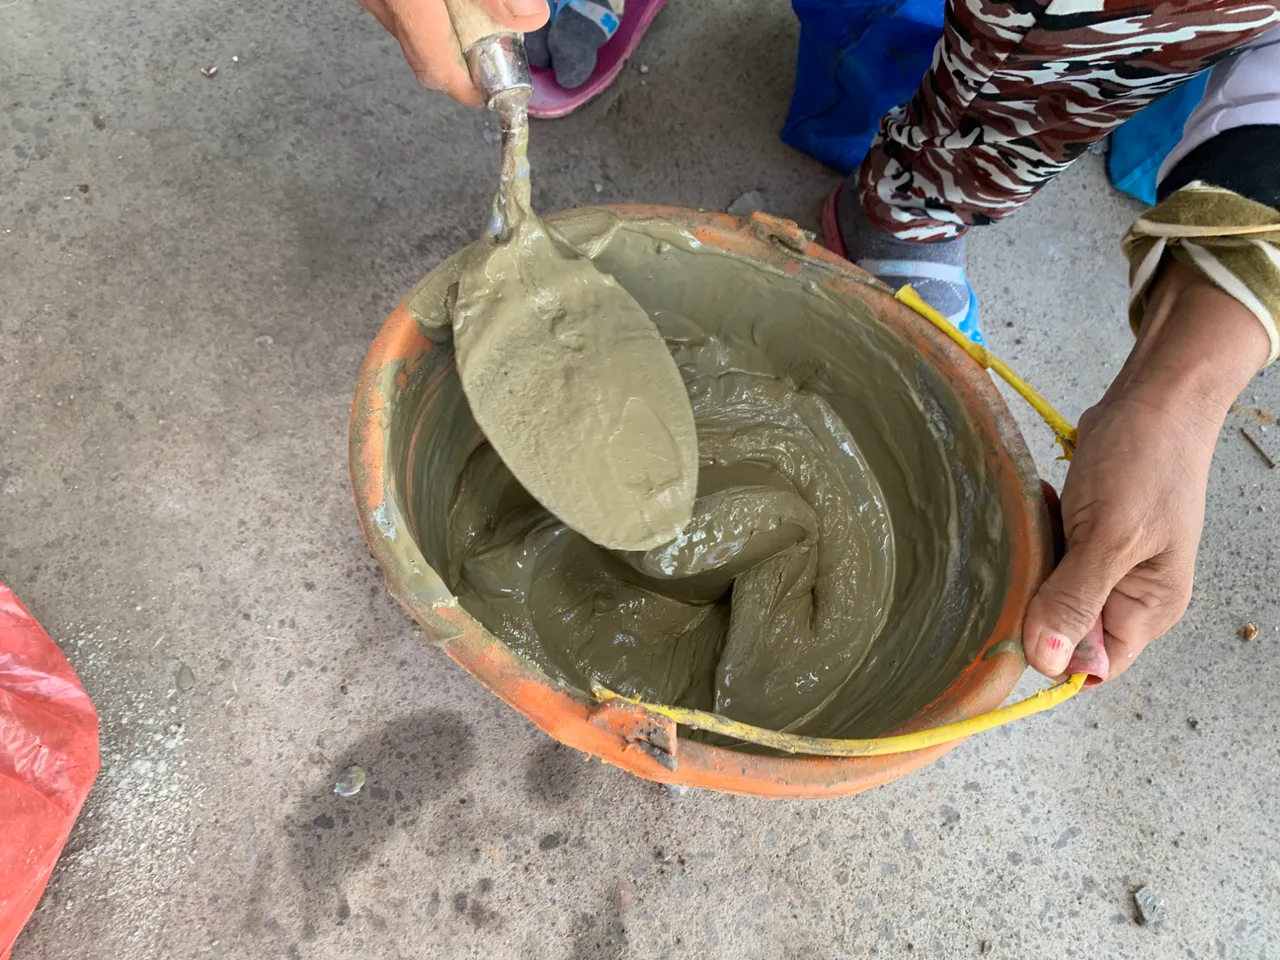
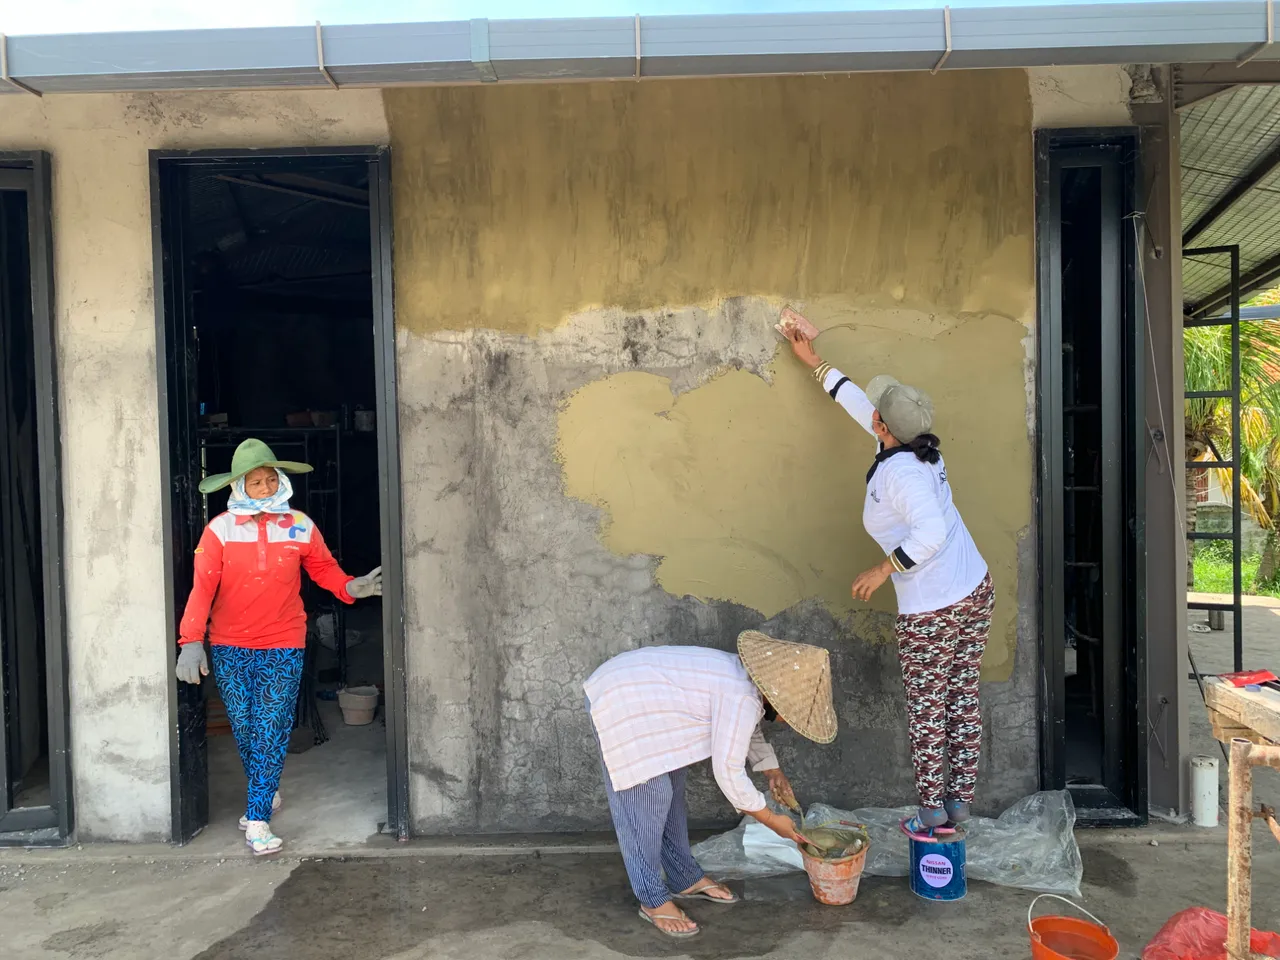
Mix is ready.

Wet the wall before applying the mix.
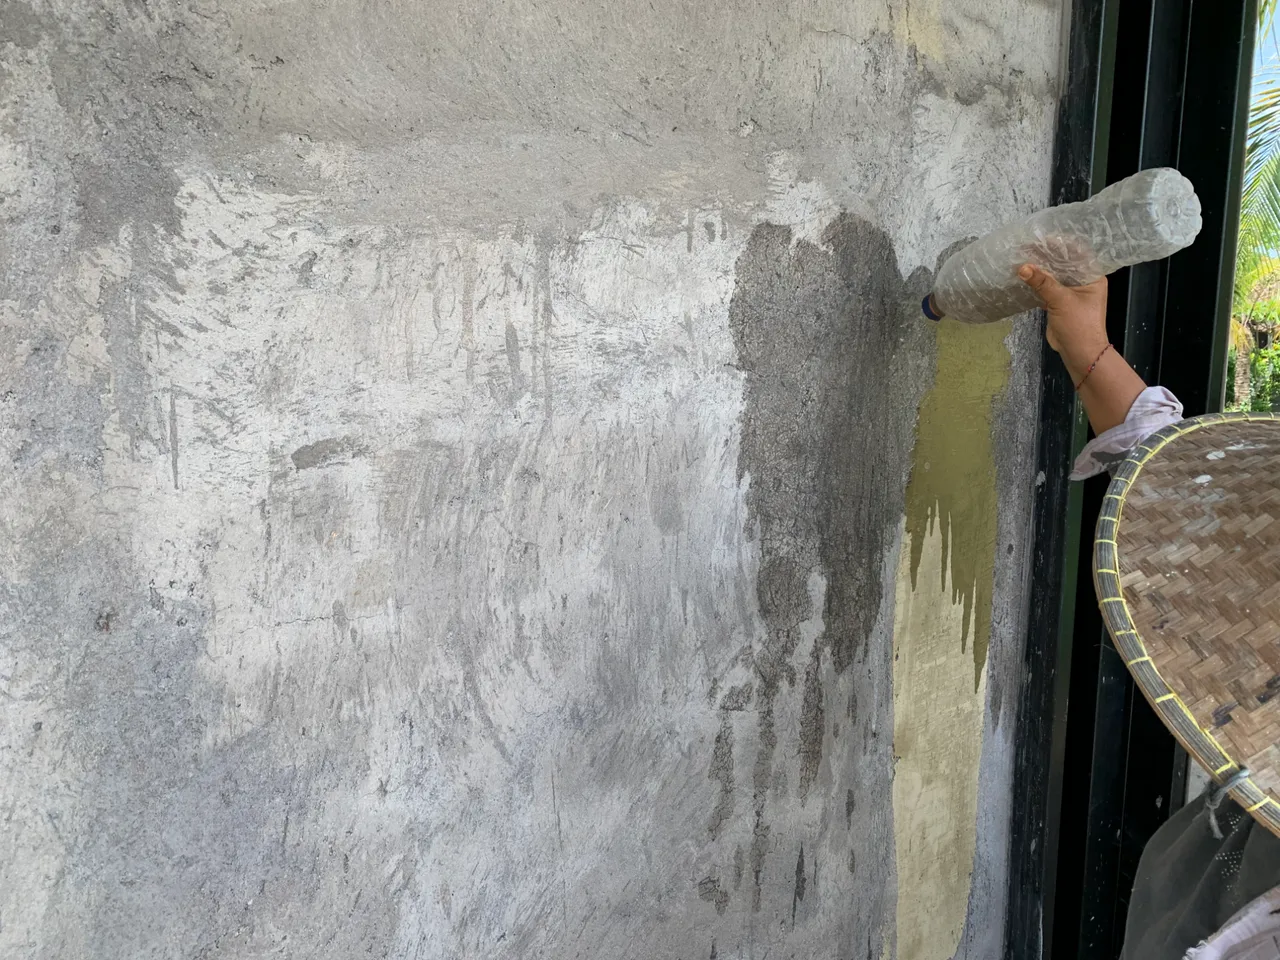
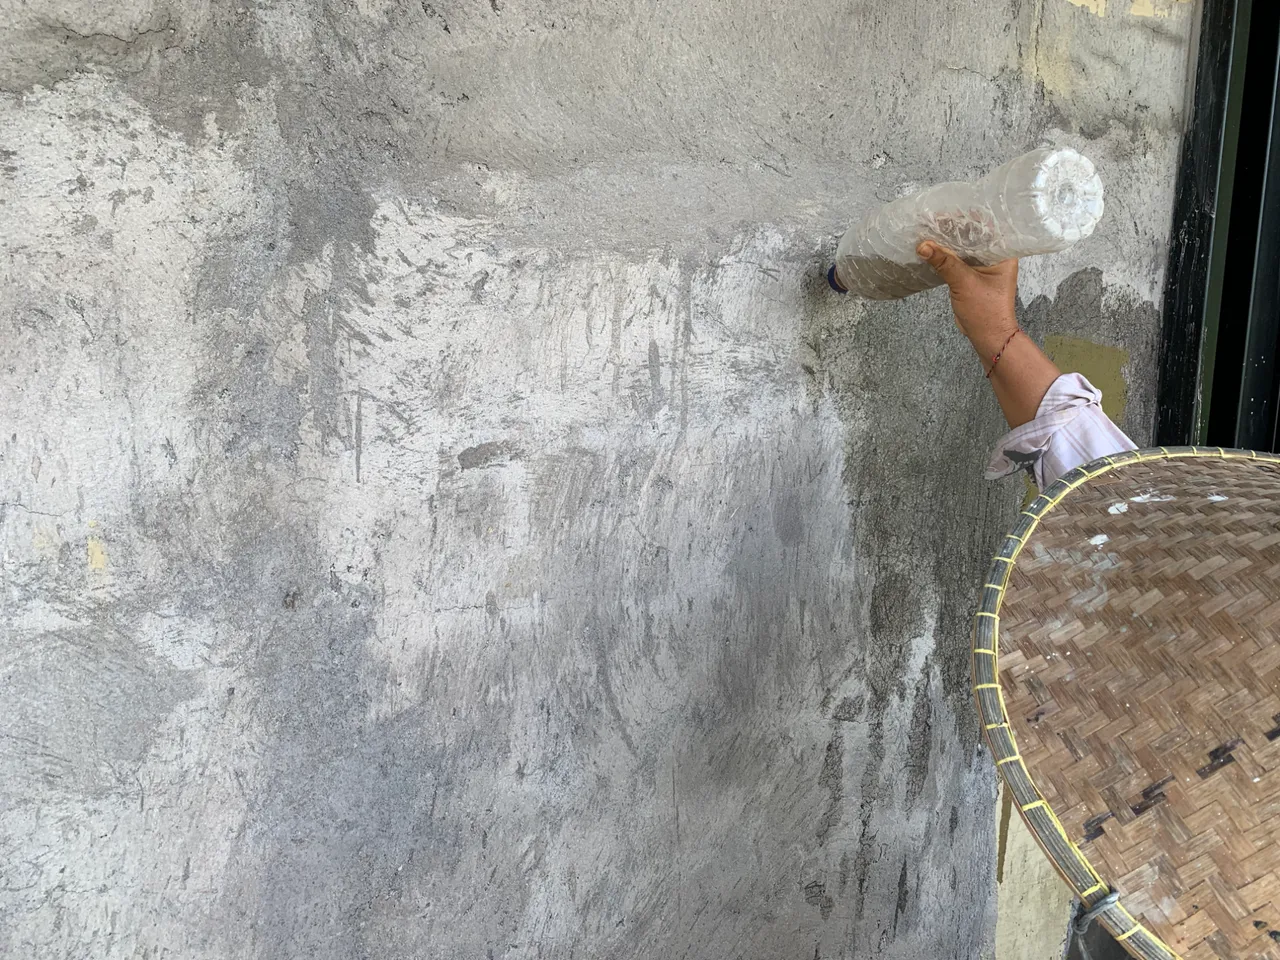
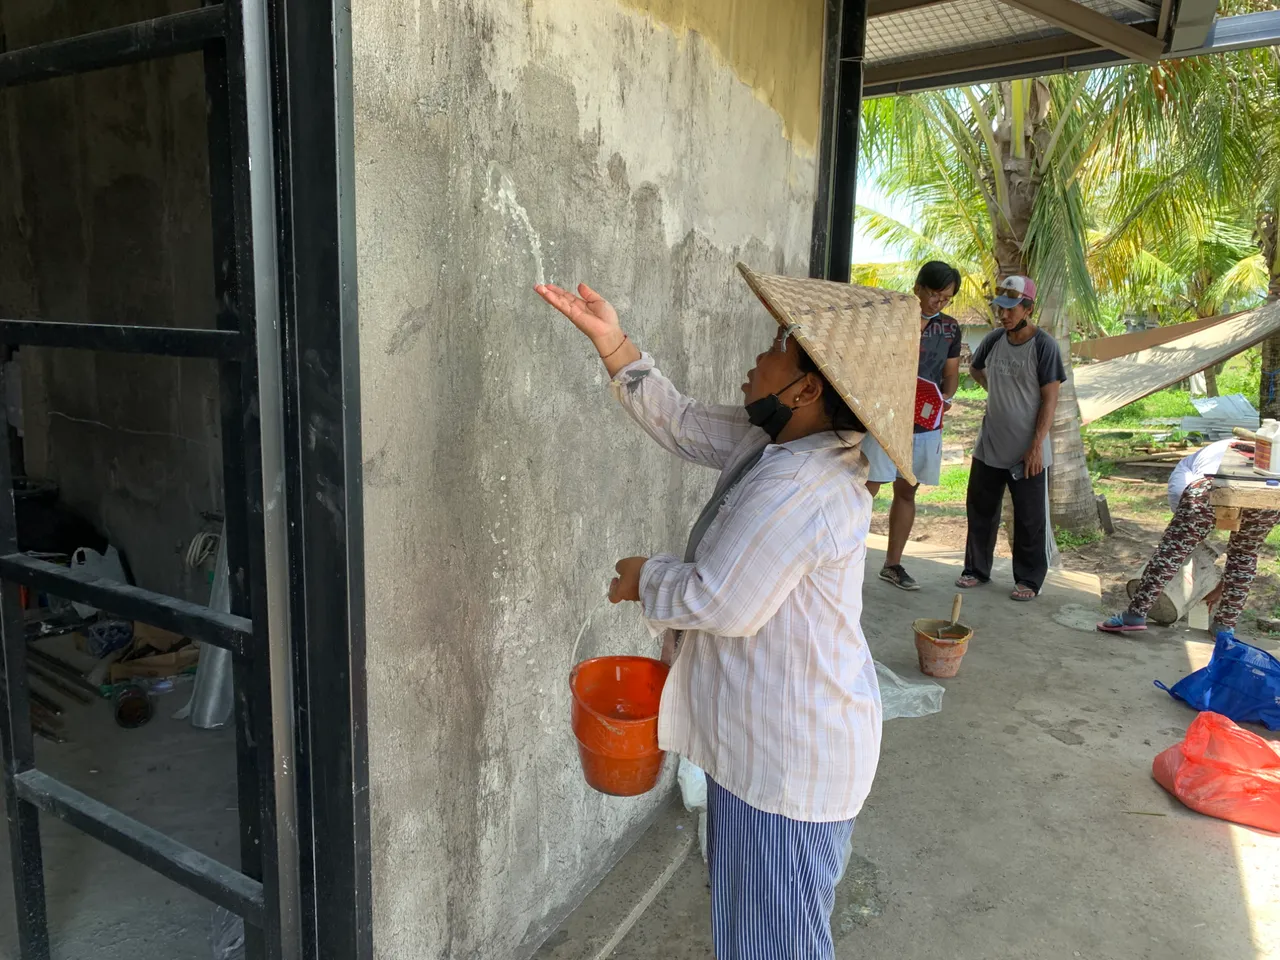
Splatter away.
Looking good. Keep going.
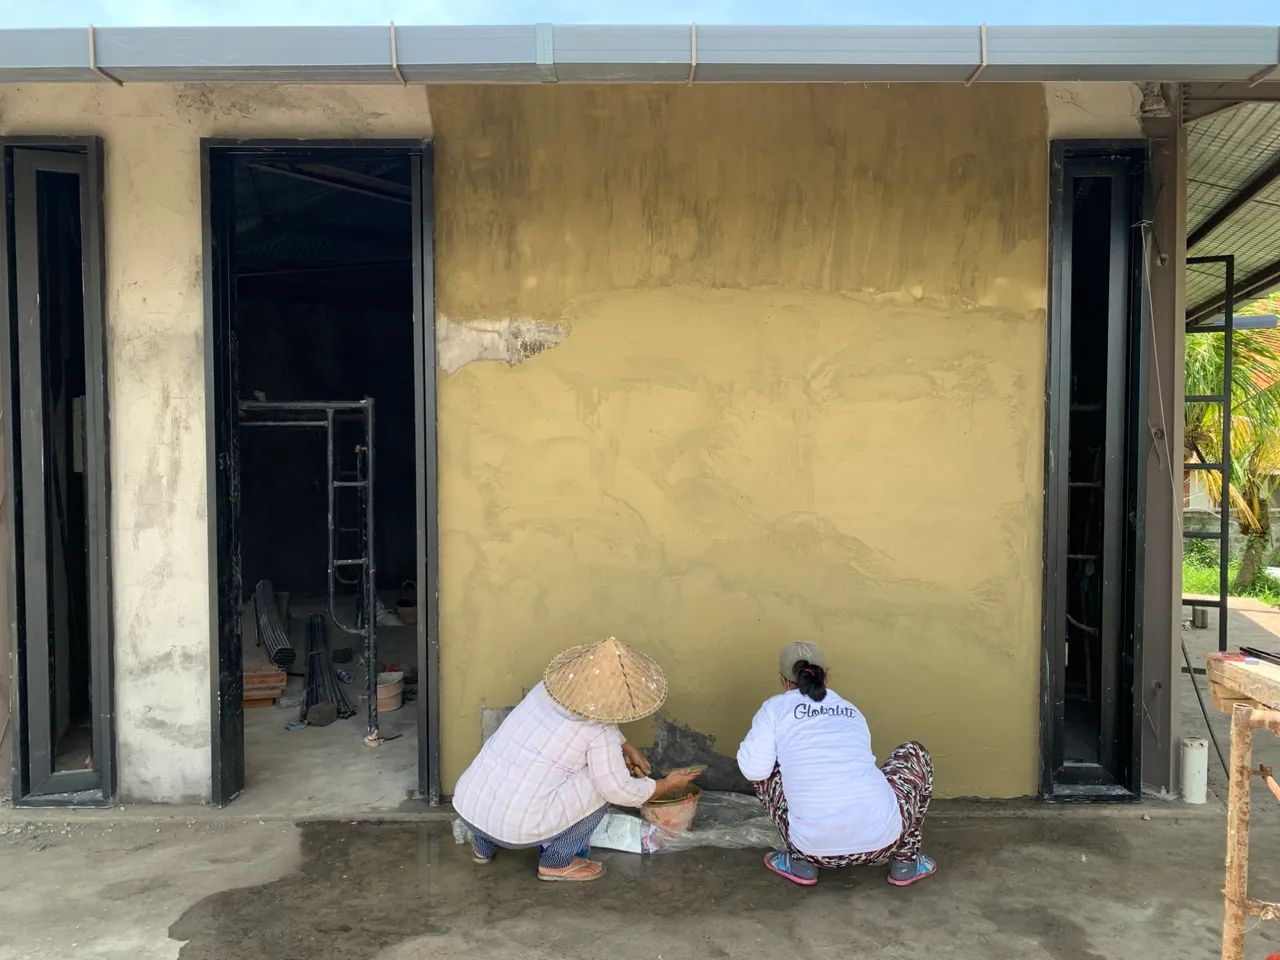


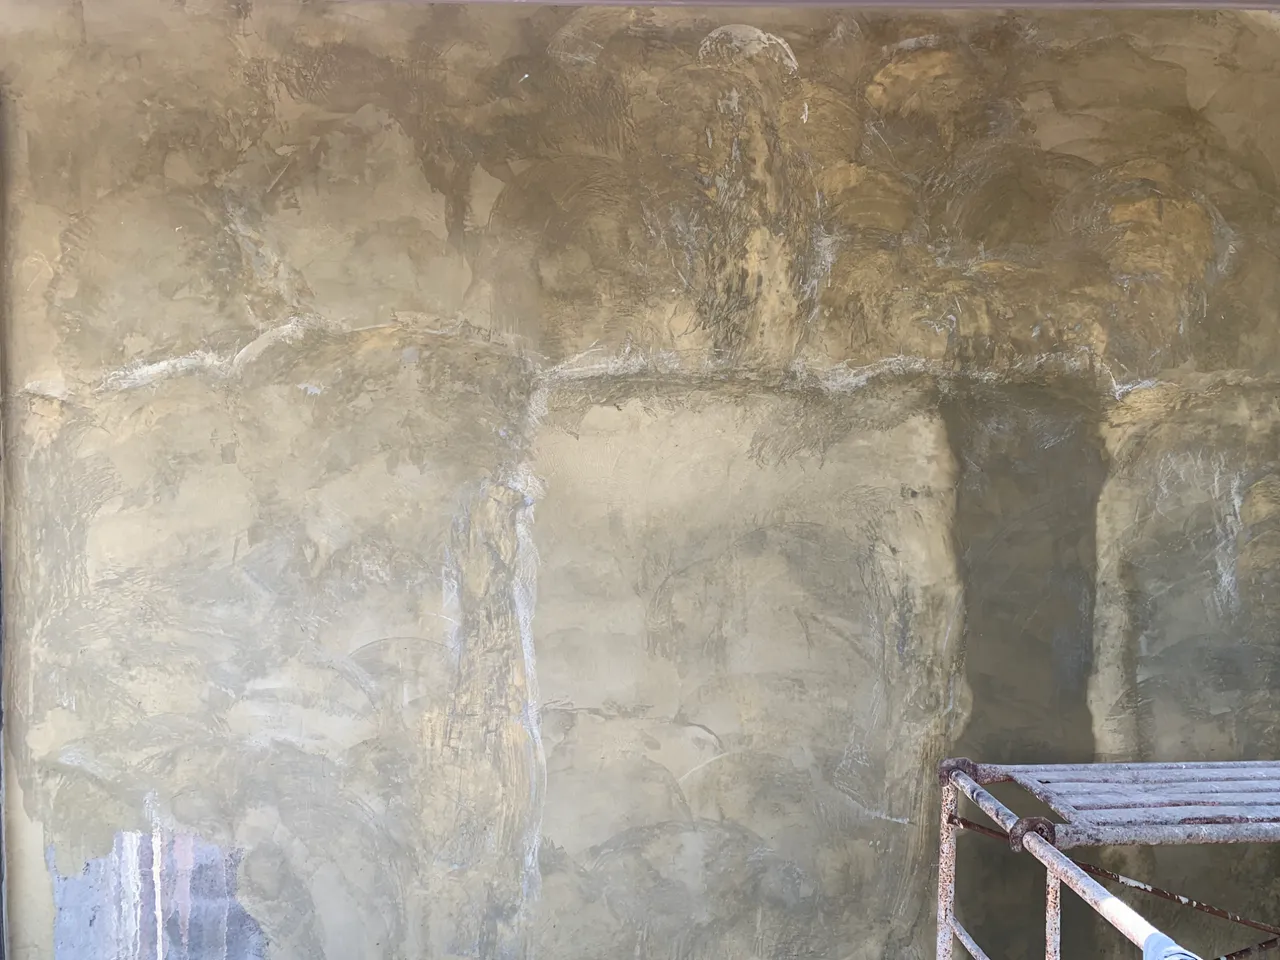
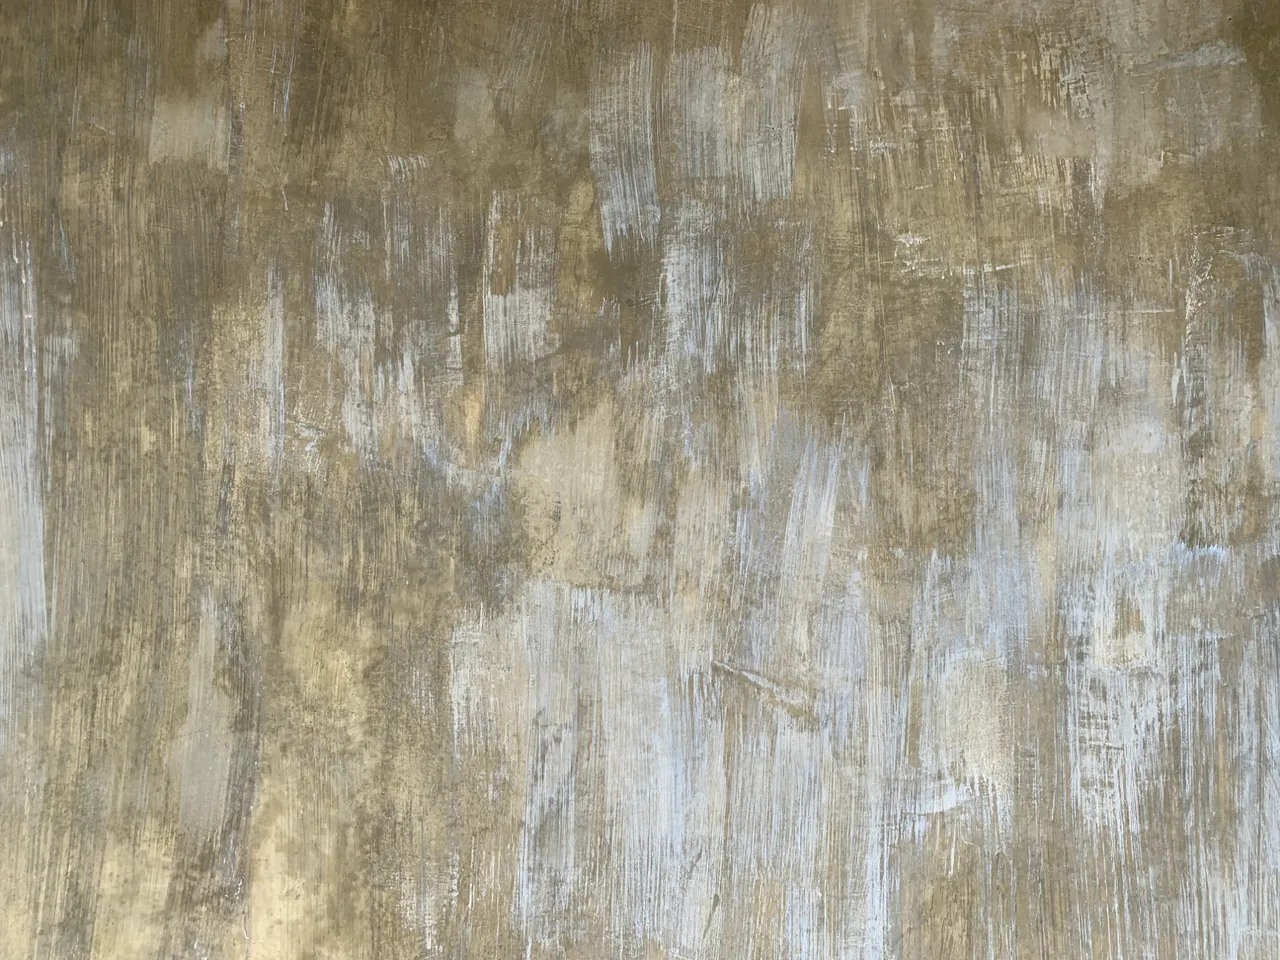
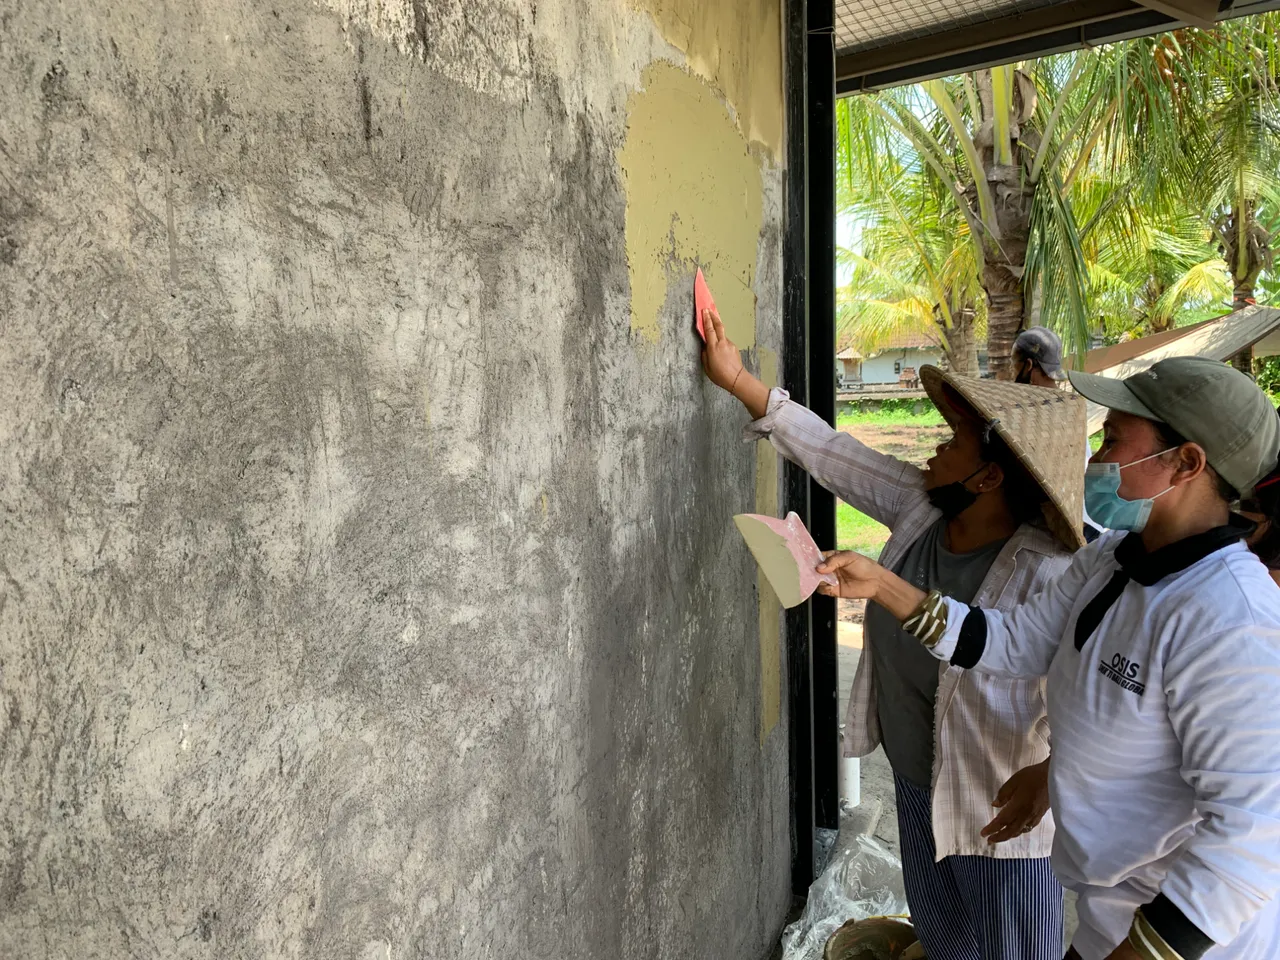
This is exactly what I had in mind. It's finished like this. The trick was to stop their application process early. Usually after this step the wall is scraped with an aluminum edge to equalize the distribution of material then sanded by hand which they appropriately call "smooth render." In this case, we don't want smooth. We like to visualize the struggle.
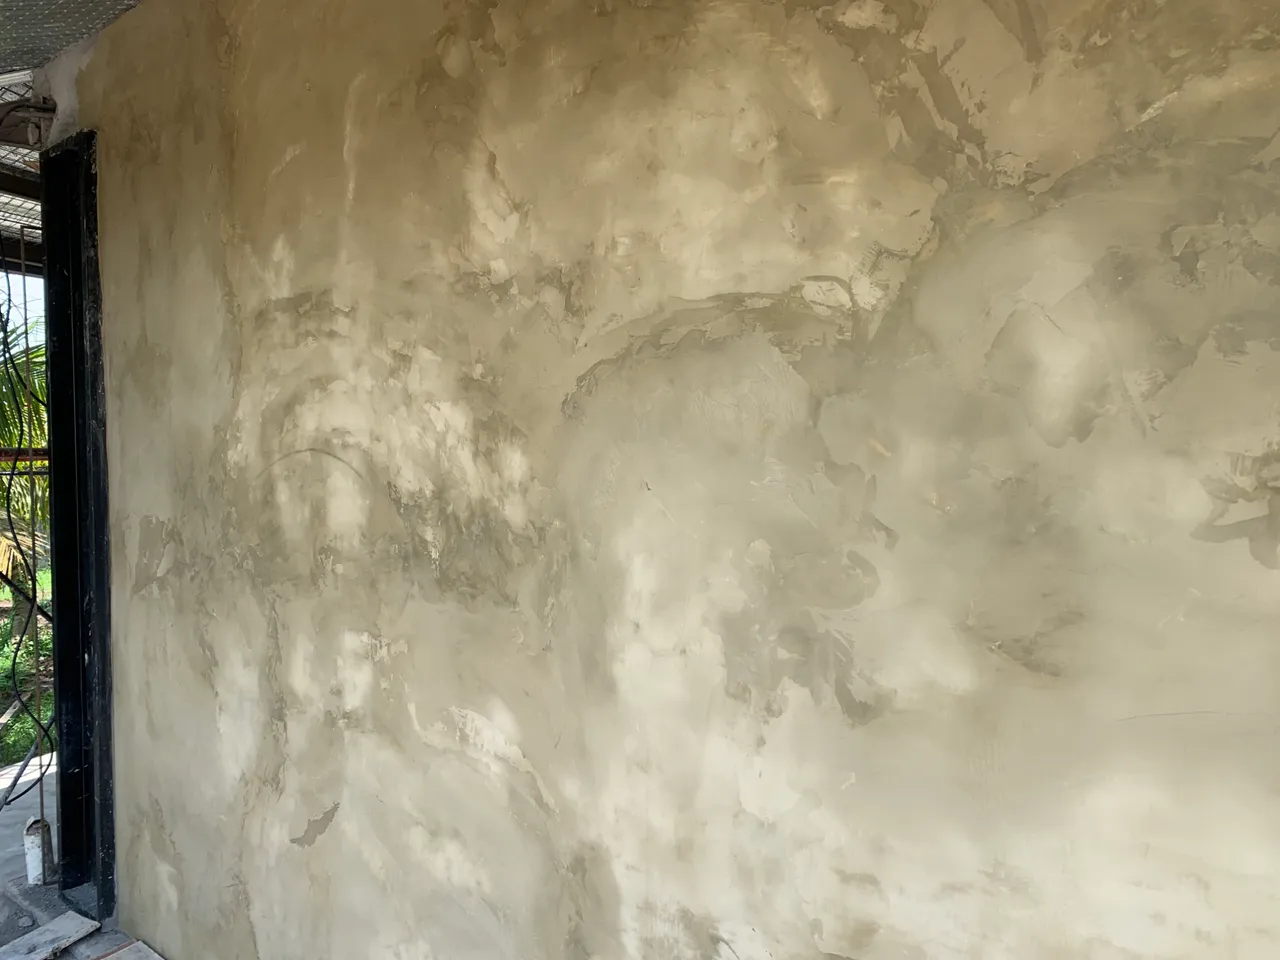
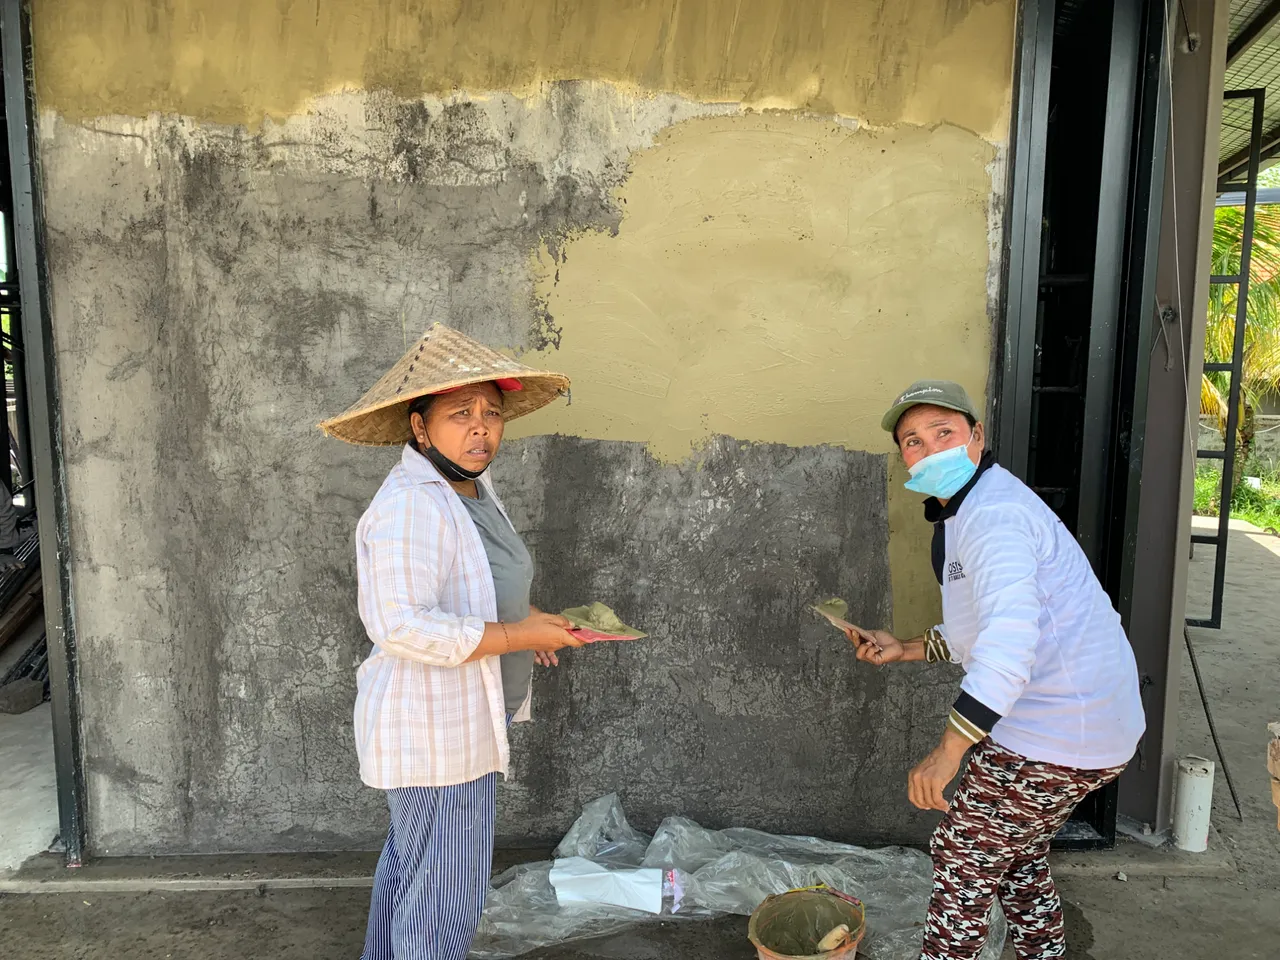
Color will be slightly lighter and less green when dry.

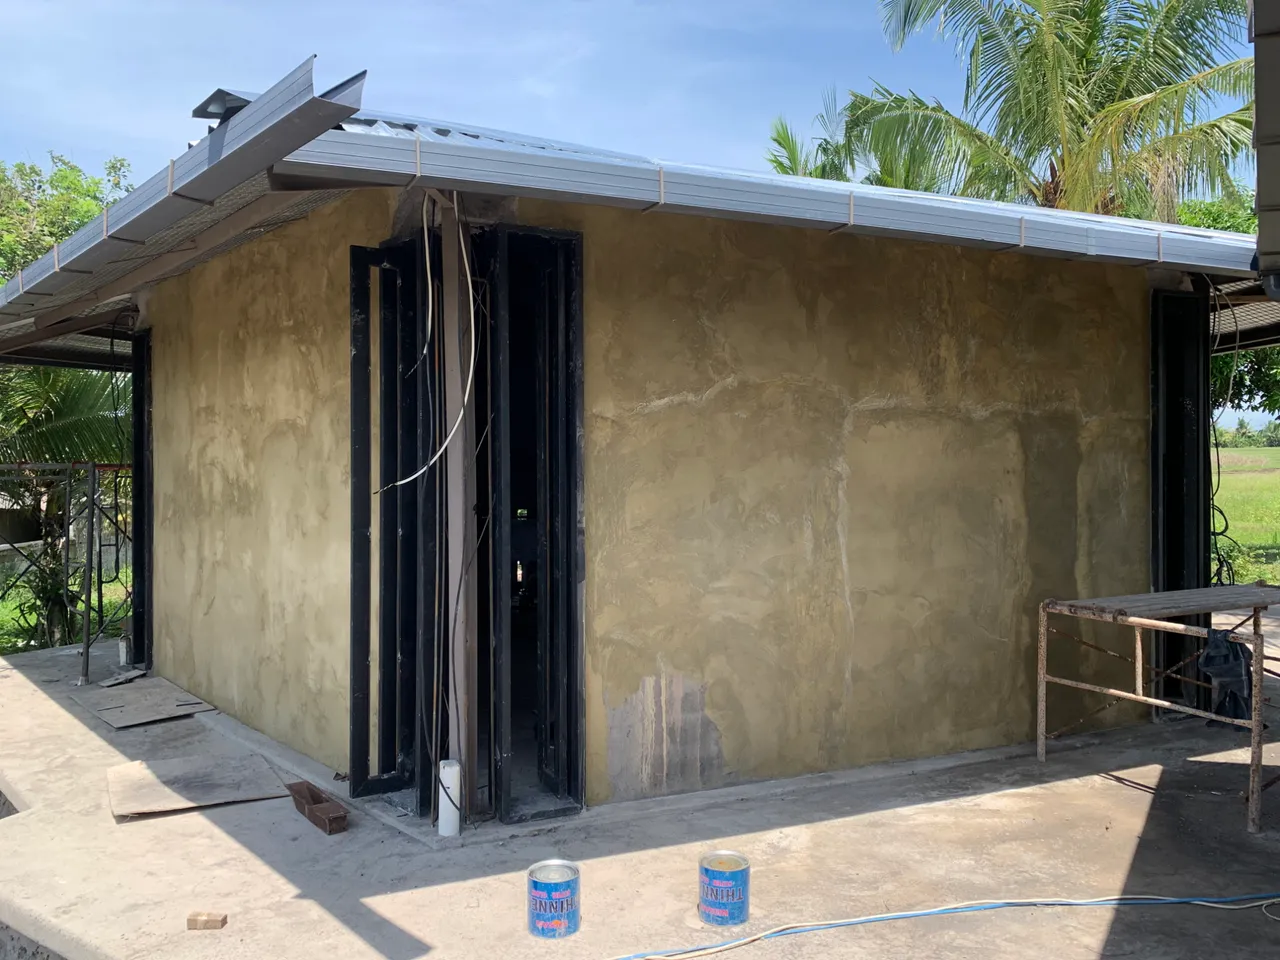
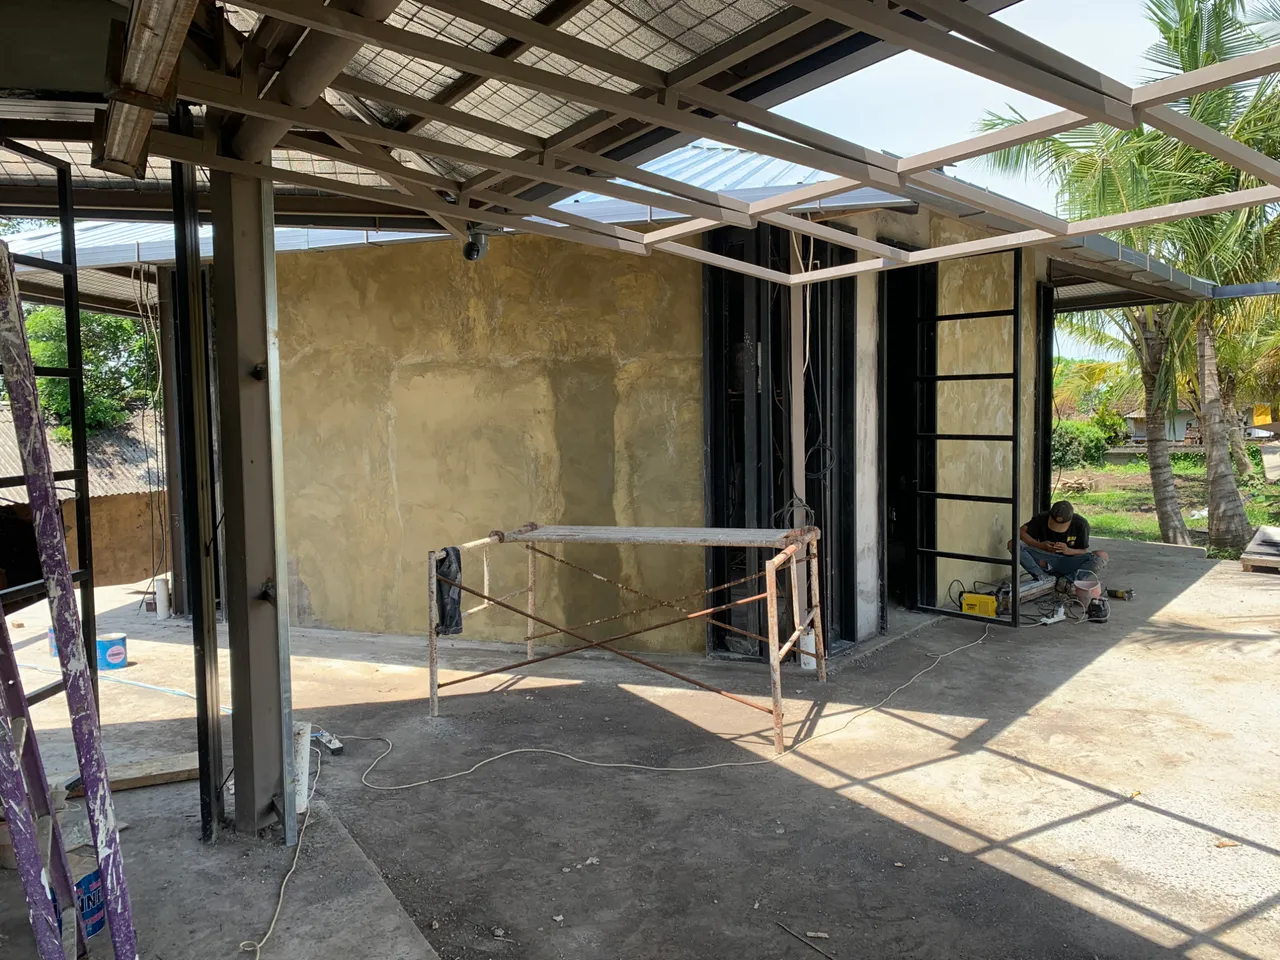
All bedroom walls--indoor and outdoor--get same treatment.
Results are still uneven but we will get there