
Español
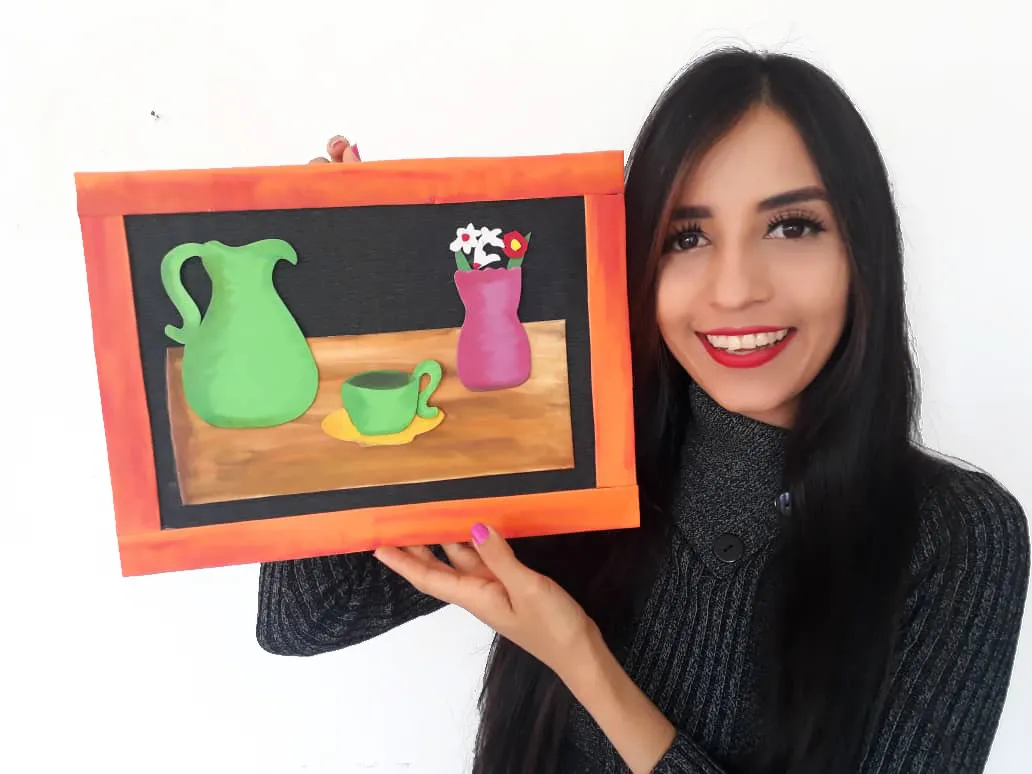
Hola HIVE 💝 Este hermoso día les traigo otro nuevo y divertido paso a paso donde aprenderemos a realizar un hermosísimo cuadro de foami o goma eva, perfecto para dar magia y encanto a nuestros lugares favoritos, y lo mejor de todo es que es muy fácil de hacer un material que es muy económico y fácil de conseguir. Así que, los invito a disfrutar de este divertido momento, ideal y perfecto para el desarrollo de la creatividad tanto de niños como adultos. Además es una idea perfecta para pasar un rato agradable con nuestros pequeños en casa e incentivarlos, ya que, pueden ir, de a poco, desarrollando su ingenio y acercándose un poco más al trabajo artístico.
English
Hello HIVE 💖 This beautiful day I bring you another new and fun step by step where we will learn to make a beautiful painting of foamy or eva foam, perfect to give magic and charm to our favorite places, and best of all, it is very easy to make a material which is very cheap and easy to get. So, I invite you to enjoy this fun moment, ideal, and perfect for the development of creativity for both children and adults. It is also a perfect idea to spend a pleasant time with our little ones at home and encourage them, since they can go, little by little, developing their ingenuity and getting a little closer to artistic work.
¿Qué están esperando?
Gracias a esta técnica podemos crear un hermoso cuadro muy creativo y perfecto para colgar, ya que le dará un toque de alegría a nuestro hogar. Antes de comenzar no olvidemos lavarnos nuestras manos.
What are they waiting for?
Thanks to this technique we can create a very creative and perfect painting to hang since it will give a touch of joy to our home. Before we start, let's not forget to wash our hands.

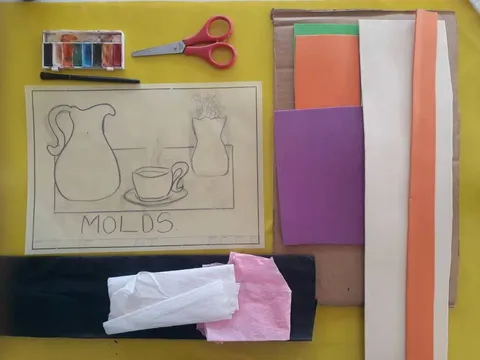
[Materiales | Materials]
Para hacer este hermoso cuadro necesitaremos:
- Moldes.
- Foami o goma eva.
- Cartón.
- Papel crepe.
- Regla.
- Lápiz.
- Tijera.
- Pegamento.
To make this precious painting we will need:
- Molds.
- Foamy or eva foam.
- Paperboard.
- Crepe paper.
- Rule.
- Pencil.
- Scissors.
- Glue.
Procedimiento (paso a paso)
Process (step by step)
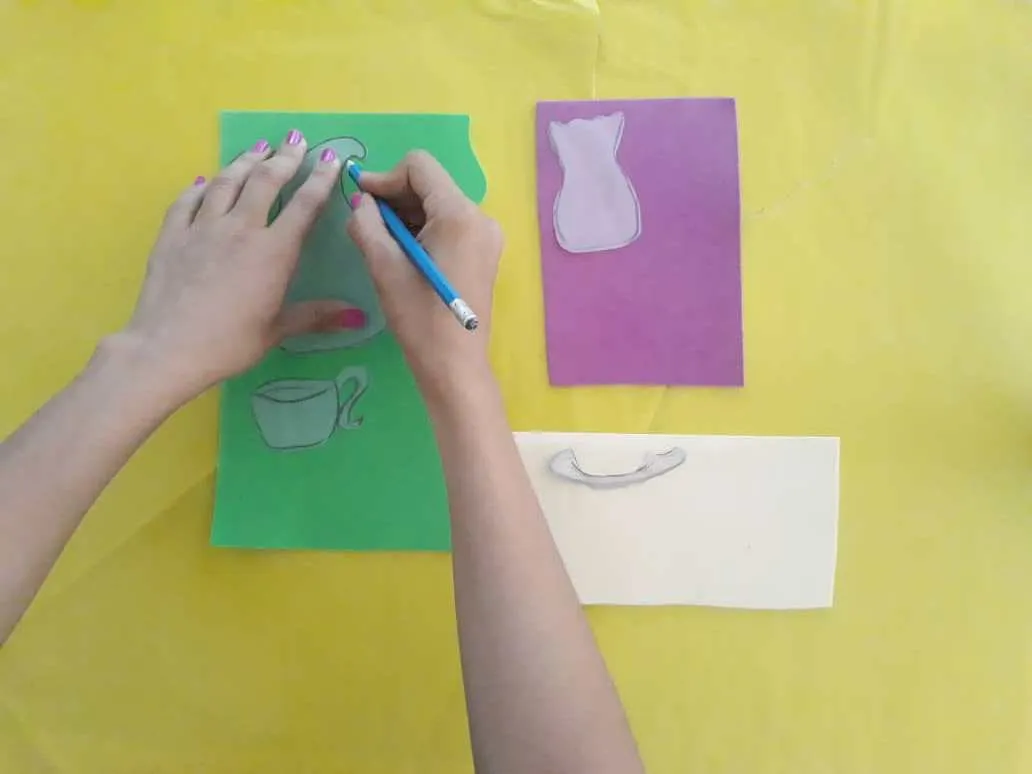
Primero, transferimos los moldes al foami y recortamos con mucho cuidado para mantener sus medidas intactas y evitar accidentes al utilizar la tijera. Dichos moldes serán las figuras de nuestra obra.
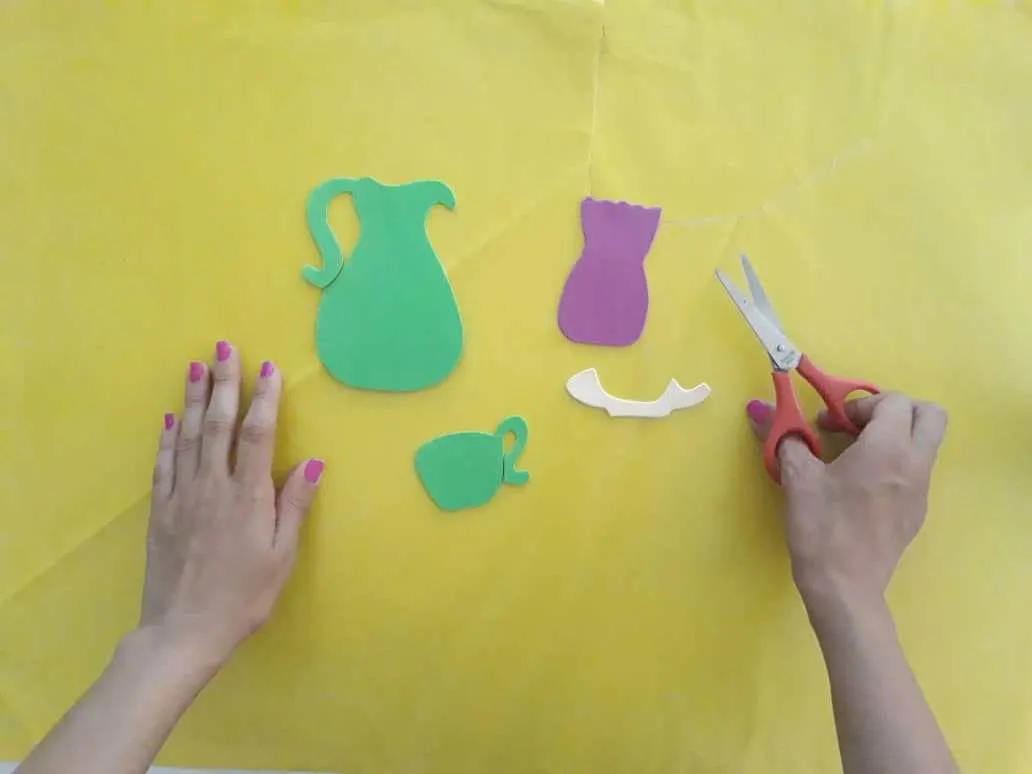
First, we transfer the molds to the foamy and cut very carefully to keep their measurements intact and avoid accidents when using the scissors. These molds will be the figures for our work.
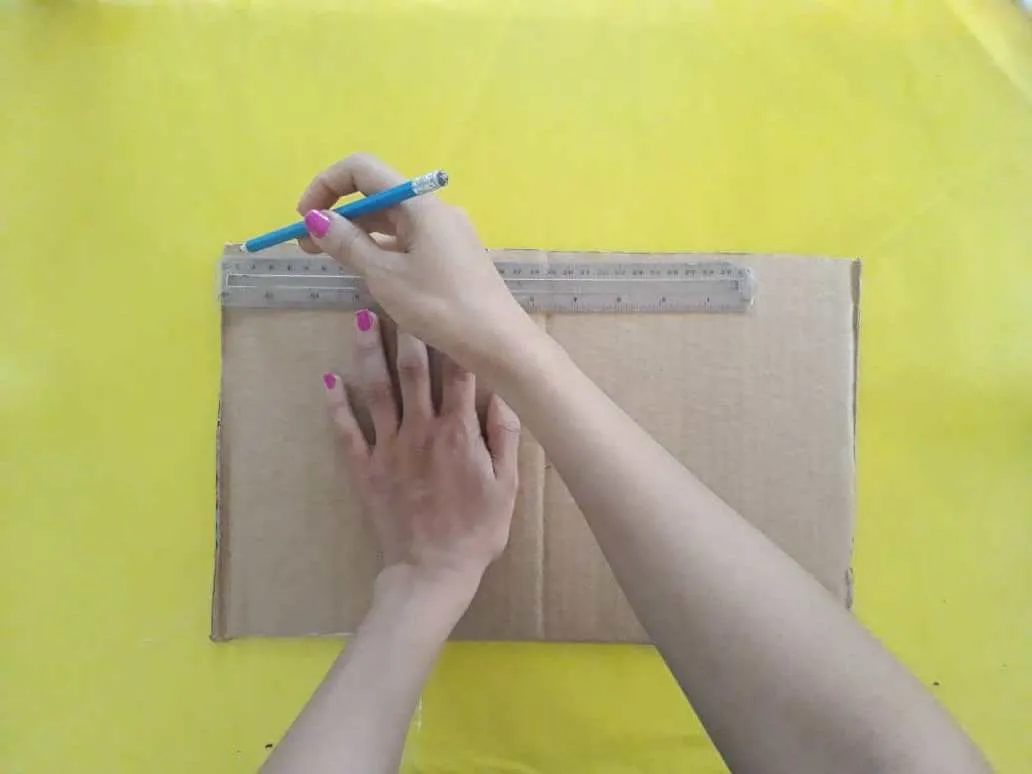
Ahora, recortamos un rectángulo de cartón de 60cm de ancho y 40cm de alto. Seguidamente lo cubrimos con papel crepe negro con la ayuda del pegamento. Debemos hacer presión con nuestras manos para asegurarnos que el papel quede bien pegado.
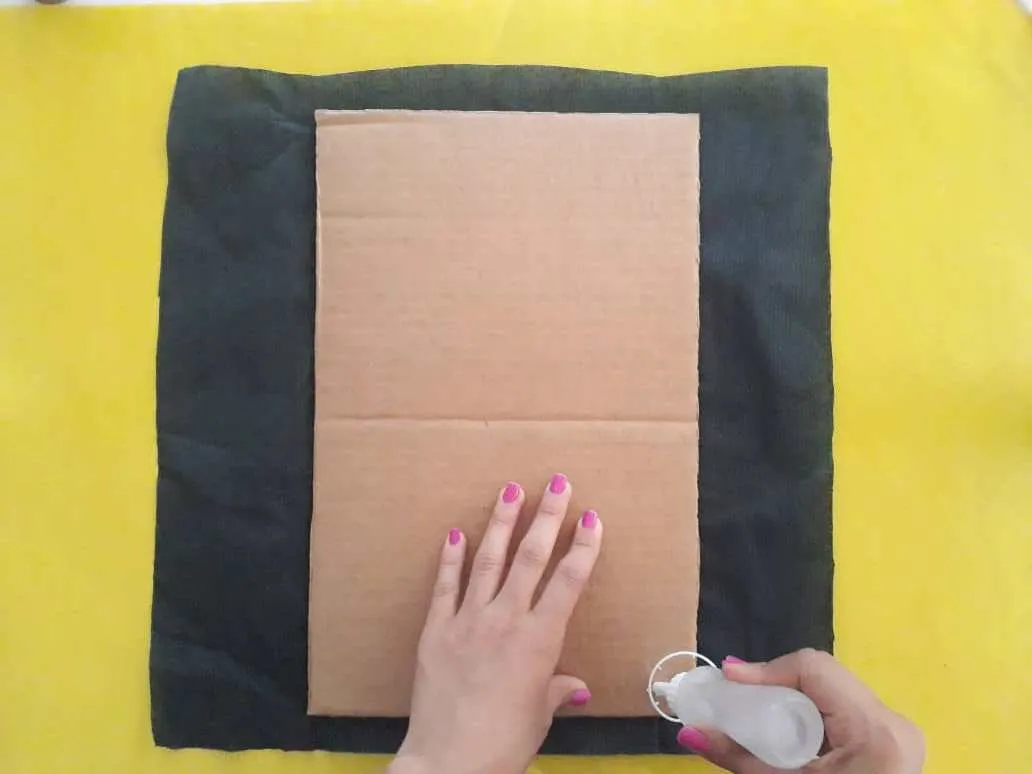
Now, we cut a rectangle of cardboard 60cm wide and 40cm high. Then we cover it with black crepe paper with the help of the glue. We must apply pressure with our hands to make sure that the paper is well glued.
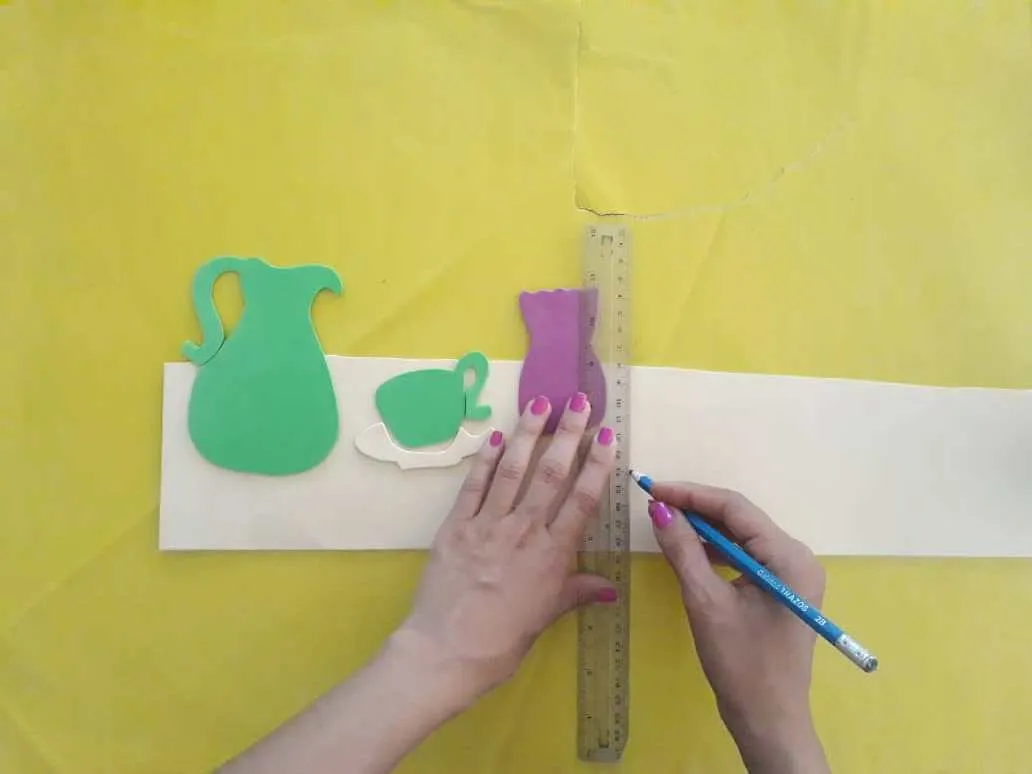
Con la ayuda de la tijera recortamos otro rectángulo de foami para que sea la mesa donde irán nuestras figuras. Utilizamos pintura de acuarela para hacer que luzca como una mesa de madera real.
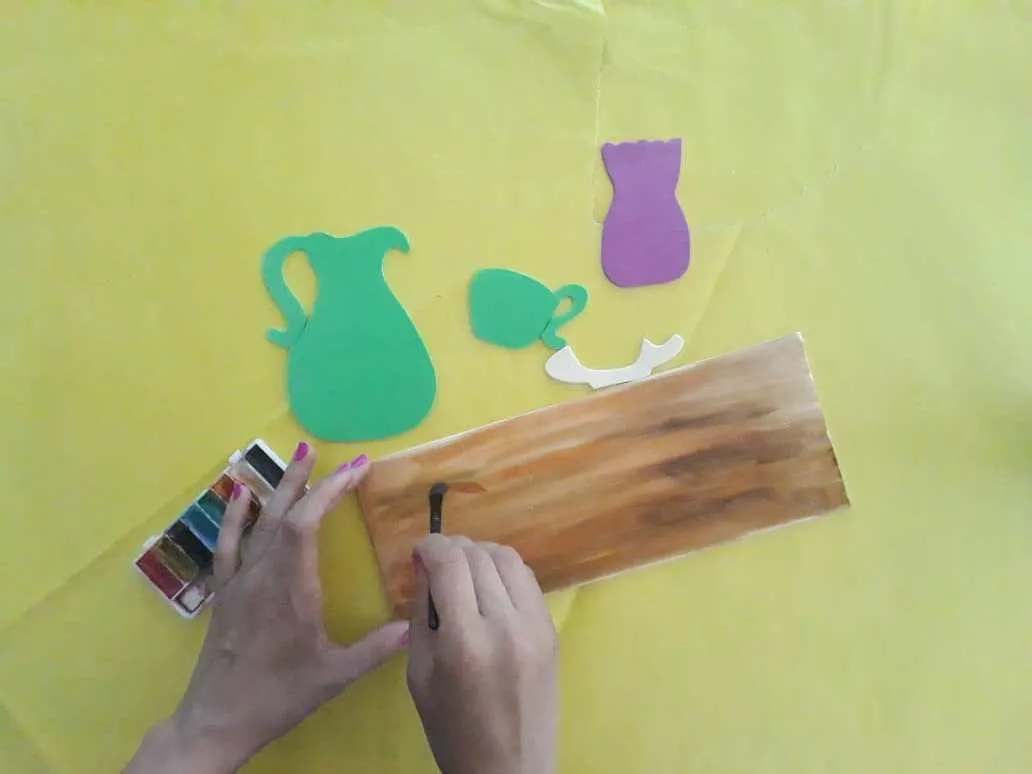
With the help of the scissors, we cut another rectangle of foamy so that it is the table where our figures will go. We use watercolor paint to make it look like a real wood table.
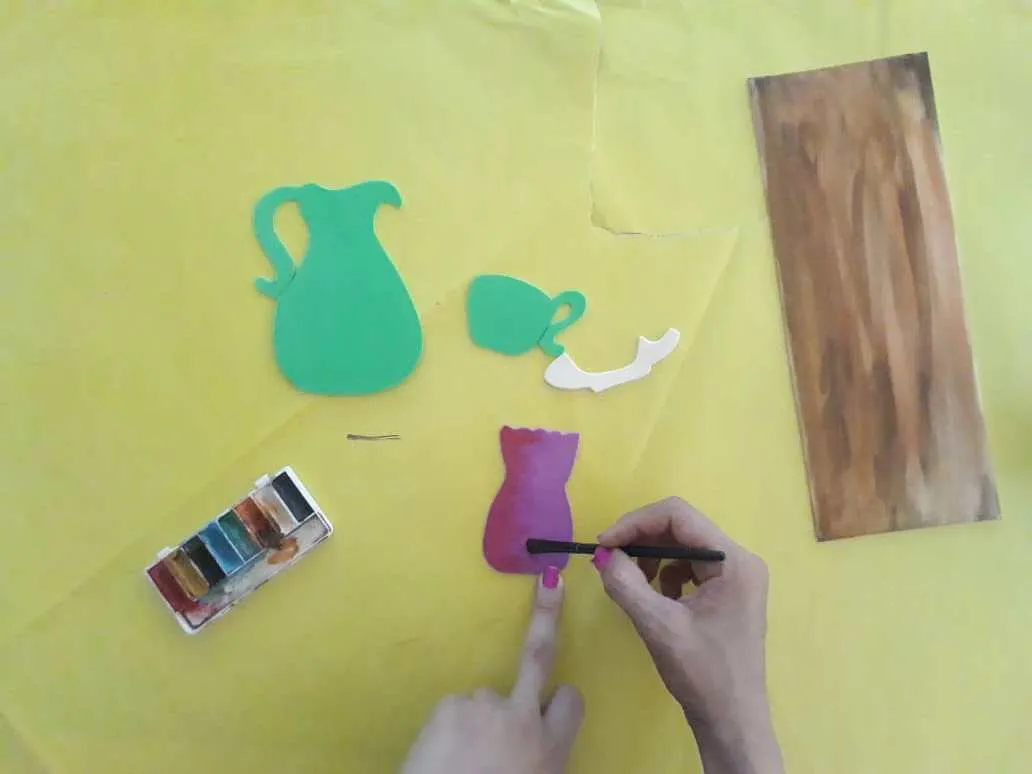
Ahora, pintamos las figuras para darles vida y que se vean mucho mejor, y las pegamos a mesa. Debemos hacer un poco de presión para asegurarnos que queden bien pegadas.
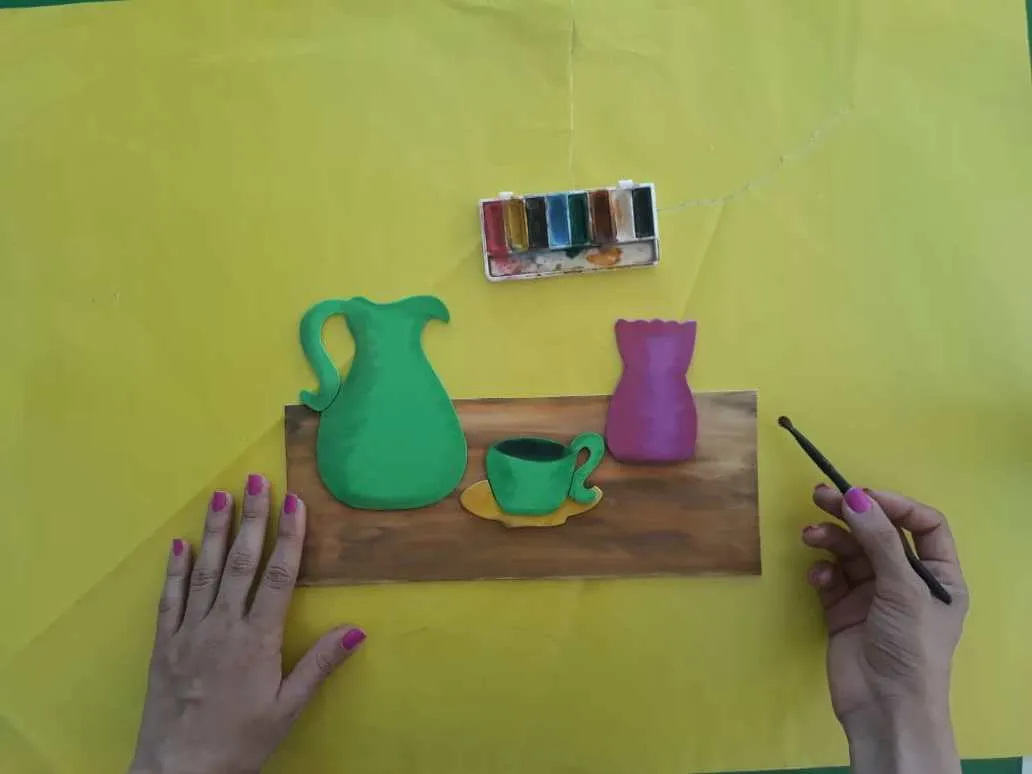
Now, we paint the figures to give them life and make them look much better, and we glue them to the table. We need to do a little bit of pressure to make sure they stick together.
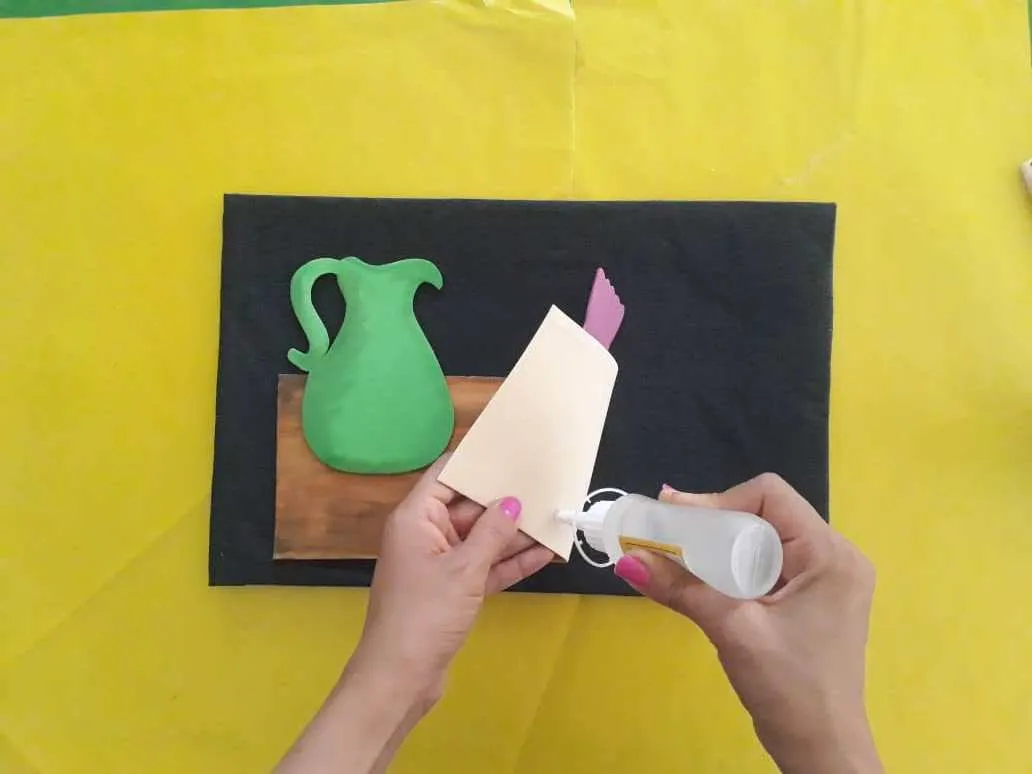
Luego, pegamos la mesa y figura al lienzo fabricado anteriormente (paso 2). No se olviden de hacer presión para asegurarnos que queden bien pegadas.
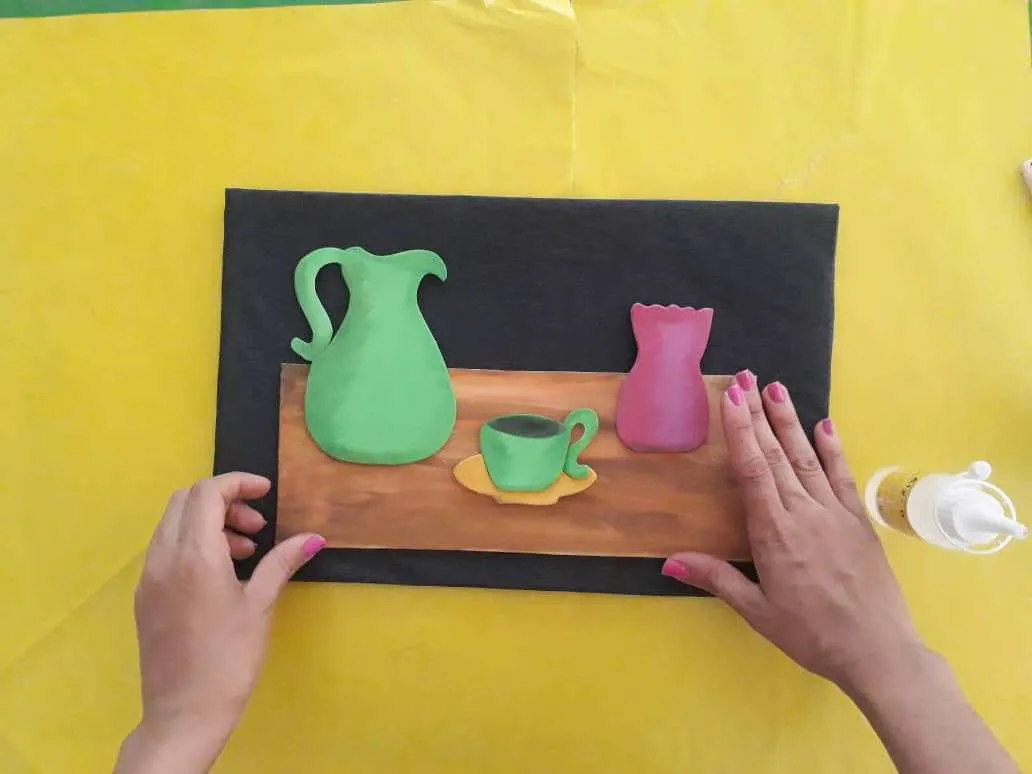
Then we glue the table and figure to the previously manufactured canvas (step 2). Do not forget to apply pressure to make sure they are well glued.
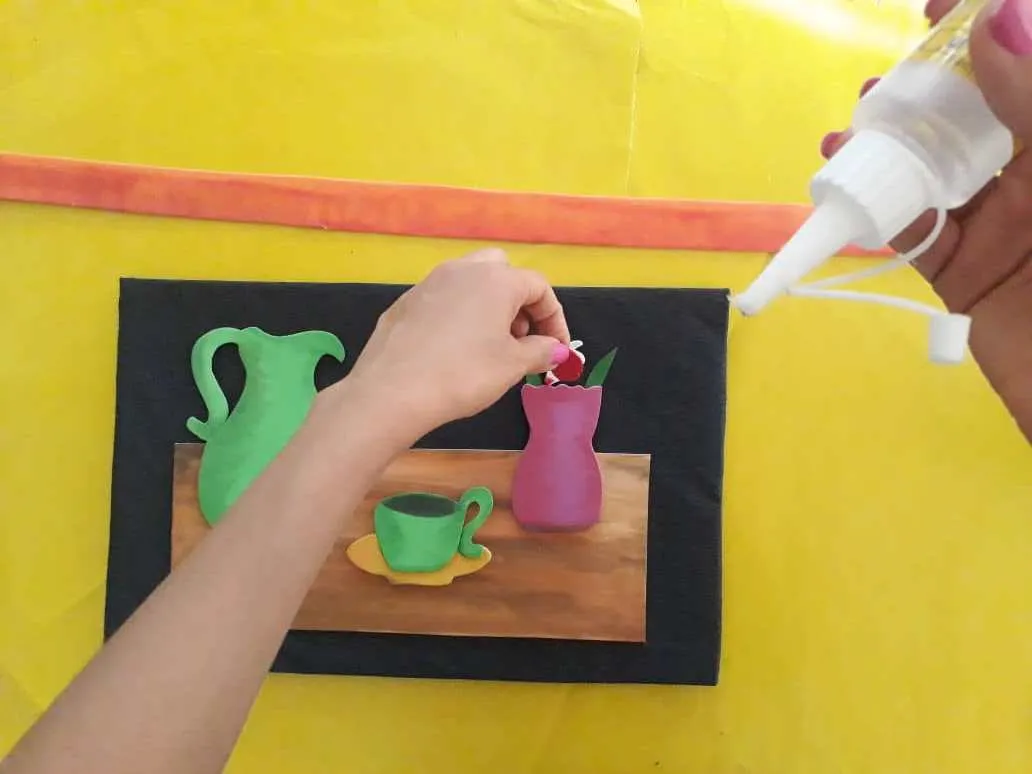
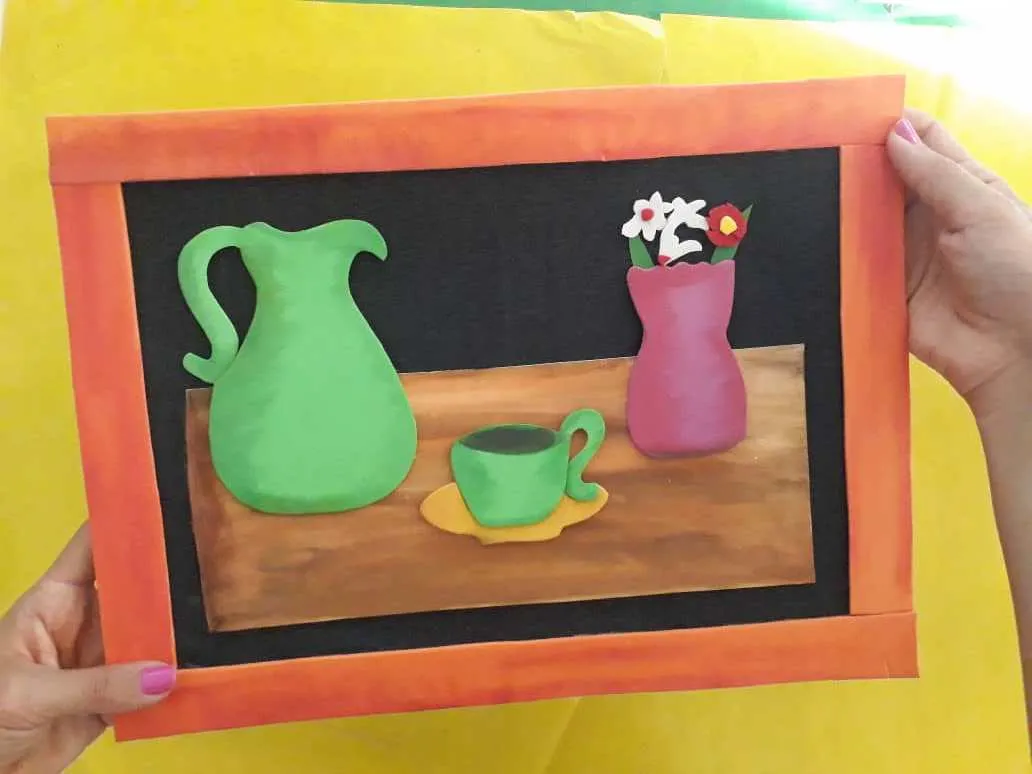
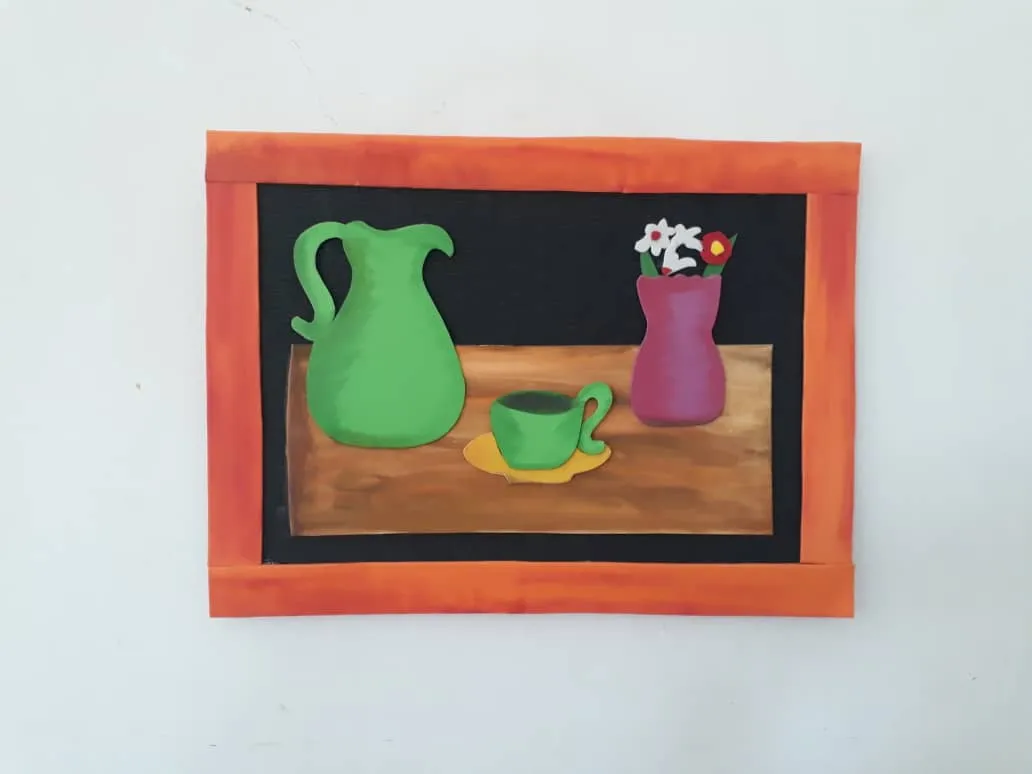
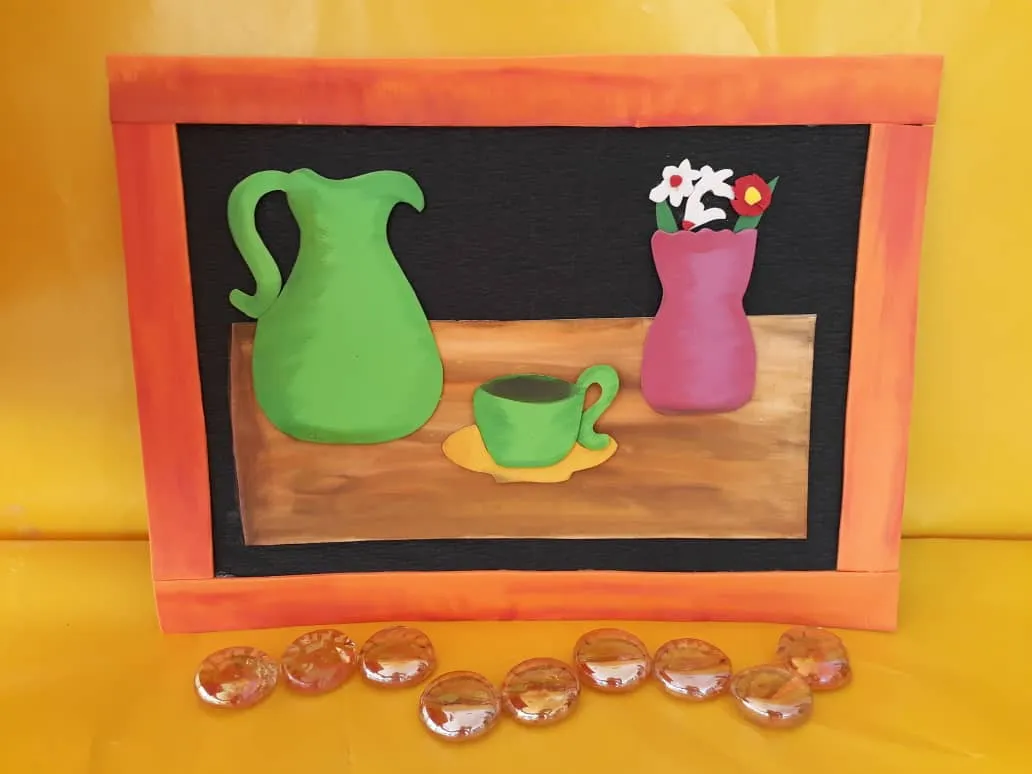
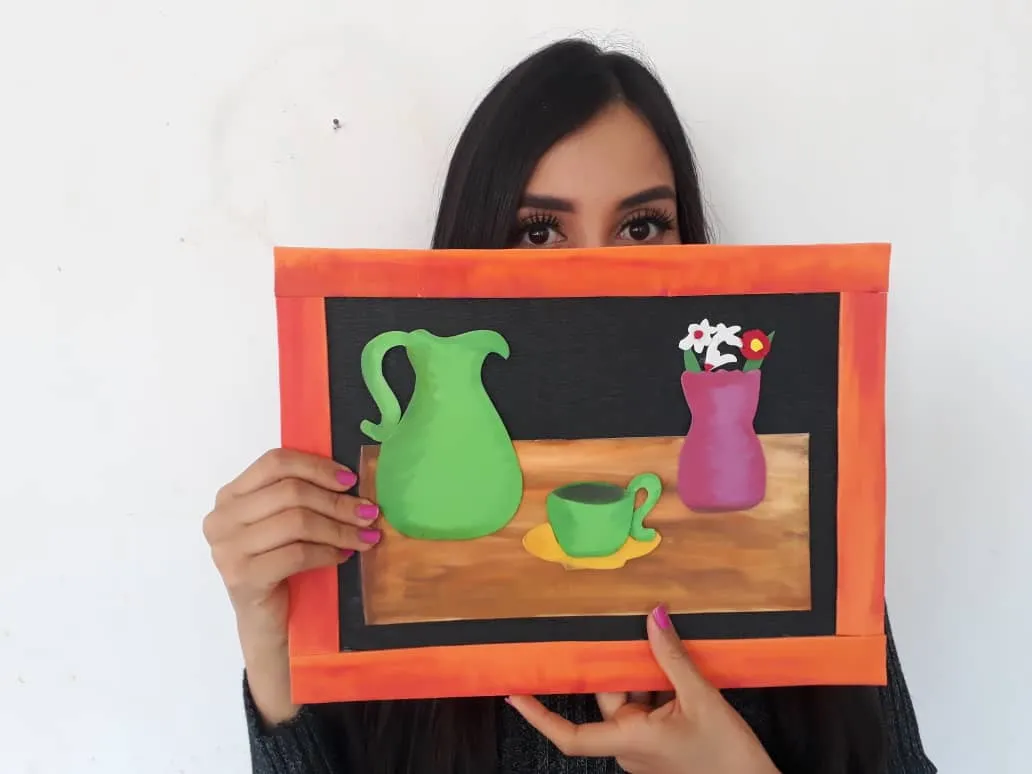
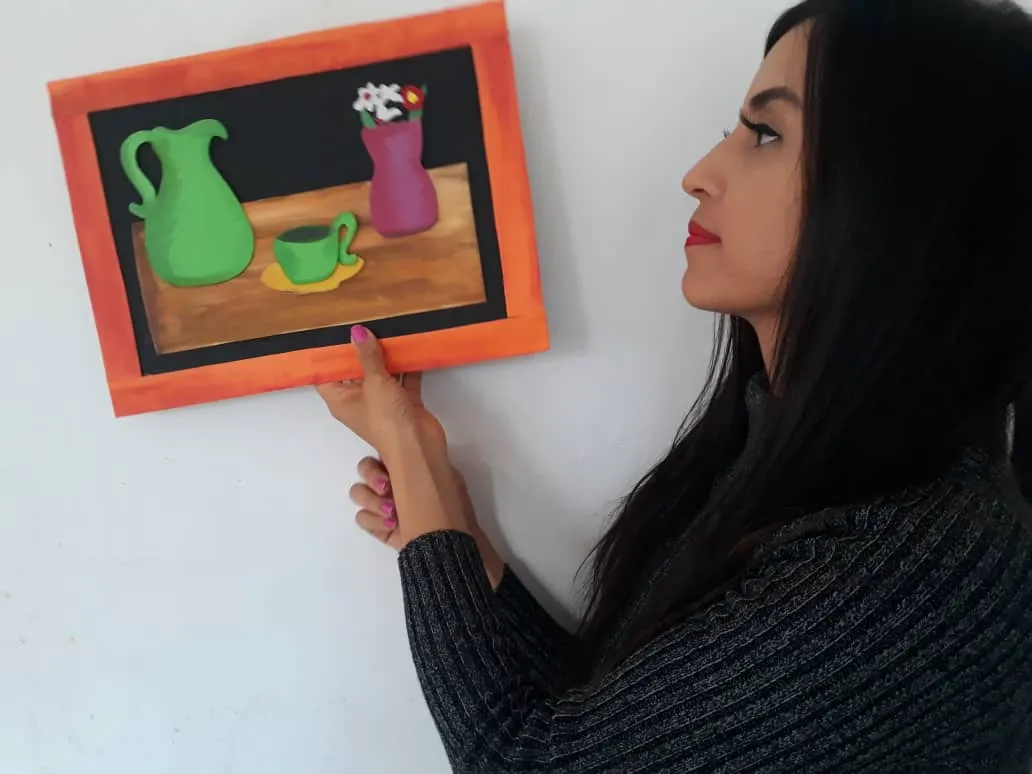
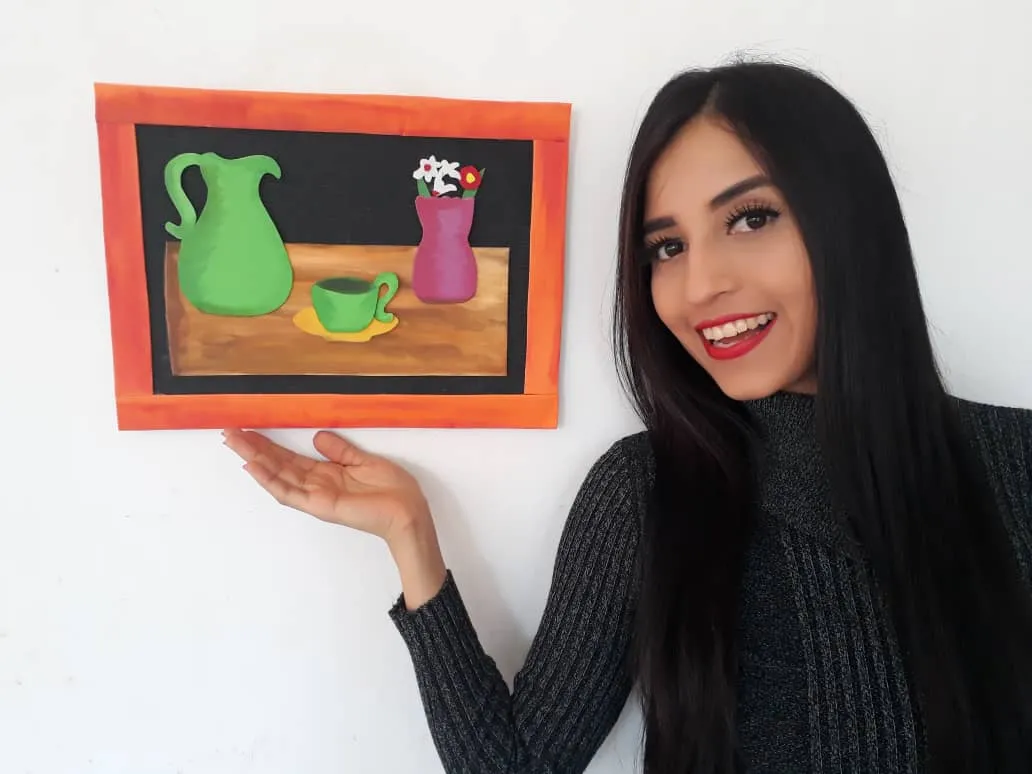
Recortamos tiras de foami para que sean el marco de nuestro cuadro, seguidamente agregamos un poco de pintura acuarela para darle un mejor acabado al marco y así resalte más. Pegamos en el borde del lienzo y decoramos la mesa con pequeñas florecitas.
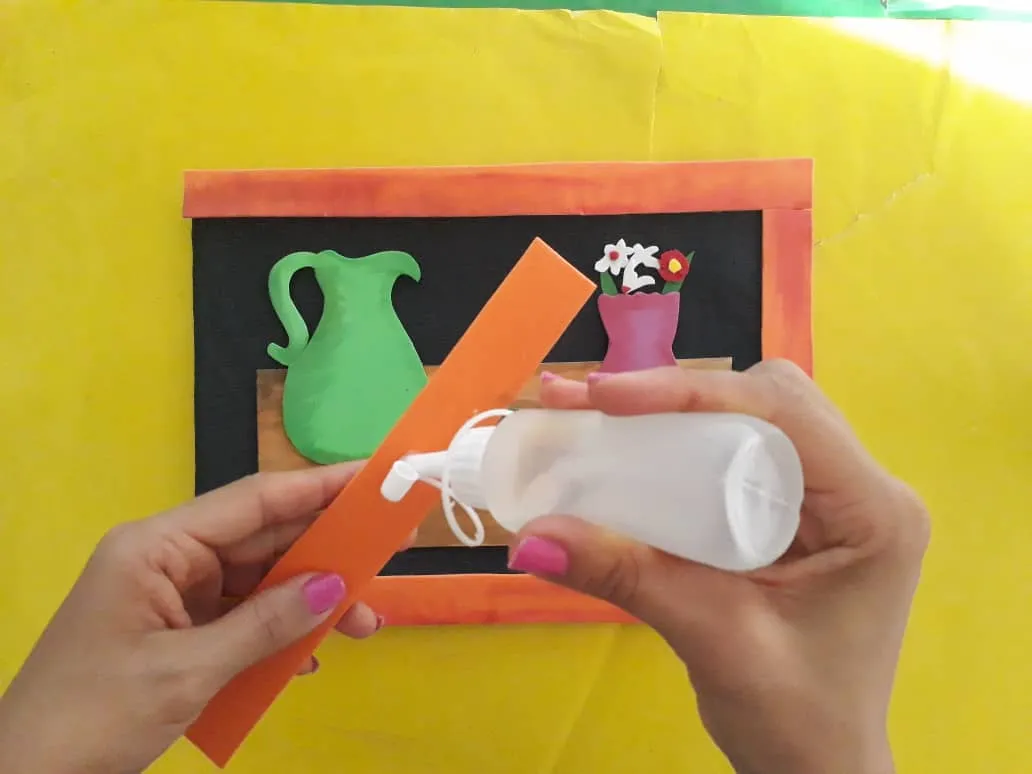
We cut foamy strips to be the frame of our painting, then we add a little watercolor paint to give a better finish to the frame and thus highlight more. We paste on the edge of the canvas and decorate the table with small flowers.
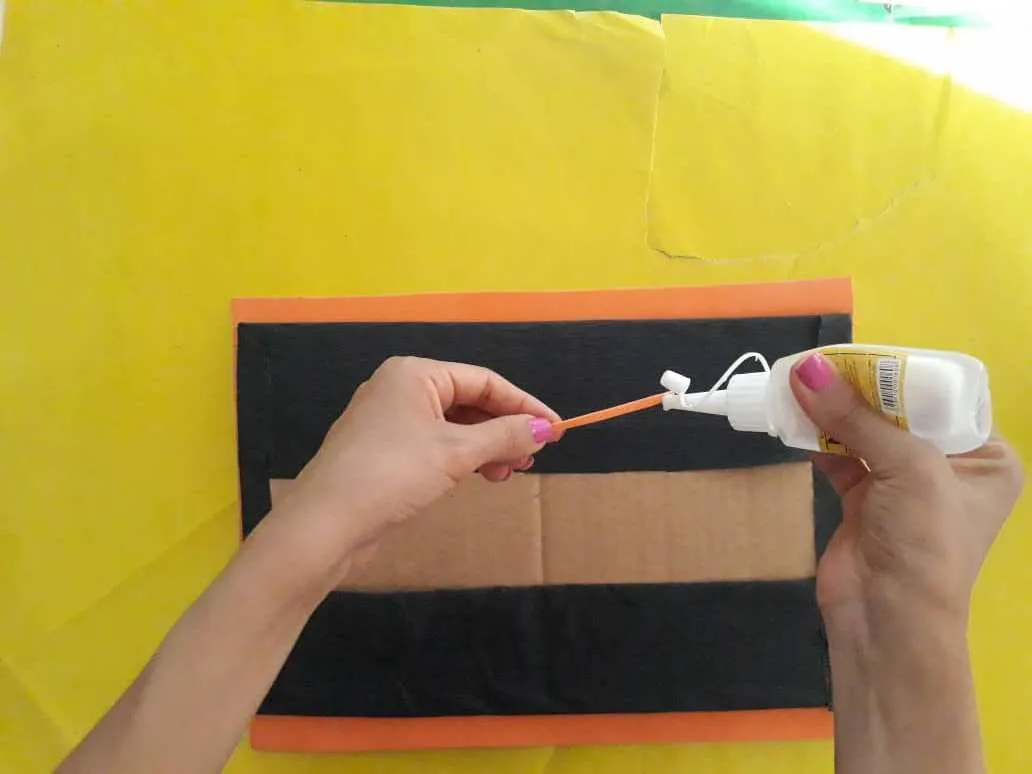
Finalmente, pegamos un listón o tira de foami en la parte trasera del cuadro para que sea el colgadero.
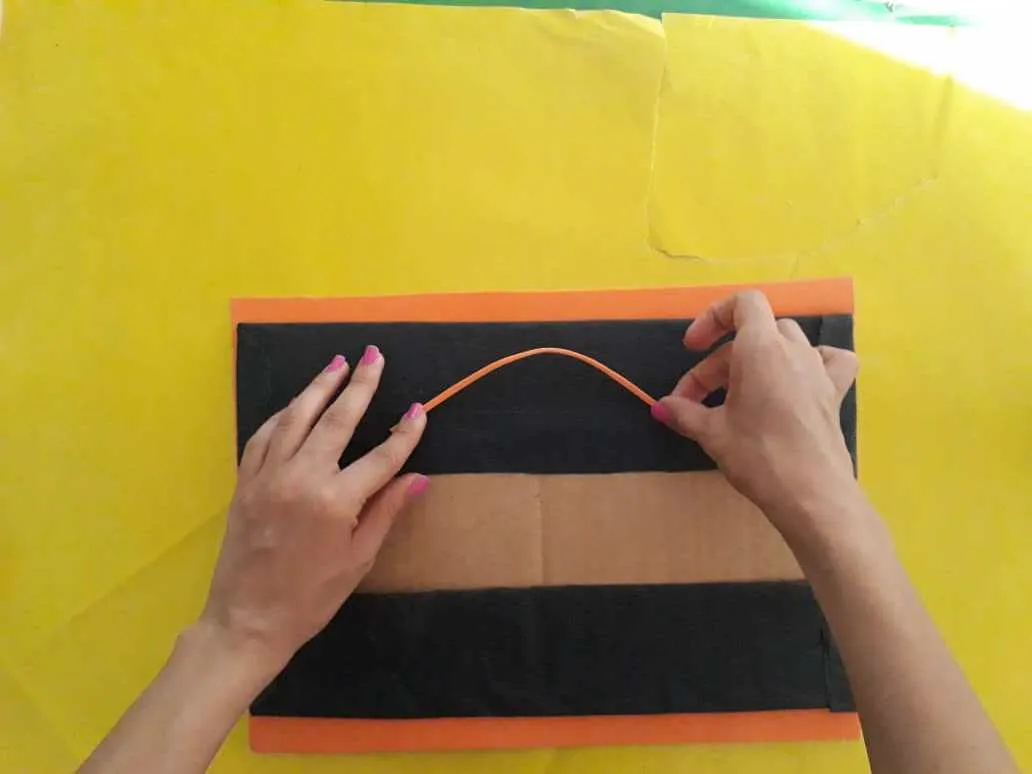
Finally, we stick a ribbon or foamy strip on the back of the painting to make it the hanger.

Gracias por acompañarme y espero que lo hayan disfrutado. ❤️
Thanks for joining and I hope you enjoyed it.❤️



.jpg)
