
Español
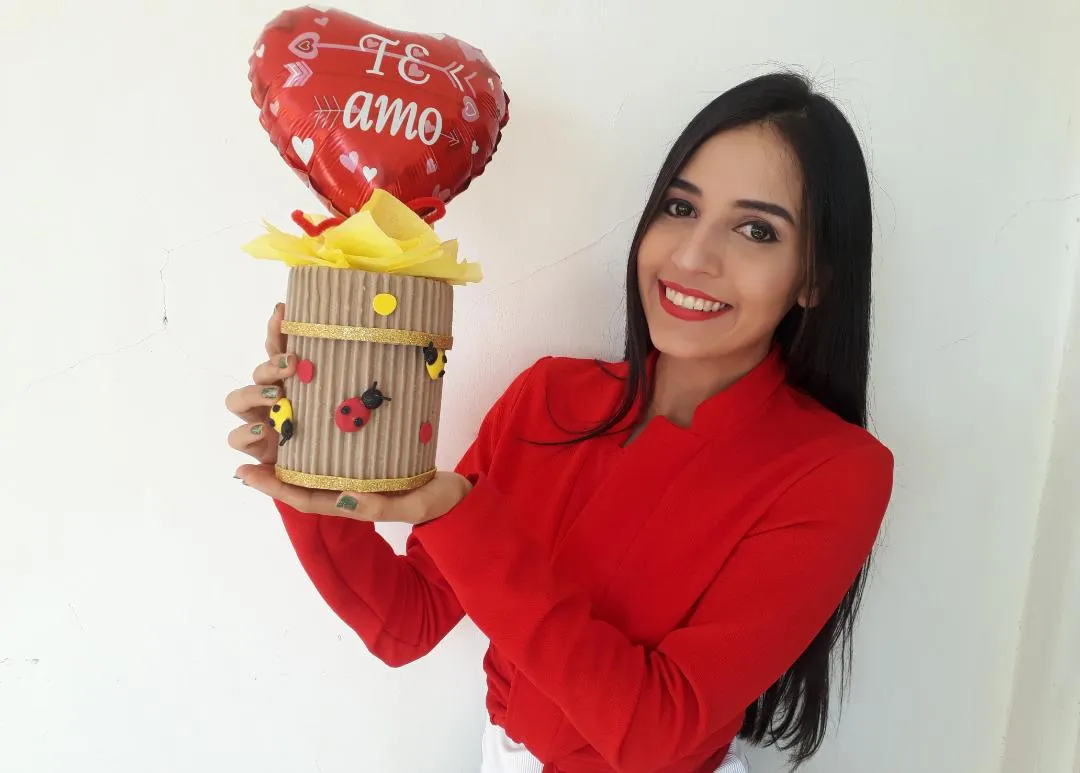
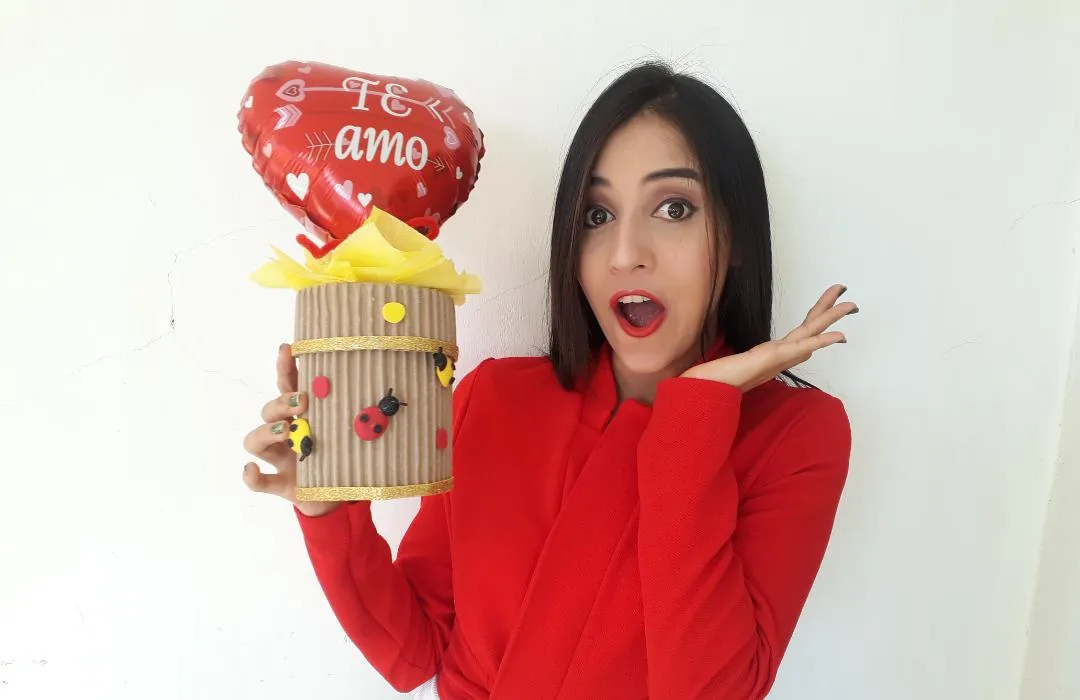
Hola queridos amigos! Hoy les traigo otro nuevo y increíble paso a paso, en donde les mostrare como realizar una caja de regalo en forma de cilindro, muy fácil de hacer utilizando cartón que es un material reciclable y fácil de conseguir. Así que, los invito a este hermoso y divertido trayecto, ideal y perfecto para el desarrollo de la creatividad de los niños. Además es una idea perfecta para pasar un rato agradable con nuestros pequeños en casa, ya que, pueden ir, de a poco, desarrollando su ingenio y acercándose un poco más al trabajo artístico.
English
Hello dear friends! Today I bring you another new and incredible step by step, where I will show you how to make a cylinder-shaped gift box, very easy to make using cardboard that is a recyclable material, and easy to get. So, I invite you to this beautiful and fun journey, ideal and perfect for the development of children's creativity. It is also a perfect idea to spend a pleasant time with our little ones at home, since they can go, little by little, developing their ingenuity and getting a little closer to artistic work.
¿Qué están esperando?
Esta nueva técnica nos permite crear una hermosa caja en forma de cilindro, ideal para sorprender a nuestros seres queridos en fechas importantes. Antes de comenzar no olvidemos lavarnos nuestras manos.
What are they waiting for?
This new technique allows us to create a beautiful cylinder-shaped box, ideal to surprise our loved ones on important dates. Before we start, let's not forget to wash our hands.


[Materiales | Materials]
Para hacer esta hermosa caja necesitaremos:
- Cartón.
- Regla.
- Lápiz.
- Tijera.
- Papel crepe.
- Tijera.
- Lija.
- Globo decorativo.
- Foamy o goma eva.
- Aplicadora de silicona caliente.
- Plato pequeño o cualquier objeto redondo.
To make this beautiful Pencil case we will need:
- Paperboard.
- Rule.
- Pencil.
- Scissors.
- Crepe paper.
- Scissors.
- Sandpaper.
- Decorative balloon.
- Foamy or rubber Eva.
- Hot silicone applicator.
- Small plate or any round object.
Procedimiento (paso a paso)
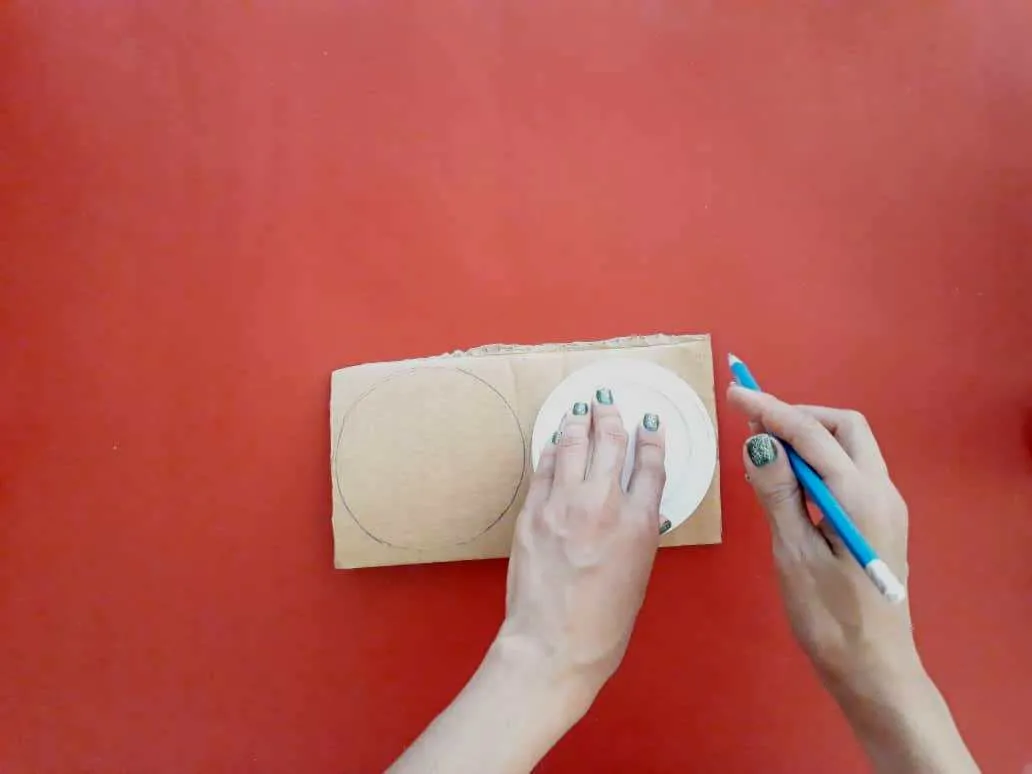
Primero, con la ayuda del plato redondo trazamos y recortamos 2 círculos con una diferencia de 1 cm. El más grande se utilizara para la tapa y el otro para la base. Debemos realizar este paso con mucho cuidado para mantener sus medidas exactas.
Process (step by step)
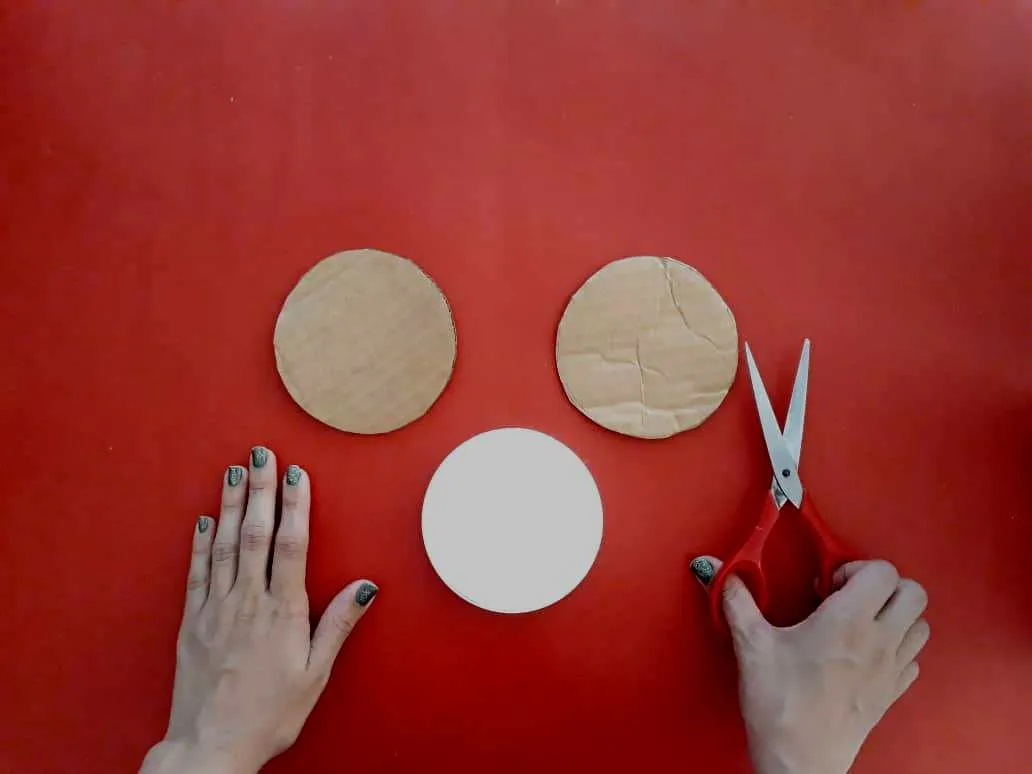
First, with the help of the round plate, trace and cut 2 circles with a difference of 1 cm. The largest will be used for the top and the other for the base. We must take this step very carefully to keep your measurements accurate.
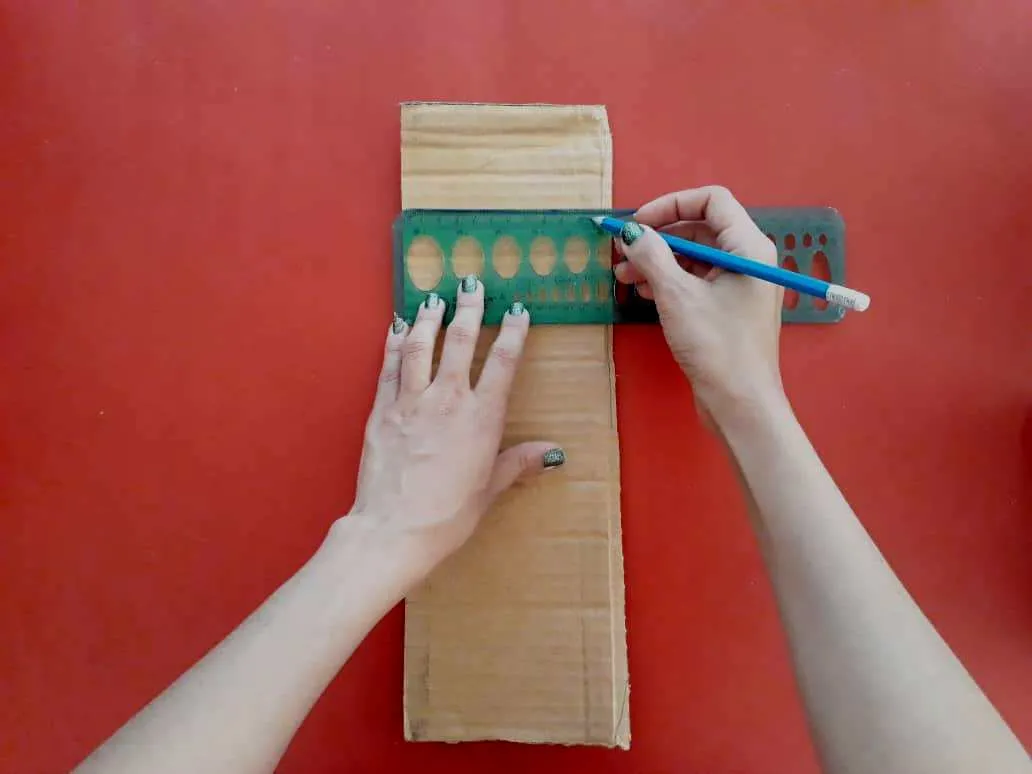
Ahora, trazamos y recortamos dos tiras rectangulares, la primera con un anche de 10cm y la segunda de 4cm. El largo de las tiras será el necesario para cubrir en borde de ambos círculos.
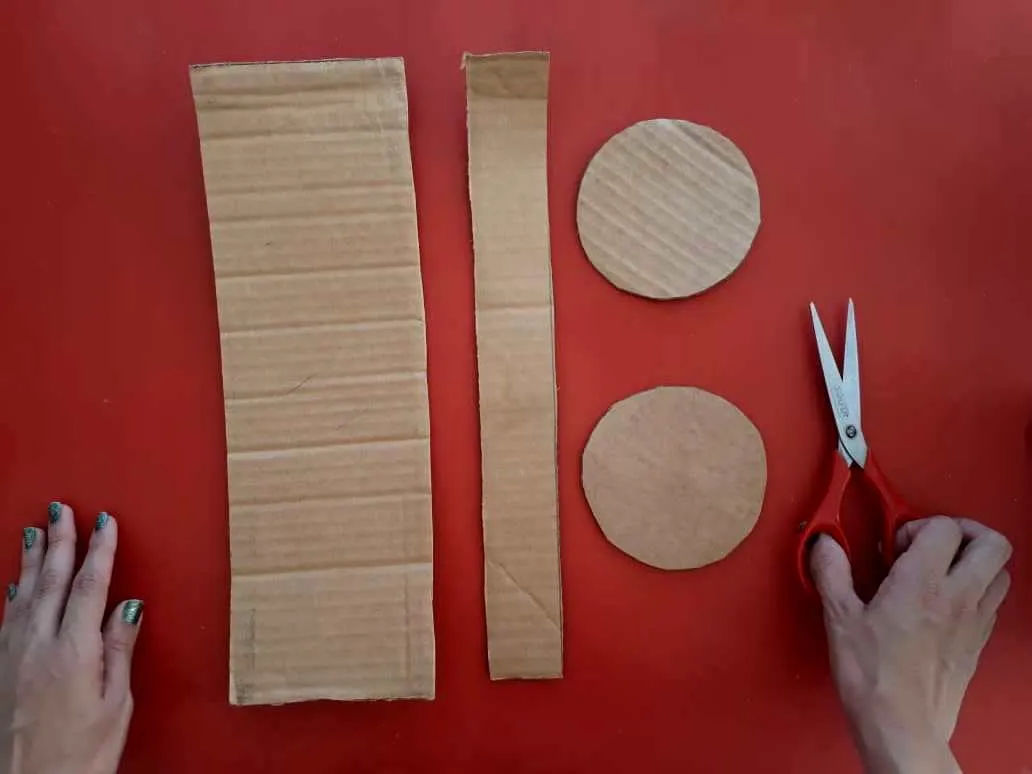
Now, we draw and cut two rectangular strips, the first with a width of 10cm and the second with 4cm. The length of the strips will be necessary to cover the edge of both circles.
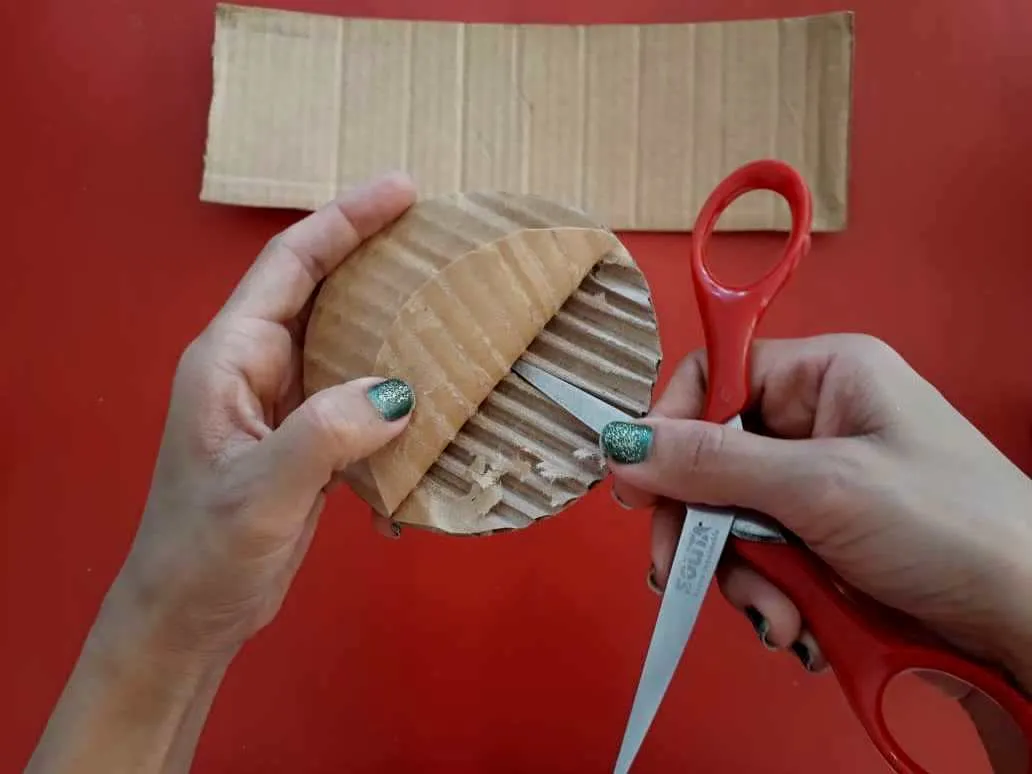
Luego, con la ayuda de la tijera levantamos la capa superior de los moldes de cartón (círculos y tiras rectangulares). Y quitamos el exceso de cartón utilizando una lija. Esto hará que el cartón sea corrugado y le daremos un mejor acabo a nuestra caja.
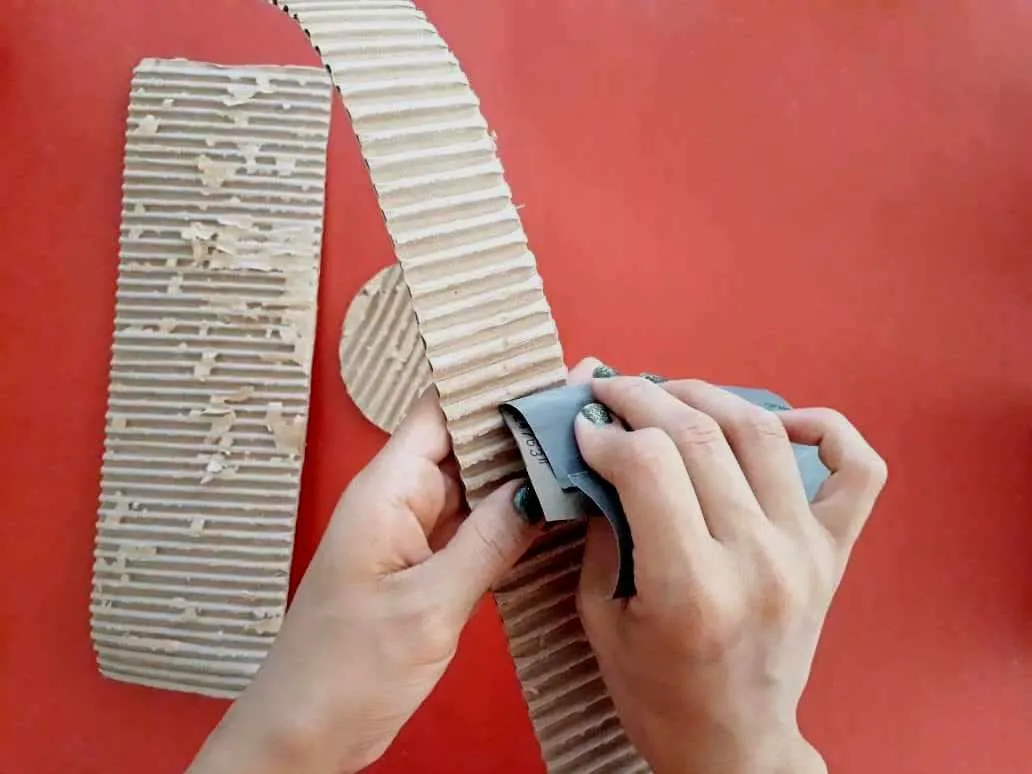
Then, with the help of the scissors, we lift the top layer of the cardboard molds (circles and rectangular strips). And we remove the excess cardboard using sandpaper. This will make the cardboard corrugated and we will give a better finish to our box.
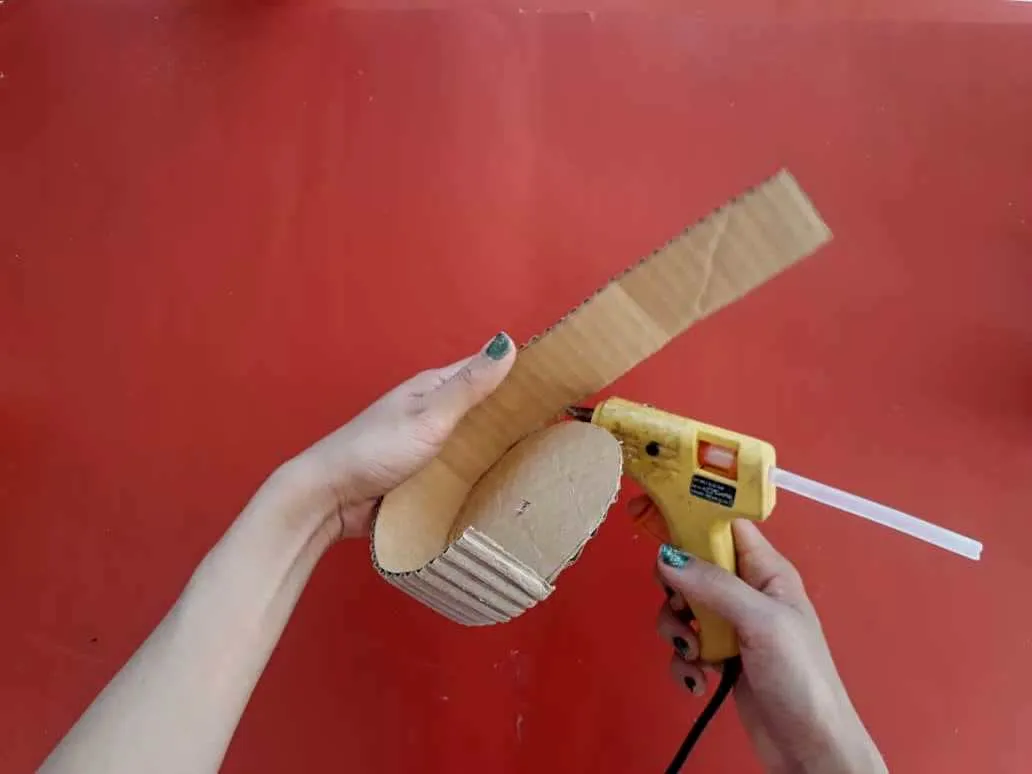
Ahora, pegamos las tiras rectangulares a los bordes de los círculos utilizando silicona caliente, dejando la parte corrugada del cartón de lado externo. Recuerden que la tira más larga va con el círculo mayor y la tira más pequeña con el círculo menor. Para así armar nuestra caja.
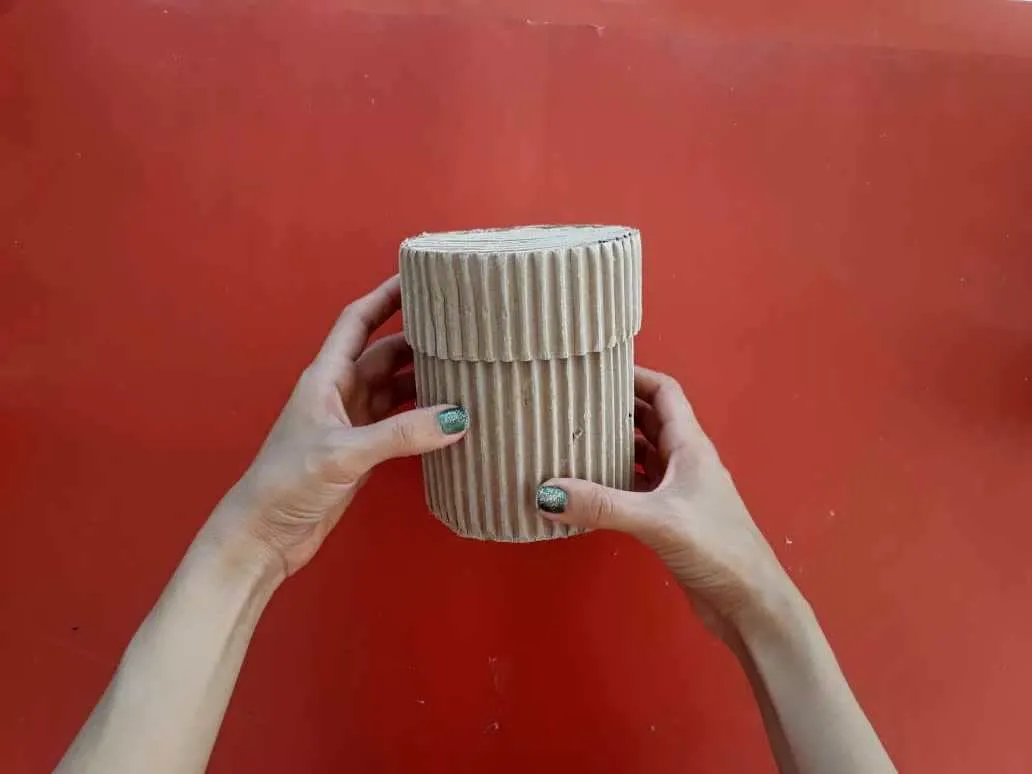
Now, we glue the rectangular strips to the edges of the circles using hot silicone, leaving the corrugated part of the cardboard on the outer side. Remember that the longest strip goes with the largest circle and the smallest strip with the smallest circle. In order to build our box.
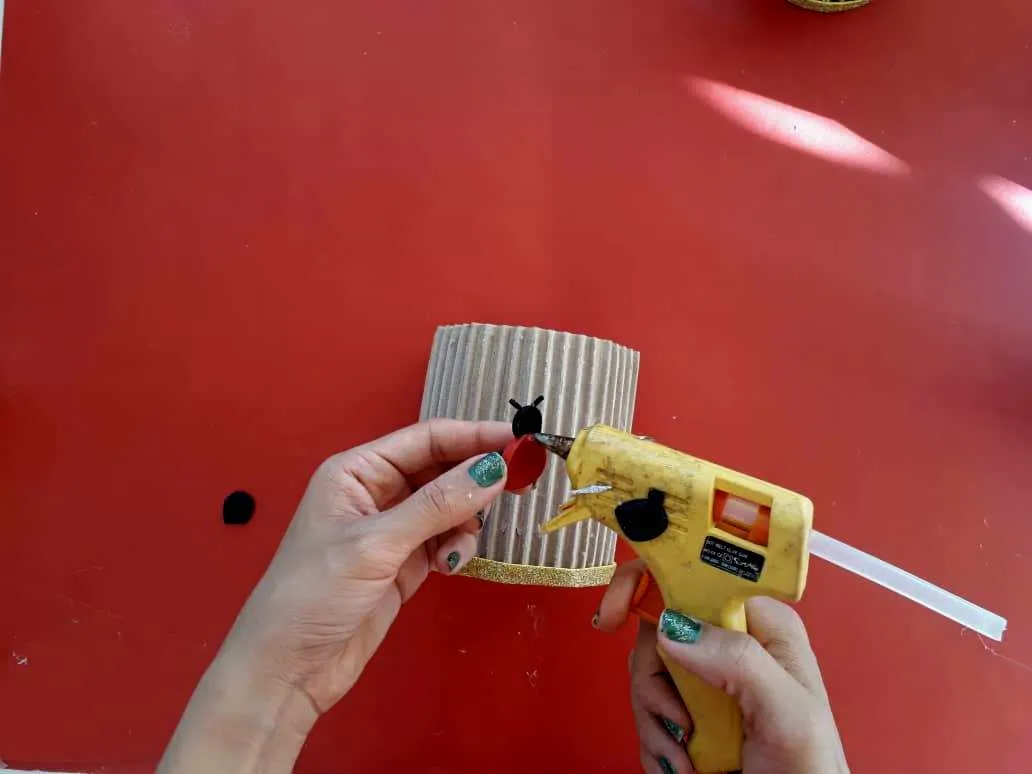
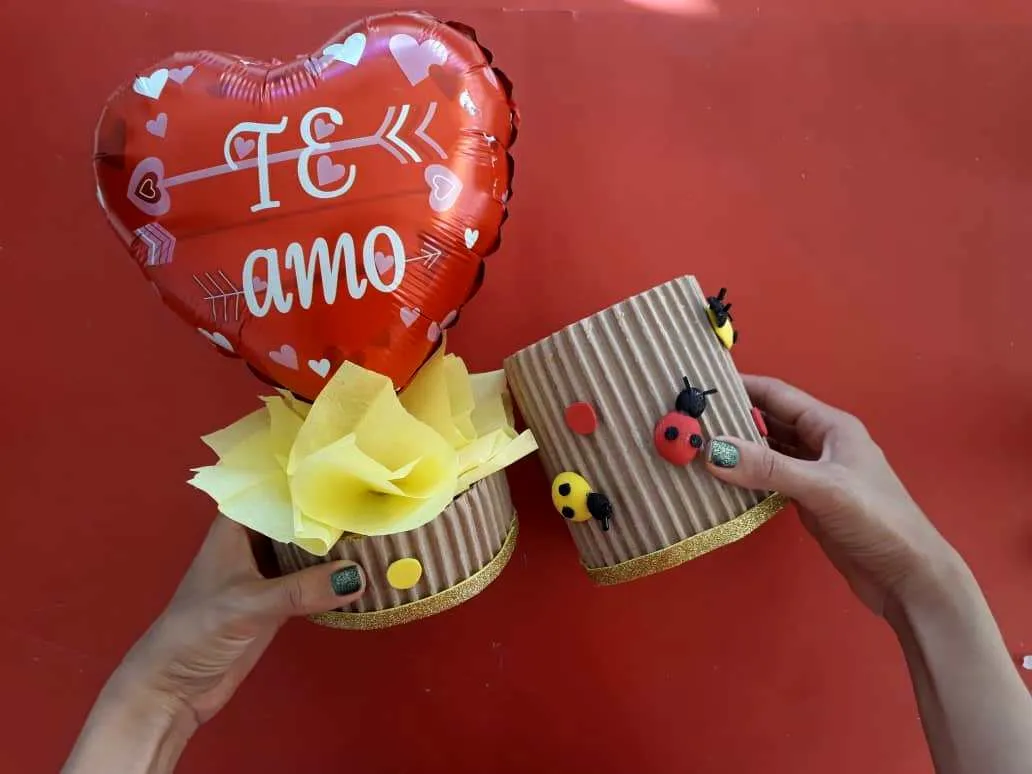
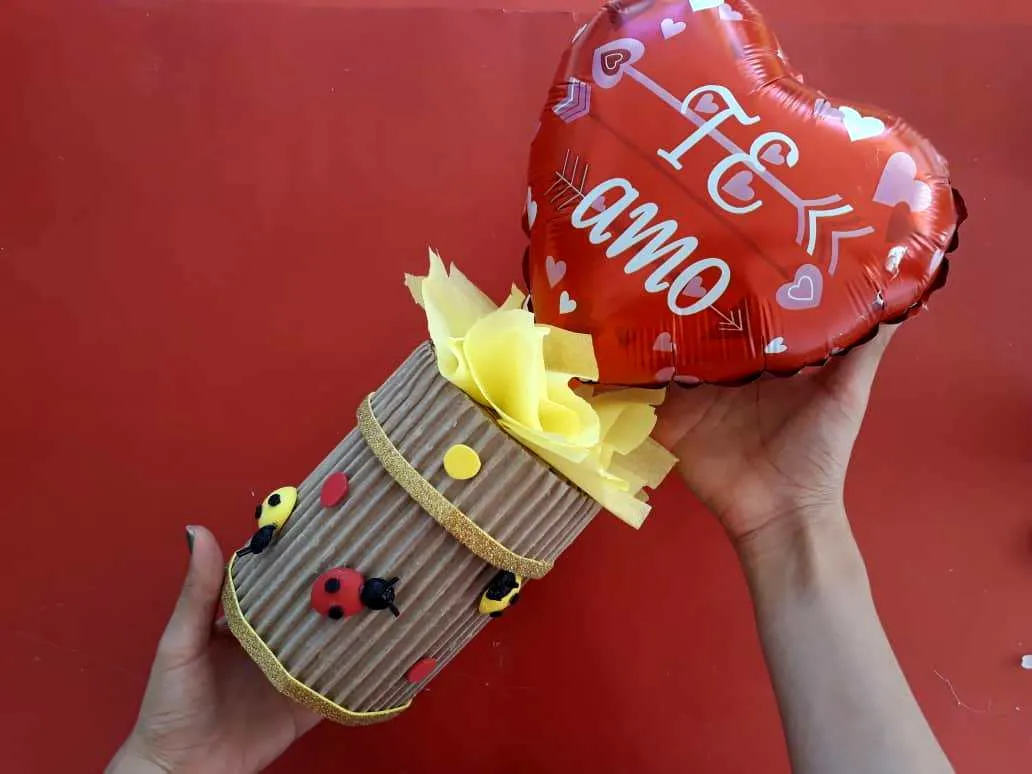
Finalmente decoramos utilizando un globo decorativo, papel crepe y foamy o goma Eva.
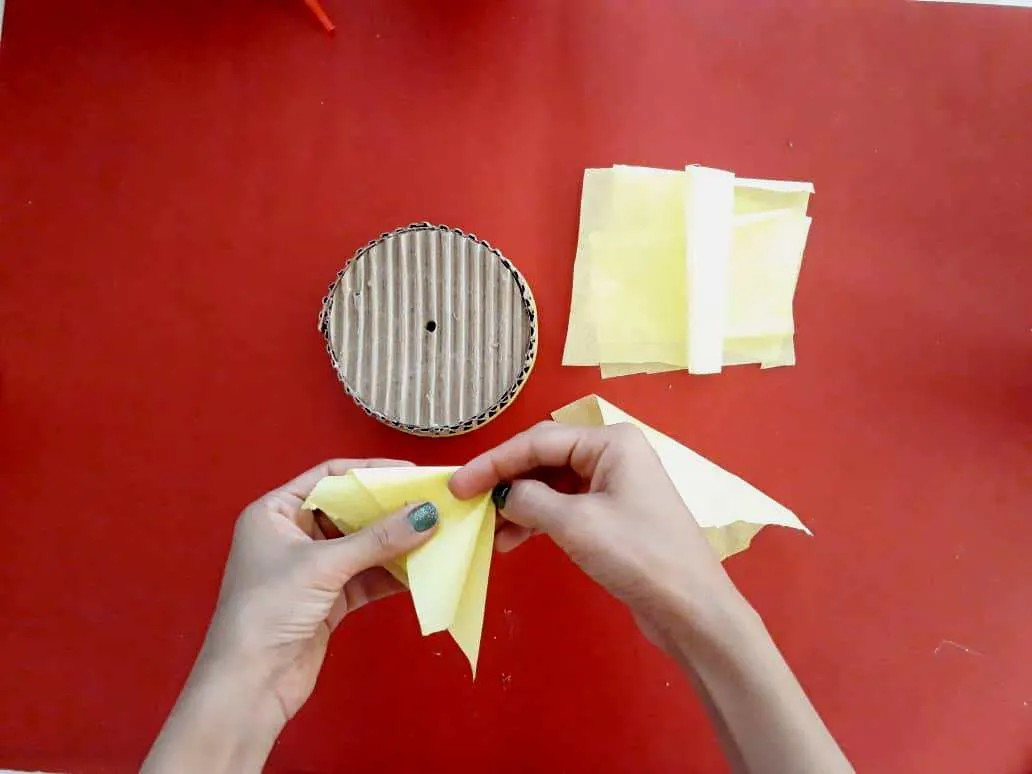
Finally, we decorate using a decorative balloon, crepe paper, and foamy or Eva rubber.

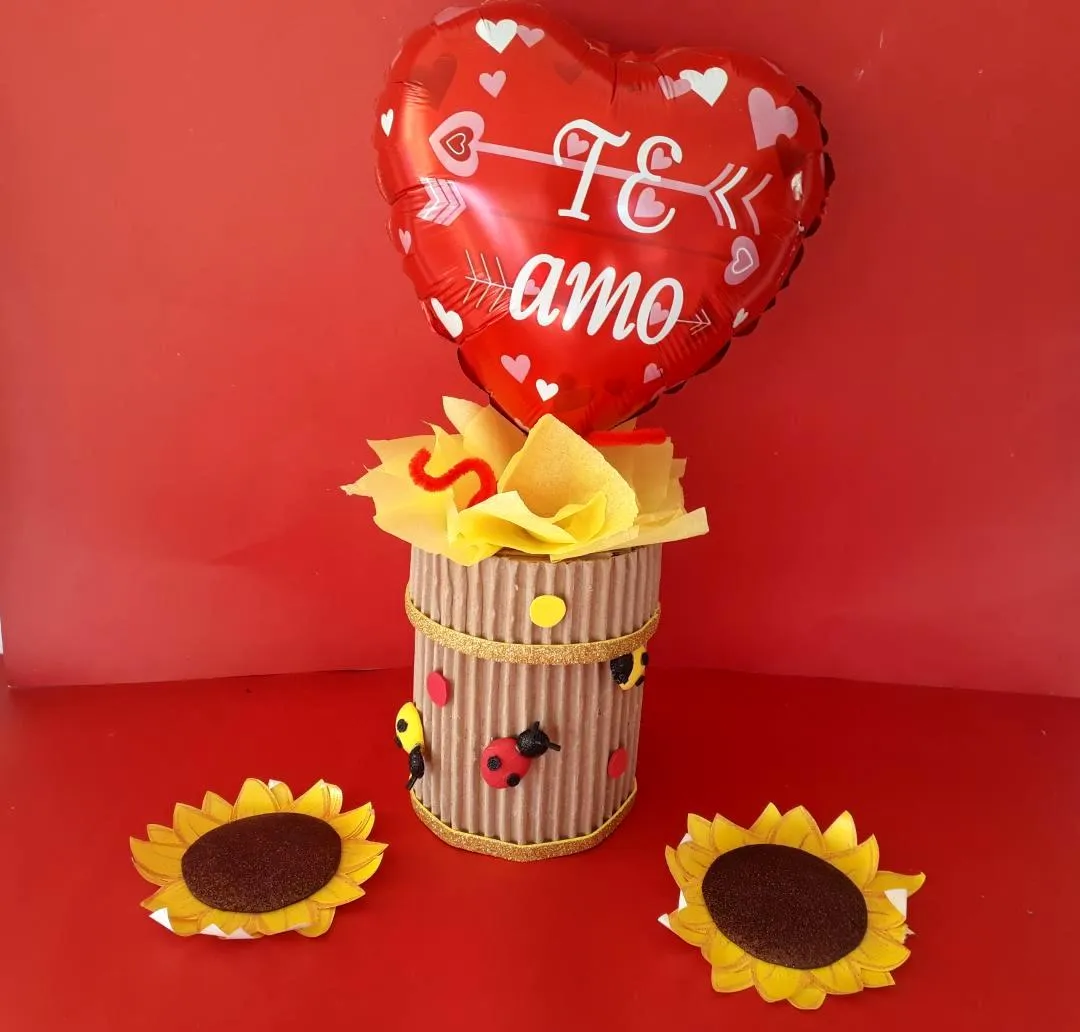
Gracias por acompañar y espero que lo hayan disfrutado. 🍎
Thanks for joining and I hope you enjoyed it.🍎
