
Español
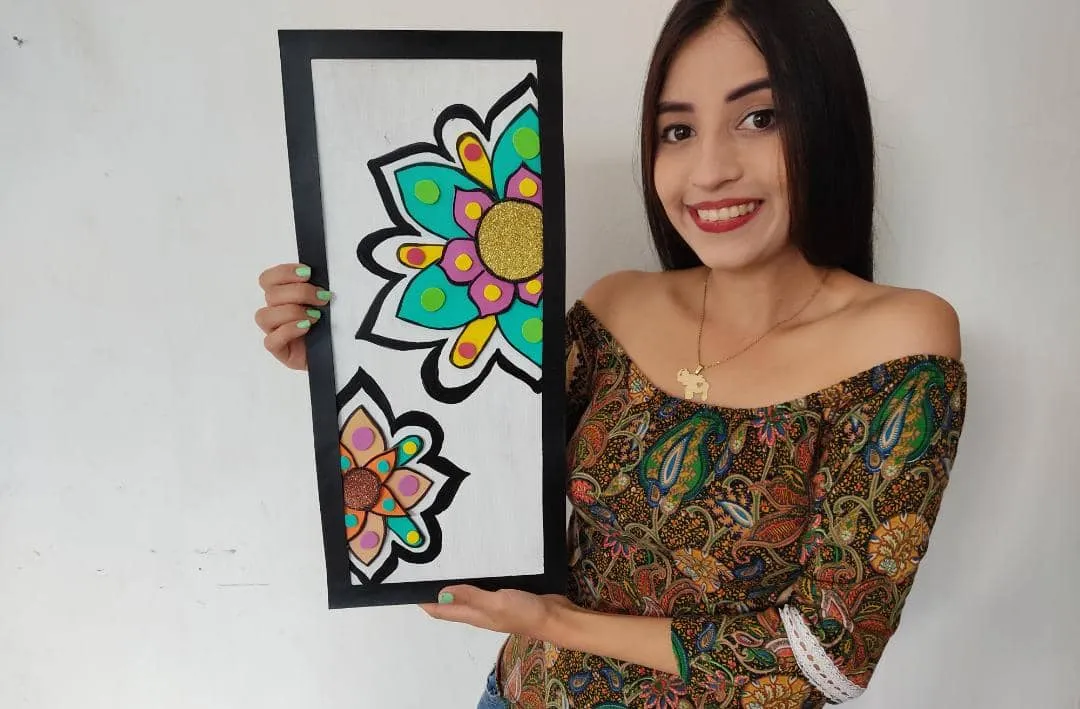
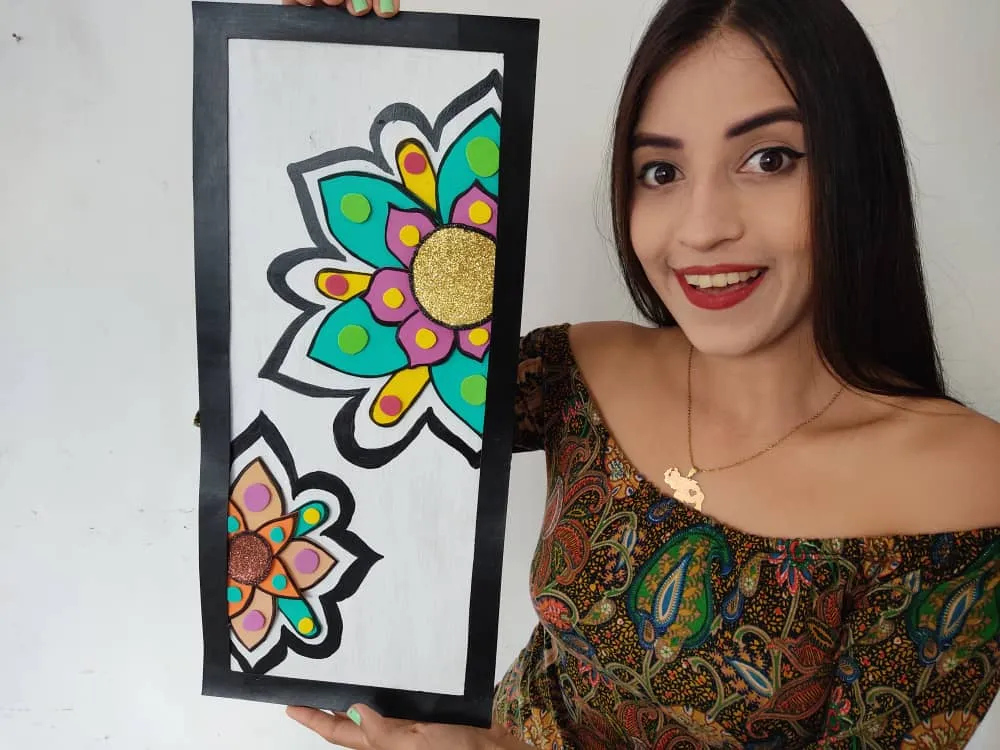
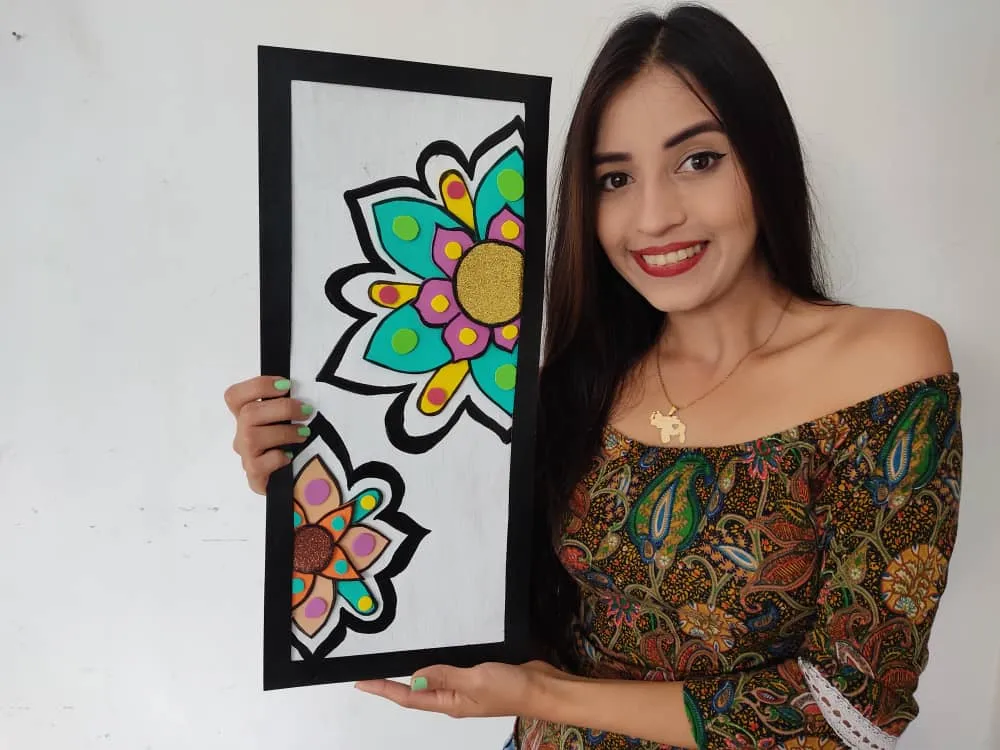
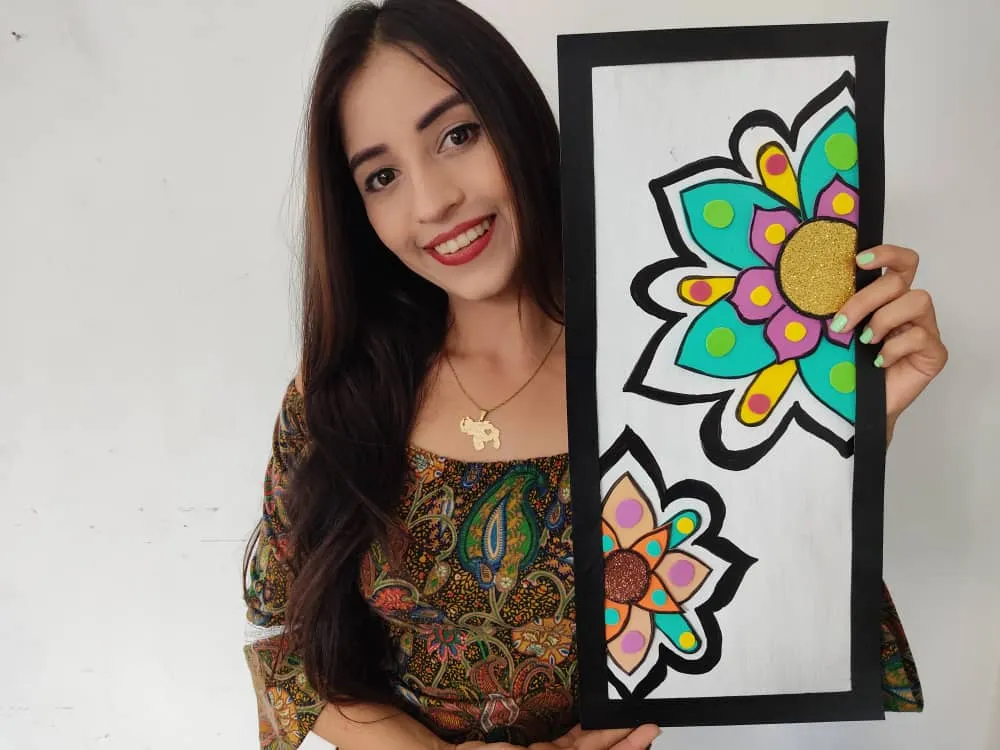
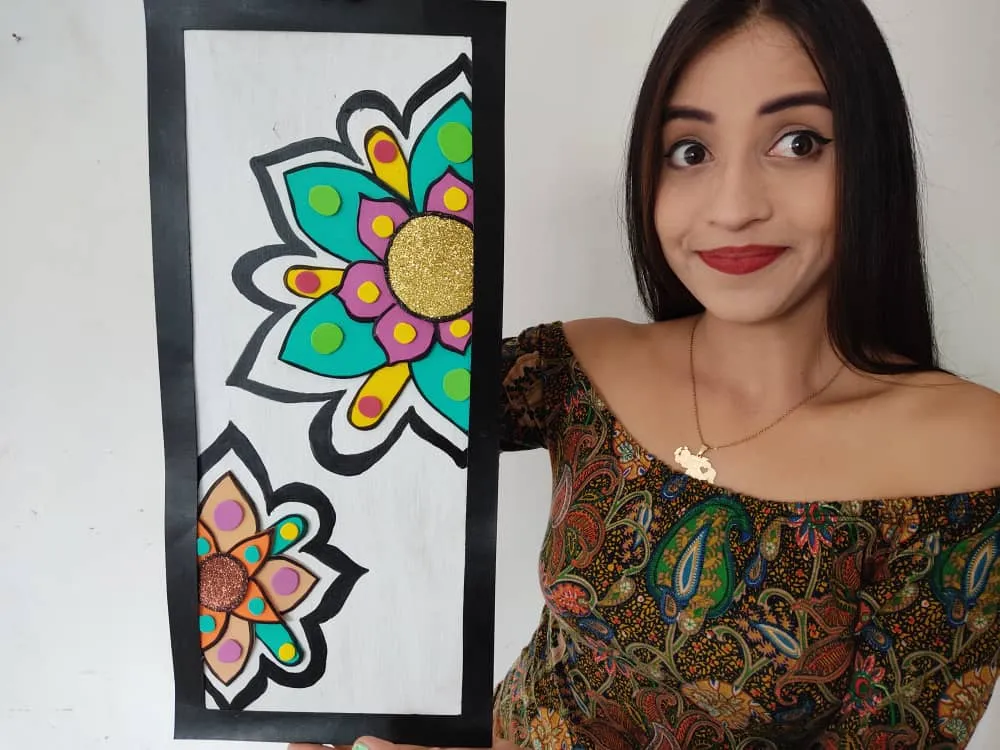
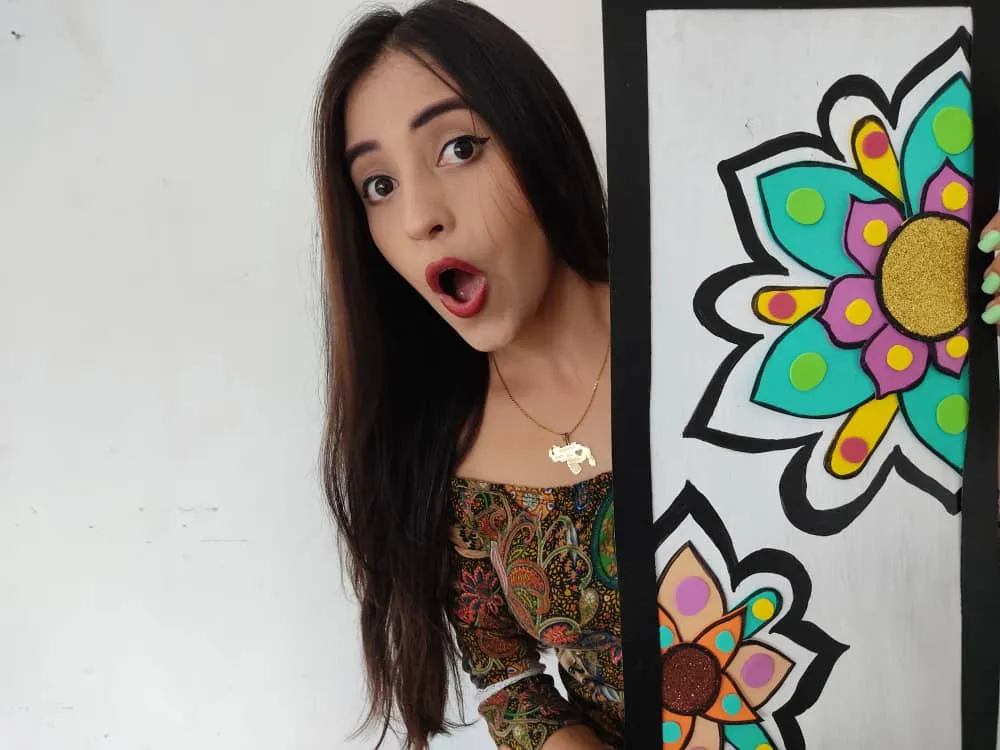
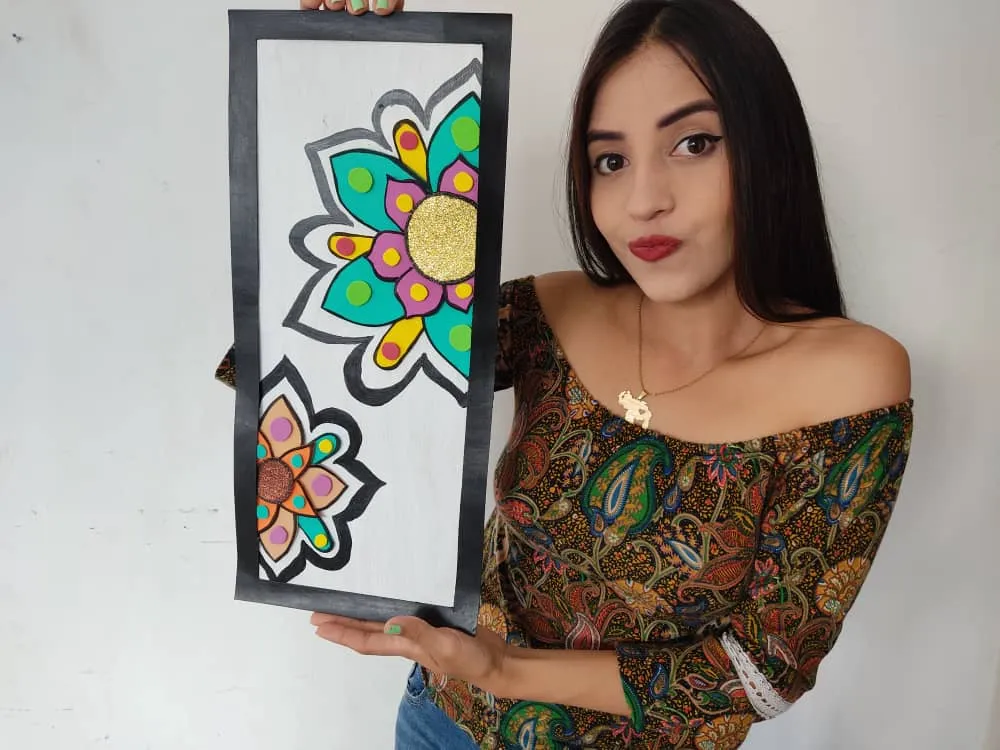
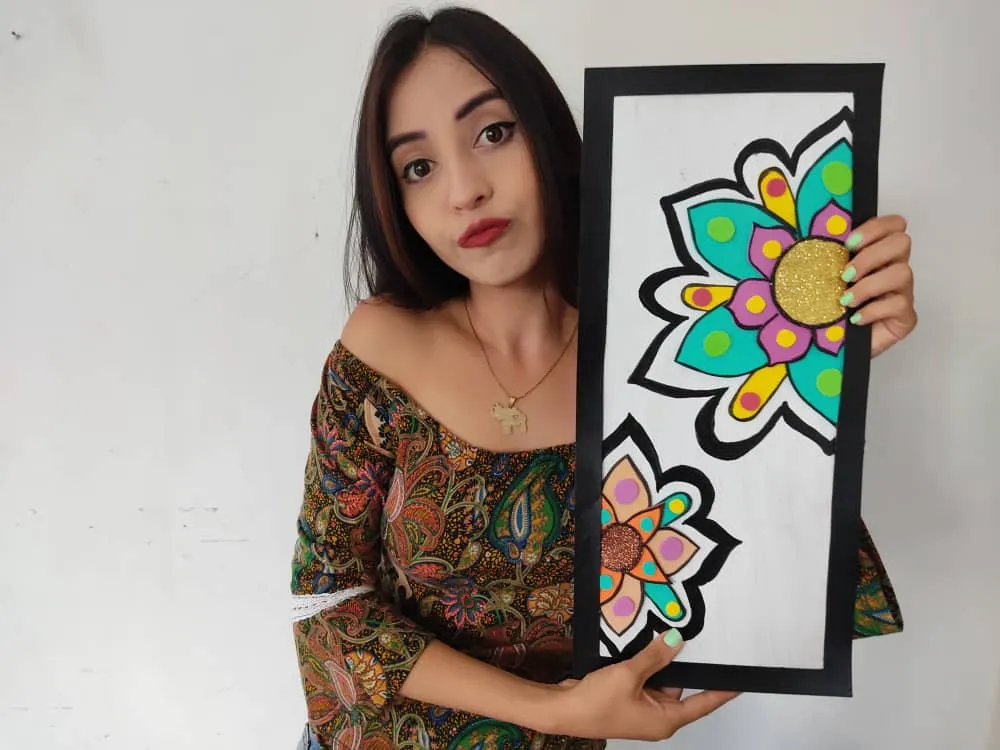
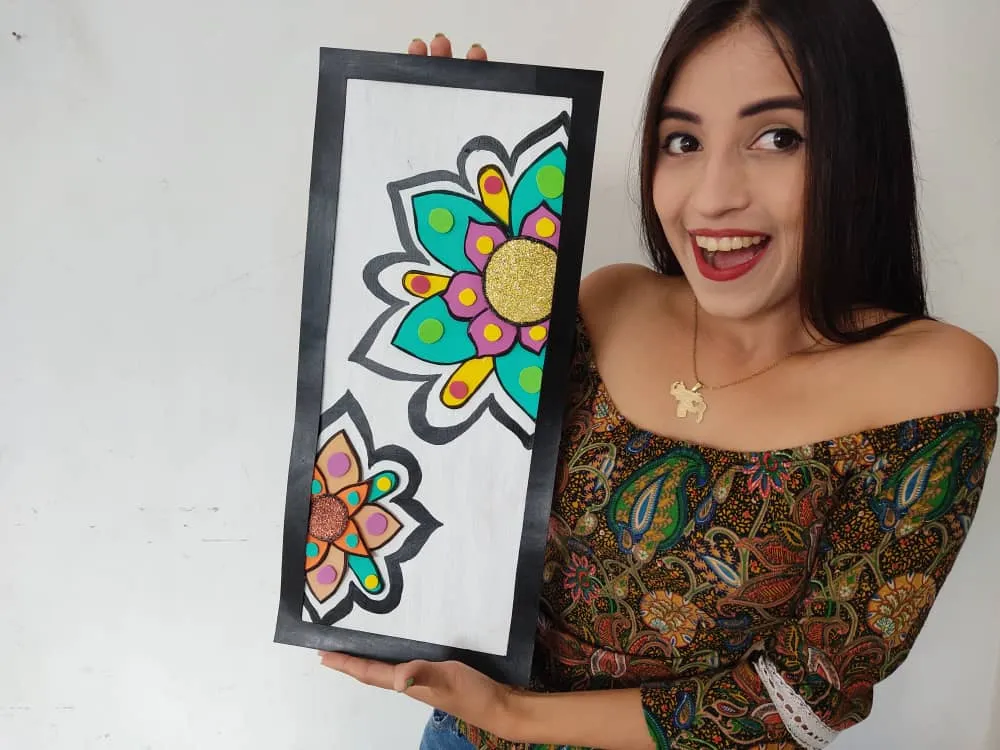
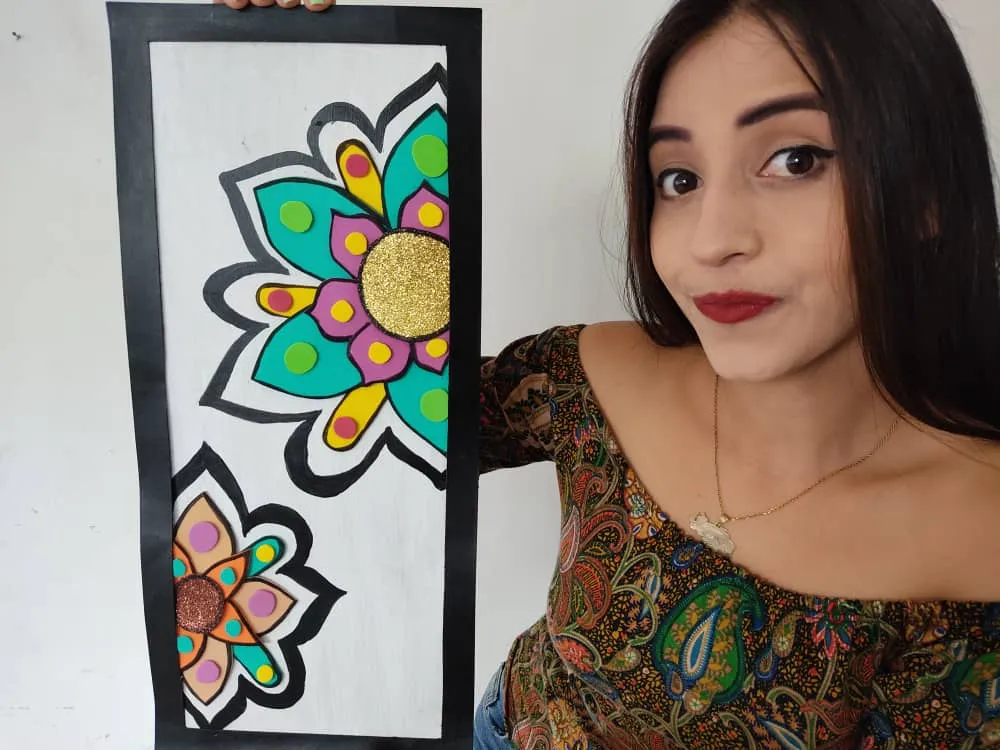
Hola queridos amigos 🙋 Este lindo día traigo para ustedes un paso a paso muy divertido, dónde la mostrare como hacer un increíble y hermoso cuadro de flores en forma de mándala, como siempre les recomiendo experimentar nuevas ideas cada vez que vayan a trabajar, agregando los detalles de su preferencia, de esta manera fortalecerán su personalidad y originalidad en cada una de sus creaciones. Pues se que las mandalas son casi interminables, y es lo que a todos nos gusta, por eso les explicare como hacer esta linda obra, de una manera muy fácil, además está hecho de materiales muy fáciles de obtener. No paremos de disfrutar de manera muy productiva está cuarentena tan larga.
English
Hello dear friends 💁 This beautiful day I bring you a very funny step by step, where I will show you how to make an incredible and beautiful painting of flowers in the shape of a mandala, as I always recommend you experiment with new ideas every time you go to work, adding details of your preference, in this way, they will strengthen your personality and originality in each of your creations. Well, I know that mandalas are almost endless, and that is what we all like, so I will explain how to make this beautiful work, in a very easy way, it is also made of materials that are very easy to obtain. Let's not stop enjoying this long quarantine in a very productive way.
¿Qué están esperando?
Utilizar estos hermosos materiales para transformarlos en un hermoso cuadro de flores mandalas, es una idea muy original y económica para decorar nuestro entorno y darle un toque de creatividad a nuestras paredes. Antes de comenzar no olvidemos lavarnos nuestras manos.
What are they waiting for?
Using these beautiful materials to transform them into a beautiful painting of mandalas flowers is a very original and inexpensive idea to decorate our surroundings and give a touch of creativity to our walls. Before we start, let's not forget to wash our hands.

 >
>[Materiales | Materials]
Para hacer este precioso cuadro necesitaremos:
- Moldes.
- Foami o goma eva.
- Cartón.
- Pincel.
- Pinturas.
- Tijera.
- Cúter.
- Pegamento o silicón liquido.
To make this precious painting will need:
- Molds.
- Foamy or EVA foam.
- Cardboard.
- Brush.
- Paintings.
- Scissors.
- Cutter.
- Glue or liquid silicone.
Procedimiento (paso a paso)
Process (step by step)
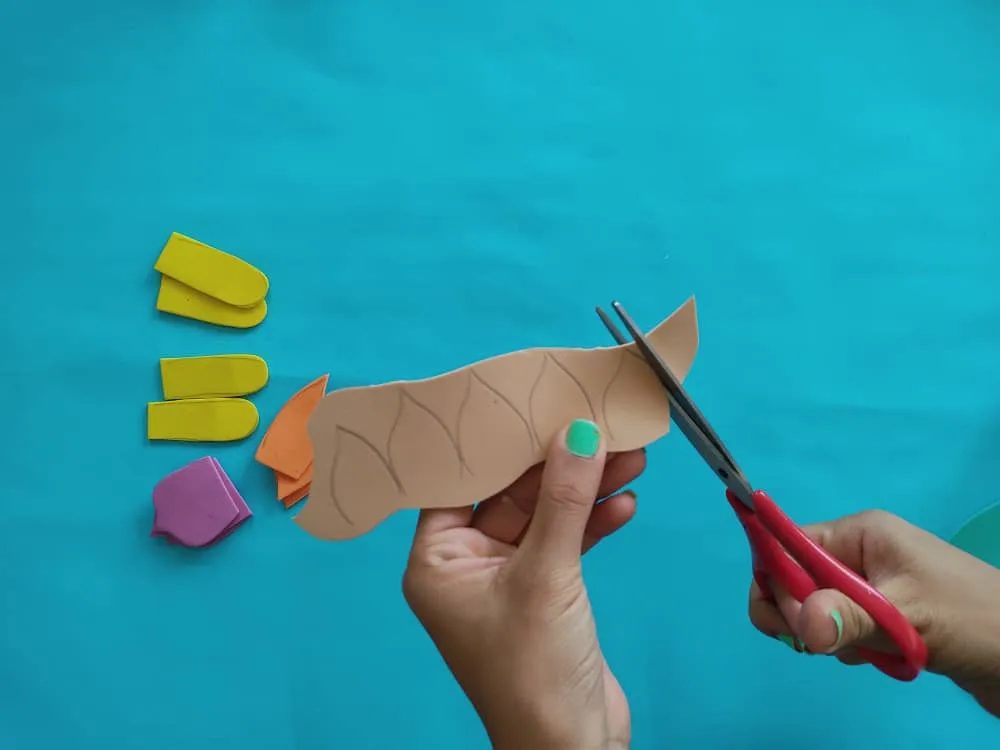
Primero, dibujamos muchos pétalos de diferentes formas en distintos retazos de foami y dos lindos centros para nuestras flores, y recortamos con mucho cuidado, manteniendo la forma dibujada.
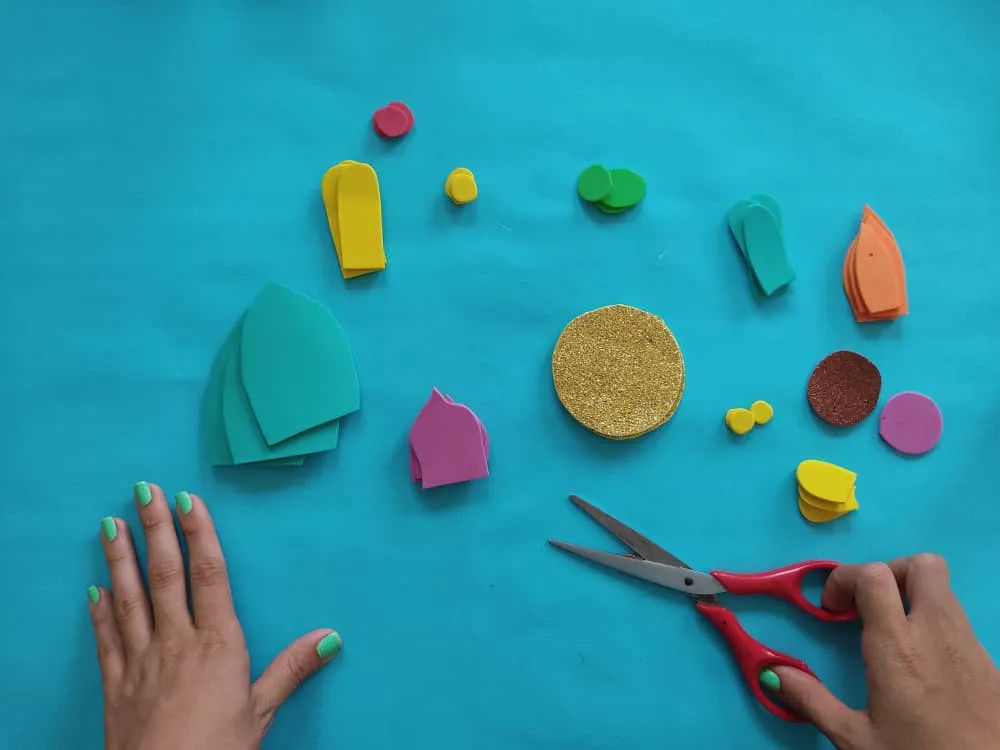
First, we draw many petals of different shapes on different pieces of foamy and two beautiful centers for our flowers, and we cut out very carefully, keeping the shape drawn.
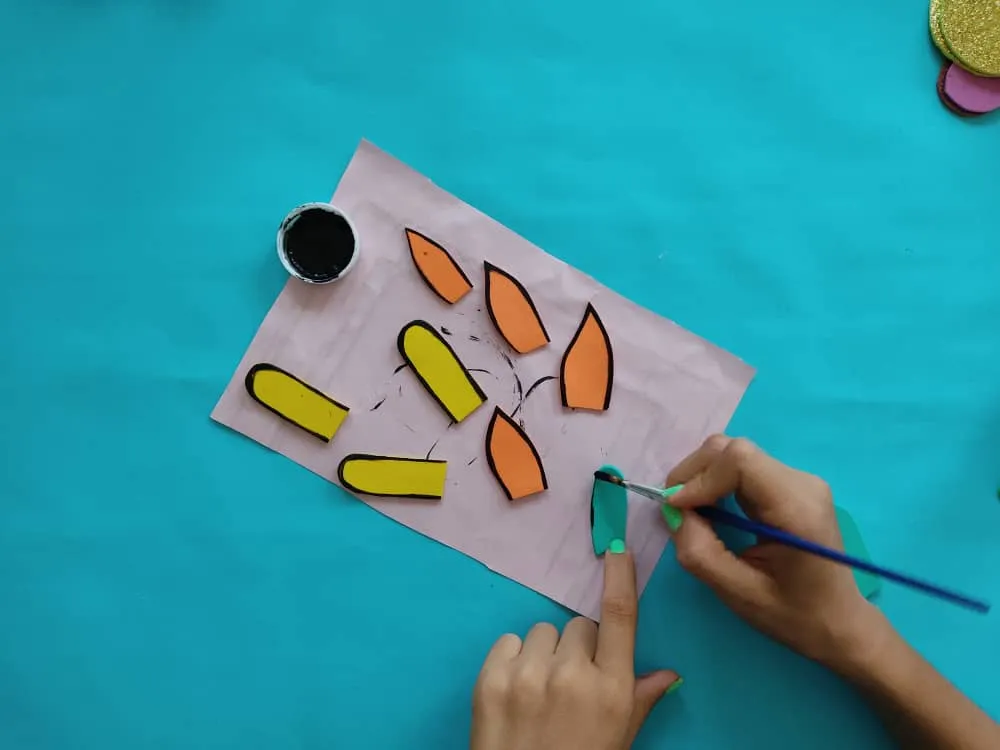
Luego de que hayamos obtenido los pétalos y centros de nuestras flores, pintamos sus bordes de color negro con un pincel fino, esto le dará un toque especial realzando su color y forma, deje los secar por unos minutos.
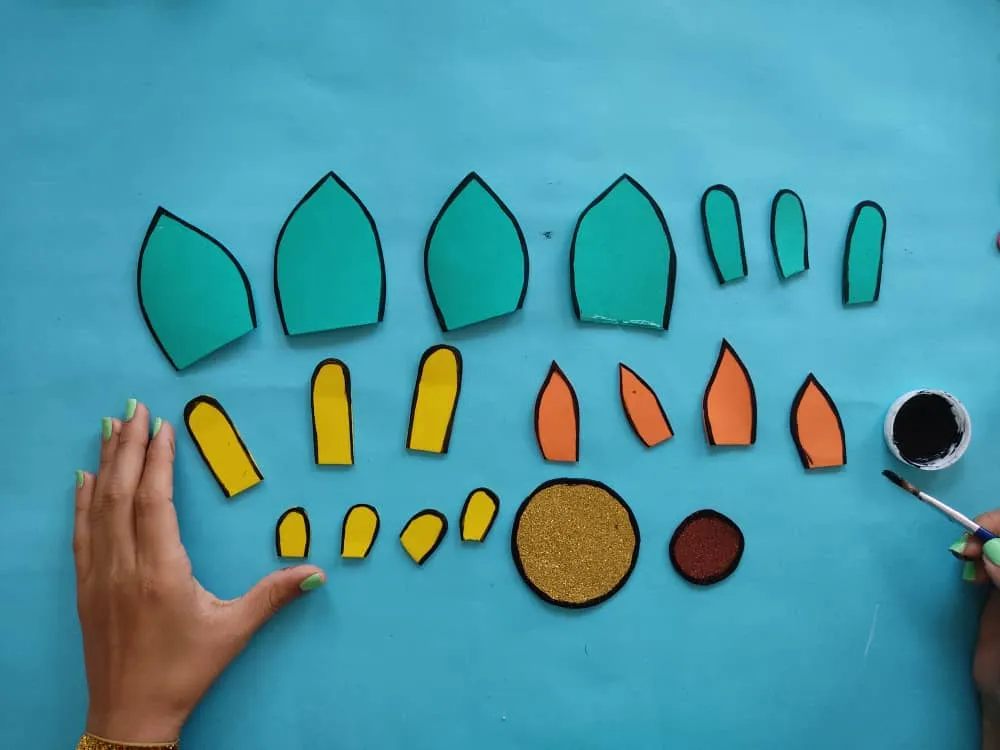
After we have obtained the petals and centers of our flowers, we paint their edges black with a fine brush, this will give it a special touch by enhancing its color and shape, let them dry for a few minutes.
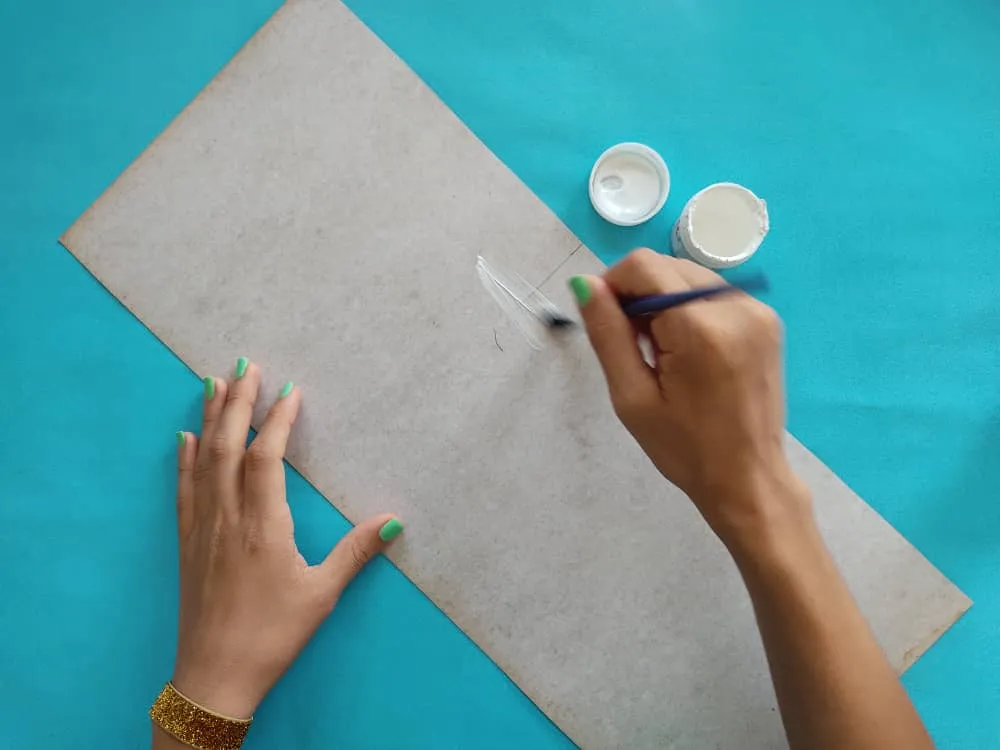
Ahora, elaboramos una base de cartón aproximadamente 30 x 50cm, y la pintamos de color blanco. Dejamos secar por unos minutos, y seguidamente pegamos esta base a otra lámina de cartón más grueso para que nuestro cuadro sea firme.
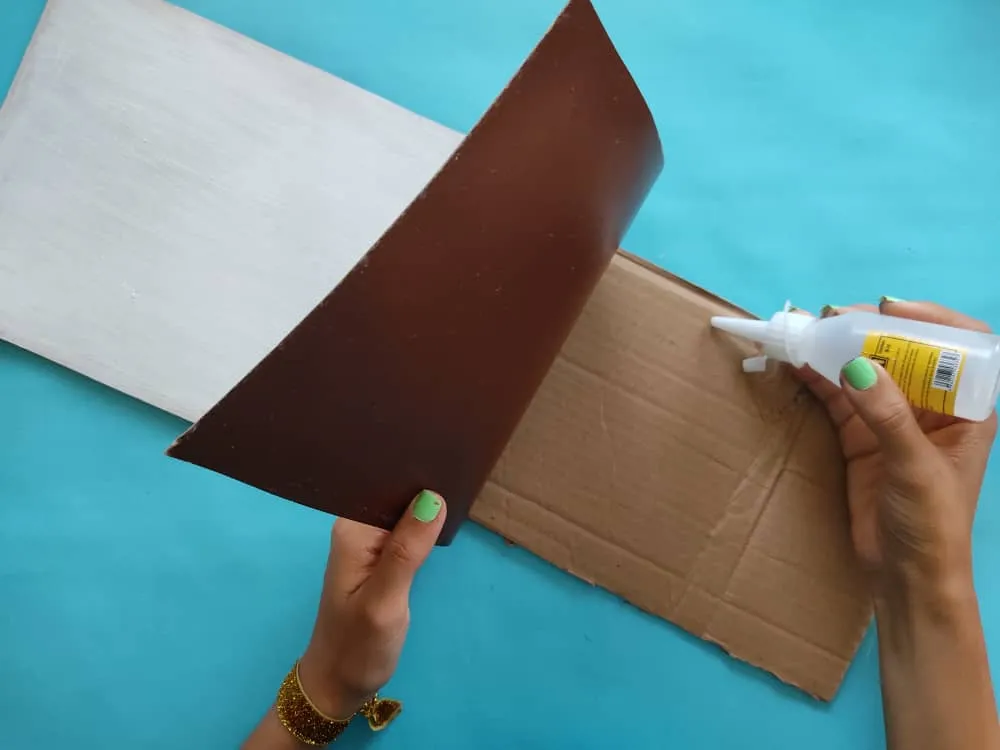
Now, we make a cardboard base approximately 30 x 50cm, and we paint it white. We let it dry for a few minutes, and then we glue this base to another thicker cardboard sheet so that our painting is firm.
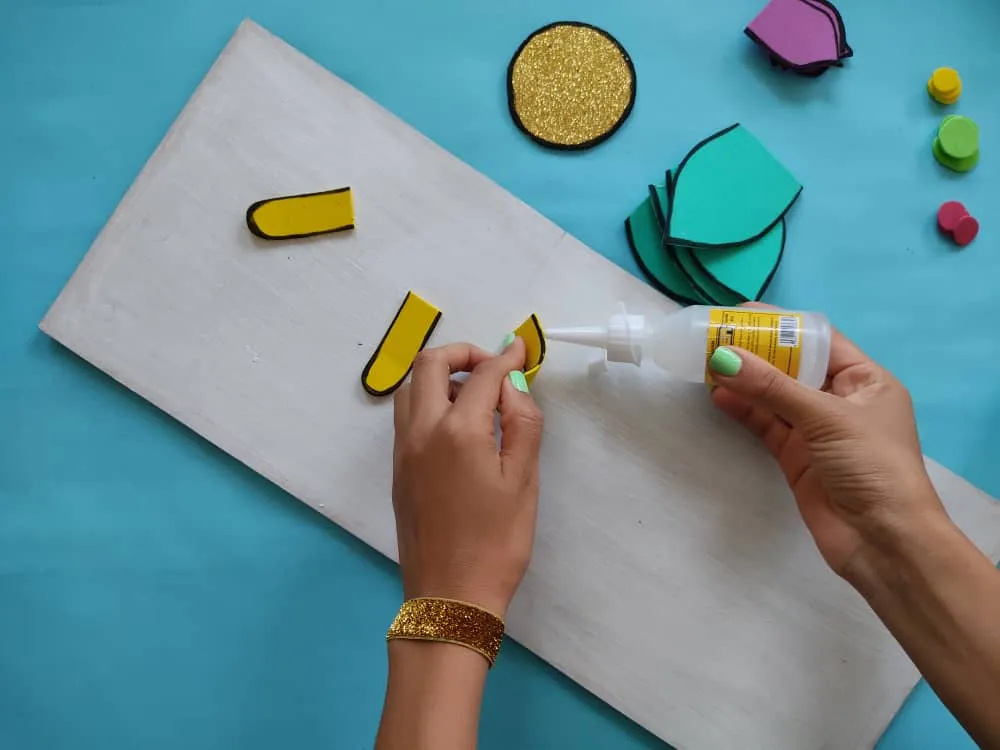
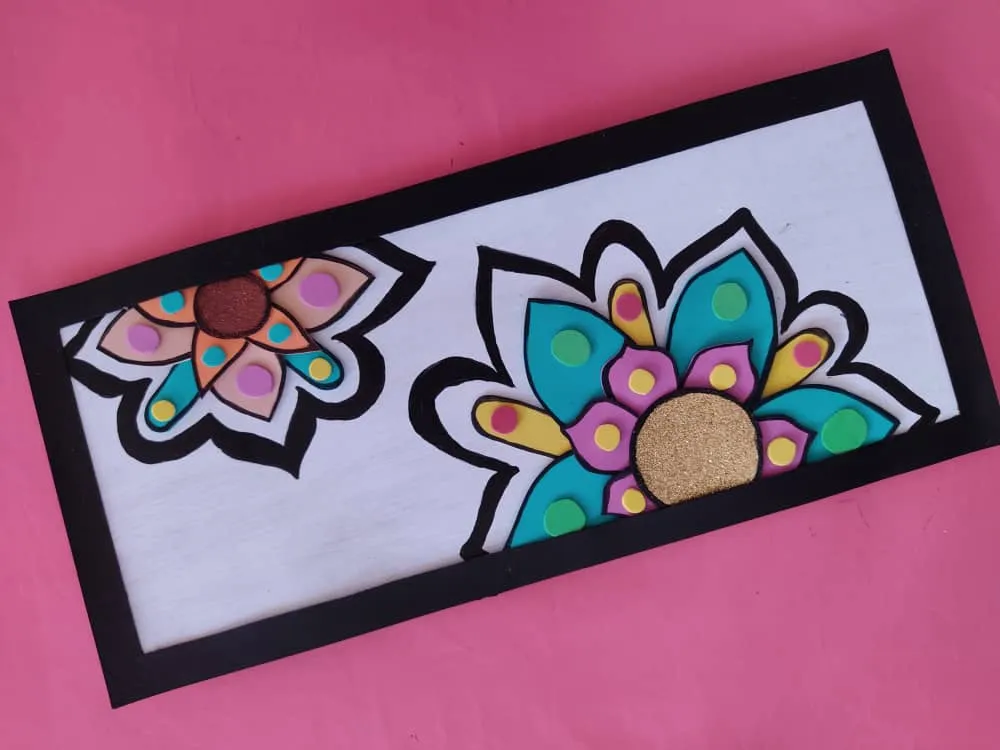
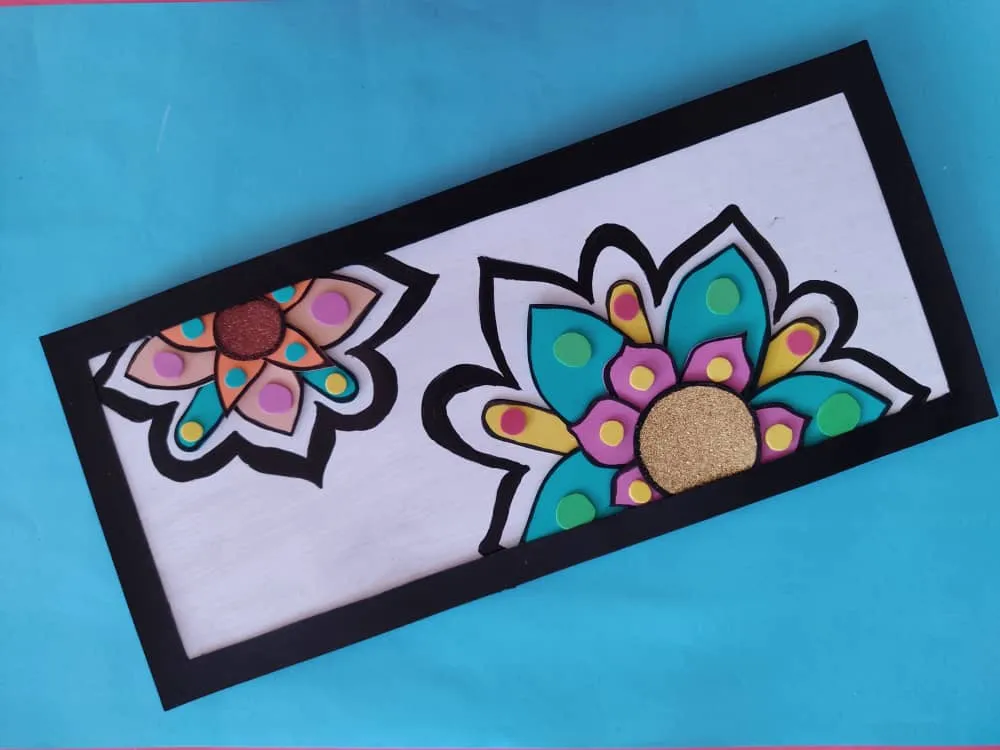
Después de que nuestra base este totalmente seca y bien firme, comenzamos a dar forma a las flores, pegamos sobre la base, cuidadosamente en el lugar que deseamos, en este caso opte por colocar las flores de un lado, y realmente luce bien, pues no olviden que pueden personalizar de una manera muy original sus obras.
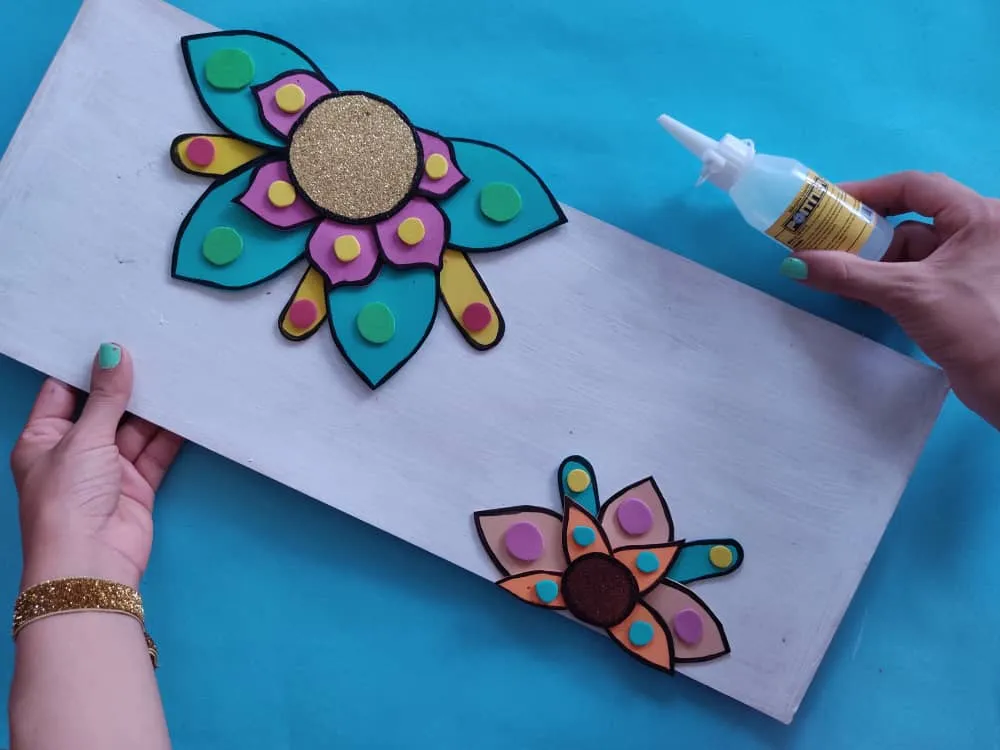
After our base is completely dry and firm, we begin to shape the flowers, we paste on the base, carefully in the place we want, in this case, I chose to place the flowers on one side, and it really looks good, well. do not forget that you can personalize your works in a very original way.
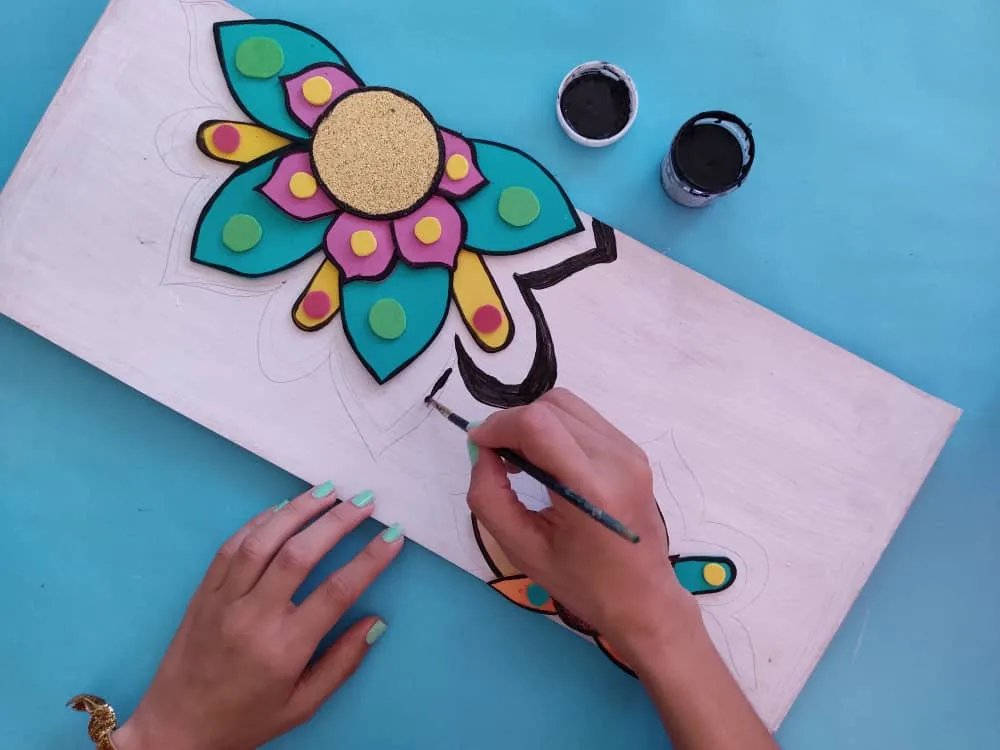
Ahora, dibujamos un borde al rededor de cada una de ellas, con un lápiz muy claro, esto ayudara a guiar las líneas para que no pierdan la forma de la silueta a la hora de pintar, y seguidamente, pintamos estos bordes de color negro, cuidadosamente con un pincel fino, para así obtener buenos resultados.
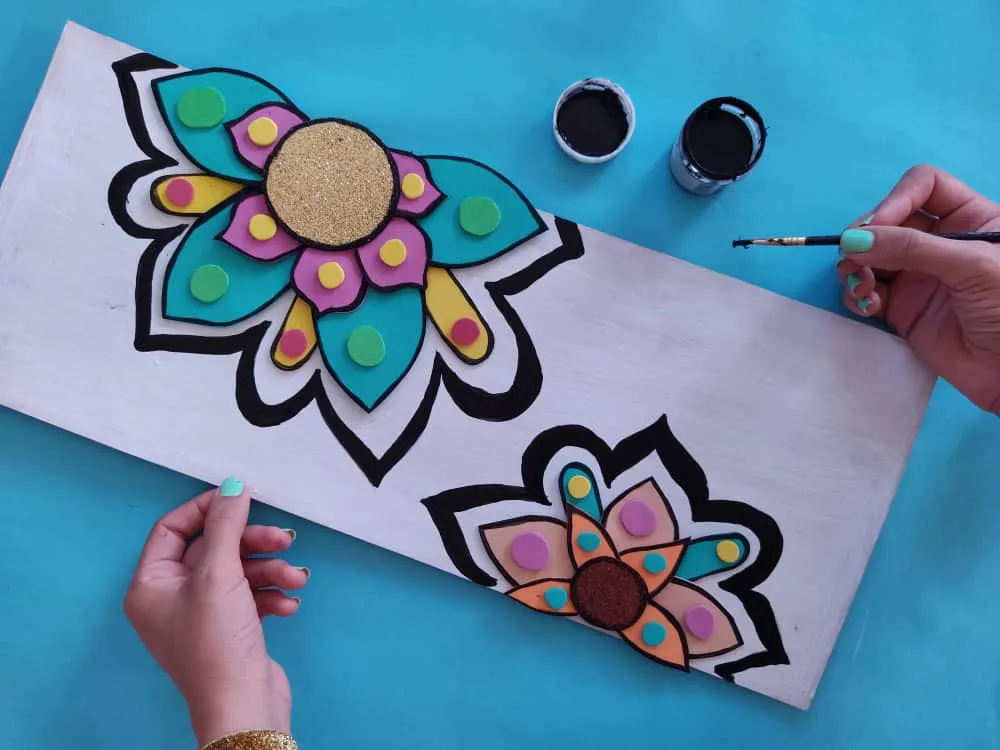
Now, we draw a border around each one of them, with a very light pencil, this will help guide the lines so that they do not lose the shape of the silhouette when painting, and then we paint these borders in black, carefully with a fine brush for good results.
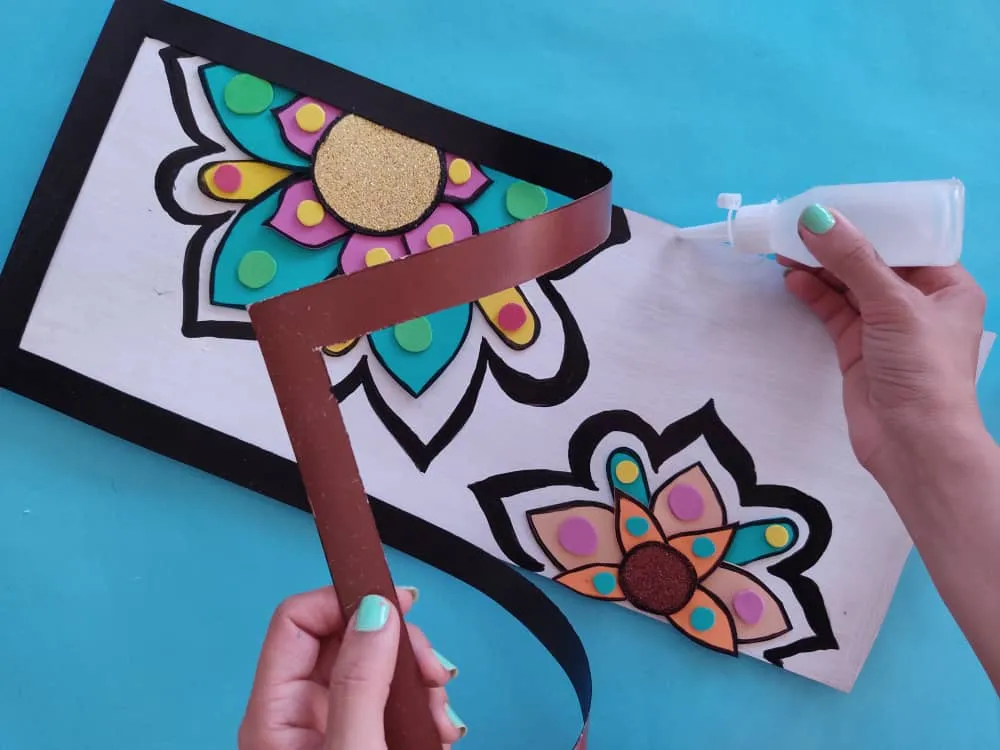
Finalmente, fabricamos un marco súper genial y lo pintamos del color que deseemos, en este caso yo decidí pintarlo de negro, para que luzca muy elegante y a la vez hermoso, y lo pegamos en el borde de nuestra base con mucho cuidado.
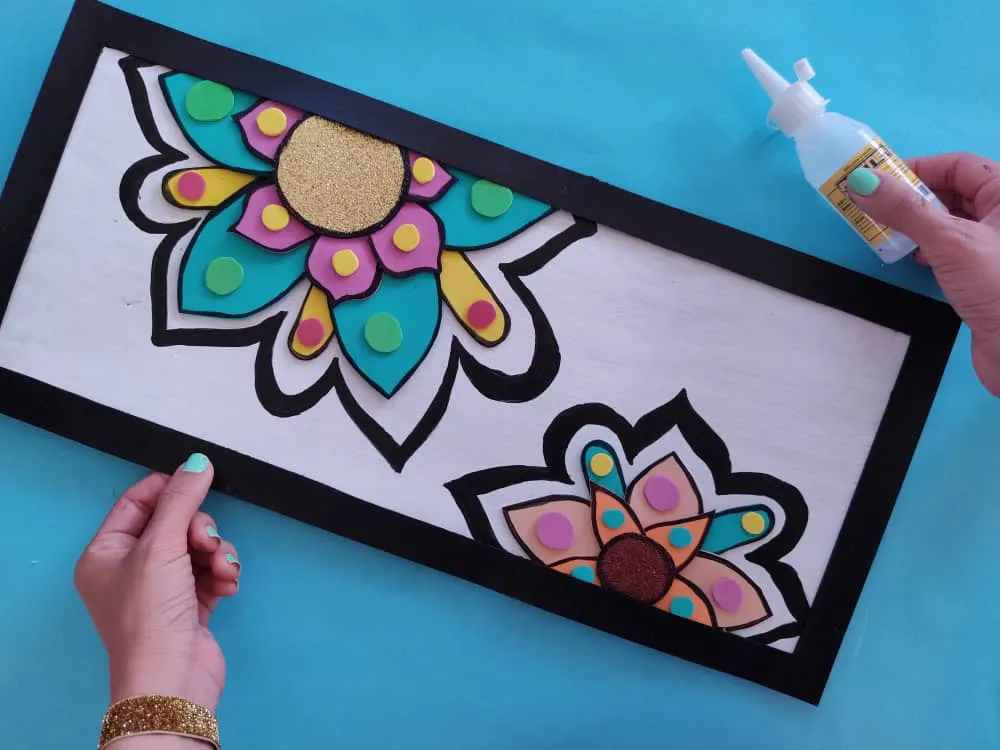
Finally, we made a super cool frame and painted it the color we want, in this case, I decided to paint it black, to make it look very elegant and at the same time beautiful, and we glued it to the edge of our base very carefully.

Gracias por acompañarme y espero que lo hayan disfrutado. ❤️
Thanks for joining and I hope you enjoyed it.❤️
