
Español
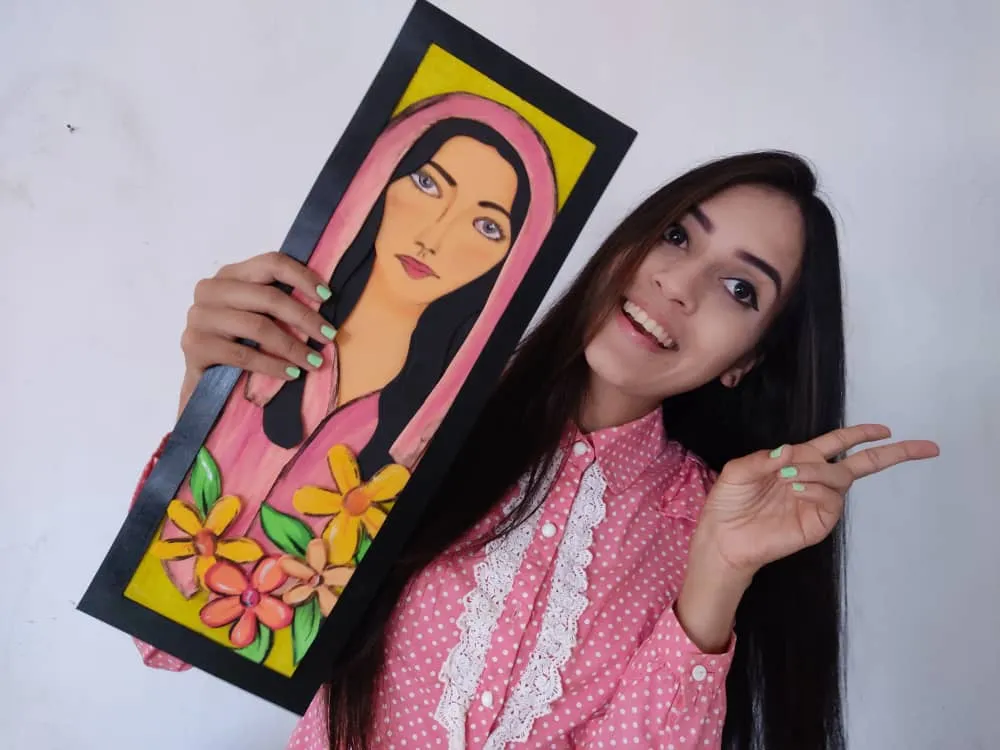
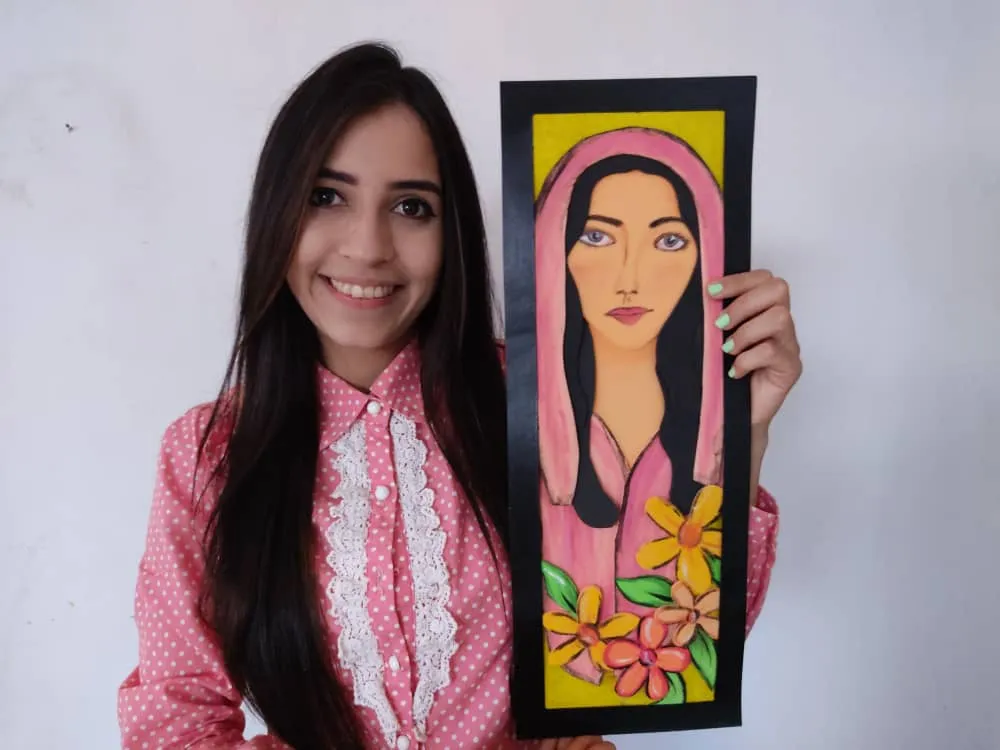
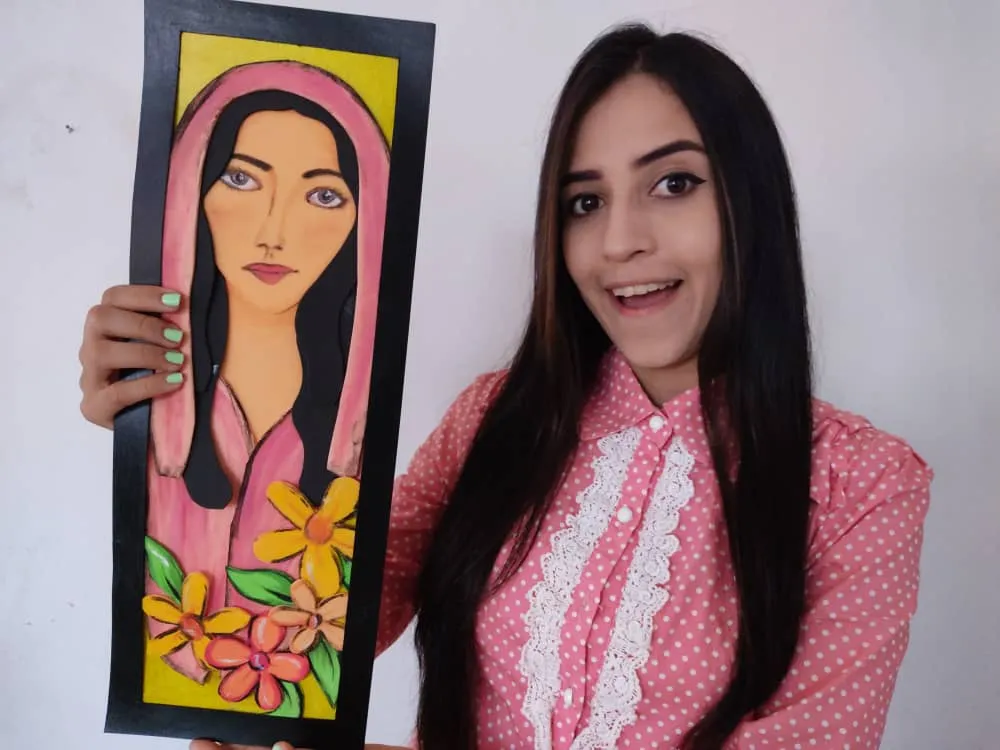
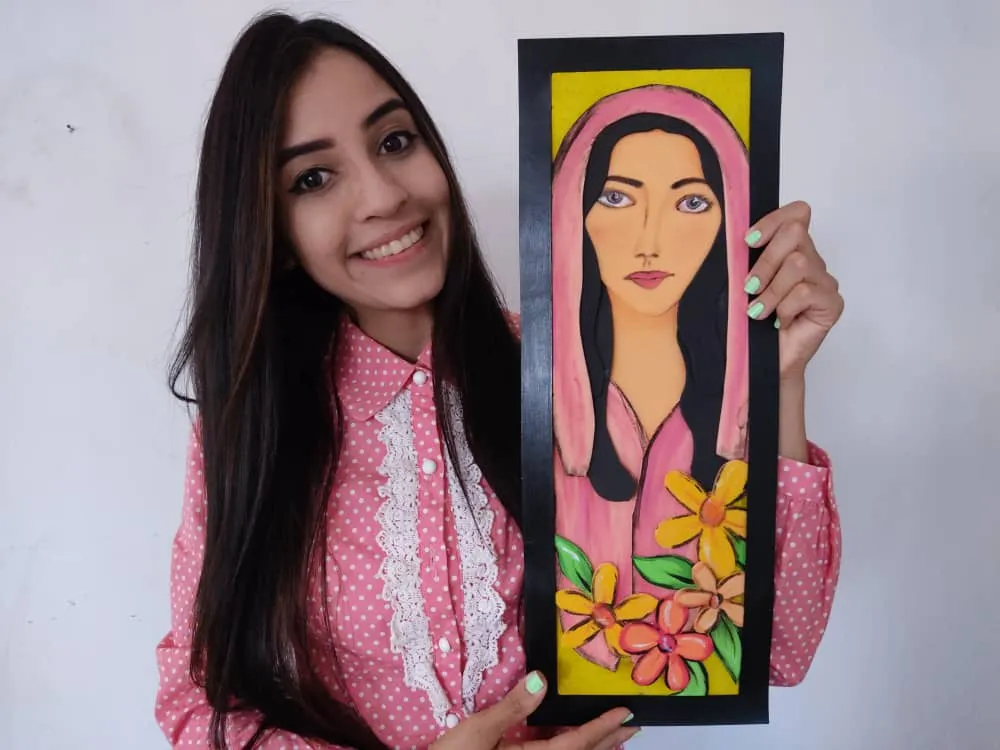
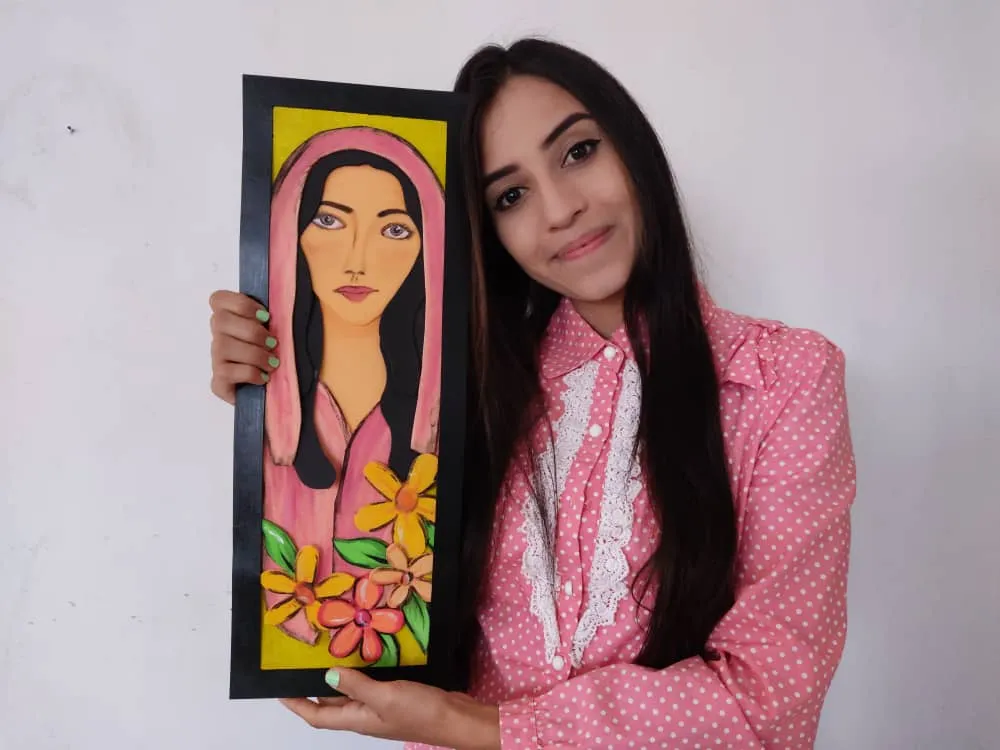
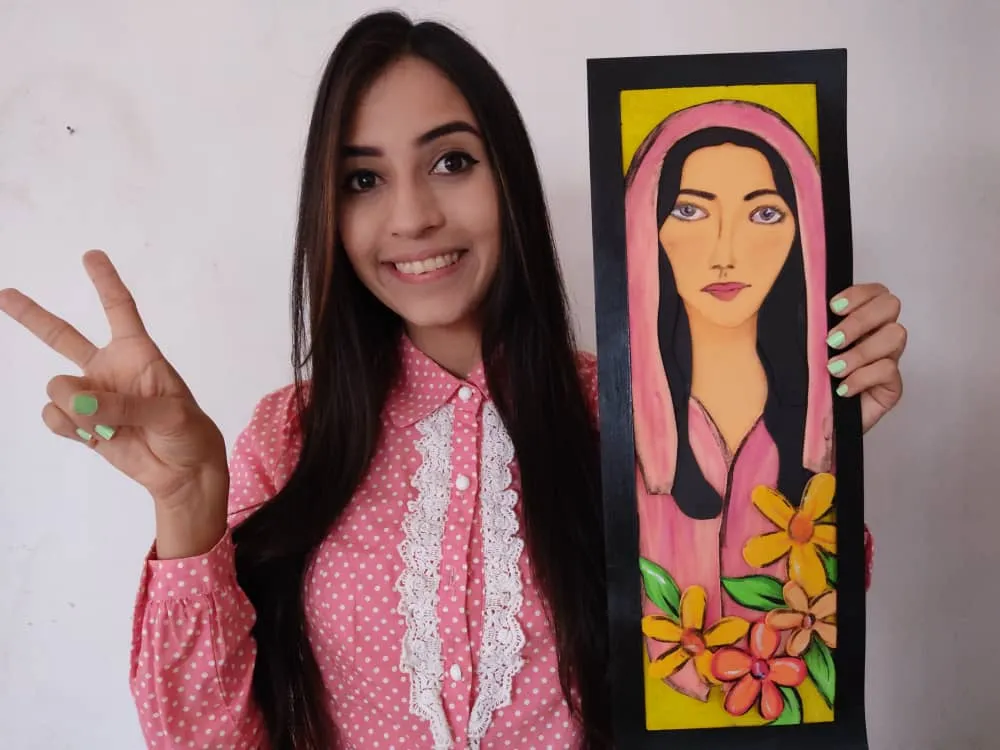
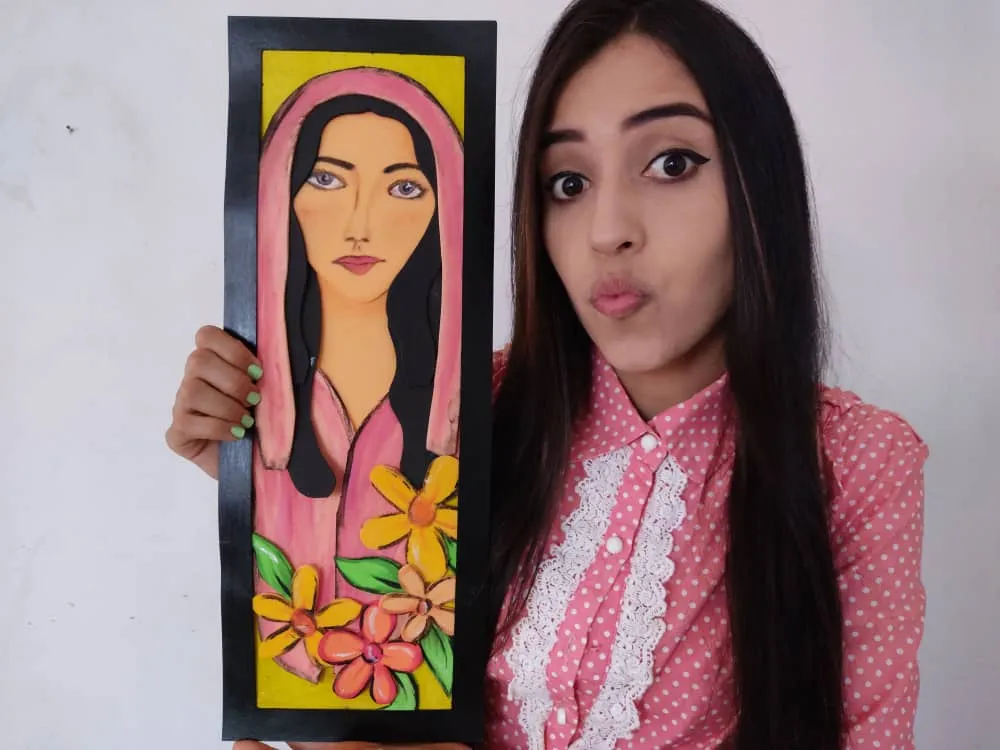
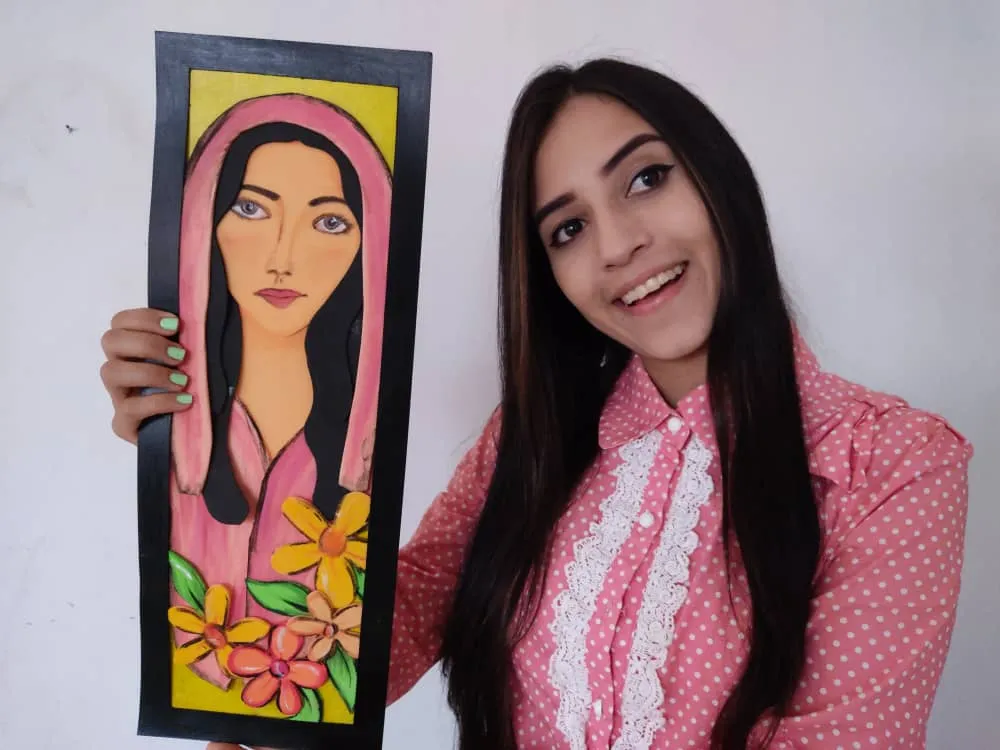
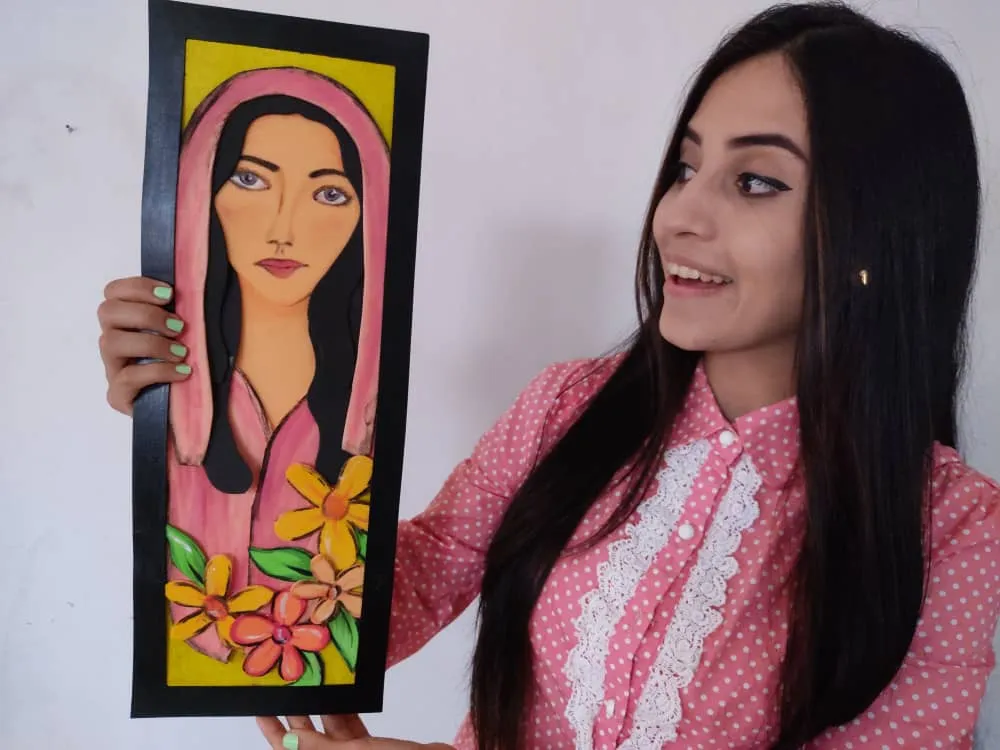
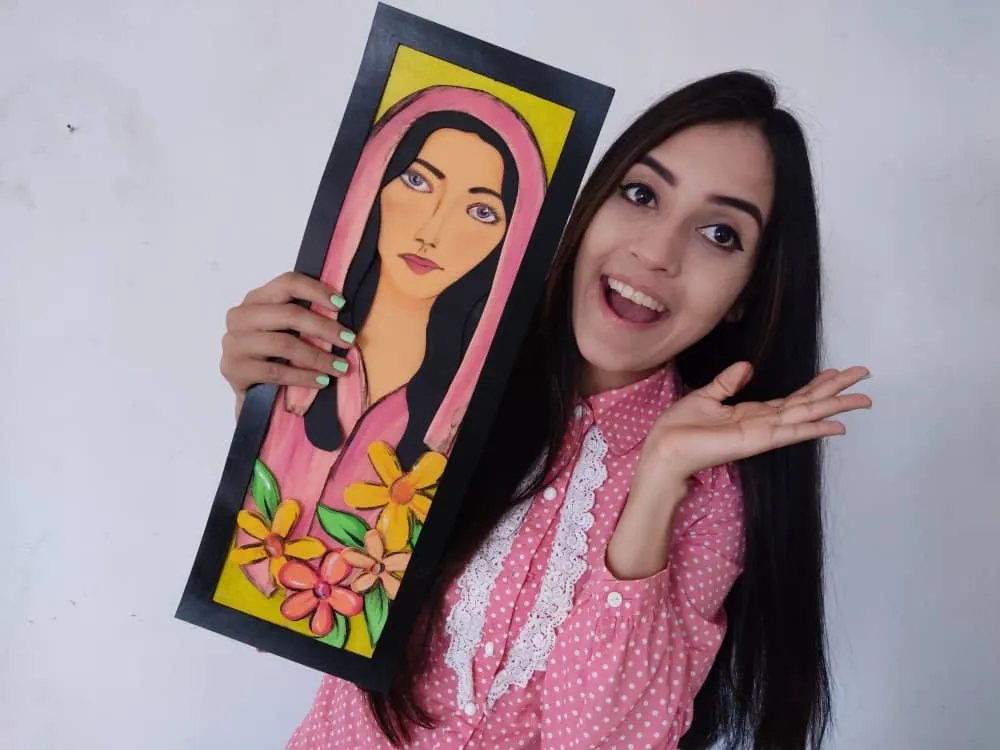
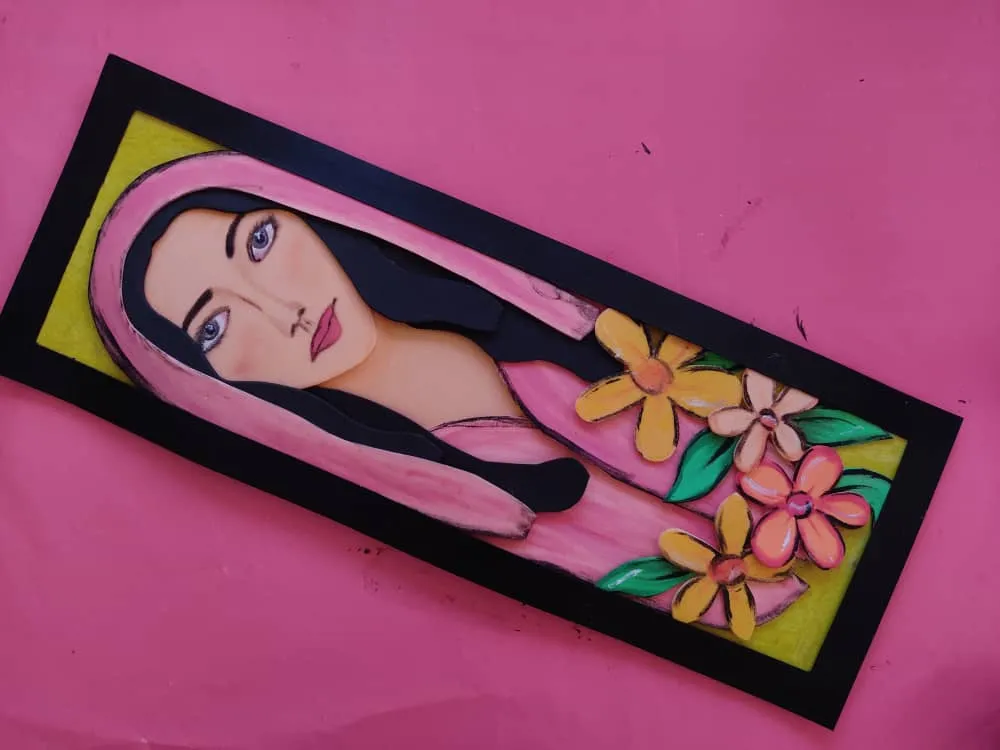
Hola mi hermosa familia Hive 🙋 Este mágico día les traigo un nuevo y divertido paso a paso lleno de color e imaginación donde les mostrare como hacer cuadro de mujer aldeana, hecho de foami o goma eva que es un material muy económico y fácil de conseguir, pues sus alegres y llamativos colores le dan una belleza realmente única y diferente, así que, los invito a seguir disfrutando estos tutoriales llenos de diversión, donde podemos transformar materiales sencillos en mágicas obras de arte.
English
Hello my beautiful Hive family 💁 This magical day I bring you a new and fun step by step full of color and imagination where I will show you how to make a painting of a village woman, made of foamy or EVA foam, which is a very cheap and easy-to-find material, because its bright and bright colors give it a truly unique and different beauty, so, I invite you to continue enjoying these fun-filled tutorials, where we can transform simple materials into magical works of art.
¿Qué están esperando?
Utilizar estos hermosos materiales para transformarlos en un hermoso cuadro de mujer aldeana, es una idea muy original y económica para decorar nuestro entorno y darle un toque de creatividad a nuestras paredes. Antes de comenzar no olvidemos lavarnos nuestras manos.
What are they waiting for?
Using these beautiful materials to transform them into a beautiful painting of a village woman is a very original and inexpensive idea to decorate our surroundings and give our walls a touch of creativity. Before we start, let's not forget to wash our hands.

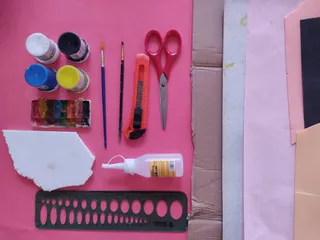
[Materiales | Materials]
Para hacer esta preciosa mujer necesitaremos:
- Moldes.
- Foami o goma eva.
- Cartón.
- Papel crepe negro.
- Lápiz.
- Pincel.
- Pinturas.
- Tijera.
- Cúter.
- Pegamento o silicón liquido.
To make this precious woman will need:
- Molds.
- Foamy or Eva foam.
- Cardboard.
- Black crepe paper.
- Pencil.
- Brush.
- Paintings.
- Scissors.
- Cutter.
- Glue or liquid silicone.
Procedimiento (paso a paso)
Process (step by step)
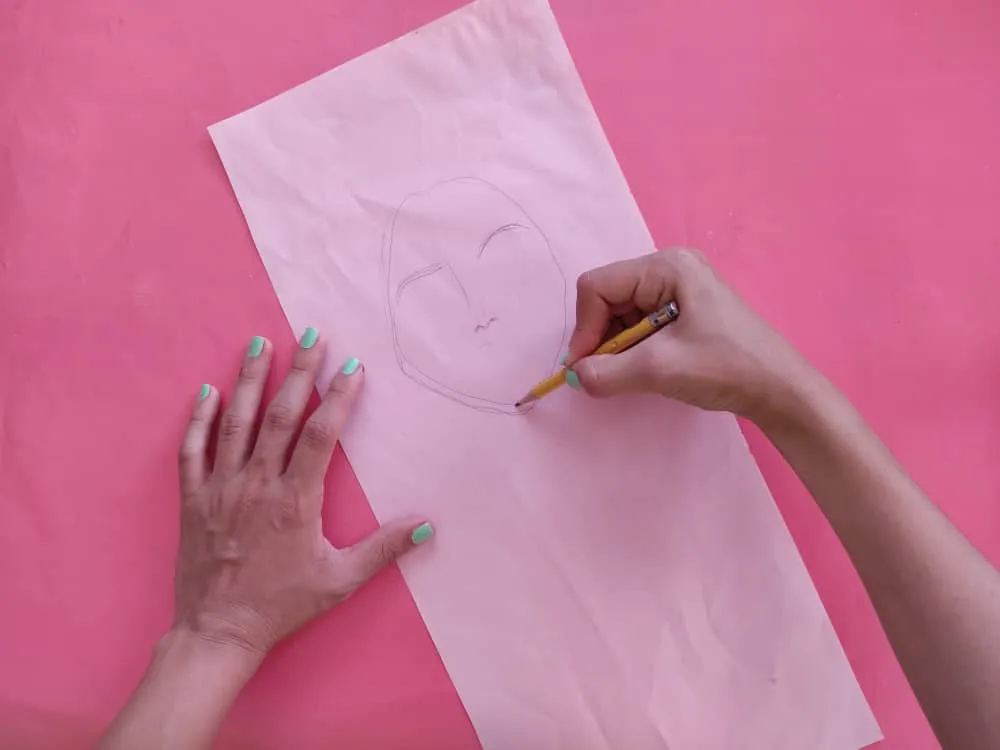
Primero, dejamos volar nuestra imaginación y dibujamos una hermosa mujer aldeana con un lindo velo en su cabeza para que la proteja del frío, y por supuesto, para dar ese toque de alegría agregamos unas lindas flores en la parte inferior para decorar nuestra obra.
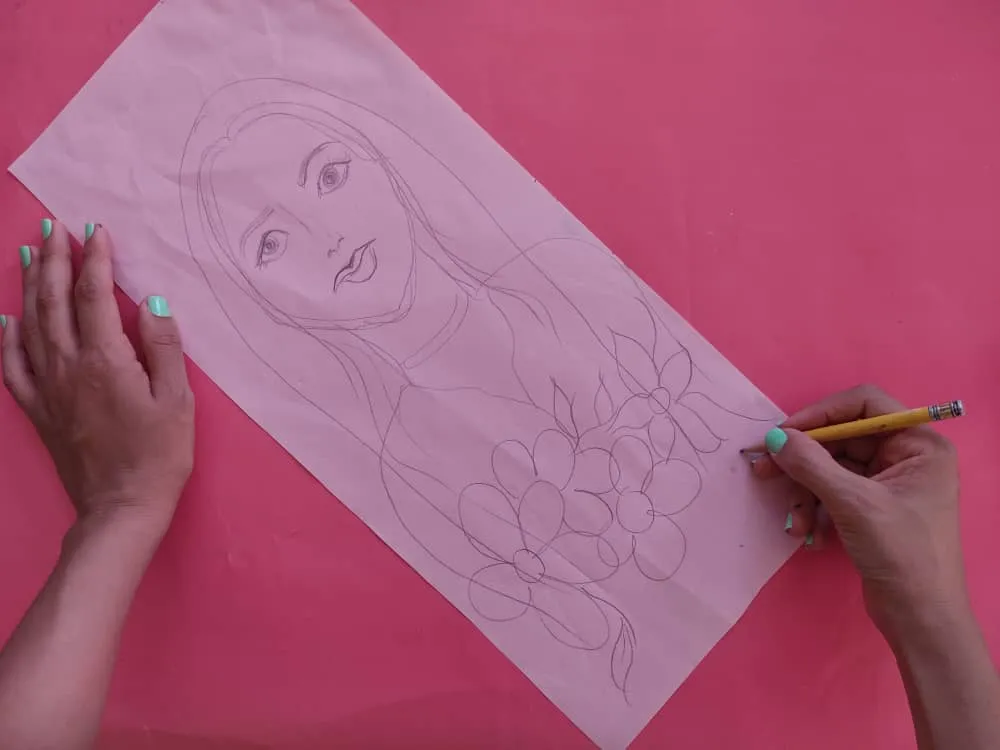
First, we let our imagination fly and we drew a beautiful village woman with a nice veil on her head to protect her from the cold, and of course, to give that touch of joy we added some pretty flowers at the bottom to decorate our work.
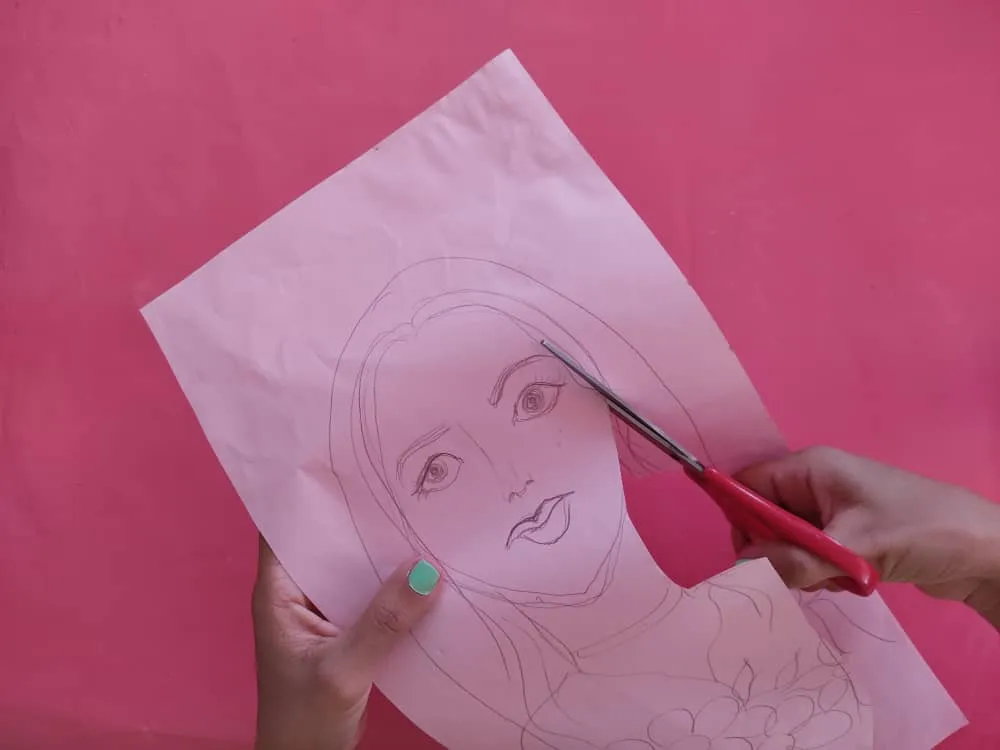
Luego de haber obtenido nuestro diseño, recortamos cuidadosamente separando la cara, cuello, cabello, velo, y ropa. Recuerden conservar las medidas marcadas para no perder la forma exacta de la mujer.
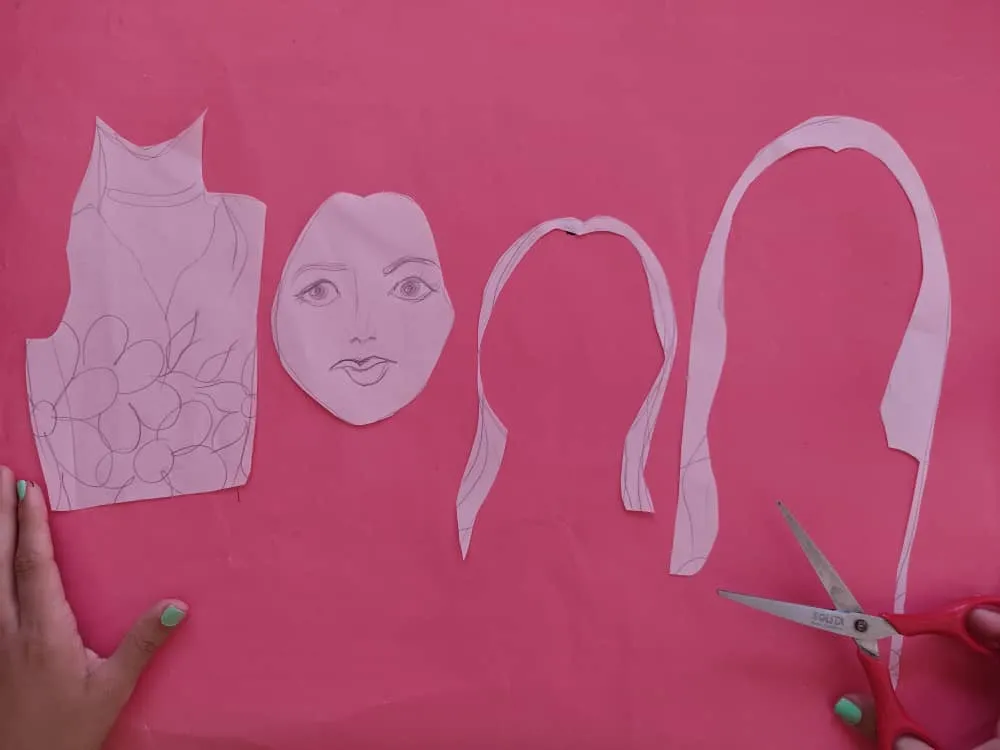
After having obtained our design, we carefully cut out the face, neck, hair, veil, and clothes. Remember to keep the marked measurements so as not to lose the exact shape of the woman.
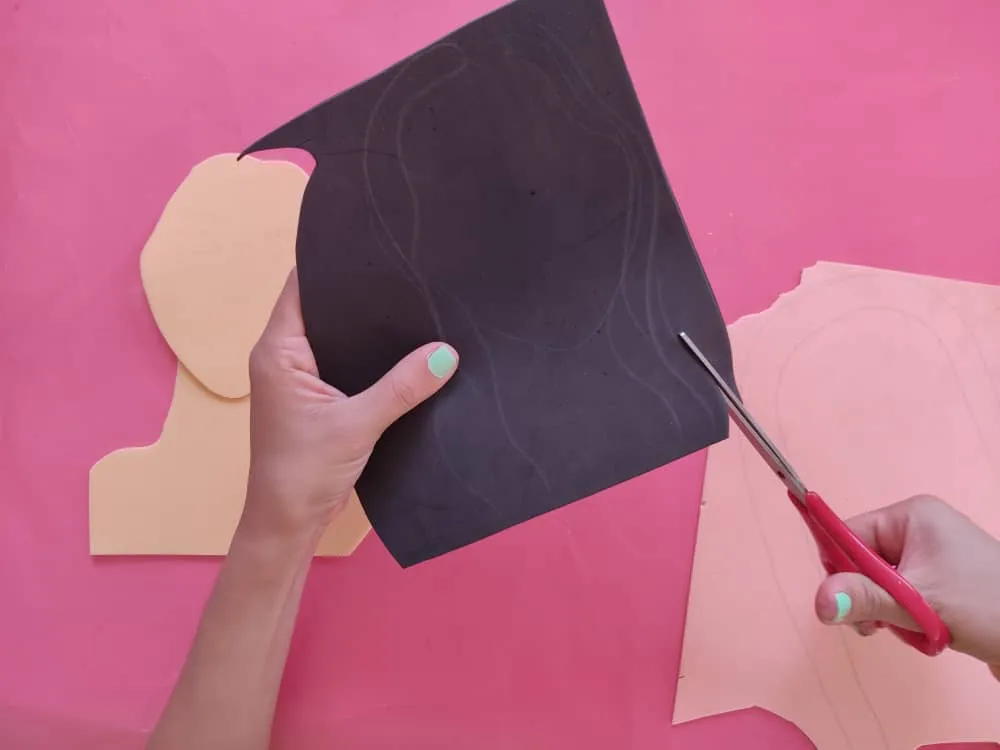
Seguidamente, transferimos las figuras obtenidas al foami de los colores que más nos gusten para cada pieza, por ejemplo, la cara de color piel, cabello de color negro y así sucesivamente.
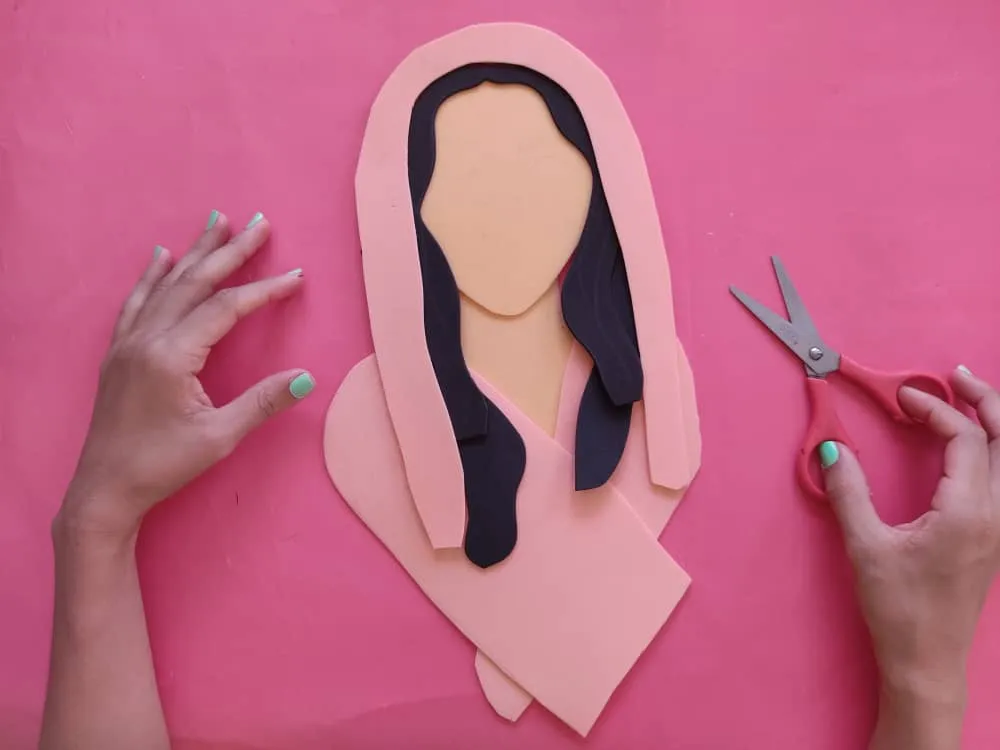
Next, we transfer the figures obtained to the foamy of the colors that we like the most for each piece, for example, the skin-colored face, black hair, and so on.
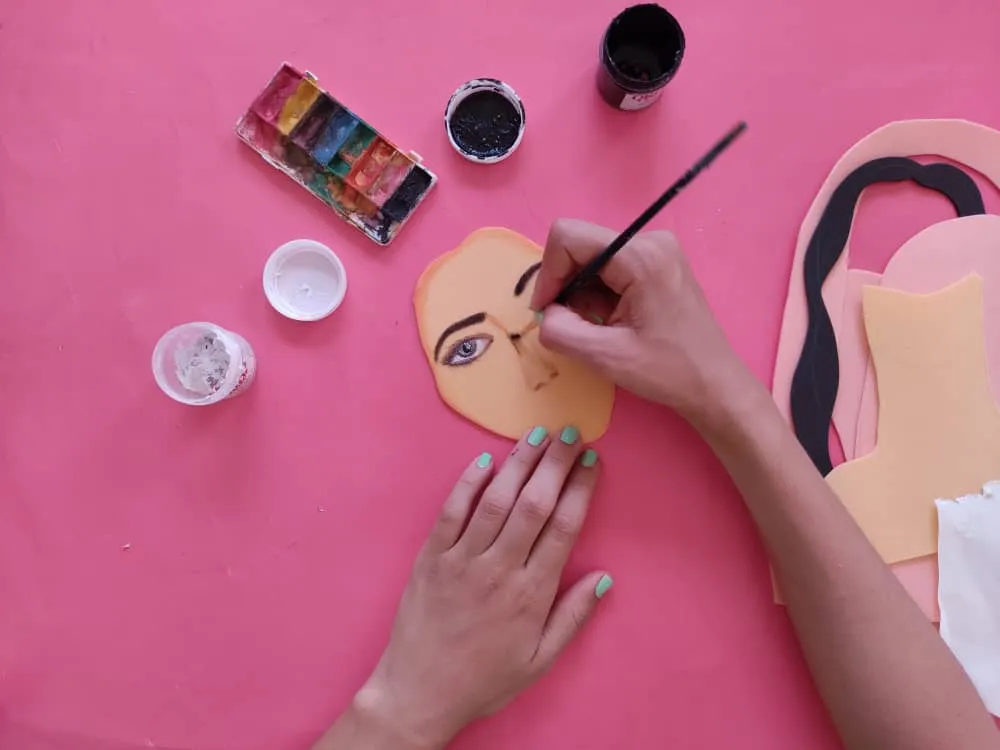
Ahora, llegamos al momento más esperado donde dejaremos volar nuestra imaginación y creatividad para darle alegría y magia a cada parte de nuestra obra aplicando hermosos colores y pinturas, con mucho amor y delicadeza para hacer de esta chica la más linda de su aldea. Comenzamos definiendo y pintando el rostro de esta bella dama.
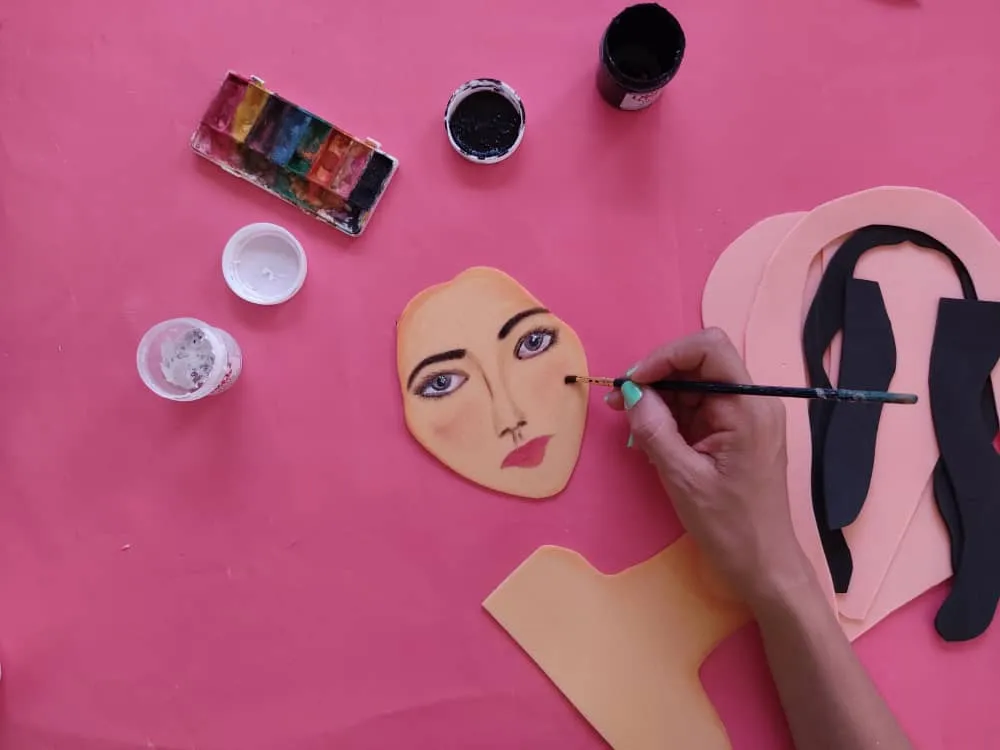
Now, we come to the most awaited moment where we will let our imagination and creativity fly to give joy and magic to each part of our work by applying beautiful colors and paintings, with much love and delicacy to make this girl the most beautiful in her village. We begin by defining and painting the face of this beautiful lady.
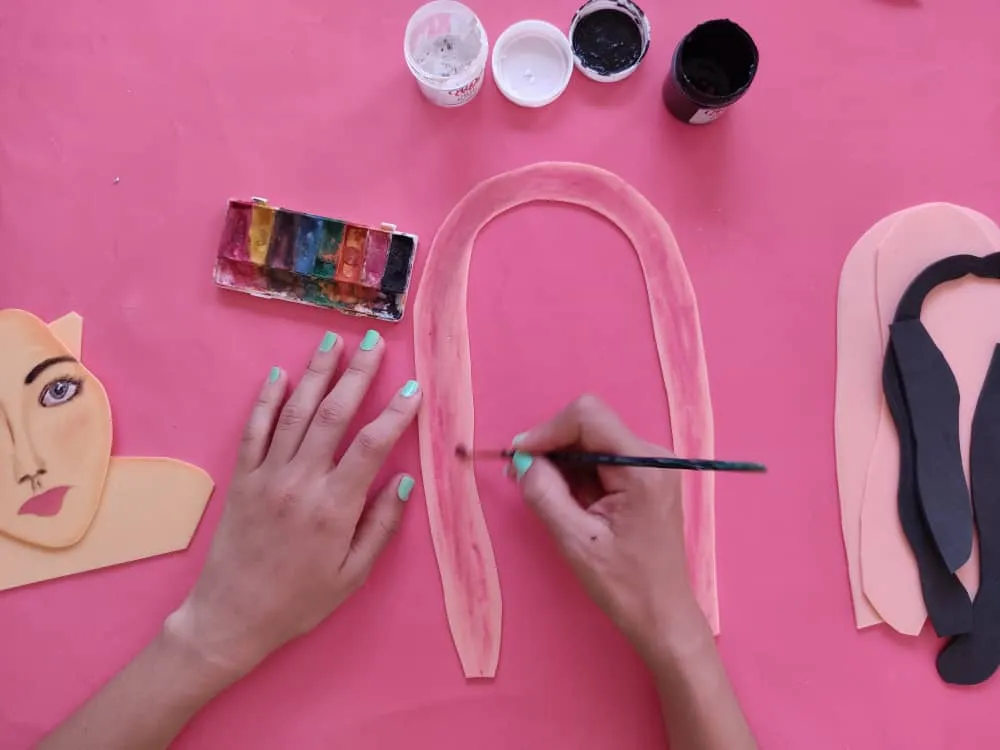
Luego, continuamos agregando pintura y color a resto de partes de nuestra mujer aldeana.
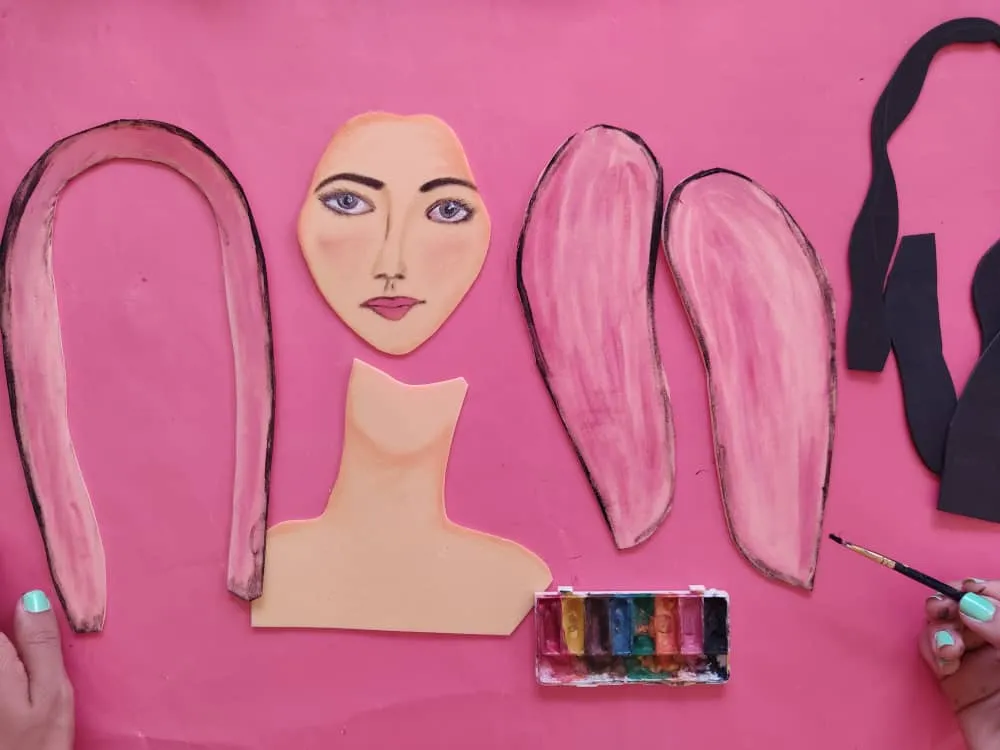
Then we continue to add paint and color to the rest of the parts of our village woman.
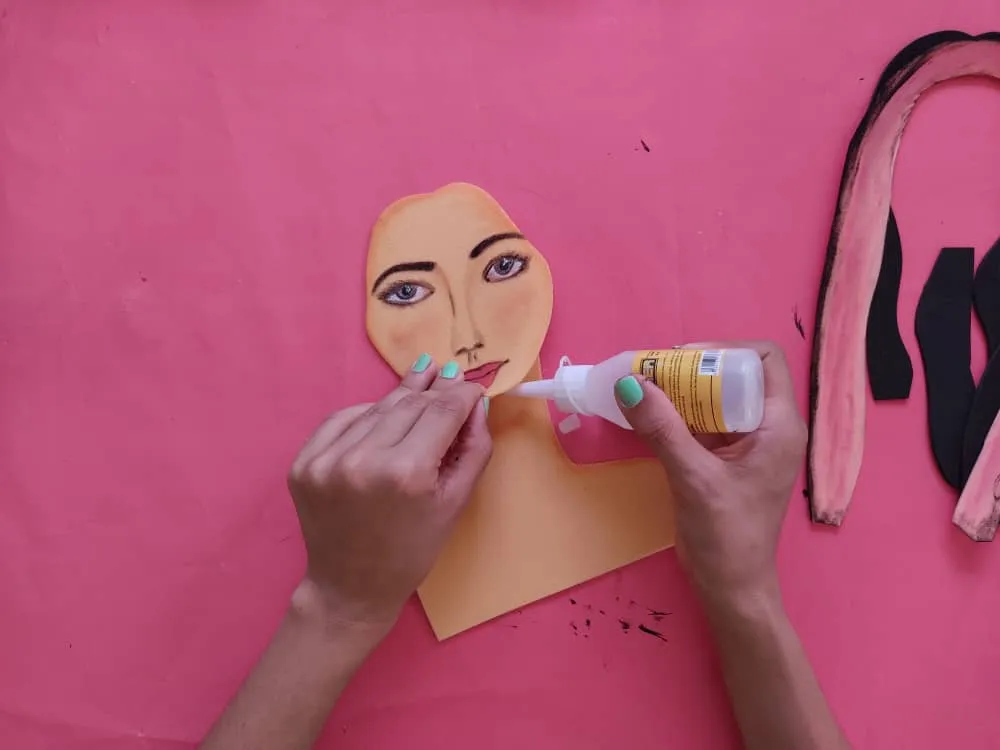
Seguidamente, unimos las partes de la mujer pegando cada figura en su lugar. Debemos hacer un poco de presión con nuestras manos para que todo quede bien pegado.
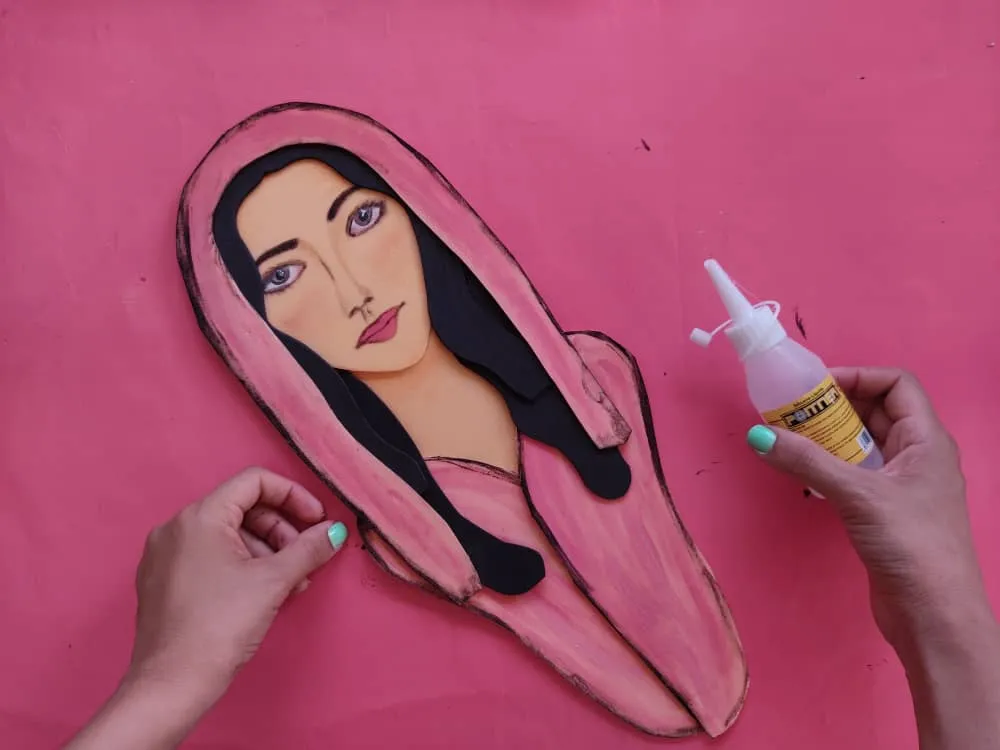
Next, we join the parts of the woman gluing each figure in its place. We must apply a little pressure with our hands so that everything sticks well.
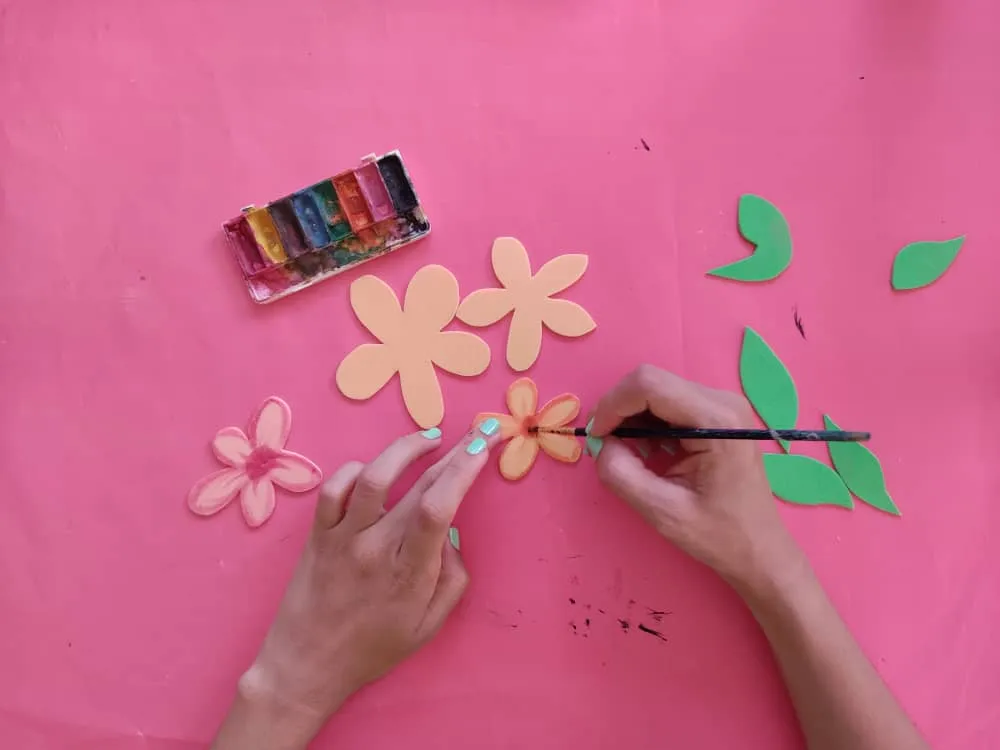
Ahora, elaboramos hermosas hojas y flores para decorar nuestra obra. Y seguidamente, pintamos estas lindas y delicadas flores con hermosos y llamativos colores, para darle ese toque de alegría y de luz que buscamos y estoy segura y no puede faltar en este cuadro.
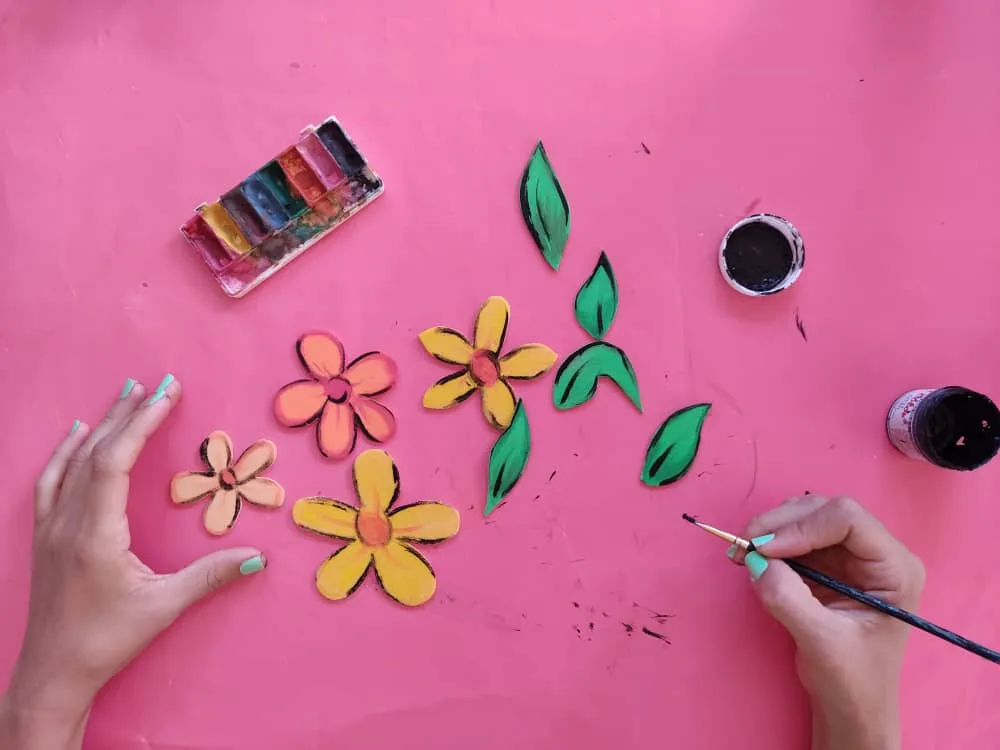
Now, we make beautiful leaves and flowers to decorate our work. And then, we paint these beautiful and delicate flowers with beautiful and striking colors, to give it that touch of joy and light that we are looking for and I am sure and cannot be missing in this painting.
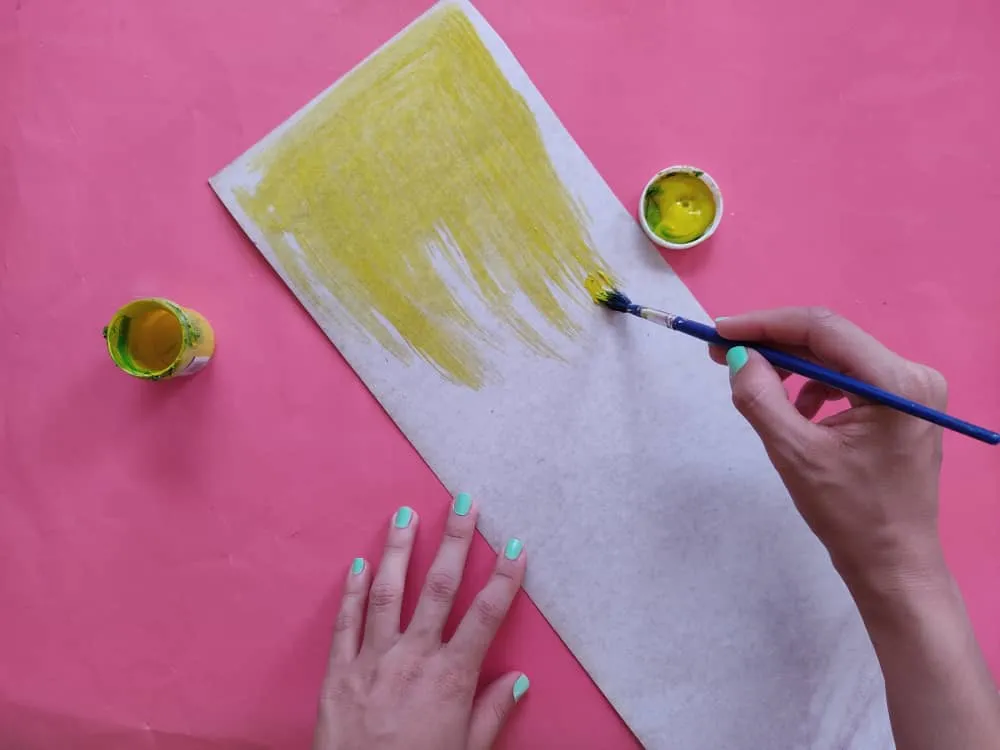
Luego, elaboramos la base de cartón aproximadamente 15 x 50cm, y la pintamos de amarillo brillante. Dejamos secar por unos minutos, y seguidamente pegamos esta base a otra lámina de cartón más grueso para que nuestro cuadro sea firme.
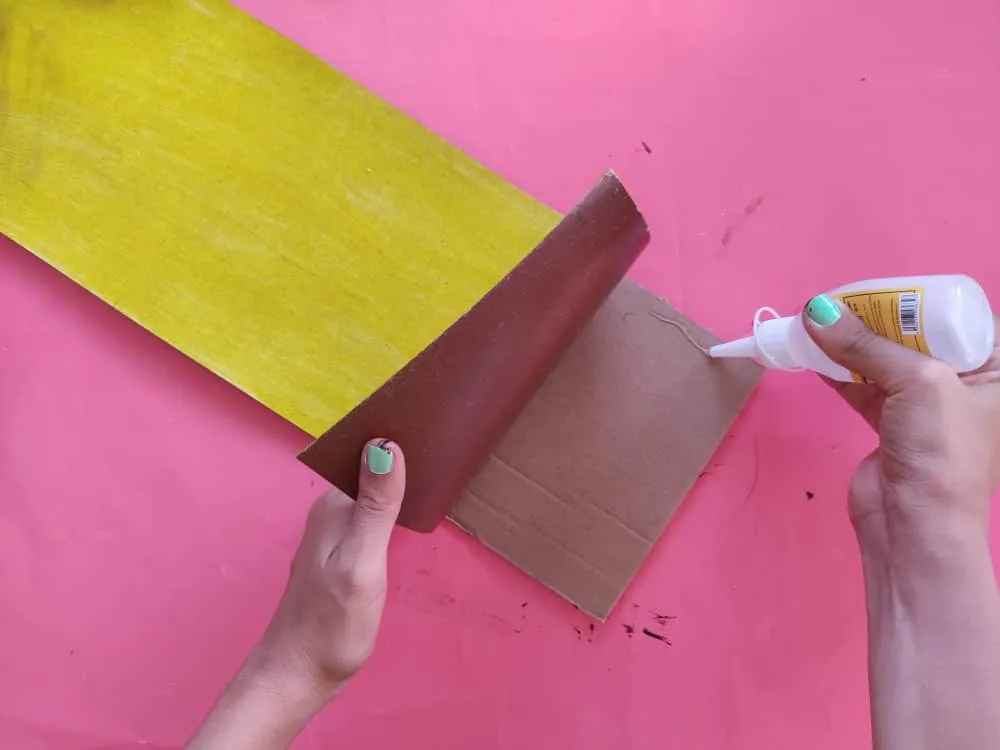
Then, we make the cardboard base approximately 15 x 50cm and paint it bright yellow. We let it dry for a few minutes, and then we glue this base to another thicker cardboard sheet so that our painting is firm.
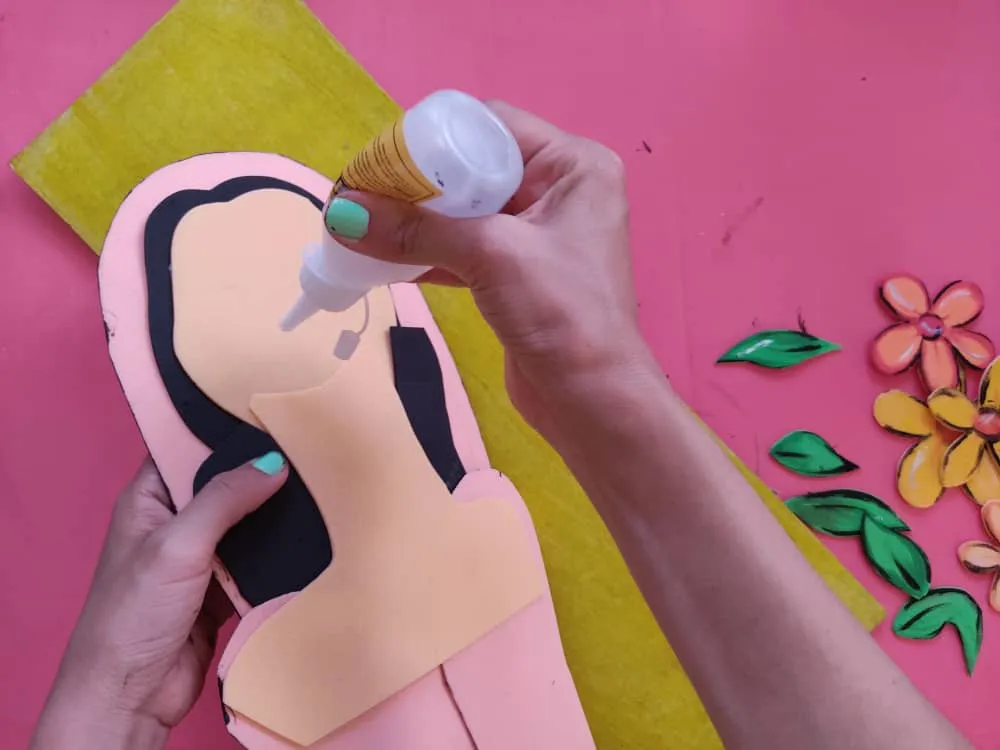
Después de que nuestra base está totalmente seca y bien firme, pegamos la mujer aldeana y las flores sobre la base, cuidadosamente en lugar que deseamos.
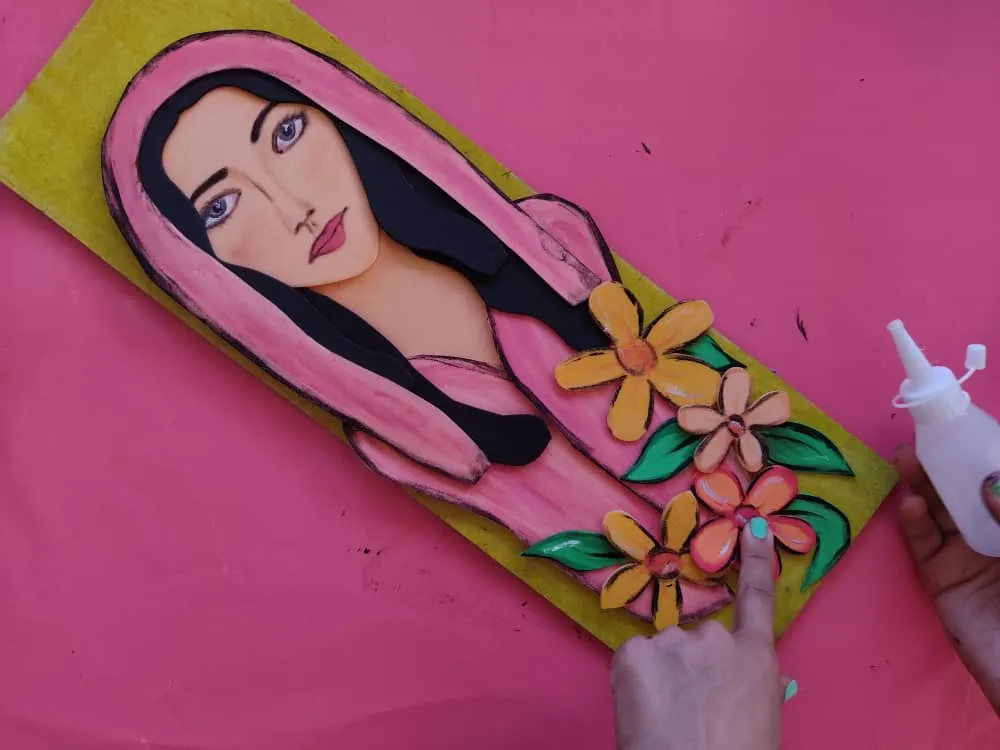
After our base is completely dry and firm, we glue the village woman and the flowers on the base, carefully in the place we want.
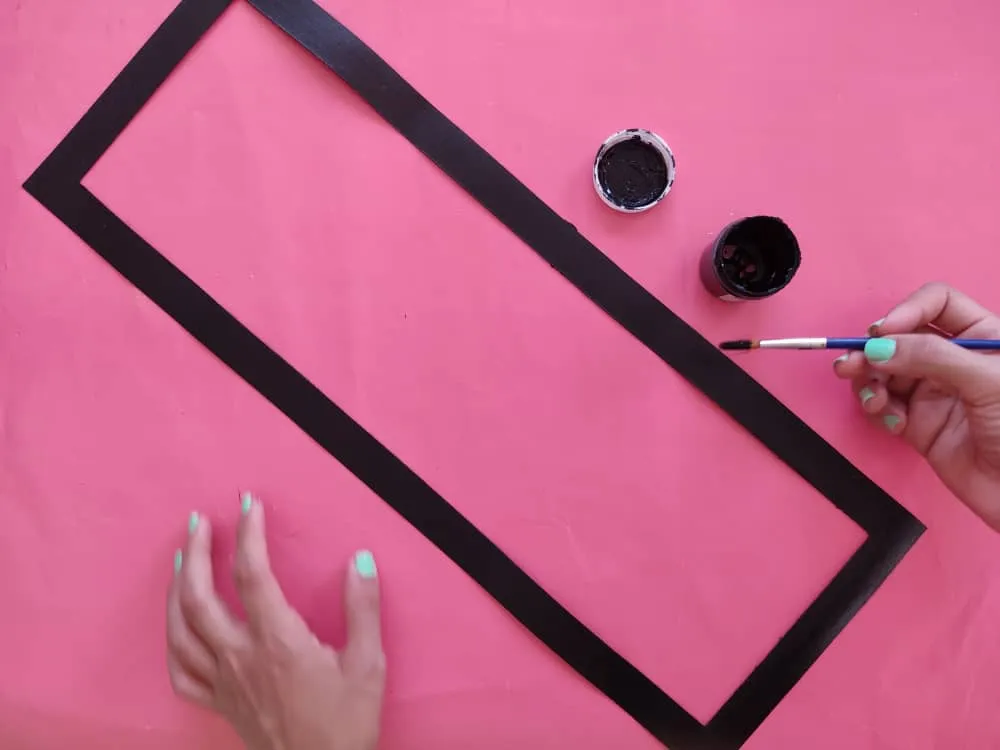
Luego, fabricamos un marco súper genial y lo pintamos del color que deseemos, en este caso yo decidí pintarlo de negro, para que luzca muy elegante y a la vez hermoso. Y finalmente lo pegamos en el borde.
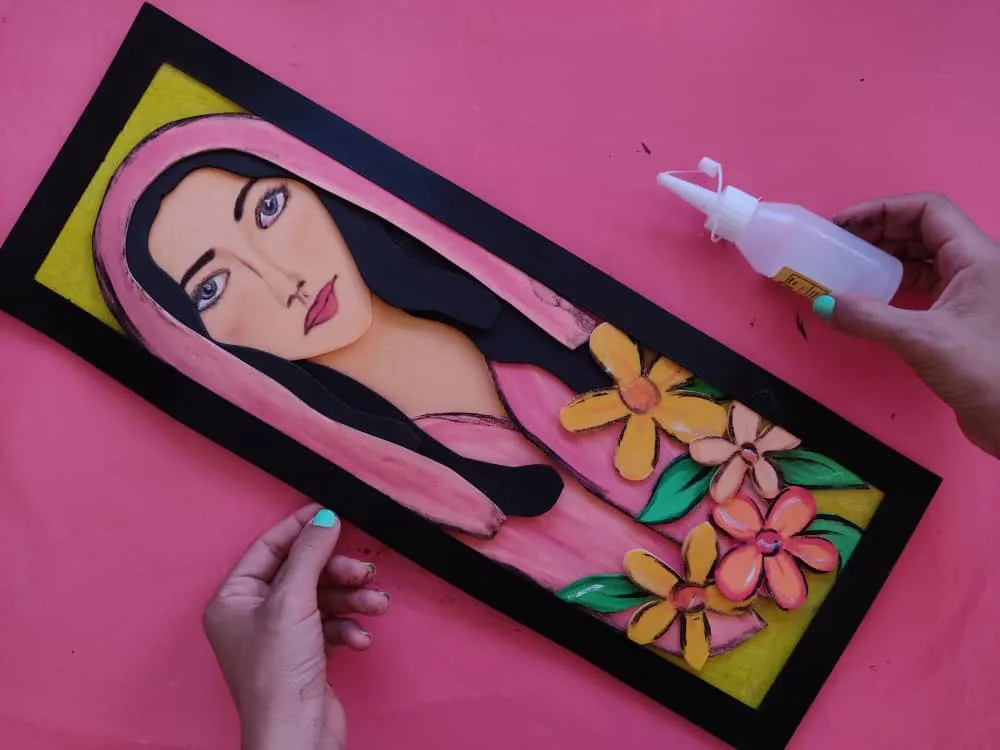
Then, we made a super cool frame and painted it the color we want, in this case, I decided to paint it black, to make it look very elegant and at the same time beautiful. And finally, we glue it on the edge.

Gracias por acompañarme y espero que lo hayan disfrutado. ❤️
Thanks for joining and I hope you enjoyed it.❤️
