
Español
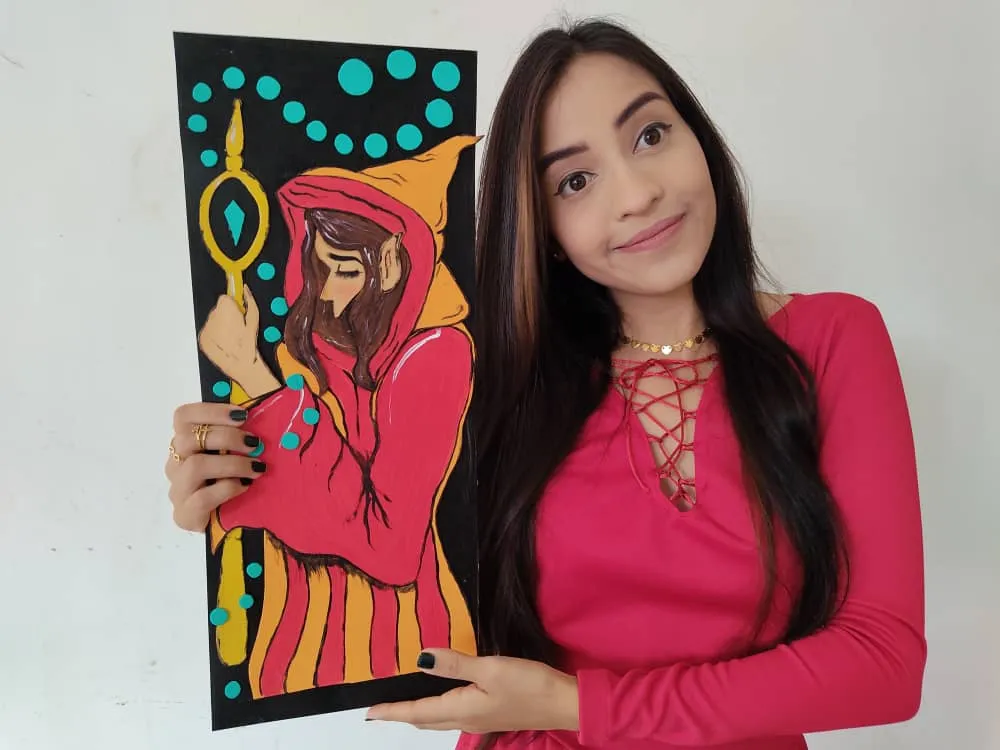
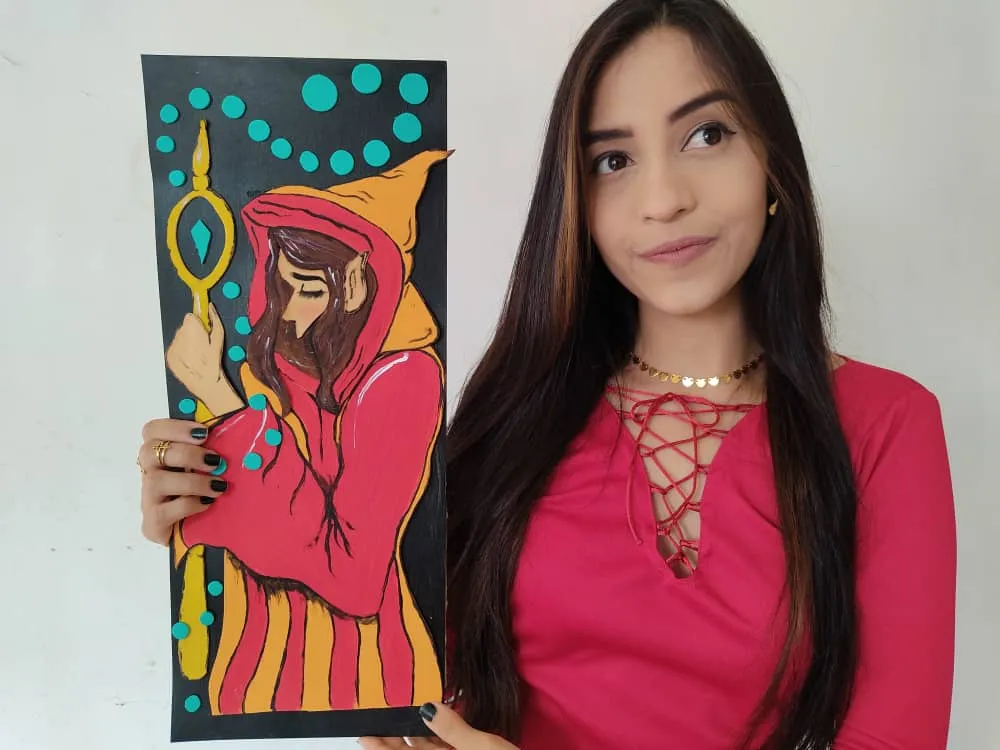
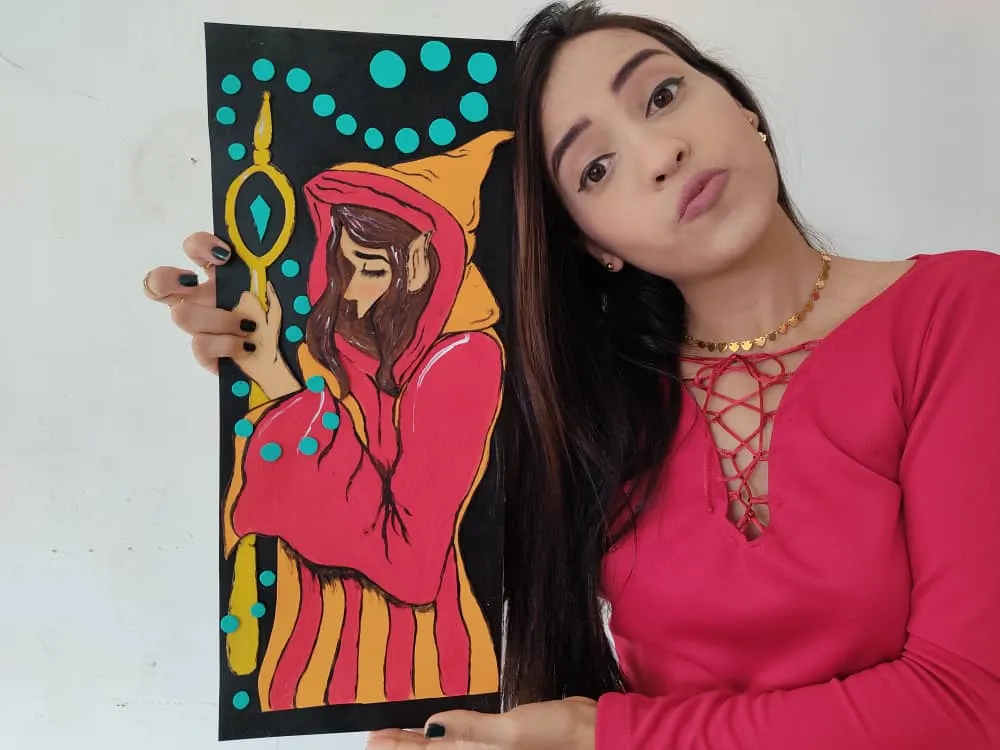
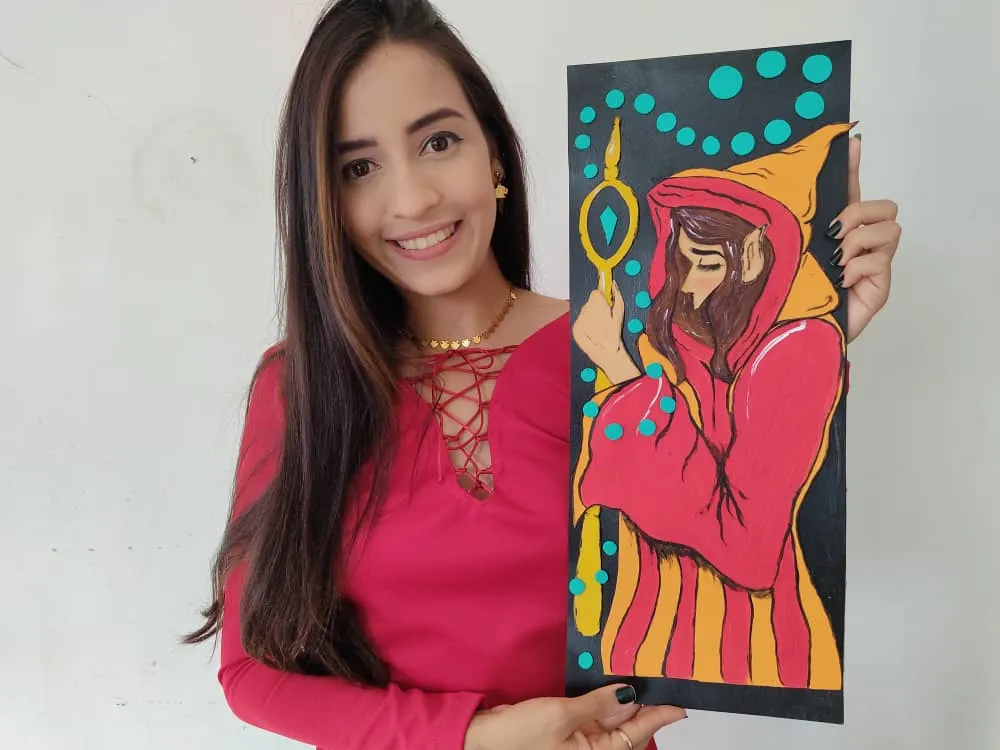
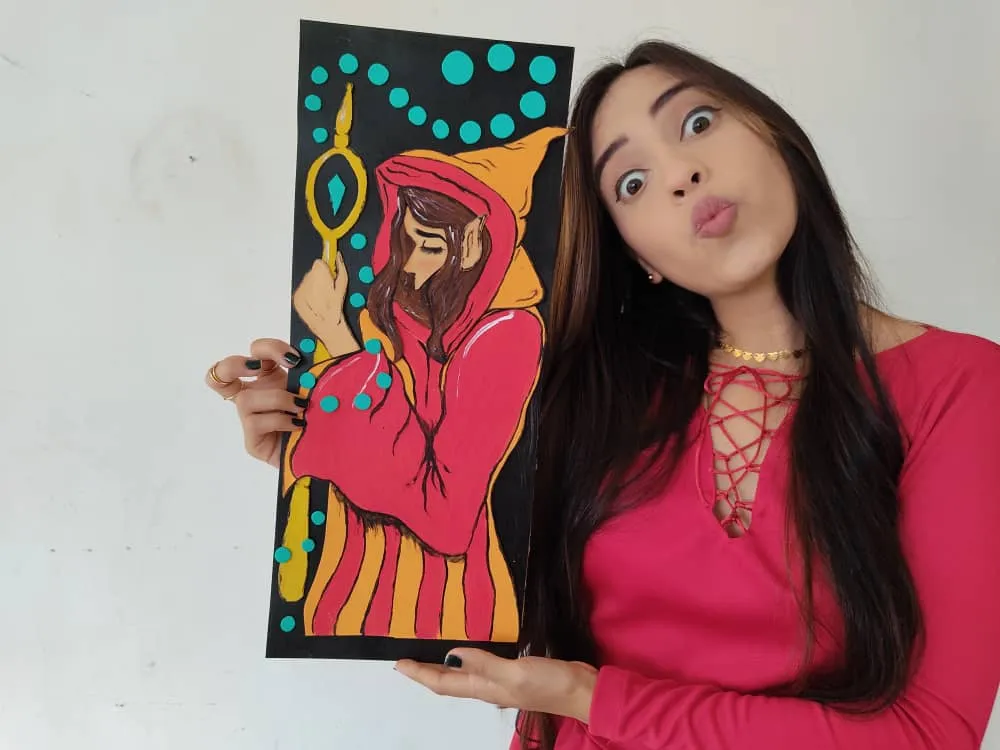
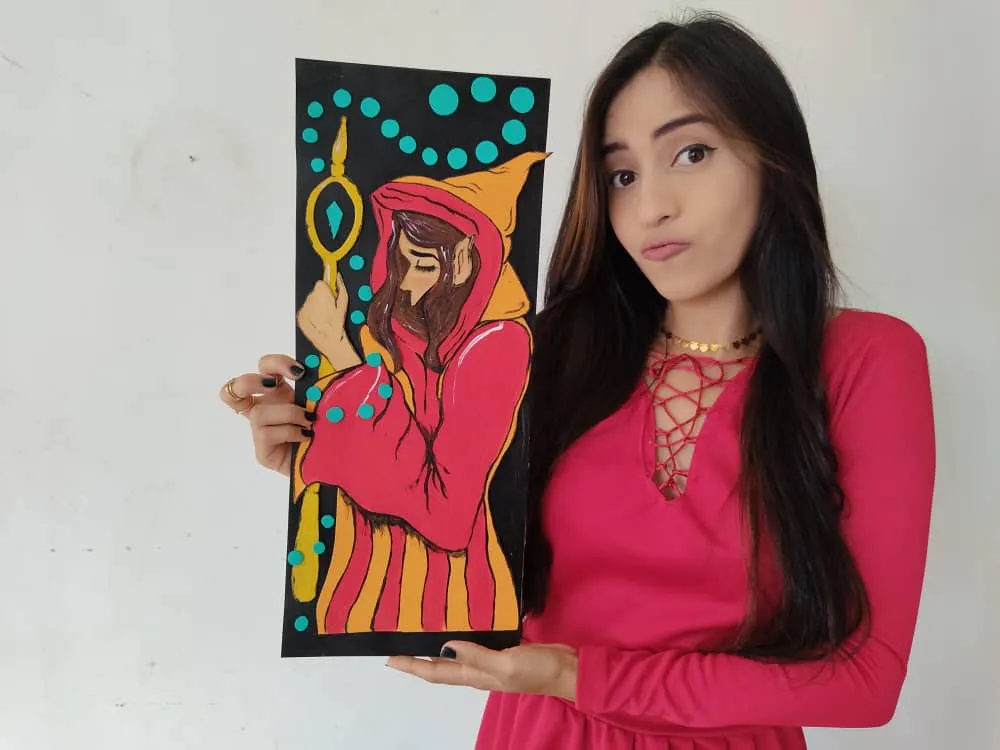
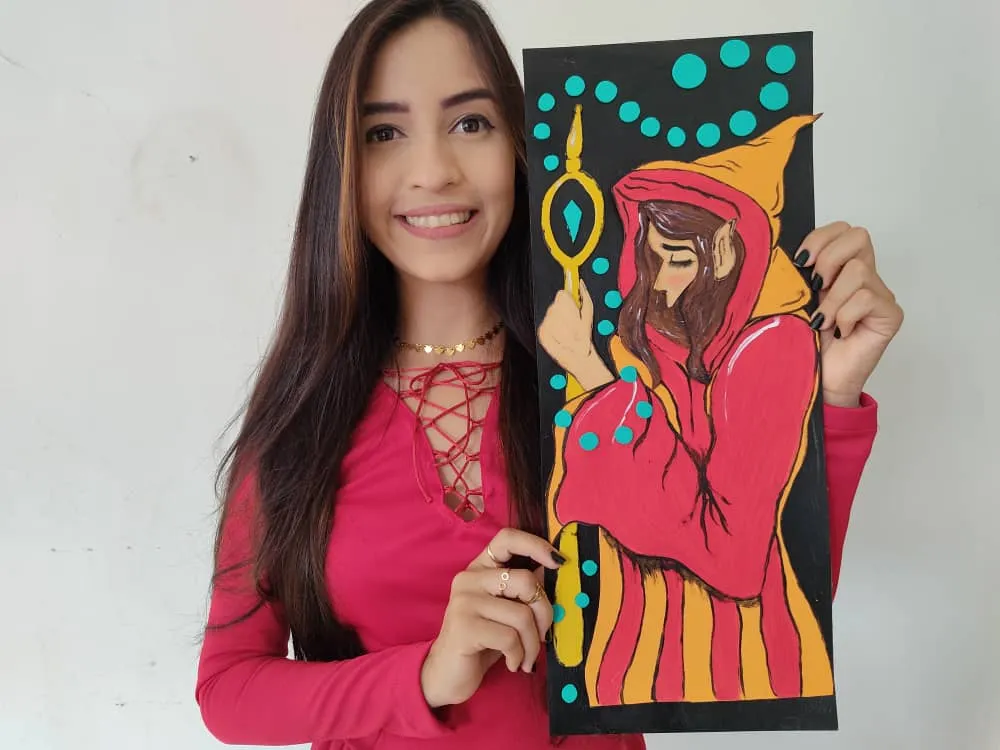
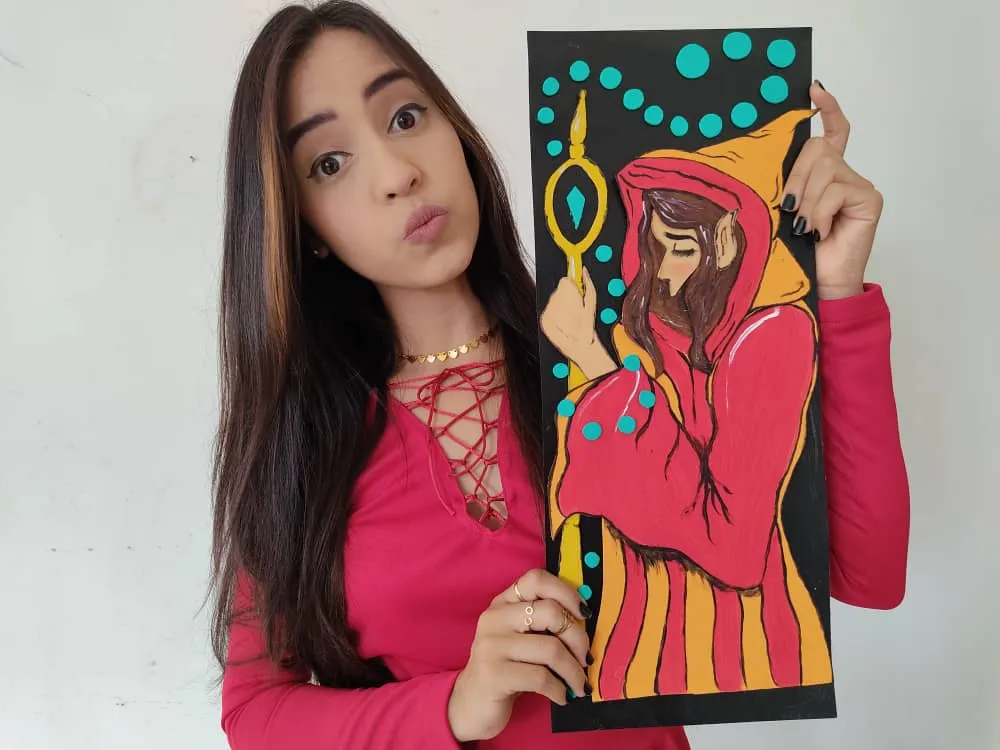
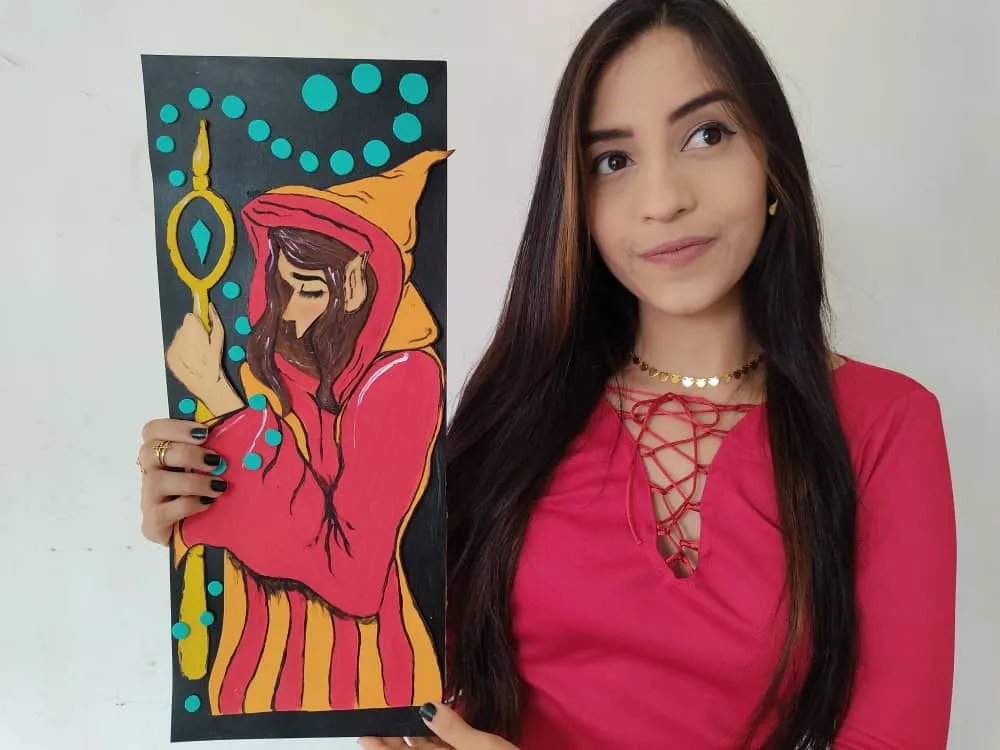
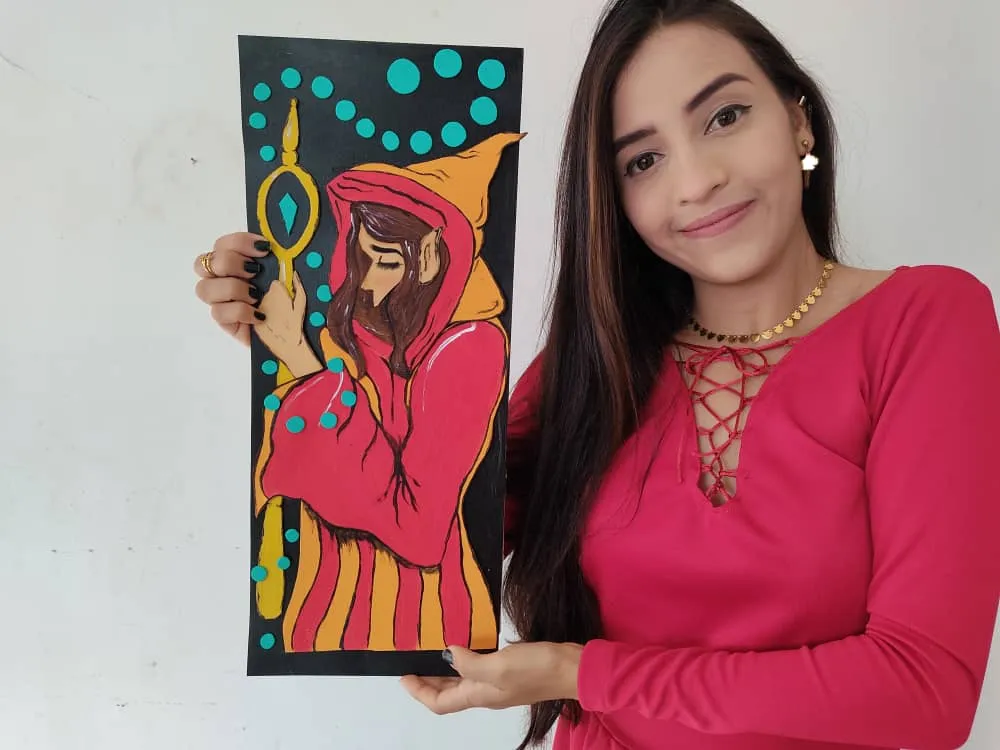
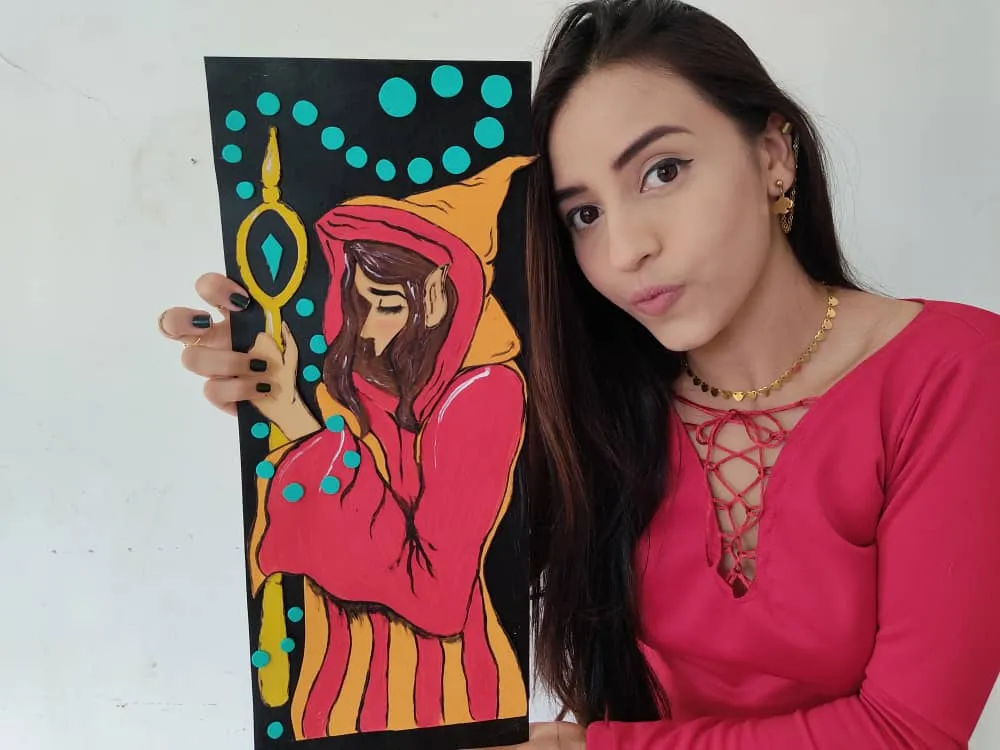
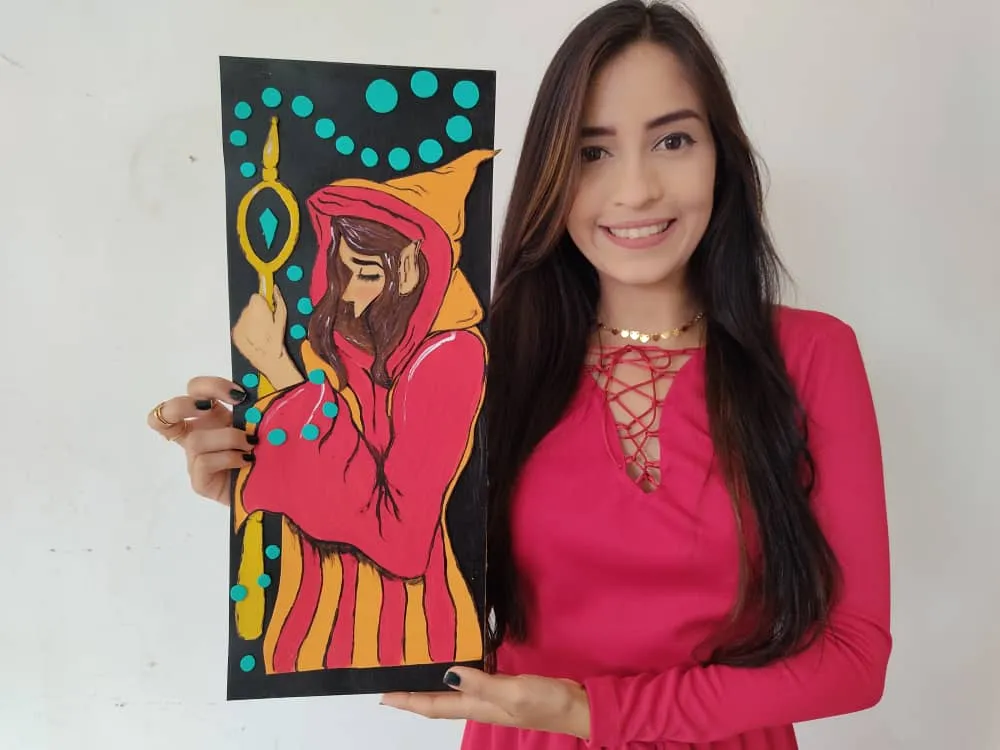
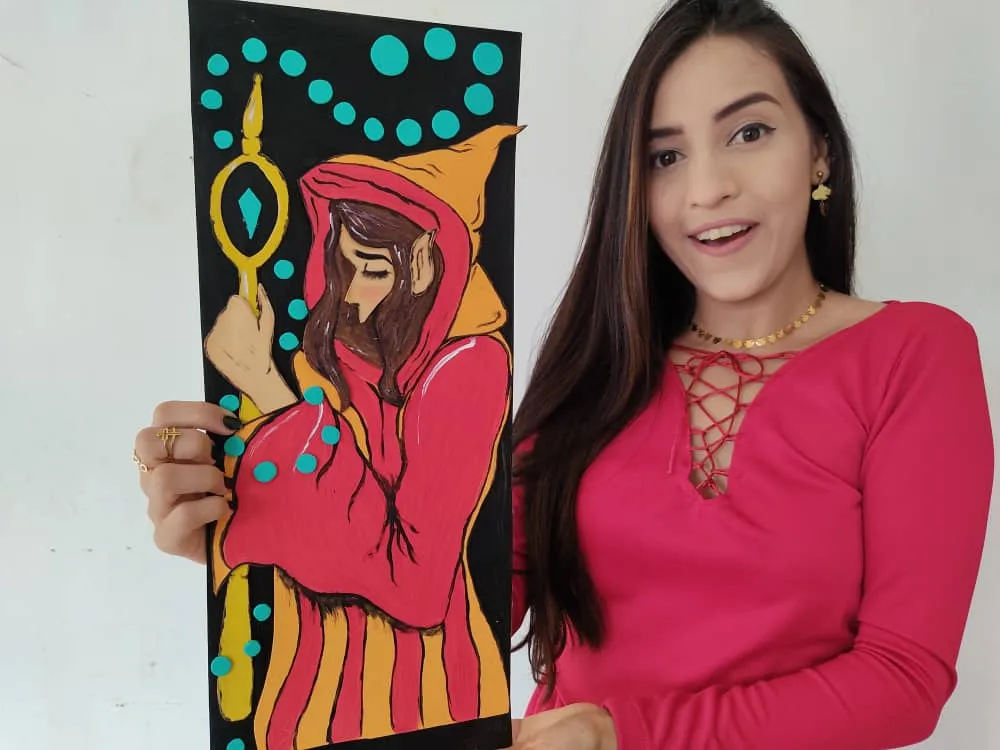
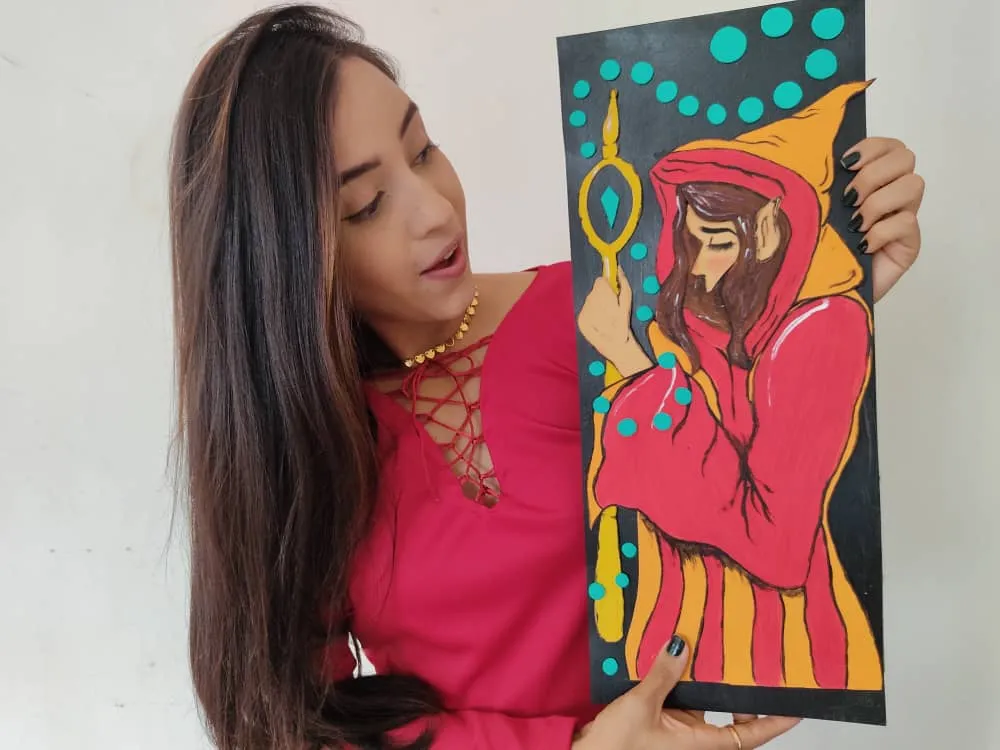
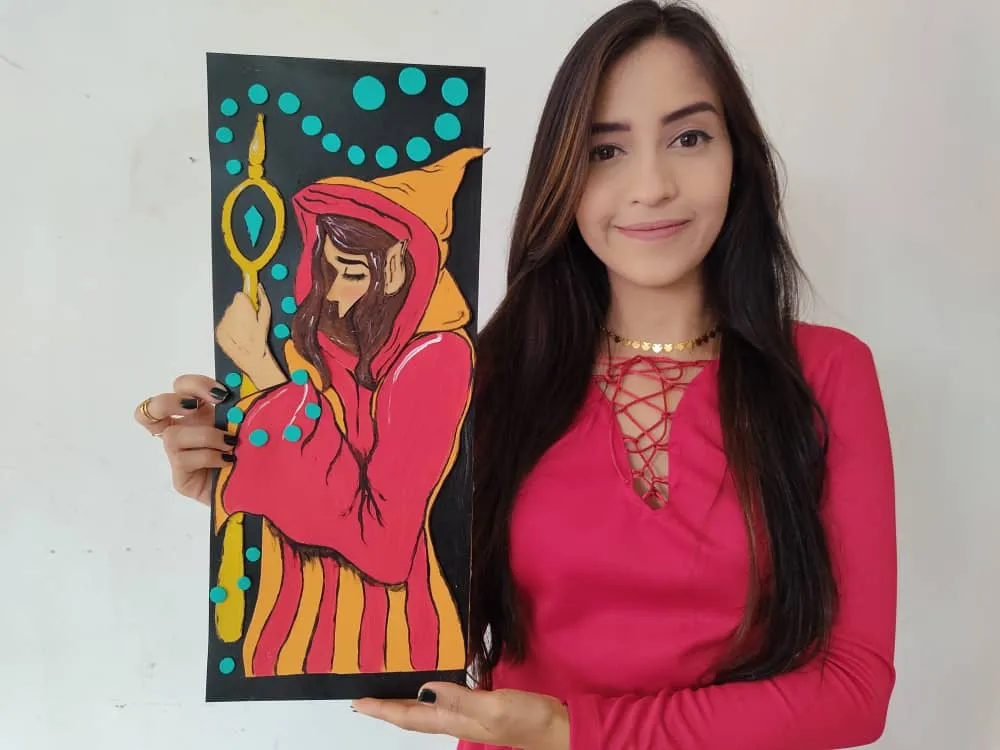
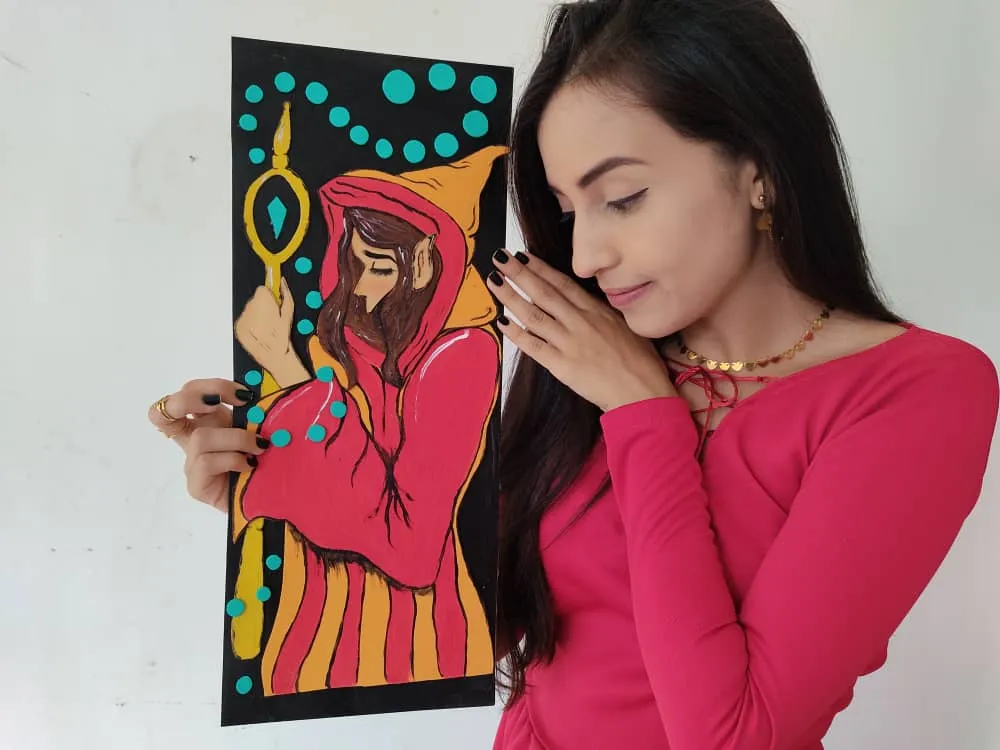
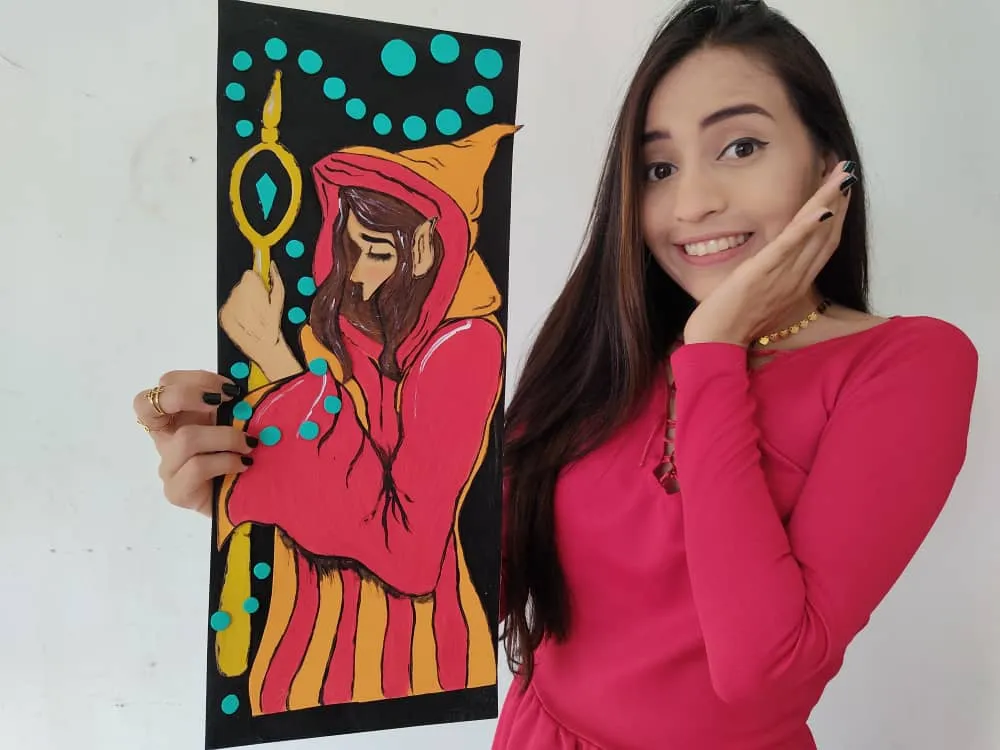
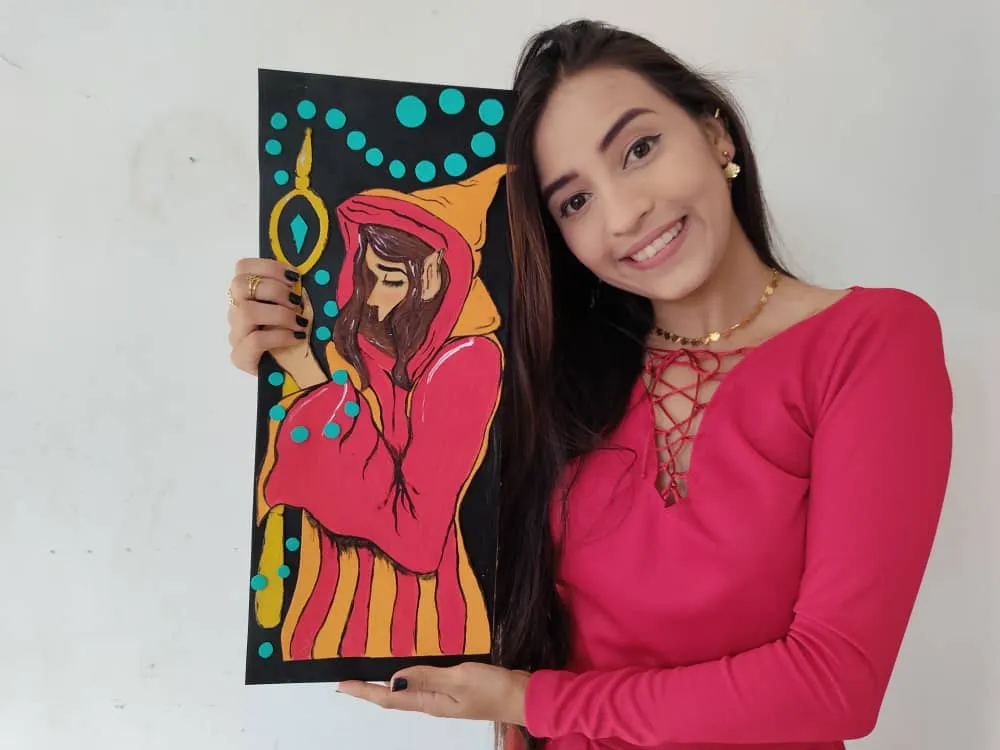
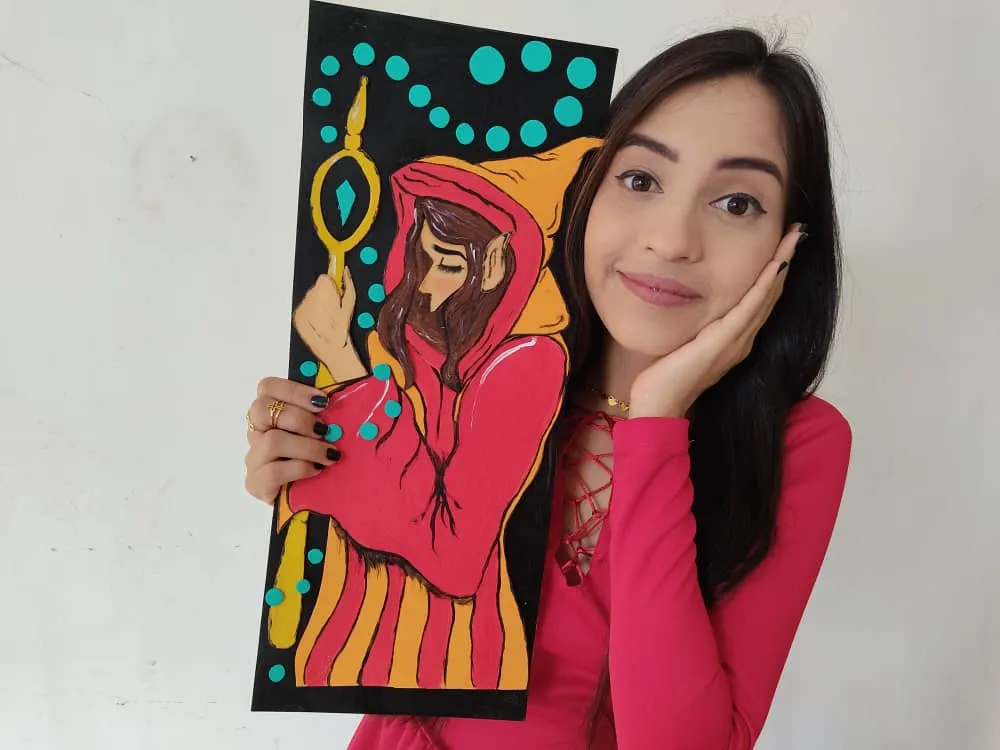
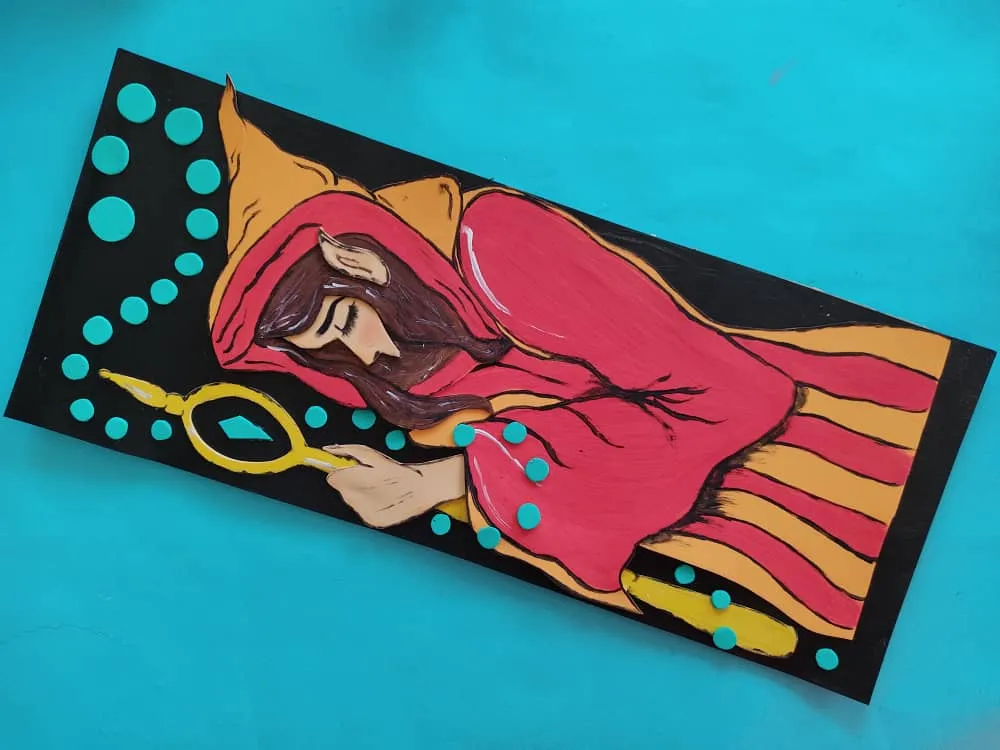
Hola querida familia ❣️ En esta oportunidad traigo para ustedes un divertido paso a paso lleno de imaginación y creatividad, donde les mostrare como hacer un hermoso cuadro de una chica elfa, pues, está preciosa chica mágica está hecha de materiales increíblemente fáciles de conseguir, además, es una idea súper genial para evitar el aburrimiento en casa durante esta larga cuarentena aprendiendo cosas nuevas cada día, así que, manos a la obra aprovechemos cada segundo de nuestras vidas haciendo lo que más amamos.
English
Hello dear family 💓 This time I bring you a fun step by step full of imagination and creativity, where I will show you how to make a beautiful painting of an elf girl, well, this beautiful magical girl is made of incredibly easy to get materials Furthermore, it is a super great idea to avoid boredom at home during this long quarantine by learning new things every day, so let's get to work let's take advantage of every second of our lives doing what we love the most.
¿Qué están esperando?
Utilizar estos hermosos materiales para transformarlos en un hermoso cuadro, es una idea muy original y económica para decorar nuestro entorno y darle un toque de creatividad a nuestras paredes. Antes de comenzar no olvidemos lavarnos nuestras manos.
What are they waiting for?
Using these beautiful materials to transform them into a beautiful painting is a very original and inexpensive idea to decorate our surroundings and give a touch of creativity to our walls. Before we start, let's not forget to wash our hands.


[Materiales | Materials]
Para hacer esta hermosa elfa necesitaremos:
- Moldes
- Foami o goma eva.
- Cartón
- Pincel.
- Pinturas.
- Tijera.
- Pegamento o silicona caliente.
To make this precious elf will need:
- Molds
- Foamy or EVA foam.
- Cardboard
- Brush.
- Paintings.
- Scissors.
- Hot glue or silicone.
Procedimiento (paso a paso)
Process (step by step)
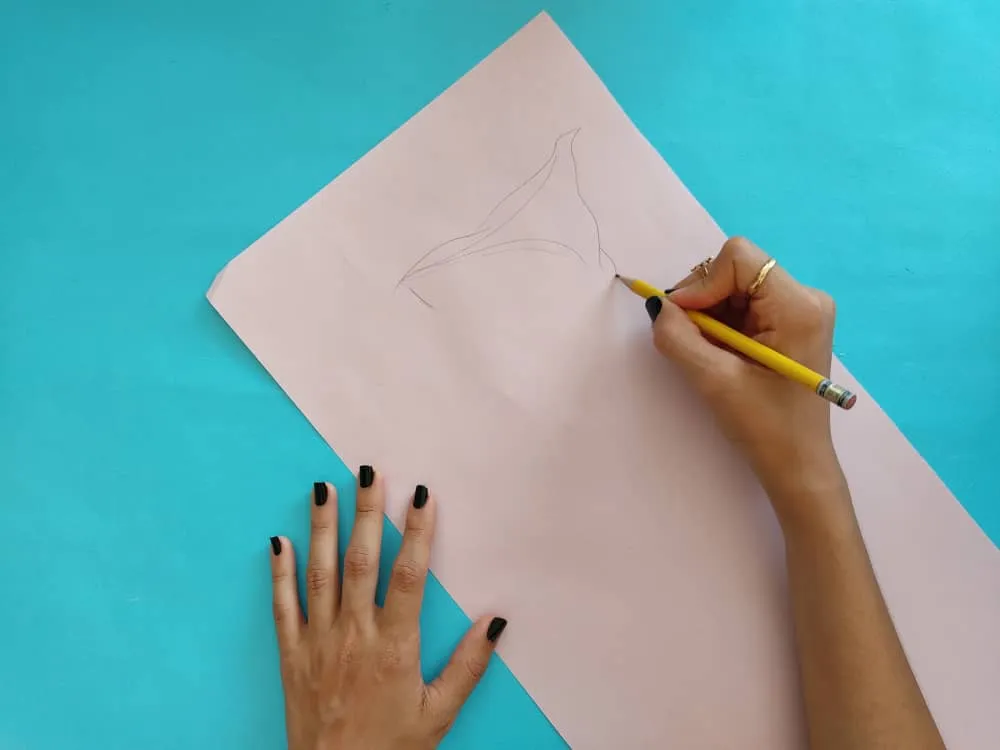
Primero, comenzados dibujando una hermosa chica elfa, y agregamos esos detalles que nos vengan a la mente para embellecer nuestra obra.
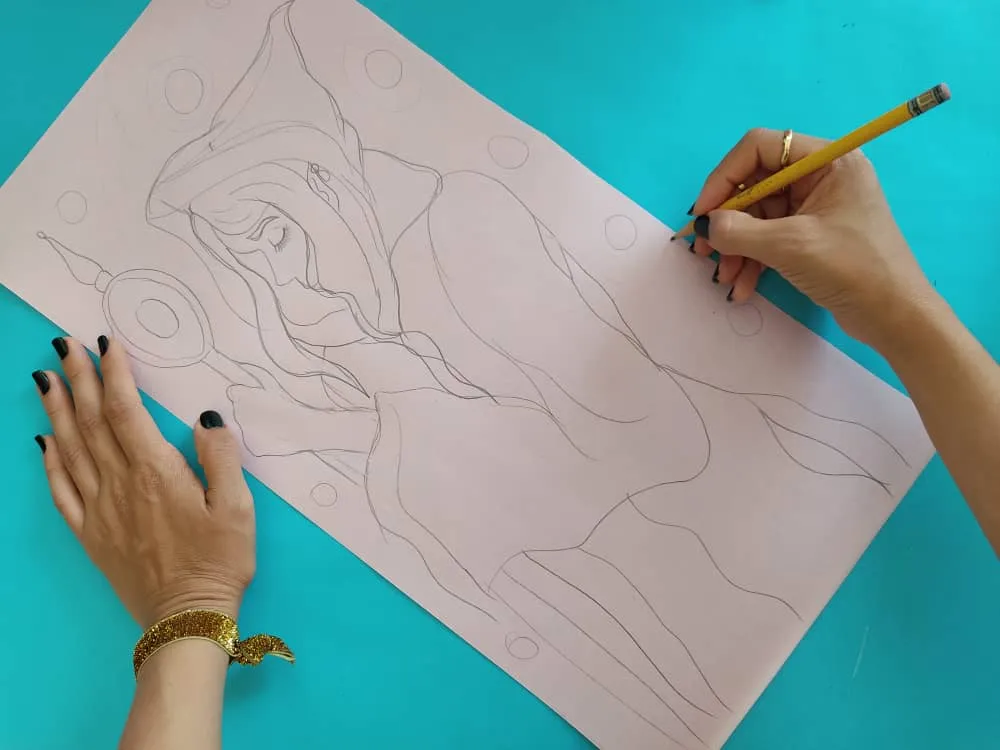
First, we started by drawing a beautiful elf girl, and we add those details that come to mind to embellish our work.
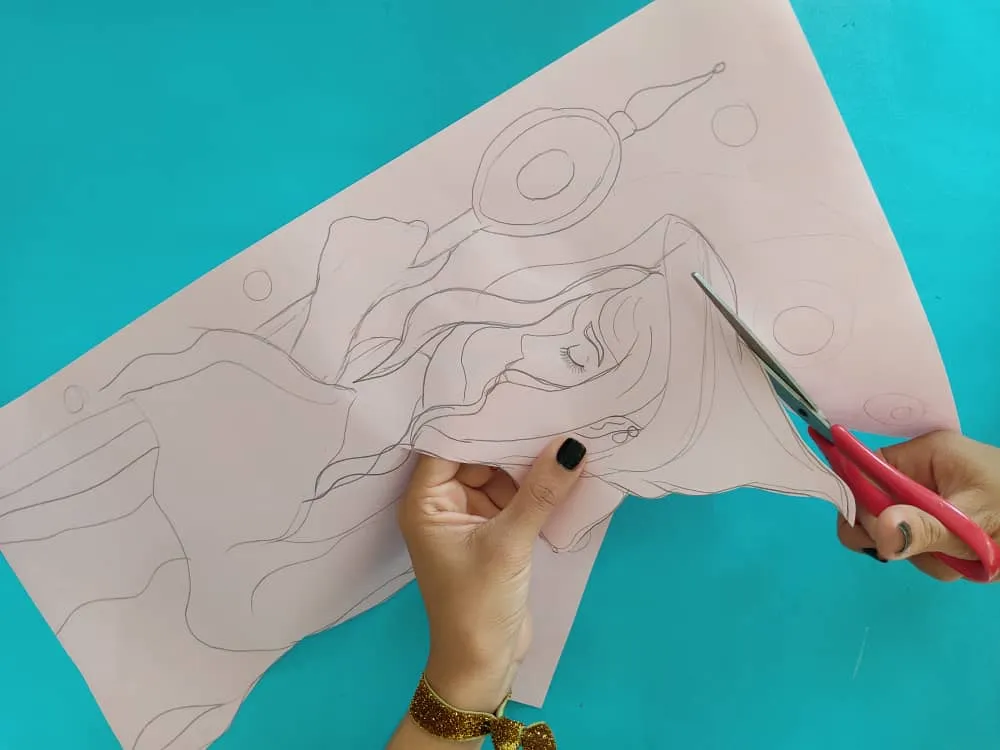
Seguidamente, recortamos nuestra linda elfa separando su capucha, vestido, mano, cara, oreja, y varita mágica.
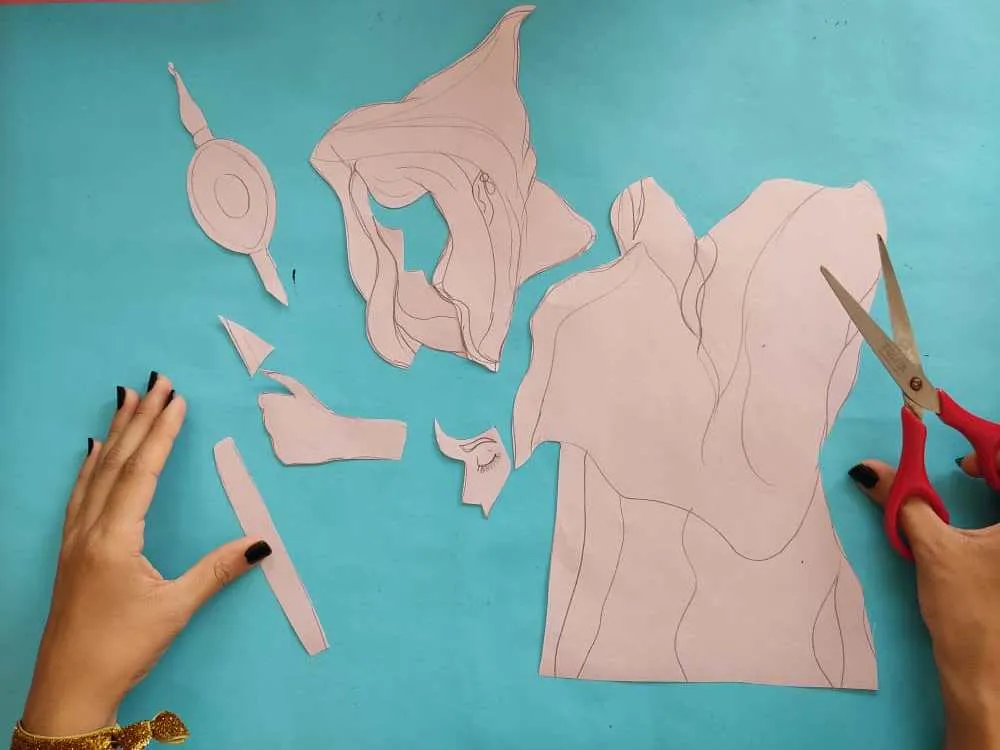
Next, we cut out our cute elf separating her hood, dress, hand, face, ear, and magic wand.
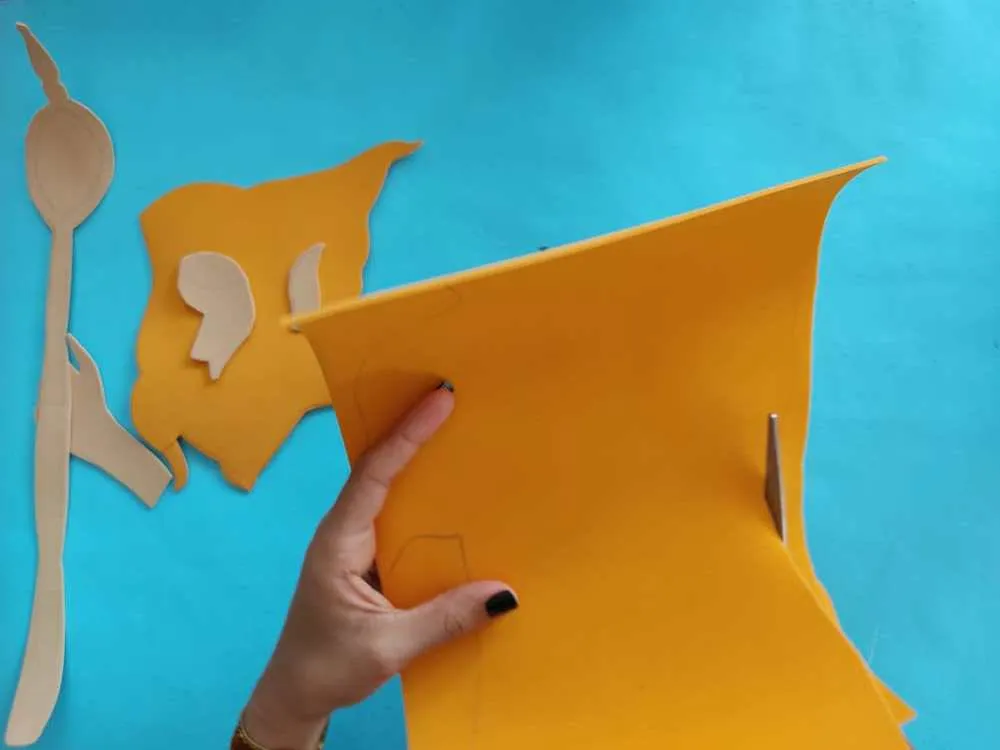
Ahora, transferimos cada parte de nuestra elfa al foami de los colores que más nos gusten, en este caso opte por hacer la ropa de esta linda duende en un hermoso color naranja, y por supuesto las partes de su cuerpo en color piel.
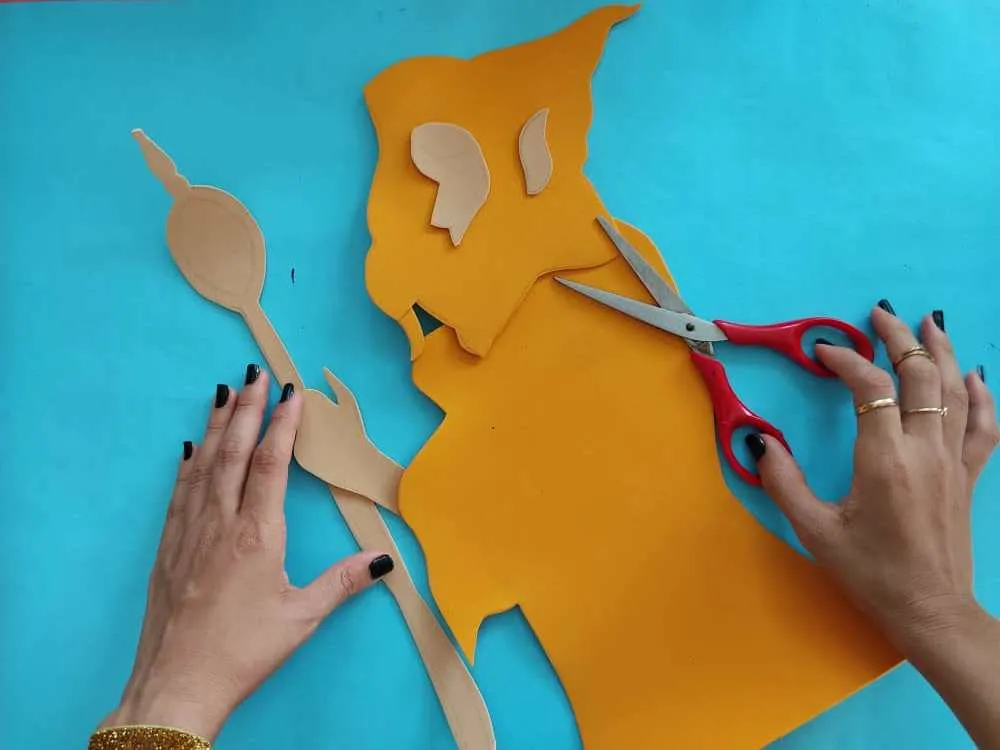
Now, we transfer each part of our elf to the foamy of the colors that we like the most, in this case, I chose to make the clothes of this cute elf in a beautiful orange color, and of course the parts of her body in skin color.
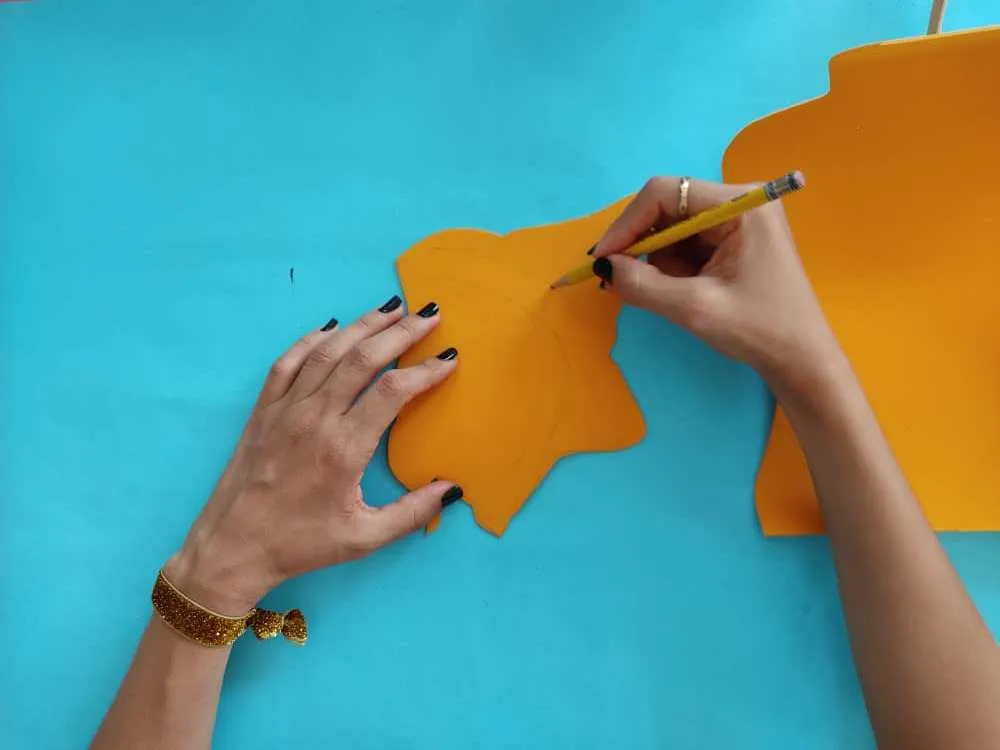
Una vez obtenidas las piezas deseadas en foami, marcamos claramente con el lápiz de grafito cada línea para facilitar la pintura de estás.
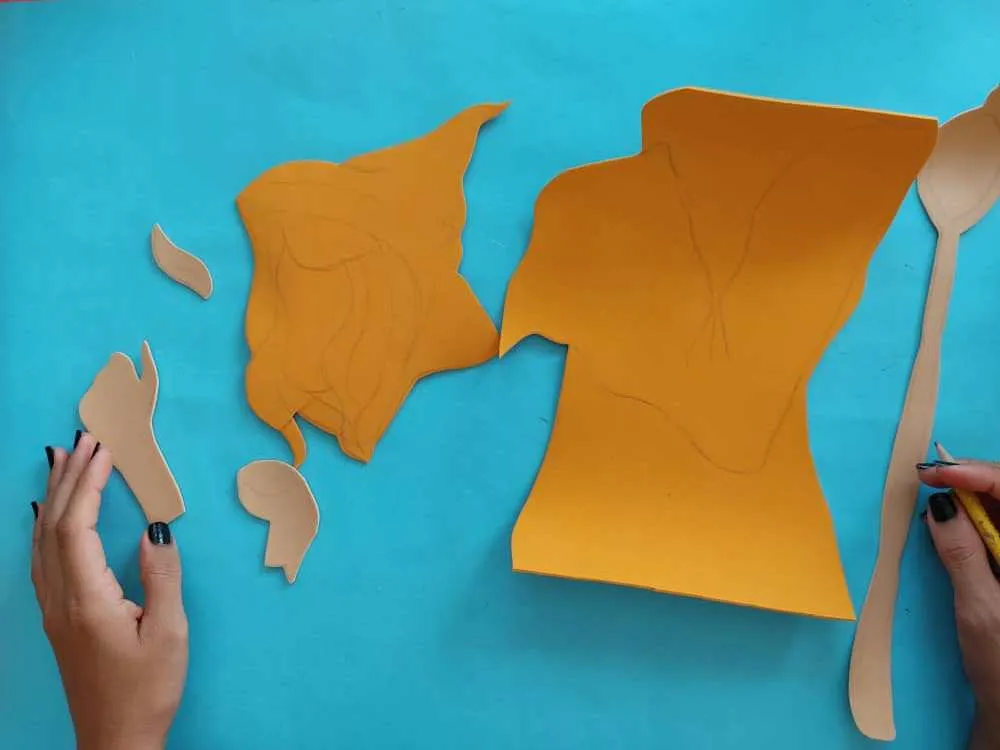
Once we have obtained the desired pieces in foamy, we clearly mark each line with the graphite pencil to facilitate the painting of these.
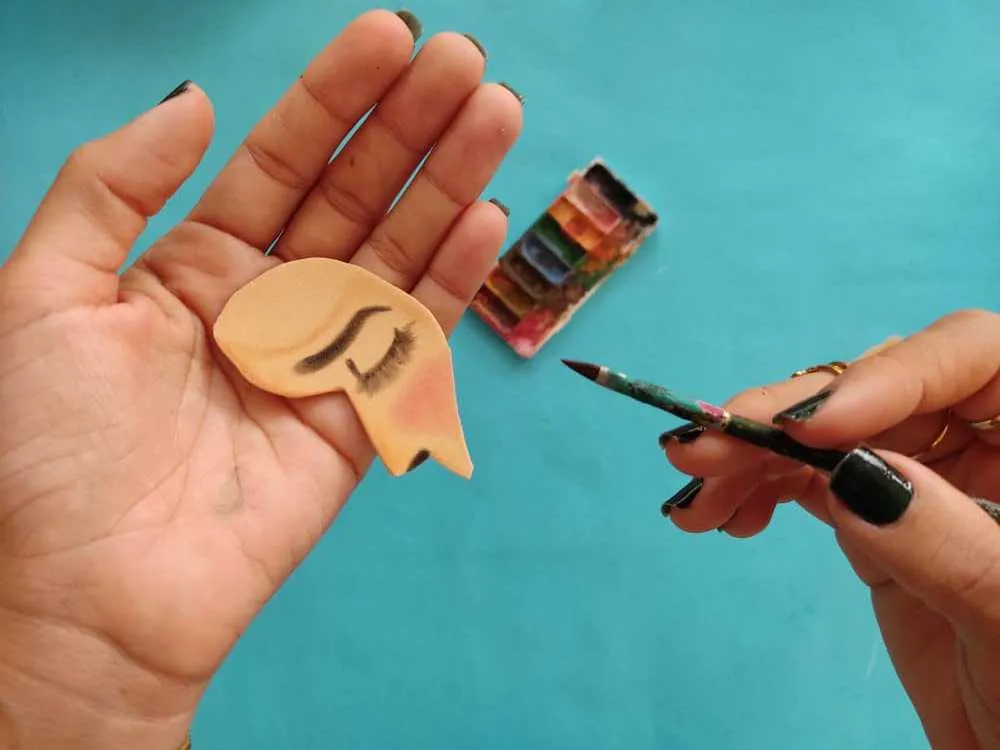
Ahora llegamos al paso más esperado, donde le daremos un poco de magia y alegría a las partes de nuestra obra, definiendo las partes de su cuerpo que están descubiertas como el rostro, mano y oreja, con la ayuda de un pincel y pintura.
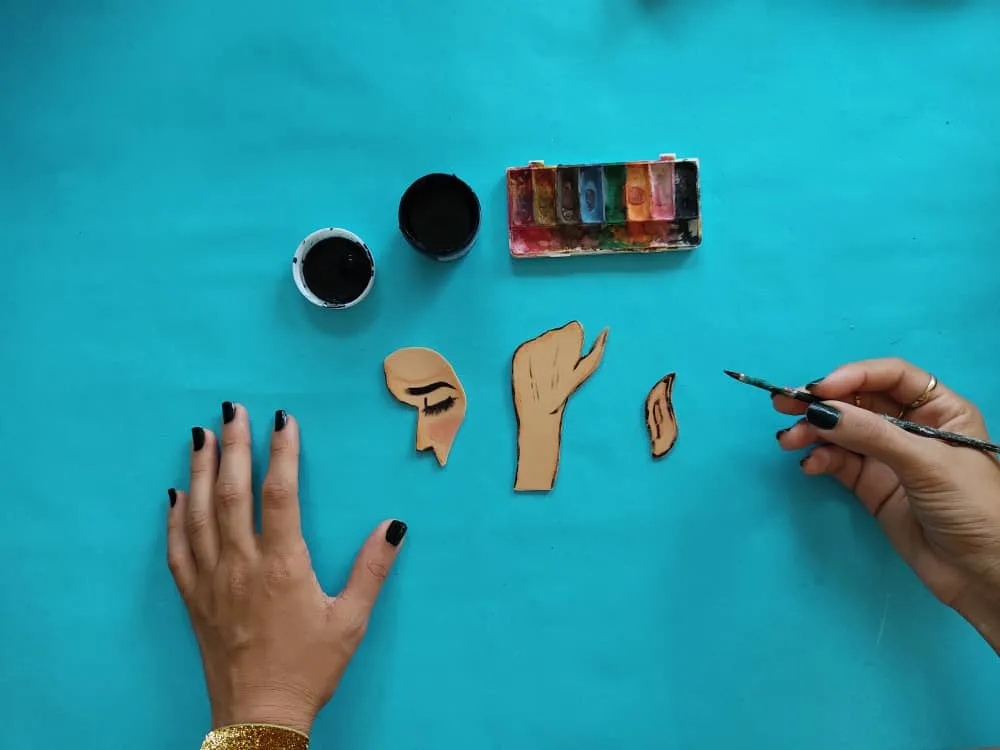
Now we come to the most anticipated step, where we will give a little magic and joy to the parts of our work, defining the parts of his body that are uncovered such as the face, hand, and ear, with the help of a brush and paint.
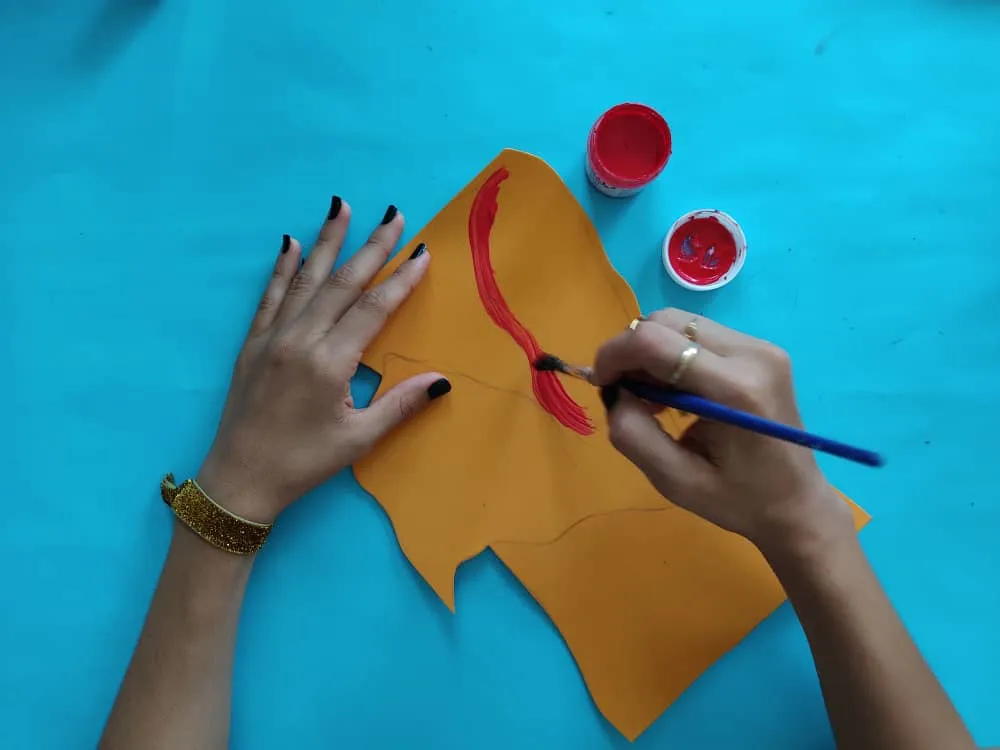
Seguidamente, definimos la ropa, capucha y cabello, en este caso decidí combinar este lindo color naranja con un rojo muy brillante y hacer líneas, a lo largo de su vestido.
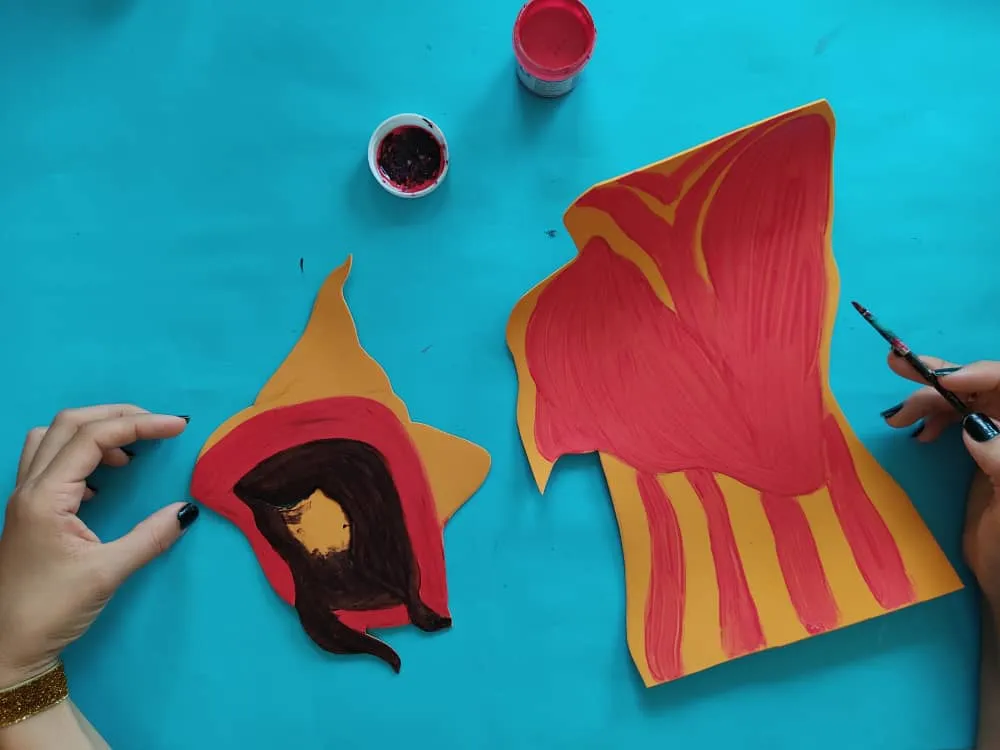
Next, we define the clothes, hood, and hair, in this case, I decided to combine this cute orange color with a very bright red and make lines throughout her dress.
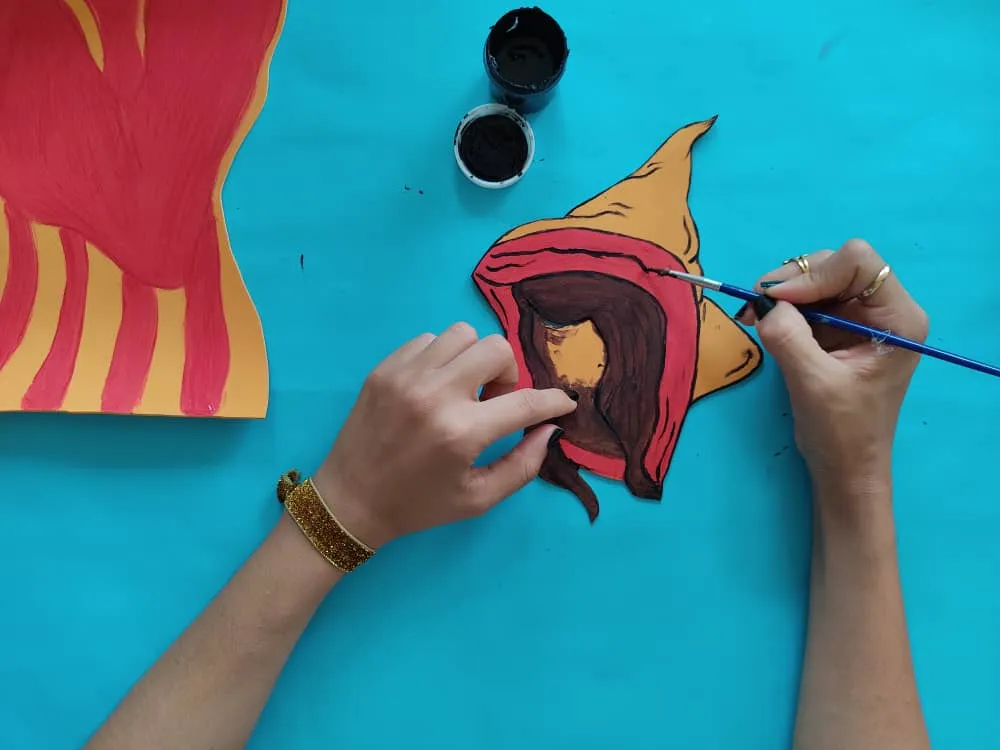
Luego, remarcamos los bordes de la ropa con color negro utilizando un pincel muy fino, recuerden que esté importante toque de negro no puede faltar, ya que, realza los hermosos colores que siempre utilizamos.
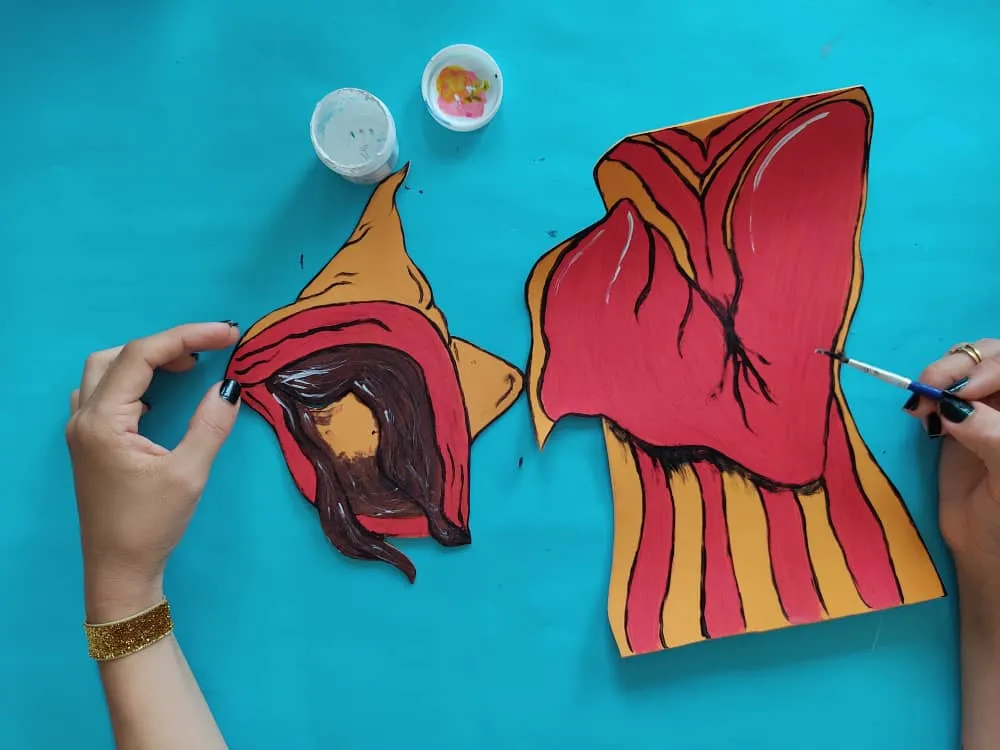
Then, we highlight the edges of the clothes with black using a very fine brush, remember that this important touch of black cannot be missing, since it enhances the beautiful colors that we always use.
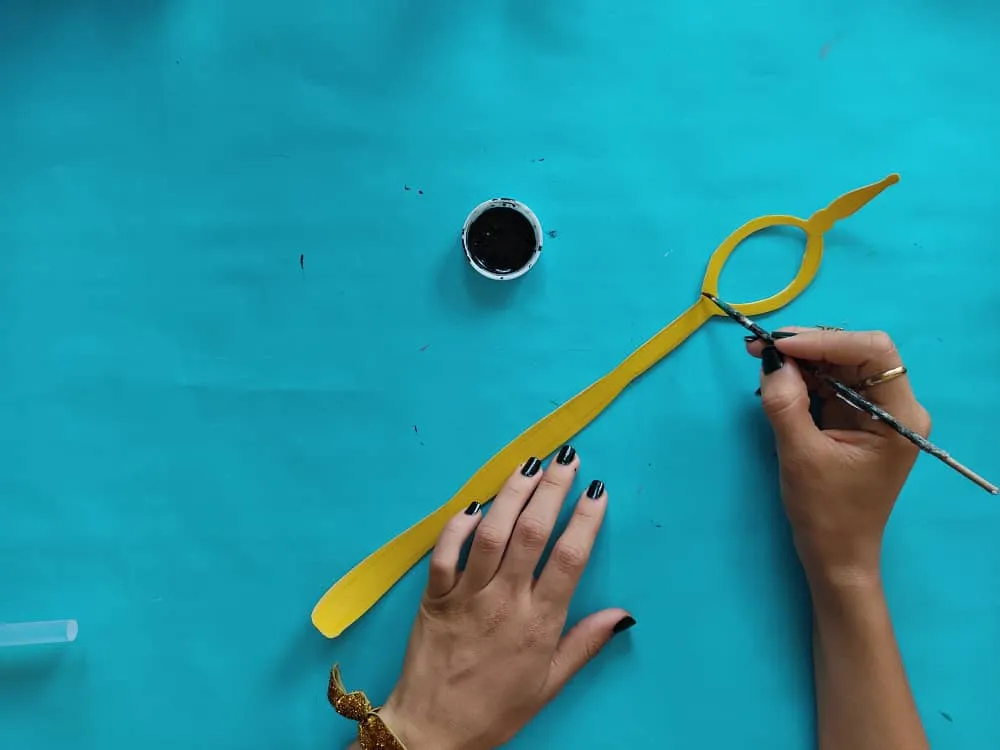
Ahora, pintamos la vara mágica de color dorado o en este caso amarillo brillante, y marcamos sus bordes con color negro.
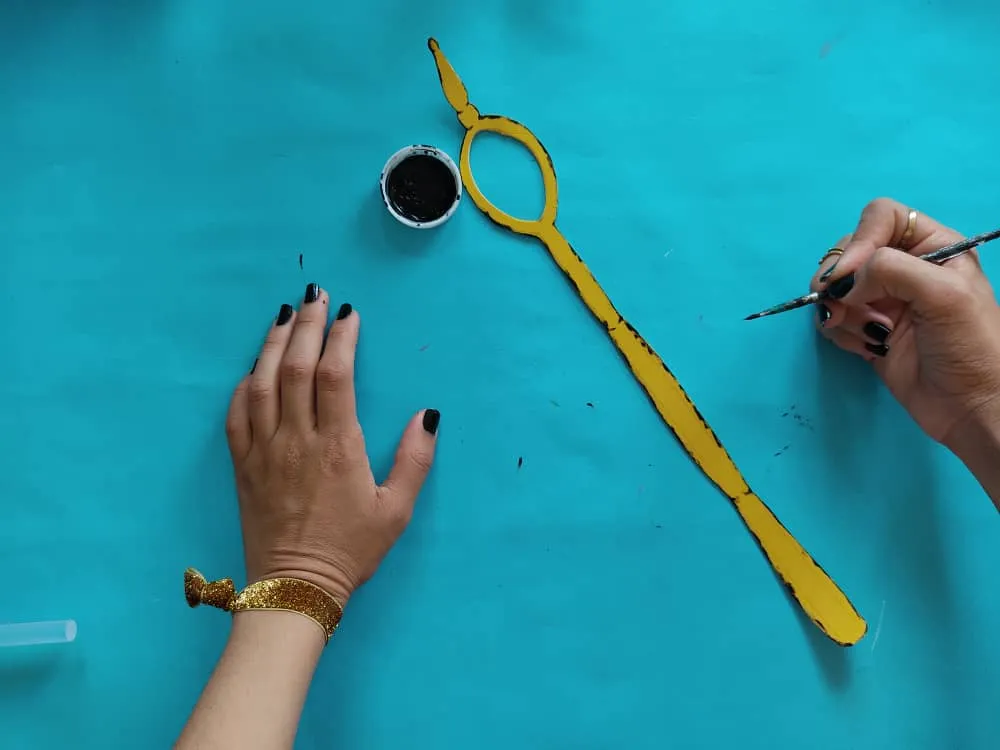
Now, we paint the magic wand gold or in this case bright yellow and mark its edges with black.
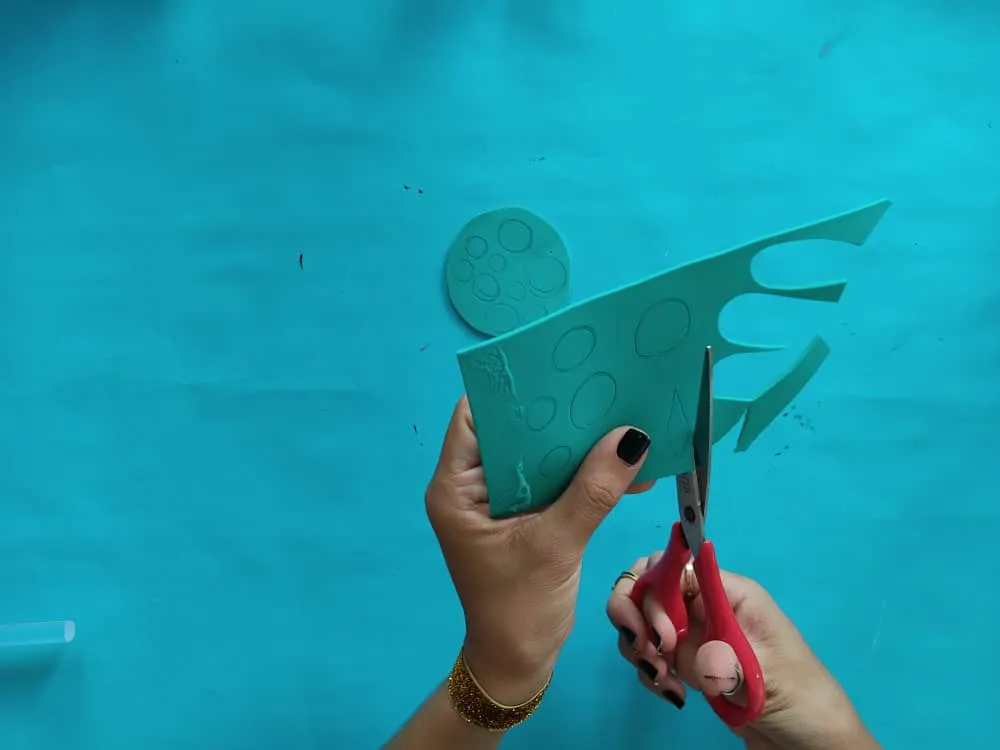
Seguidamente, elaboramos hermosos y pequeños detalles en foami de color azul o turquesa, de manera que resalte entre los colores de la ropa de nuestra chica.
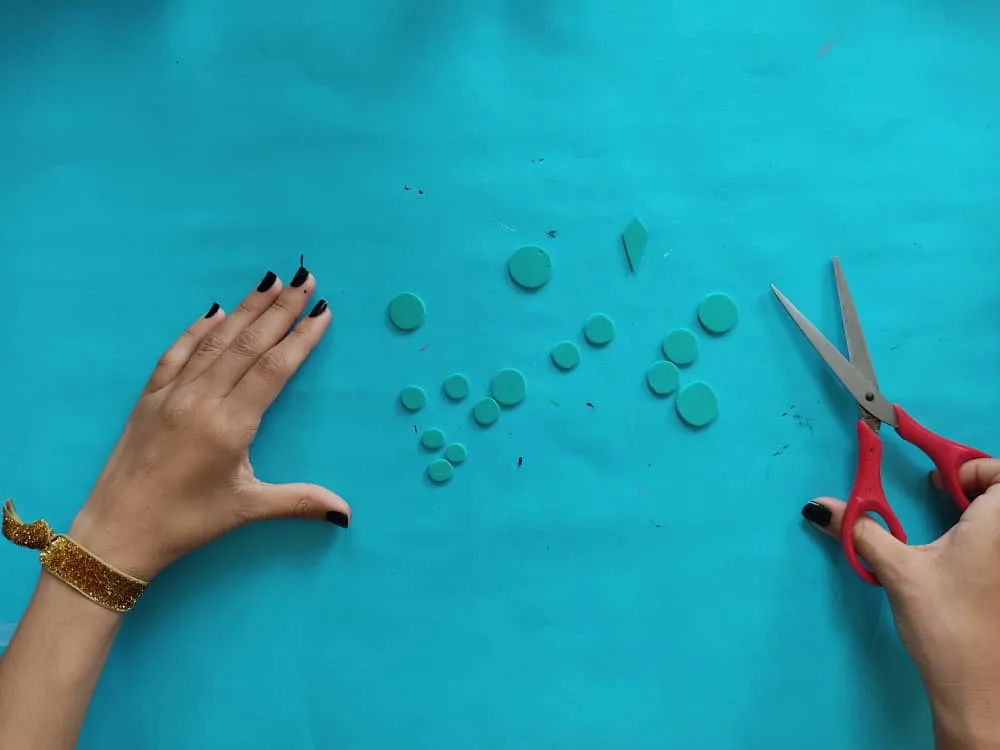
Next, we make beautiful little details in blue or turquoise foamy, so that it stands out among the colors of our girl's clothes.
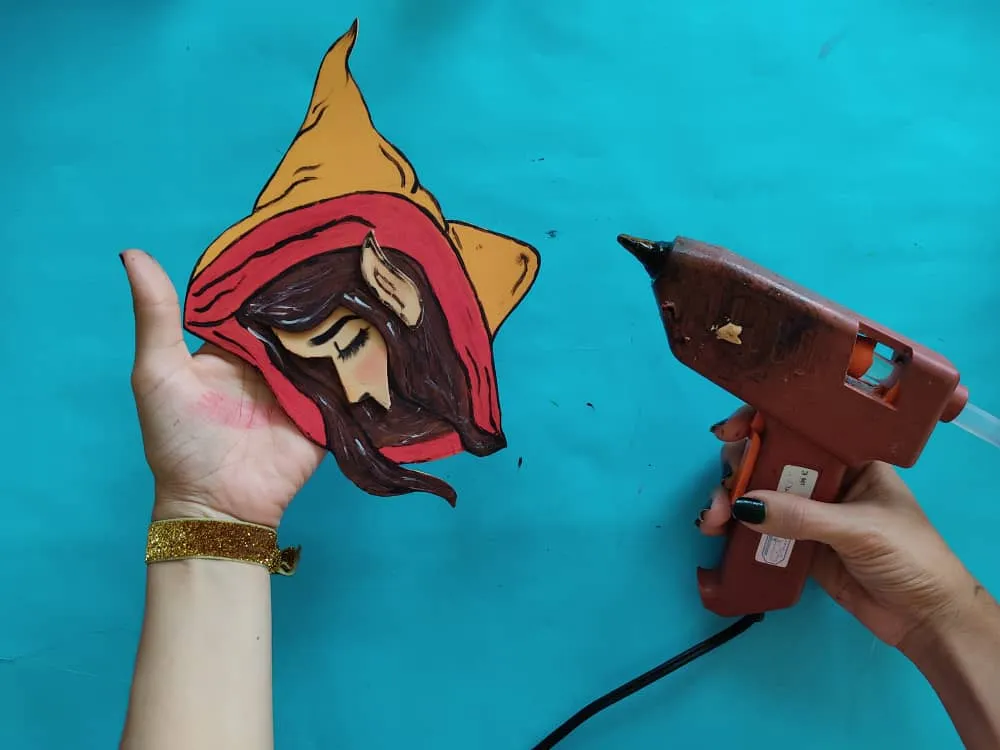
Luego, armamos nuestra elfa pegando la cara y oreja, y así, sucesivamente hasta pegar el vestido y la mano.
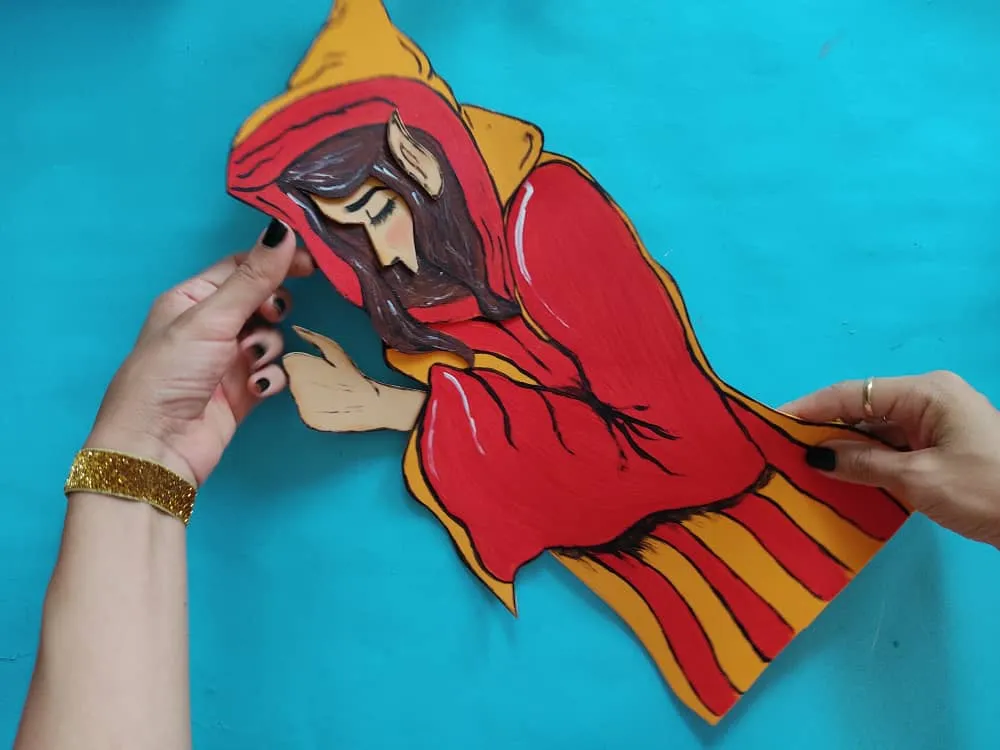
Then, we assemble our elf by gluing the face and ear, and so on, until the dress and the hand are glued.
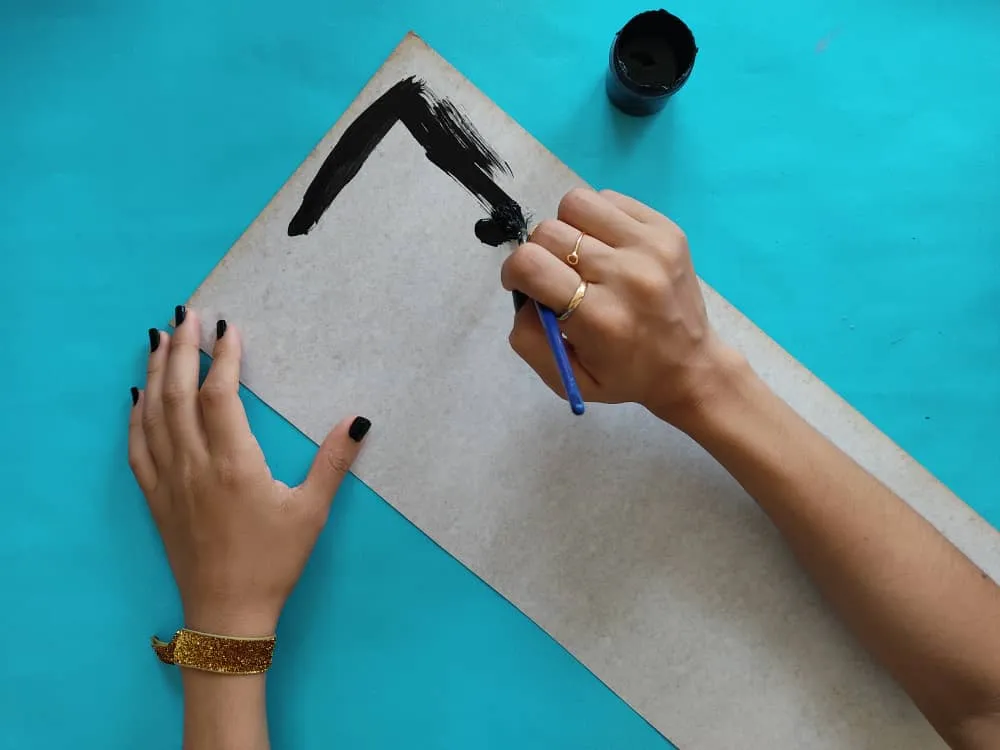
Ahora, elaboramos una base de cartón de aproximadamente 15 x 45cm y la pintamos de color negro, dejando secar durante unos segundos.
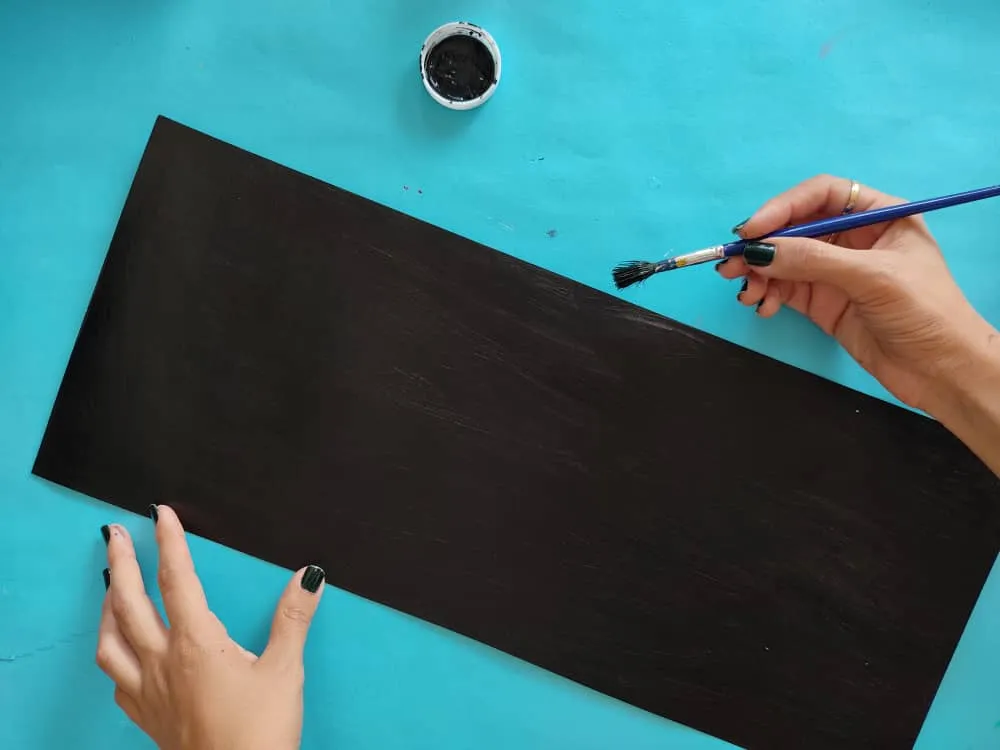
Now, we make a cardboard base of approximately 15 x 45cm and paint it black, letting it dry for a few seconds.
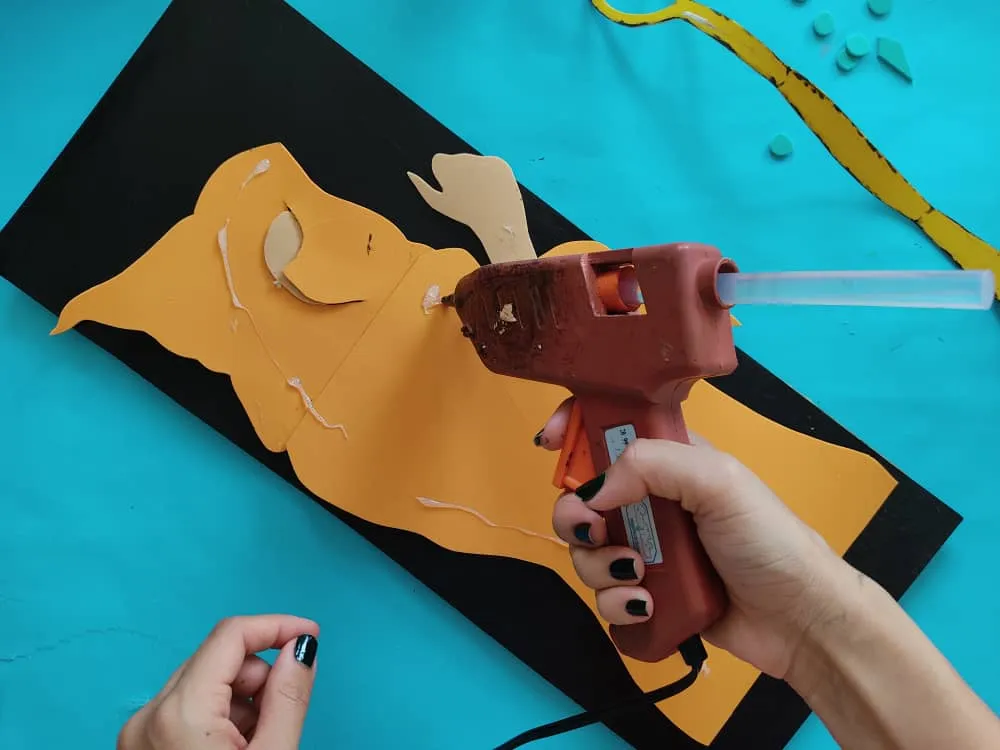
Finalmente, pegamos la chica a la base ubicándola en el lugar que deseemos, y posteriormente vamos añadiendo el resto de los detalles hemos fabricado para embellecer nuestro cuadro.
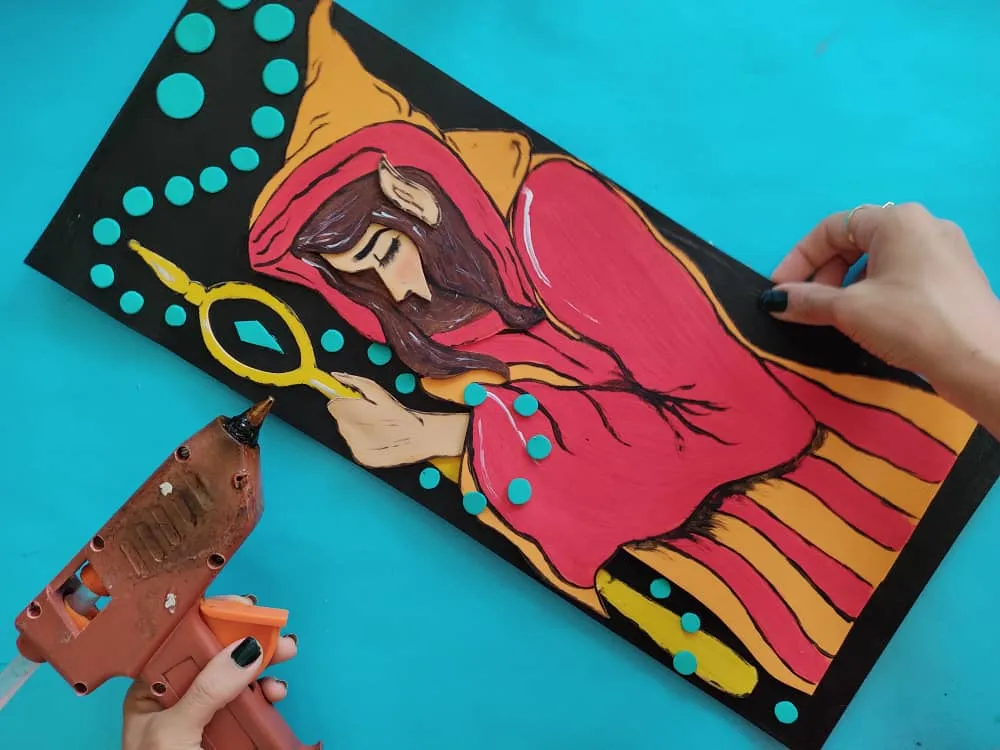
Finally, we glue the girl to the base, placing it in the place we want, and later we add the rest of the details we have made to beautify our frame.

Gracias por acompañarme y espero que lo hayan disfrutado. ❤️
Thanks for joining and I hope you enjoyed it.❤️
