

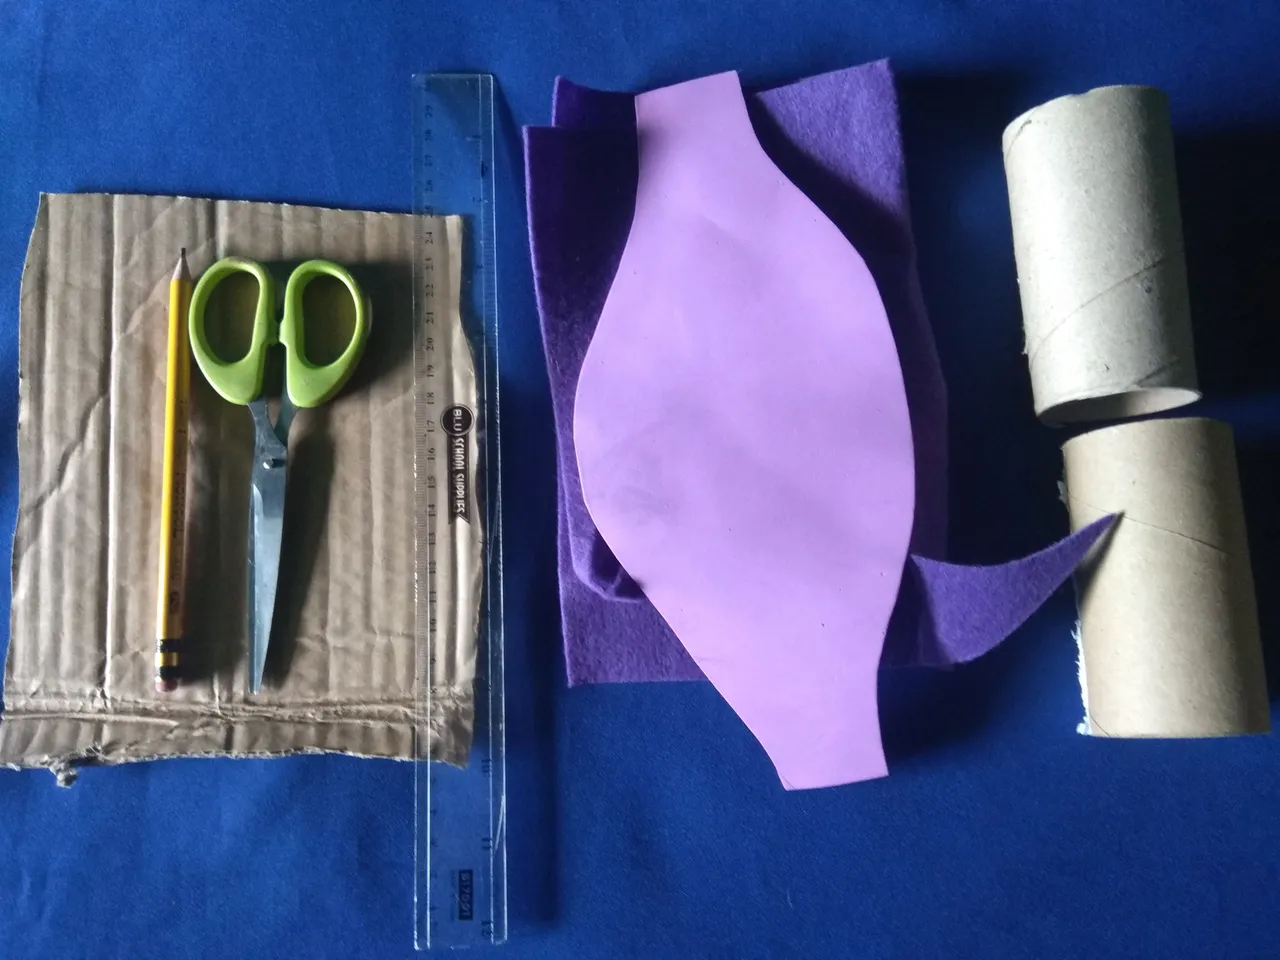
▪️ 2 rollos de papel higiénico, fieltro morado, foami (morado y fucsia), cartón, regla geométrica, lápiz, tijeras, silicón líquido, hoja de papel, pega blanca.
2 rolls of toilet paper, purple felt, foami (purple and fuchsia), cardboard, geometric ruler, pencil, scissors, liquid silicone, sheet of paper, white glue.


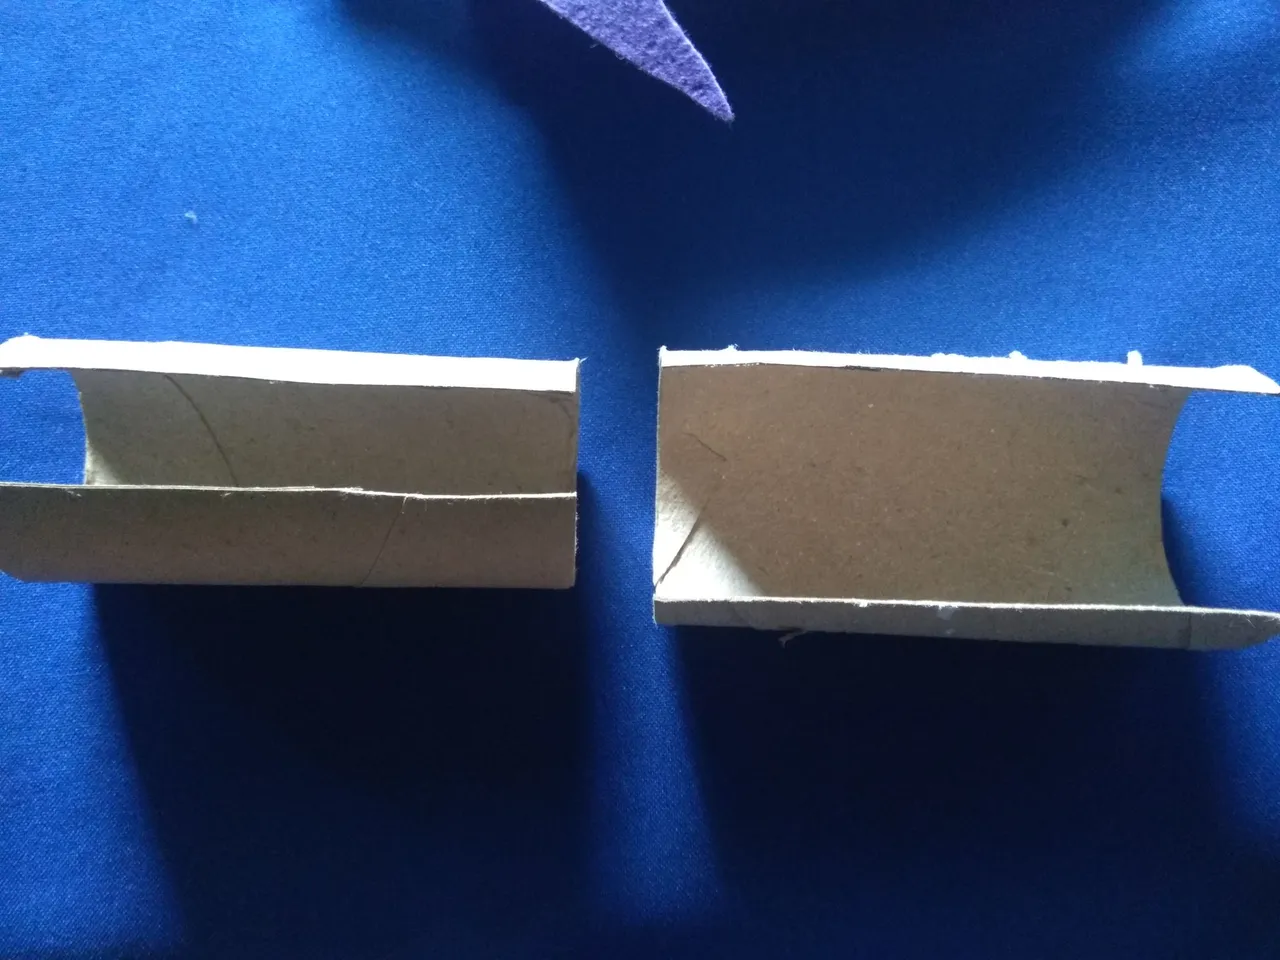
Primer paso: || First step:
▪️ Recorté 3 cm de cada rollo, esto permitirá que enrollar no tengamos exceso de cartón, guarden el excedente será usado más adelante.
I cut 3 cm from each roll, this will allow us not to have excess cardboard to roll up, keep the excess to be used later.
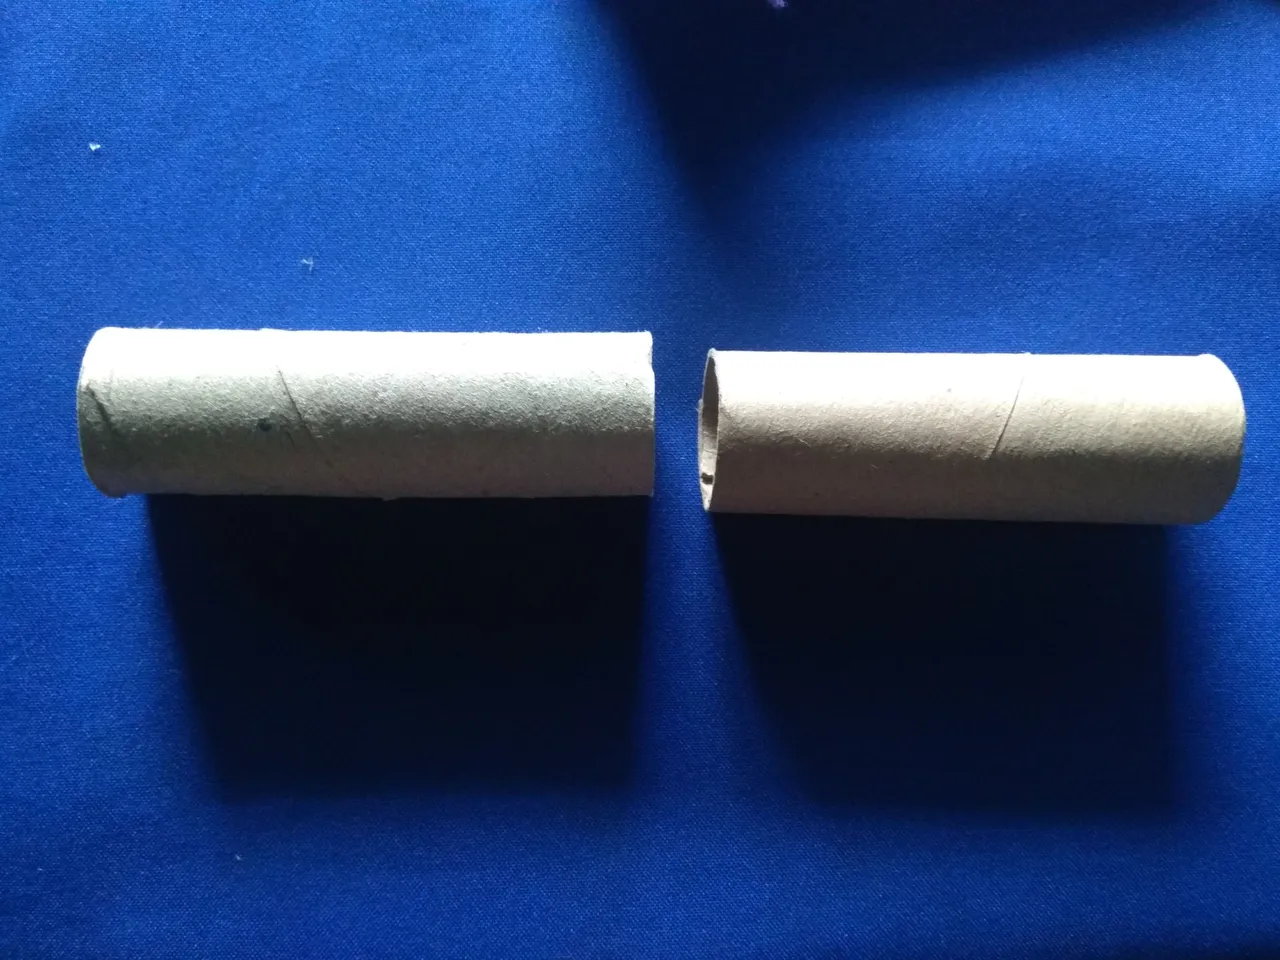
Segundo paso: || Second step:
▪️ Enrollé ambos rollos y los pegué, deben tener el mismo grosor con ellos formaremos un cilindro.
I rolled both rolls and glued them together, they should have the same thickness, with them we will form a cylinder.

Tercer paso: || Third step:
▪️ Luego de pegar ambos rollos y crear el cilindro deben envolver con el fieltro, el tamaño que usen de fieltro dependerá del tamaño de su cilindro, debe quedar cubierto.
After gluing both rolls together and creating the cylinder you should wrap the felt around the cylinder, the size of felt you use will depend on the size of your cylinder, it should be covered.
Cuarto paso: || Fourth step:
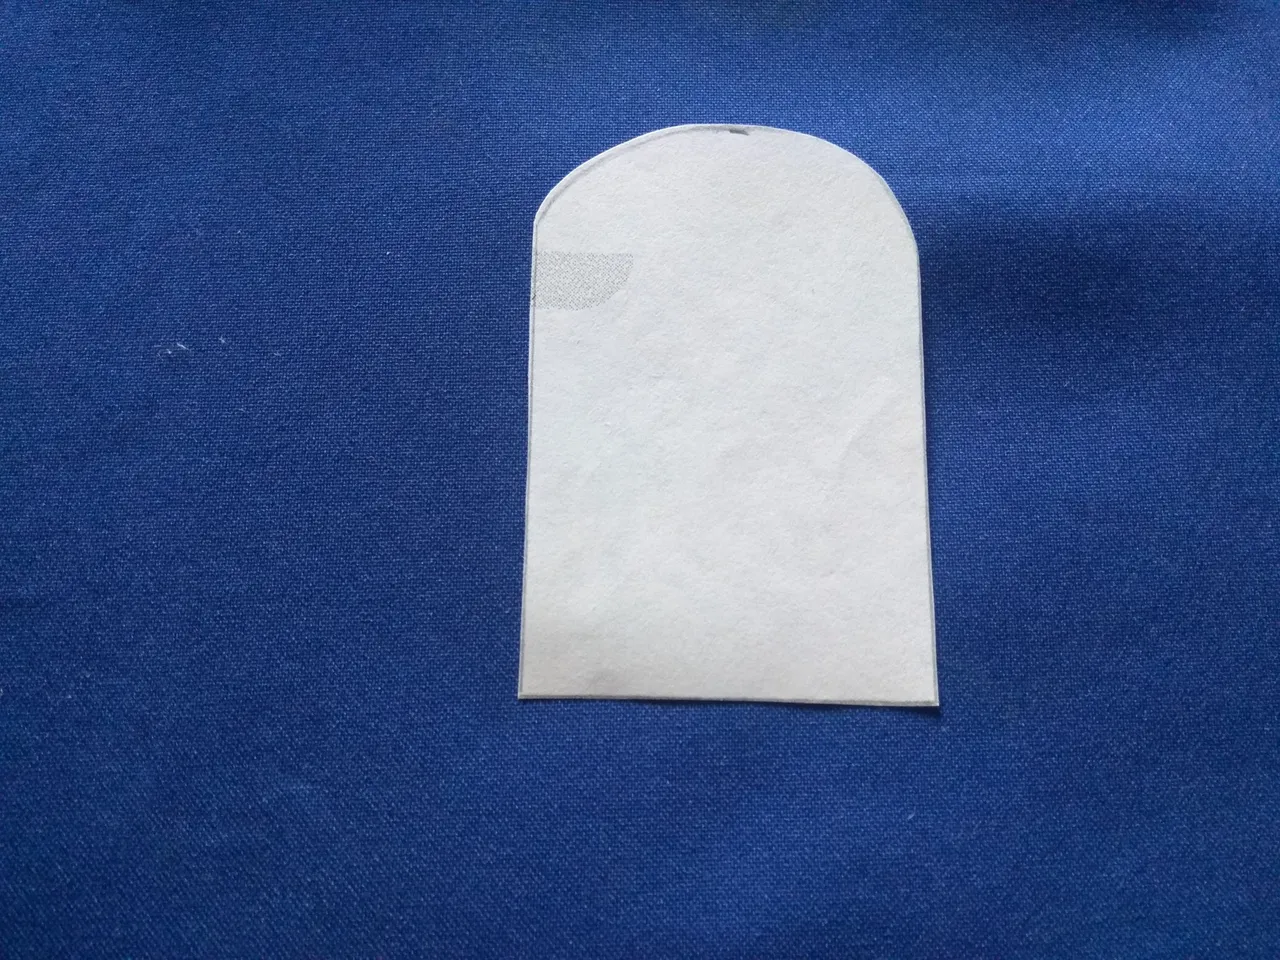
▪️ Ahora se deben crear los soportes, hice un patrón de hoja de unos 9 cm de largo y 6 de cm de ancho, uno de los extremos debe ser redondeado.
Now the supports must be created, I made a leaf pattern about 9 cm long and 6 cm wide, one of the ends must be rounded.

Quinto paso: || Fifth step:
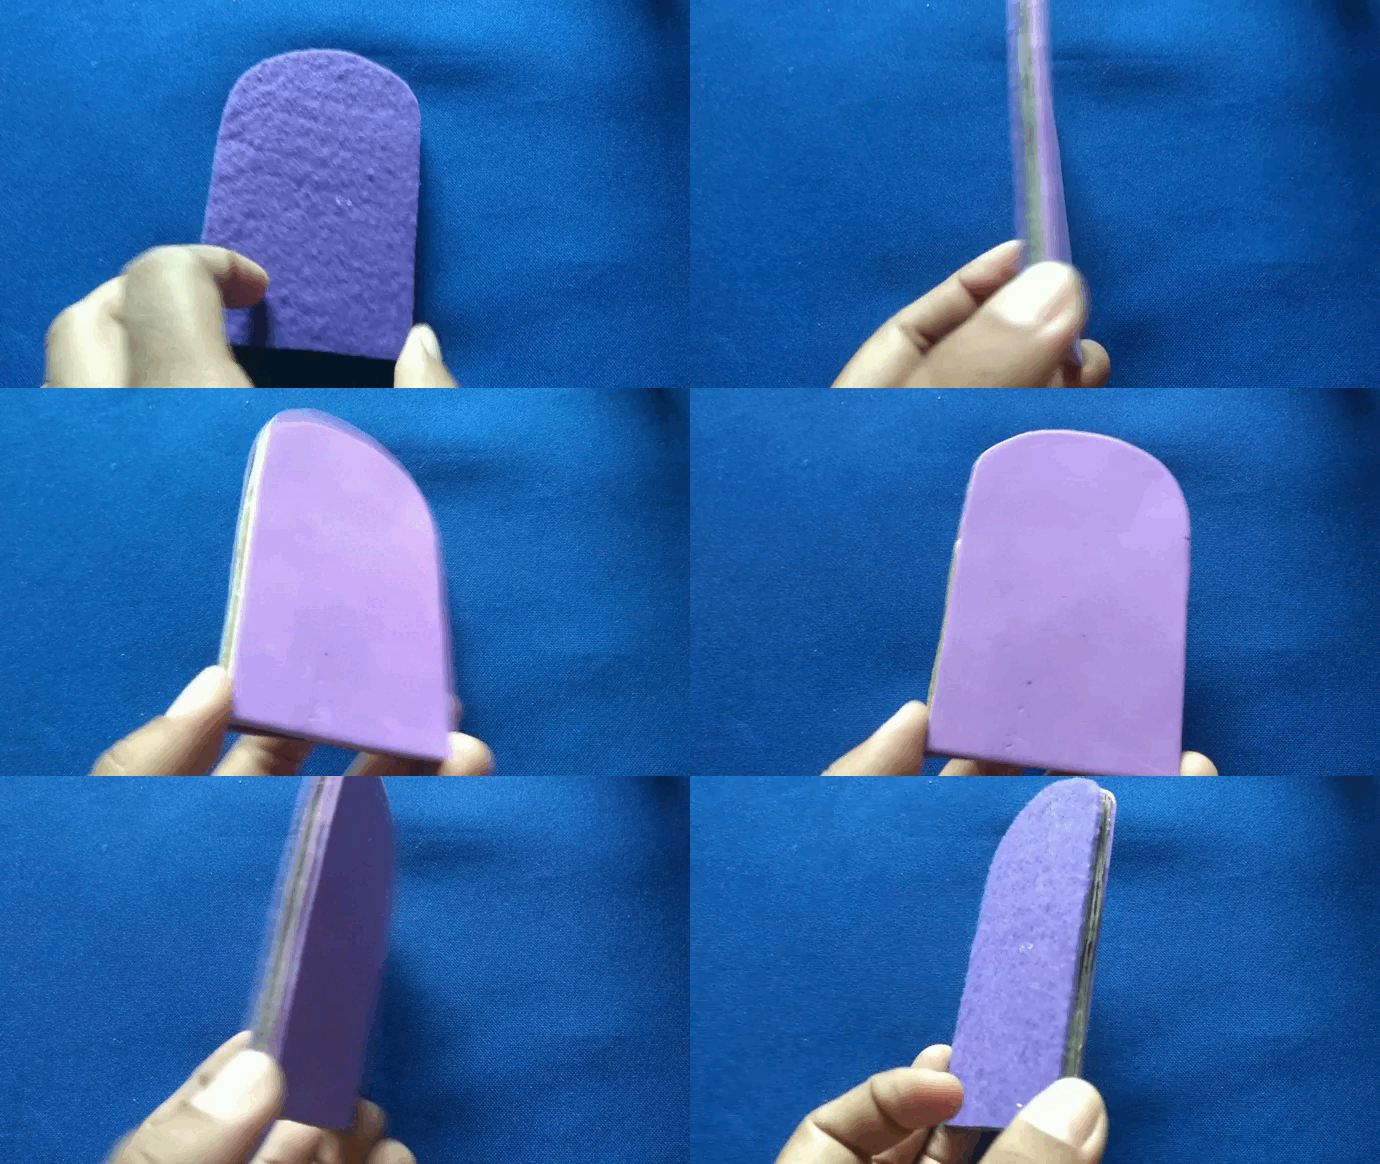
▪️ Usando este patrón recorté tres piezas, una de cartón, una de foami morado y una de fieltro morado.
Using this pattern I cut out three pieces, one from cardboard, one from purple foami and one from purple felt.
Sexto paso: || Sixth step:
▪️ Uní las tres piezas dejando en medio el cartón.
I joined the three pieces leaving the cardboard in the middle.

Séptimo paso: || Seventh step:
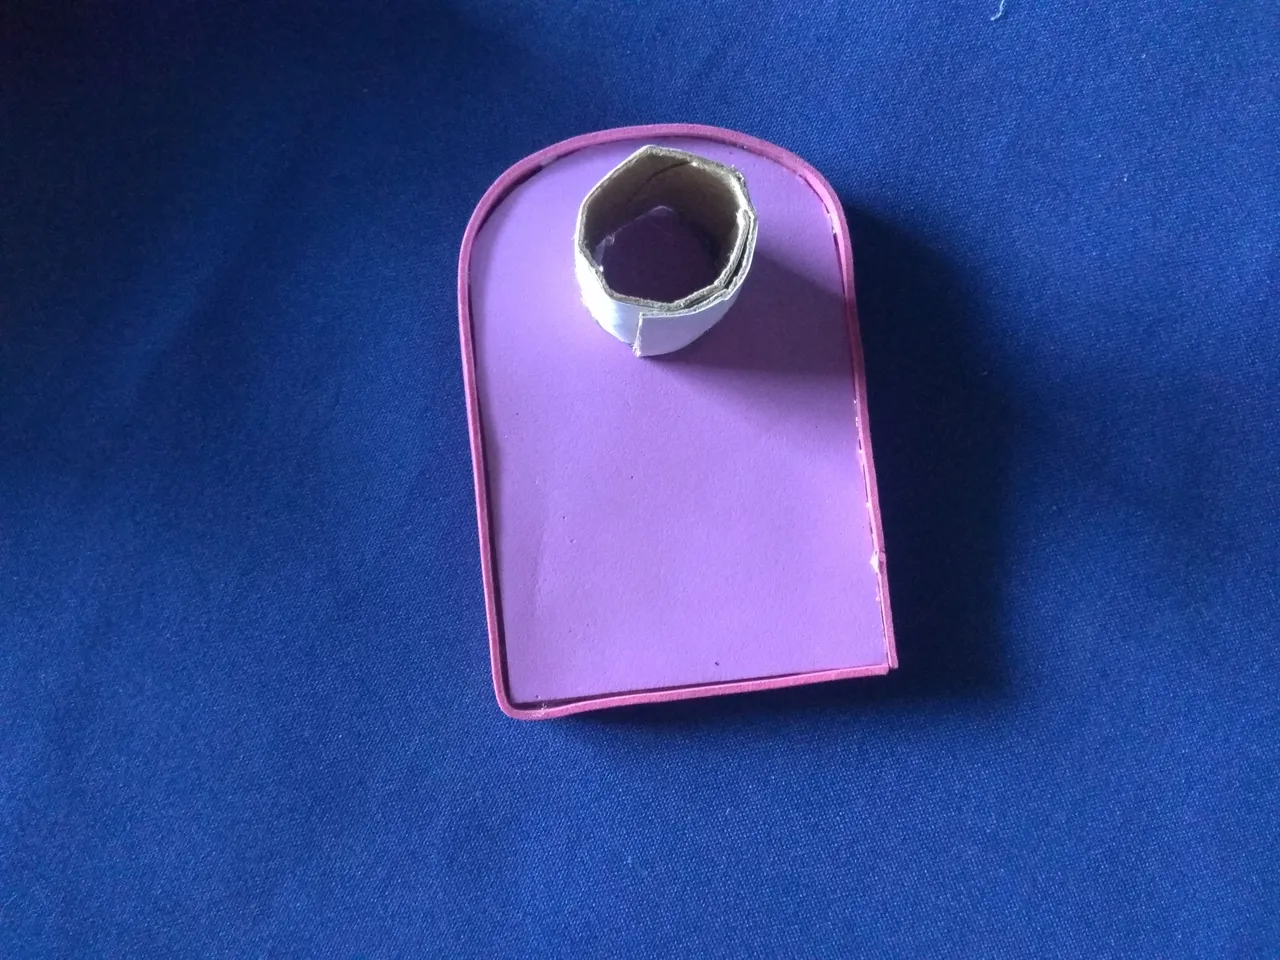
▪️ Recuerden que deben hacer dos soportes, uno de ello debe pegarse al cilindro como se observa en la imagen.
Remember to make two supports, one of which should be glued to the cylinder as shown in the picture.
Octavo paso: || Eighth step:
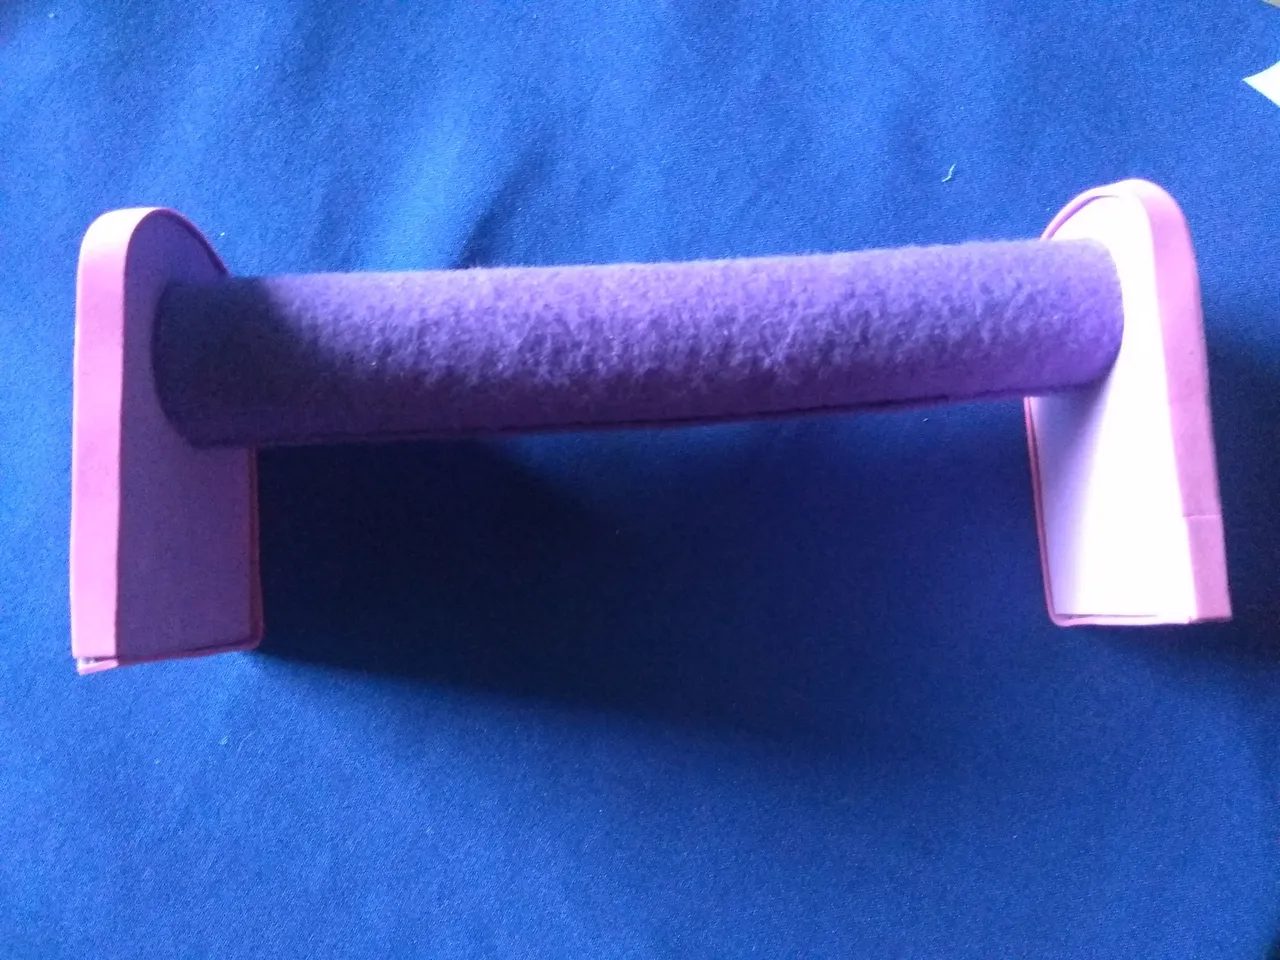
▪️ Al soporte restante se le debe crear una pieza que encaje en el cilindro, la hice usando los restos de cartón que sobraron al recortar los rollos de papel higiénico, la cubrí con hoja y pegué al soporte.
I made it using the cardboard scraps left over from cutting out the toilet paper rolls, covered it with foil and glued it to the support.
Noveno paso: || Ninth step:
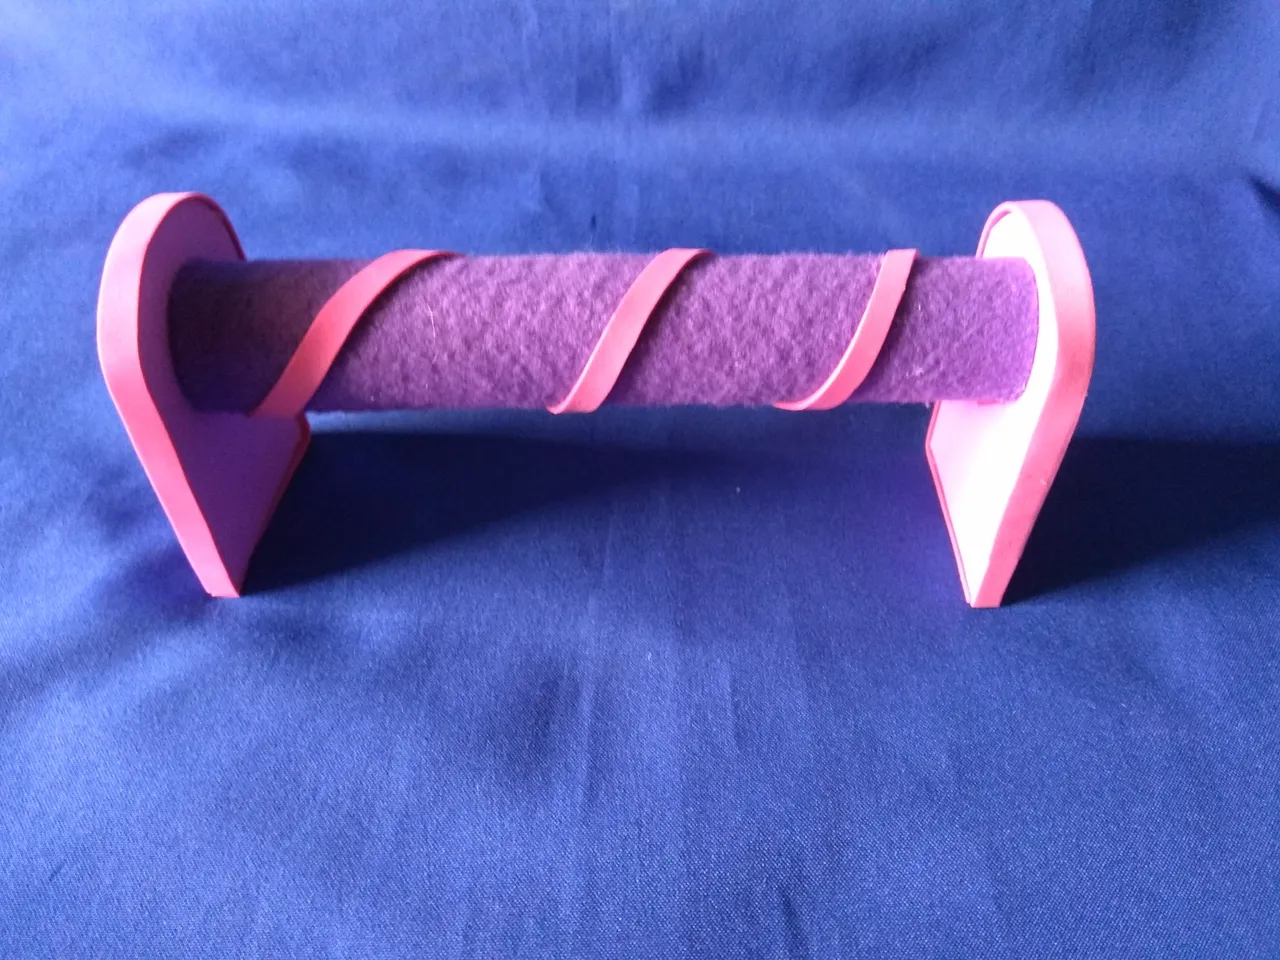
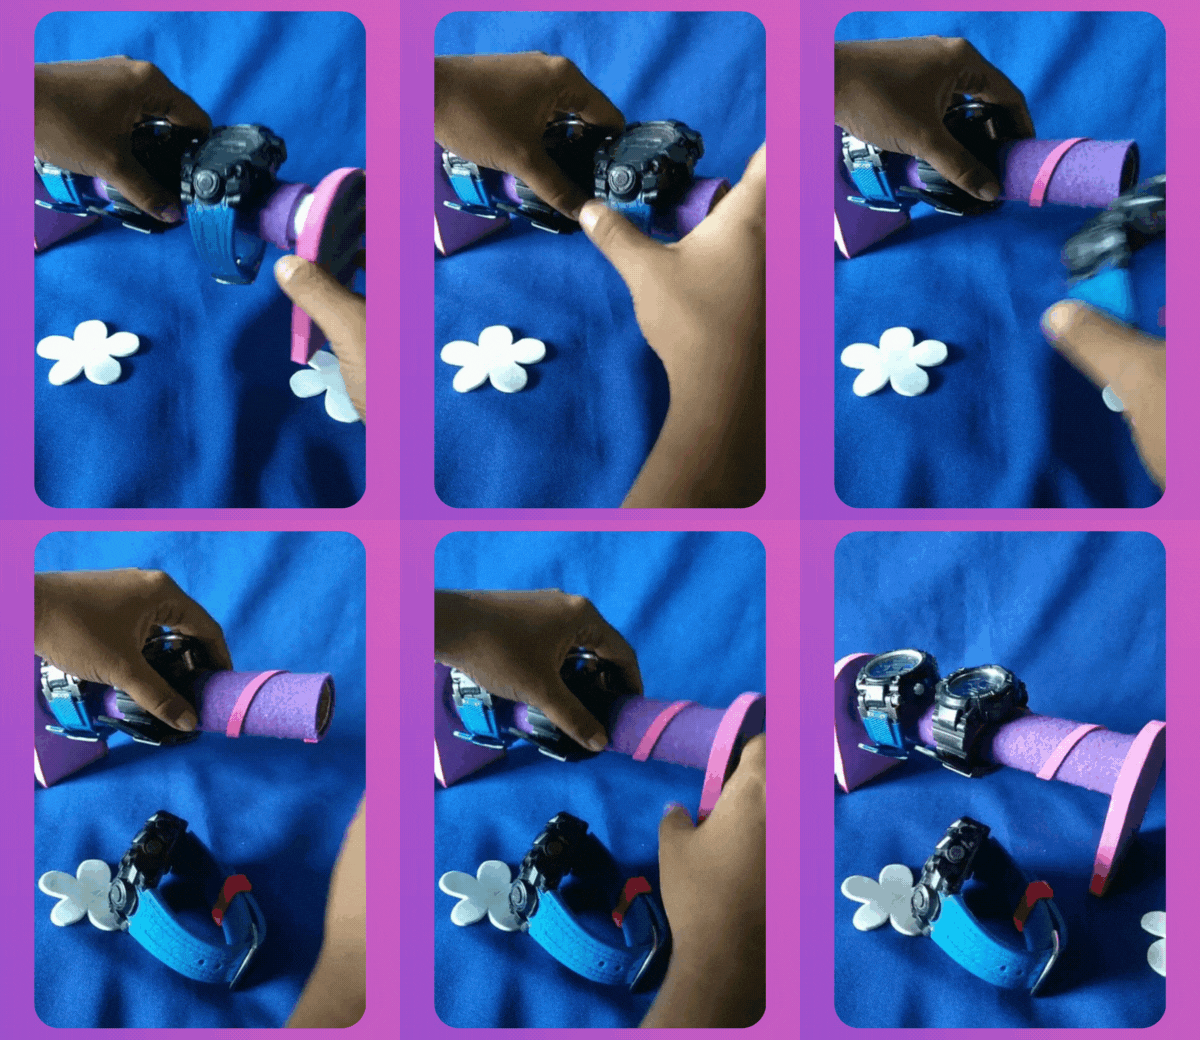
▪️ Comprueben que las piezas encajan, deben ser capaces de desarmar el cilindro por uno de sus soportes.
Check that the parts fit together, you should be able to disassemble the cylinder by one of its supports.
Décimo paso: || Tenth step:
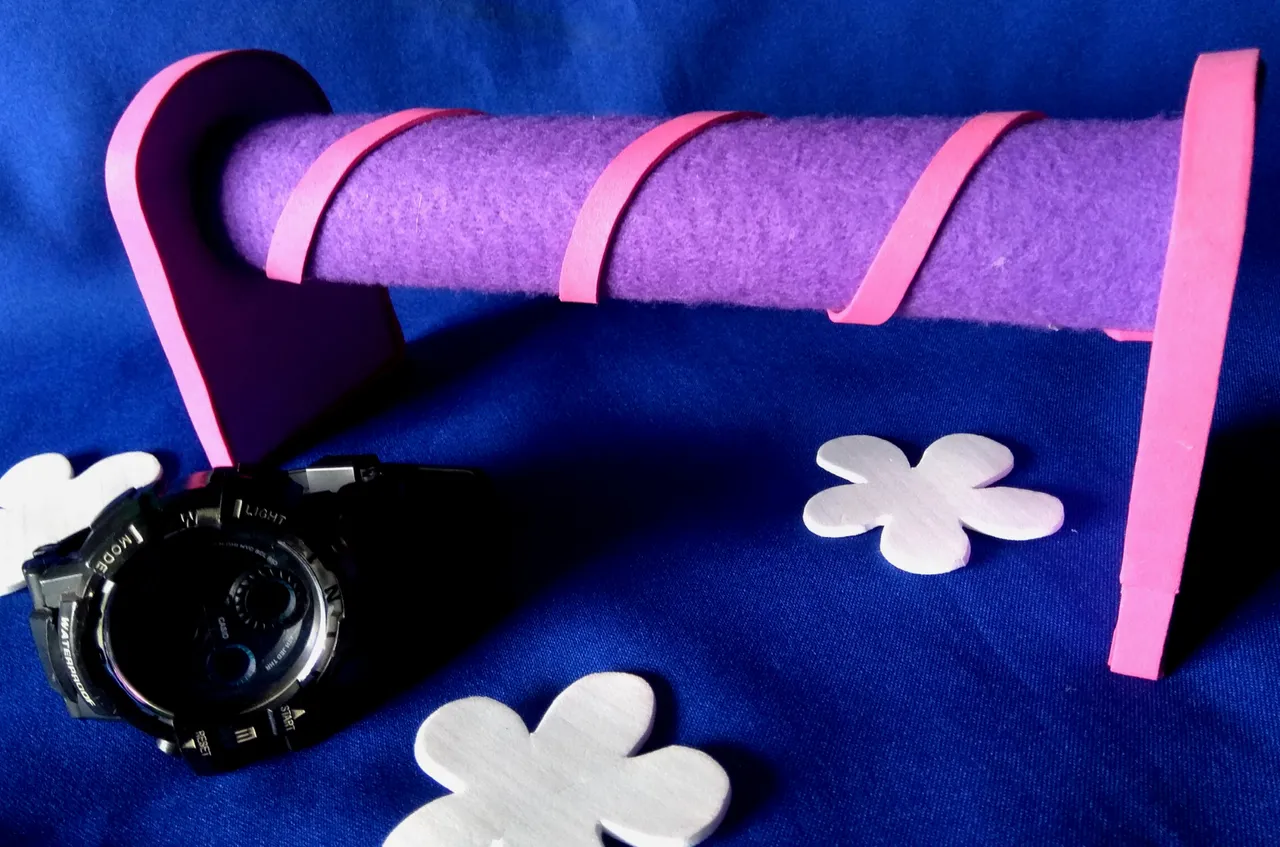
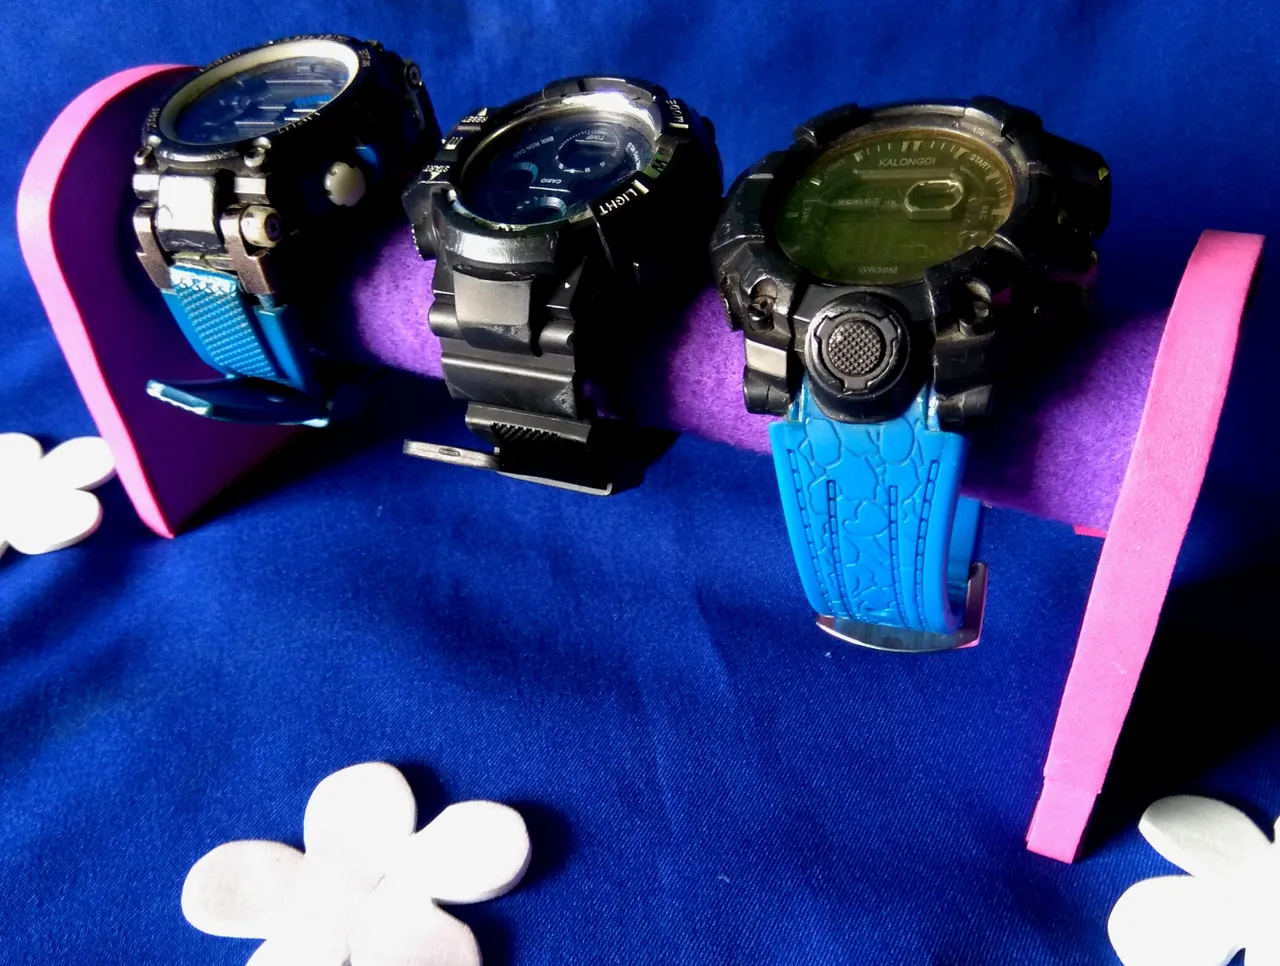
▪️ El toque final fue pegar una tira alrededor del cilindro y alrededor de los soportes.
The final touch was to glue a strip around the cylinder and around the brackets.





Imágenes tomadas desde mi Xiaomi Redmi Note 4. || Images taken from my Xiaomi Redmi Note 4.
Separadores hechos en Canva. || Dividers made in Canva.
Ediciones hechas en Canva. || Editions made in Canva.
Vídeos convertidos en gif || Videos converted to gif IMG2GO
Translator Deepl.