In a recent article, I wrote about my Hexapod Robot. In this article, I want to present my Lego Cap that I designed as an add-on to the original robot. The Hexapod is an open source robot from http://www.vorpalrobotics.com/ where all the design and software files are available online. I did use this as a starting point to create this Lego Cap.
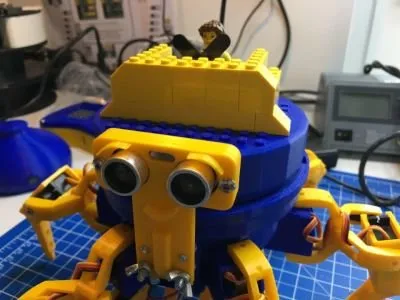
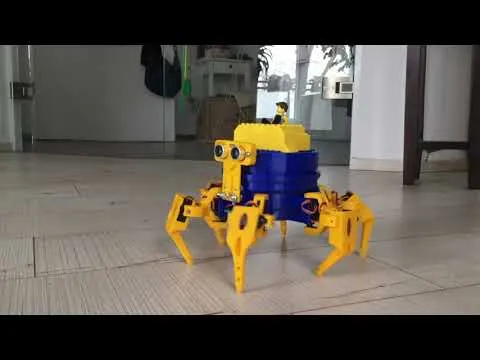
The lego cap allows having more creativity what you build on top of the robot and opens quite a big list of possible extensions from the Lego Universe. I started with building a cockpit for a robot driver on top of it and let him ride the robot.
When creating the design, I started with the original cap that I downloaded from the Onshape Repository from Vorpal Robotics.
I could have done the changes in Onshape as this is already an excellent 3d design software but I know Fusion360 better. Therefore, I uploaded the file and started the design there.

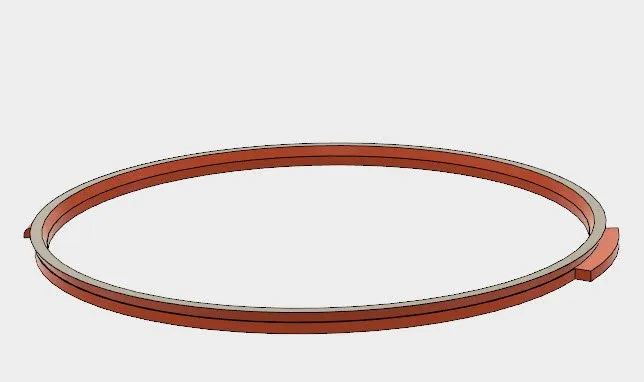
The bottom of the cap is used to connect with the main body.
I cut the original cap in 2 parts so that I could reuse this part for my new cap.
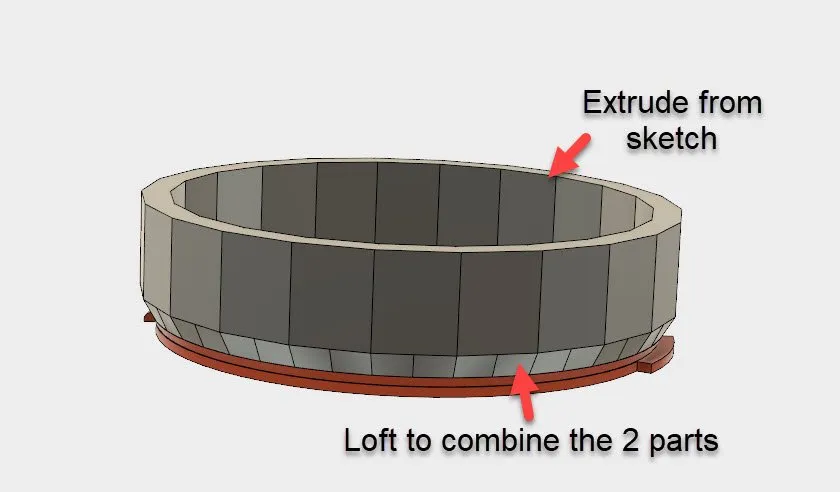
On top of this, I created a sketch with polygon where each side has enough space for 2 rows of lego dots. You will see that I did not add them later mainly because of the orientation when 3d printing the cap.
From the sketch, I did extrude command to create the cylinder and then used the loft command to combine the cylinder with the base.
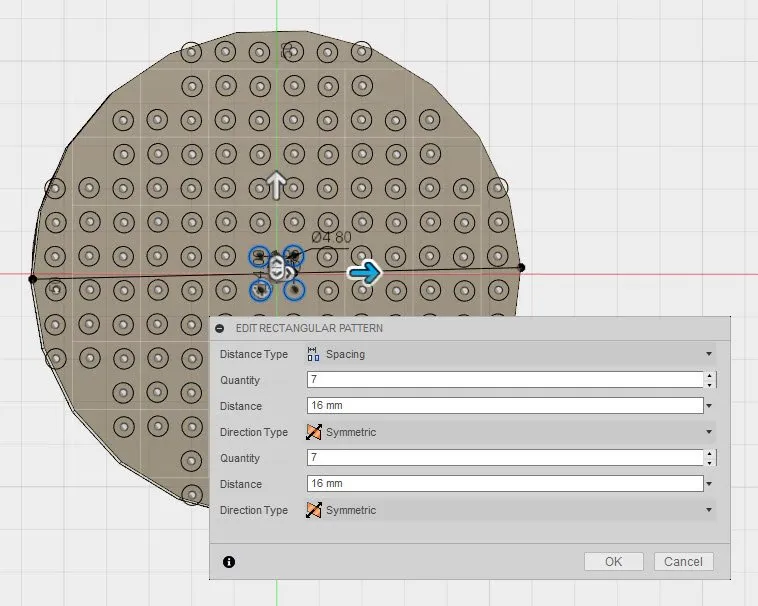
I finally closed the top of the cap with another extrude and started then to create a pattern with lego dots. Fusion provides circular and rectangle patterns. I used both to distribute the dots across the whole surface. The small fillet at the corner I used to soften this part a little bit.
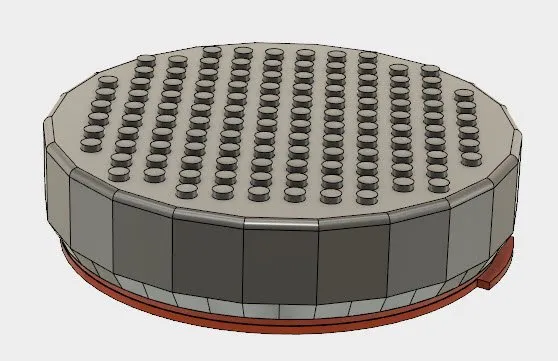
Final Version:
I spent quite a lot of time thinking how I could add the lego dots on the wall areas but I didn't come up with an excellent idea. Printing them with support probably would mean a lot of post-processing for each dot. If anyone has a good idea how to solve this, it is very welcome.
Still, the cap requires support for the top as the bridges there are probably too large for most printers. But I could reduce the infill for my supports a lot to save material when printing.
You can download the cap at Thingiverse or at MyMiniFactory
Happy 3d Printing
Dr. Make
P.S. I would love to see pictures from your prints and all the lego constructions on top of the robot.
Posted on Utopian.io - Rewarding Open Source Contributors