Repository
https://github.com/steemit/steem-js
What Will I Learn?
- You will learn how to build tag-specific auto-comment bot for the steem Blockchain
Requirements
- An Intermediate understanding of Javascript
- An Intermediate Understanding of How Steem Blockchain Works
- A NODEJS Installation
- A Steem Account (Username and WIF)
- Understanding of CronJobs (optional)
Difficulty
- Intermediate
Tutorial Contents
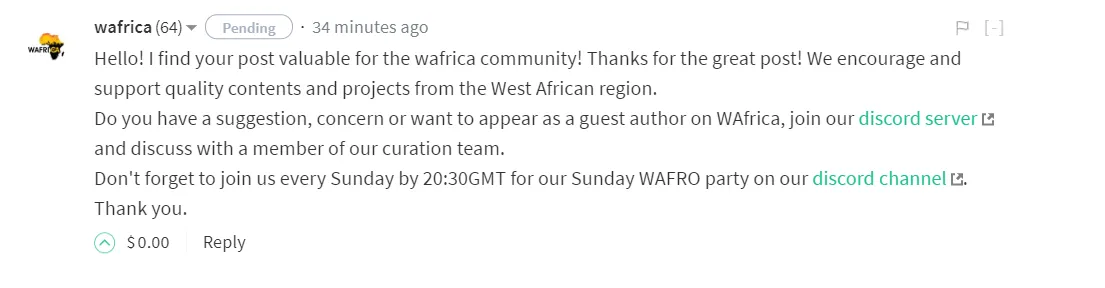
Ever since I joined steem, I have seen a lot of bots auto-comment on blog posts, when the authors use a particular community tag. This is done to familarize such a user with the activities of the community that uses such a tag. It is usually like this below. This tutorial explains how to make such a bot.
After satisfying all the requirements above, please follow the steps below:
- Create a Directory and name it
CommentBot - Then open a code editor , NOTEPAD++ or VSCODE or any other editor, create a file and save it as
index.jsin thecommentBotfolder
lets get down to the code
We will need the steem module and some variable declarations for the code. I don't need to explain why we need the steem module, it is clearly because we are working on the steem blockchain.
Import the steem module , declare the variables and assign them to the appropriate values as shown below.
//Declarations And Assignment
var steem = require('steem');
const username = 'username'; //replace with your username
var tag = 'utopian-io'; //the tag to be inspected
var tagFetchLimit = 10; //limit of posts to be fetched each time
const wif = '5Jcnjhjjjhzjighgi7trdDSBuTQbdURKmxMtbUzioioitj9bfqN'; // replace with your your posting key, make sure this is just your posting key, your password is not needed
Note: The First Line var steem = require('steem'); is for importing steem module while assigning it to the variable name steem.
The rest of the code above have explanatory comments on the side, please read.
- Now, use the
steem.apicommand for getting recently created posts. There are other commands for getting posts on the trending or hot section but using the created section makes the commenting come in early and helps to avoid missing out on post. This is shown in the code below
steem.api.getDiscussionsByCreated({"tag": tag, "limit": tagFetchLimit}, function(err, result) {
         //YOur Code
});
The err and result variable is for returning the error result (if the command fell through) and the success result (if it worked out fine).
- Now let's manipulate the list of posts that will come through to pick the ones that are worthy of commenting. This is where the real work is done. Insert the following codes in
//YOUR CODEsection above.
  var textResult = JSON.stringify(result);
   var arrayResult = JSON.parse(textResult);
- Line 1 receives the result which is in form of JSON and converts it into a string, this is important to avoid parse error in line 2
- Line 2 converts the new string into an array. This array now contains the different posts with their respective details.
NOTE: You can try to test this code at this point to see how the results is , you can do this with console.log(arrayResult). I will suggest you leave that until the whole tutorial is done.
- Now let us manipulate each
arrayResult. Study the codes below, it is a continuation of the previous code.
 arrayResult.forEach(
           function (value,key){
                  setTimeout(function(){
                        console.log(3000*key+'seconds');
                        steem.api.getContentReplies(value['author'], value['permlink'] , function (commentCheckErr,commentCheckResult) {
                              var CCtextResult = JSON.stringify(commentCheckResult);
                              var CCarrayResult = JSON.parse(CCtextResult);

                              var CC = CCarrayResult.filter(function(person) {
                                  return person.author == username;
                                });

                              if (CC == ''){

                                    jsonMetadata = {
                                        community: 'tutocity',
                                        purpose: 'testrun',
                                        app: 'NAPP/0.1'
                                    };

                                    var comment_permlink = new Date().toISOString().replace(/[^a-zA-Z0-9]+/g, '').toLowerCase();

                                    content = '@'+value['author']+', thank you for suing the tag';

                                    steem.broadcast.comment(wif, value['author'], value['permlink'], username, comment_permlink , '', content, jsonMetadata, function(err, result) {
                                      console.log(err, result);
                                    });
                              }
                         });
                }, 3000*key);
- Line 1 and 2 has the Foreach Iteration Function To manipulate
arrayResultwhere thevalueandkeyrepresents the value and key of each of the array properties. - Then , we will use a
setTimeout(function(){ //YOUR CODE }, 3000*key)that will take a minimum of 3 seconds to wait before commenting on each post because the steem blockchain only allows commenting per 3 seconds (3000) for each account. The reason why I multiplied the seconds by thekeywhich changes with each iteration is because thesetTimeoutdoes not separate operations that run within the same number of seconds, so therefore there is a need to randomize the seconds , you can try to remove the*keyand see how it will try to overlap all the operations. console.log(3000*key+'seconds');is just a way of letting you know the script has gotten the comment and it is working with it. This is necessary for debugging, this is the same number of seconds we passed to thesetTimeoutto keep track of the operations. Since this is a back end operation, the debugging commands can always remain even in production environment.steem.api.getContentReplies(value['author'], value['permlink'] , function (commentCheckErr,commentCheckResult) {gets the post first level comments (or replies) and tries to see if the same post has been commented on before by theusernameto avoid duplicate commenting. This is very important.
var CCtextResult = JSON.stringify(commentCheckResult); var CCarrayResult = JSON.parse(CCtextResult);converts the json result to a string and then to an array so we can search ifusernamehas commented on the post before. The searching is done with thefilterfunction which only works on arrays and the result of the checking is assigned toCCas shown in the code:var CC = CCarrayResult.filter(function(person) {return person.author == username; });if (CC == ''){means if no comment is found byusername, then create some necessary variables and comment in theifblockjsonMetadata = { community: 'test', purpose: 'testrun', app: 'tutorial/0.1'};: This contains some coder defined data that can be anything as long the format is followed as shown IN JSON formvar comment_permlink = new Date().toISOString().replace(/[^a-zA-Z0-9]+/g, '').toLowerCase();: this is to create a unique permlink for the comment to be made to the post, date is being used to make some unique strings. Uniqueness and CASE checking is important when making links on the steem blockchain. Links and tags on the steem blockchain must be lower case. That is the reason fortoLowerCase();content = '@'+value['author']+', HEllo there';: This is the content of the comment that can be written only in Markdown, as you can see, I tried including the username of the post's author, you can other variables from the post to the comment.- FInally, let's make the comment with the prepared variables
steem.broadcast.comment(wif, value['author'], value['permlink'], username, comment_permlink , '', content, jsonMetadata, function(err, result) {console.log(err, result);});. If the transaction goes through, then the console log returns the result of the operation, else it returns error. Funnily, I am yet to receieve an error since I started using the code.
All the above explanations were made so you can understand how the code works, the complete code can be found here.
- You can now navigate to the
commentBot folderand run the code withnode index.js - The output should look like this if it finds only a single post to comment on .
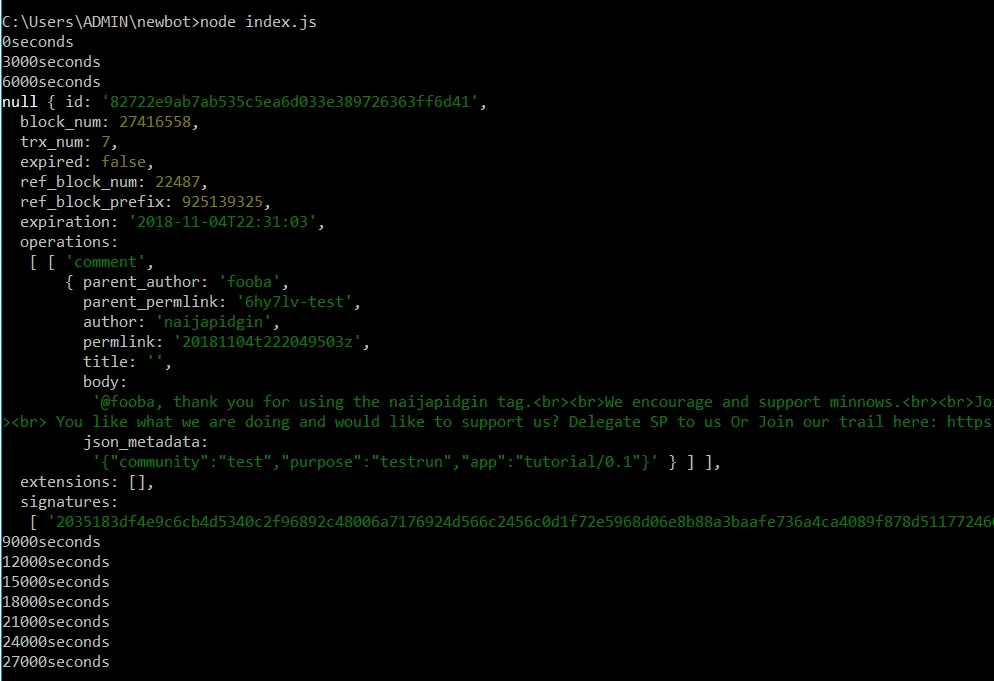
Part of the Code was truncated to make the snapshot visible - The output should look like this if all posts have comments already.
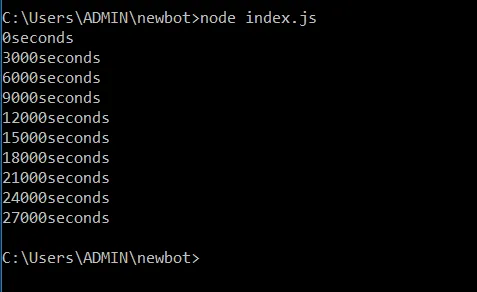
it shows the number of seconds(* 1000) but without any transactions. This shows it found posts but they were all commented upon.
NOTE: You can run this code as a cron job to make the bot fully independent at 30 minutes interval each day. Whereas , you can also run the bot yourself at certain time of the day when you know your users post the most.
Proof of Work Done
https://github.com/Akintunde102/Steem-Comment_Bot/blob/master/index.js