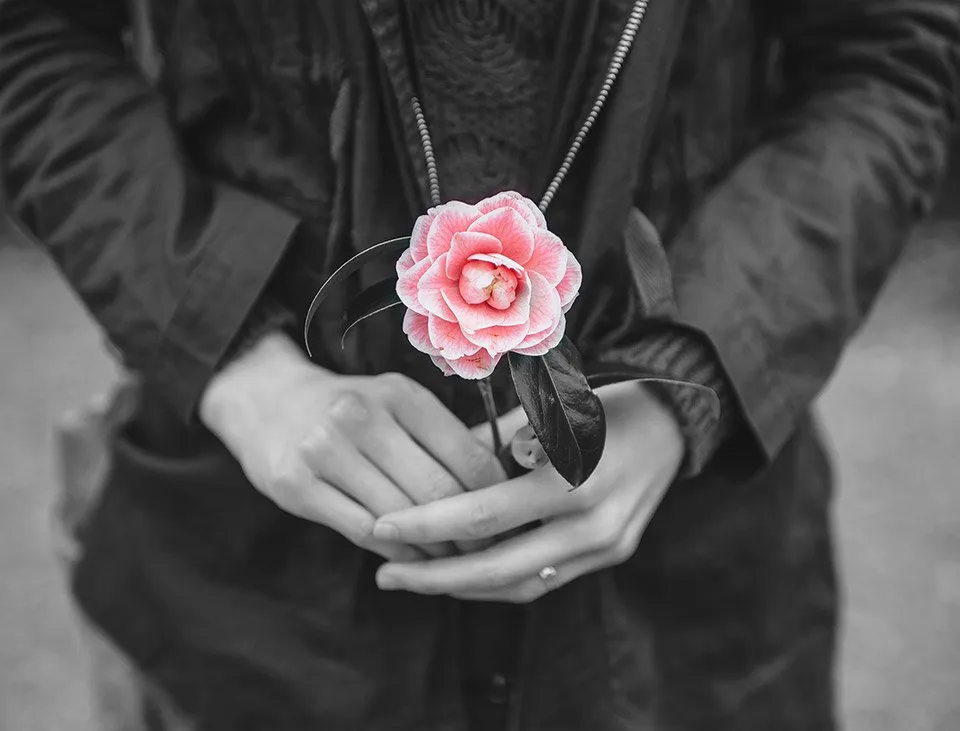
I really love this effect and it is so easy to create so I thought I'd share it with my fellow steemians. The image below is what we're going to create.

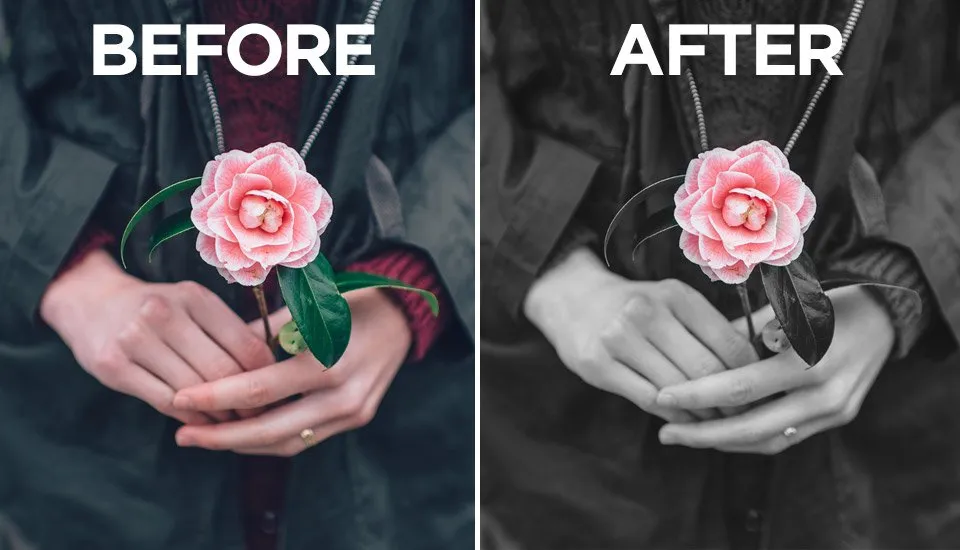
Here you can see the before and after.

You can download the original from Unsplash here, believe it or not, all photos on this excellent website is free to use however you want.
For this tutorial I am using Photoshop CS6. If you are using a different version the steps might be a little different, but you should be able to follow. Go ahead and open the image in Photoshop and follow the steps below.
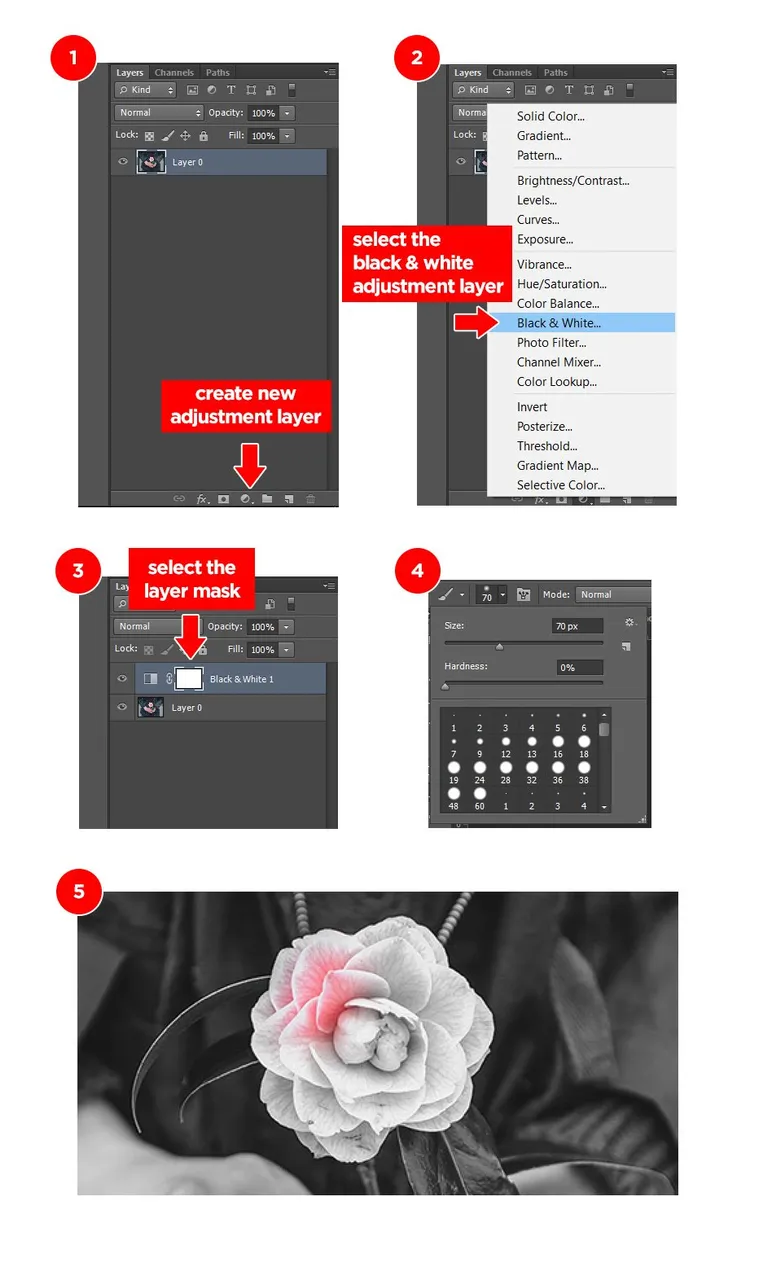
Step 1 & 2: Create a black and white adjustment layer
Step 3: Select the layer mask in the layers panel
Step 4: Select the brush tool and set the size to approximately 70px and the hardness down to 0%. NB: Make sure the colour you have selected is black.
Step 5: Zoom in on the section of the picture that you want in colour and start painting that part with the brush.
 As you paint with the brush you will notice the colour start showing through. The brush hardness is set to 0% so that you can keep the edges of the rose crisp and not overlap the colour onto the rest of the images. You have to try very carefully to make only the rose show colour (or whatever object you decide to make colour in another image) as this is what makes the effect work.
If you have any other questions please do not hesitate to ask me in the comments below, I'd be more than happy to help.
Hope this helps. Happy Photoshopping!
Photo by Ian Schneider on Unsplash