
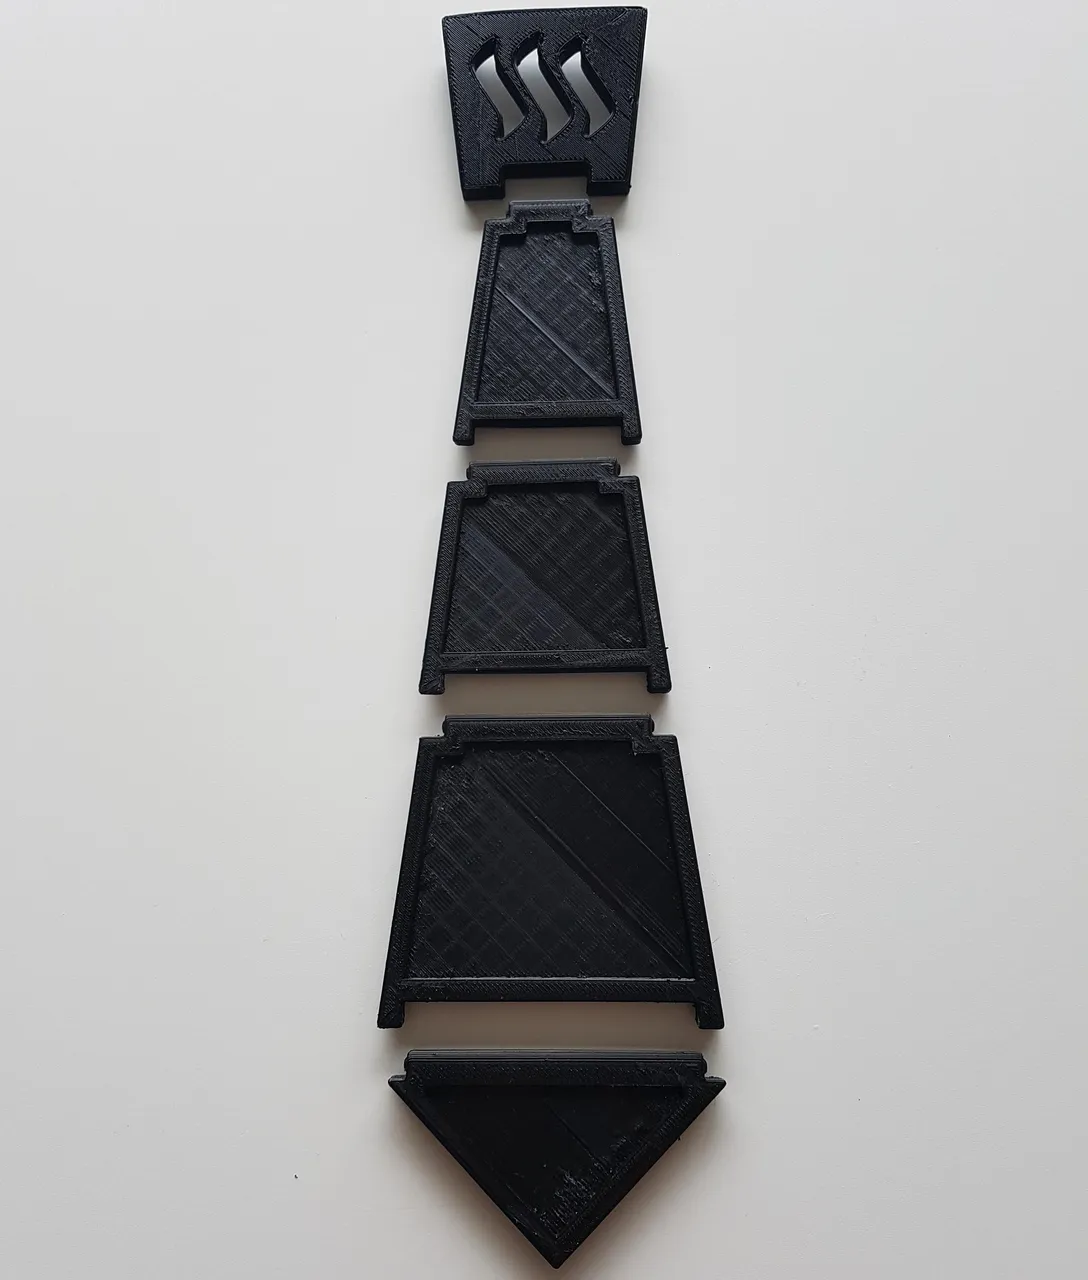
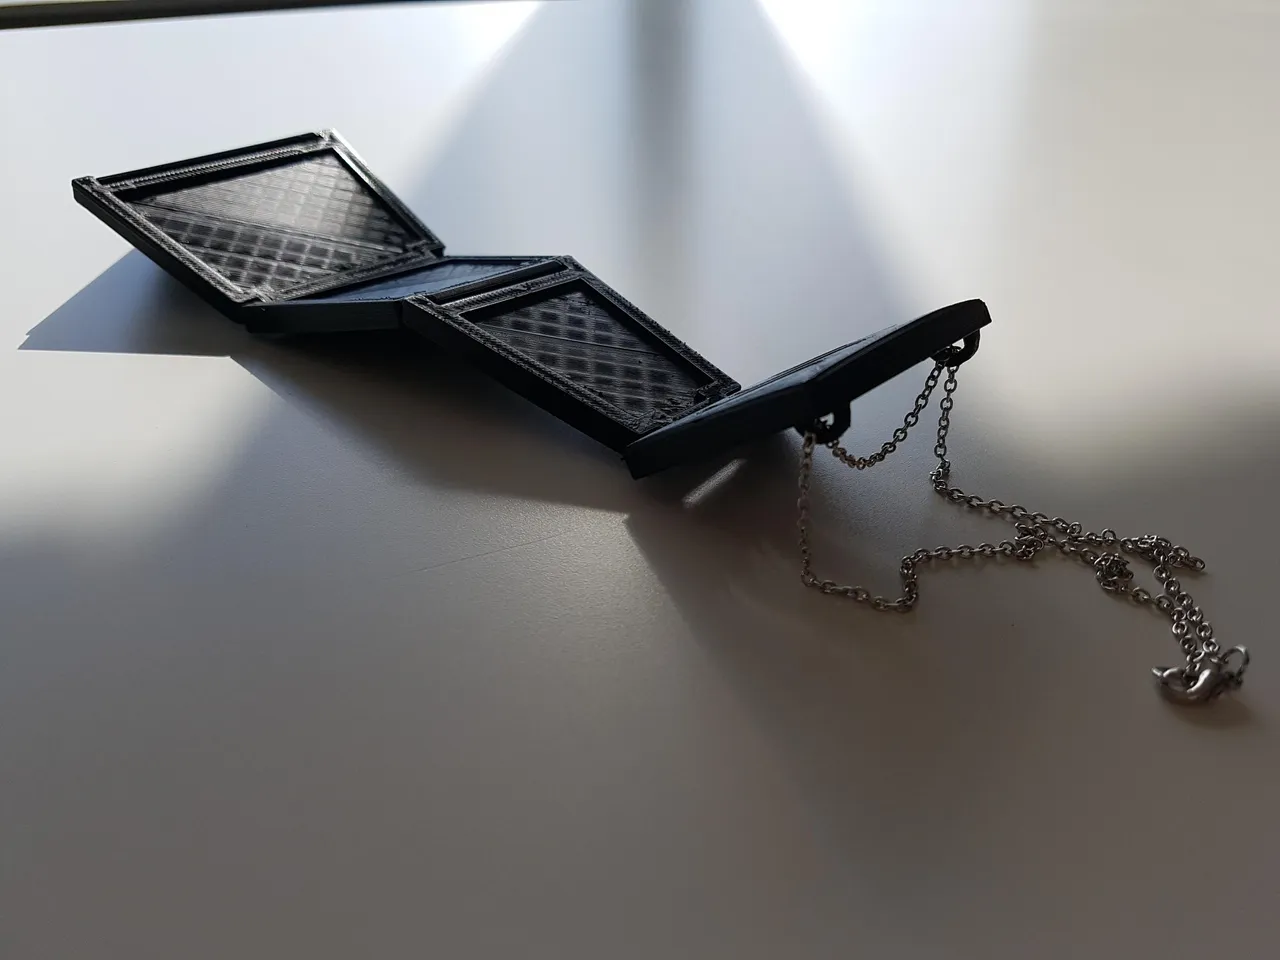
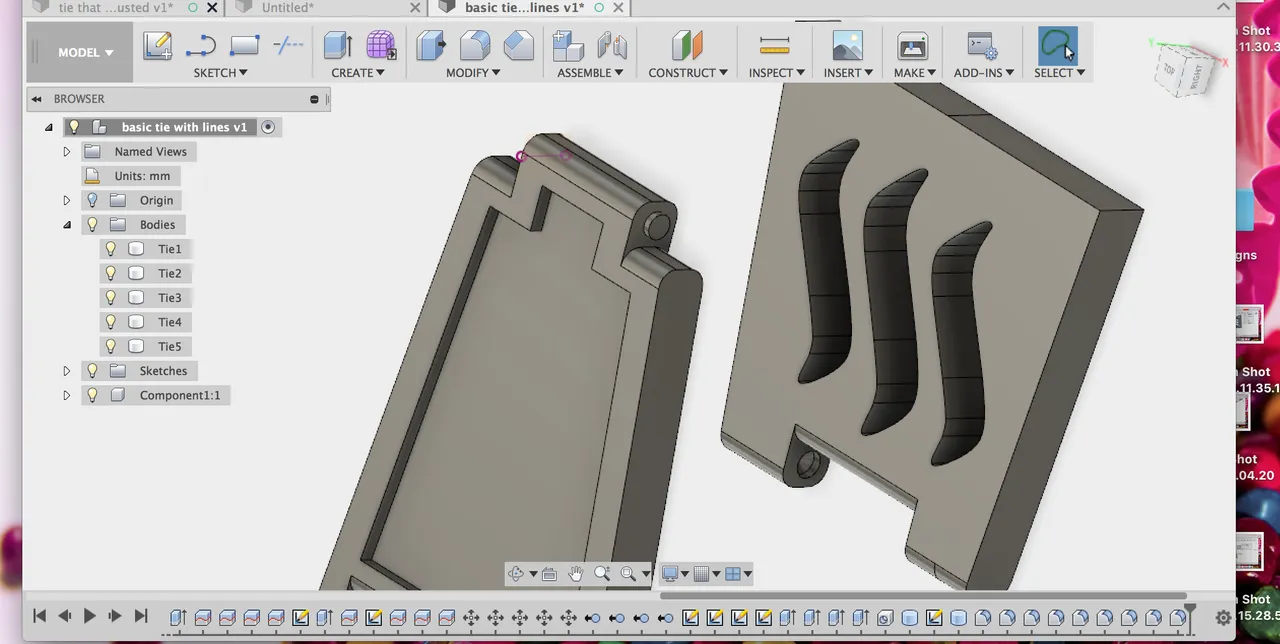
18 June was Father's day and my husband went that day to a construction shop. After paying, the cashier handed him an ad flyer. I thought it was a nice idea to make a Steemit 3D tie. It is not just an ordinary 3D tie, but a 3D tie with jointed sections!
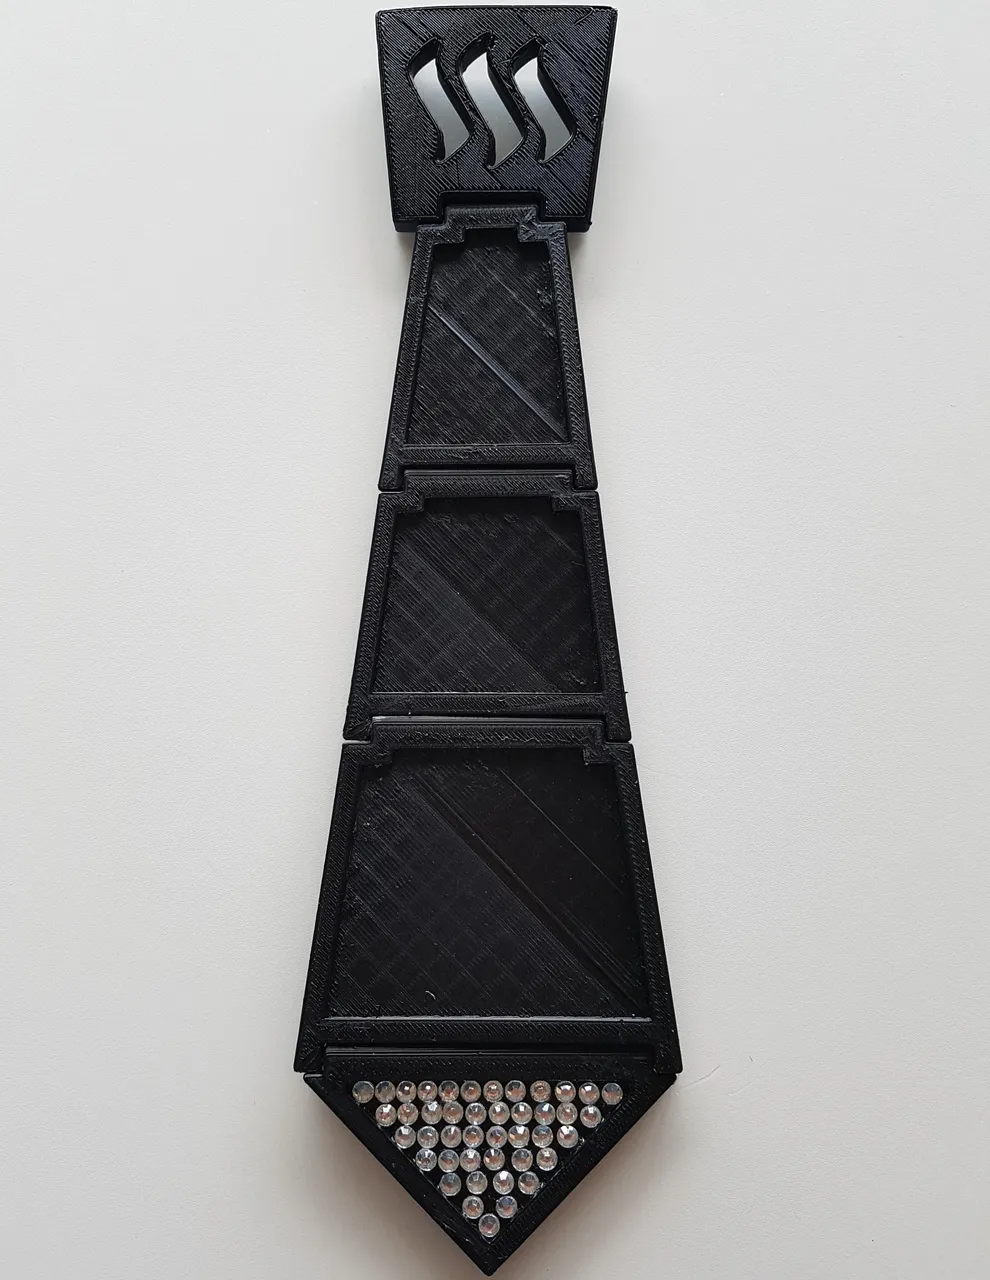
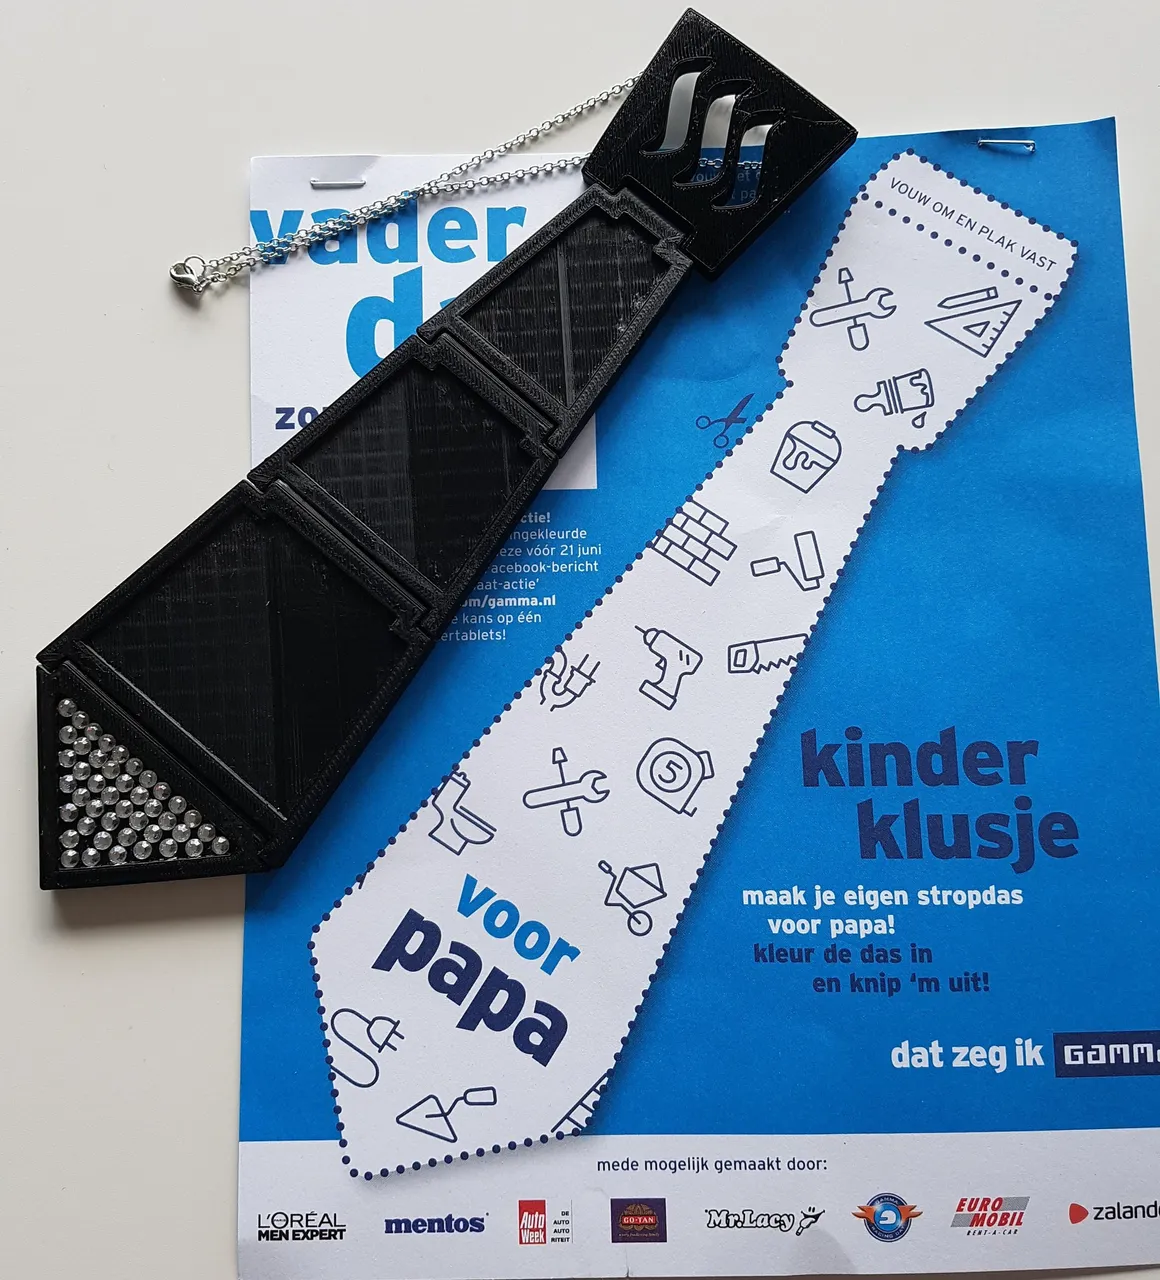
I added diamonds for the lower section. I wanted to add diamonds for the whole tie, but it took a lot of time to attach them.
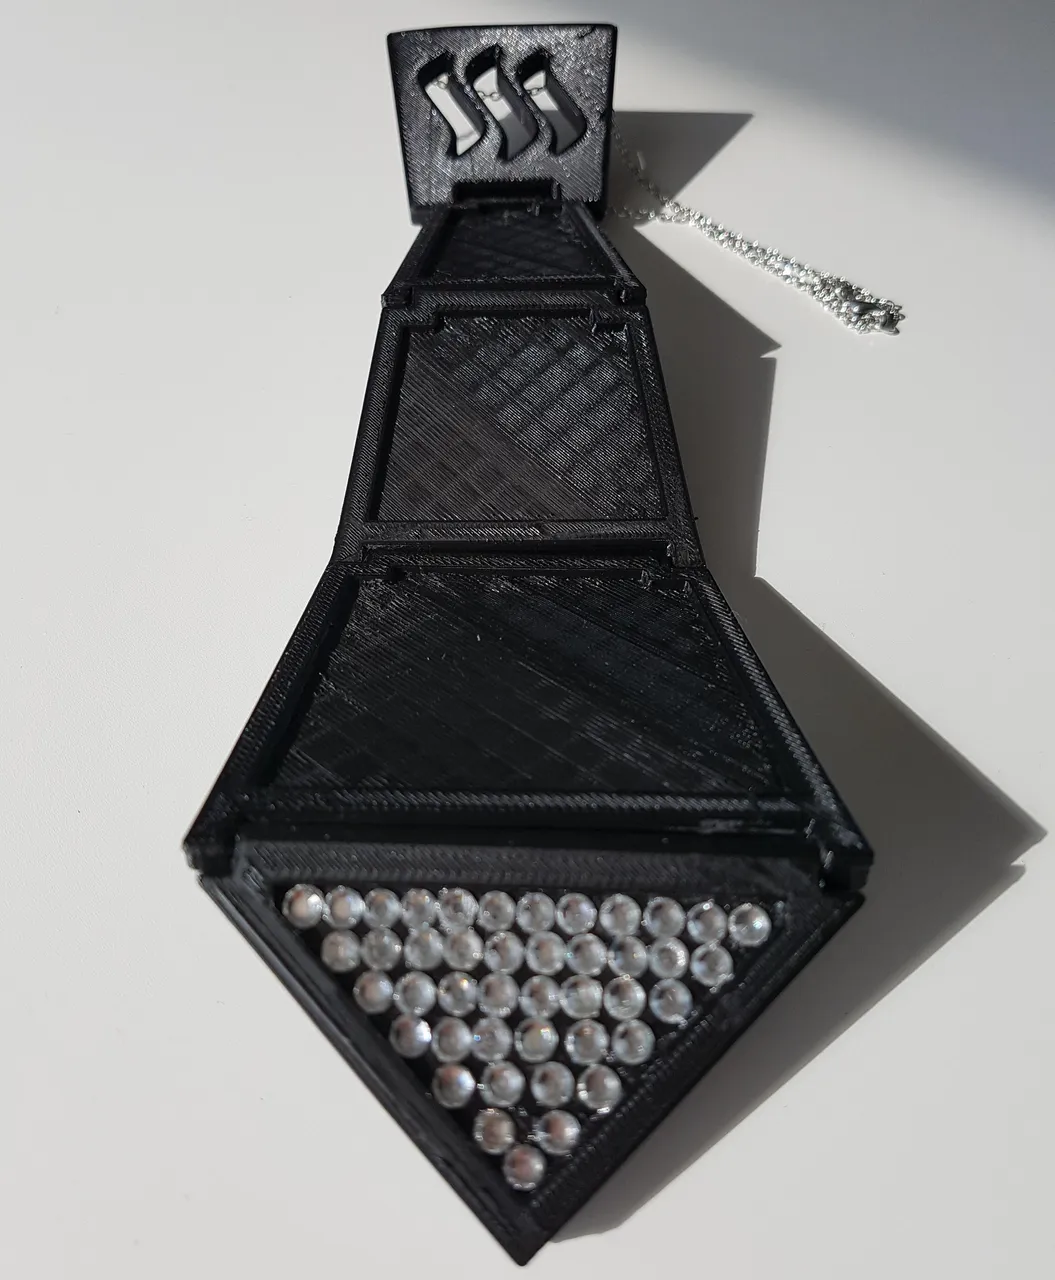
At the back I made 2 half circles so a chain necklace can go through the holes.
Below the tutorial:
Go to Sketch and choose Line. Draw lines for the half of the tie. Make another line vertical, click the line and click X. Now the line is broken. This line we use for mirroring the left side of the tie.
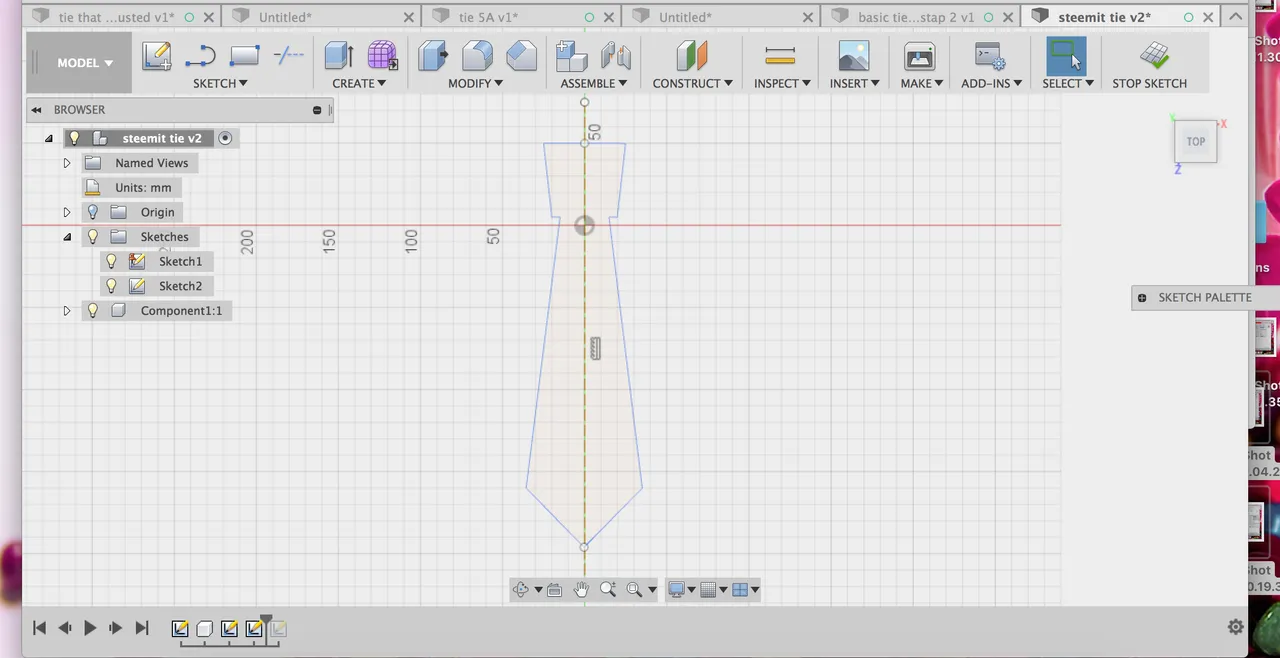
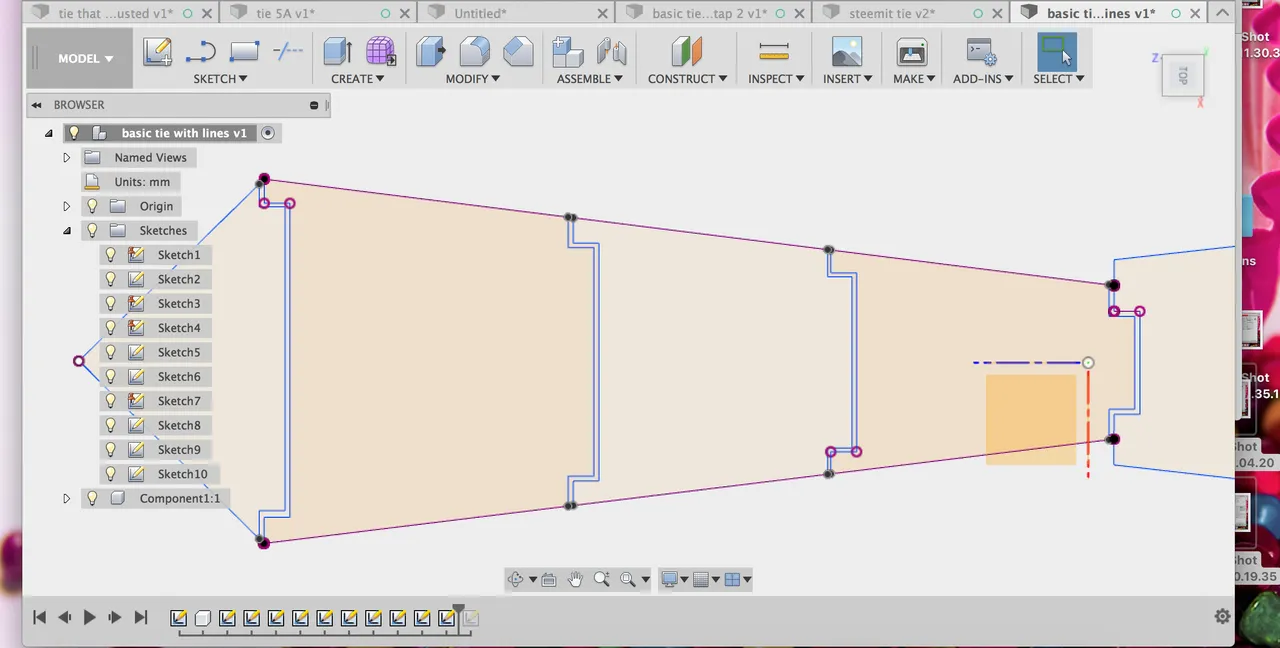
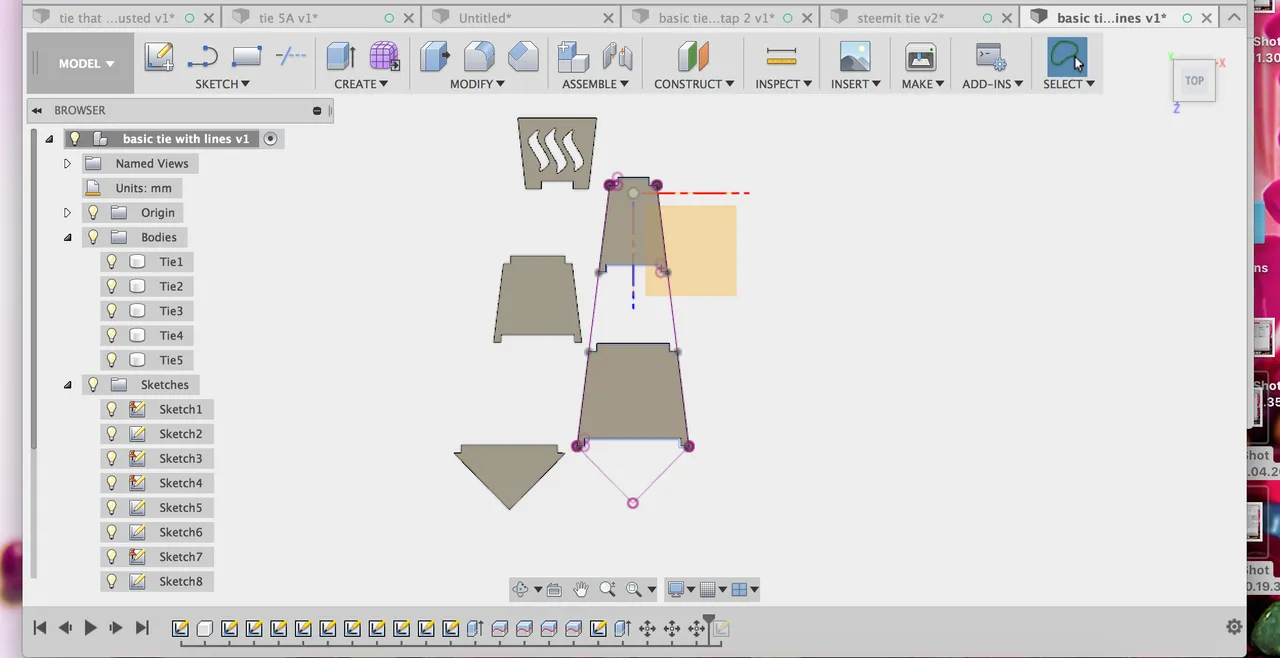
Now we make lines for the sections.
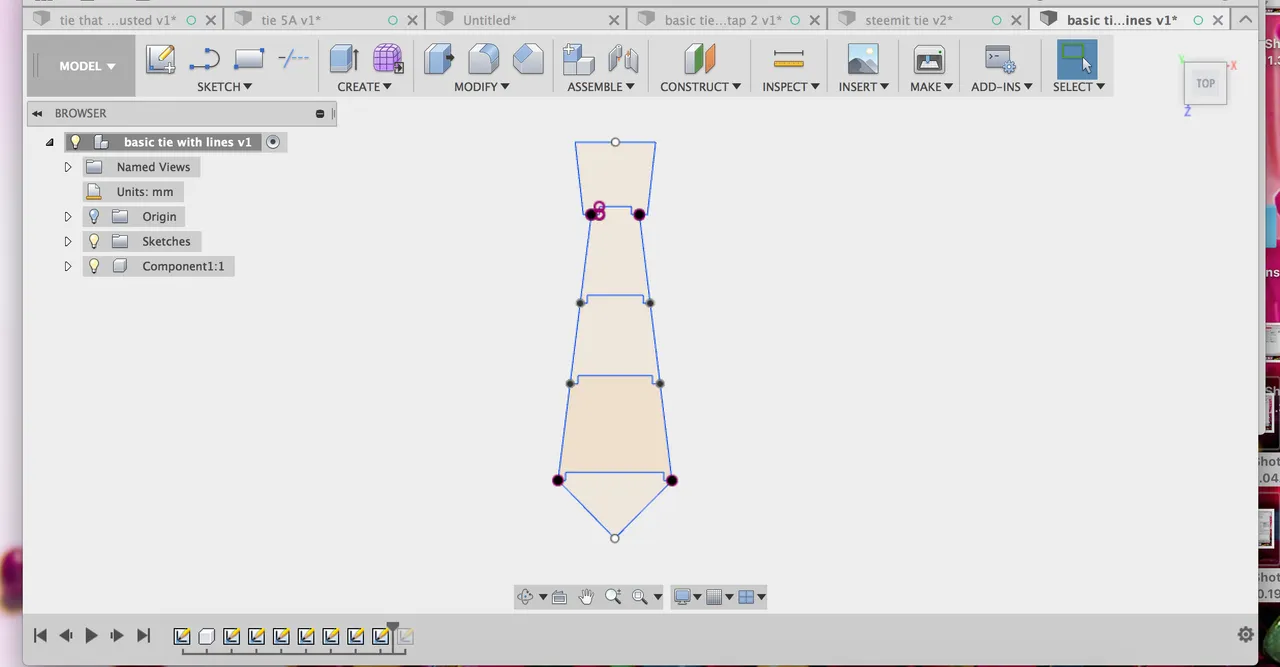
Here we make the same lines below with small space because the sections need to be able to move.
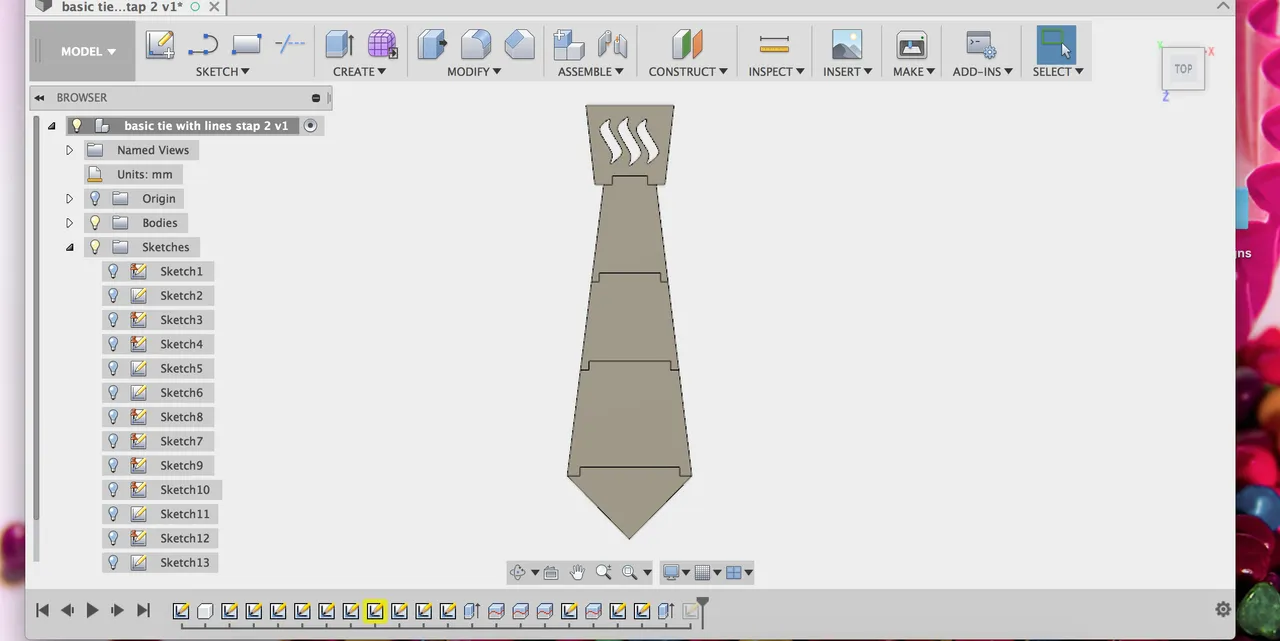
Here you see all the lines prepared.
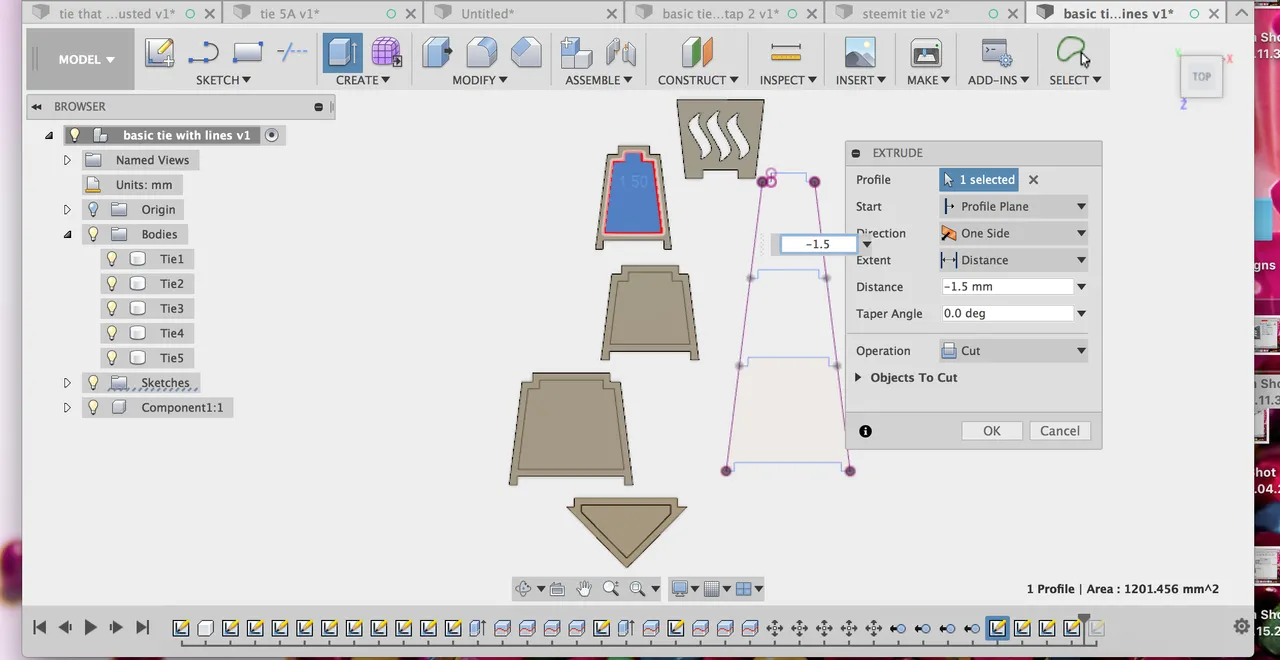
We are going to extrude the tie. Click Create and choose Extrude. This is extruded 6mm. The thickness of the tie.

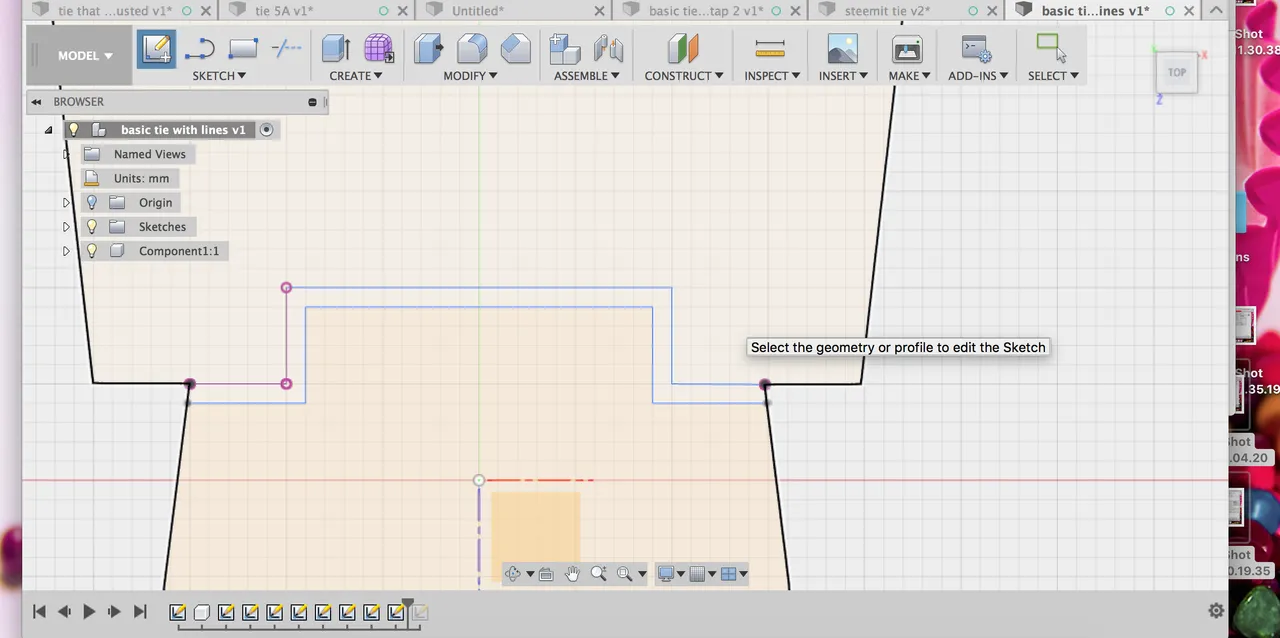
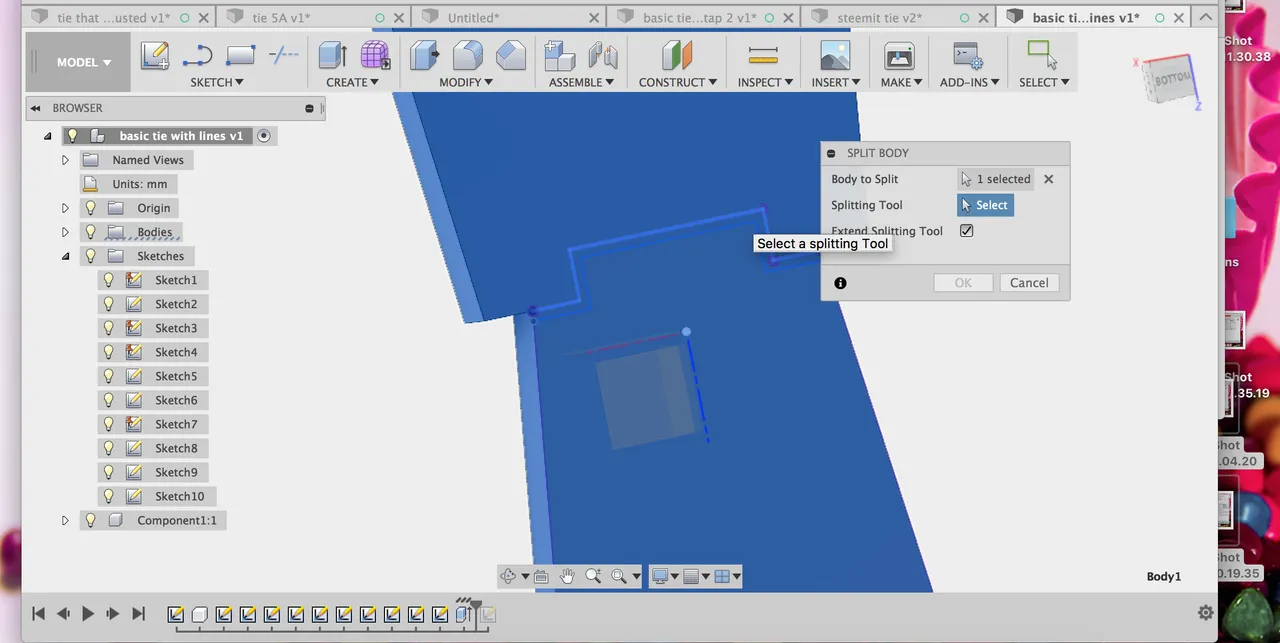
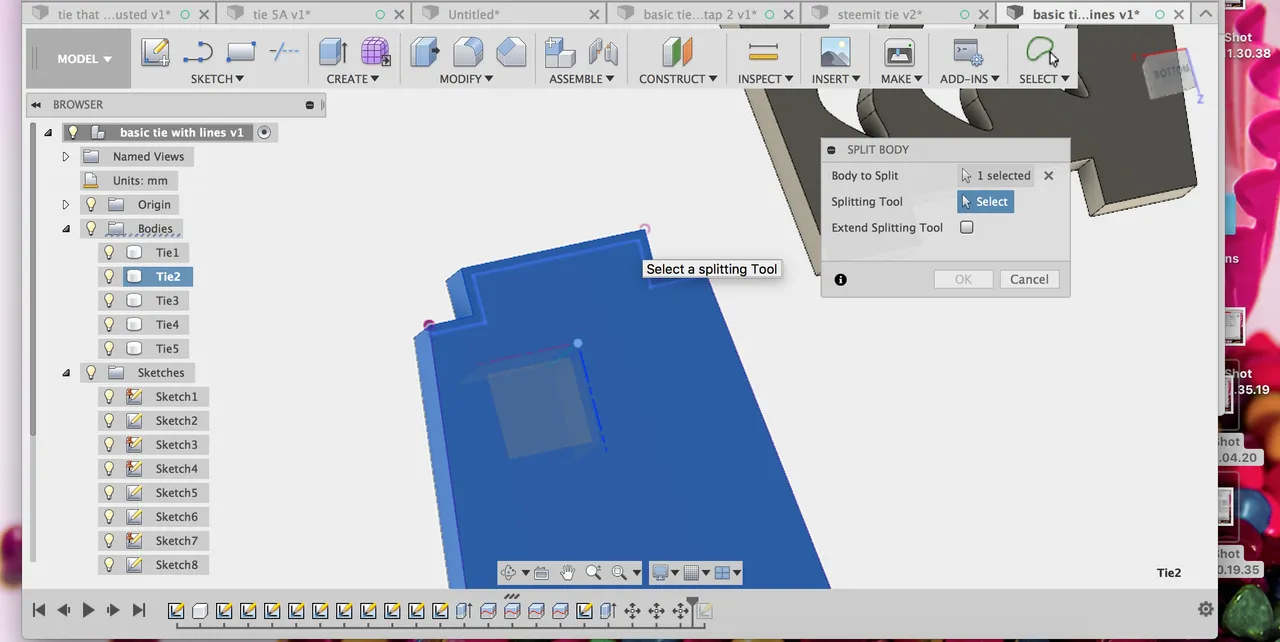
Now we split the tie/body into 5 bodies. We click Modify and choose Split Body. As Body to split we click on the tie. Splitting tool will be the lines we were drawing. We do first the upper lines. Do this with all the sections.
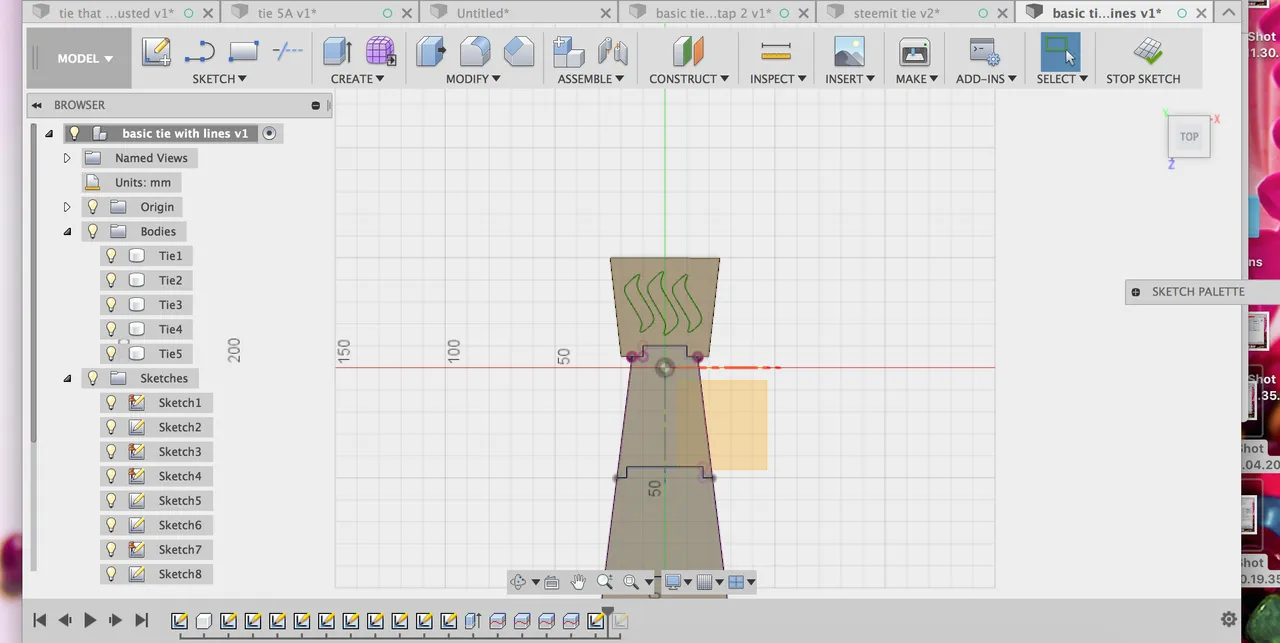
For the logo, we go to Insert, Select Svg, select the steemit logo. We place it on the upper section.
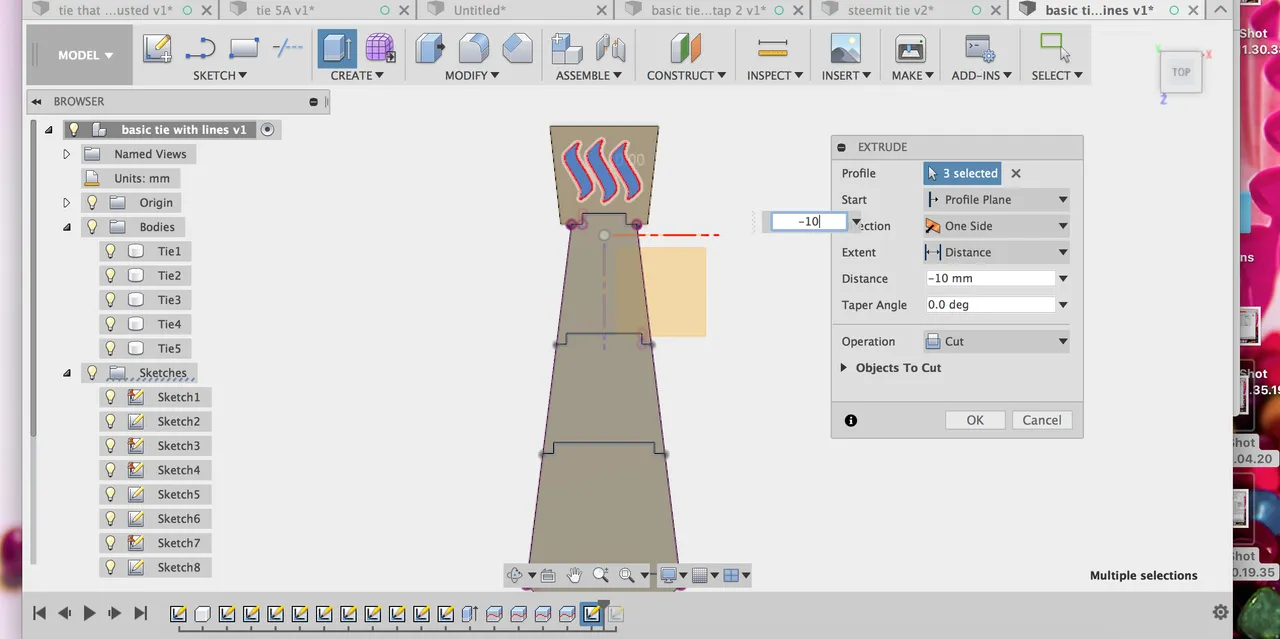
We will extrude the 3 S. Don't forget to use - at Distance and Operation: Cut.
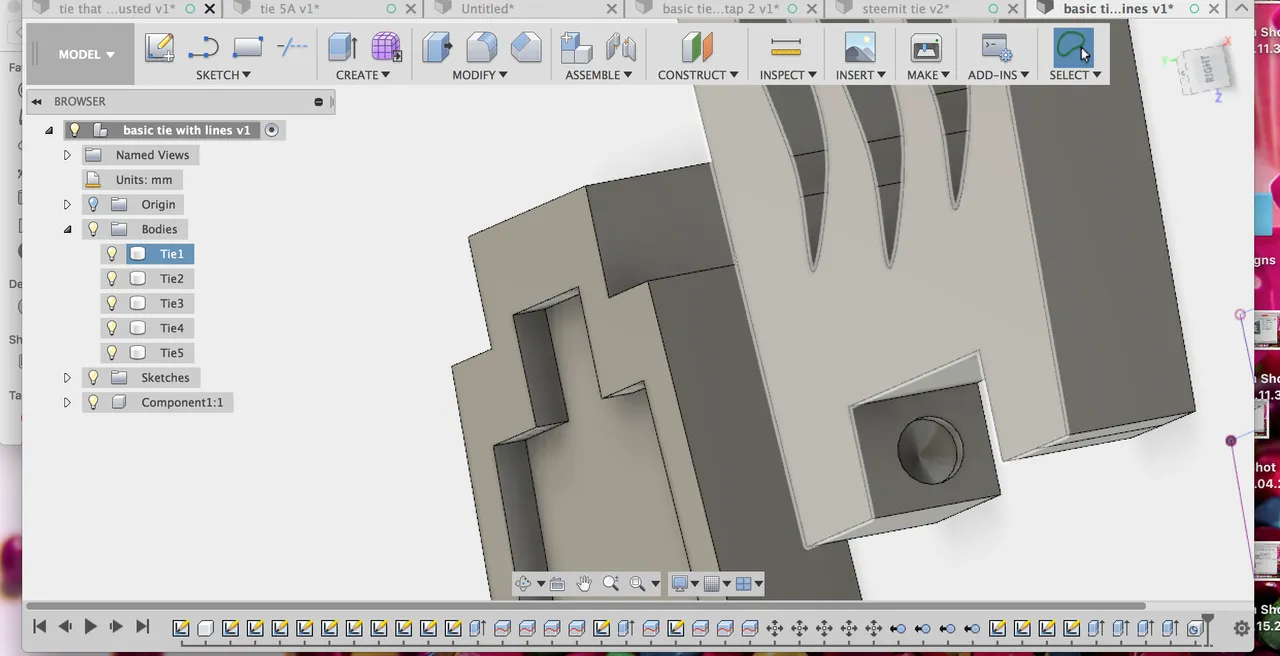
Now we will split the bodies again and use the lower lines as splitting tool.
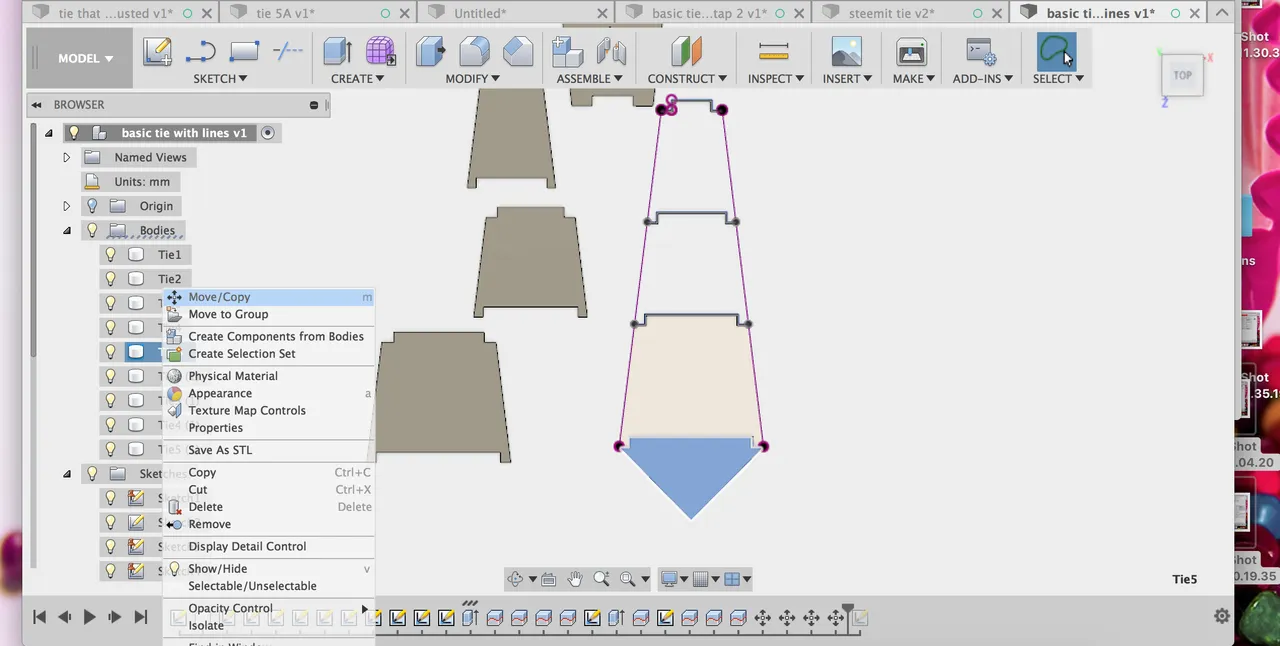
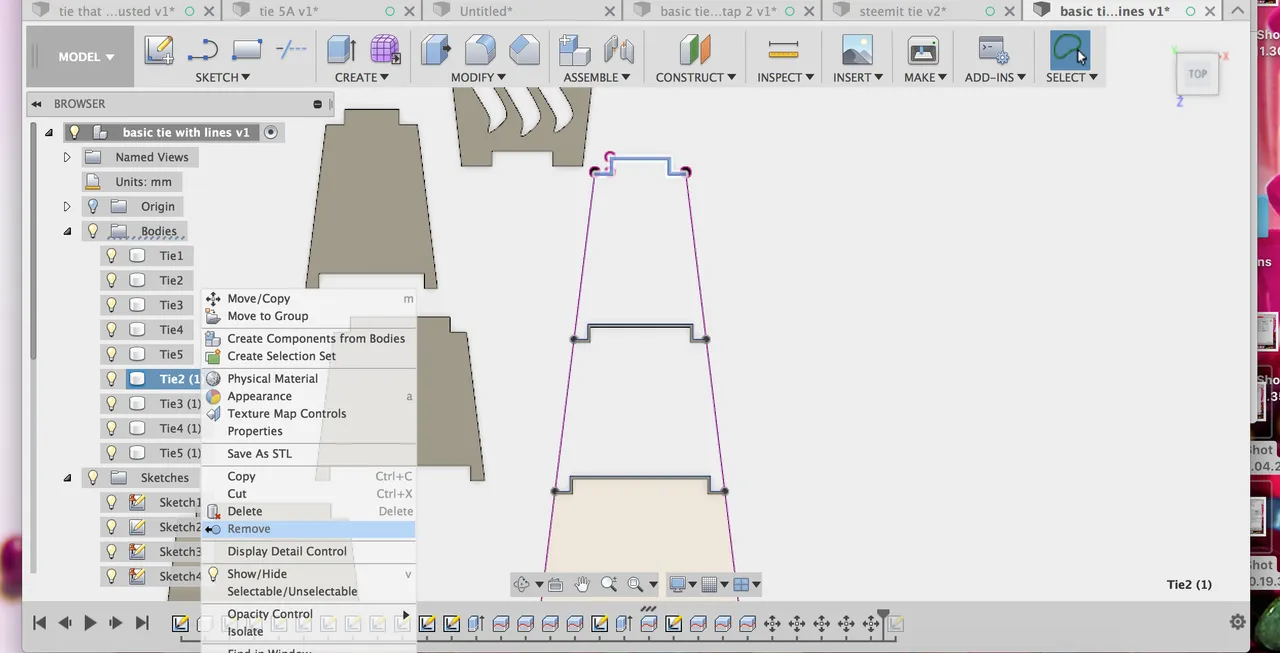
Move the bodies so we can remove the leftovers we don't need.
Go to Sketch and choose Offset. We want to make a sort of frame. I chose -4mm because I want the frame inside the sections.
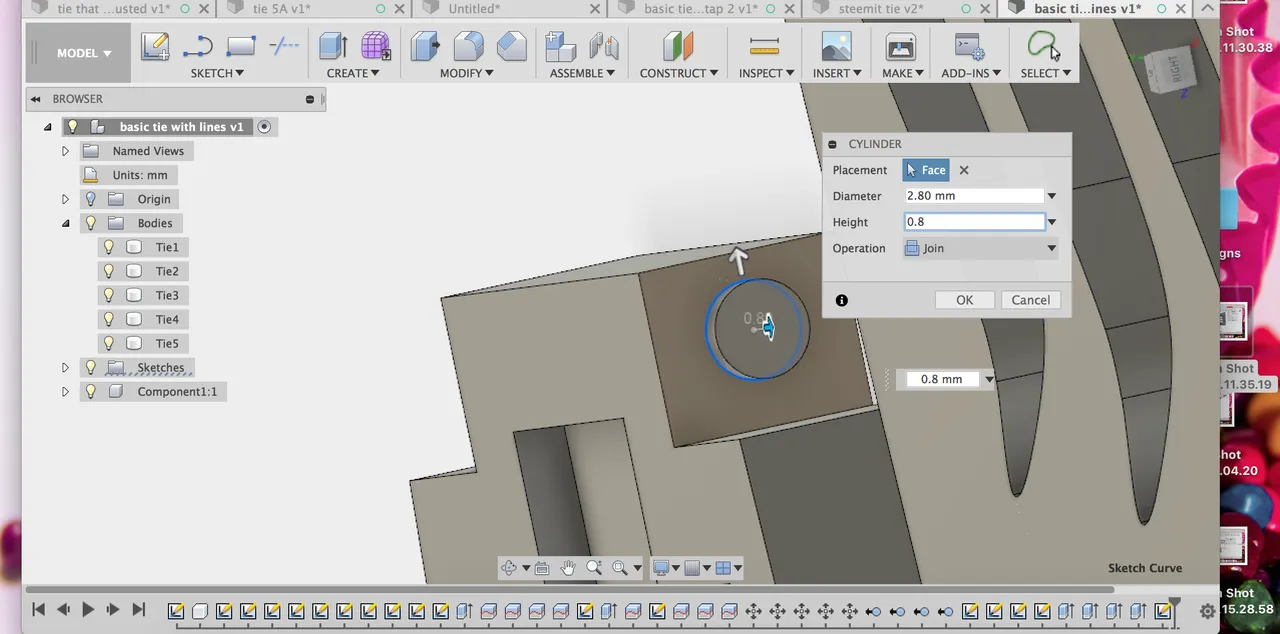
Go to Create and choose Extrude. We want fo extrude the inner parts. Now we make small holes for the sections to join. Here the holes are 3mm diameter and 1mm deep.
The other sides we make small cilinders, they need to be smaller then the holes to fit.
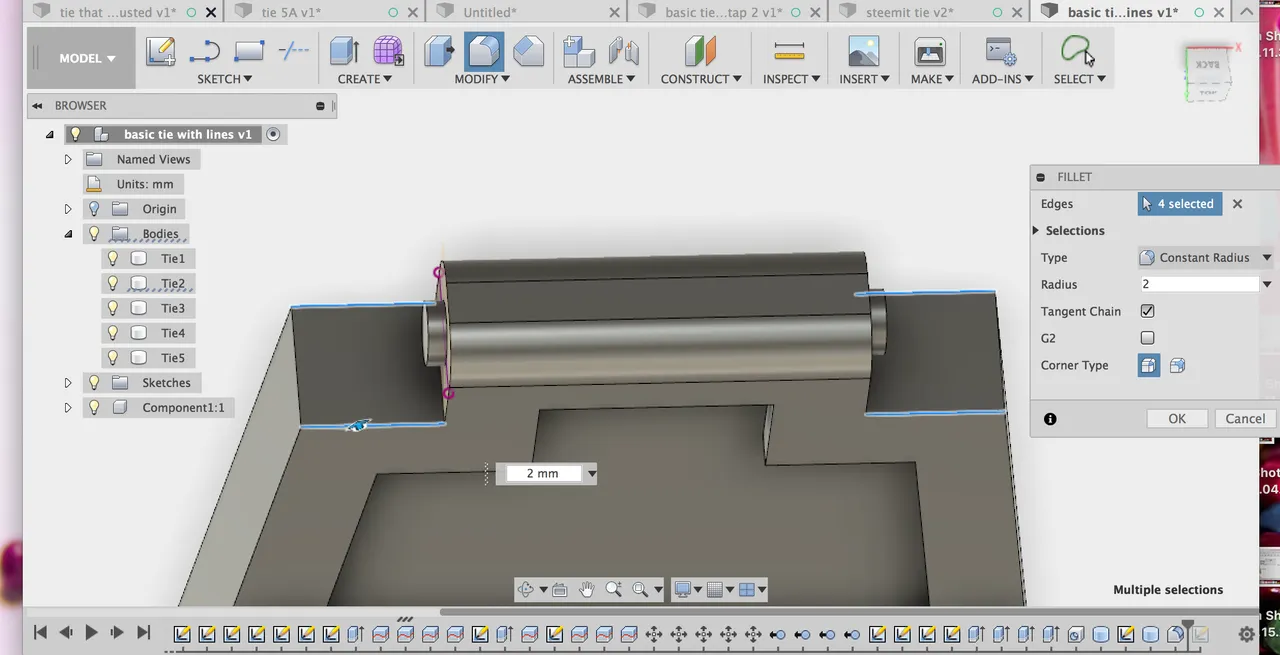
The sides with the holes and cilinders need to have round edges in order to be able to move them up and down. Go to Modify and choose Fillet. Radius: 2mm.
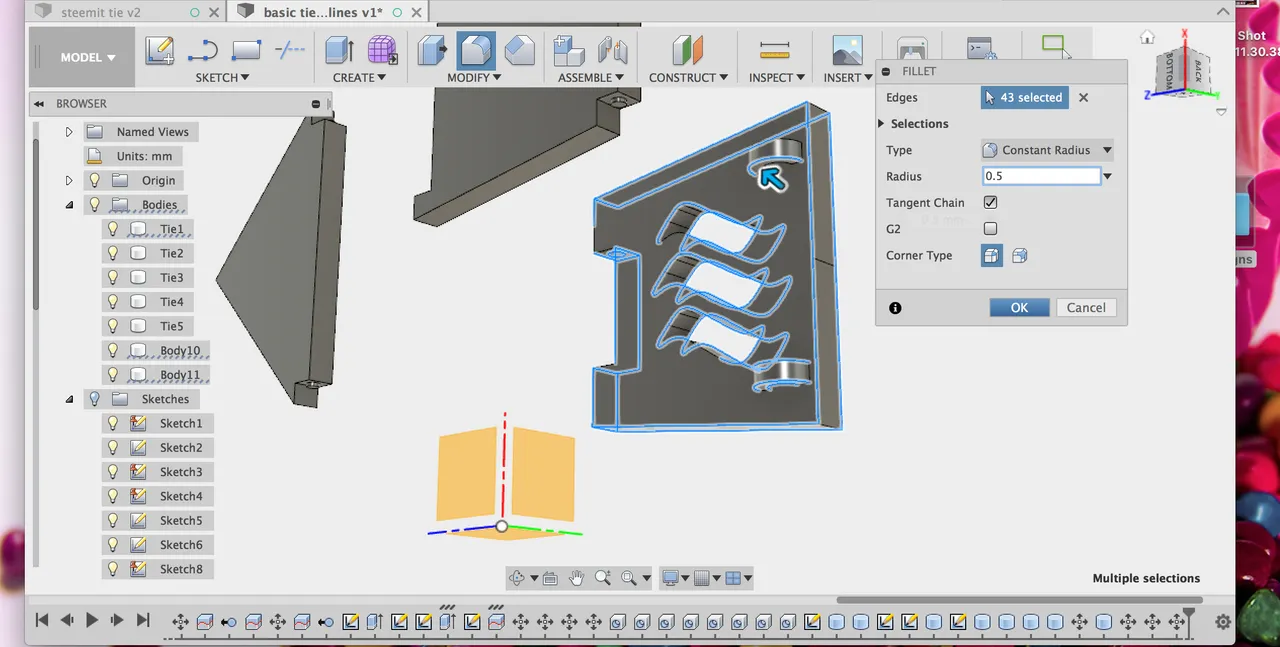
I also added at the back of the first section 2 half circles. After that I smoothen all edges of the sections with 0.5mm using Fillet at Modify.
When making the pictures, my kids said: That's Mr.Mama :-D.

It took me a few days to think how I am going to make jointed sections for this tie. But I am quite happy with the result. :-).