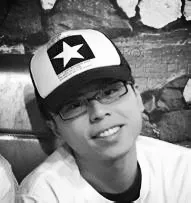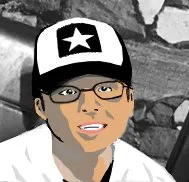
My self portrait. 我的自畫像
Hello everyone, today is the deadline of the self portrait drawing contest held by @nicolemoker. I am glad that I could finish the drawing before the closing hour. Please grab the last chance if you are still interested and please follow her as she is an excellent artist and designer where you could find lots of beautiful art piece in her profile!
今天是 @nicolemoker 舉辦的自畫像比賽最後一天呢,幸好我也可以趕及投稿參加呢,好歹也一定要支持的,即使技不如人,兼要做死線戰士也要交出功課來!哈哈~
Recently I have been drawing so many pictures with the water color or the poster color. Today I would like to give it a try to make a digital drawing by using the Photoshop.
最近都畫了好多幅水彩或硬筆圖畫,有點畫筆恐懼啊,所以這次打算試試電腦繪畫,用的是Photoshop。至於部驟嘛,其實不難,只是用上不同的顏色圖層重疊就可以做到這幅自畫像了。
Few things regarding the drawing process.
畫這幅圖畫的二三事
I am not new to photoshop but it's still the first time I make a self portrait with the program. Please forgive my noob skills and feel free to give me some advice for the art piece.
我不是photoshop的新手,可是用上圖層功能去畫自畫像倒是第一次,感覺頗新鮮,也請Photoshop的高手高抬貴手,多多包涵我的劣作。
I found it's quite difficult to draw the picture while I didn't have the drawing pad and pen for my Mac. I use quite some times to adjust and fine tune the details with every single click of the mouse.
可惜我沒有電腦的畫板畫筆,要用滑鼠一點點的去調整,時間是花多了,眼也看得花了,啊啊。
Also I found that I didn't have lots photos of mine when I was about to choose one of them. Finally I chose the group photo that I took during the steemian gathering with my Hong Kong bubbies.
另外就是在選相片的時候,發覺自己沒有很多大頭的相片。其實也對,很多時我都是一個人去旅遊,實在不太會拍自拍照,所以我就索性用之前香港區的steemian 聚會上跟男生拍的照片來作畫吧。(其實我可是有跟美女們合照,但為免他們妒忌就刺激他們啦,嘻嘻。)
To prepare the drawing, firstly I cut my face out of the group photos. I would apologize for the small size after editing ><
作畫前的小準備功夫,我先要把我的頭像給剪貼出來。剪貼出來後尺寸真的太少了,可是也無辦法,哭哭。
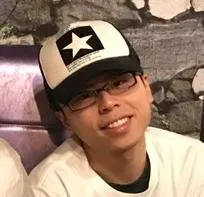
Then I turn the picture to a B & W one for easy reference when I need to outline the shadow.
再把它變成黑白的,方便之後的工序。
(呃,這個好像有點怪怪的,但是必須是要黑白才能讓深淺明顯啊,只是為了藝術啊,百無禁忌啦!)
Let's start with the digital drawing with Photoshop!
好了,來開始用photoshop畫圖了!
Step 1.
First of all, unlock the original picture in PS, making it to be an editable layer. Add a new layer of solid color.
先解鎖原圖,讓它變成可編輯的圖層,在原圖圖層上新增純色的圖層。
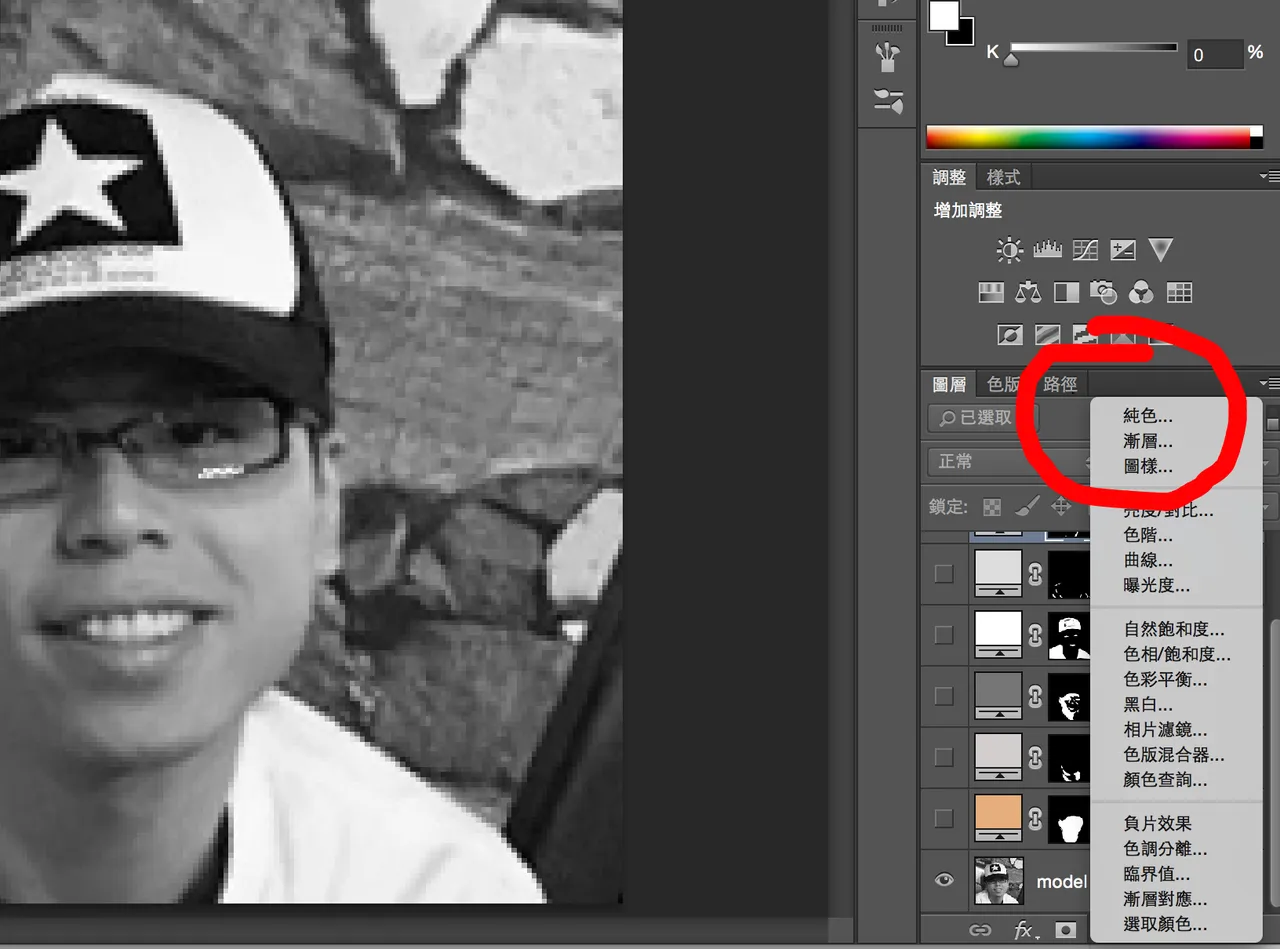
Step 2.
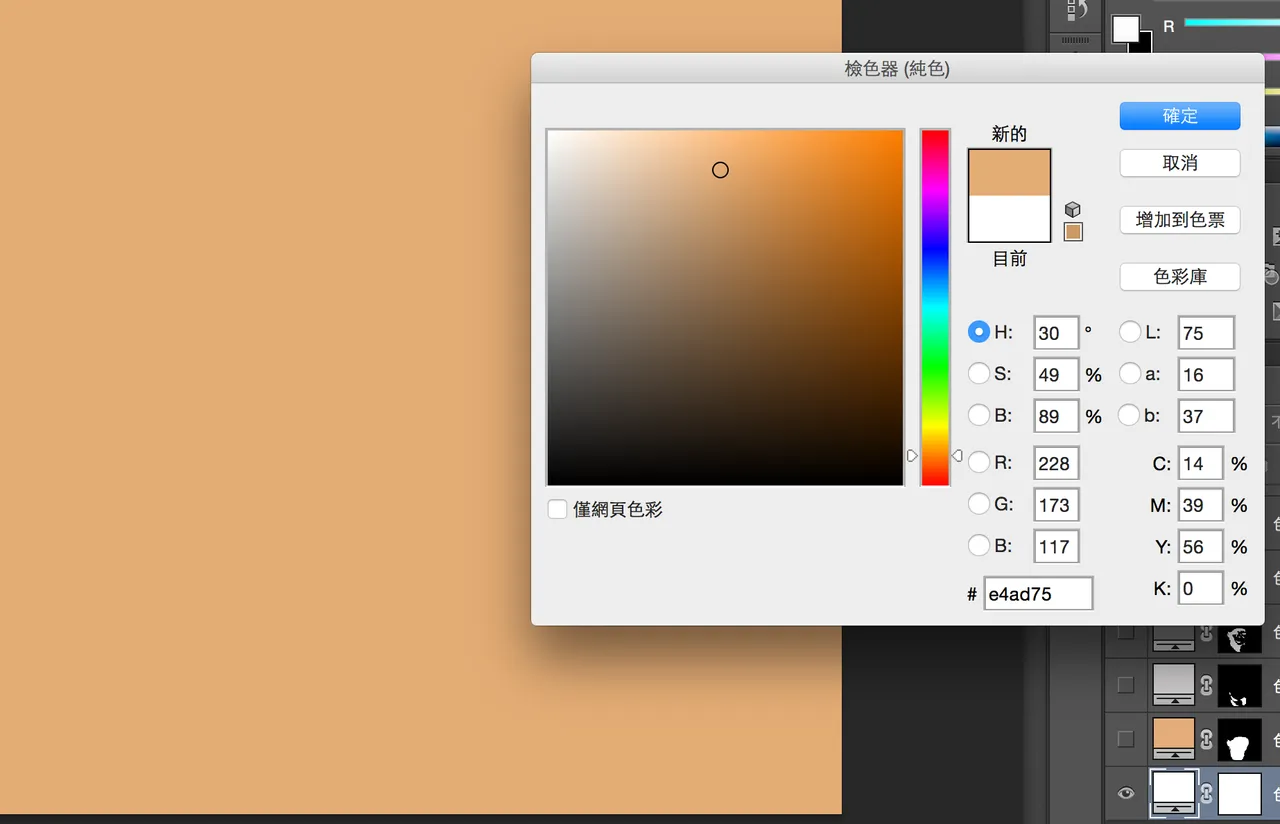
Choose the preferred color in the option panel. I chose the # e4ad75 for the skin color in this stage.
之後會出現圖層的選項,可以在此隨意選所需顏色。此圖層作為皮膚的肉色,我選了常用的肉色編號 # e4ad75,有需要可記下,也頗有用的,不然就要慢慢找了。
Step 3.
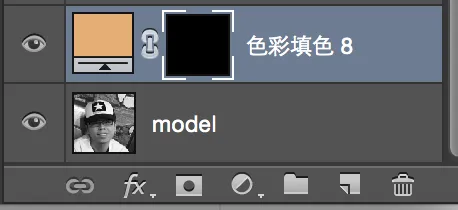
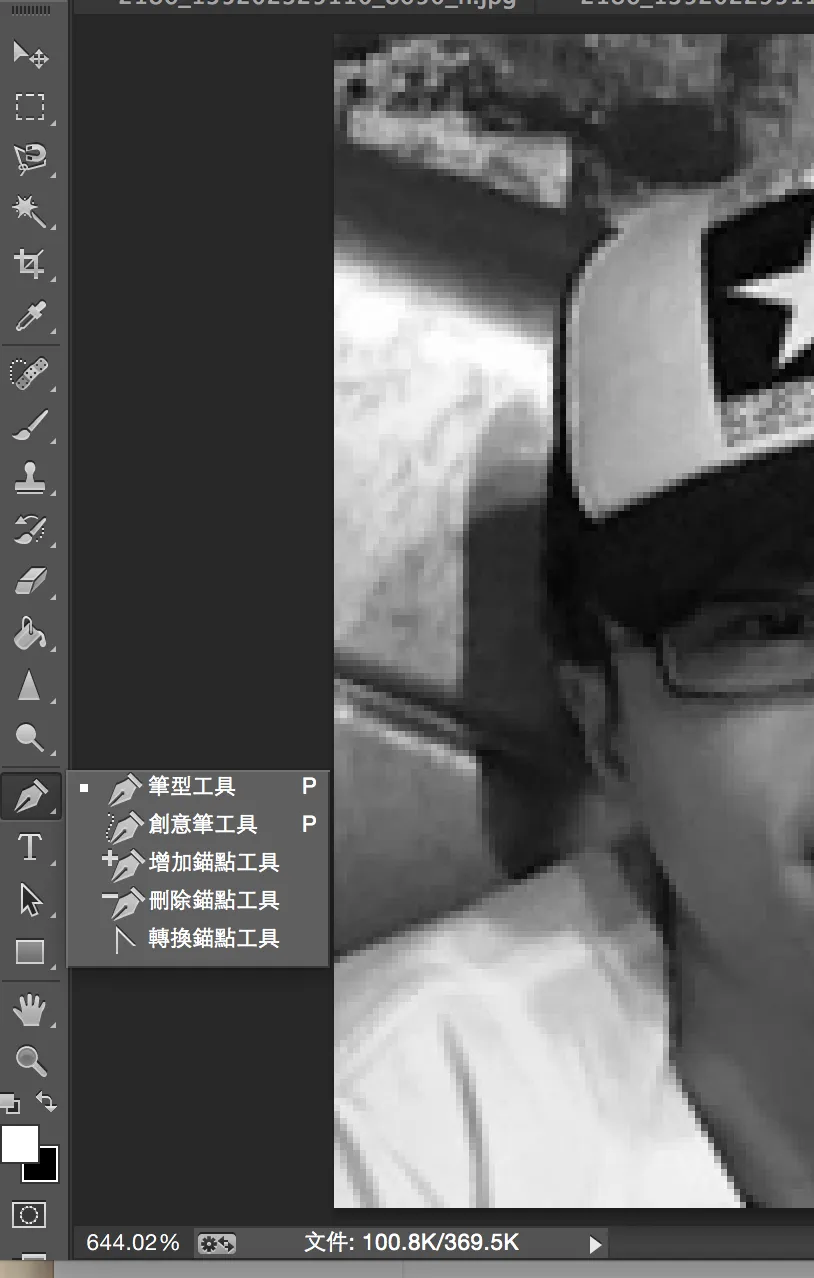
There would be an icon of new layer in the task box after creating the layer. Choose the pen tool now and draw the outline of the area you wish to edit.
確認圖層後,小角落會出現圖層及其遮色片ICON,這時我到另一邊選筆型工具,這是可以任意勾出想要形狀的工具,當然磁索工具也是不錯的選擇。
Step 4.
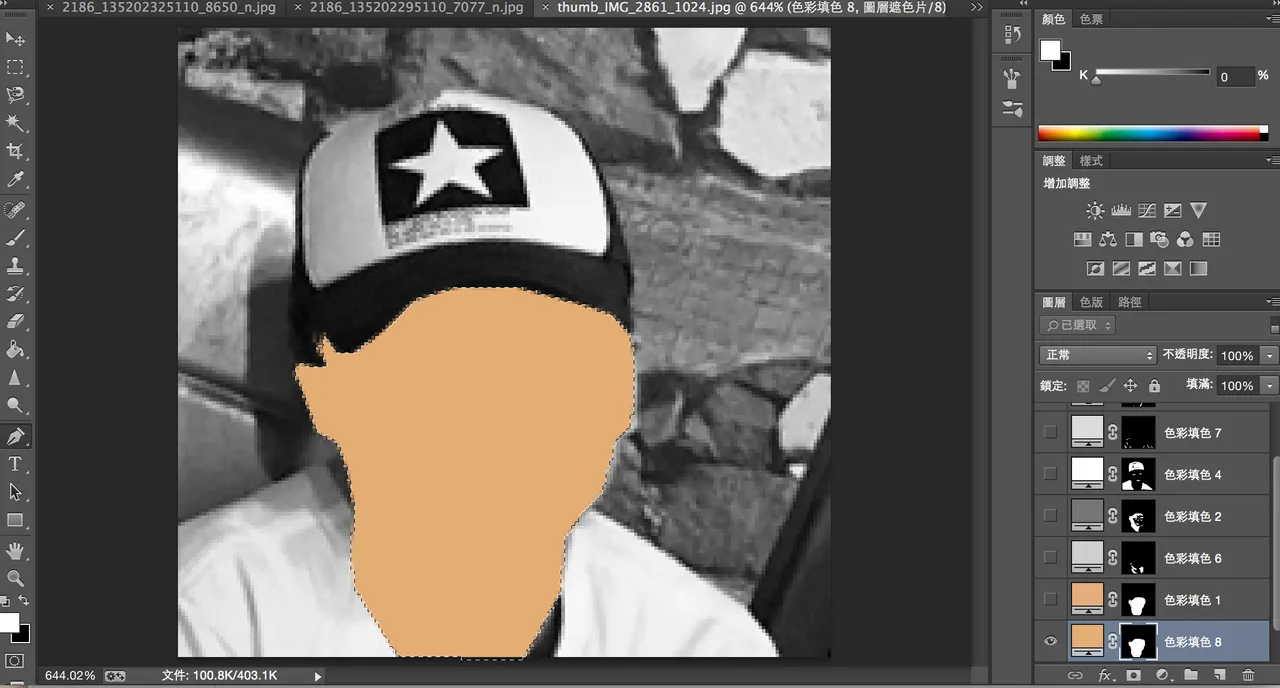
Press Cmd + Del (in my Mac) to delete the selected outline area. The color of skin appears in the face area.
於圖層遮色片上勾出想要形狀,按一下Command + delete,皮膚的底色就出來了。(我是用mac的,Windows應該是Crtl + del)
Step 5.
Repeat the layer adding procedure for different parts of the picture, such as the shadow part of the skin, the hair, the cap , the eyes and the cloths.
之後方法食樣畫葫蘆的重覆Step 4. ,依次序處理好不同的圖層,包括皮膚的陰影,頭髮,帽子,眼睛,衣服等等。
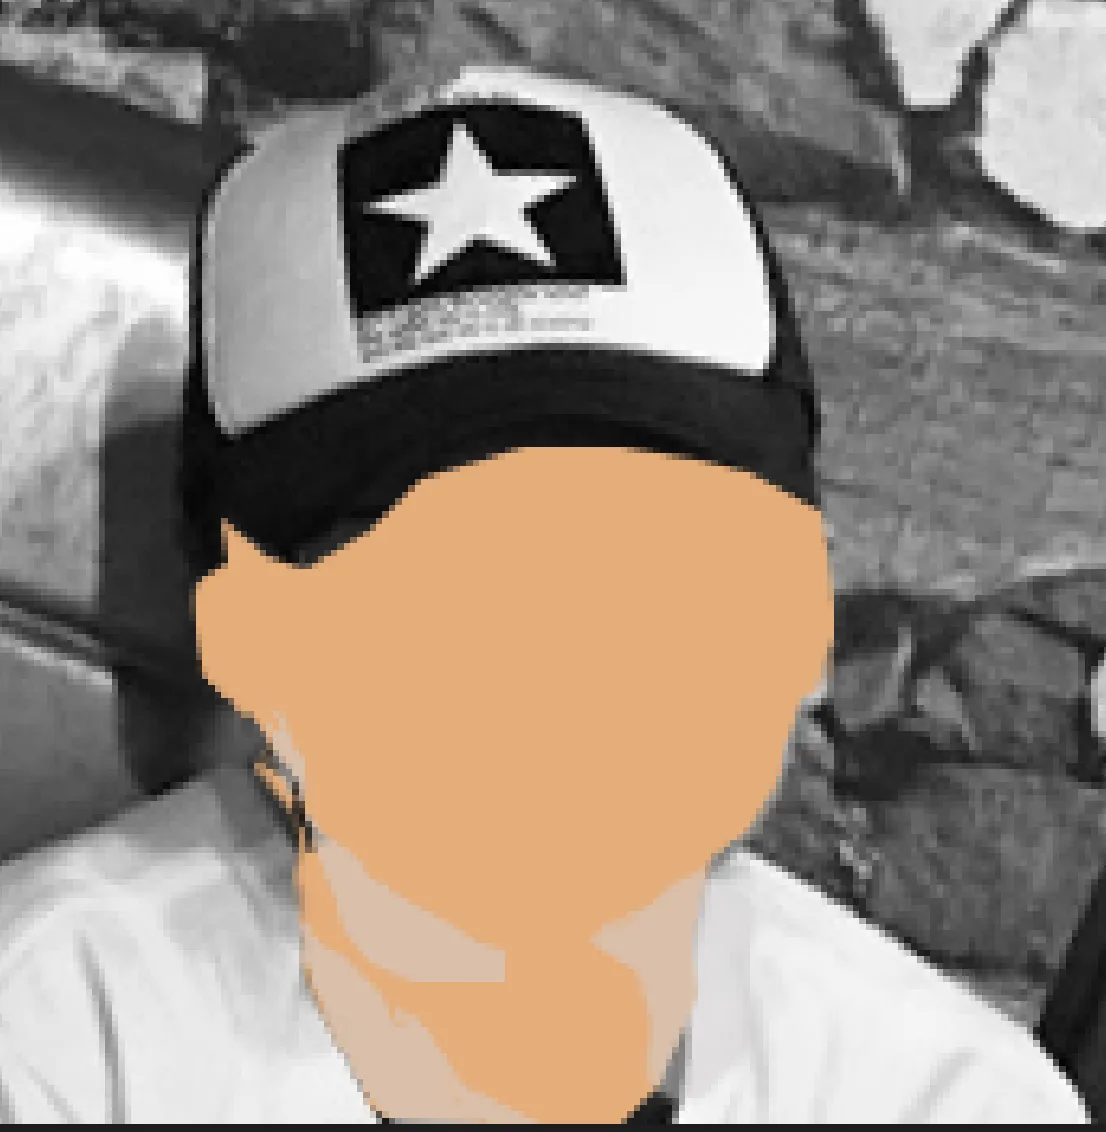
Add the layer of the pale shadow at the neck
加上頸部的淺色陰影
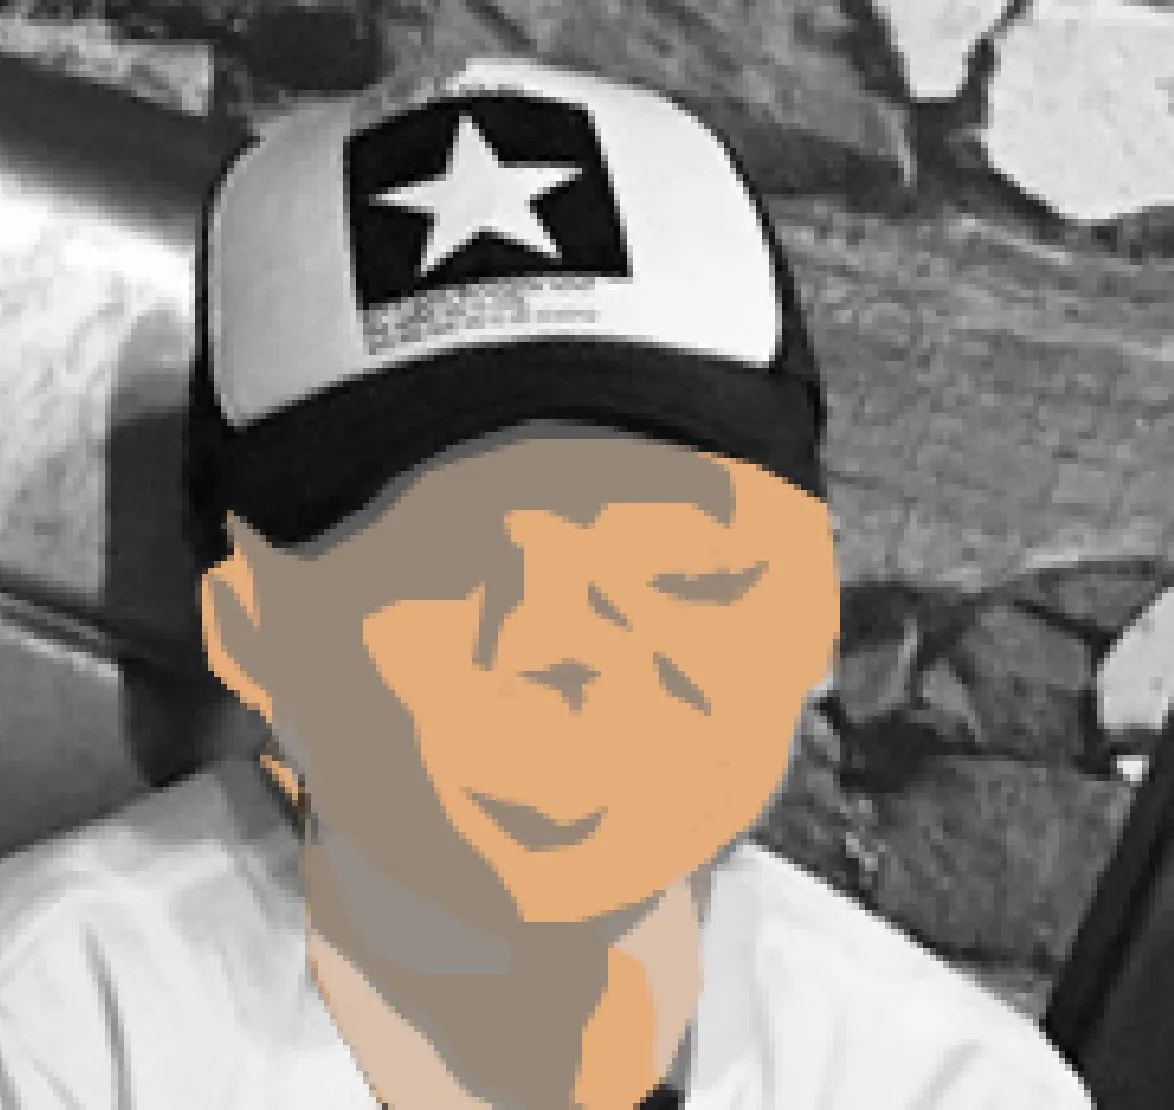
Add the layer of the darker shadow on the face
加上面部的深色陰影
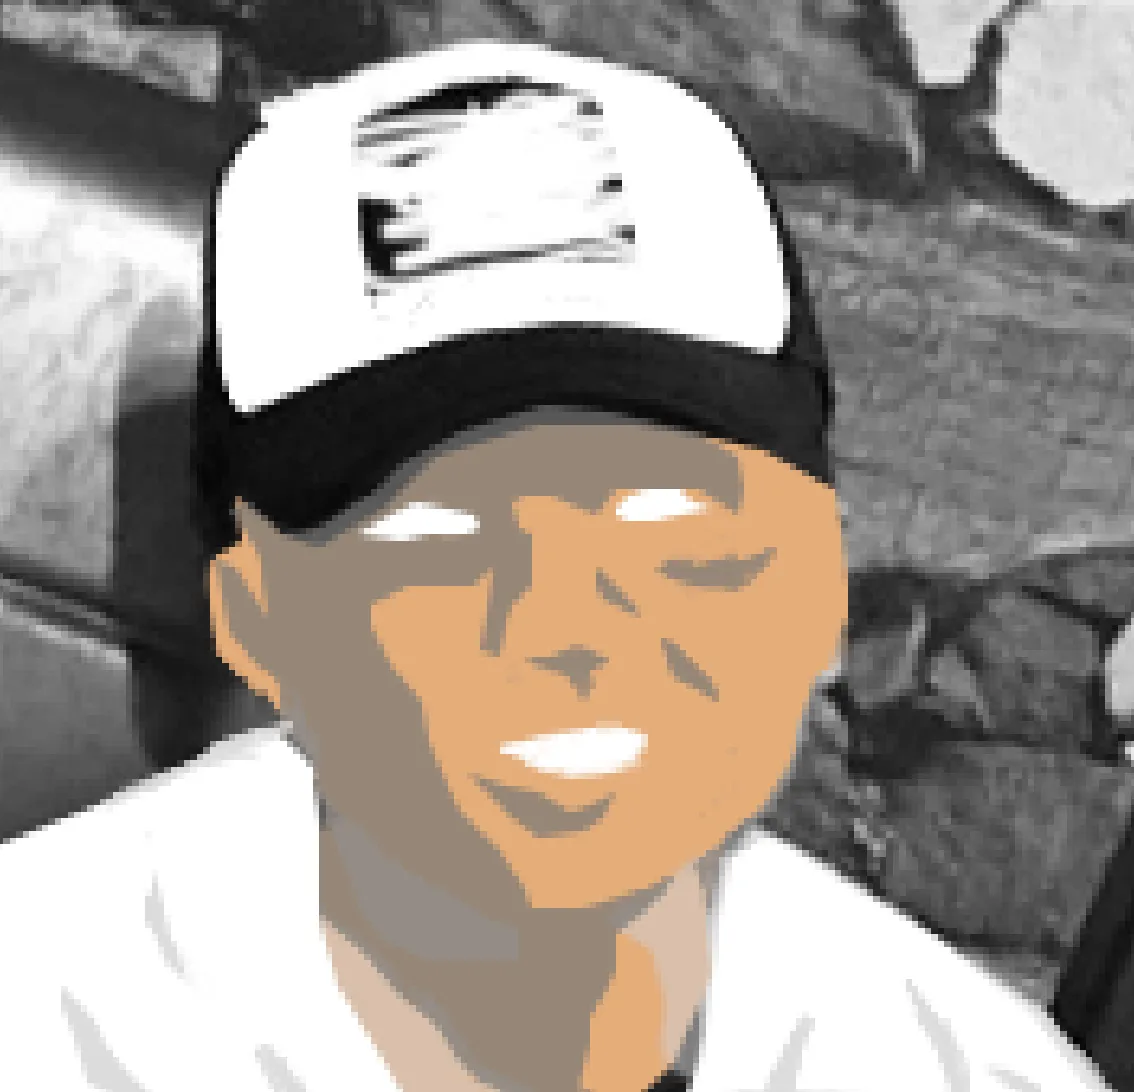
Add the layer of the white part: the eyes, the teeth, the shirt, and part of the cap
加上白色部份的圖層,包括眼睛、牙齒、衣服及帽子的部分
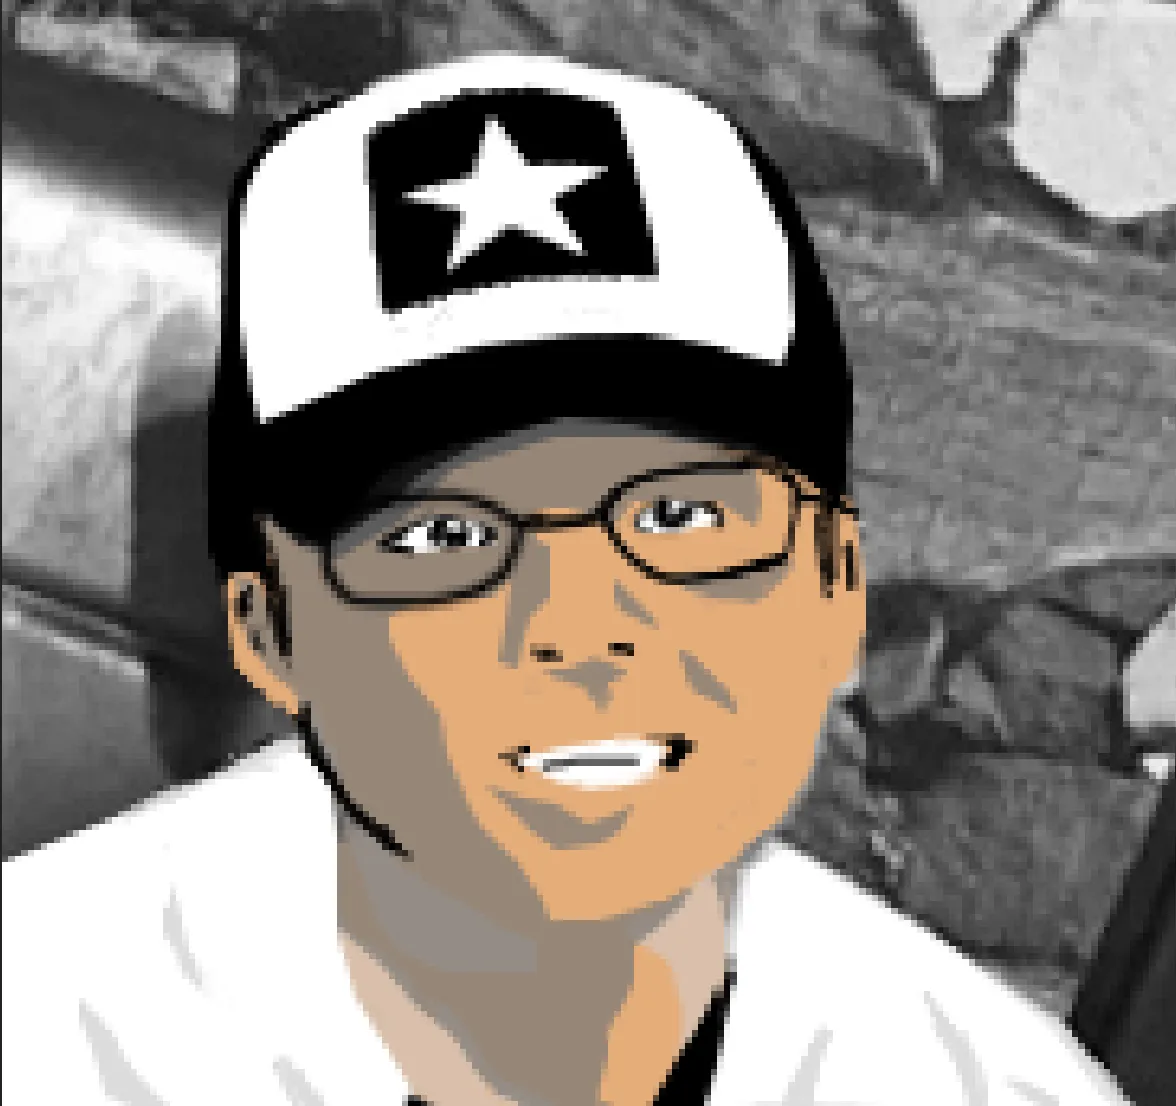
Add the layer of black part such as hair and the cap.
加上黑色部分的圖層,如頭髮,帽子,眼鏡,最重要是那雙靈魂之窗!
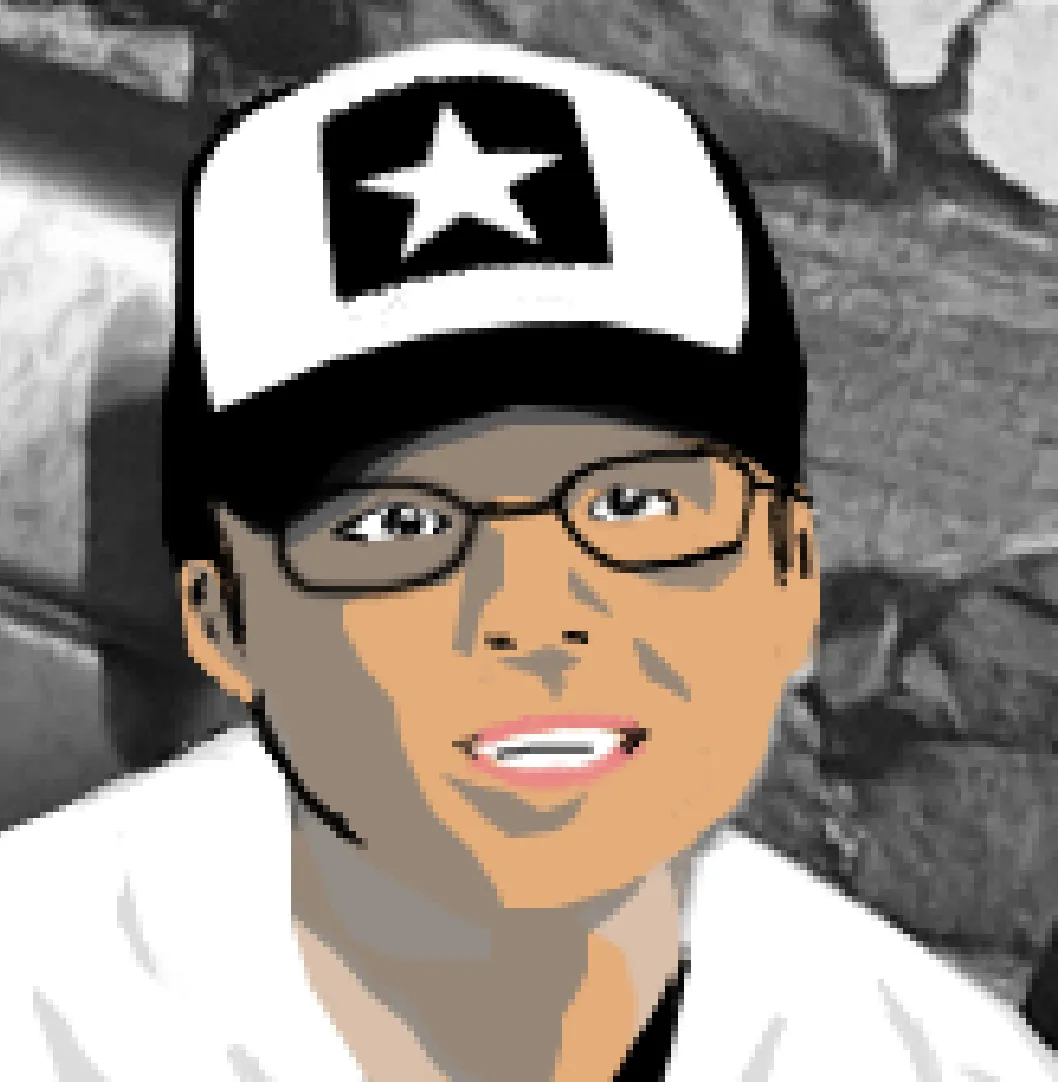
Of cause the lips :D
最後來一個烈焰紅唇! :D
Finish! I hope you would enjoy it even it is not a perfect one, haha :)
完成了!可以比較一下,是有差啦,但算看得明白五官吧,哈哈。


If you like my post, please upvote, resteem and follow me @kitcat.
如果你喜歡我的帖子,請幫忙點讚、推送及跟蹤我 @kitcat
