

Hello growing enthusiasts and welcome back! It's been a while since my last blog but it's been crazy around here right now. A lot of trimming, family, new job and the mushrooms have been keeping me from creating time to post. I hope everyone has been well.
I wanted to talk about harvesting and drying but I will do a later post of that. Today I want to talk a little bit about agar plates or cups, which is what were making! Agar plates have many benefits for mushroom growing. Agar plates is simply a gelatin type substance that sustains the nutrition for molds and fungi to grow in a petri dish or cup.
Agar plates can be used in many ways. It can be used to clean contaminates, isolate genetics, clone, create a liquid culture, use it to inoculate grain jars, even germinate spores or swabs. If you're not sure if a syringe you got from someone is clean, agar is the best way to determine and clean up a contaminate if you have one. Today we will creating a potato dextrose agar (PDA) and taking a culture from one of my mushrooms in one of my monotubs and maybe isolating some soon.
So first I wanna go over what you need. A pressure cooker is needed for this because you want to make sure the agar is sterile. These ingredients can be found at your local supermarket.
First things you'll need is obviously potatoes or instant potatoes. I prefer using instant so I'm not wasting time peeling and cutting up real ones. Instant potatoes works just as good.
Next thing you will need is some agar powder. My local market didn't have any or I just couldn't find it so I had to buy it from shroom supply which was around 20 bucks with shipping for a 4 oz bottle which should last you a while when you only need minimal grams.
Next thing you need is some corn syrup or light corn syrup. You can replace the corn syrup for honey if you like.
Condiment cups is what I'm using because they don't cost much and I usually have some for my daughter for her dipping sauces and buying petri dishes can get very expensive after a while.
A digital scale which I'm sure most of you have, measuring cups and a quart mason jar to sterilize the ingredients in.
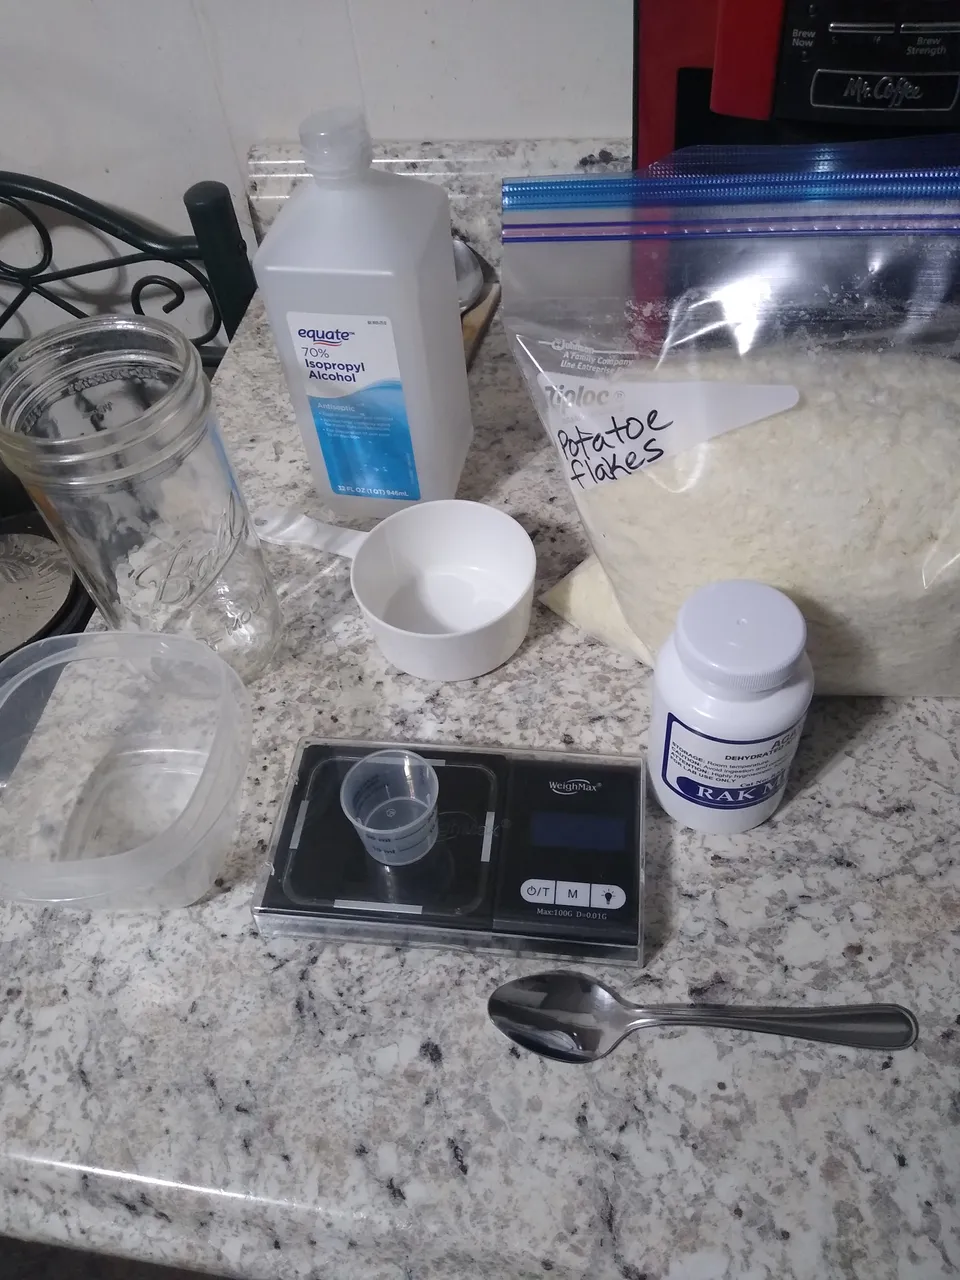
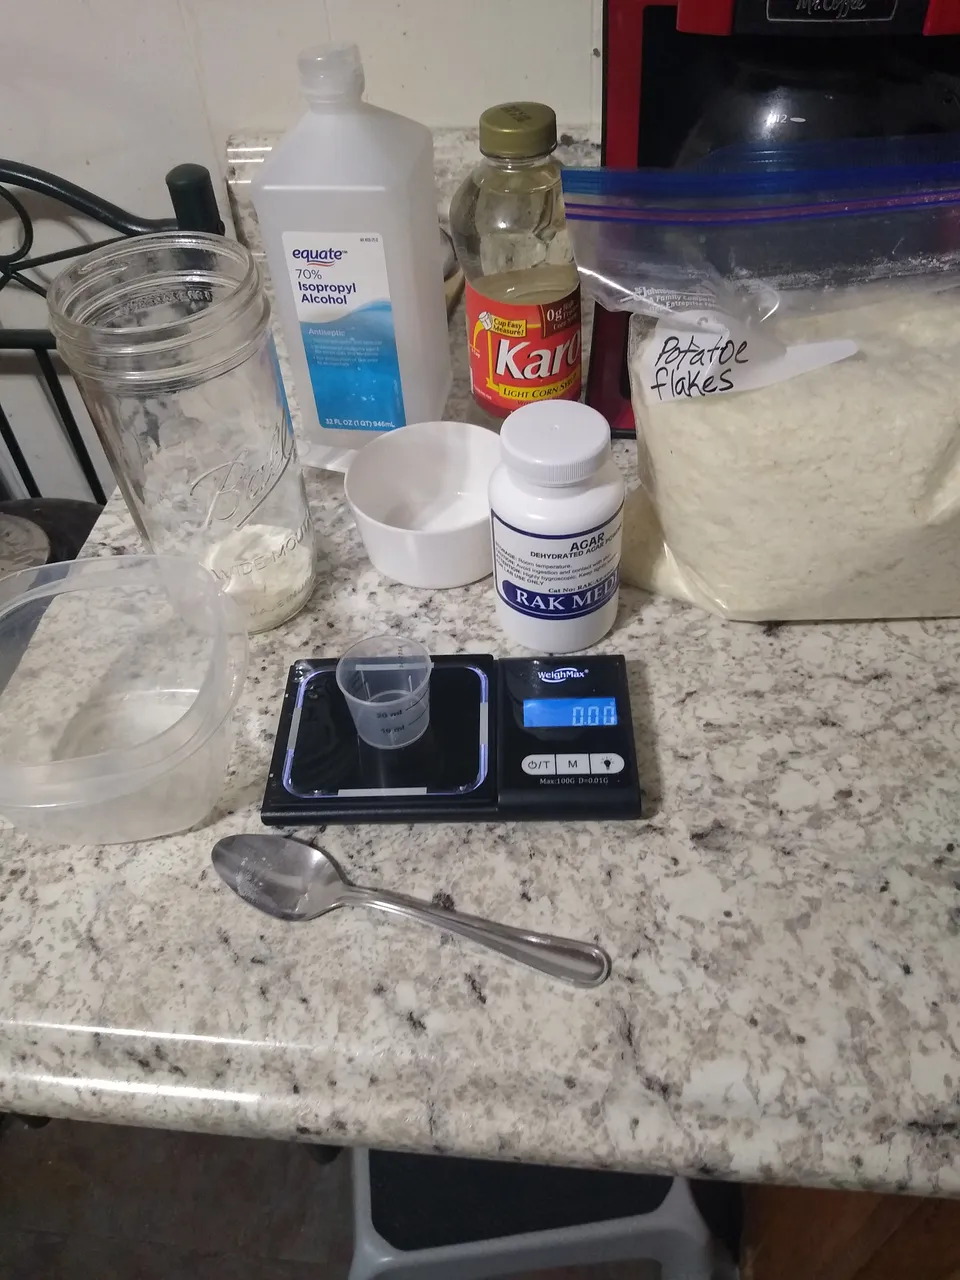
This recipe will get you enough for ten condiment cups which can be used now or stored in the refrigerator for longer term use. Start off by measuring 6 grams of instant potato flakes👇
 4 grams of agar powder and 2 grams of corn syrup👇

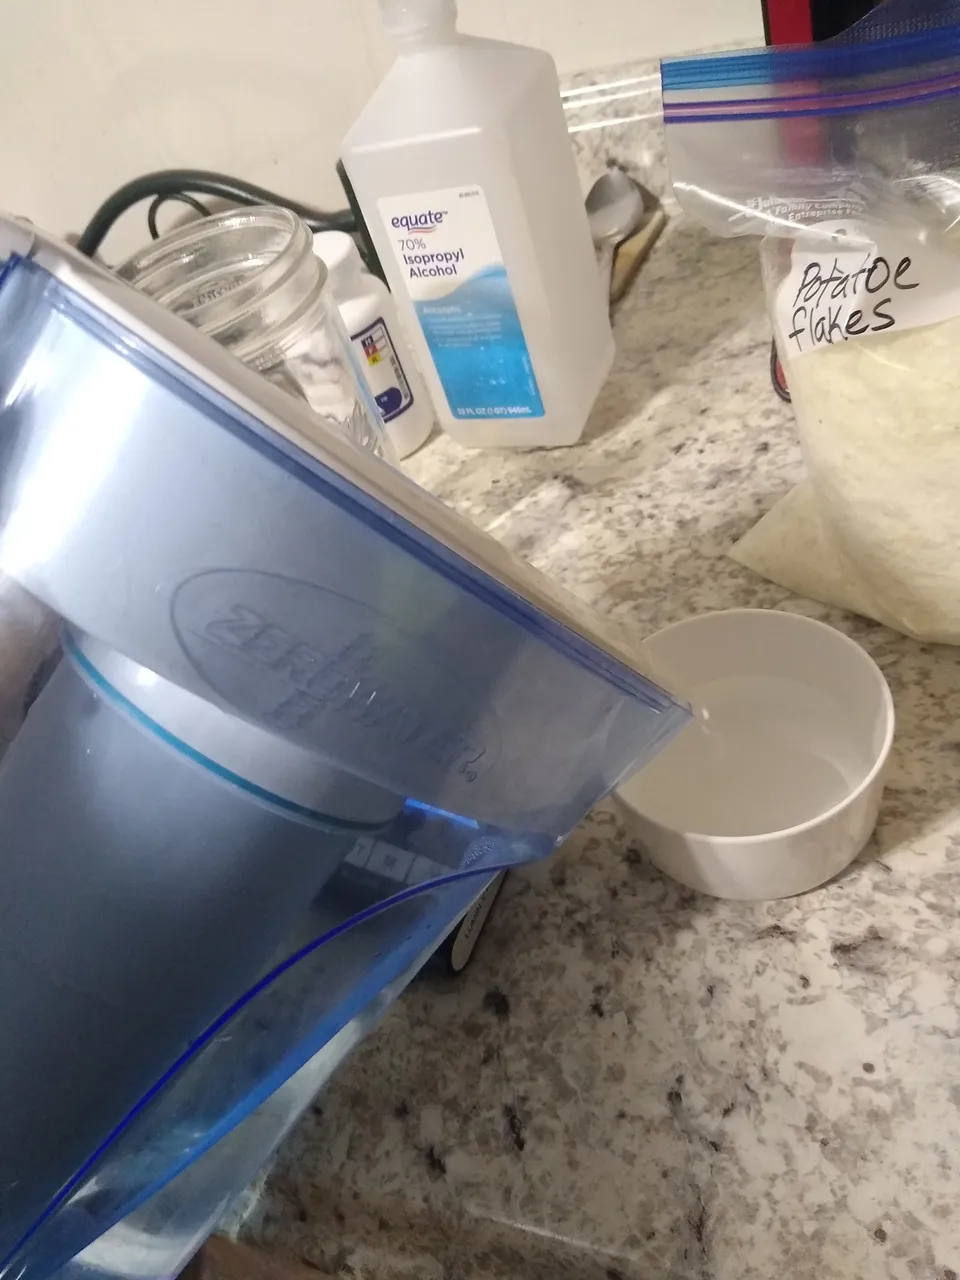
Add 1 cup of distilled water or properly filtrated water. I'm using water from my Zero Water pitcher which takes out all dissolved solids. Distilled water can be found at your local supermarket for a couple of dollars a gallon. Mix and pour in in a small sauce pan.
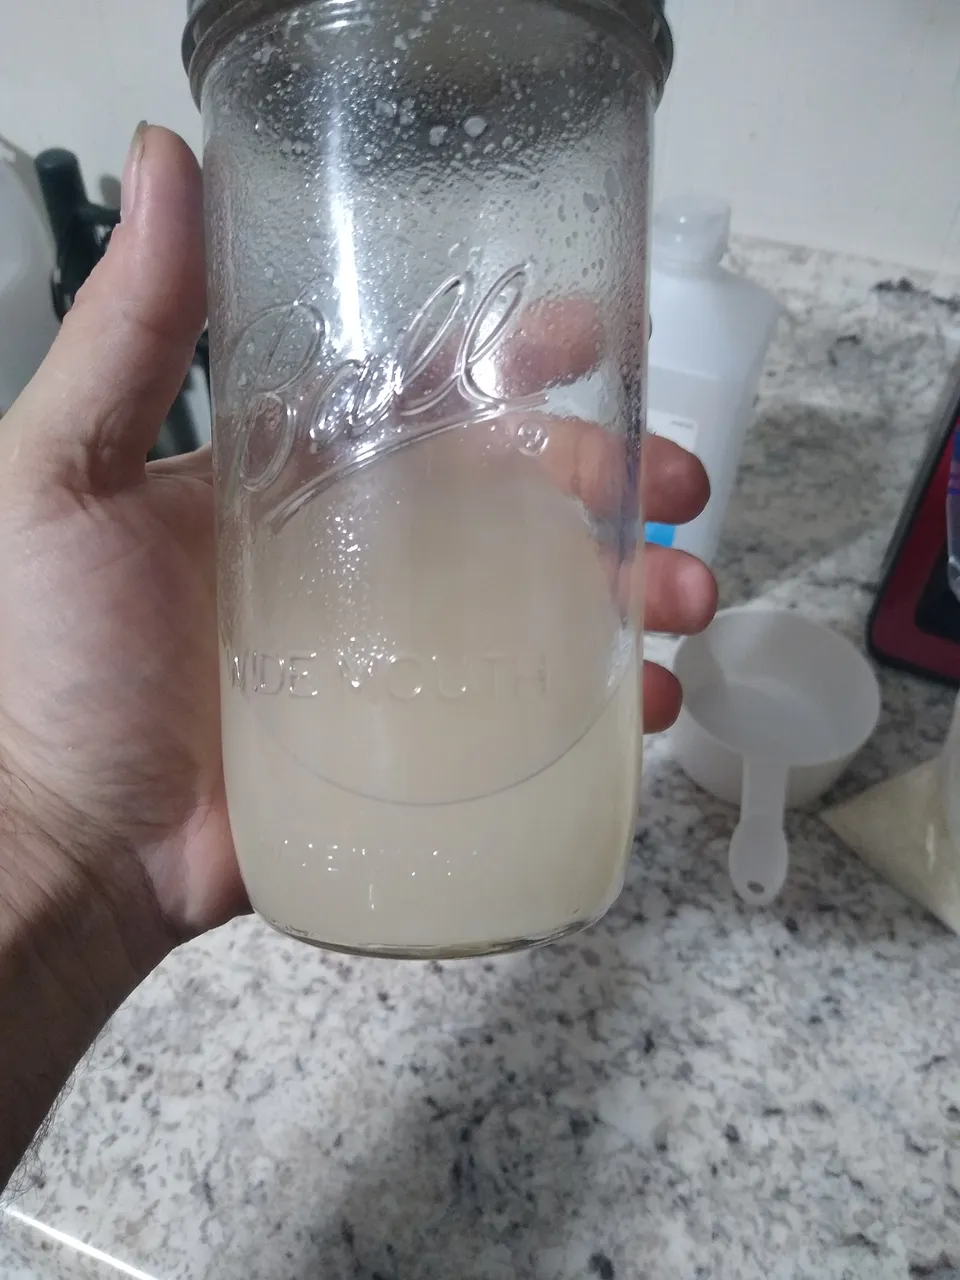
Bring the ingredients just to a boil, once it starts boiling shut the heat off and pour your mixture into your mason jar with the lid a quarter turn loose and add a piece of aluminum foil over the jar lid. You need to loosen your mason jar lid a little to allow for pressure to equalize in the jar.

Get your pressure cooker ready and add three quarts of water and your separator so your jar doesn't sit on the bottom and burn. Turn the heat on high and once your pot is up to 15psi your weight will start to dance. That's when you start a 30 minute timer and turn the heat down to medium to maintain your pressure.
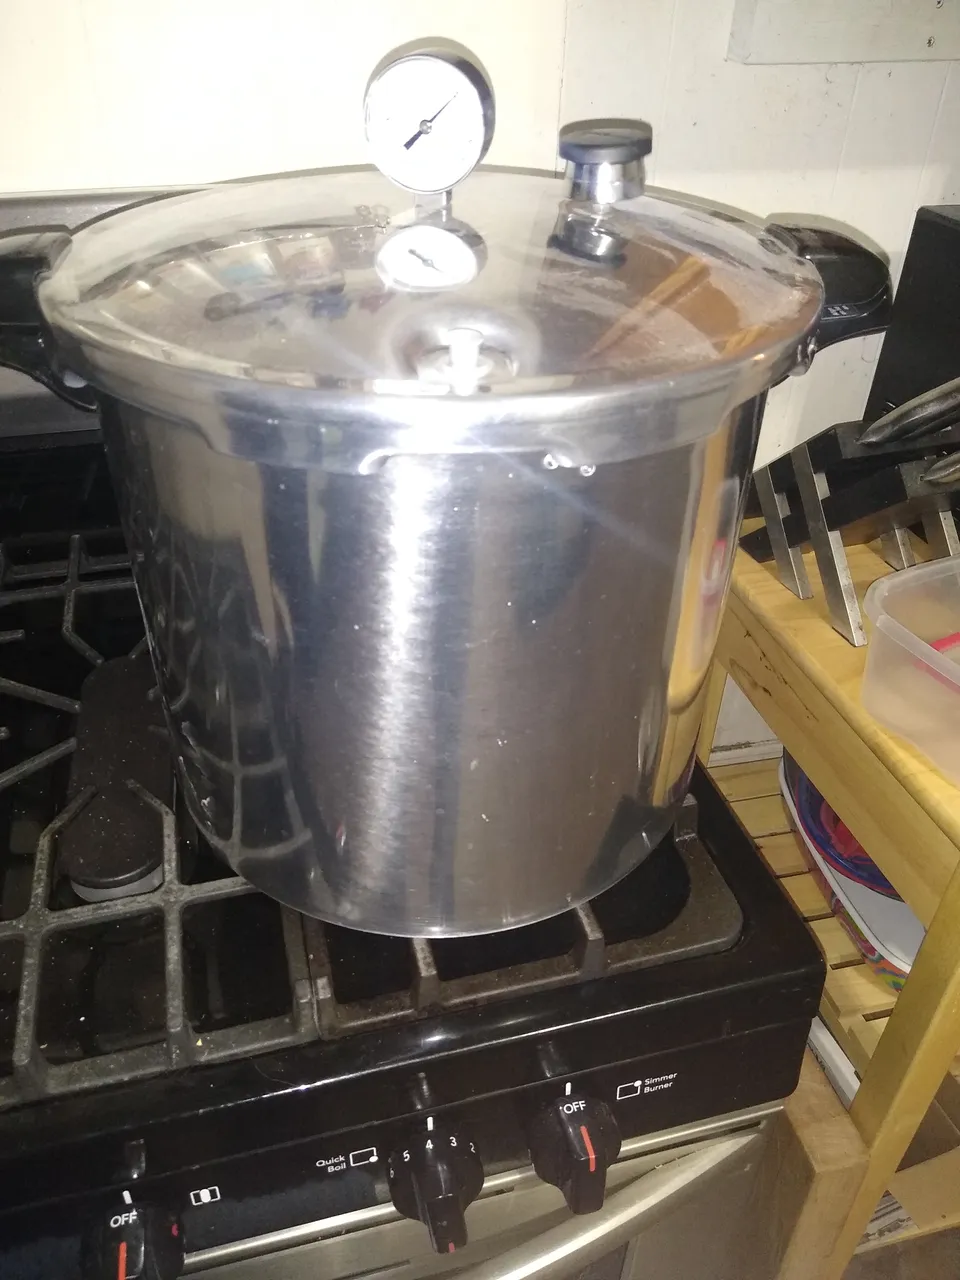 During the time you're waiting for sterilization clean your SAB or Still Air Box inside and out with isopropyl alcohol and get it ready for pour. Also wipe down the bag of condiment cups and place it in your SAB.
When the timer is done turn off your heat and let the pot depressurize on it's own. Once depressurized be very careful when handling and give it a good shake with an oven mit on. Do not empty the pressure cooker water as we will use some of it in a bit....

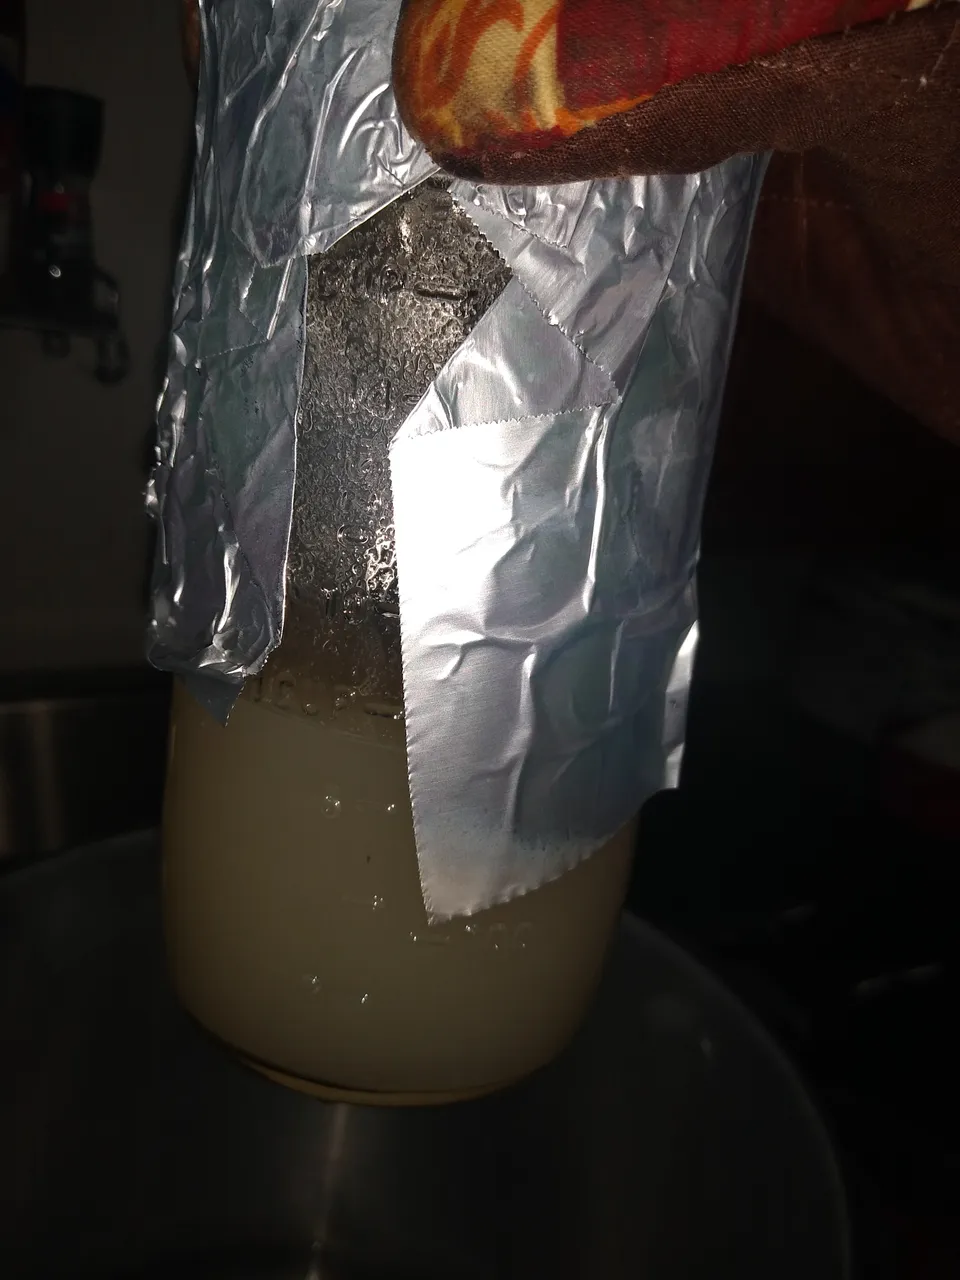
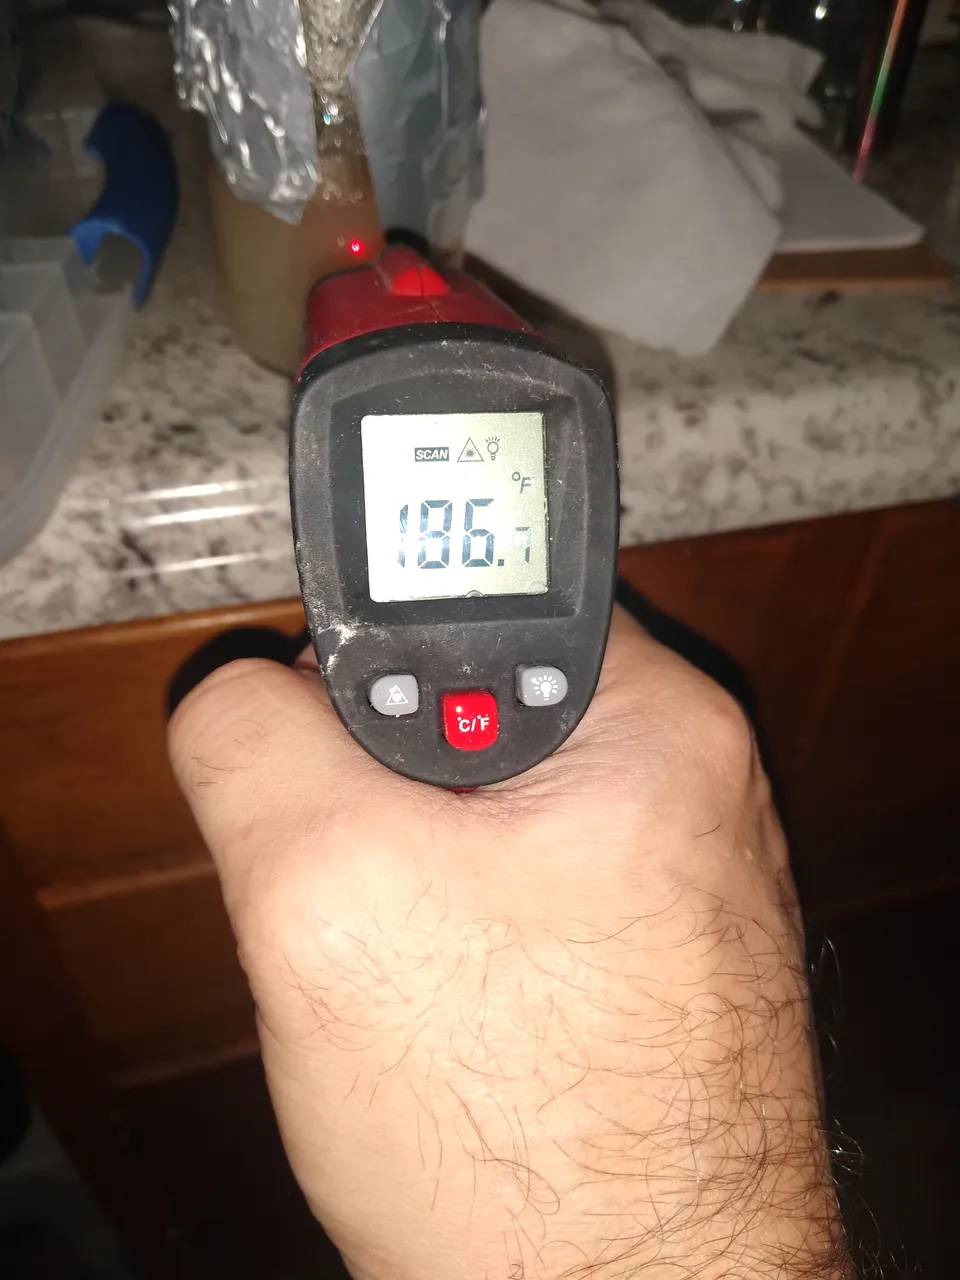
Agar has to be heated up past 185 degrees fahrenheit to melt into a liquid state. It starts to solidify or harden up around 100 degrees fahrenheit. If you have a thermo gun you can accurately find the temperature of the agar. The ideal temperature you will want to pour is around 140 to 160 degrees fahrenheit so you won't melt the cups that you're using. If you don't have a thermo gun it's not a big deal. You can pour it as soon as it cools down enough to handle without getting burned which is in the temp range.
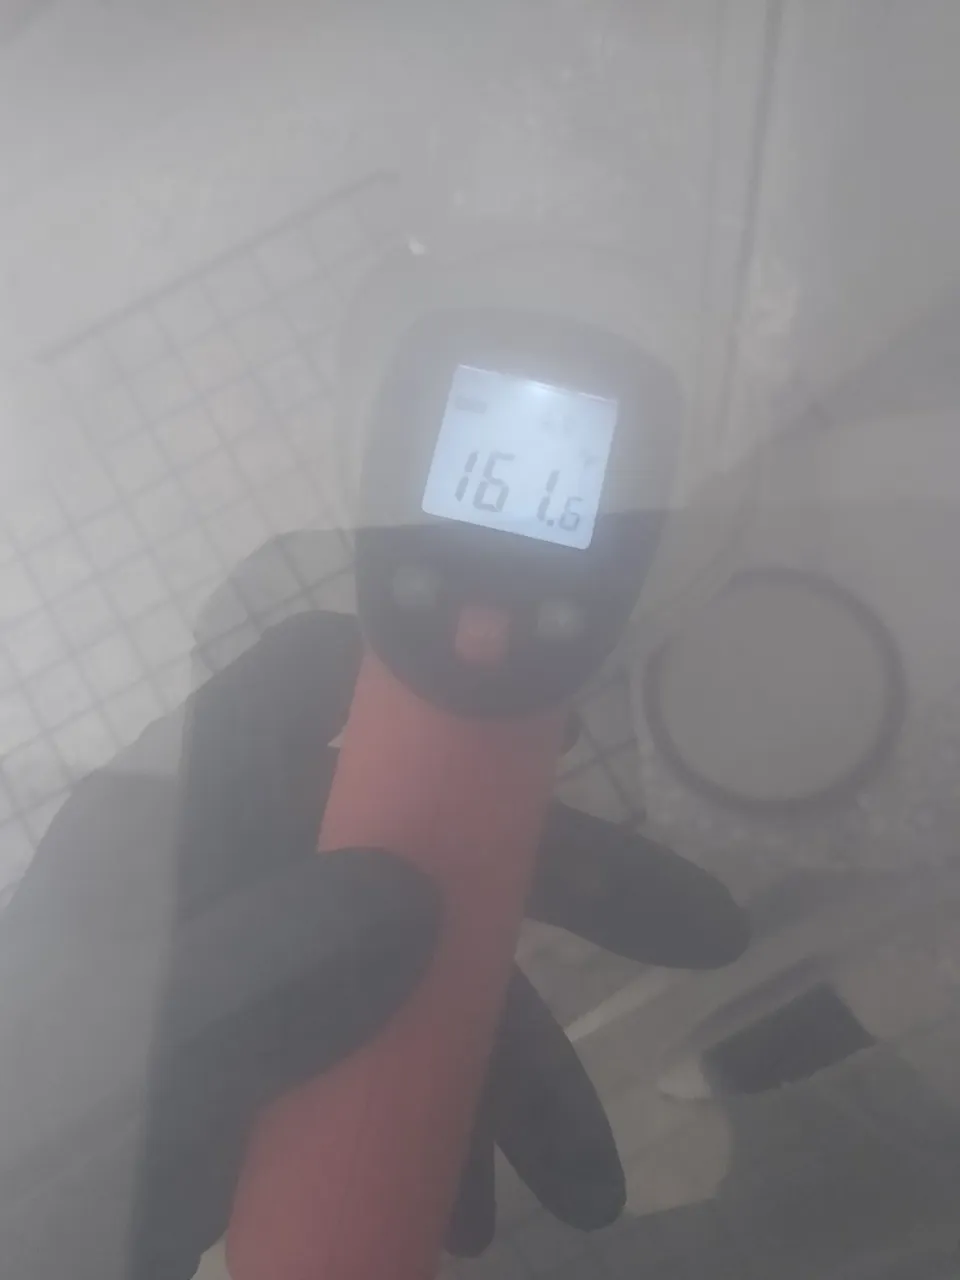
Now that it's cooled down some, get your cups and lids ready as you'll want to pour it, put the lid on and stack on top of each other 5 high.


Grab two more condiment cups and lids and fill them half way with the hot pressure cooker water. Put the lids on them and put them on the top of each stack. This will stop your agar dish lids from collecting condensation a lot better. Leave them overnight to cool and solidify.
As you can see the water lids are covered in condensation. If the water cups weren't used your top agar cup would look like that. 👇

There is some condensation on the edges of the agar cups but that is ok.
Now that they are cooled, Let's try a couple out!
I sterilized the SAB again, put in a couple agar cups and a new razor blade cleaned with isopropyl. I brought everything into the mushroom tent.
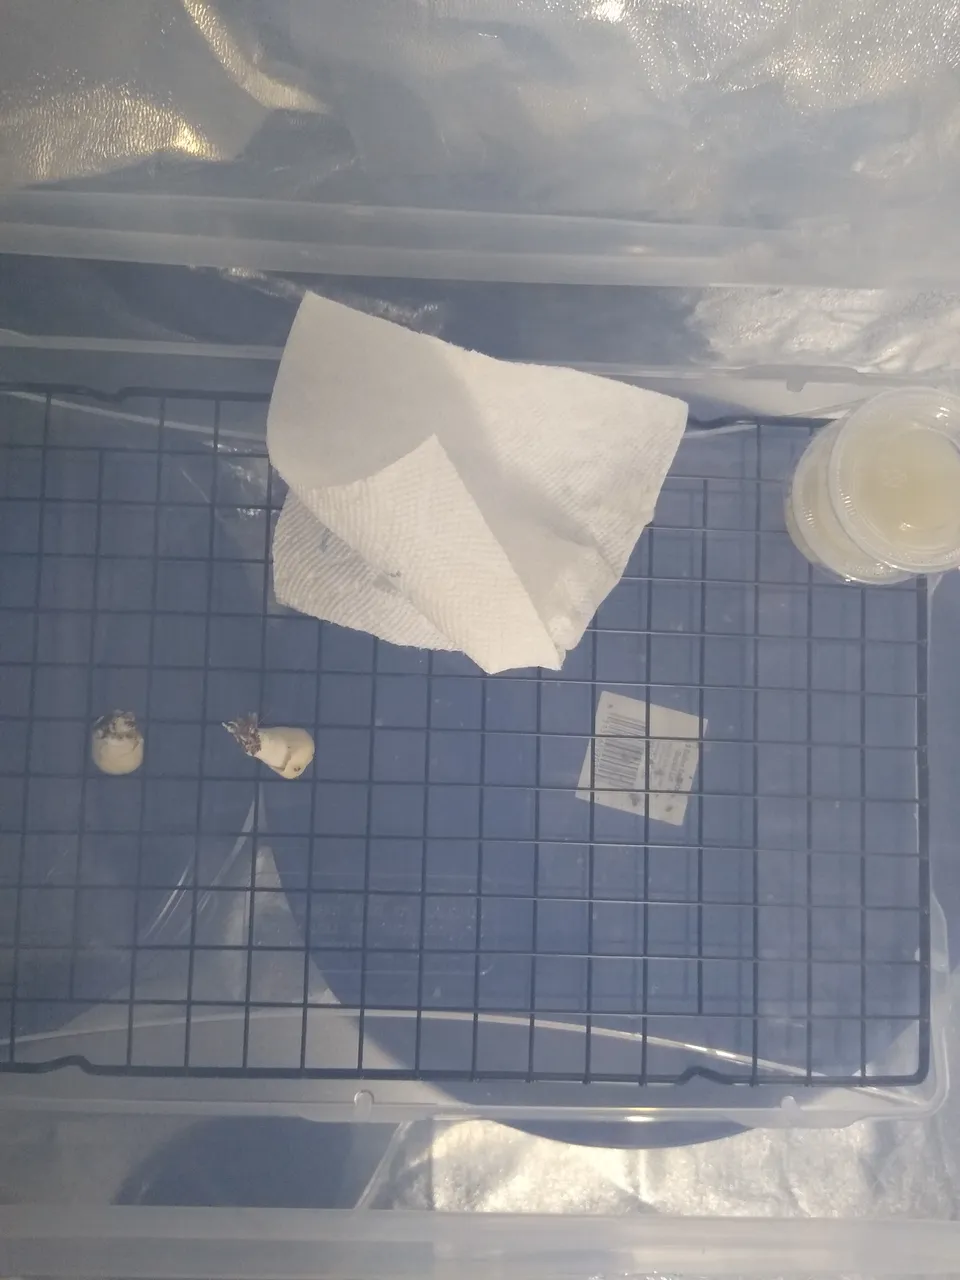
Rip the mushroom in half with your fingers. You want to cut a tiny piece of the inner tissue of the mushroom and place it in the center of your agar dish or cup.
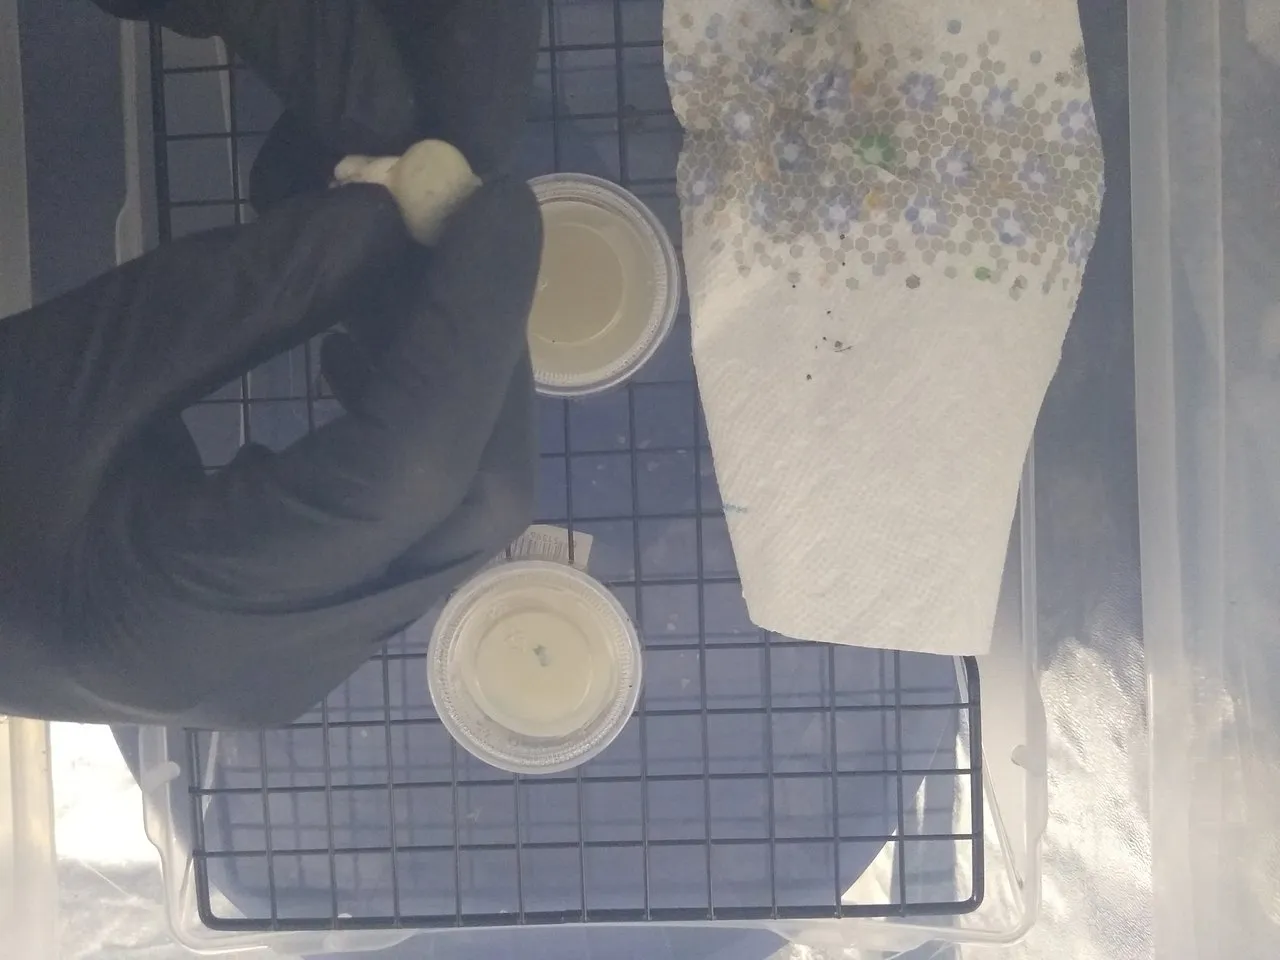
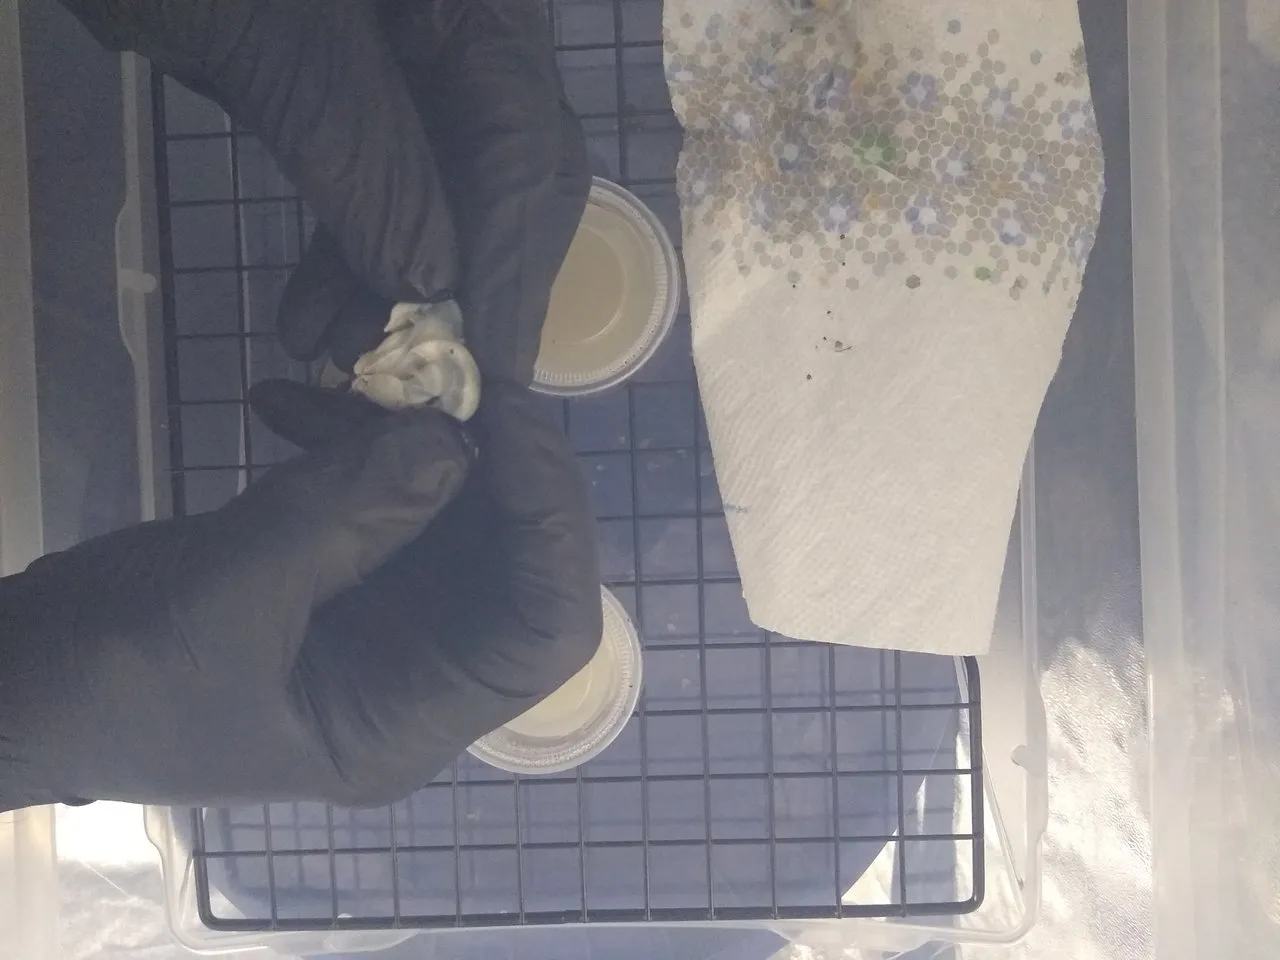

You'll want to keep the lids on right up unto tissue transfer and quickly put the lid back on to reduce the risk of contamination. After labeling and dating the agar cups I put them in a cupboard to start growing.
Well that's it for this blog. Join us next time for another mushroom update. I hope you all have an amazing day!
Mush Love!!🍄🍄🍄

