I have been following a lady on Instagram who makes AMAZING book covers. She uses stunning fabrics and totally sold me that my book is being abused by travelling naked in my bag!
So when we planned a vacation (for my brother in laws wedding) I needed one! I bought myself a sewing machine a couple of years ago in the black Friday sales and thought this would be the perfect excuse to get it out and have some me time and save myself $25!
I had to think carefully about how to go about making it, and luckily it kind of worked out! HAHA. I measured a couple of books that I planned to pack to work out the dimensions.
First I cut the material (8"x10.5"). To make it easier I cut 4 pieces from the same fabric, then I pinned them right sides together.

I left a little gap on the bottom side of about 3", so that I could turn it rightside out afterwards. I chose the bottom edge as in theory this would be covered by my books when it was all completed!

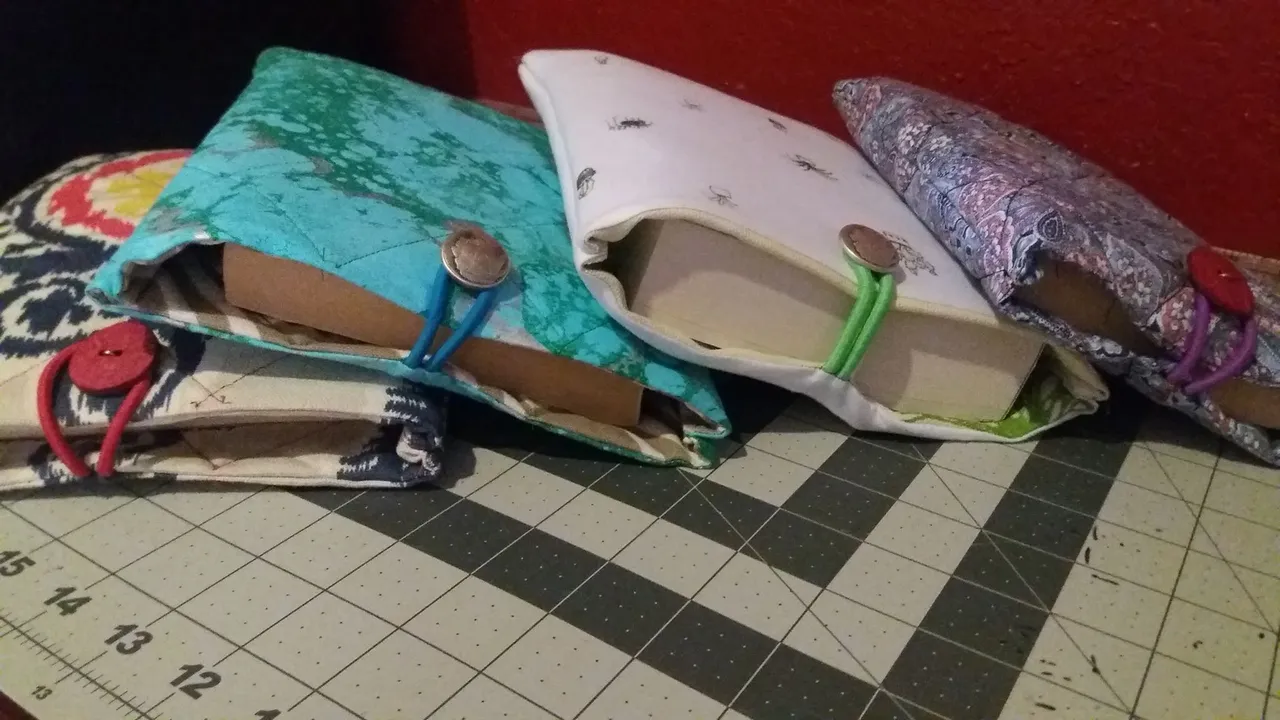
When I had sewn the 3.5 sides, I turned it inside out. Then I cut some firm batting (to protect my books) and pushed it through the hole. In this photo you can see the open hole at the top on the right. I used a hair elastic on the top side of the back piece. I wanted to do a button and elastic fastening rather than magnets (purely as I thought magnets would be harder to sew in!)

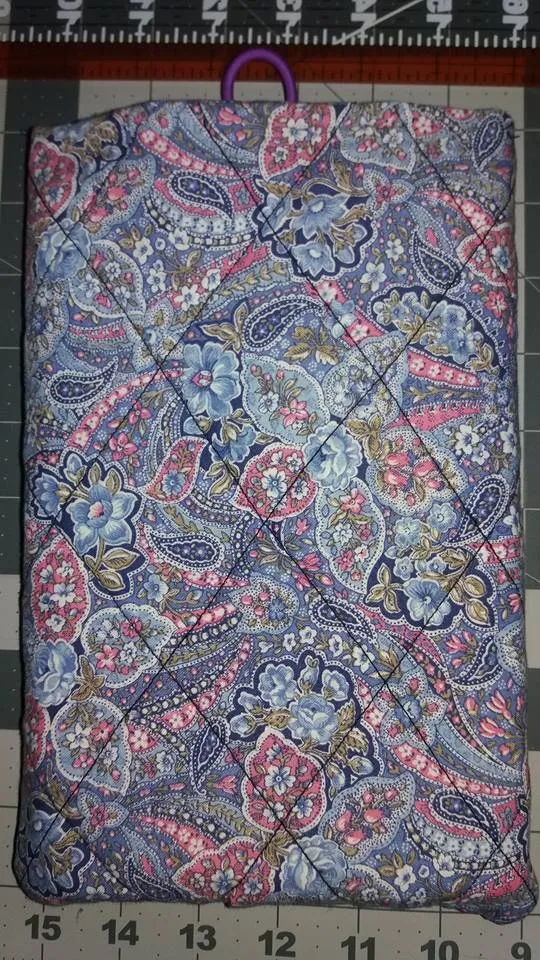
I decided to try and quilt it a little to hold the batting firmly in place. This stage actually helped me practise sewing in straight lines!!! I used an air dry marker to draw lines 2" apart and started with the middle line (corner to corner). The pen dried quickly so you now can't see it, but I did draw on the reverse side.

Then I did the lines in the other direction to make the squares. As I did more lines it was easier to keep the machine going straight. Then I pinned the two 'right' sides together, sewed them and turned the whole thing right side out again. The quilting managed to line up on the front and the back, hooray!!
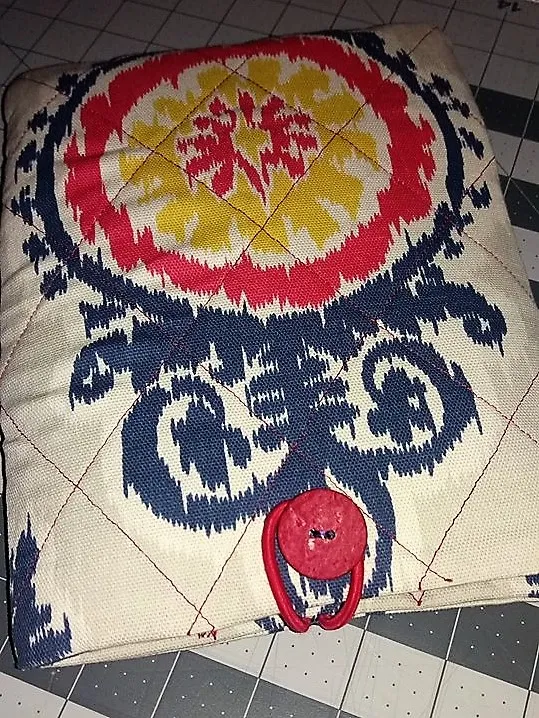
Then I sewed the button on and tried it out. I didn't quite estimate the width accurately, though it might have been because I didn't allow enough of a seam allowance for a beginner sewer! I did find some smaller books that fit in perfectly.
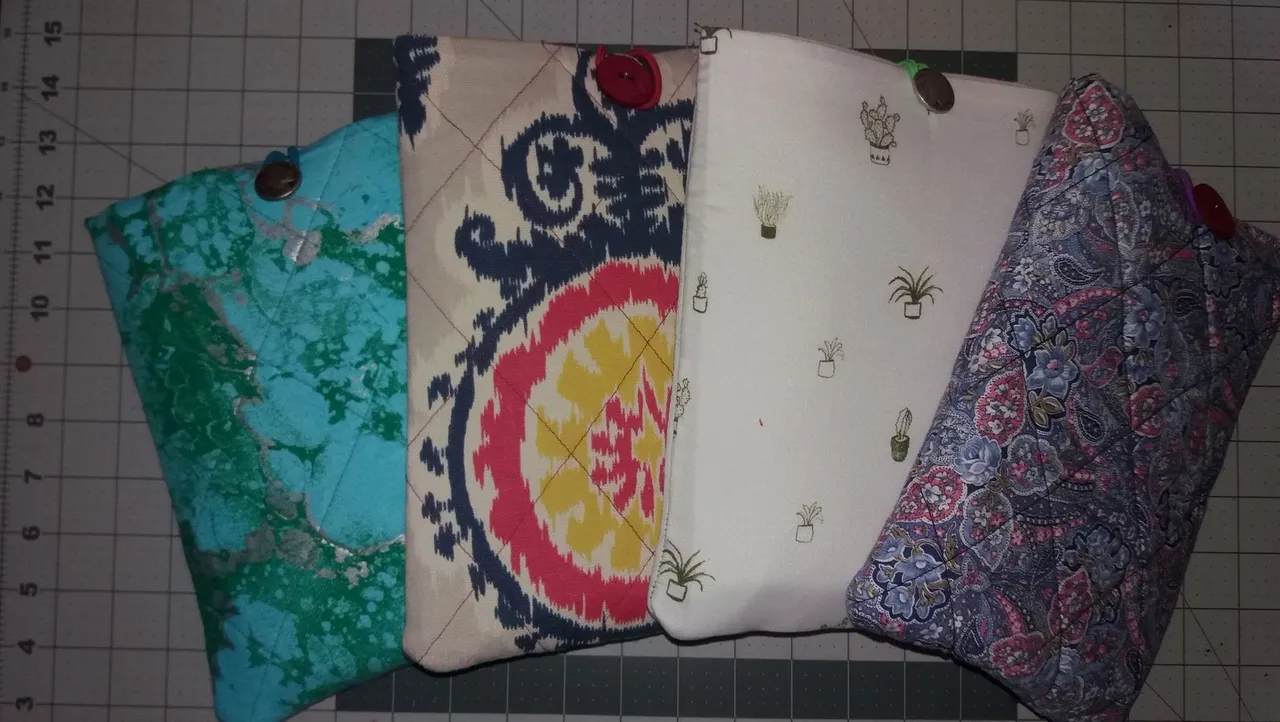
I was really proud of my little book jacket. I have some friends, who I go to a book club with, whose birthdays are in July, so I chose some fabrics that I knew they would love and made them one each too!
I love to receive homemade gifts, and thought that they would too! I added an inch in the width when I cut the material, however as my sewing skills were improving it ended up a little bigger. This one is perfect for hardback books as well as paperback.

I have a friend who loves cacti so this one was perfect for her. I did not quilt this one as I thought it would look funny with the pattern. I also chose a contrasting pattern for the inside.

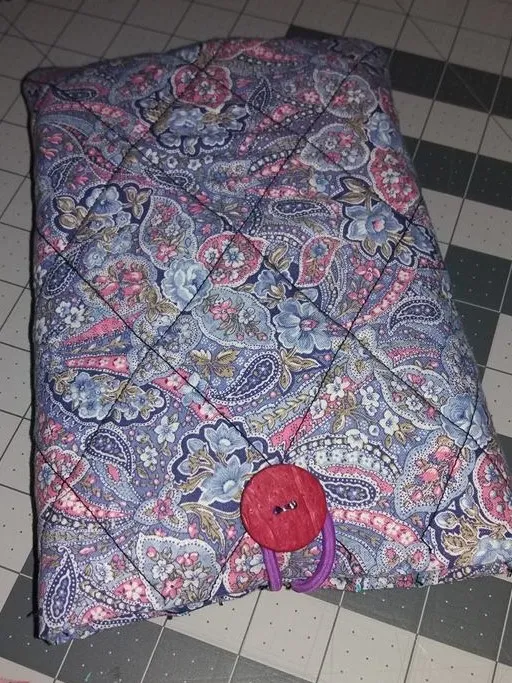
I do like the quilted look though so I went back to it for my final one! I also loved how the contrasting fabric turned out on the cactus one, so I did it again for this one.
Thank you for reading :) I tried to share each step, so if you want to make your own you can hopefully follow along. I would love to see yours if you try too.