Wine Glasses on White Background
Copas de Vino en Fondo Blanco.
English
Some days ago I decided to do some Stock Photos, so i started with a wine glass i got for a Product Photo for Class and some Fake Ice from amazon.
I want to share my process and the photos with you guys, I'm proud of the photos so just lemme know your thoughts.
Process
So, the process is fairly simple, iluminating glass or translucid objects it's simple on itself, but it has some tricks.
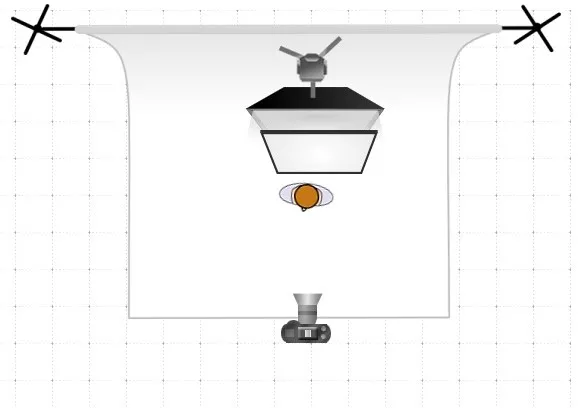
In this photos i used the same lighting diagram, these are the lights and modifiers i used:
- x1 - 3x4'Rectangular Profoto Softbox.
- x1 - 1000W D2 Profoto Flash.
- x1 - Rosco White Diffuser.
Obviusly we need the flash for the image to get iluminated. The big softbox creates an enveloping light across the whole subject/glass, and the white diffuser help us creating this black border or edge on the glass, this way our glass looks three dimensional, with depth, not looking flat.
For the Products/Scenary Itself i used:
- x1 - Wine Glass for your favorite local Store.
- x1 - Surface to rest the Glass on, i used a big ass piece of glass.
- x(Many?) - Fake Ice
Make sure you clean the glass very well, every fingerprint or little dust piece will appear on the photo and you'll have to clean in photoshop.
Camera Equipment:
- Nikon D3300
- Sigma 70-300mm DG Macro.
All the photos are in 100 ISO - f13 - 1/125s, that's because we are using a 1000w flash, so we want to use the minimun ISO of our camera, because it creates the cleanest image, with zero noise, we use f13 to have the entire object in focus, very important in this type of photography; with this being said, you should discover the "sweet" spot of your lens/lenses.
I recommend using a Macro Lens, this type of lenses have a flat crystal on the end, so it wont morph or distort the image (you can and should elminate the distortion in post-production anynways).
First of all, i use Capture One to create a Session, i see if the photo needs some light correction, in this case i used Black and White, so i don't have to deal with the light refraction on the fake glass, correcting the lens distortion, focus and so on.
When everything is done in Capture One i move on into Photoshop, opening the file directly from Capture One, i use the option to create a copy .PSD file, so i get the original and the .PSD one.
In Photoshop, with the Pen tool i create a shape around the glass, so i cut it from the background (in this case the Rosco Diffuser was very damaged, so i got every crinkle creating a shadow), creating a empty layer, filling it with white and using it as background. The ones with surface it's the original glass, and the one with a reflection it's a fake surface and fake reflection.
Then when it's all ready i clean it with some healing brush and that's all.
Hope you like it.
Español
Hace algunos días decidí hacer algunas imágenes de stock, así que emepecé con unas copas de vino que compré para unas clases de fotografía de producto y hielo falso de amazon.
Quiero compartir mi proceso con ustedes, estoy orgulloso de las fotos así que déjenme saber sus opiniones.
Proceso
El proceso es relativamente sencillo, iluminar cristal u objetos translúcidos en sí, pero tiene sus trucos.
En éstas fotos usé el mismo esquema de luz para todos, aquí las luces y modificadores que usé:
- x1 - 3x4' Profoto Softbox Rectangular.
- x1 - 1000W D2 Profoto Flash.
- x1 - Rosco White Diffuser.
Obviamente necesitamos el flas para iluminar la imagene. El Softbox grande create una luz envolvente en todo el sujeto/copa y el difusor nos ayuda a crear ese borde negro en el cristal, así nuestra copa luce tridimensional, tiene profundidad, no luce plano.
Para los productos/escenario:
- x1 - Copa de Vino de tu casa o tienda local favorita.
- x1 - Superficia para poner la copa, yo usé un cristal grueso enorme.
- x(Many?) - Hielo Falso
Asegúrate de limpiar la copa muy bien, cualquier huella, polvo o pelo que tenga saldrá en la foto y tendrás que lidiar con ello en photoshop.
Equipo fotográfico:
- Nikon D3300.
- Sigma 70-300mm DG Macro.
Todas las fotos tienen las especificaciones de: 100 ISO - f13 - 1/125s, eso es porque usamos un flash de 1000W, así que tenemos que usar el mínimo ISO que pueda nuestra cámara, creando la imagen más limpia posible, sin ningún tipo de ruido. Usamos f13 porque tenemos que tener todo el objeto enfocado, muy importante en éste tipo de foto; con todo ésto dicho, deberías descubrir el "punto dulce" de tu(s) lente(s).
Recomiendo usar un lente Macro, éste tipo de lentes tiene un cristal plano al final del lente, así que generalmente no debería deformar la imagen (puedes y debes eliminar la distorsión en post-producción de cualquiera manera).

Primero que todo, uso Capture One para crear la Sesión, para ver si la foto necesita alguna correción de luz o color, en éste caso utilicé Blanco y Negro así no tengo que lidiar con la refracción de la luz en el hielo falso, luego corrijo la distorsión y demás.
Cuando todo está listo en Capture One me voy a photoshop, abriendo el archivo directamente desde Capture One, uso la opción de crear una copia/variante del archivo en .PSD, así tengo el RAW original y otro .PSD.
En Photoshop, con la pluma creo un recorte alrededor de la copa, así la corto del fondo, (en éste caso el Difusor Rosco está bastante dañado, todas las arrugas creaban sombras y desperfectos), creo una capa vacía y la relleno de blanco usándolo de fondo. Las que tienen un piso o superficie visible es el cristal original, la que tiene la reflección es una superficie falsa y una reflección falsa.
Luego cuando todo está listo, solo falta limpiar con el Heal Brush y eso sería todo.
Espero les guste.
Photos / Fotos
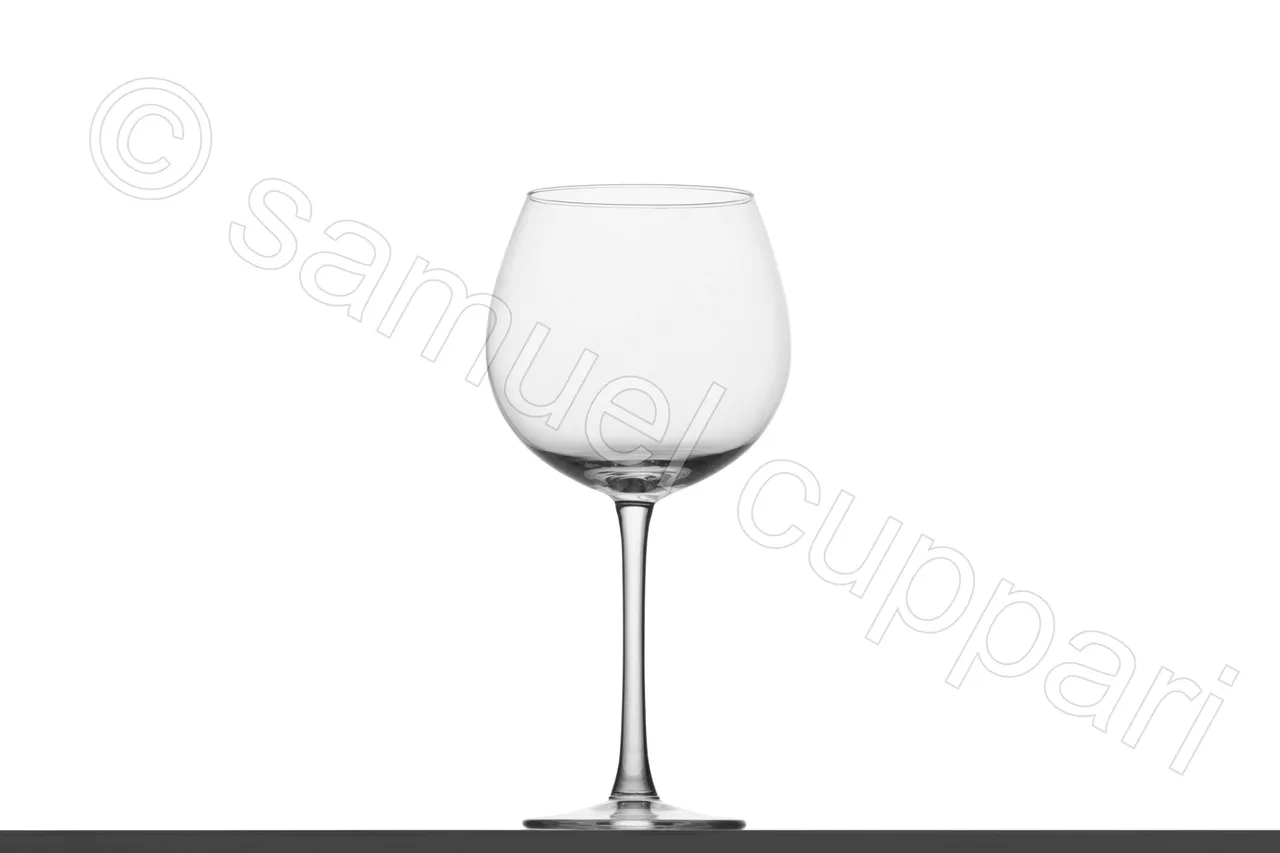
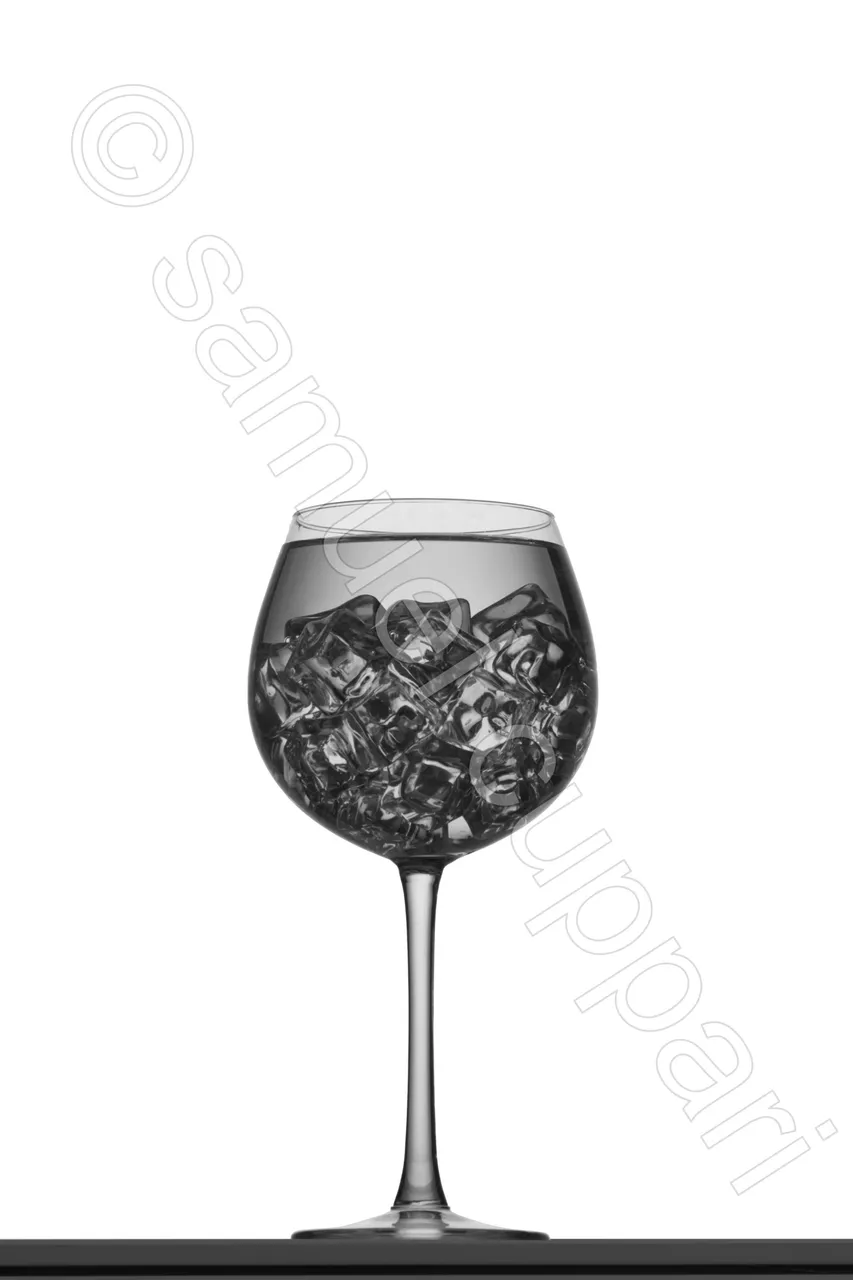
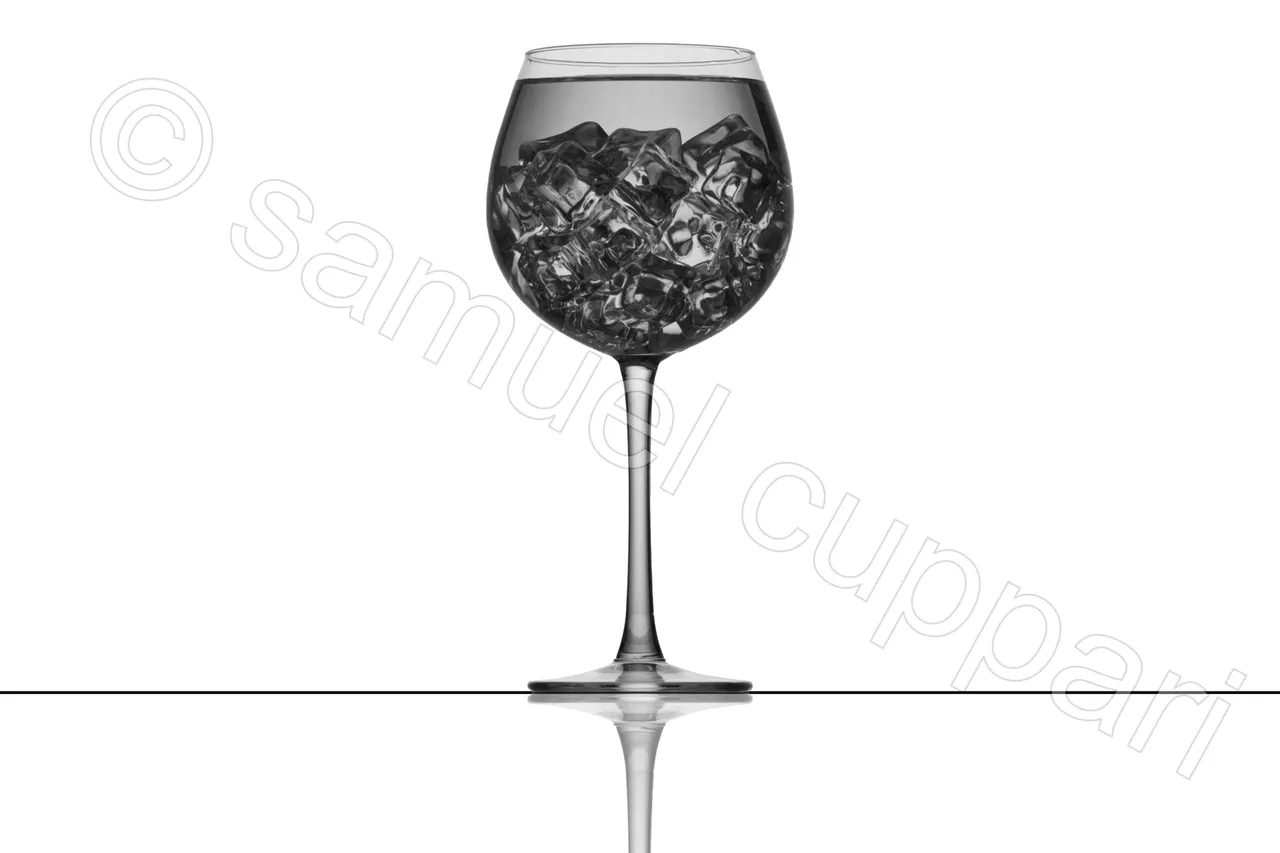
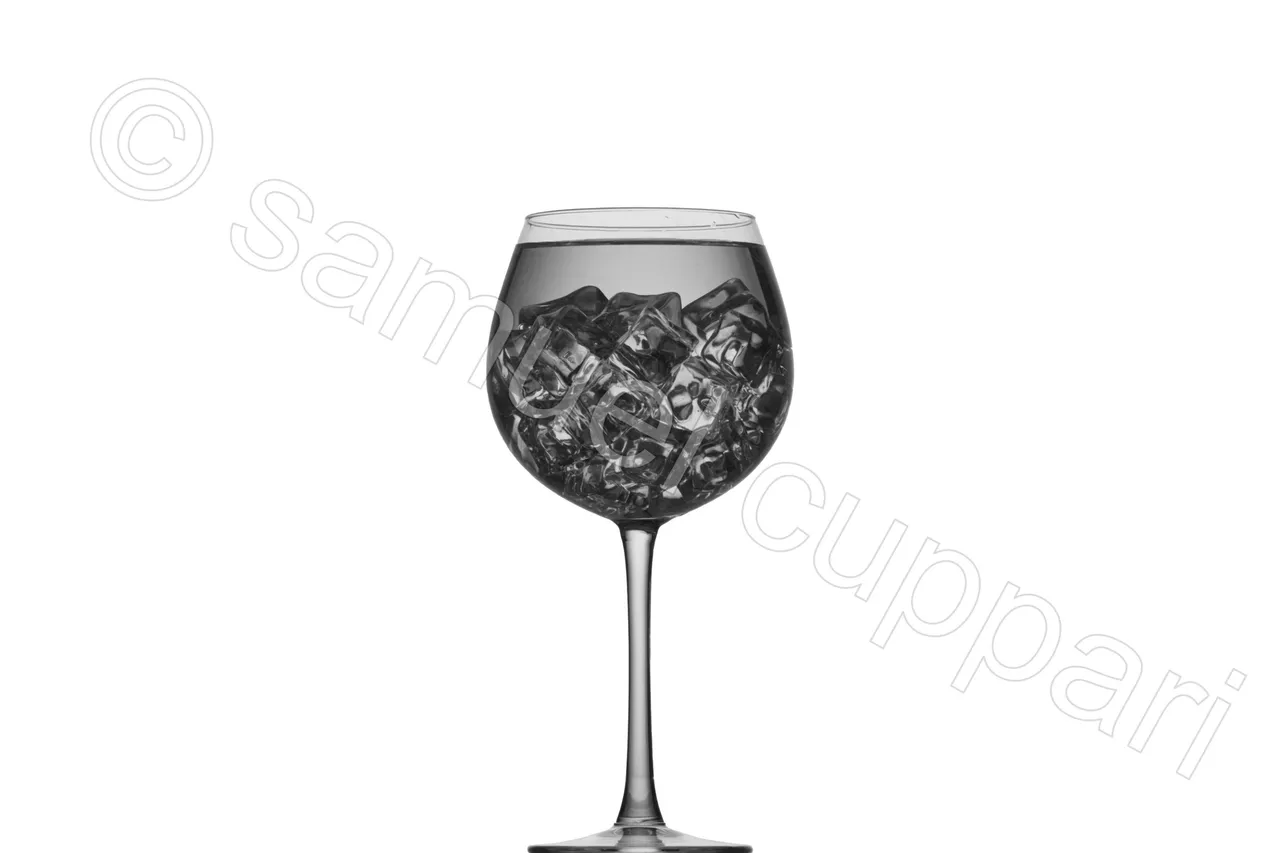
If you want to buy this Photos please visit my Shutterstock.
Social Networks / Redes Sociales:
All the photos are taken by me. / Todas las fotos son tomadas por mi.


