Hello guys, Today we have a rather elaborate project to work on: Walk with me...
So I’m scrolling through the ole YouTube, right? And I come across this pretty DIY project; they called it a honeycomb ball ornament. The thumbnail displayed a picture of a ball-like ornament with admirable patterns.
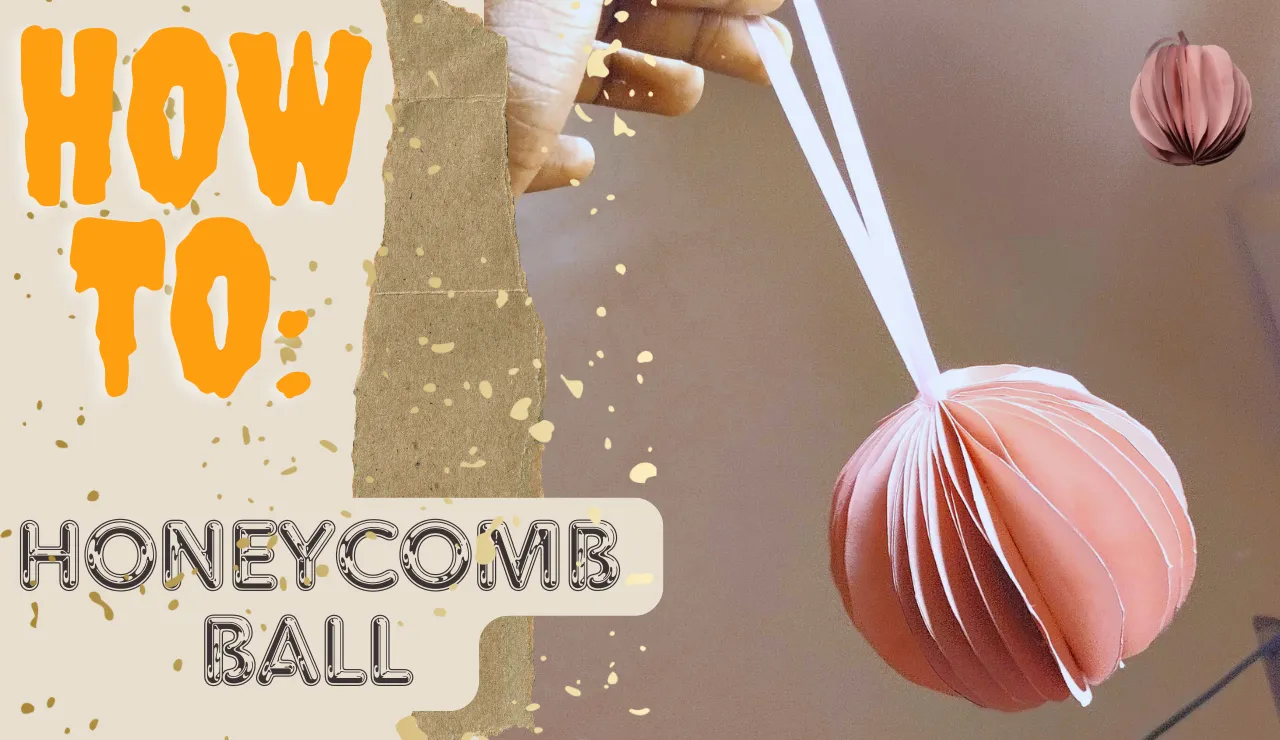
Designed My Image UsingCanva
Of course my curious dopamine-craving brain couldn’t resist, so I clicked on it. In the beginning, they brought out the supplies used, and gray cardboard paper was among them. Cardboard paper? You mean to tell me that the intricate design I beheld right before me was made with cardboard paper?
I was floored. I refused to believe it and decided to experience it for myself. So as my days off work approached, I got together my list of supplies, and on my way back home from work, I branched a bookshop and bought the necessary things.
Finally, I reached my humble abode. I took a shower, ate some good food, and it was go time😎😁. You still with me? Let’s go!
 |
|---|
| Supplies |
- Scissors
- Cardboard paper
- A pen
- Some ribbon
- Gum
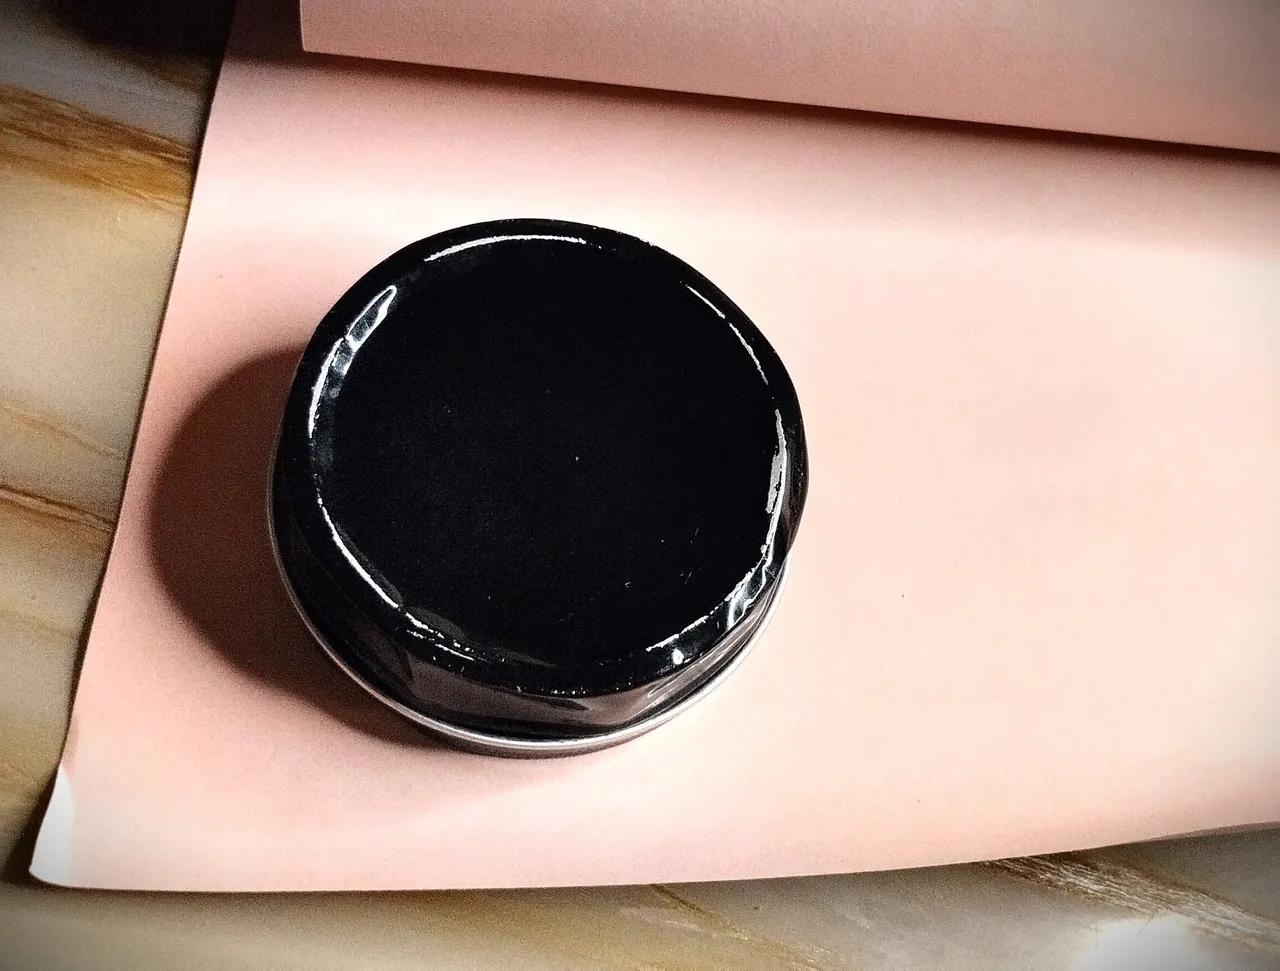
- An object with a round shape (I used my edge control container)
- Pegs
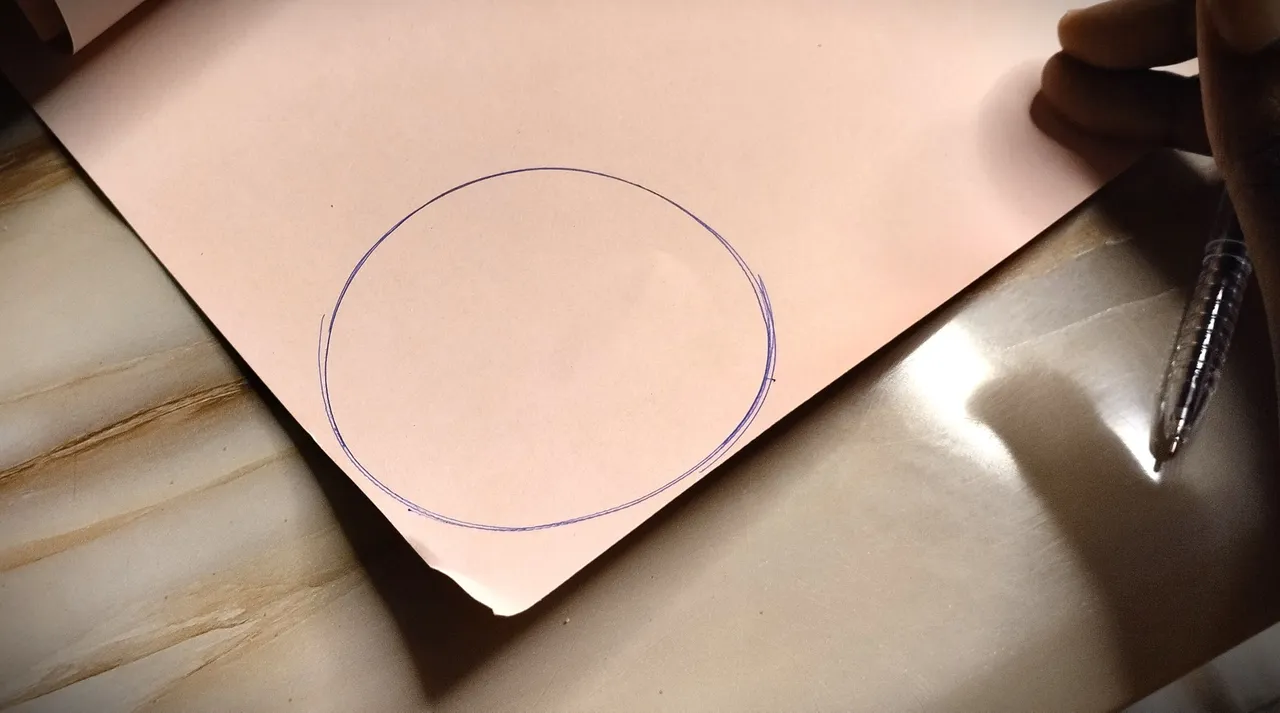
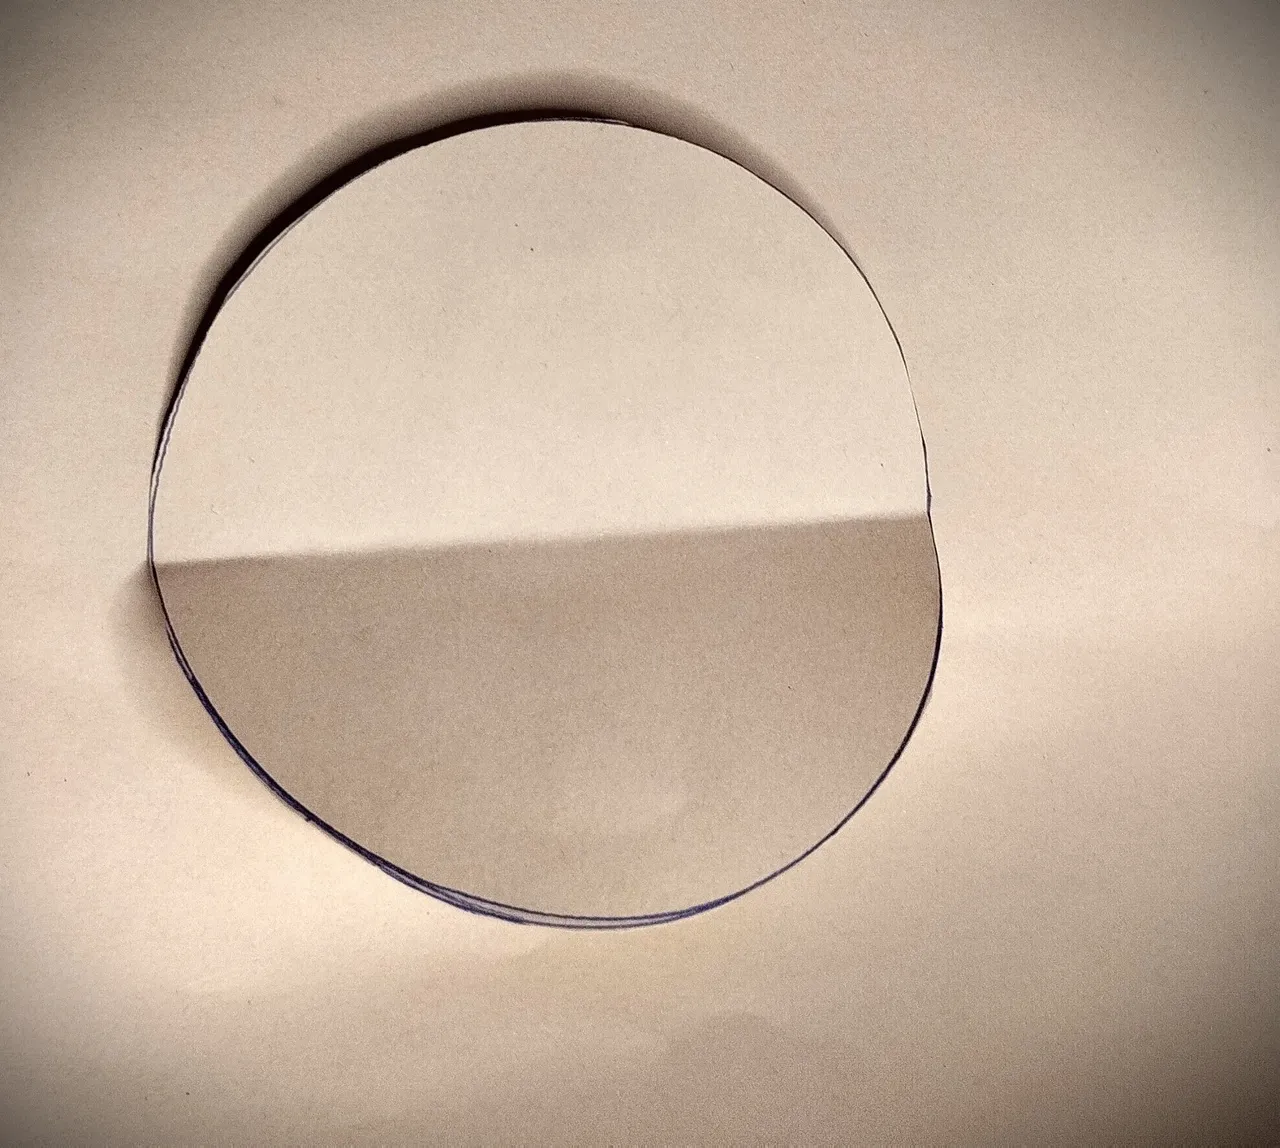
- First off, using the round object and your pen, draw a circle in the cardboard paper. Cut it out and fold it in half.
 |  |  |
|---|---|---|
- Then proceed to fold the cardboard paper first into four equal rectangles and then into three folds, as shown below.
 |
|---|
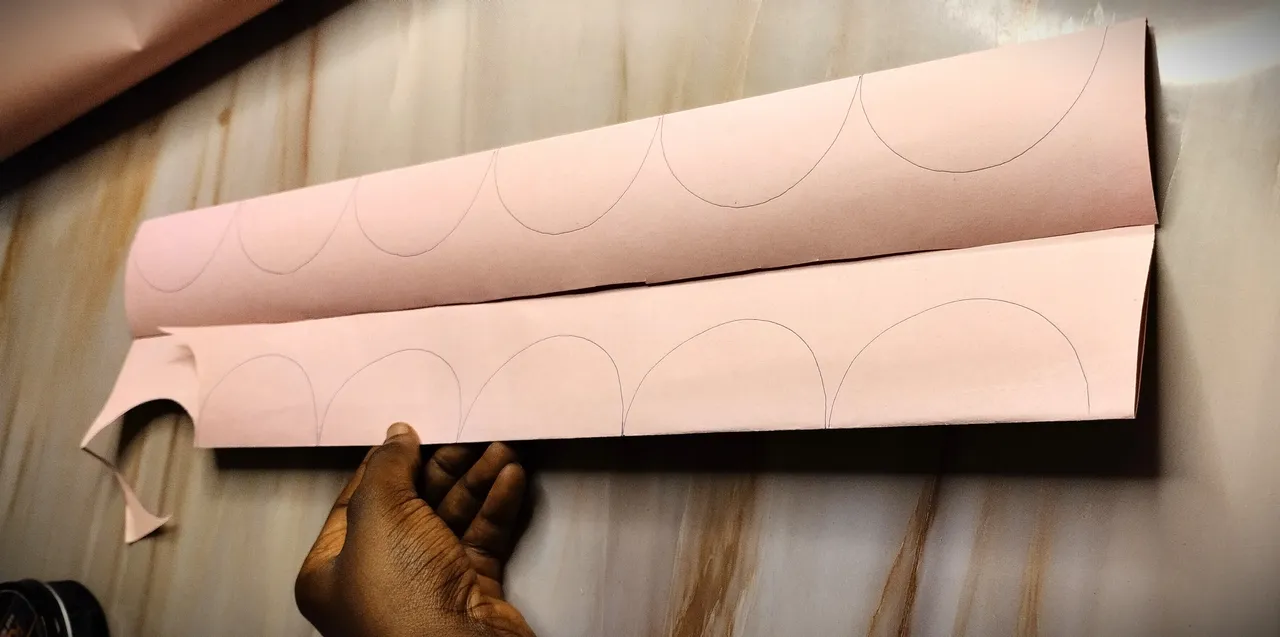
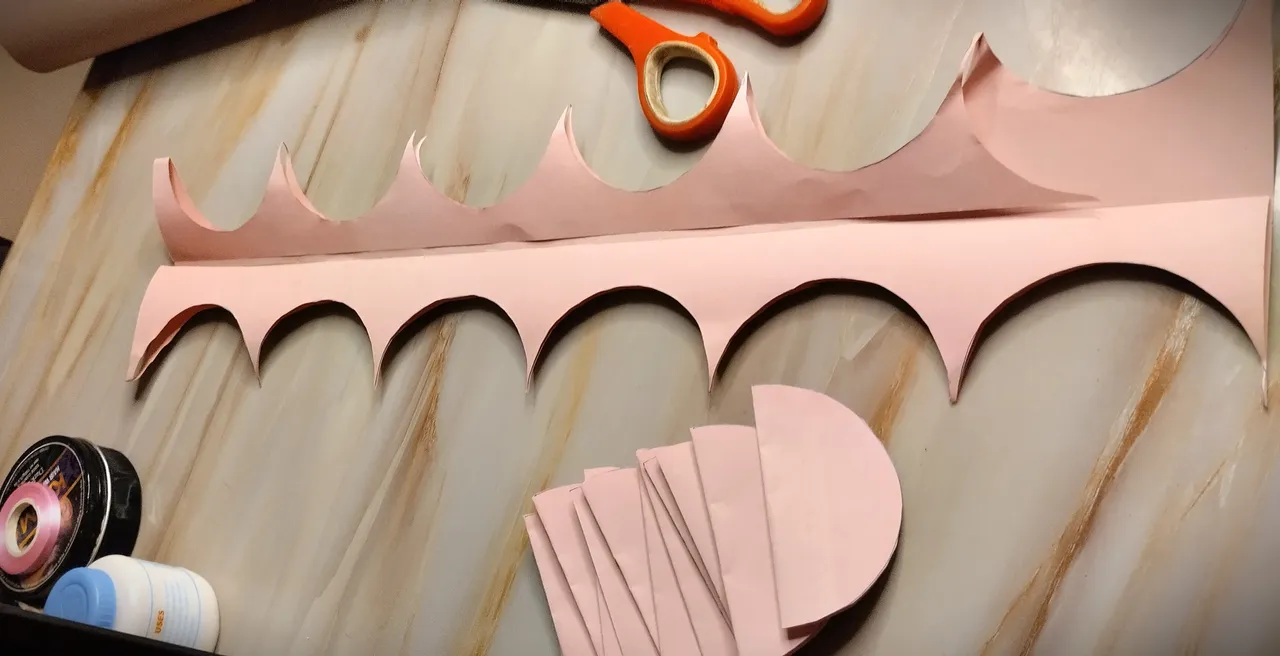
- Using your pen and the previously folded circle, draw hemispheres on the cardboard. After this, you cut them all out, and they should all come out as circles. Using this method, make 20 circles.
 |  |  |
|---|---|---|
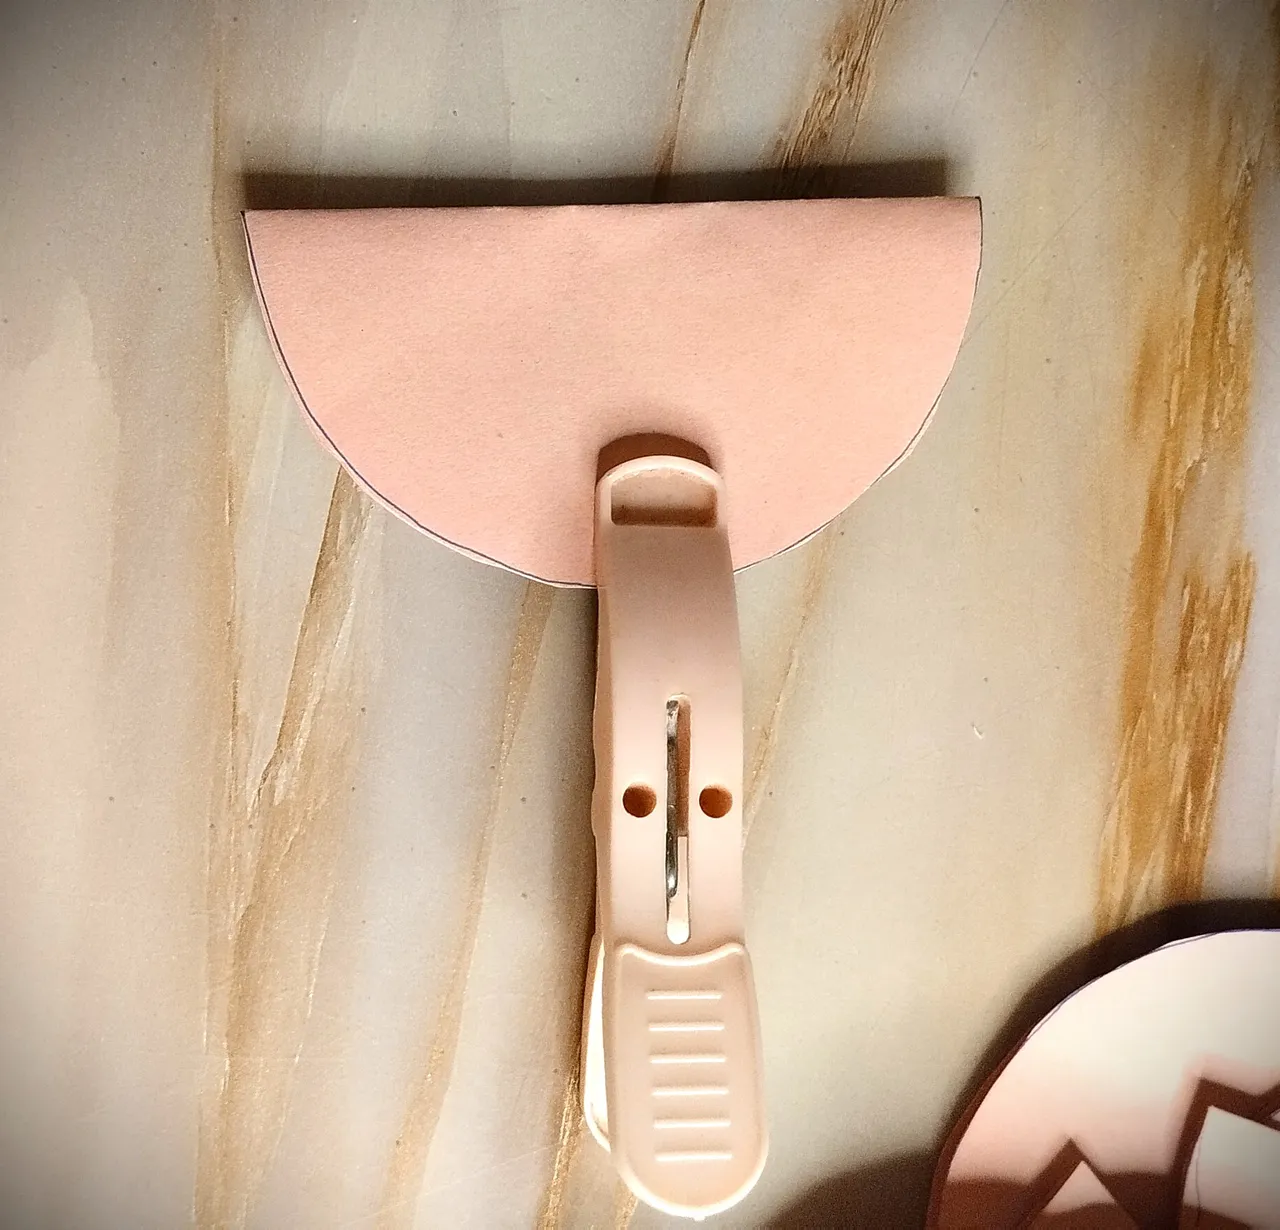
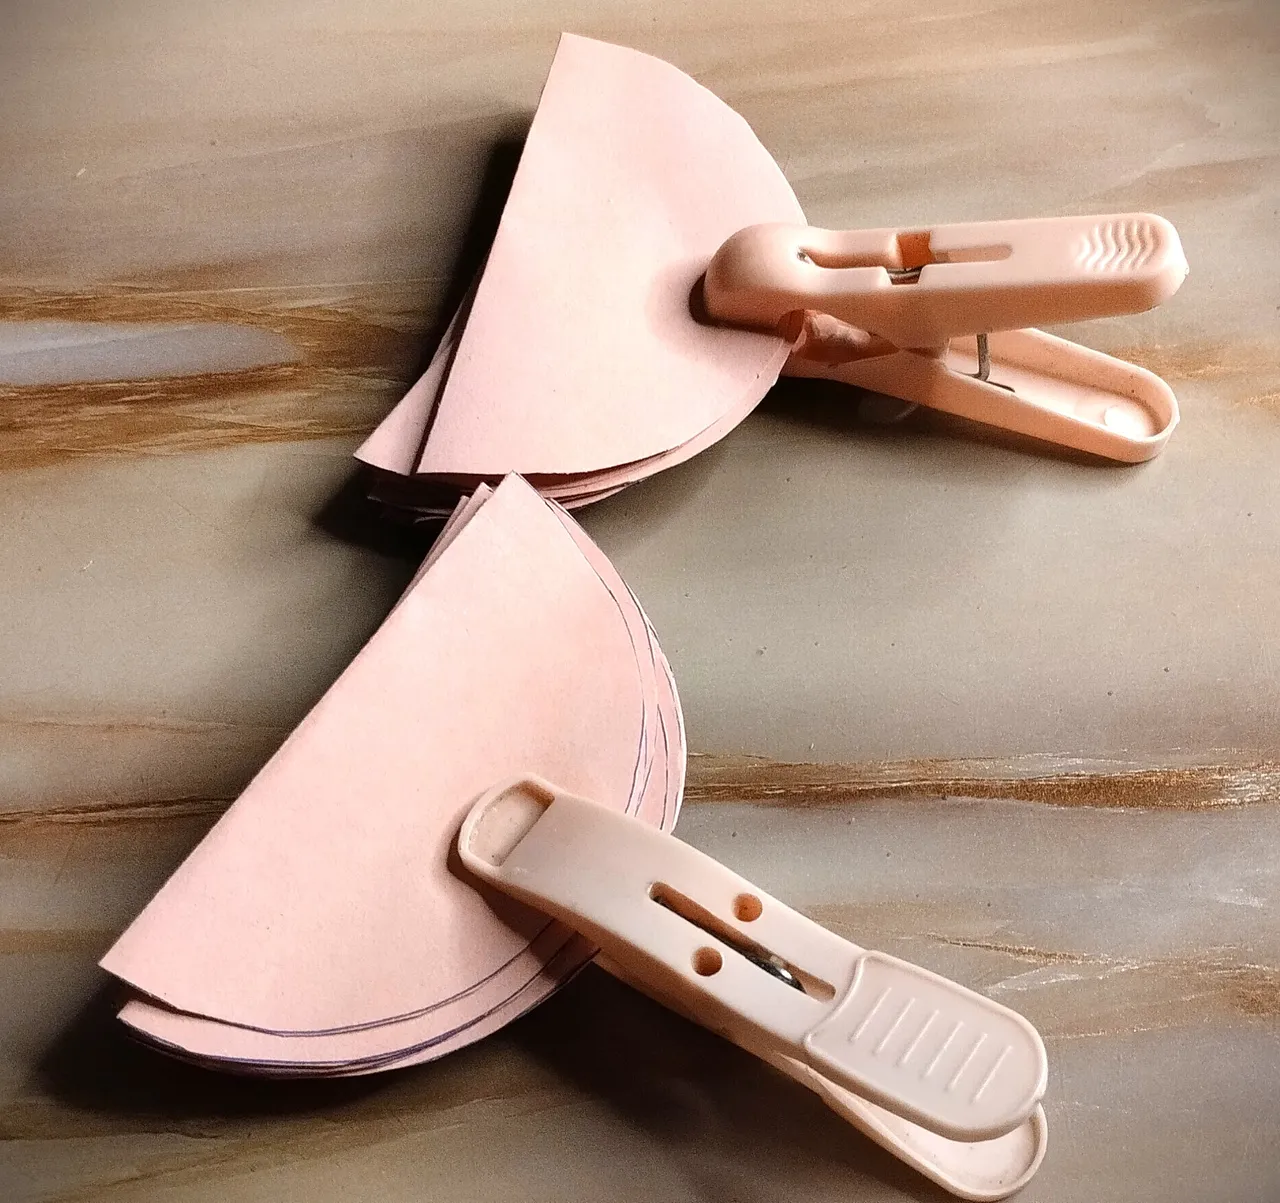
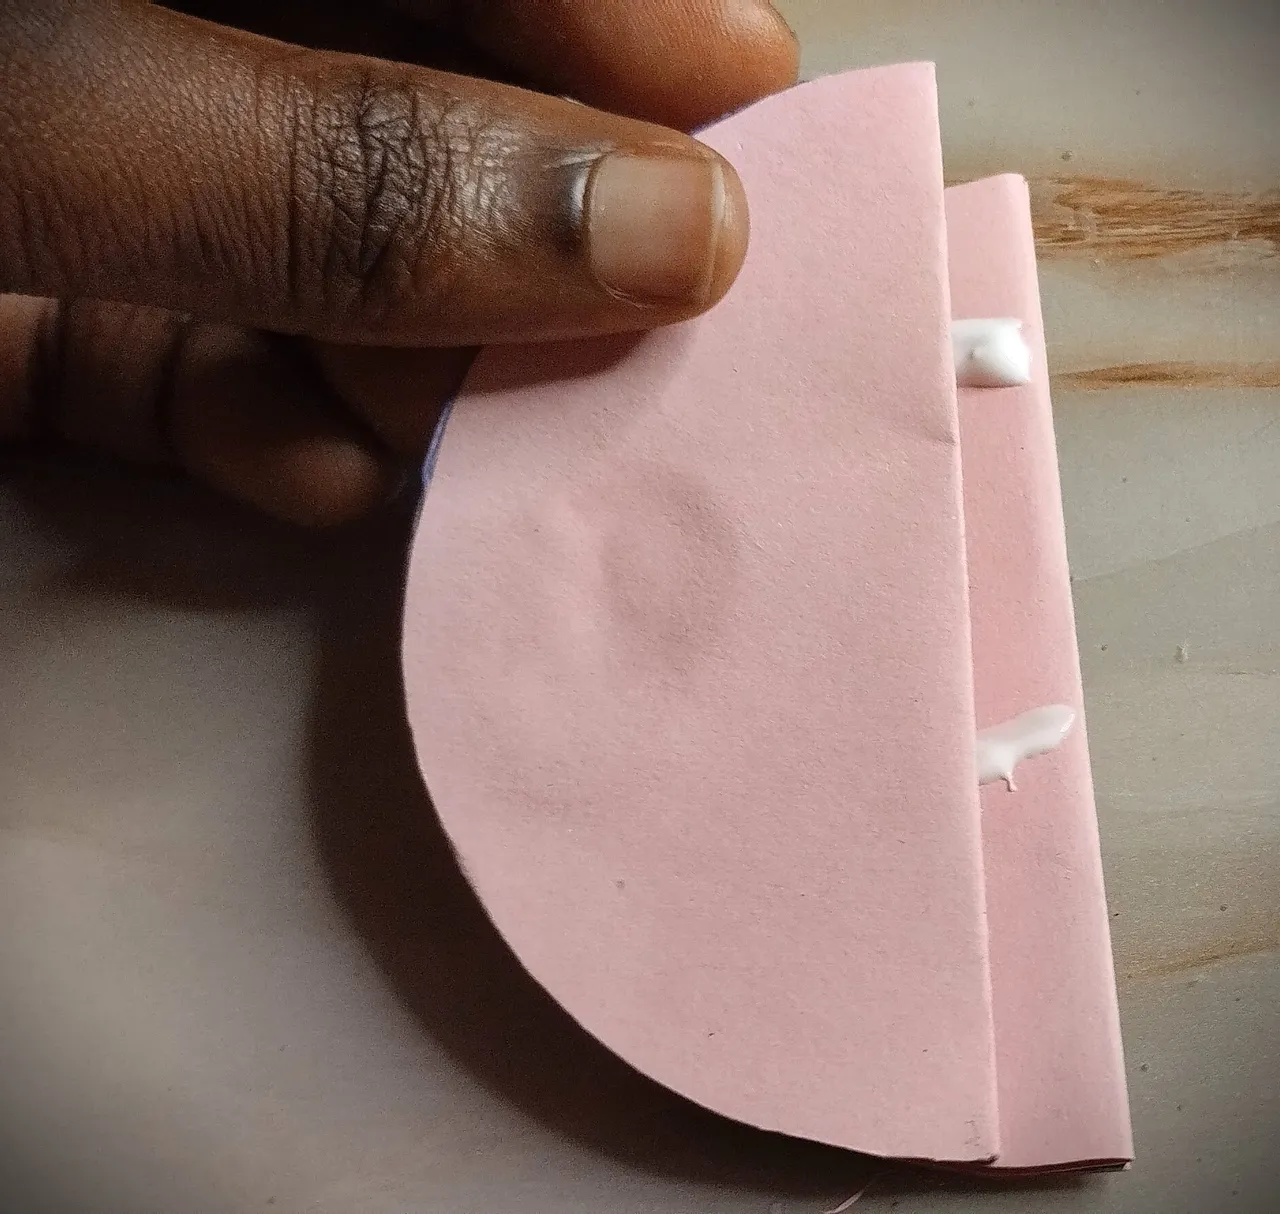
- When you’ve got all twenty circles, apply your gum on the outer middle of the inside of your circles, like so. Do this until you’ve gotten all twenty. As you gum each one, you use your peg to secure the bond. Leave it to dry for five minutes.
 |  |  |
|---|---|---|
- After this, you apply gum on one side of each hemisphere and gum another one on top of the previous one. When you’re done with this step, you use the peg to secure the two sides, like so, and leave to dry for 5 minutes.
 |  |  |
|---|---|---|
- When completely dried, apply a generous amount of gum in the center of the gummed-up cardboard. Fold your ribbon into a loop, as shown below, and gum the bottom to the center of the cardboard.
 |  |  |
|---|---|---|
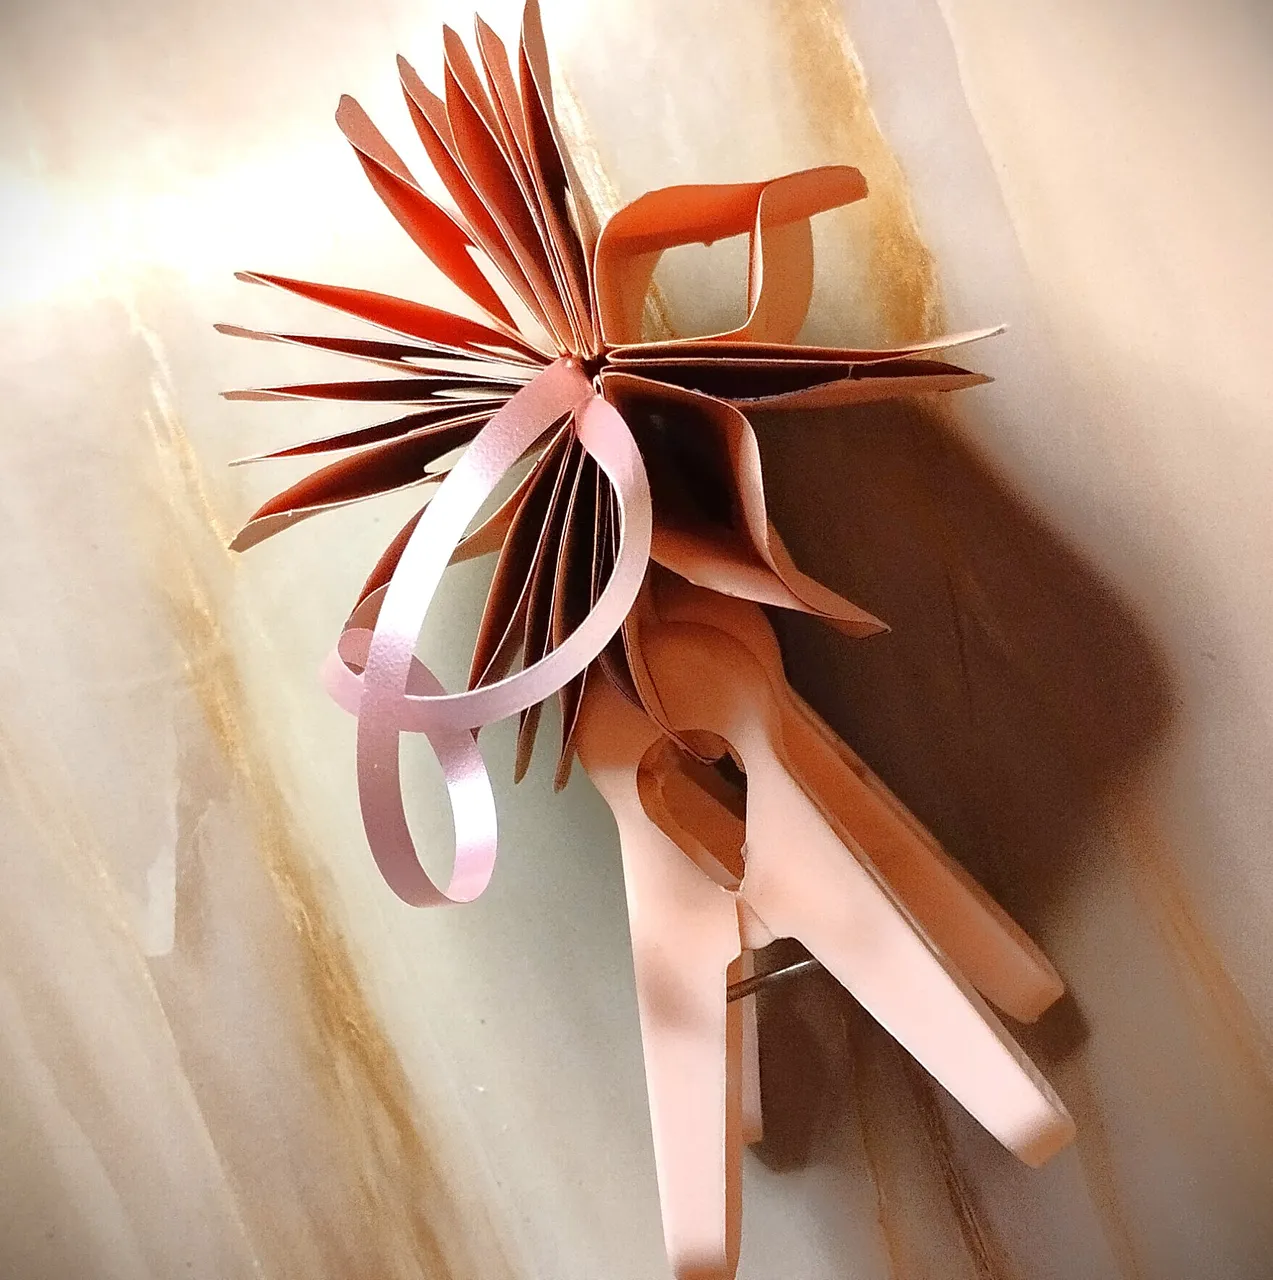
- Now comes the fun part. Apply some gum to the last hemisphere, and fold the ends of the first and last hemispheres to each other. Then use your pegs to hold them in place while they dry out.
 |  |  |
|---|---|---|
- As you drag both ends together, you get to see the gorgeous pattern displayed below. That’s when the bigger picture comes into perspective and all and gumming starts to make sense.

And there we have it, guys. My all pink honeycomb ball ornament pattern!
All Images Used Are Mine...