You know when you start installing the floor, the project you're doing is nearing completion.
Using vinyl flooring of this type has its advantages over a wood flooring system.
It's relatively easy to install.
The choices of design and color of the planking are endless.
It is extremely durable.
It doesn't require and finishing such as sanding, staining, and top coating with a poly.
It is water resistant.
Compared to real wood, it's much less expensive.
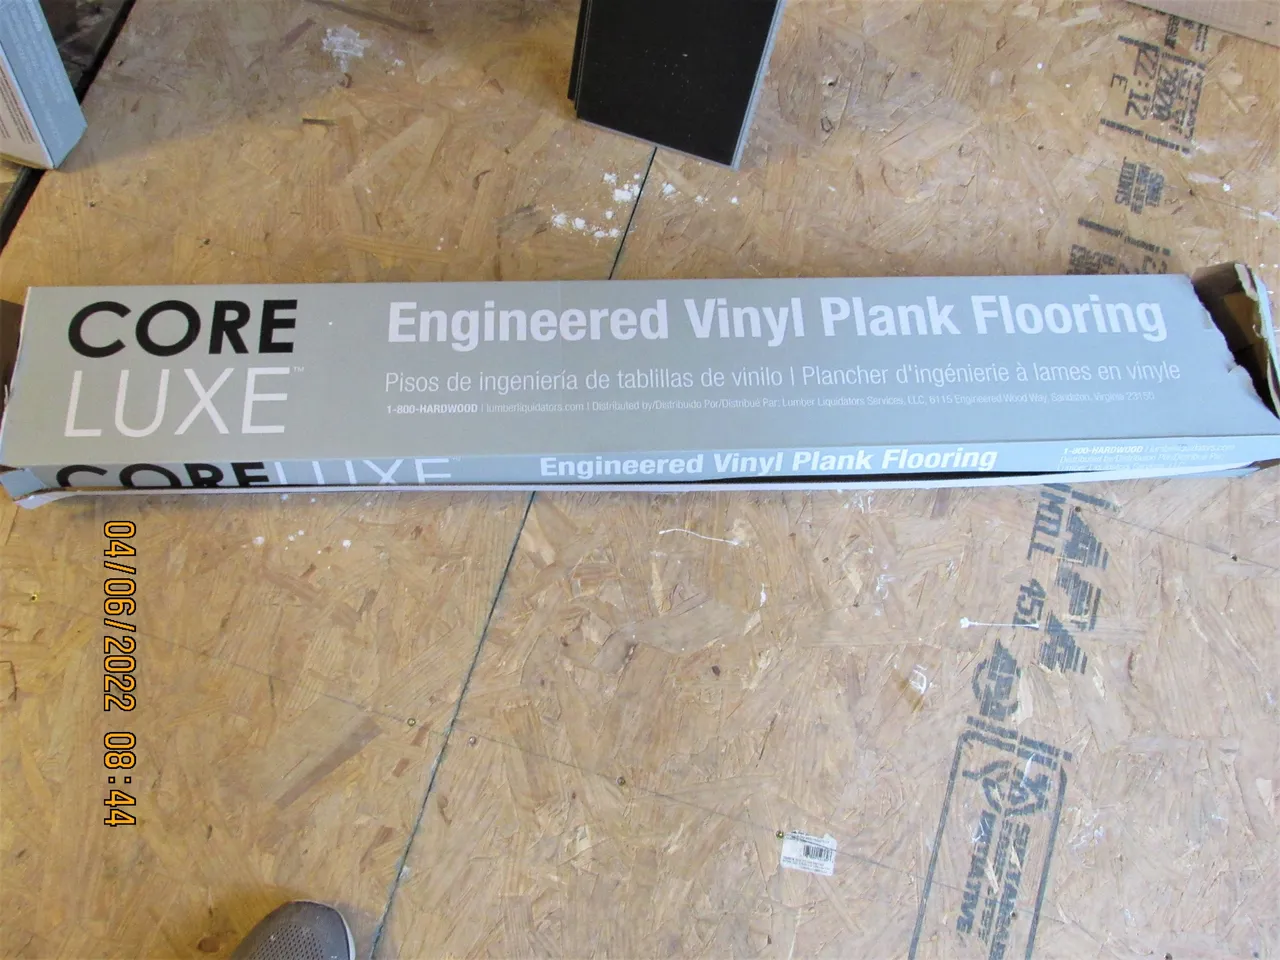
The boxes of flooring are freaking HEAVYYYYYY!
The floor we chose has a thickness of seven millimeters which equates to about a 1/4 of an inch.
When it comes time to pick your floor, leave that decision up to the boss,
and in this case the BOSS is @farm-mom. 😁
This type of flooring system is referred to as a free floating floor. Instillation does not require and nails or glue which allows the floor to expand and contract as the temperature changes. When it's hot the floor expands and when it's cold the floor will contract.
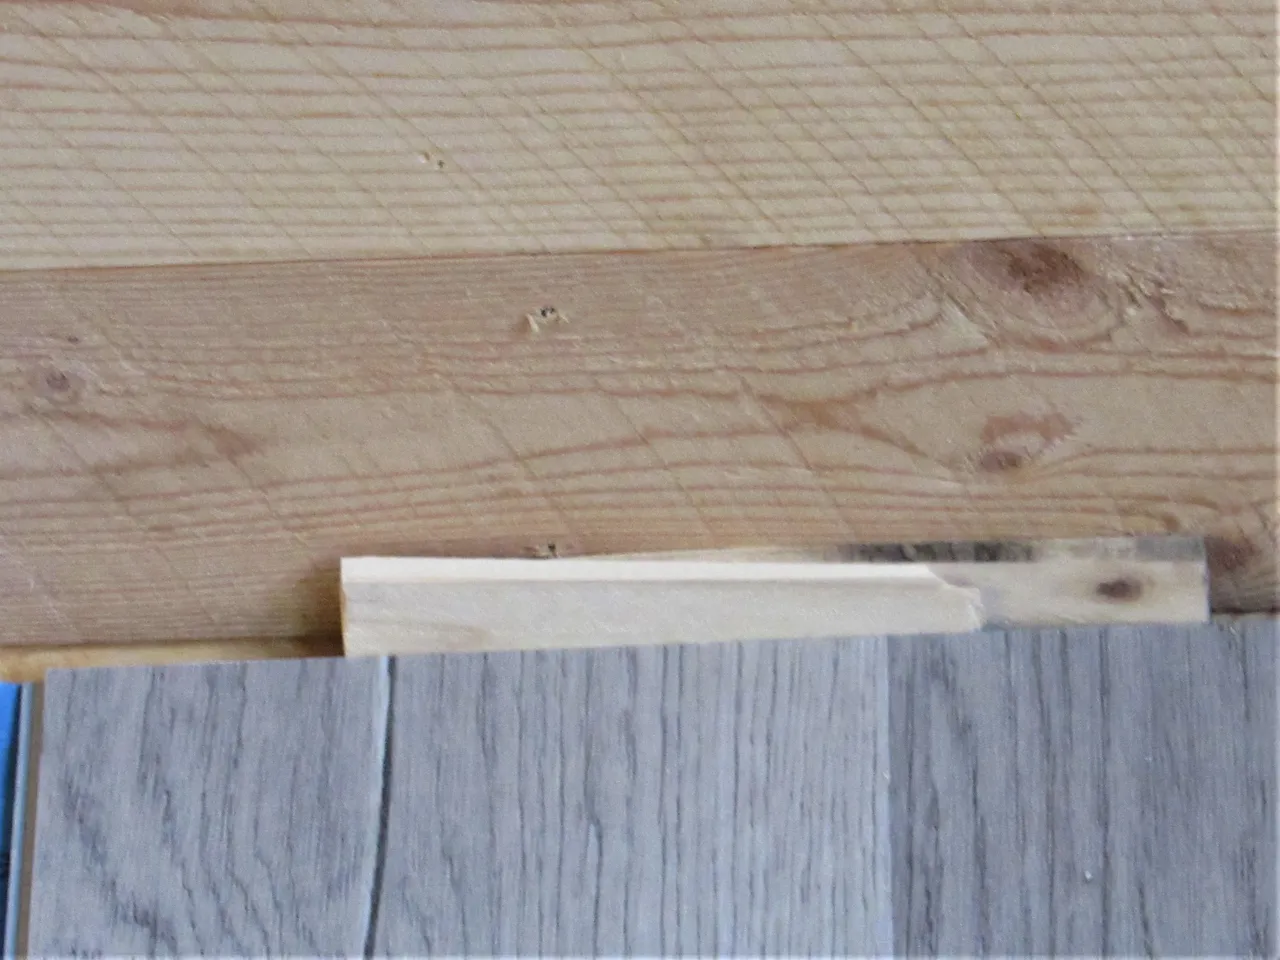
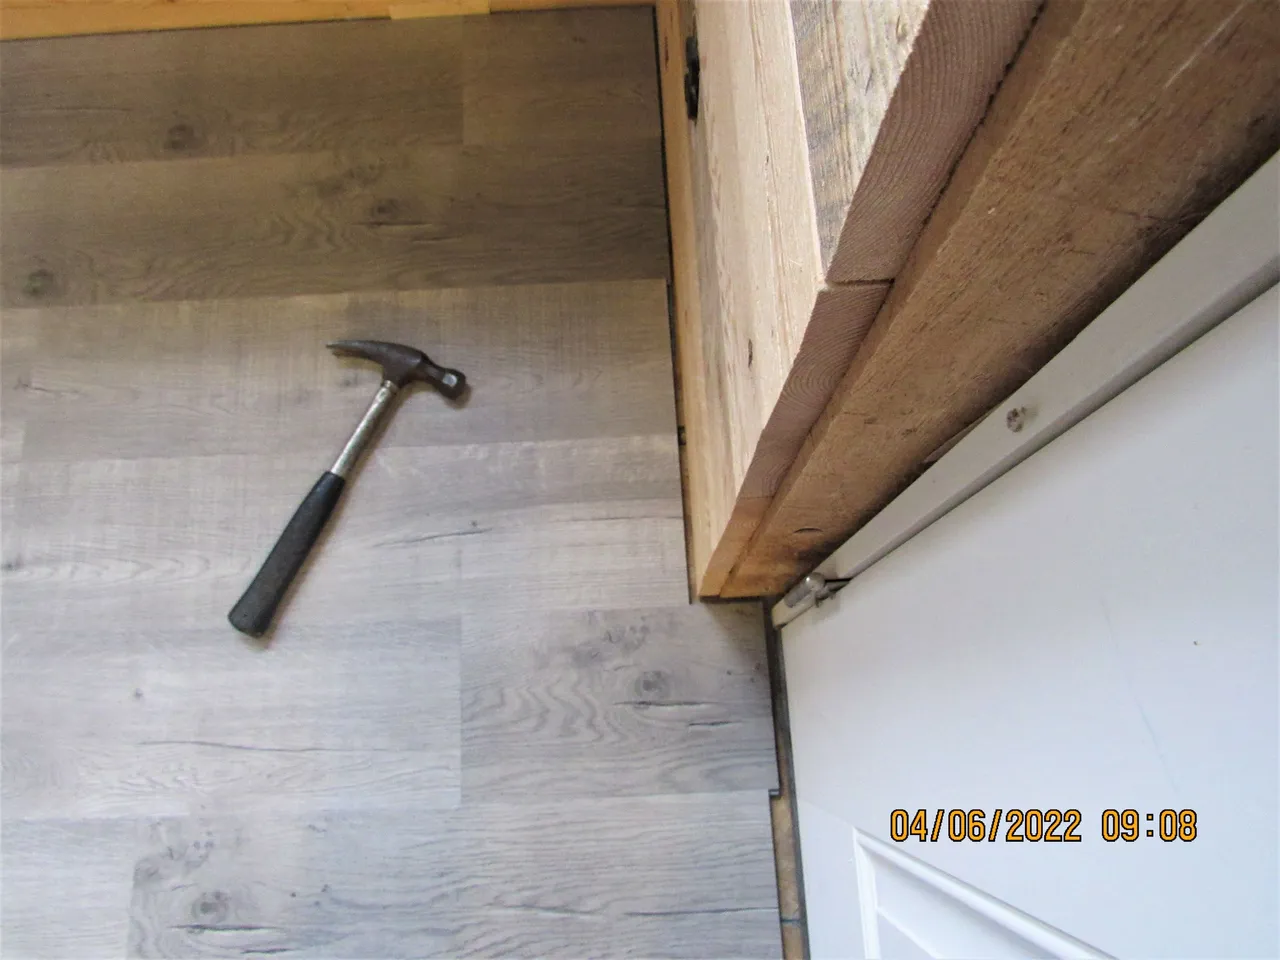
Allowing for this movement must be done by leaving a 3/8 inch gap around the entire perimeter of the floor. I used wooden shims to create this gap.
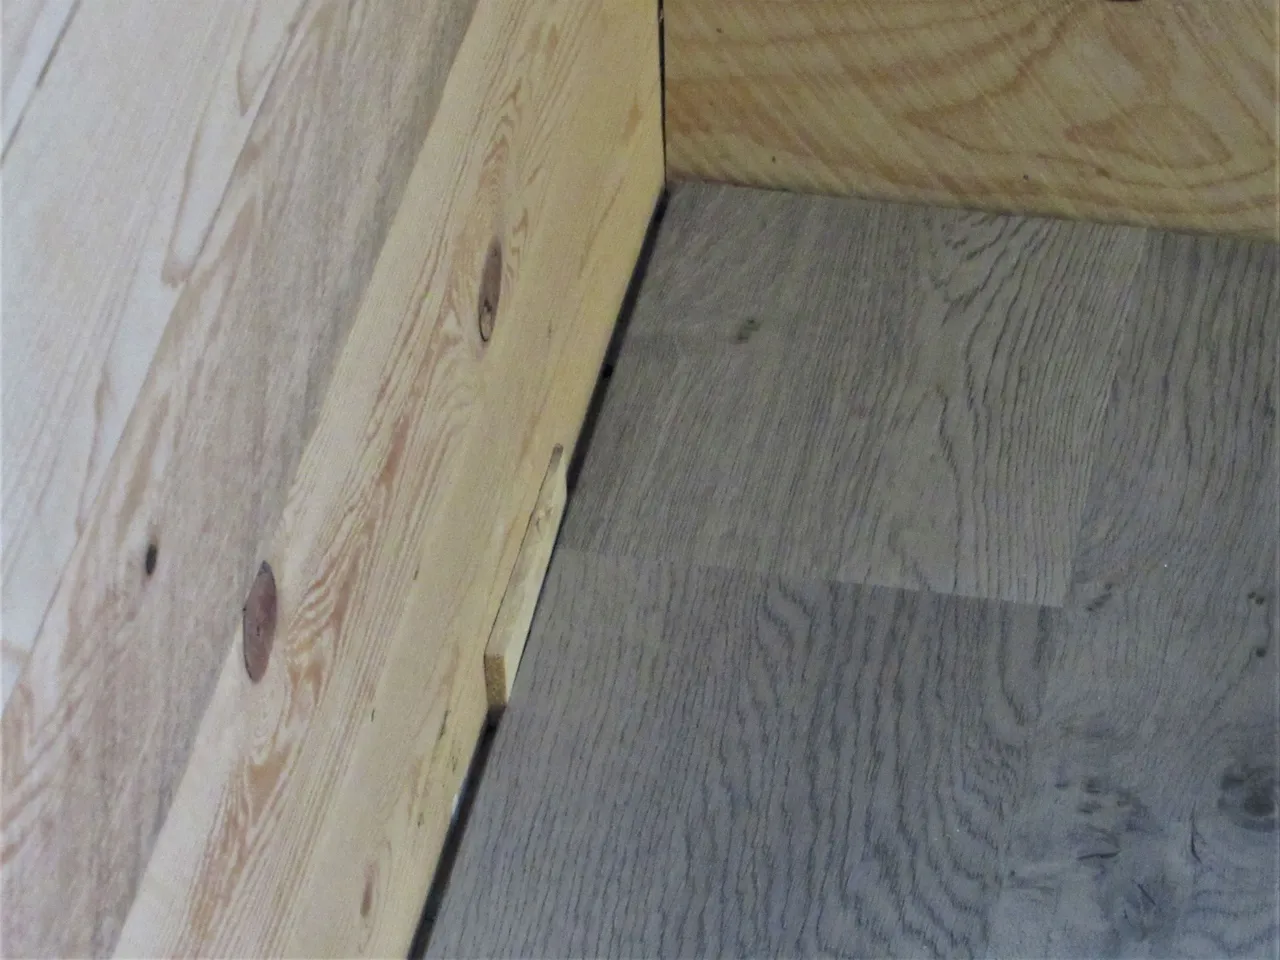
Without a spacer placed between the wall and the floor, every time you lock the next panel into place by tapping it in, the gap will close and the floor will end up butting the wall. If the planks can't expand when the temperature climbs in warmer weather your floor will end up buckling, causing a bump in the floor. This is the most important part of installing any free floating floor. Anywhere a panel is pinched and can't move, you'll have a huge problem down the road. 😞😟
After each row is completed, you just remove the spacer and place it against the wall where the next row of flooring will be laid.
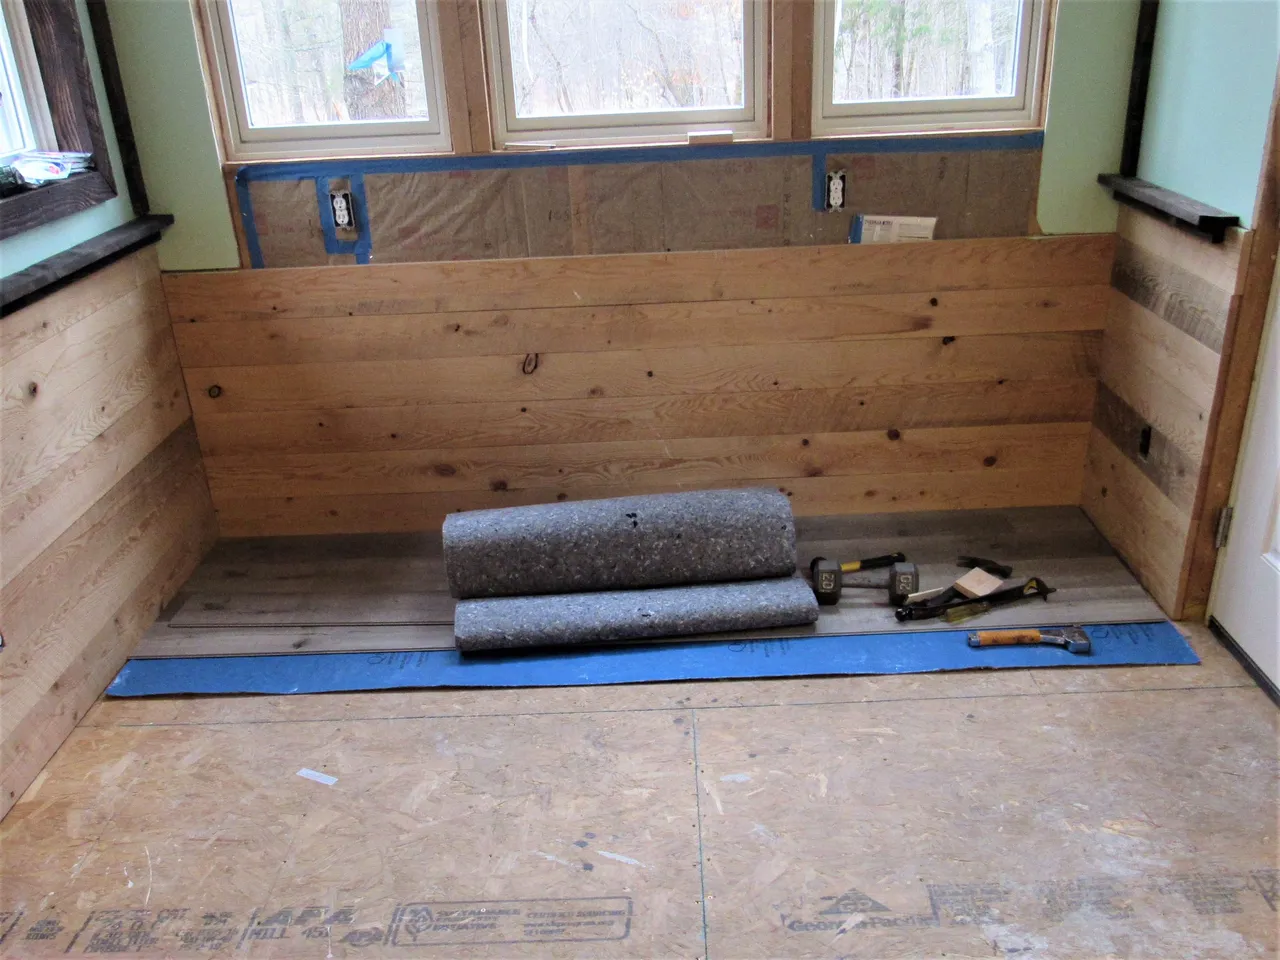
In this picture you can see that the 3/8 inch space follows the contour of the room. Where the flooring comes into the doorway a saddle will be installed. Again, the saddle must not constrict the floor from moving. When I install the saddle it will be fastened to the vinyl flooring, NOT the subflooring.
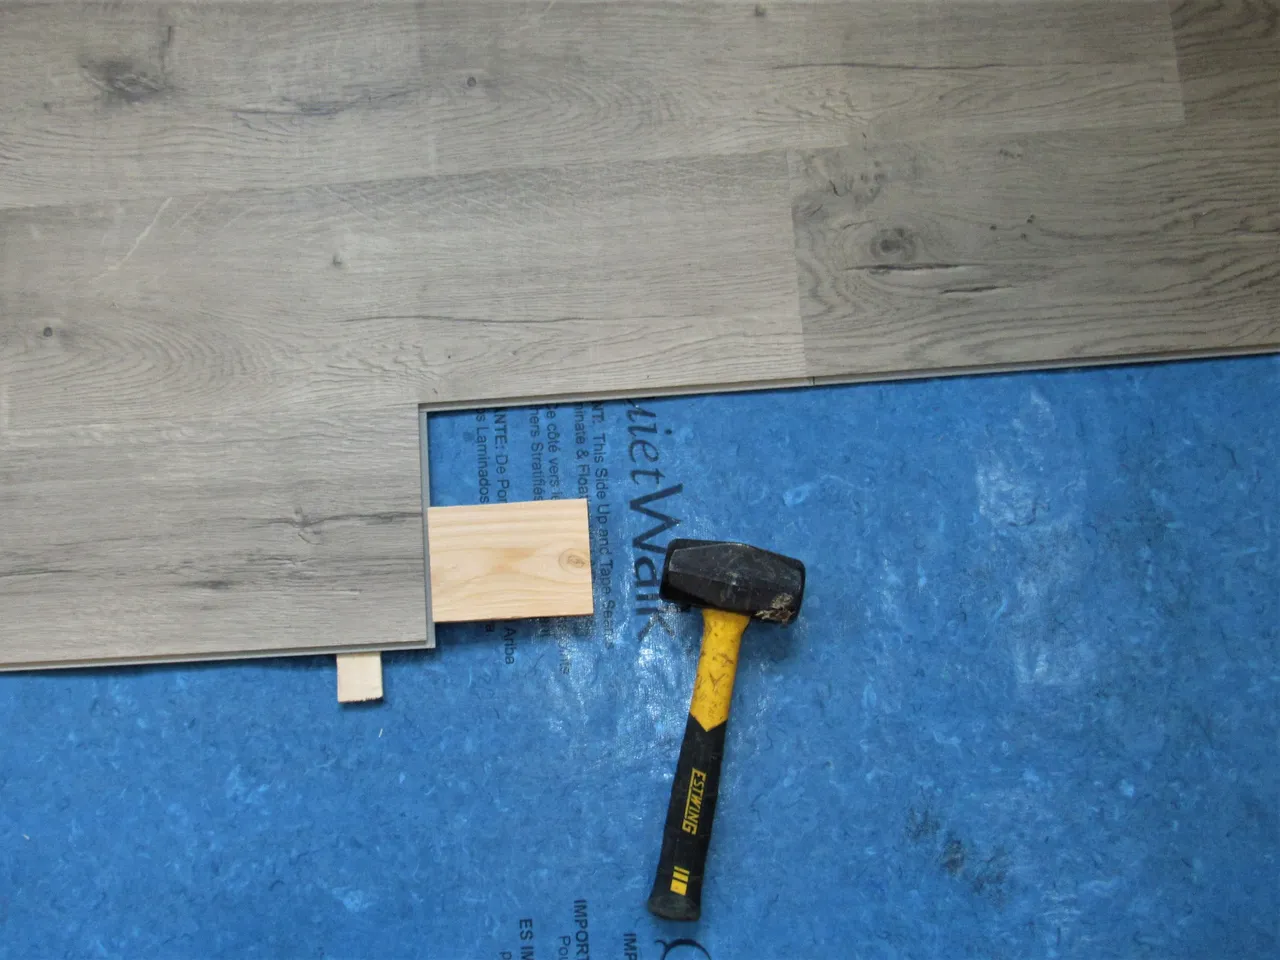
Although the blue stuff you see in this picture is not necessary to be laid before installing the vinyl planking, using it sure does make for a better finished product. This stuff is called Quiet Floor. Not only does it help with reducing noise, it also adds some cushion to the floor and some additional R-value.
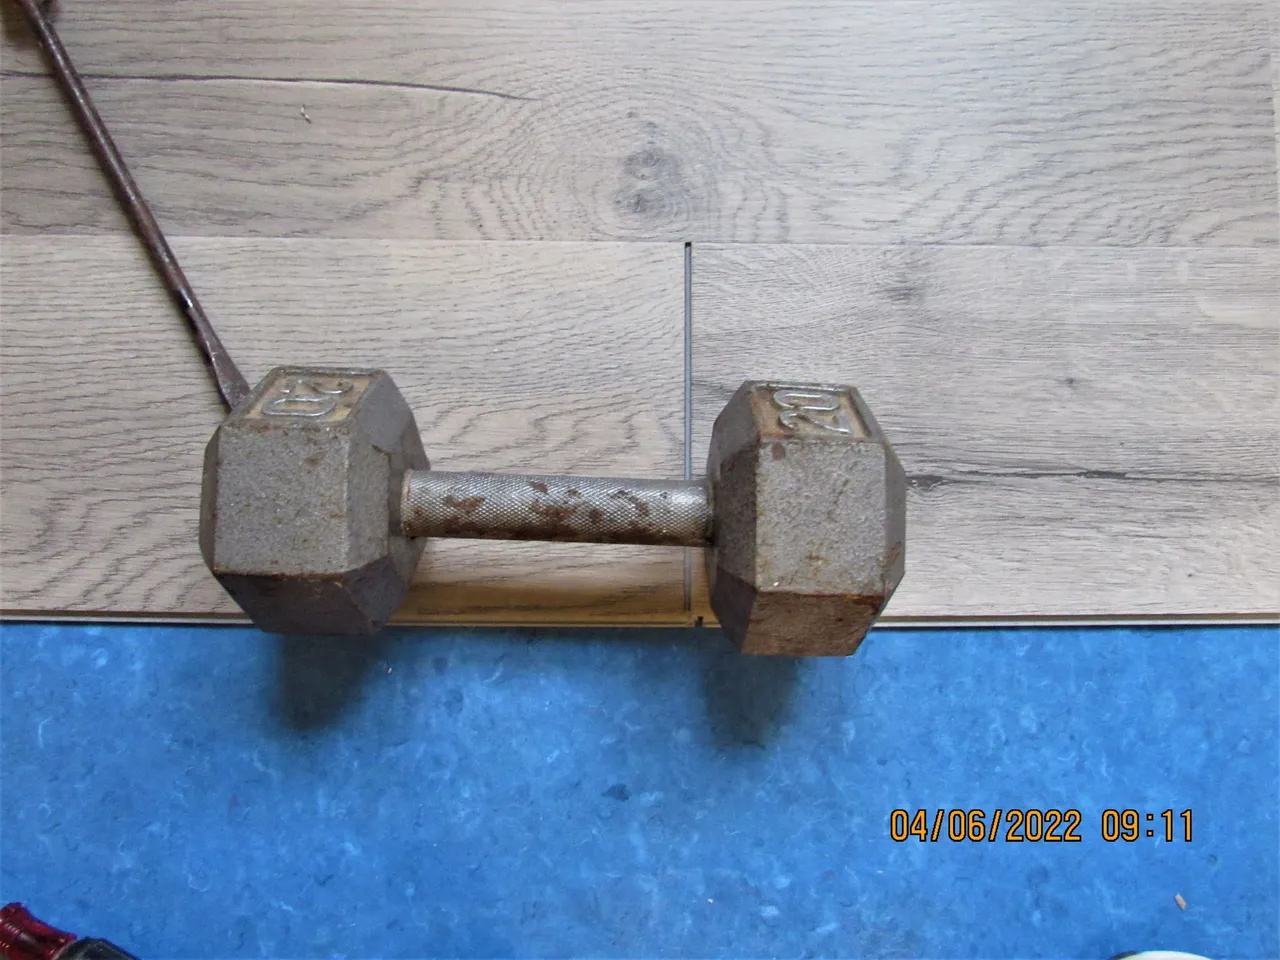
Working out with some dumbbells while installing the floor system is optional. 😁
But what is not optional is making sure that the last piece you laid and the next piece you are going to install are Flush. If you are doing this project with someone else, then they can simply put their foot on the joint to make the two pieces line up. In this case I was hobbitizing solo, so the 20lb dumbbells did the trick.
Since the floor is only 7mm thick, tapping on the locking edge while it's flush to the floor will more than likely damage the receiving edge of the panel. Placing a shim under the end of the panel will raise the panel slightly off of the floor. This will give the wooden block that contacts the lock a greater surface are, reducing the chance of damaging the receiving end of the panel. Once the panel has been locked, simply remove the shim.
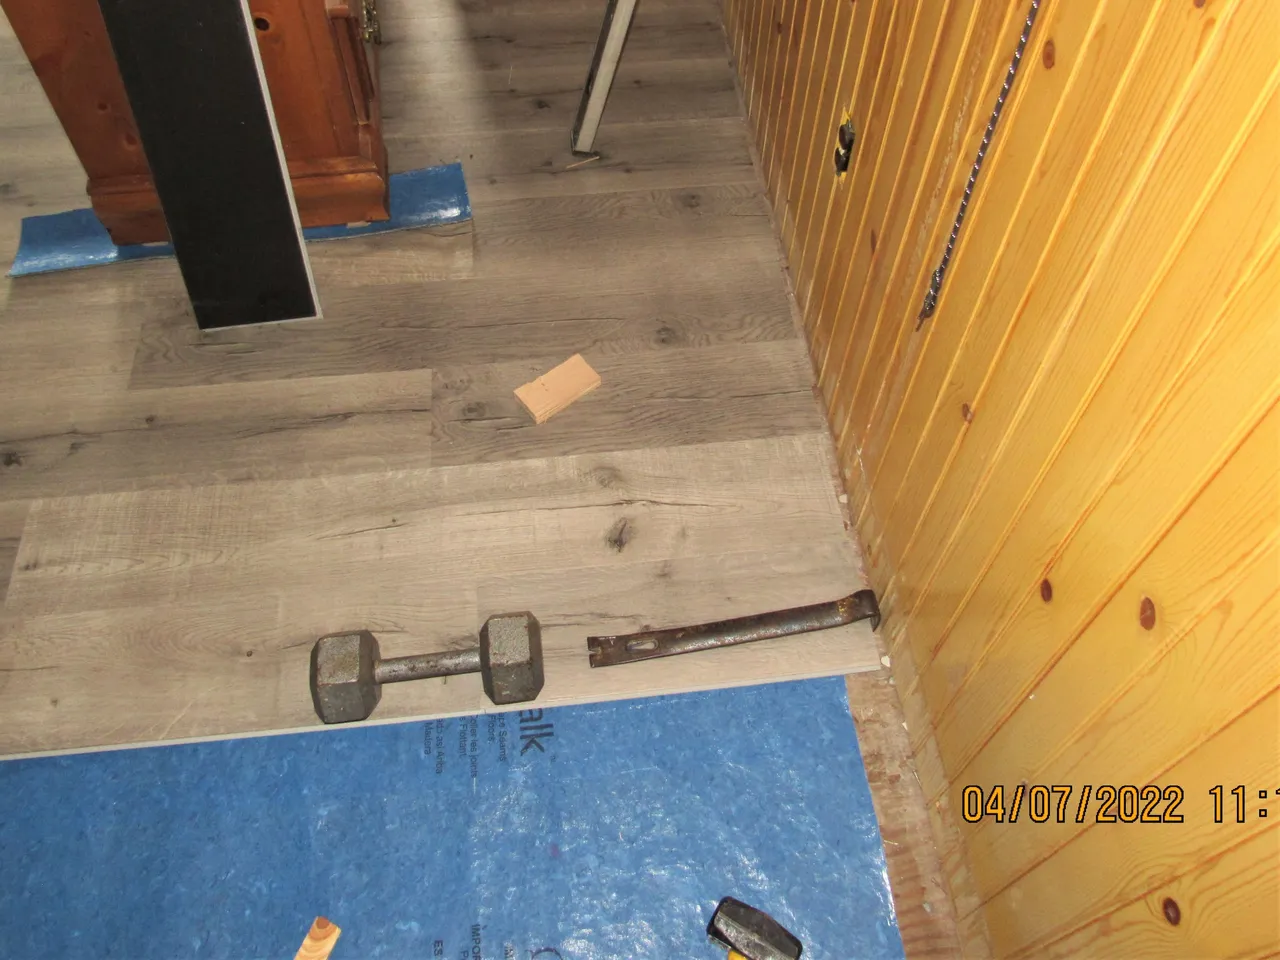
Where the last panel meets the wall it is impossible to use a block and hammer to lock the panels together. As you can see there is no room to lock the panels in this fashion. In this case I used a crowbar to snap the panels together by wedging the bar between the wall and the edge of the last panel, using it as a lever.
Prying against the wood made this part of the job very easy. If the walls are covered in sheetrock you need to place a piece of wood between the wall and the bar. You don't want to damage the sheetrock or any other wall material that will not stand up to the pressure of the crowbar.
Yup, It's a little tough on the old knees!
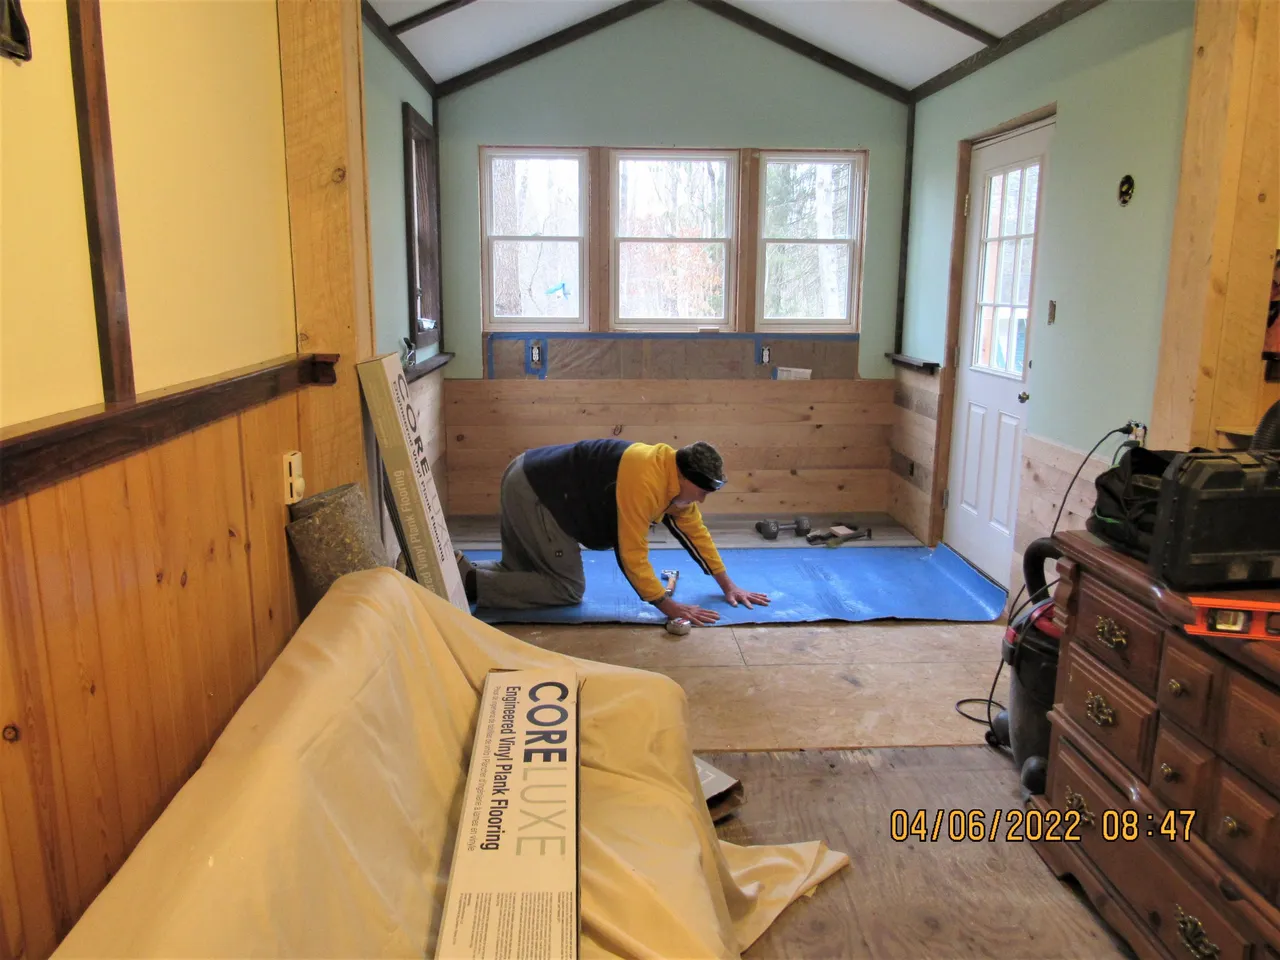
But, you know what they say, "SLOW AND STEADY WINS THE RACE."
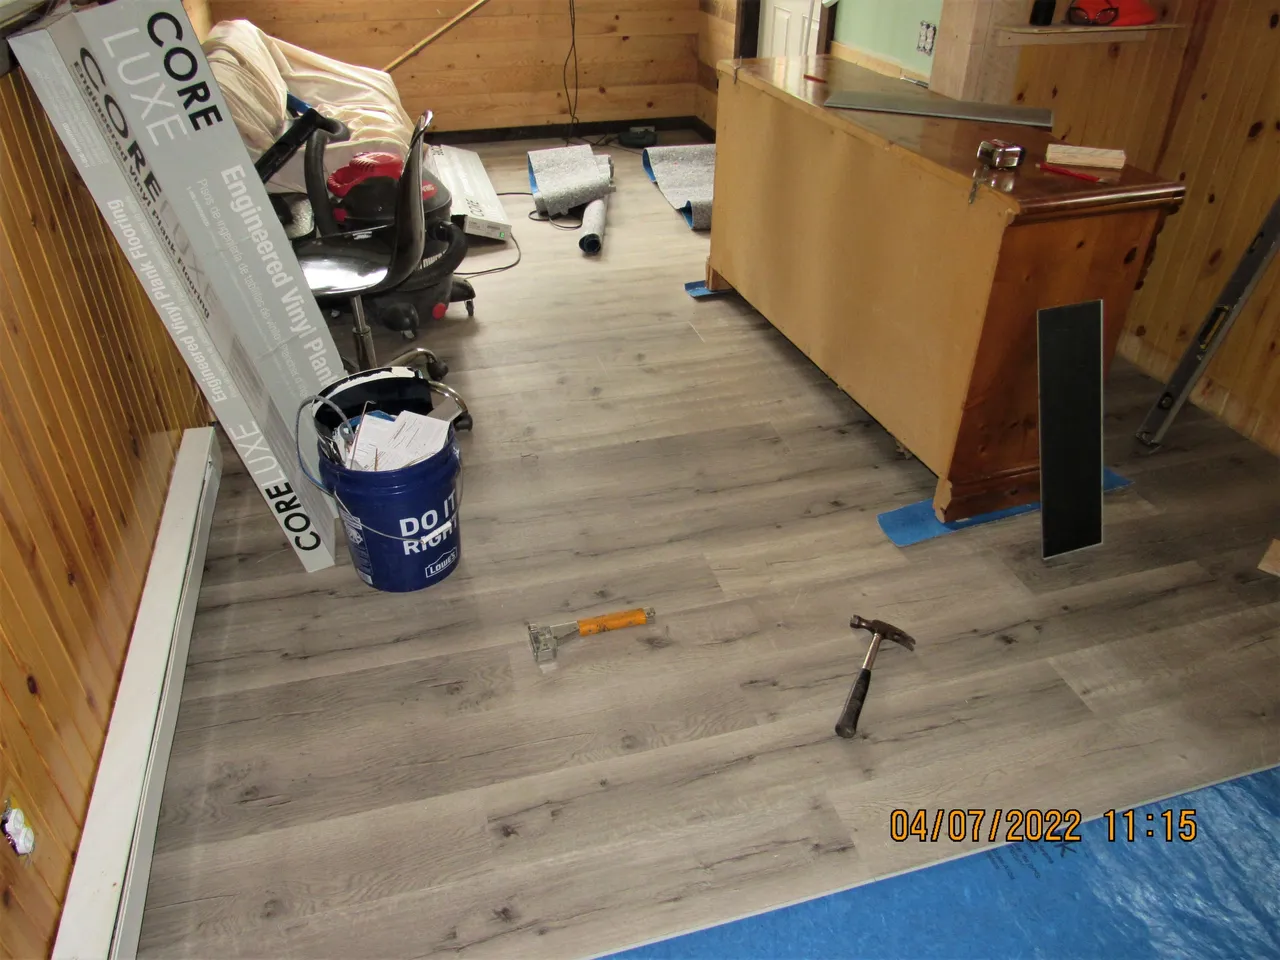
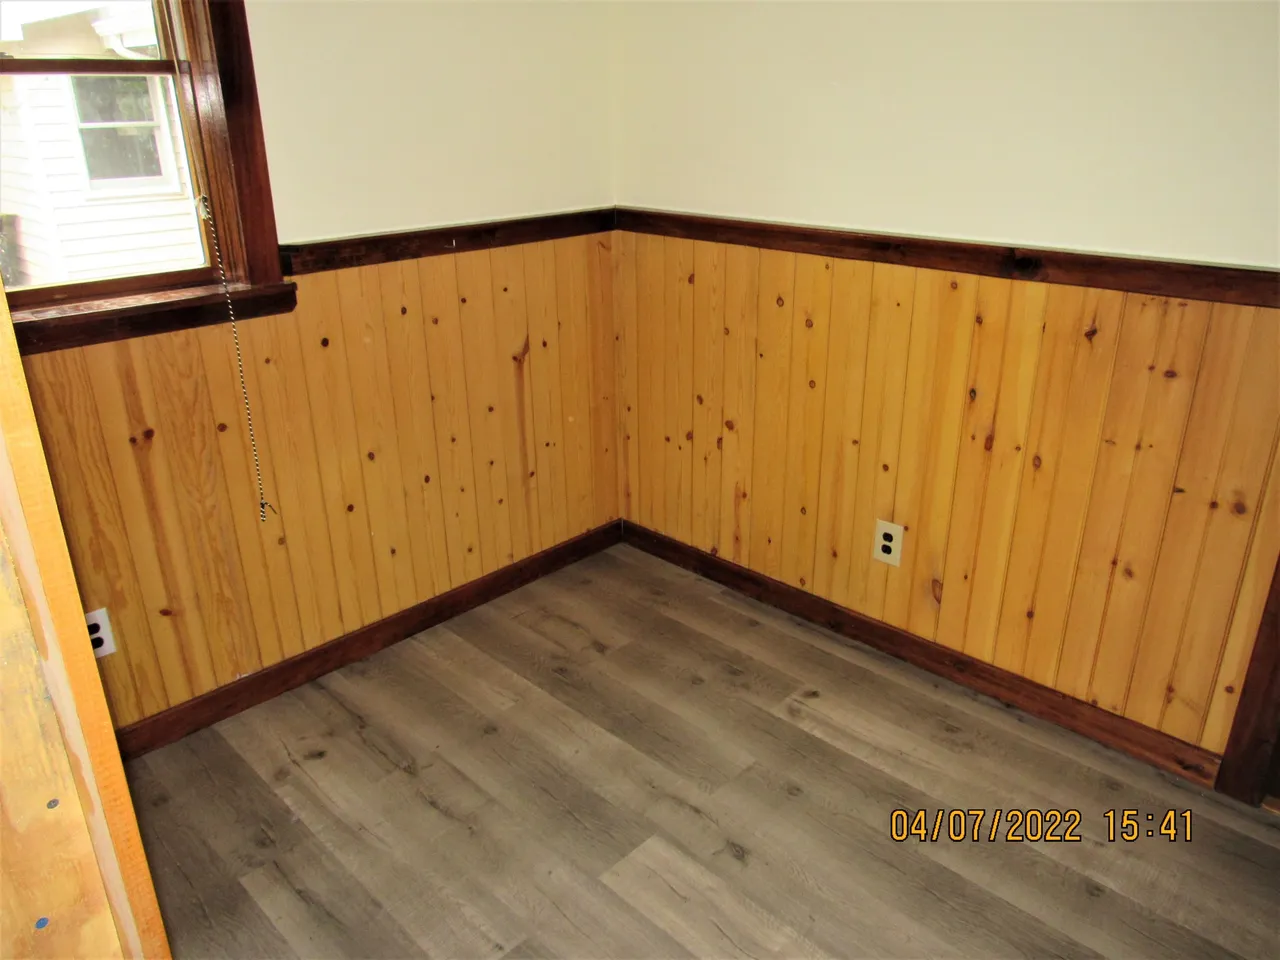
There you have it, floor completely finished with the base molding installed.
The real deal is that companies that are just PRICE GOUGING.
That's the beauty of a DIY project, sweat equity can make a project affordable!