“To accomplish great things, we must not only act, but also dream, not only plan, but also believe.” —Anatole France
I'm pretty sure that everyone could relate and happy when we heard about Graduation rites. This is an event that greatly has an impact on me and it means "Success". The hard work has paid off, this statement I usually heard and it is true!
Graduation rites are an event in which you can see graduates in tears, not because they were sad but it is of tears of joy and happiness. Atlas! They made it and their family as well.
Anyways, I would like to share with you the task we made during the graduation. I already mention this in my previous blog.
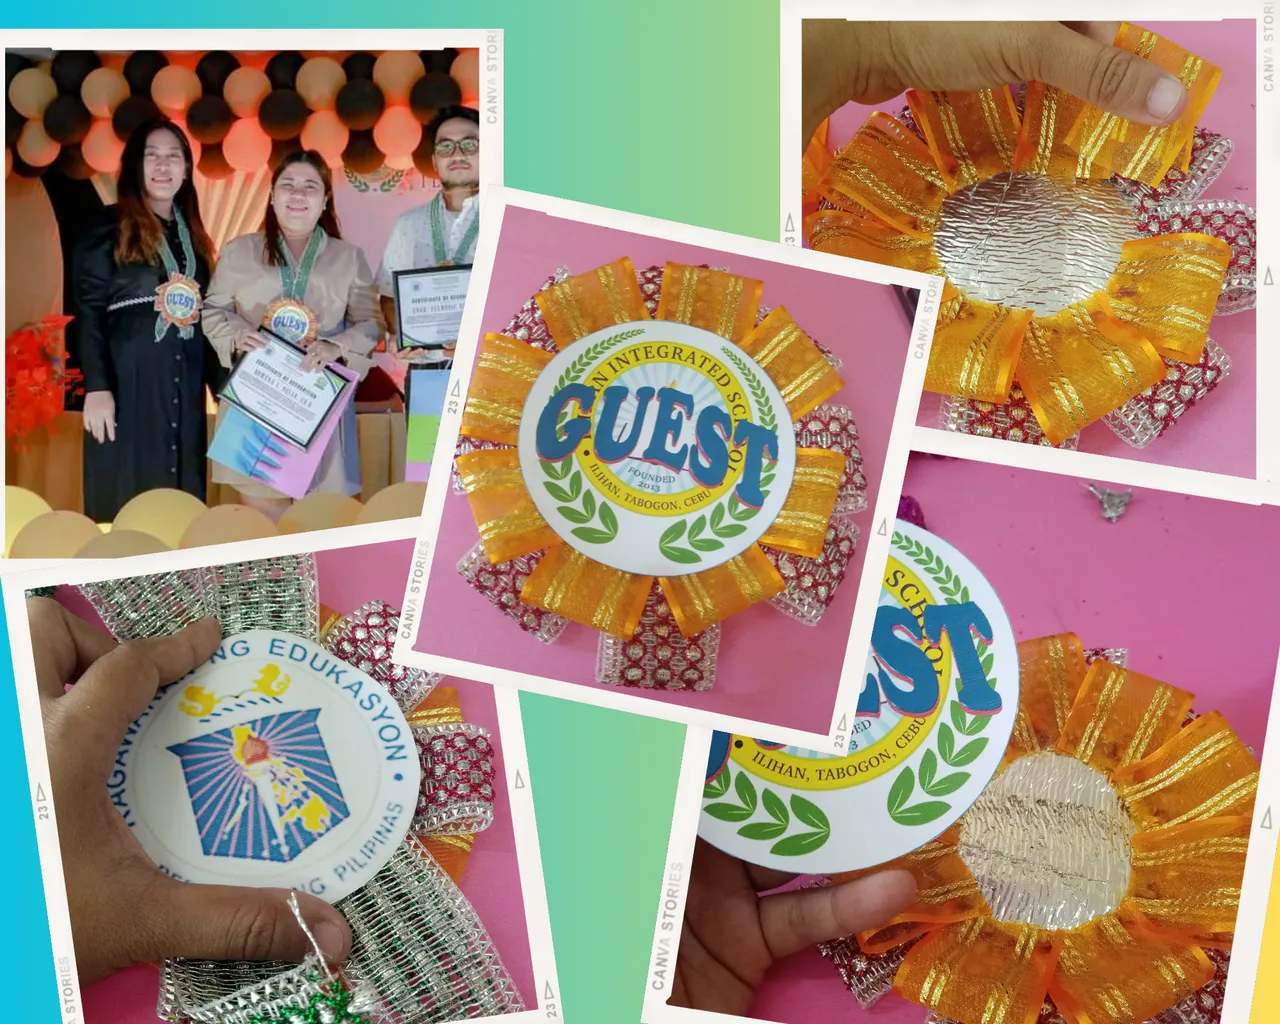
It was a great honor for me and @missleray to make a lei corsage for our graduation guests. We were excited then to what design and combination of colors do look great and elegant.
We were about to make 15 designs for the corsage.
The Materials
Insulation foam
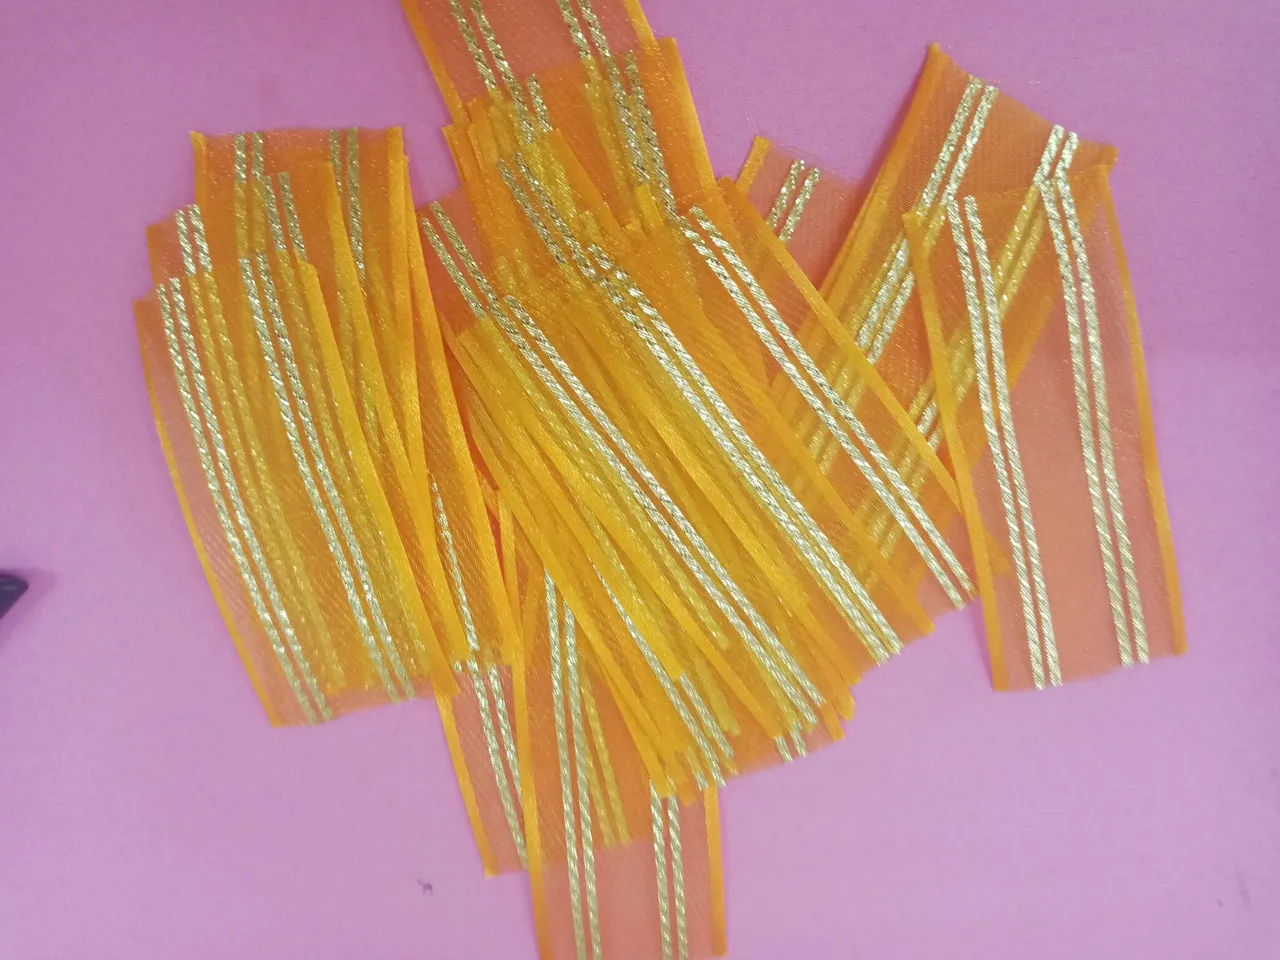
1 roll of ribbons ( color gold)
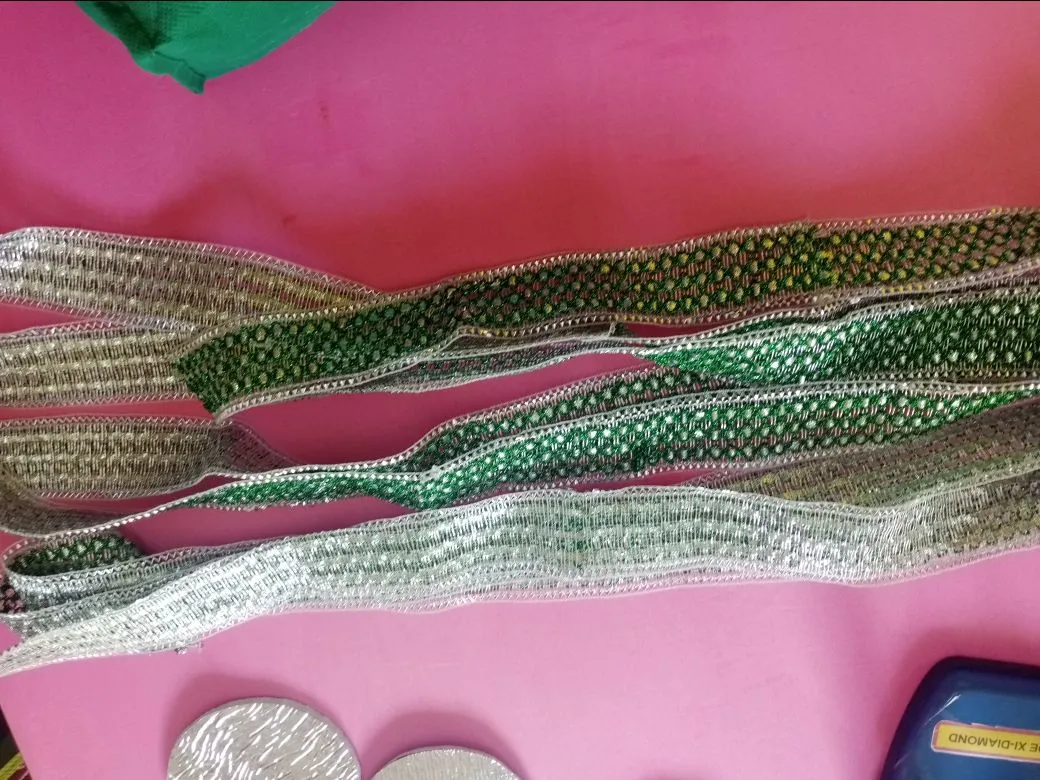
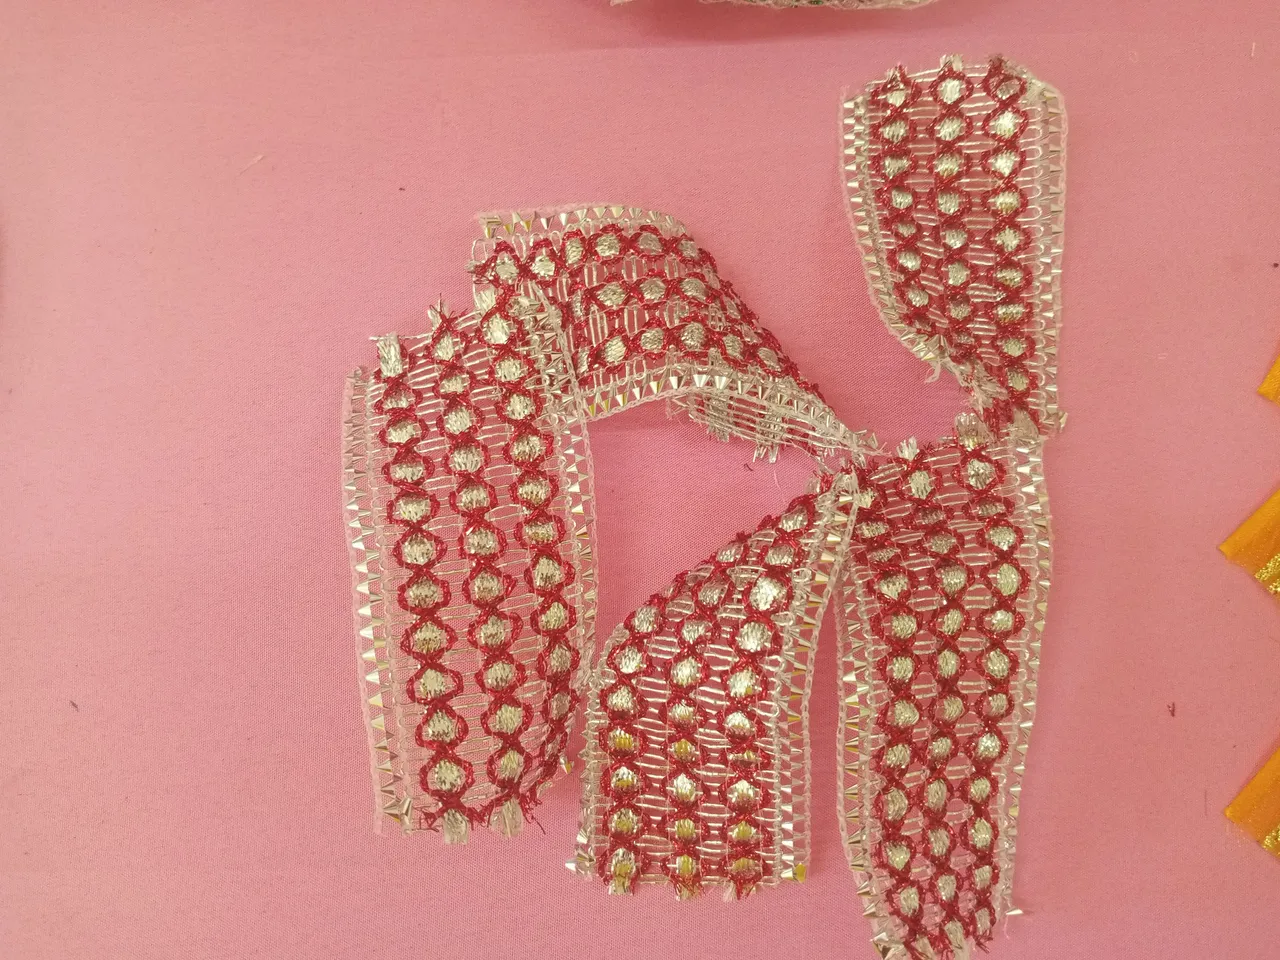
20 meters of red silver ribbons
15 meters of green silver ribbons
Glue sticks and glue guns
Pair of scissors
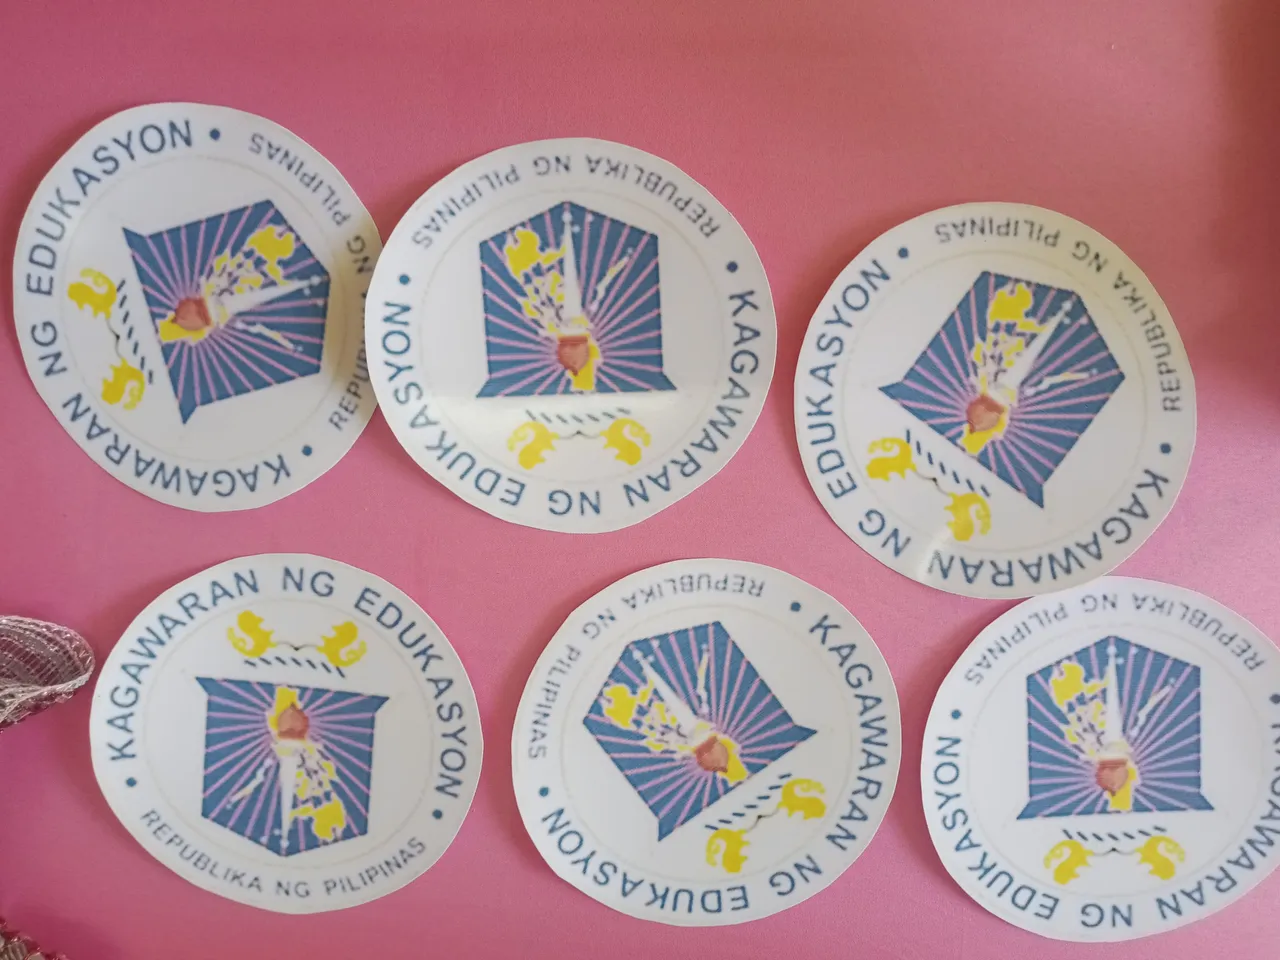
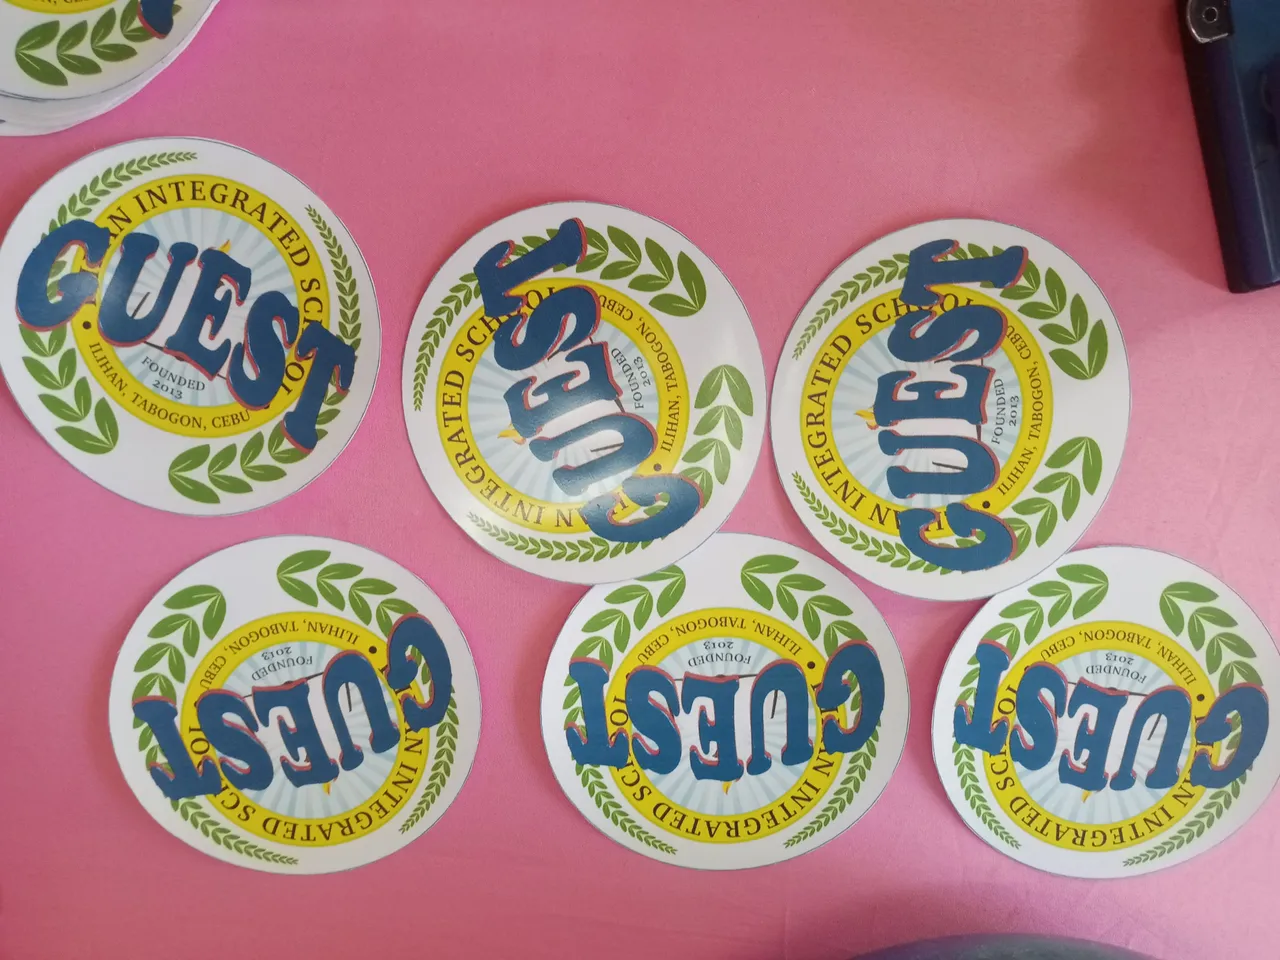
Photopaper
Fuchsia color lace
The Preparation
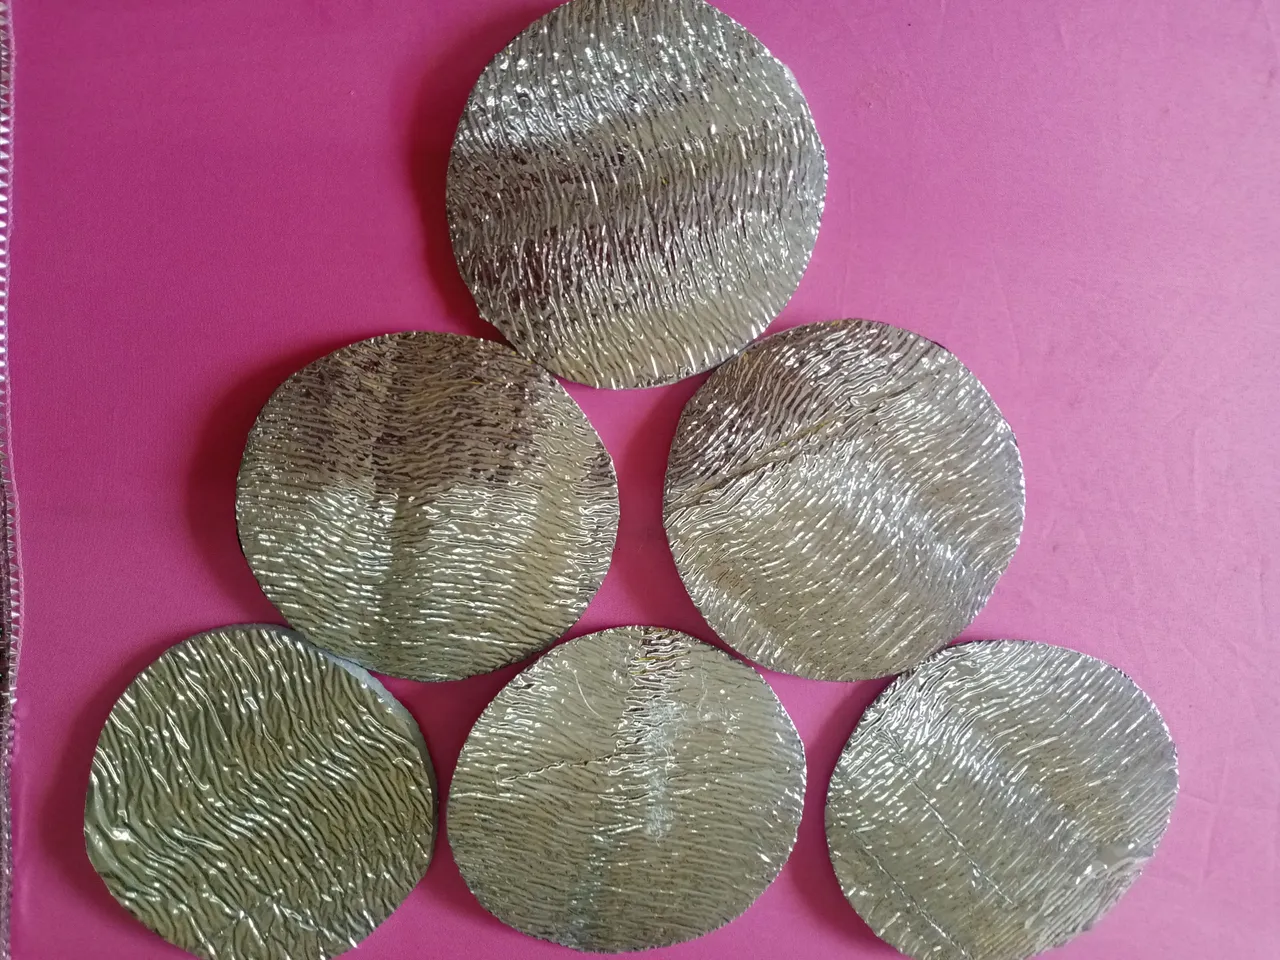
Step 1. Prepare the insulation foam. Draw a circle on it and cut. It depends on your desired sizes.
Step 2. Cut the color gold ribbon into 1.5 inches each. Estimate how many corsages you want to make.
Step 3. Cut the ribbons used for the necklace. The estimated cuttings would be 1.15 meters. Then cut another one into 1.5 inches for the circle design.
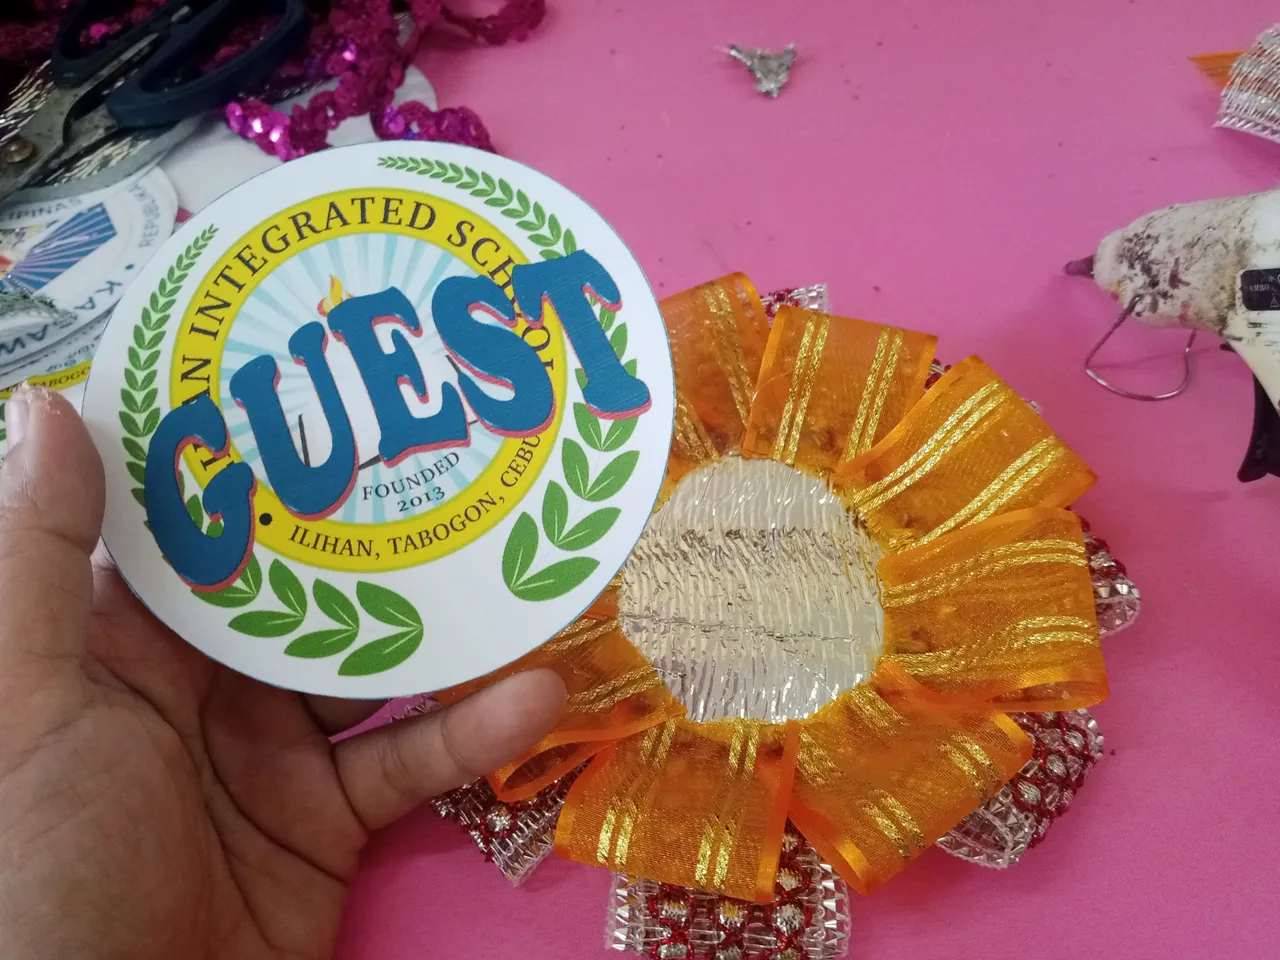
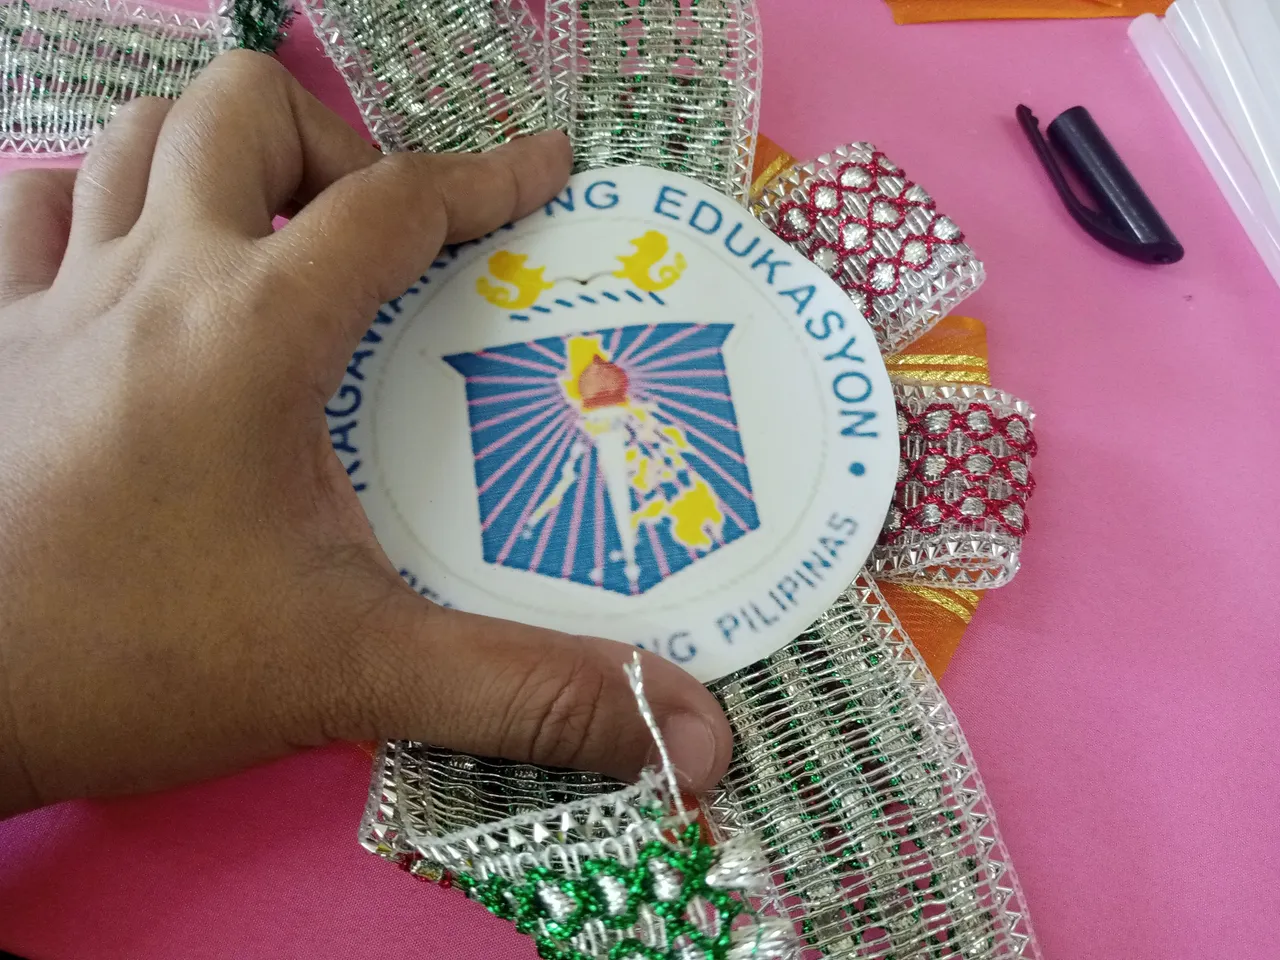
Step 4. Print a design for the front and backside. Use a photo paper for the best results.
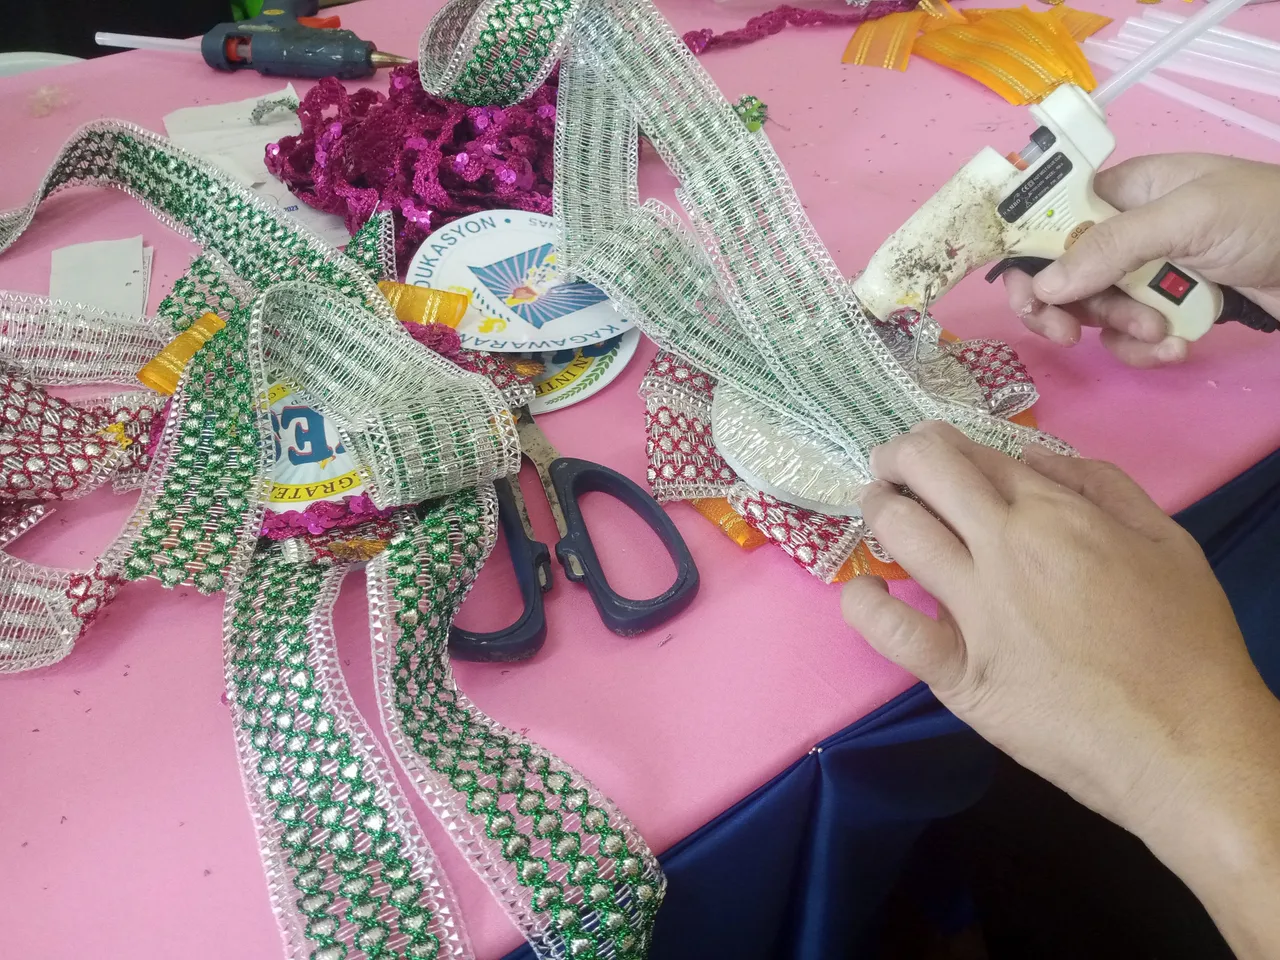
The Procedures
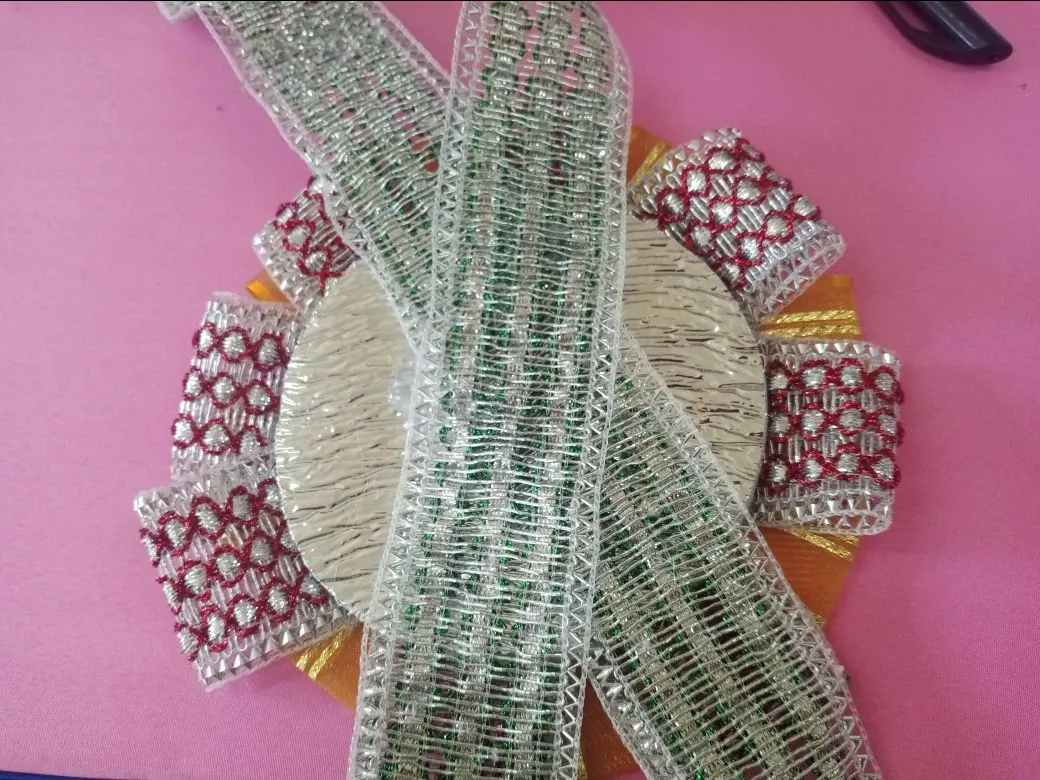
Step 1. Get the insulation foam and paste the red silver ribbons in the circle form.
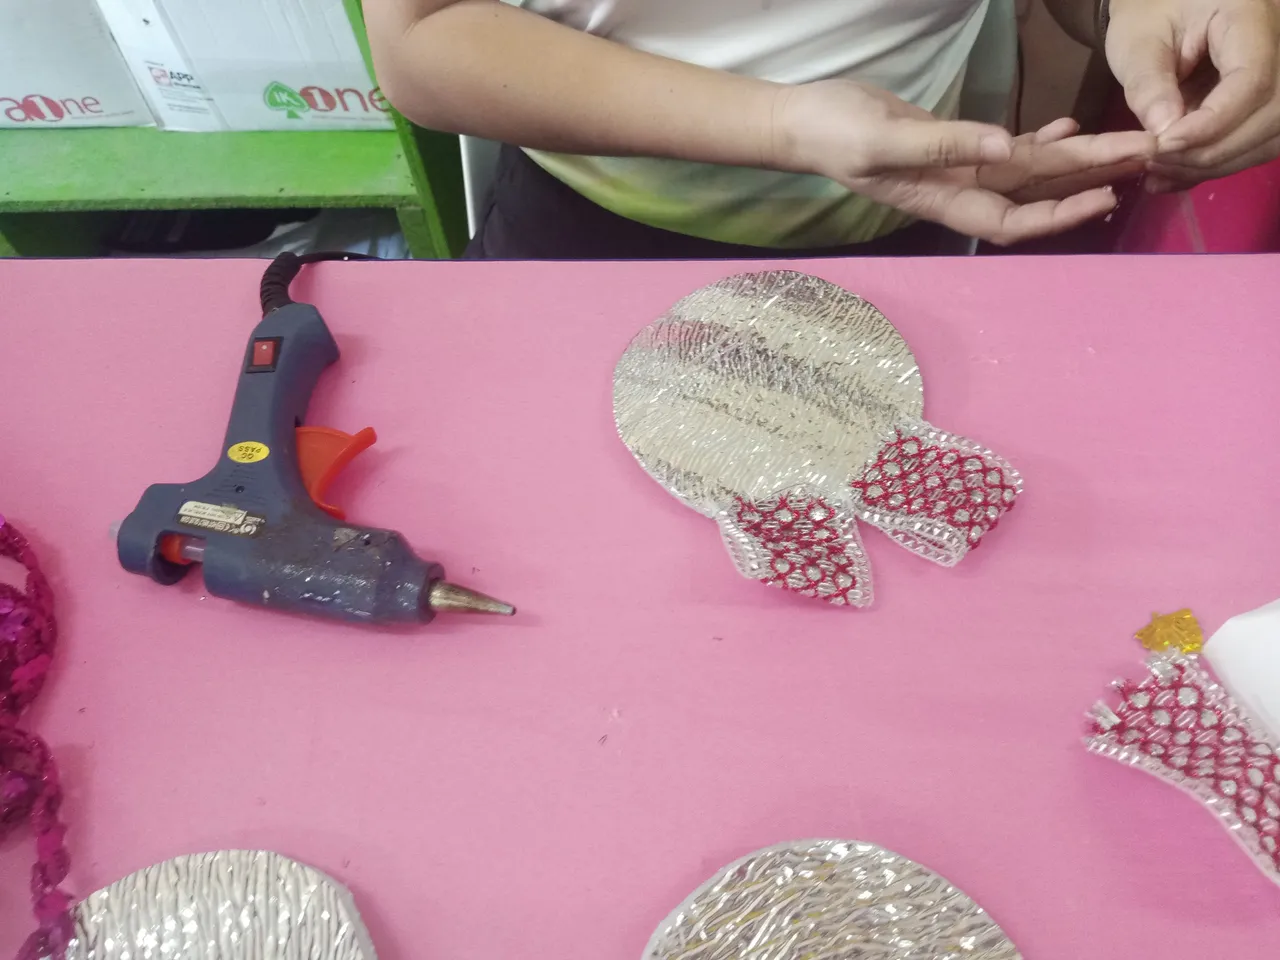
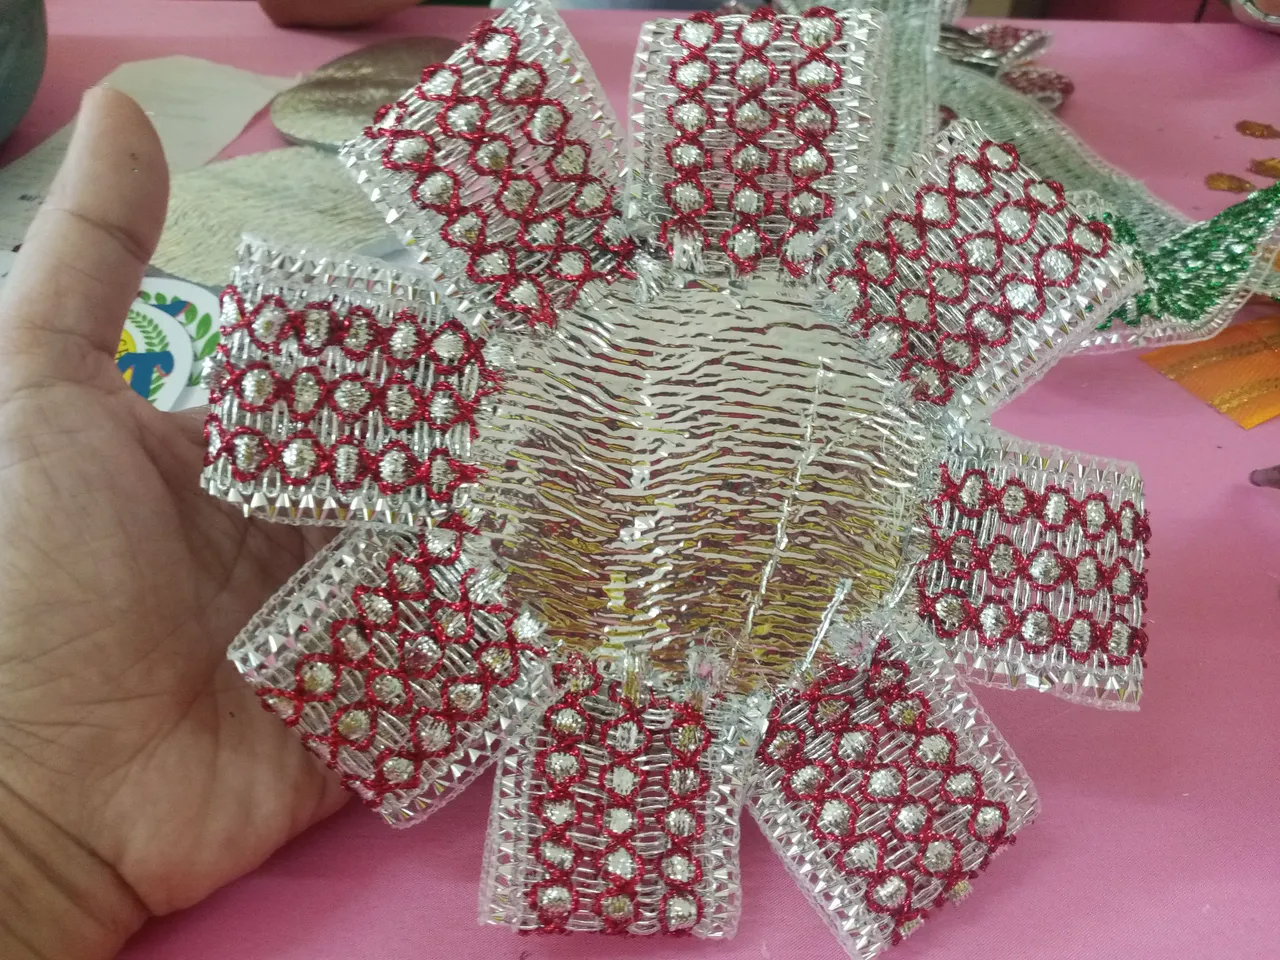
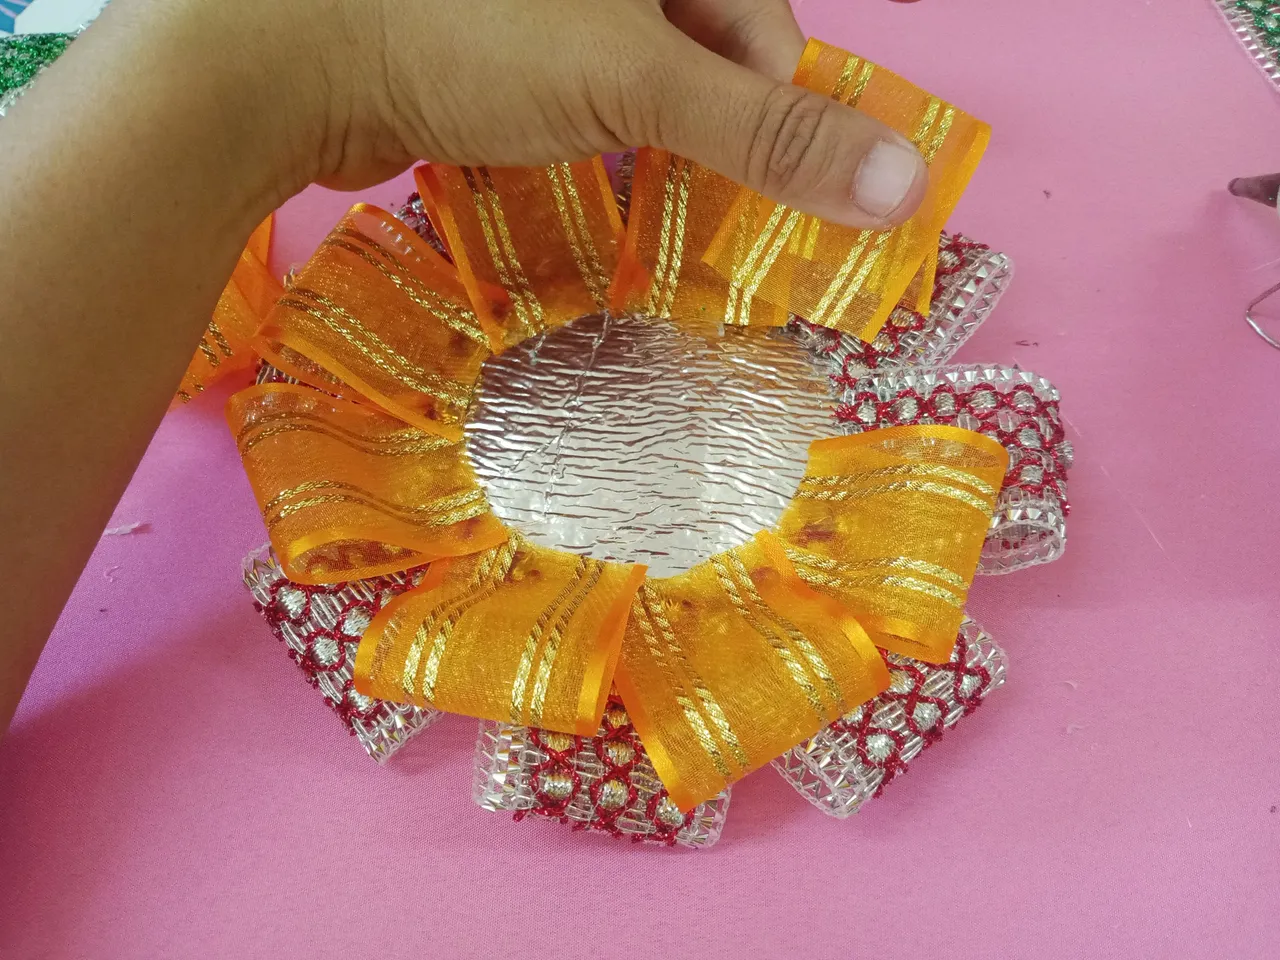
Step 2. Next in line would be the color gold. Paste it after the red silver ribbons.
Step 3. Paste the front design by using our glue sticks and gun.
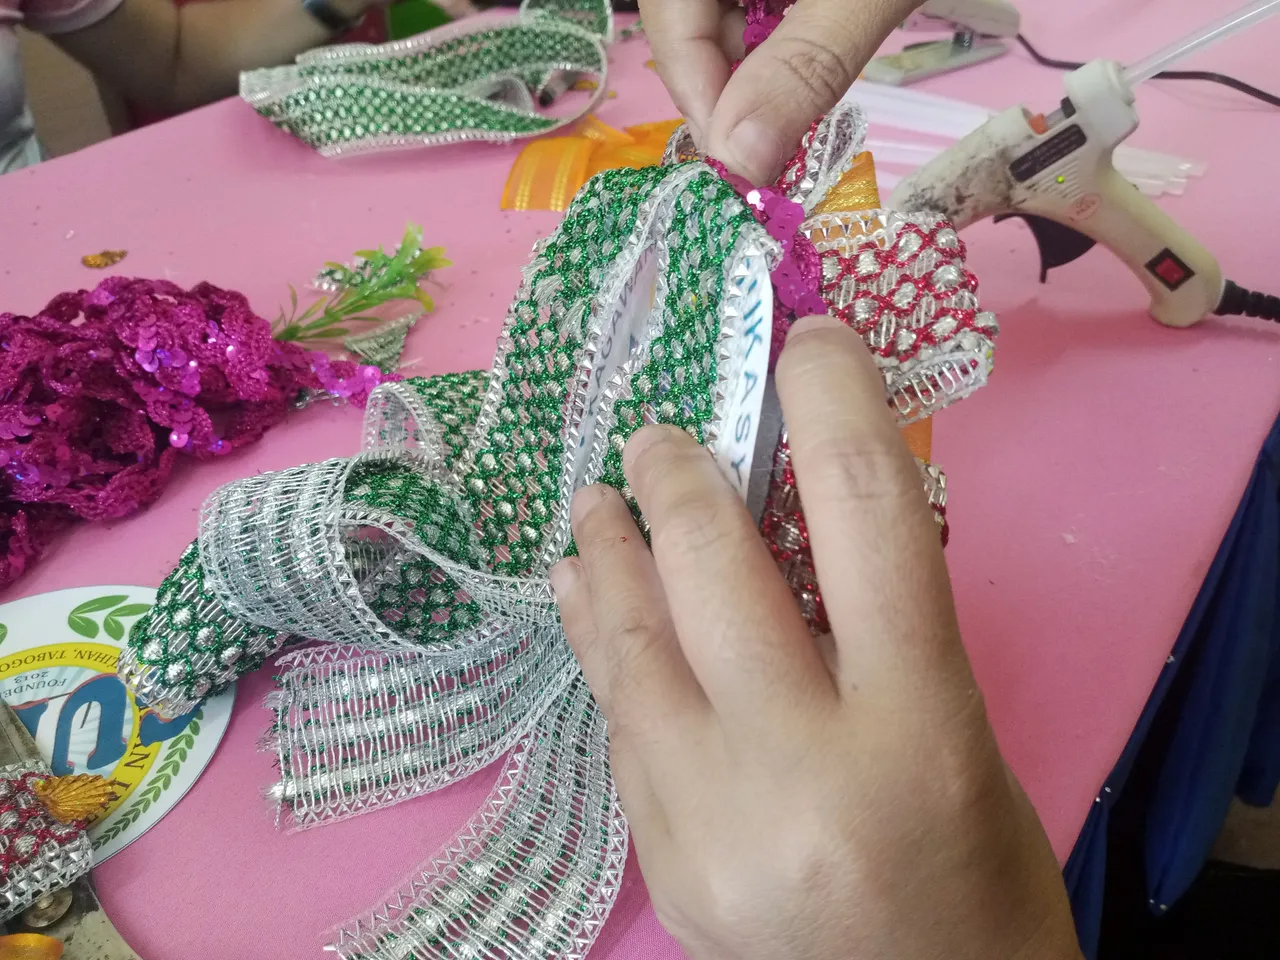
Step 4. Let has had the backside! Get the 1.15-meter necklace and paste it at the back. It would be a better result if you have to try wearing the necklace and estimating where to put the design and then paste them.
Step 5. After, cover the back design using glue sticks. Make sure that the design is pasted in the exact and desired form.
Step 6. When all is done, paste the fuchsia pink behind the back design to cover the insulation foam that can be seen beside it.
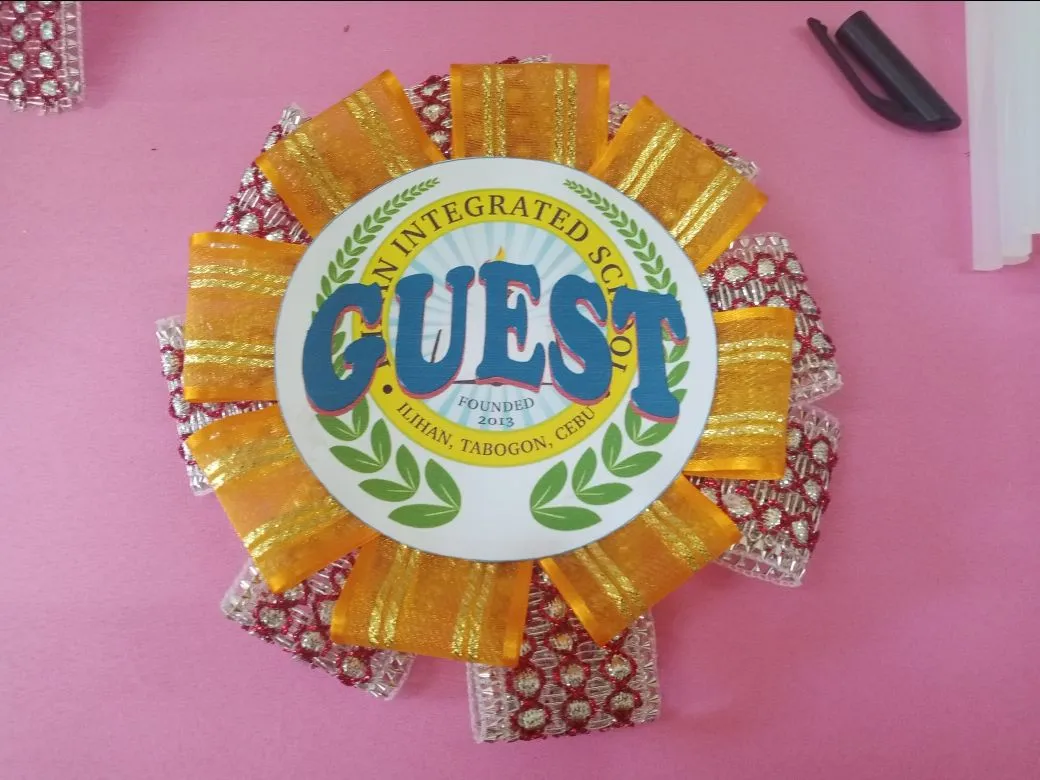
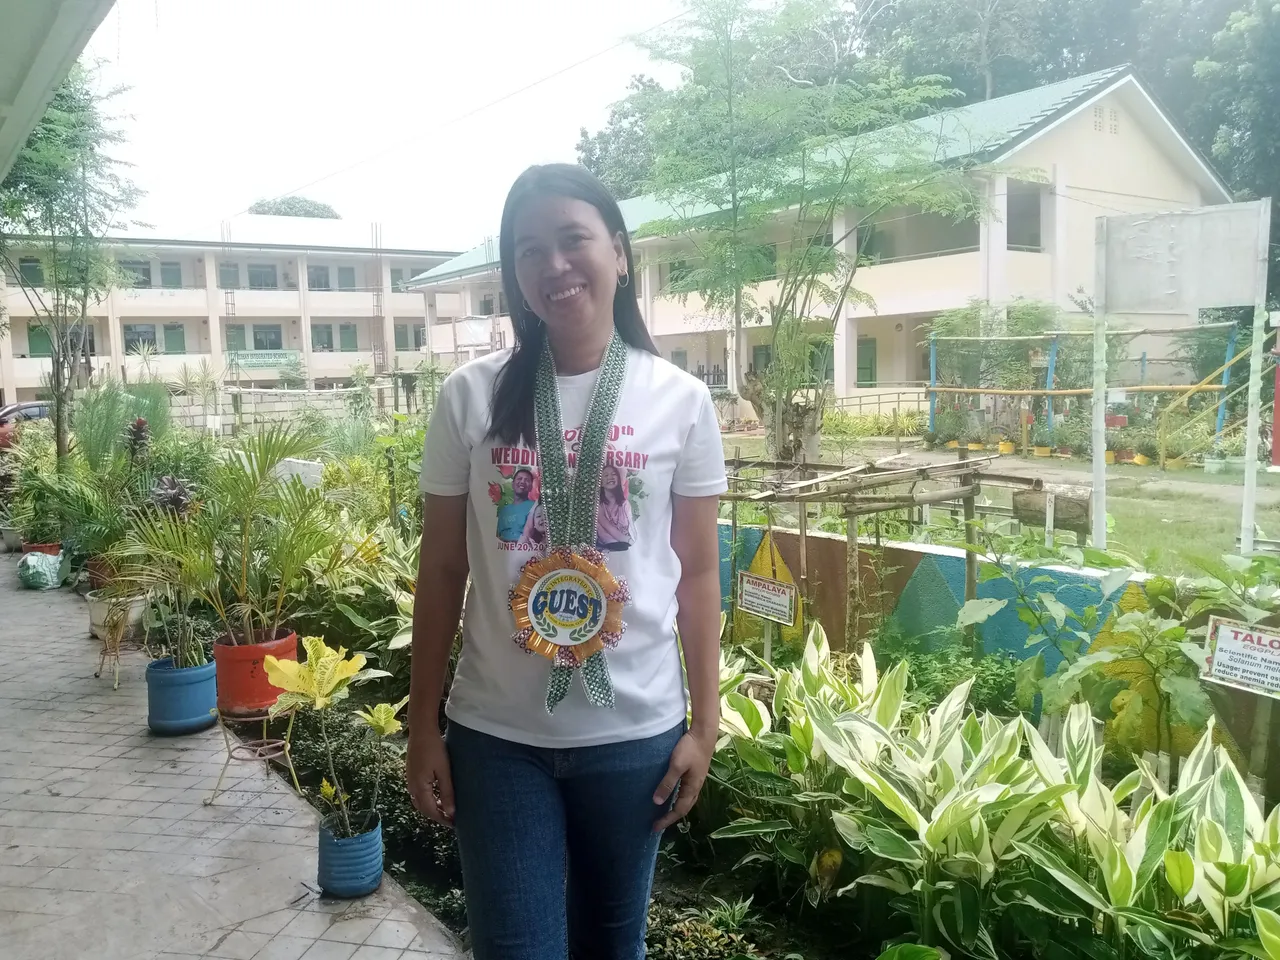
This is now the finished material that I and @missleray did. Though it was a little bit hassle in part how to make it and prepare it was an achievement for us. Another Challenge unlock!
Everything is possible if you have perseverance and effort to finish the work well. Take all the task as a challenge and don't think it's a burden or a problem but instead just accept it and enjoy while in the process. Same as what we did. We enjoyed that day while making the corsage and when the graduation ceremony comes we were honored to see that the guests wore it and they look elegant and great indeed! Congratulations to us @missleray, we made it and I am happy to work with you!

That's all for today's blog my friends. Thank you for reading this until here. Keep safe always and to God be the Glory. Bye for now!