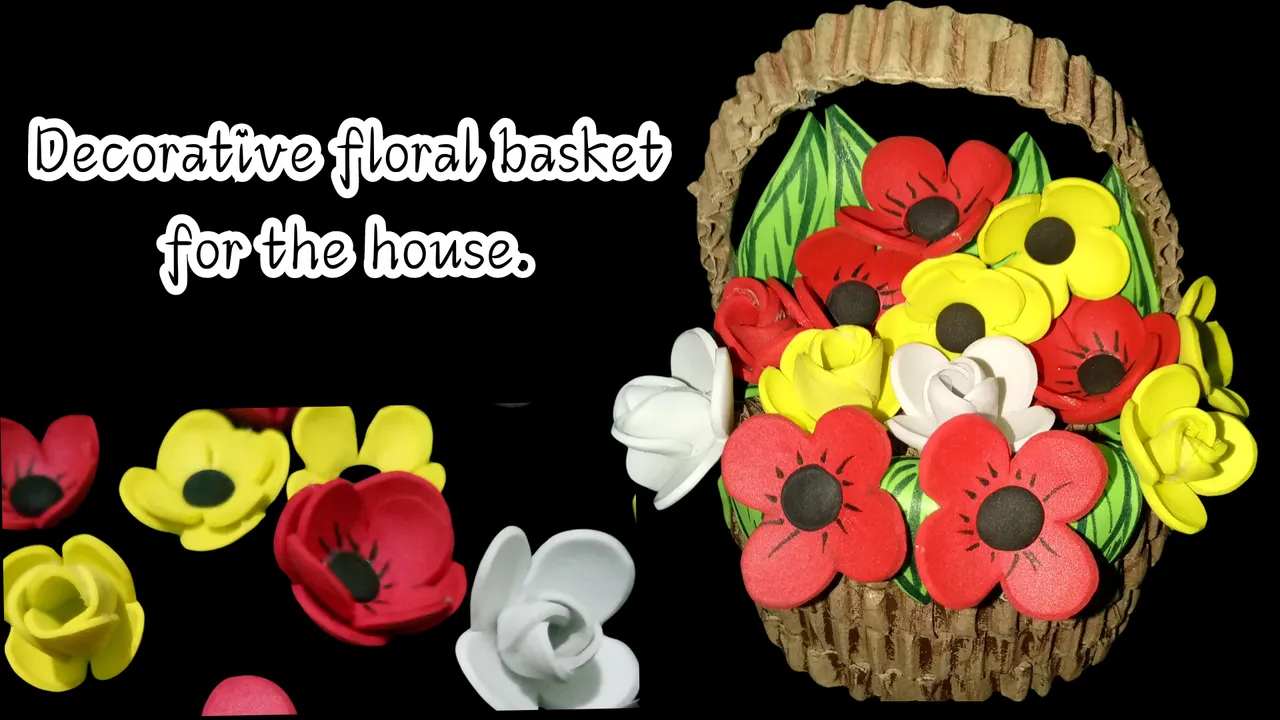
Greetings, beautiful people of this dear Diyhub community, today I am here to share with you a very striking craft I made to decorate the house.
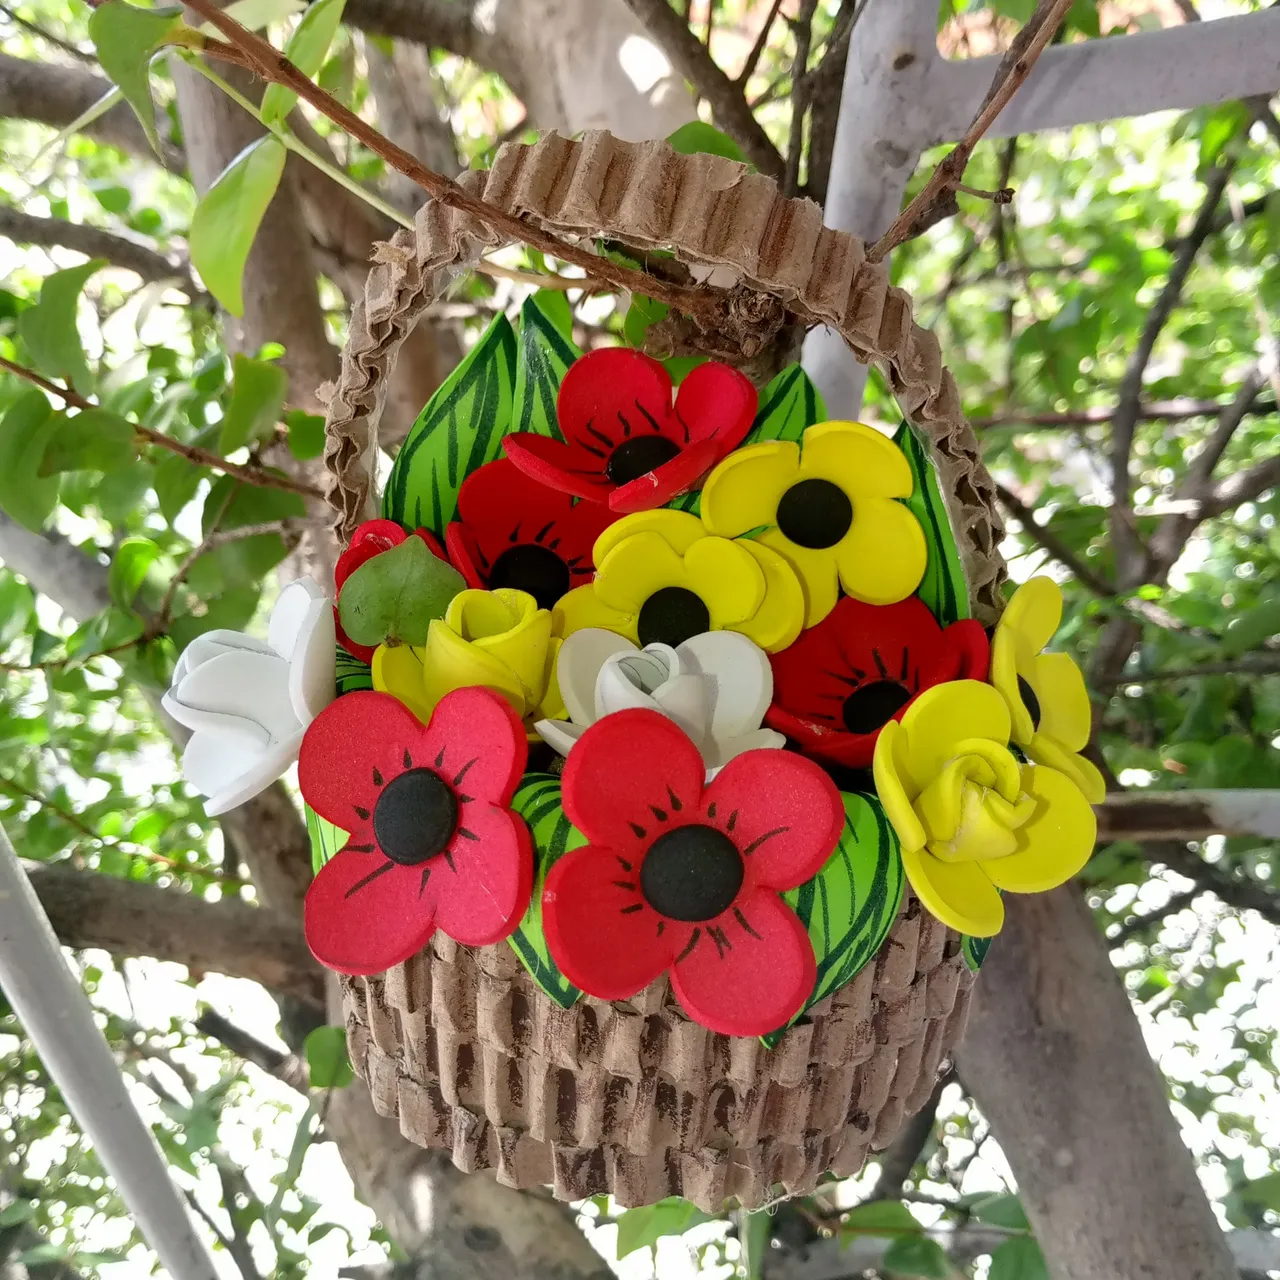
It is a basket of spring flowers, I did inspired by my house, I have not made new decorations for a while and it's time to start placing details that give another look, and nothing like the flowers that make anyone happy, even in the saddest moments, I made these baskets with the intention of placing them on the wall of the porch of the house, I think they will look radiant and are easy to do, plus the materials are very cheap, most of them I found at home, just buy the foami and silicone, my daughter lent me the markers.
So we do not need so much to make a nice decoration for the walls, they are also nice to decorate the fridge, as it is a flat basket on the back side, and will easily adapt to smooth and flat surfaces.
I hope you like it and I encourage you to make this cute basket.
I am showing you one of the many baskets that I am going to make, but with different combinations of flowers and colors, to place them in different places in the house, I love flowers and it makes me happy to have them at home decorating every corner, flowers will always be beautiful whether natural or artificial, so we have no excuses to love them.
The pictures you will see below were taken with my phone model TECNO SPARK GO 2024.
Reciban un gran saludo, gente bonita de esta querida comunidad Diyhub, hoy me encuentro por aquí para compartirles una manualidad muy llamativa que hice para decorar la casa.
Se trata de una cesta de flores de primavera, que hice inspirada en mi casa, hace un tiempo no hago decoraciones nuevas y ya es hora de comenzar a colocar detalles que le den otro aspecto, y nada como las flores que alegran a cualquiera, hasta en los momentos más tristes, estas cestas las hice con la intención de colocarlas en la pared del porche de la casa, pienso que se verán radiantes y son fáciles de hacer, además los materiales son bien económicos, la mayoría los encontré en casa, solo compre el foami y la silicona, los marcadores me los presto mi hija.
Así que no necesitamos tanto para hacer una bonita decoración para las paredes, también son lindas para decorar la nevera, ya que es una cesta plana en la parte del revés, y se adaptara fácilmente a superficies lisas y planas.
Espero que les guste y se animen hacer esta cesta tan linda.
Les estoy mostrando una de las tantas cestas de esta que voy a hacer, pero con diferentes combinaciones de flores y colores, para colocarlas en distintos lugares de la casa, amo las flores y me hace feliz tenerlas en casa decorando cada rincón, las flores siempre serán bellas sean naturales o artificiales, así que no tenemos excusas para amarlas.
Las fotografías que verán a continuación, fueron tomadas con mi teléfono modelo TECNO SPARK GO 2024.

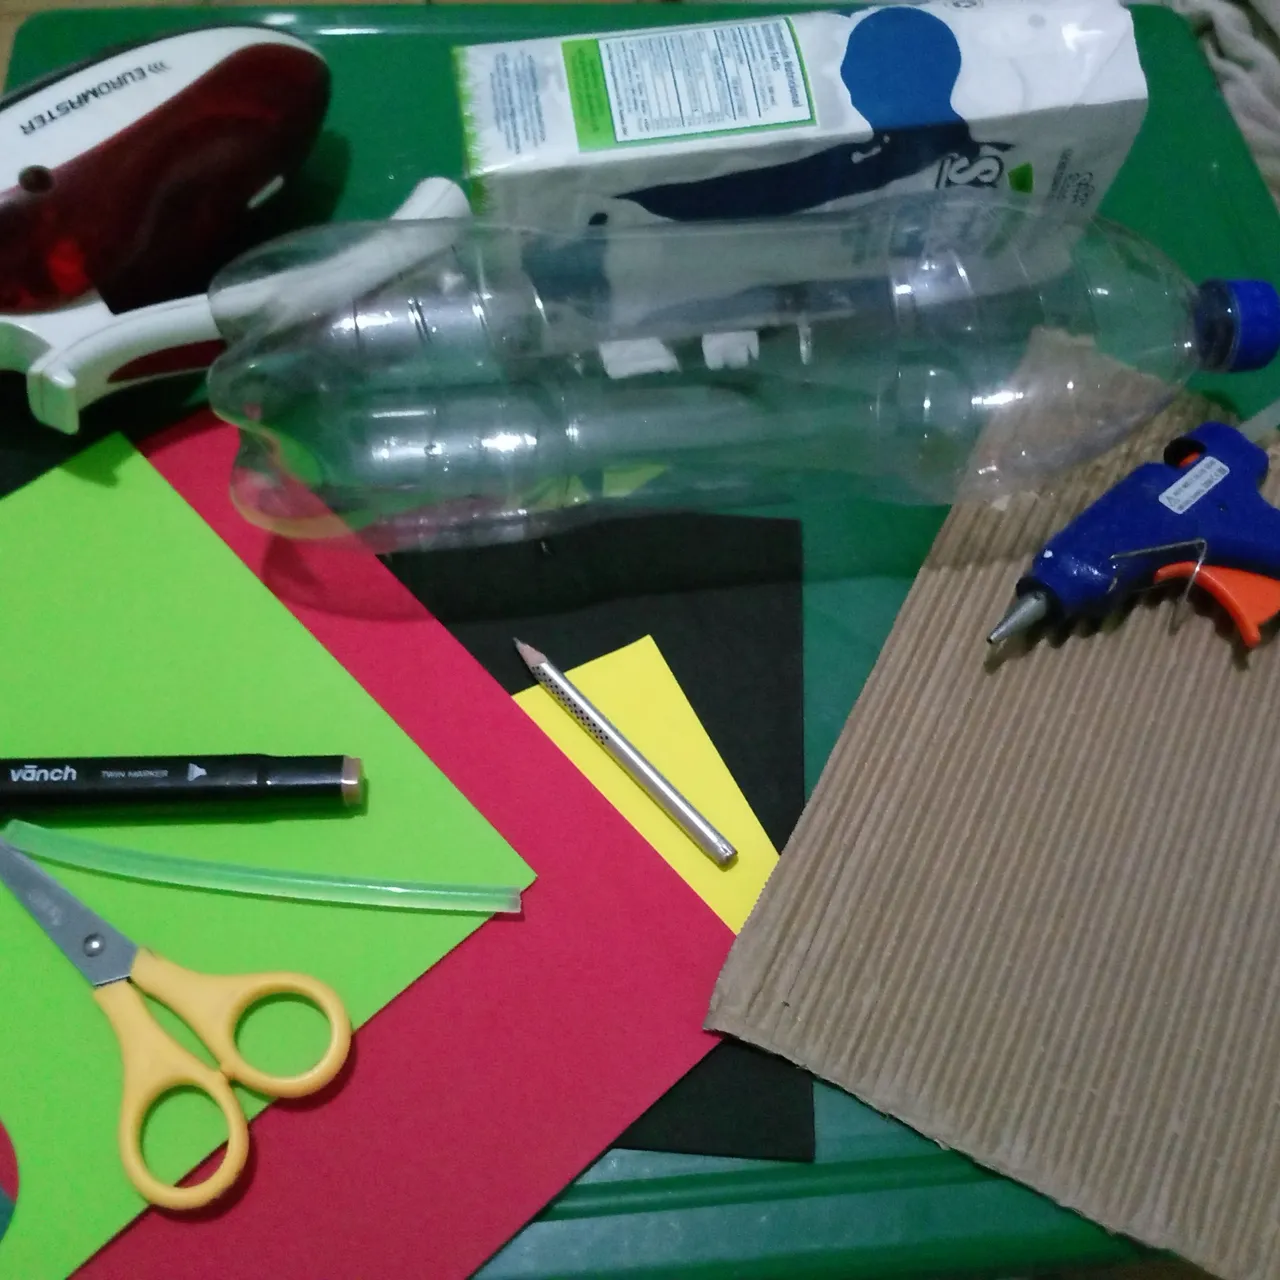
Next, I will name you the materials I used for this work.
🌼1 plastic soda bottle
🌼1 cardboard box
🌼Foami colors, red, green, black, yellow and white.
🌼1 sheet of corrugated cardboard.
🌼Markers, brown, green and black.
🌼Silicone sticks
🌼Pencil
🌼Scissors
🌼Iron
🌼Silicone gun
A continuación, les nombraré los materiales que utilice para este trabajo.
🌼 Una botella plástica de refresco
🌼 Una caja de cartón
🌼 Foami de colores, rojo, verde, negro, amarillo y blanco
🌼 Una lámina de cartón corrugado
🌼 Marcadores, marrón, verde y negro
🌼 Silicona en barra
🌼 Lápiz
🌼 Tijera
🌼 Plancha
🌼 Pistola para silicona
 |  |
|---|---|
 |  |
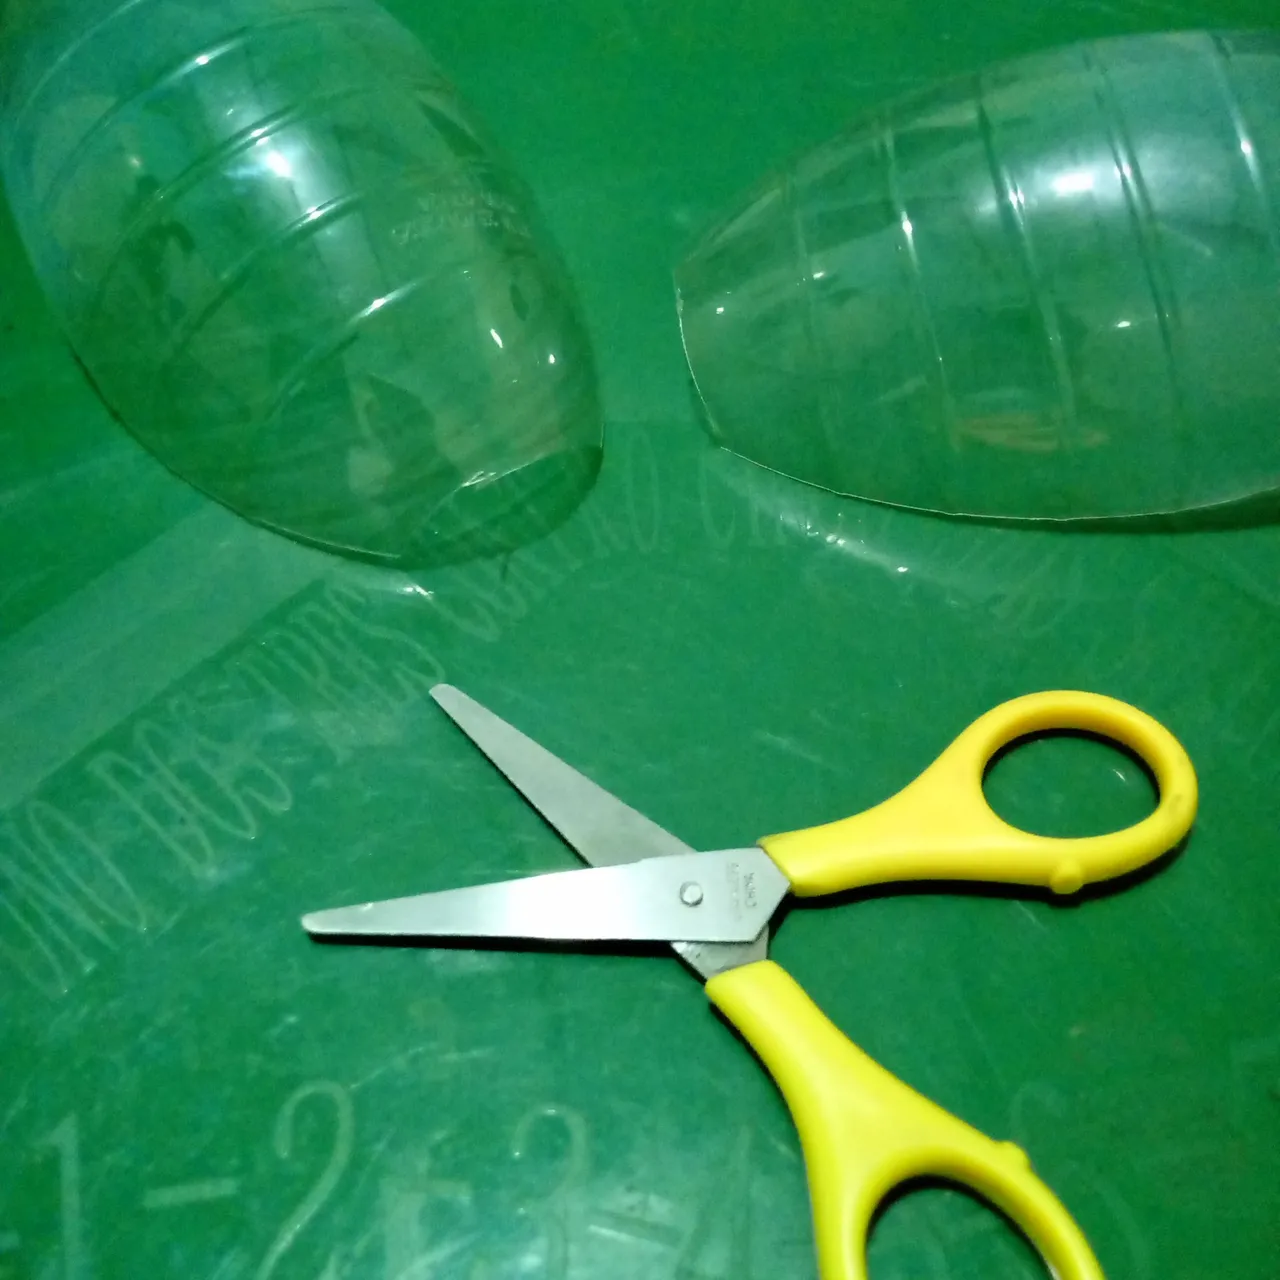
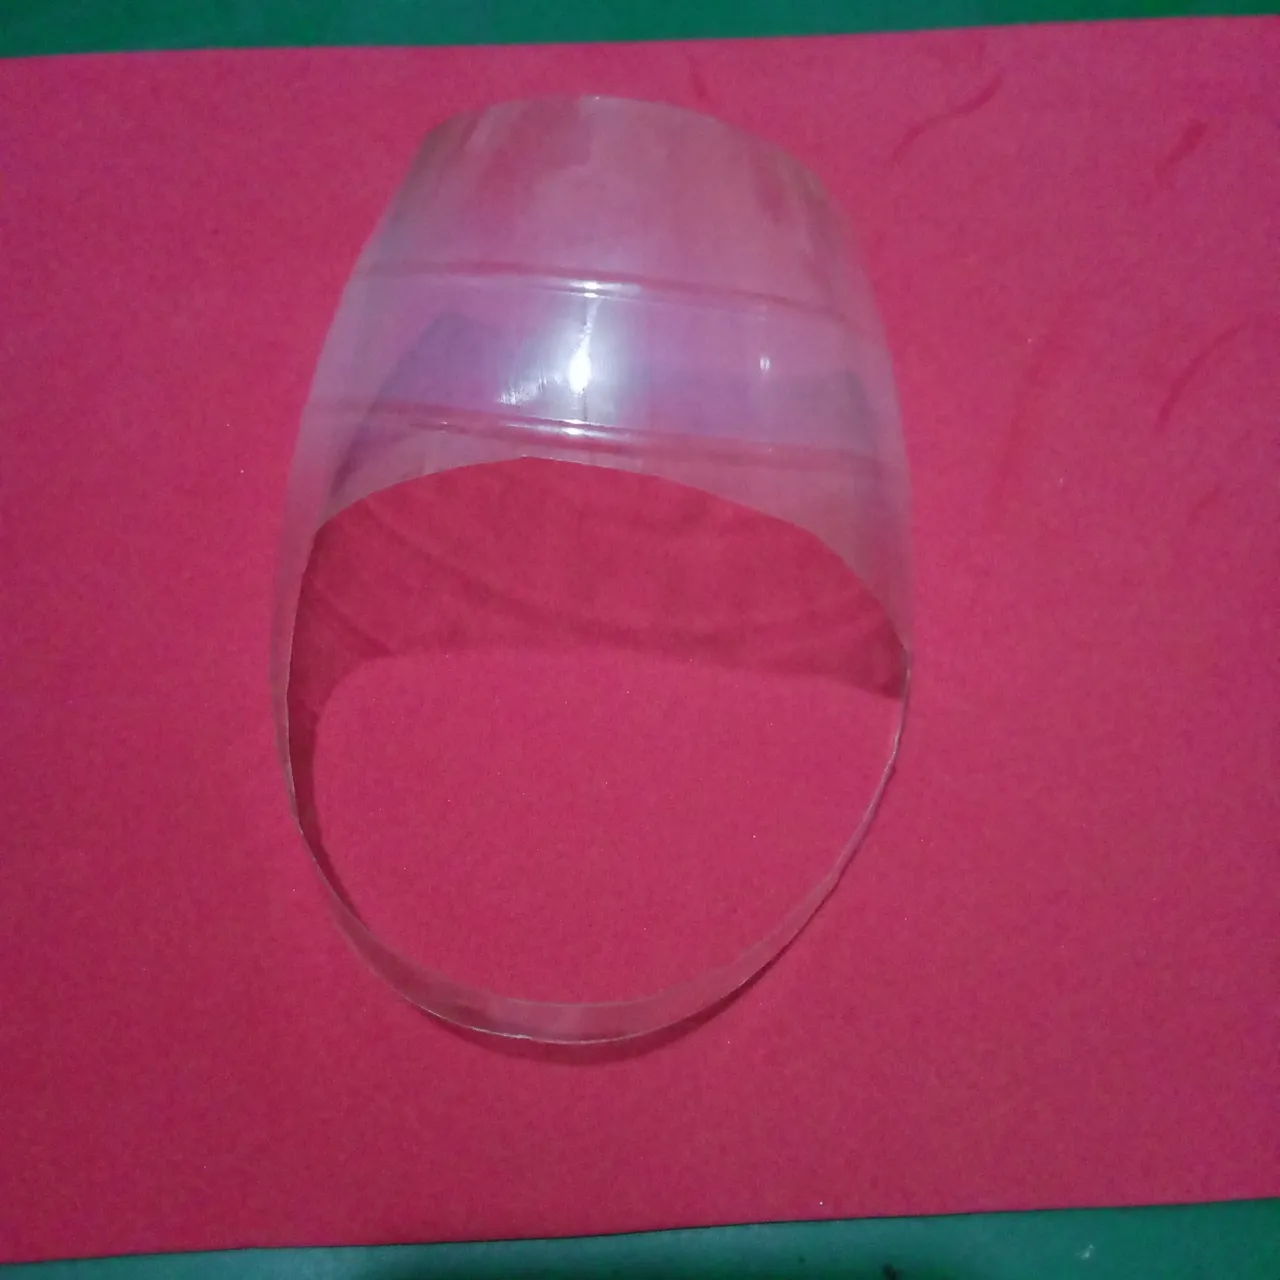
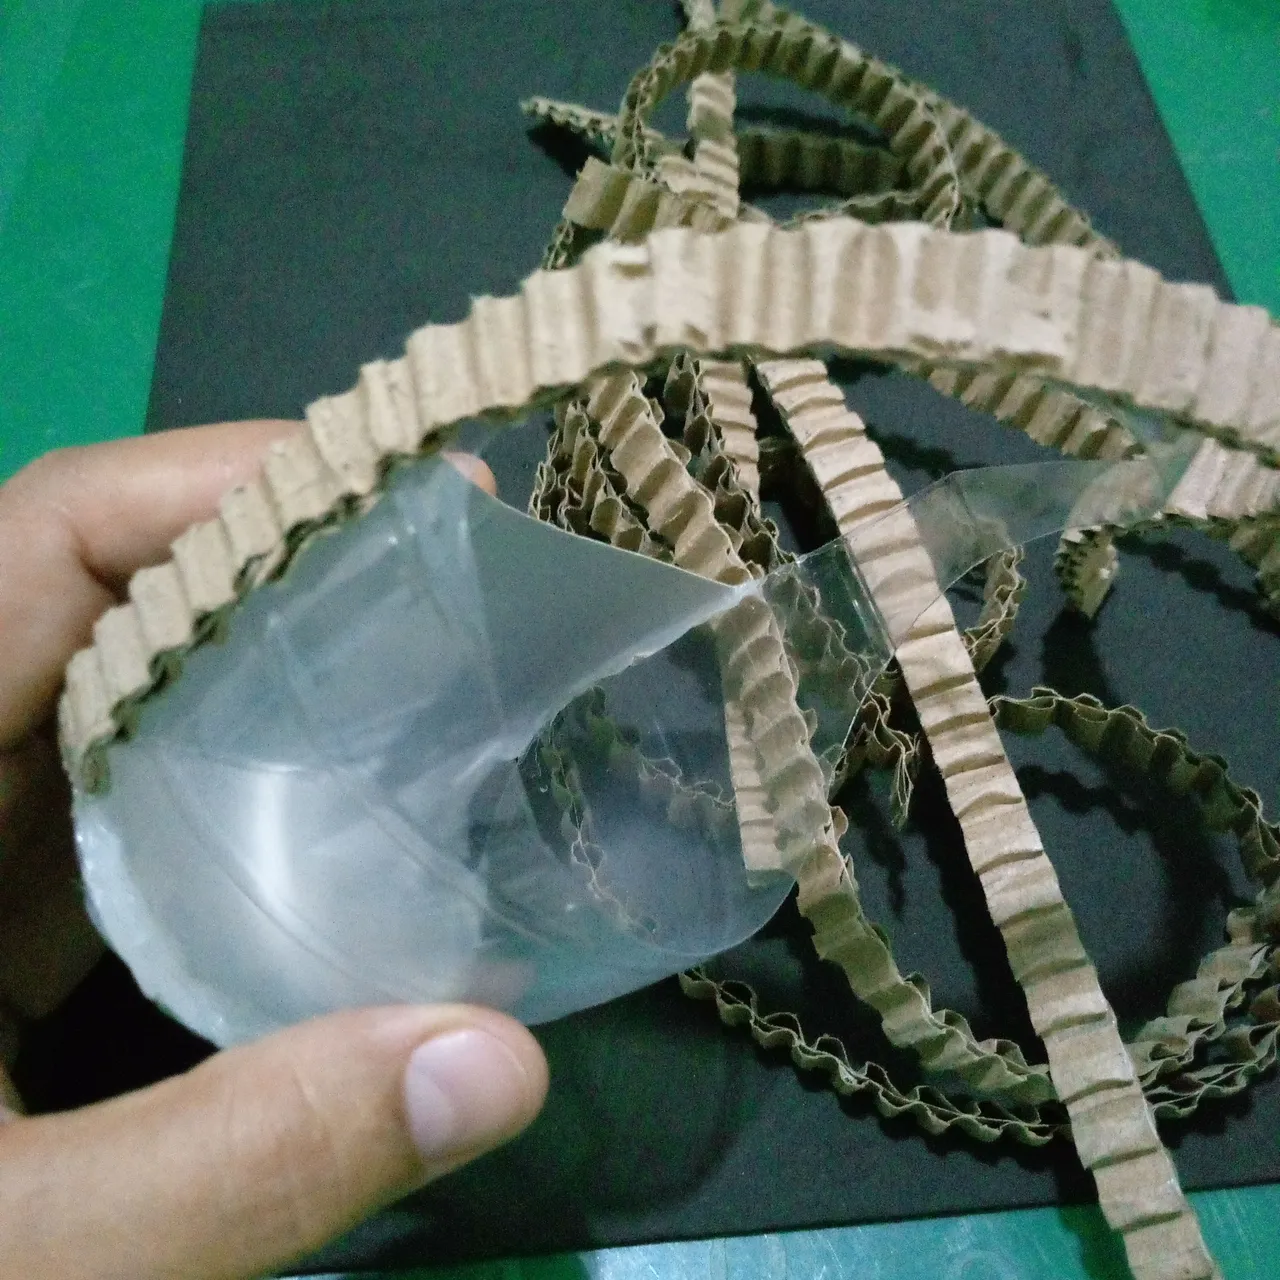
To start, take the plastic bottle, cut with the scissors the upper part to half a cup, then cut that piece in half, on the sides, these pieces are the main base of the basket.
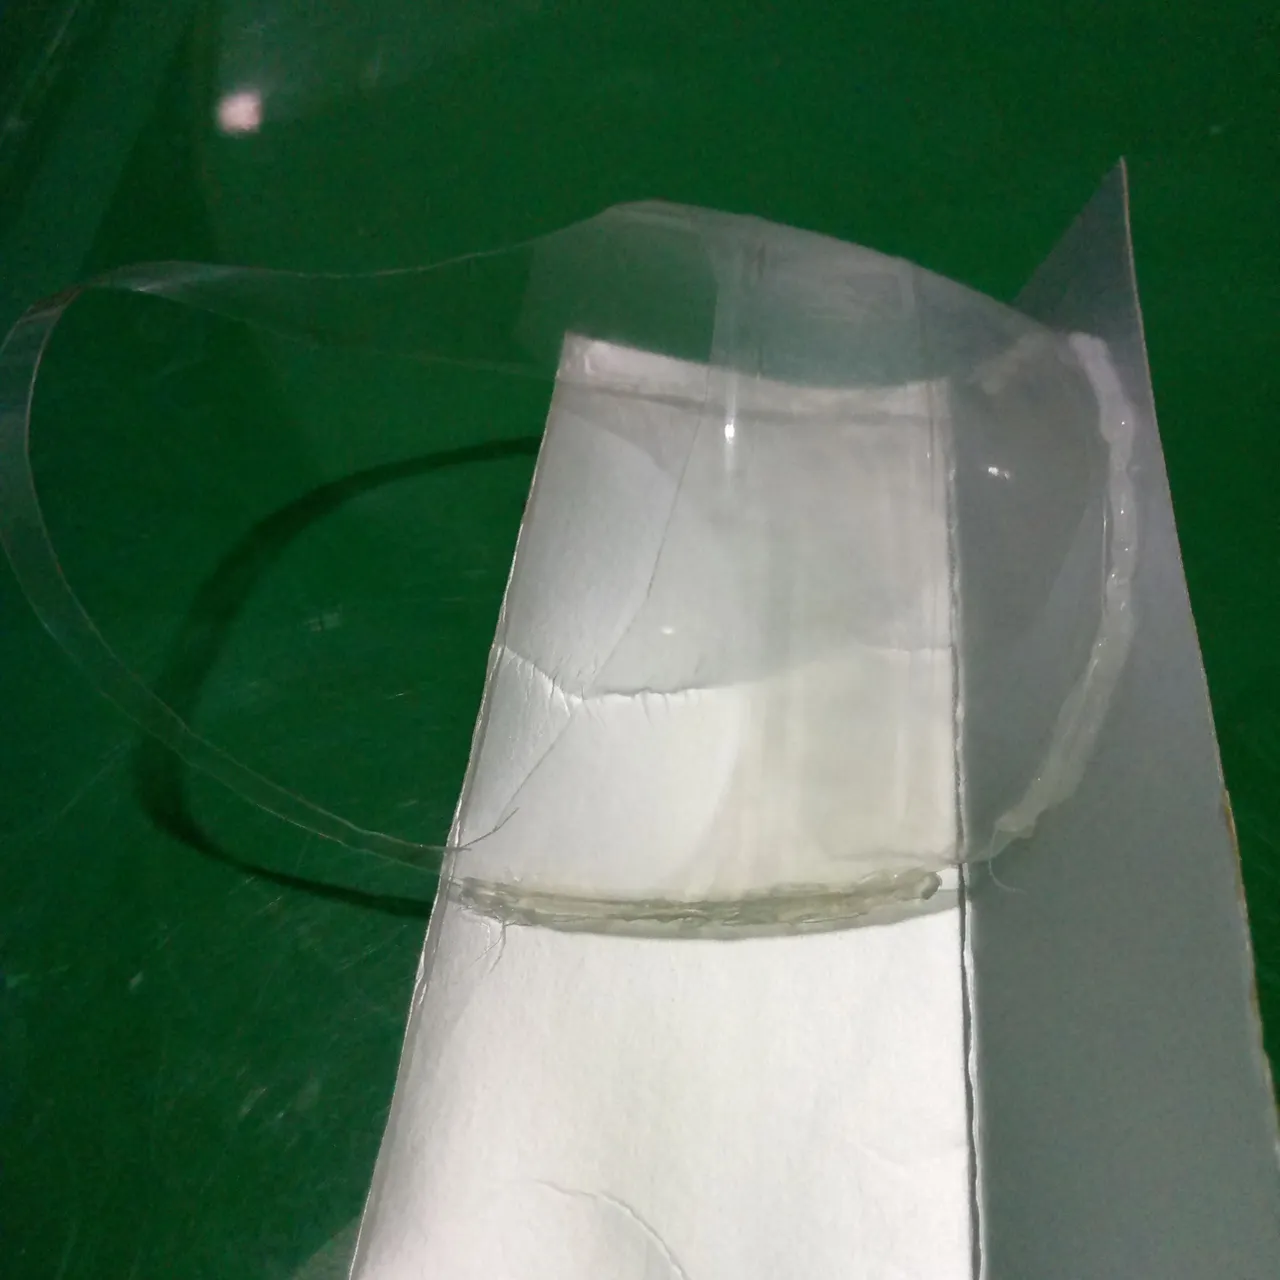
With the scissors I made some cuts in the shape of a basket, after having the shape, I glued it with hot silicone on a piece of milk carton, it was not easy to glue it because it would come off again, and after several attempts I was able to achieve it, you must also be careful not to deform the shape of the plastic basket, because the hot silicone can take a twisted shape. My recommendation is to use cold silicone, if it is easier for you, I prefer the hot silicone because it dries faster.
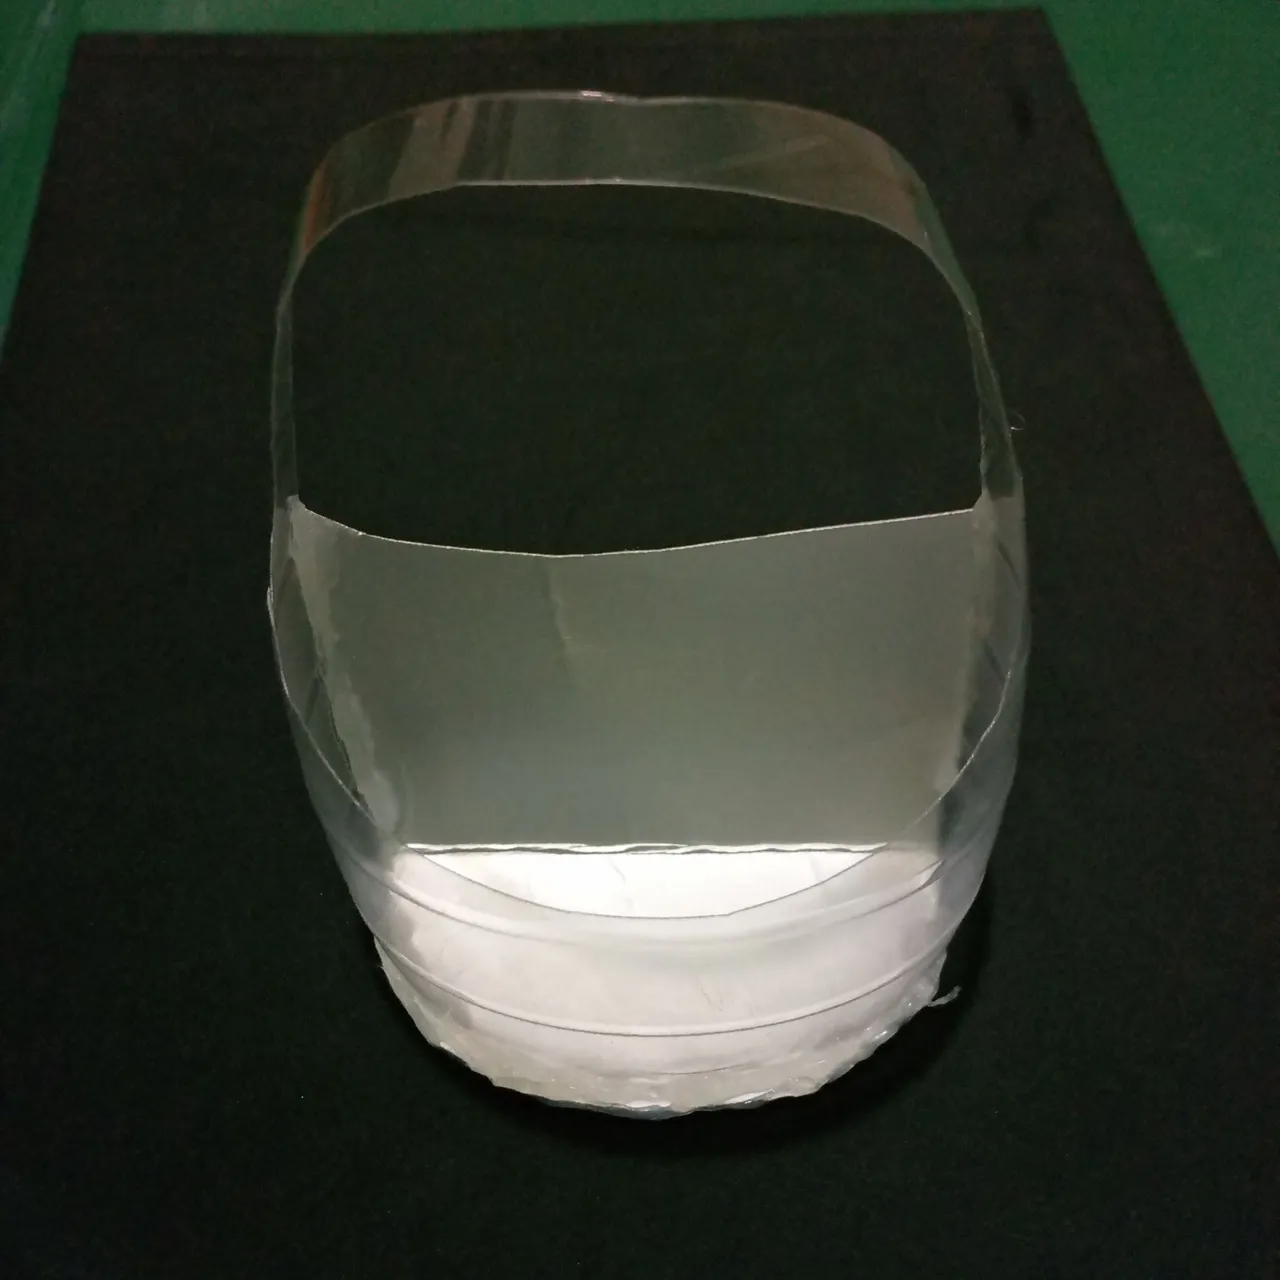
After I had glued it completely, I cut off the excess cardboard and that was it, I had the key piece for my beautiful work.
Para empezar tome la botella de plástico, corte con la tijera la parte superior a media copa, después esa pieza la corte por la mitad, por los laterales, estas piezas son la base principal de la cesta.
Con la tijera hice unos cortes en forma de cesta, después de tener la forma, la pegue con silicona caliente, sobre un trozo de cartón de caja de leche, no fue fácil pegarla porque se volvía a desprender, y después de varios intentos lo pude lograr, también hay que tener cuidado para no deformar la forma de la cesta de plástico, ya por el caliente de la silicona puede tomar una forma torcida. Mi recomendación es que utilicen silicona al frío, si se les hace más fácil, yo prefiero la caliente por la rapidez de secado.
Después que la había pegado totalmente, recorte el excedente del cartón y listo, ya tenía la pieza clave para mi lindo trabajo.
 |  |
|---|---|
 | 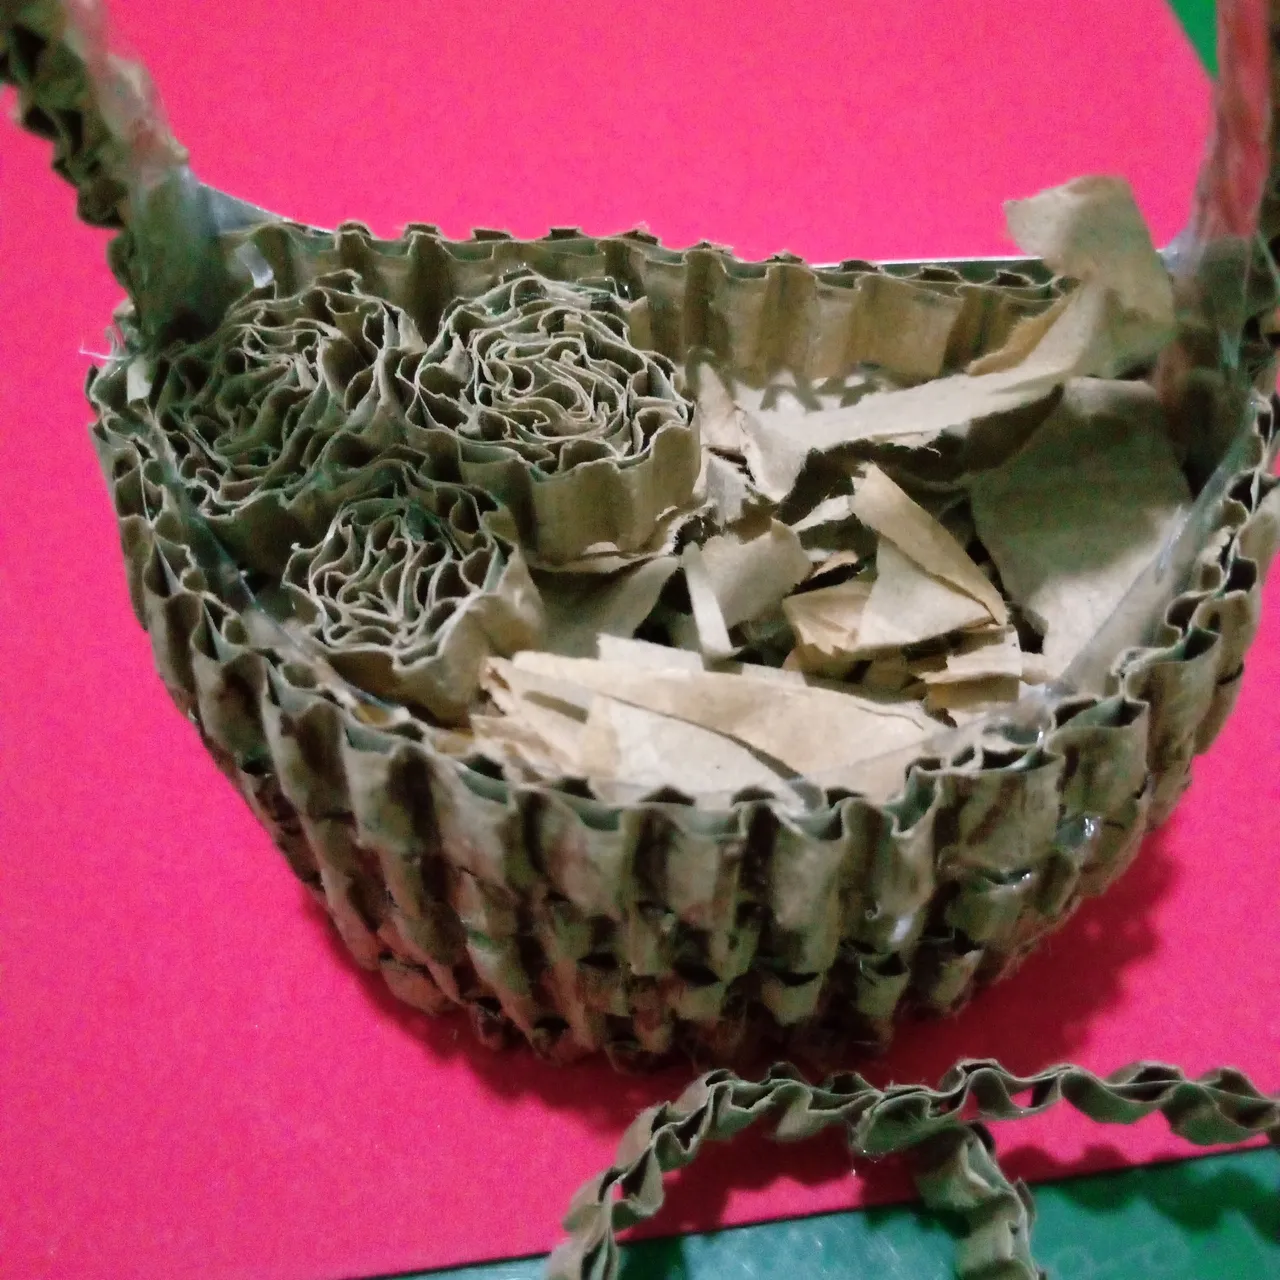 |
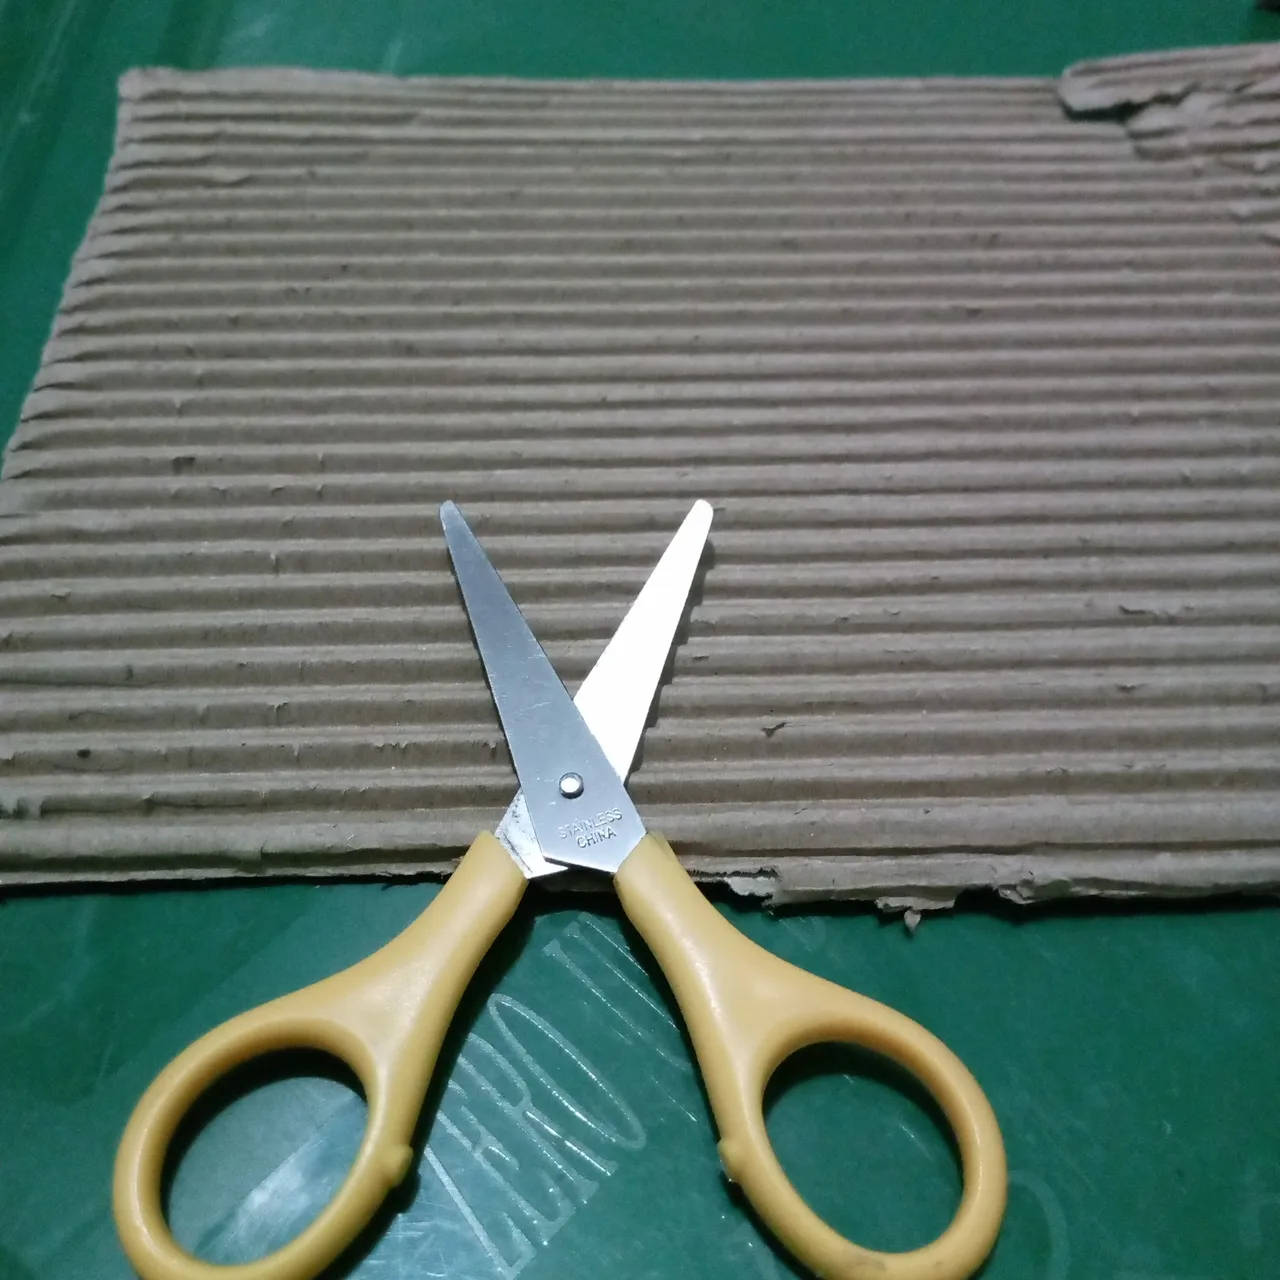
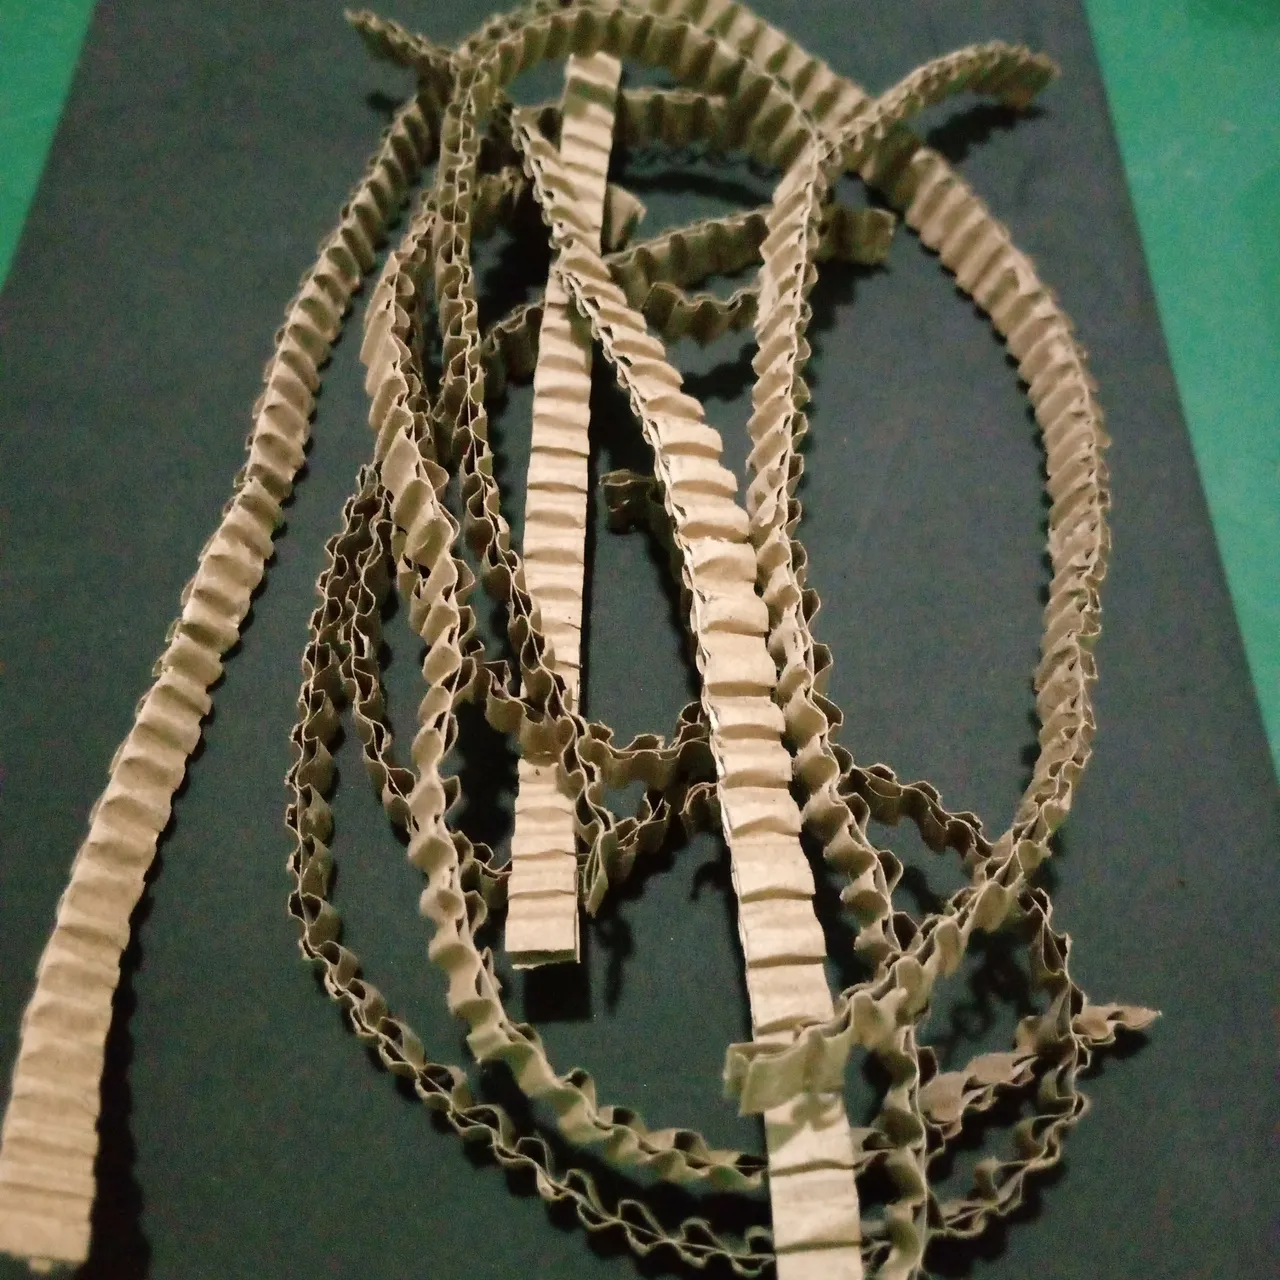
Continuing, I cut some strips of corrugated cardboard, to line the basket, and with silicone I glued it, starting first by lining the handle, then I covered it completely with ribbons glued horizontally, after being lined I painted it with the brown marker between the lines to highlight the material of the basket and make it more vivid.
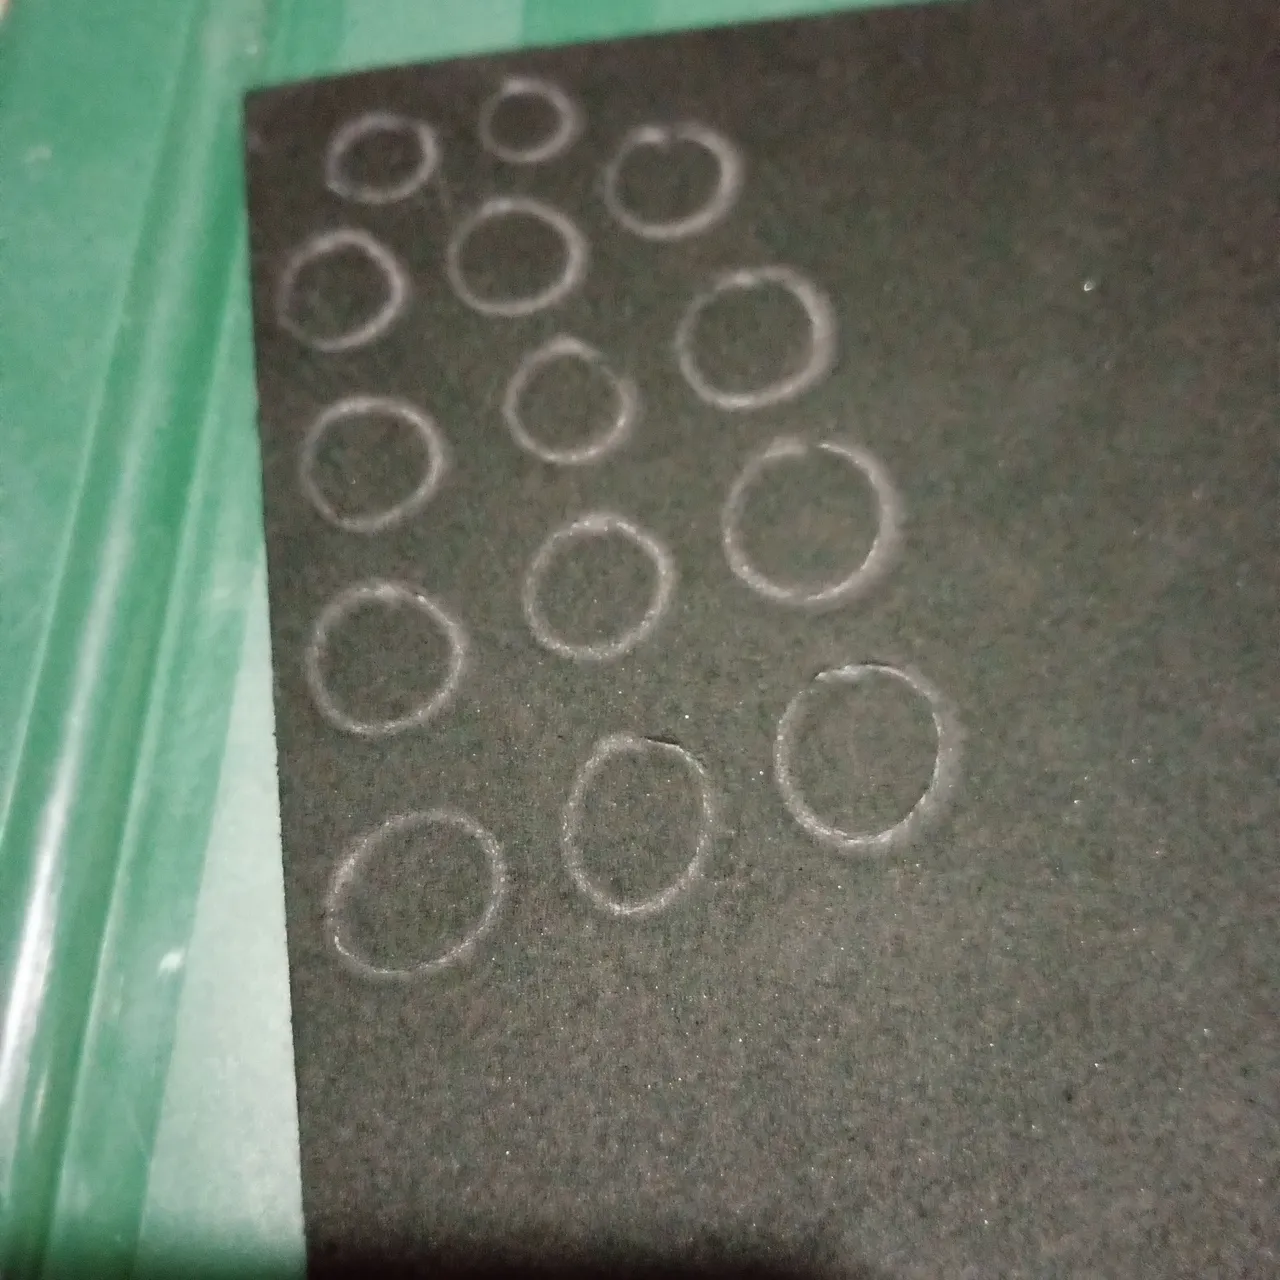
After that, I filled the basket with cardboard scraps, and at the top I covered it with circles of corrugated tape that I had left after I lined the basket.
Continuando, corte unas tiras de cartón corrugado, para forrar la cesta, y con silicona la fui pegando, comenzando primero por forrar el asa, después la cubrí totalmente con cintas pegadas en sentido horizontal, después de estar forrada la pinté con el marcador marrón entre líneas para resaltar el material de la cesta y hacerlo más vivo.
Seguido a ello, relleno la cesta con retazos de cartón, y en la parte superior cubrí con círculos de cinta corrugada que me había quedado después que forre la cesta.
 |  |
|---|---|
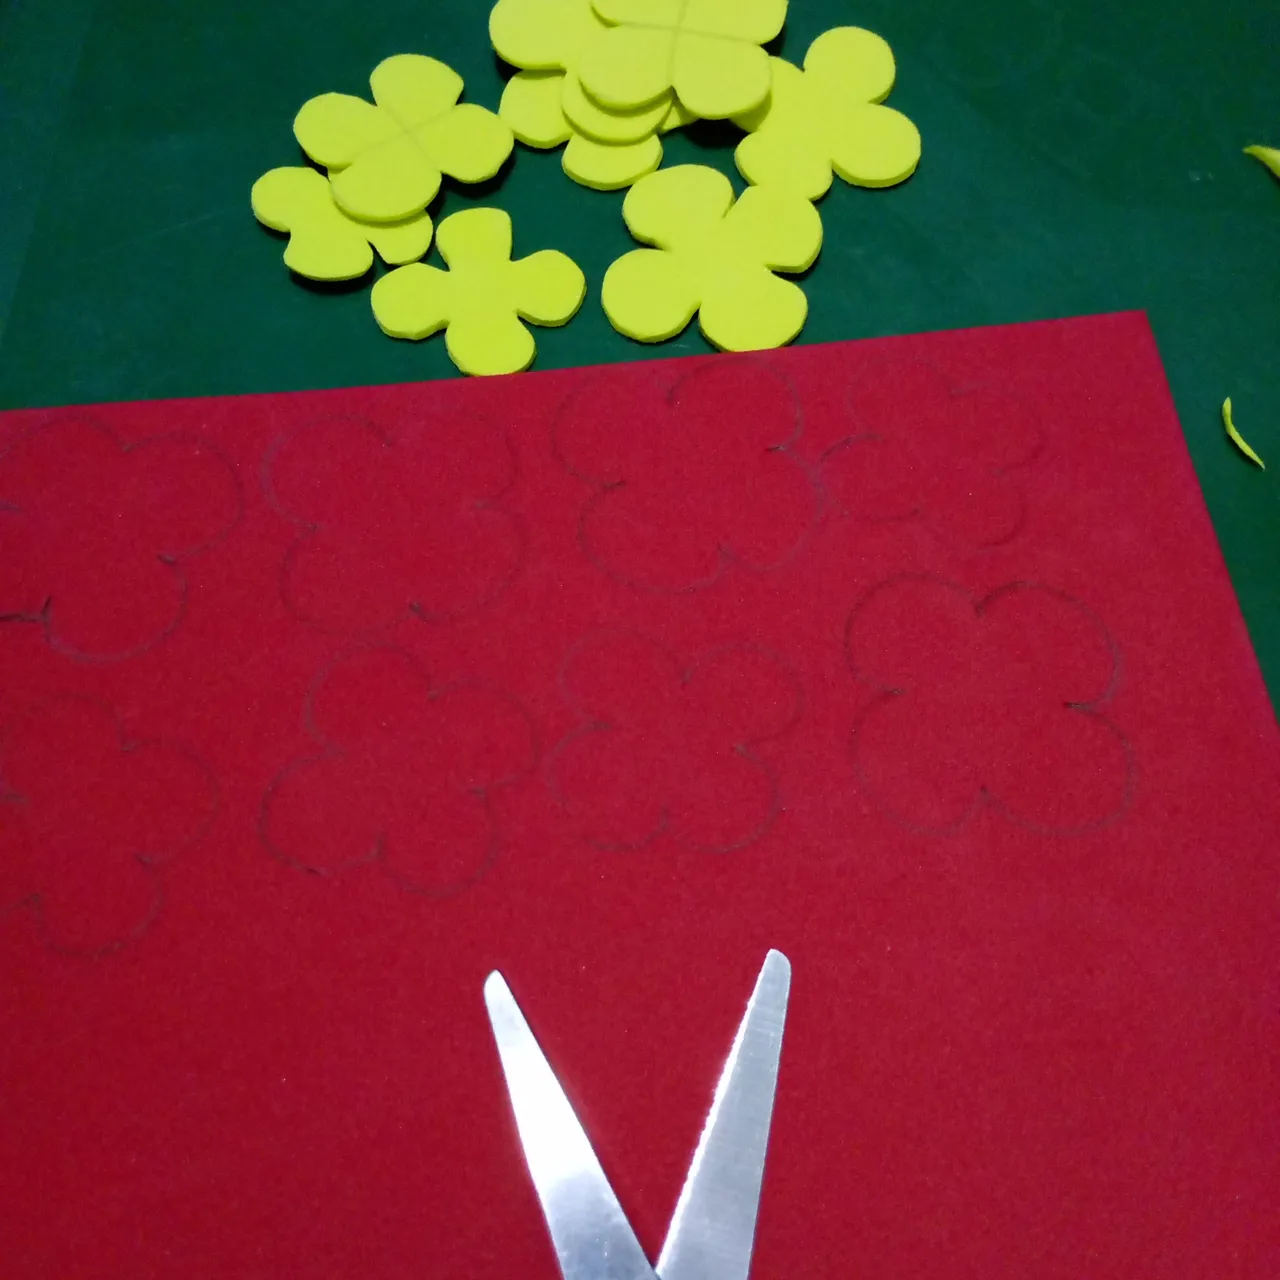 | 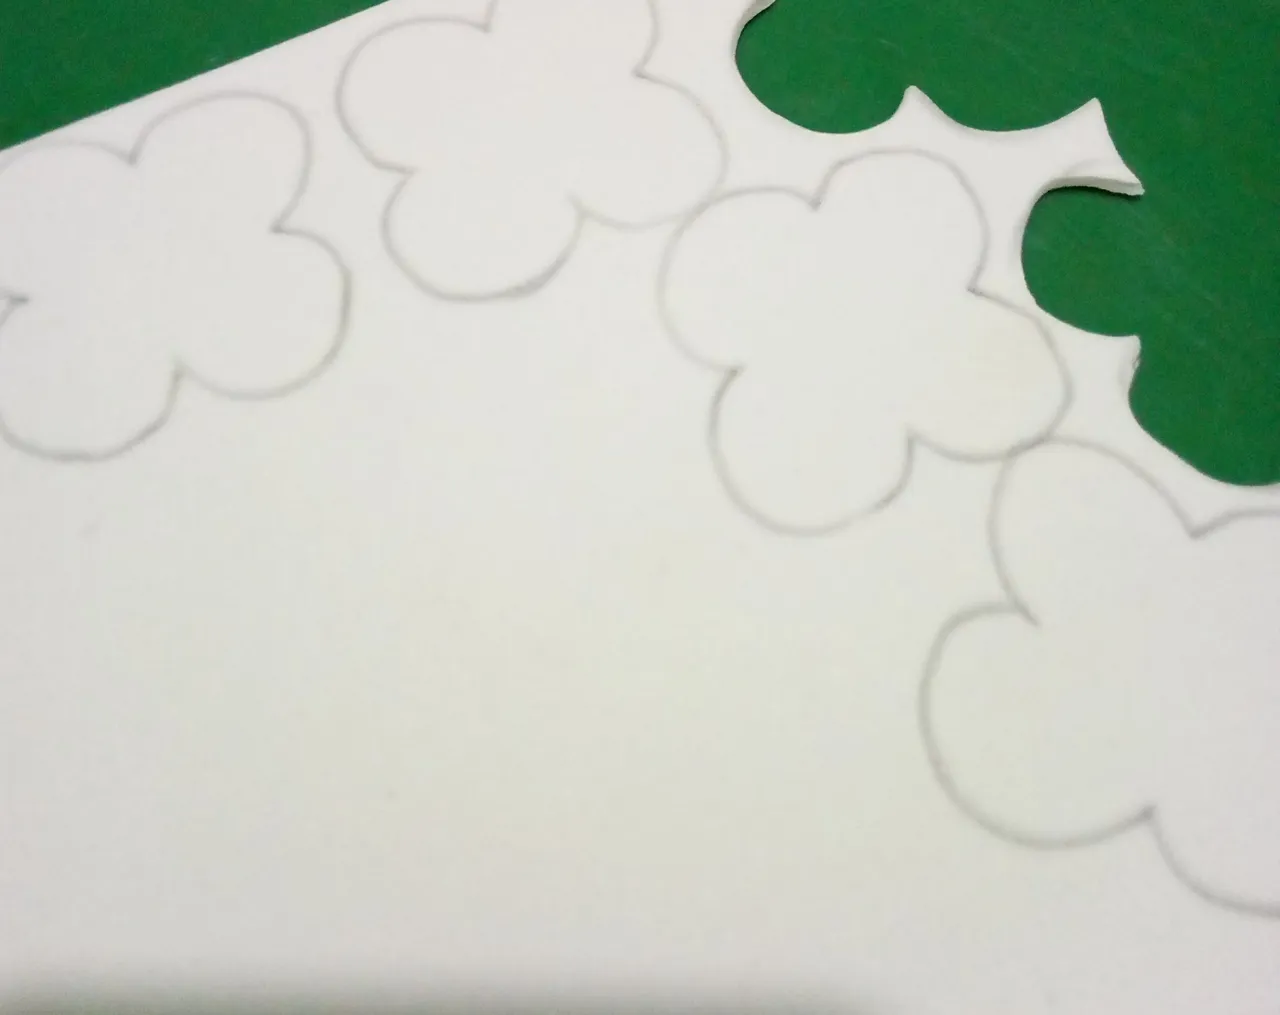 |
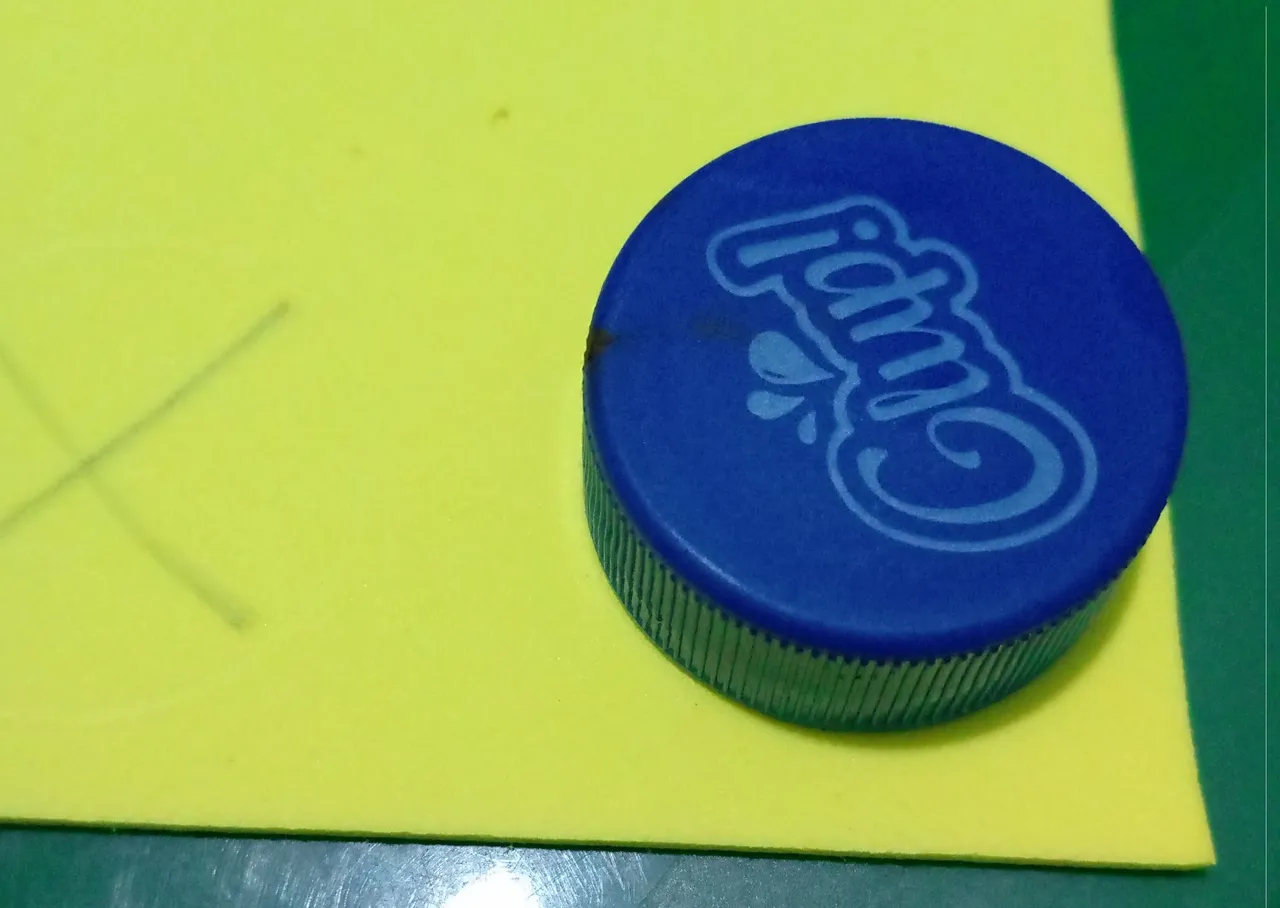
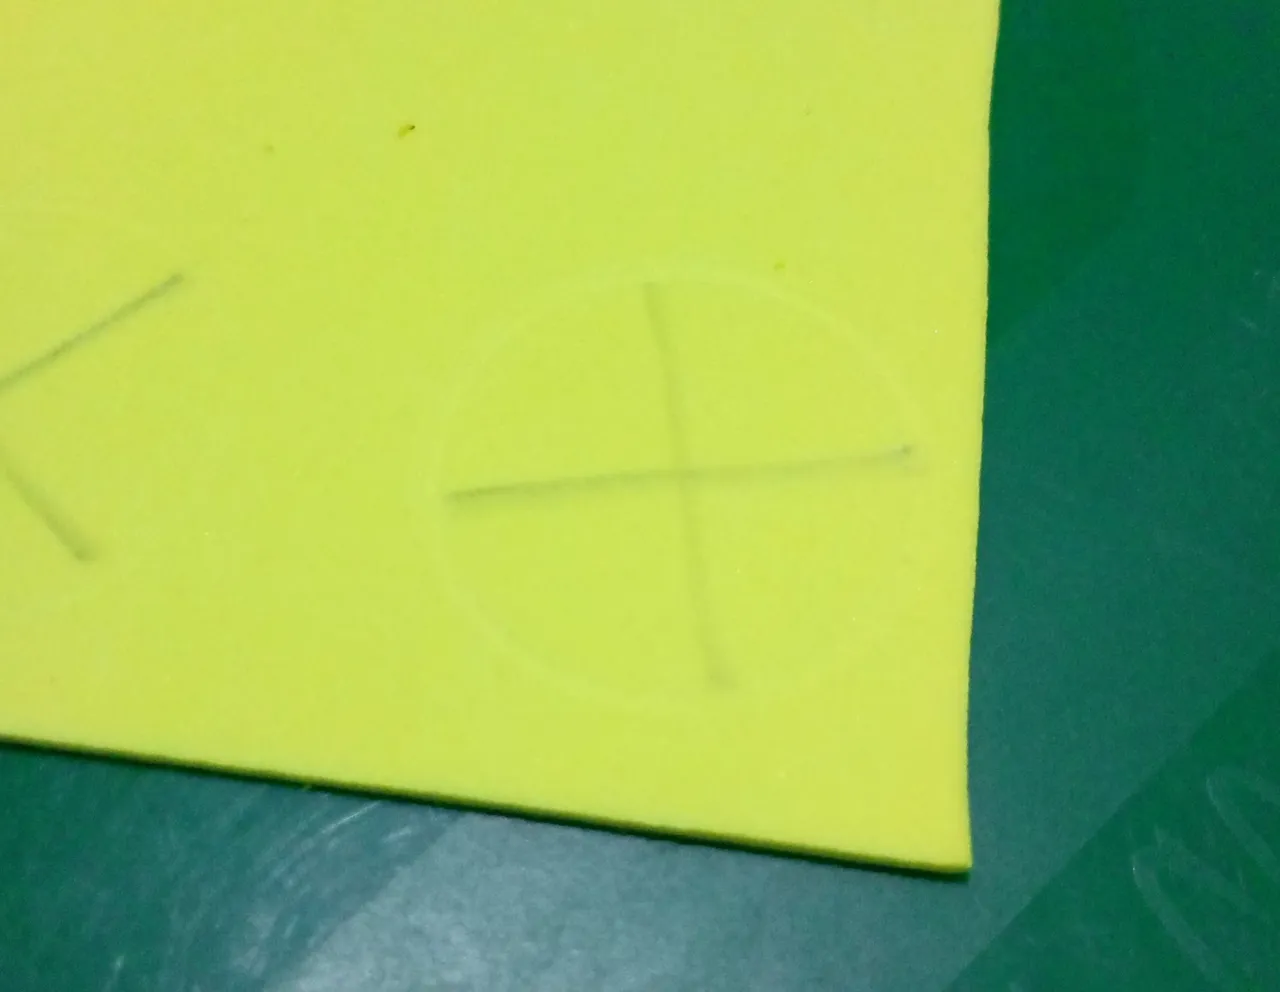
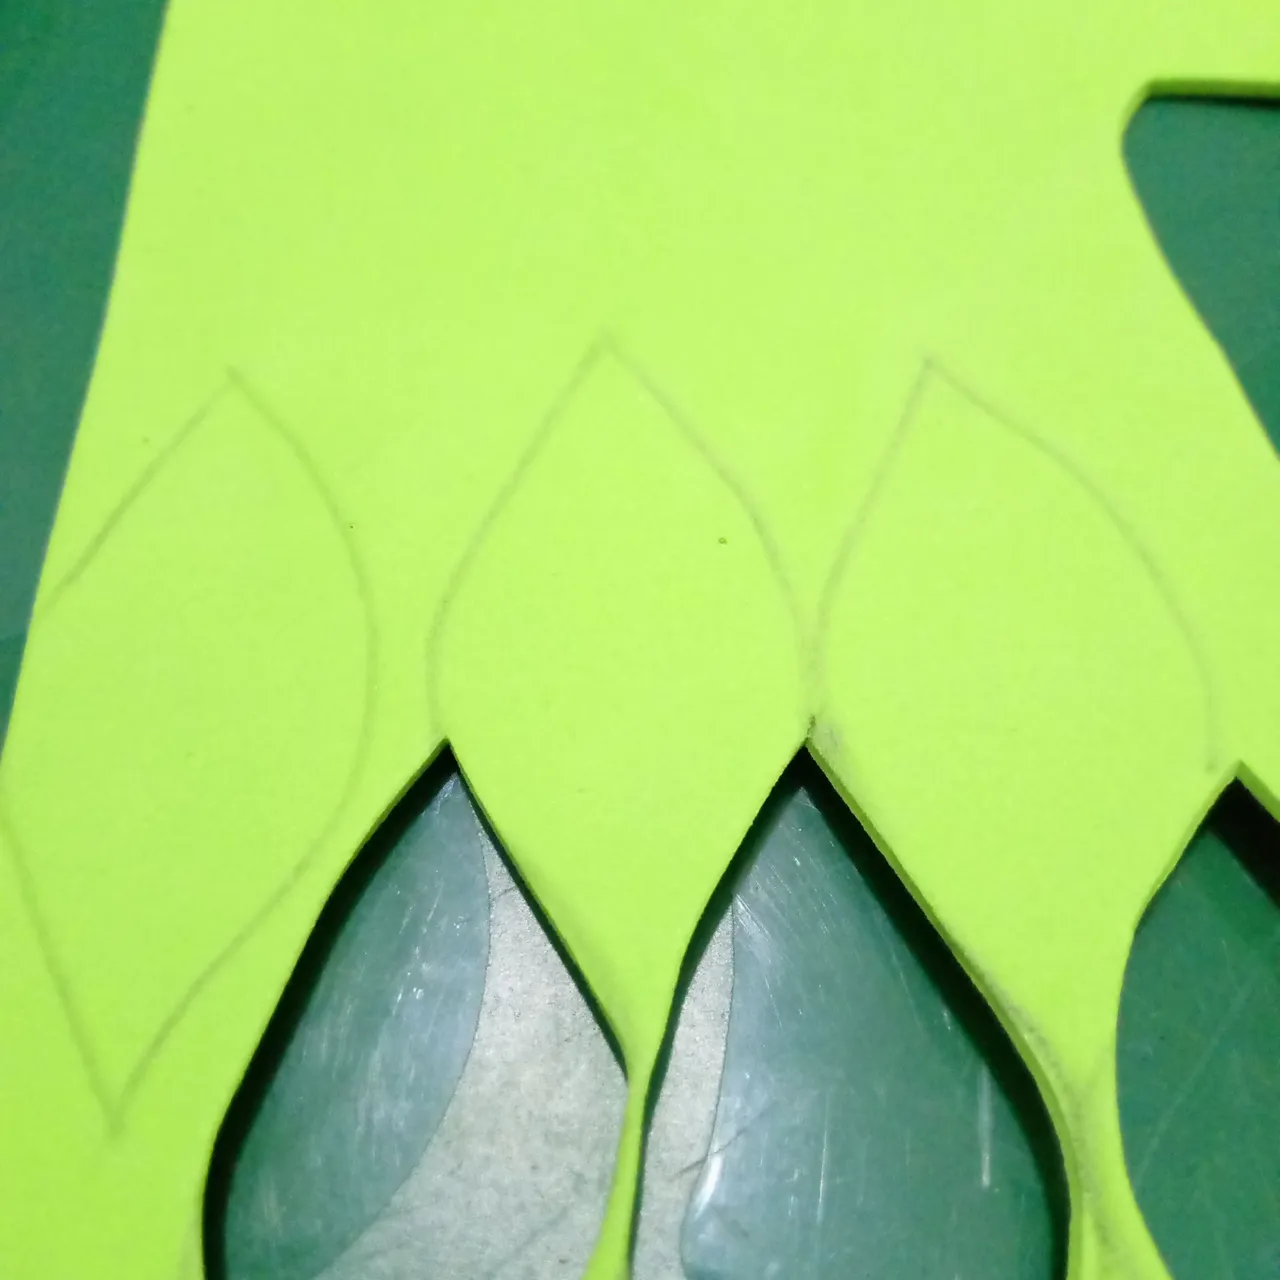
The next step, after the basket was ready, was to make the flowers to decorate it, using the lid of the bottle it was easier for me, I made pressure on the foami, then I marked with the pencil an X shape, using that guide, I gave shape and size to the petals, making some larger and some smaller, which after cutting them out I used them as a pattern to make the rest of the flowers, which after completing them I cut them to continue with the next step.
El siguiente paso, después que la cesta quedo lista, fui hacer las flores para decorarla, que utilizando la tapa de la botella se me hizo más fácil, hice presión sobre el foami, luego marque con el lápiz una forma de X, que mediante esa, guía, le di forma y tamaño a los pétalos, haciendo unos más grandes y otros más pequeños, que luego de recortarlos los utilice como patrón para sacar el resto de las flores, que después de completarlas las recorte para continuar con el siguiente paso.
 |  |
|---|---|
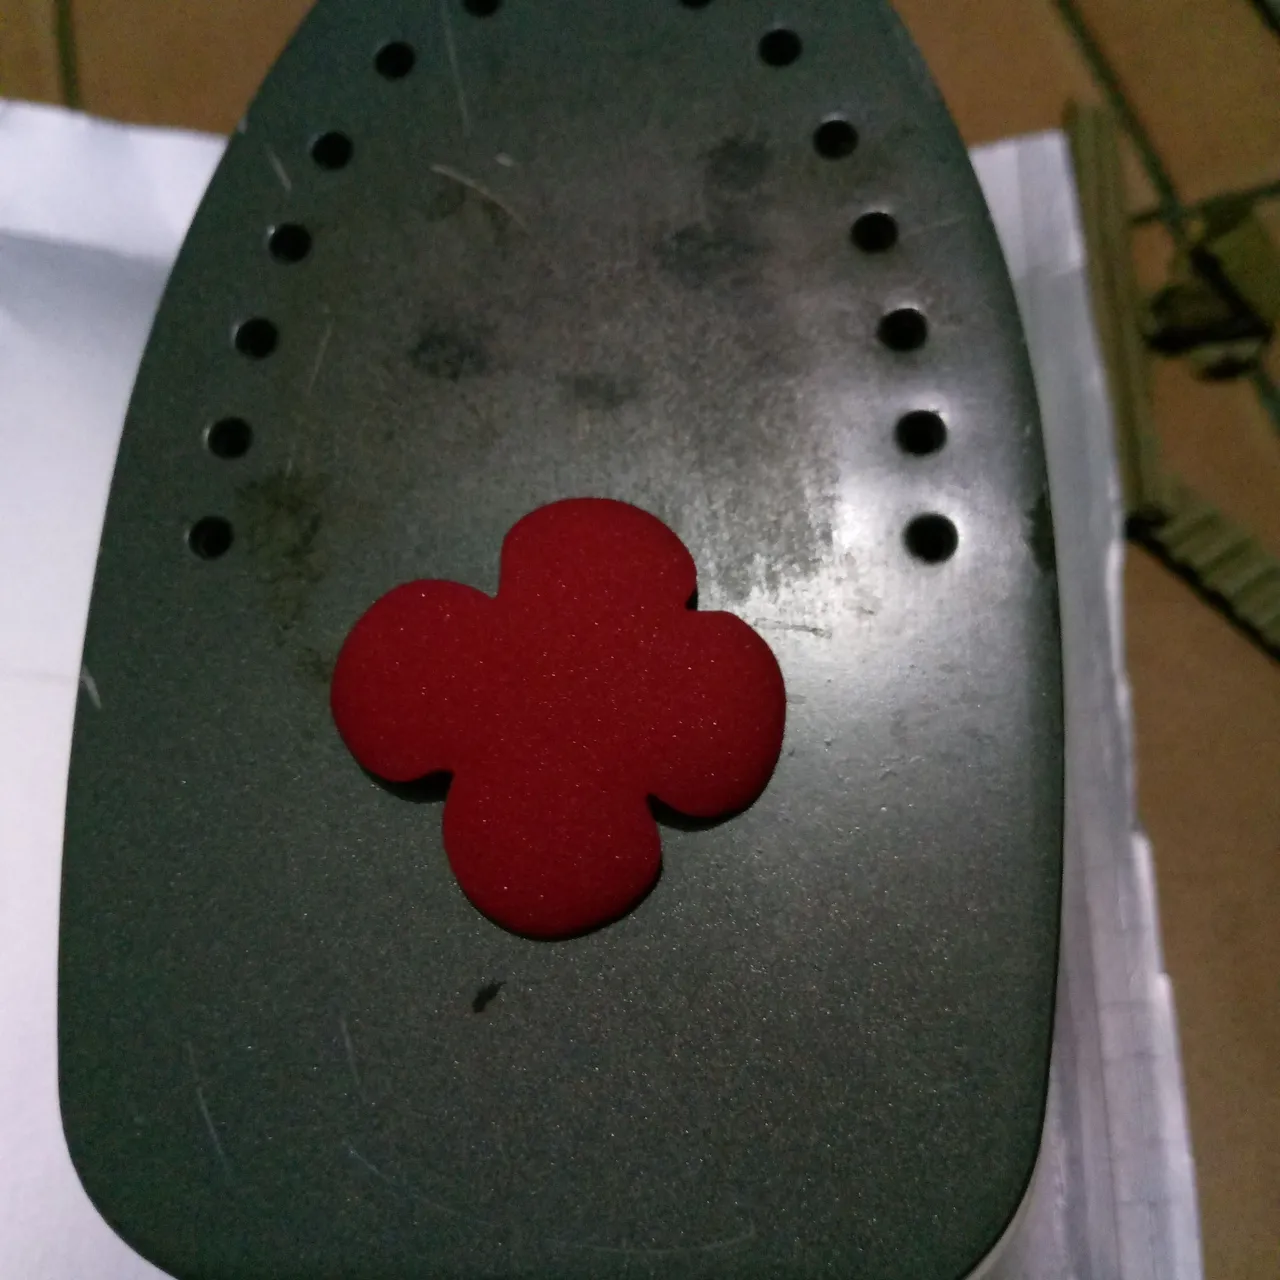 | 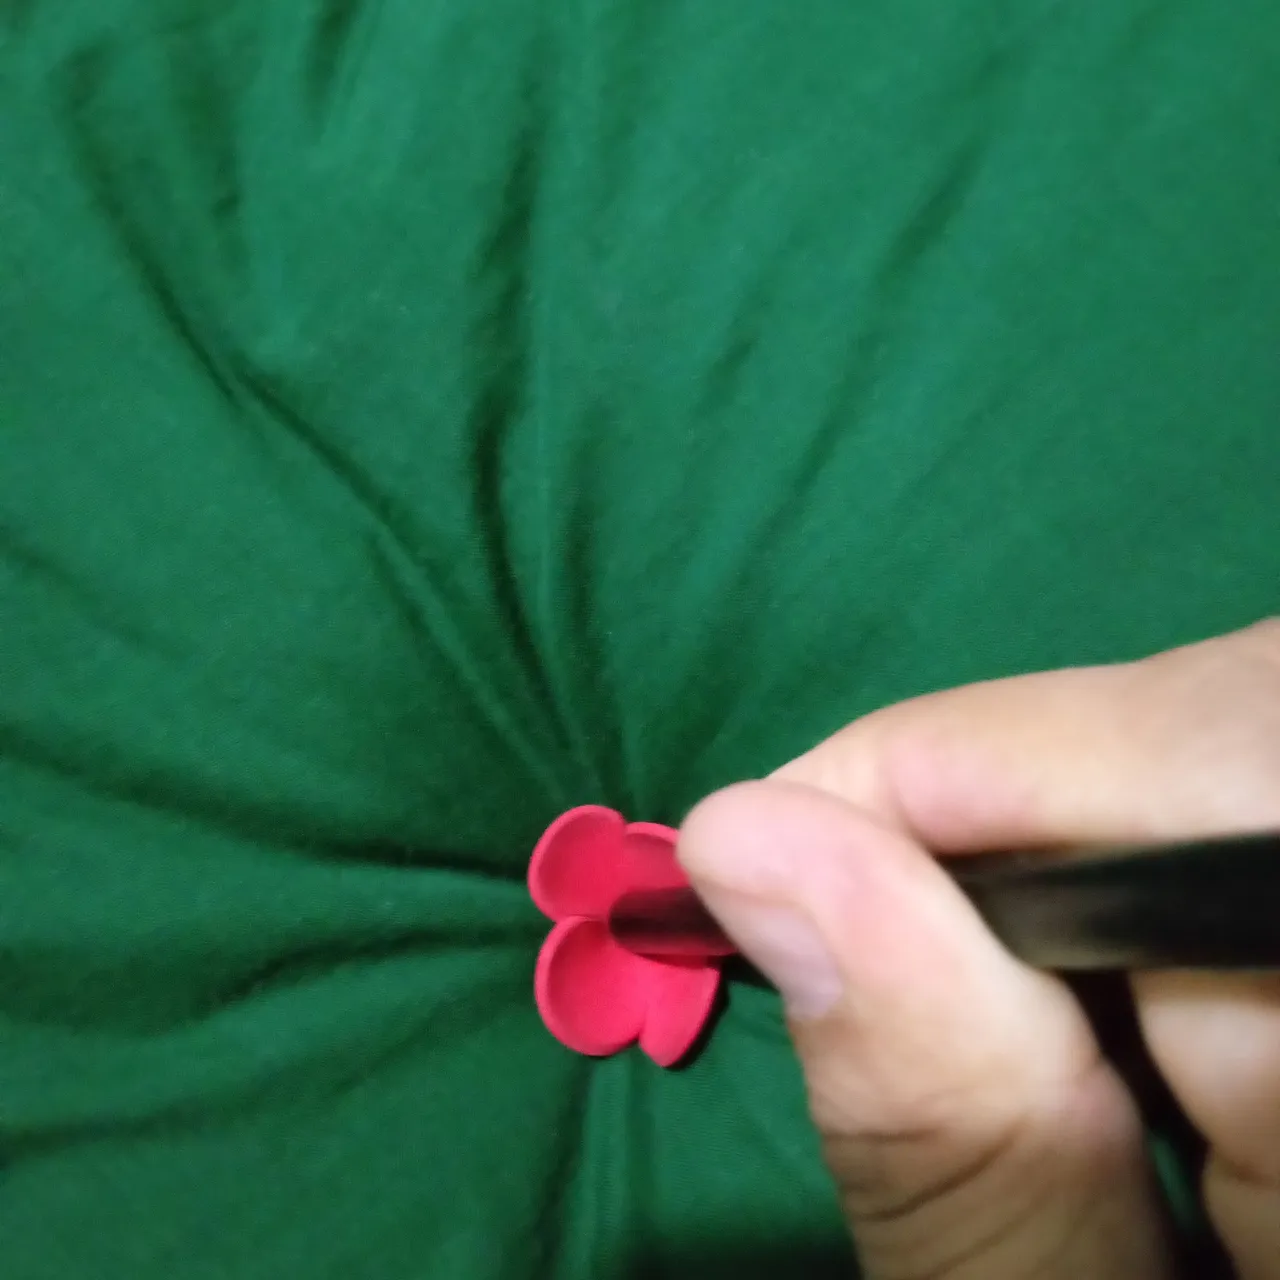 |
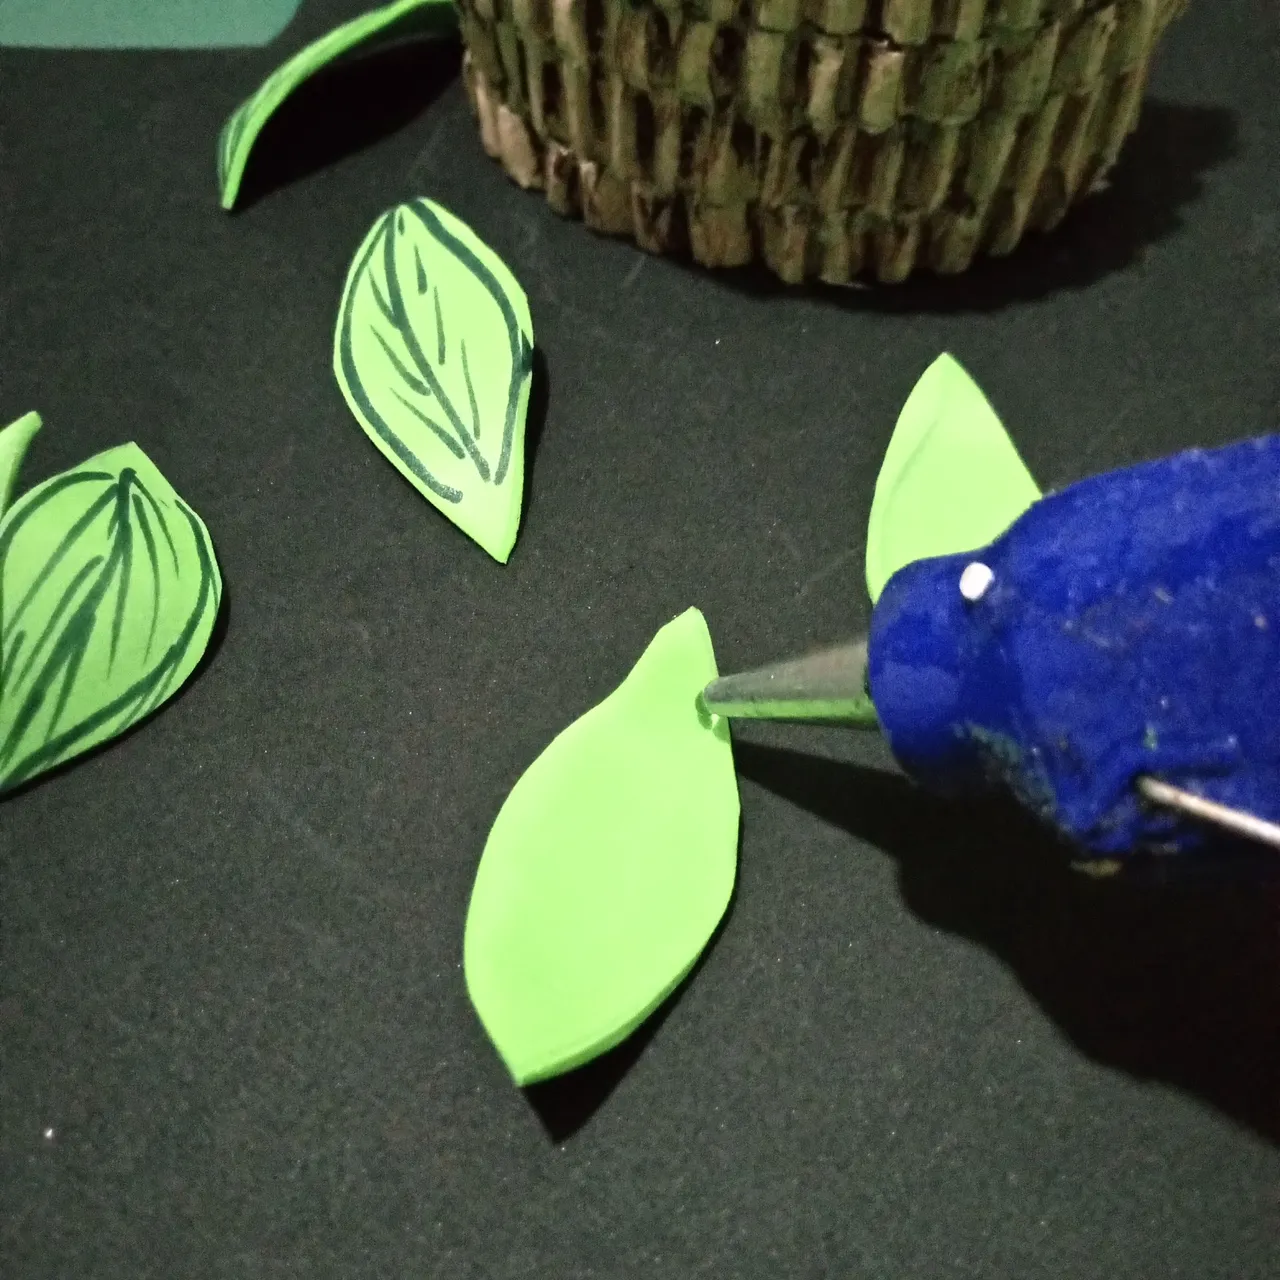
This step is more of the same, mark the leaves and cut them out; however, here I began to shape them with the iron, one of the most fun steps that I like so much, after shaping each one of the flowers I put them on a pillow and with the help of a pencil I pressed the center to give it depth and shape.
Este paso viene siendo más de lo mismo, marcar las hojas y recortar; sin embargo, aquí comencé a darle forma con la plancha uno de los pasos más divertidos que me gusta tanto, después de tomar forma cada una de las flores las pase a una almohada y con la ayuda de un lápiz presione el centro para darle profundidad y mayor forma.
 |  |
|---|---|
 | 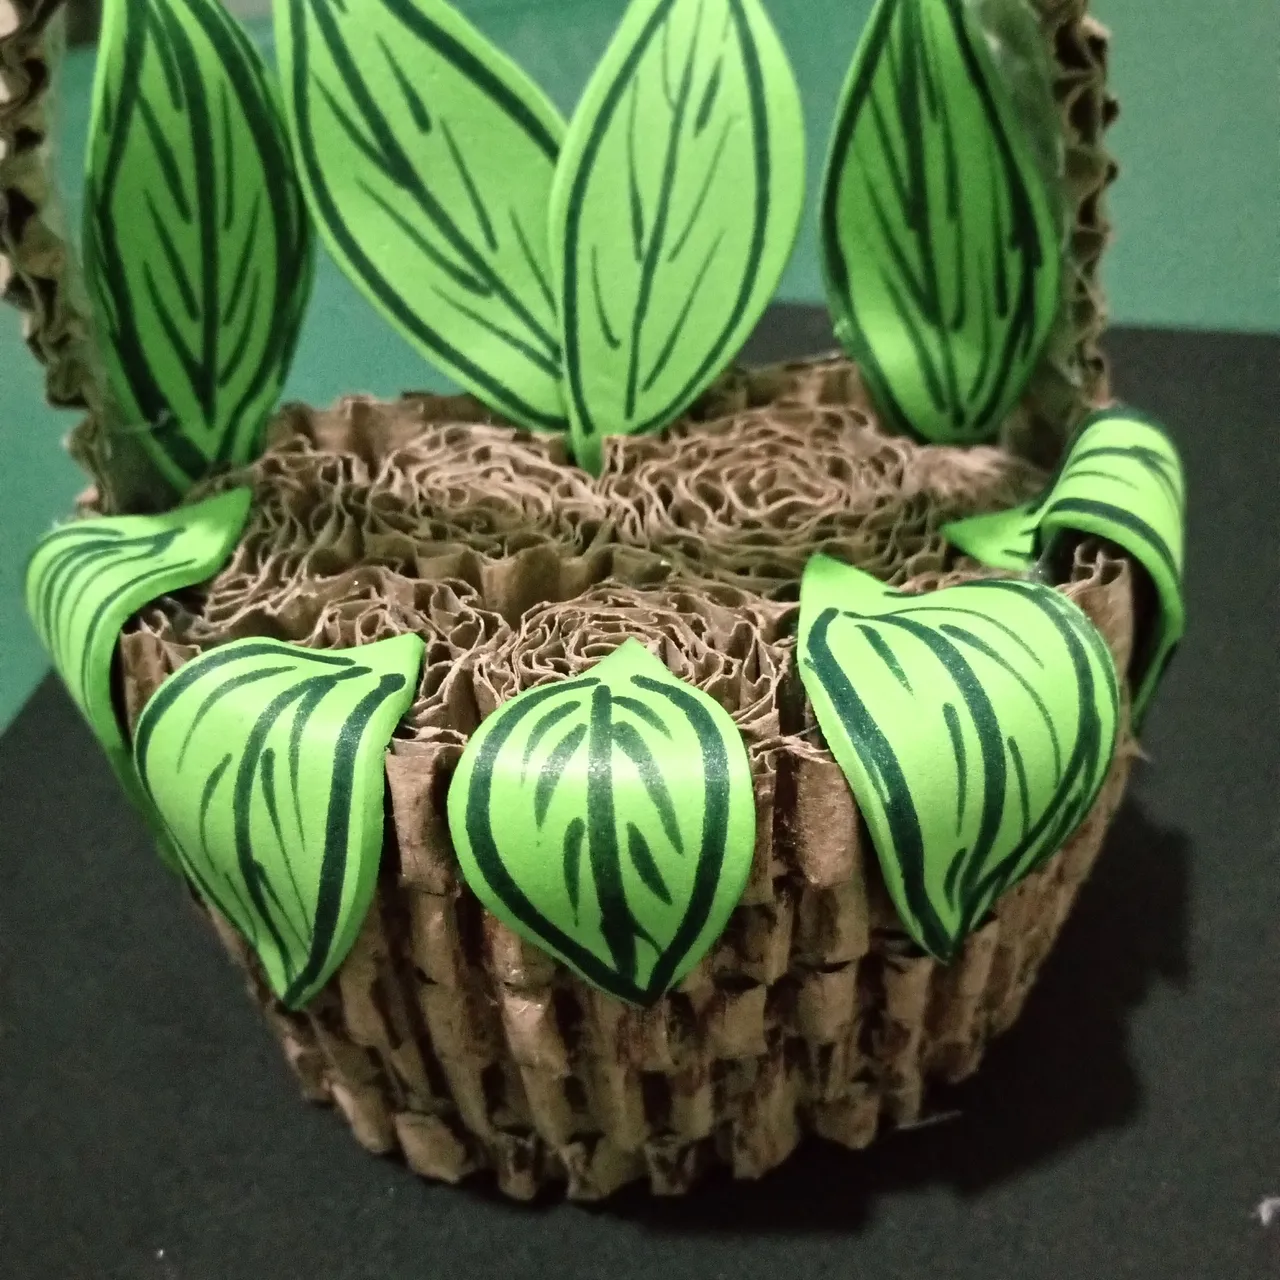 |
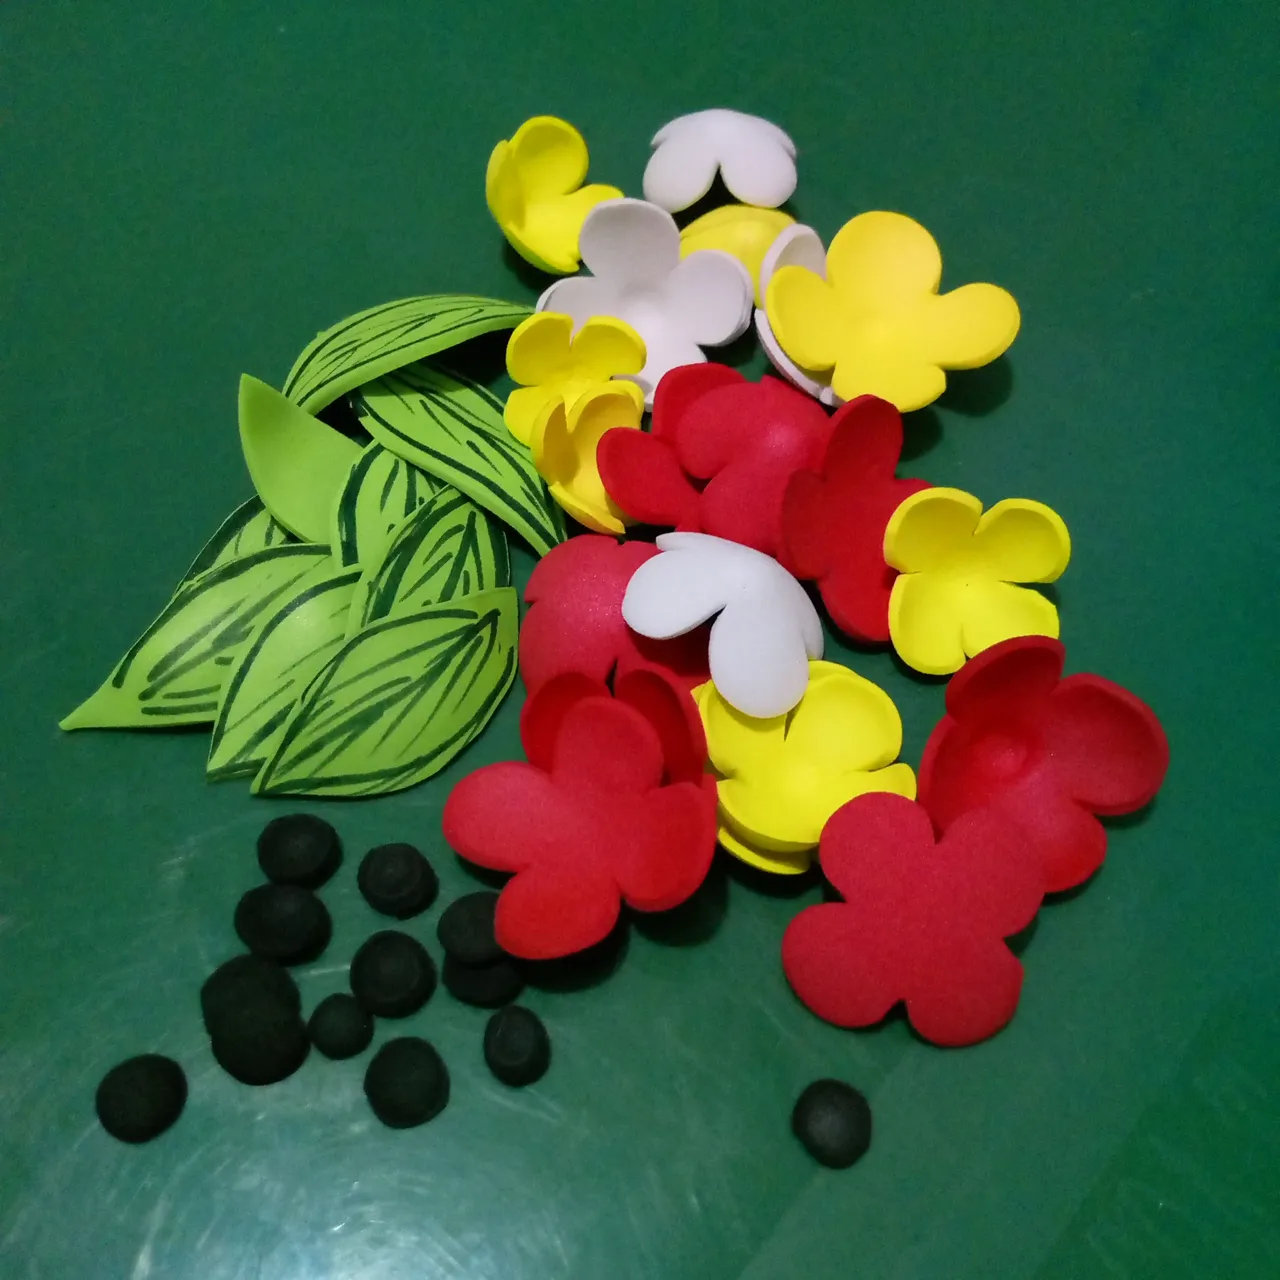
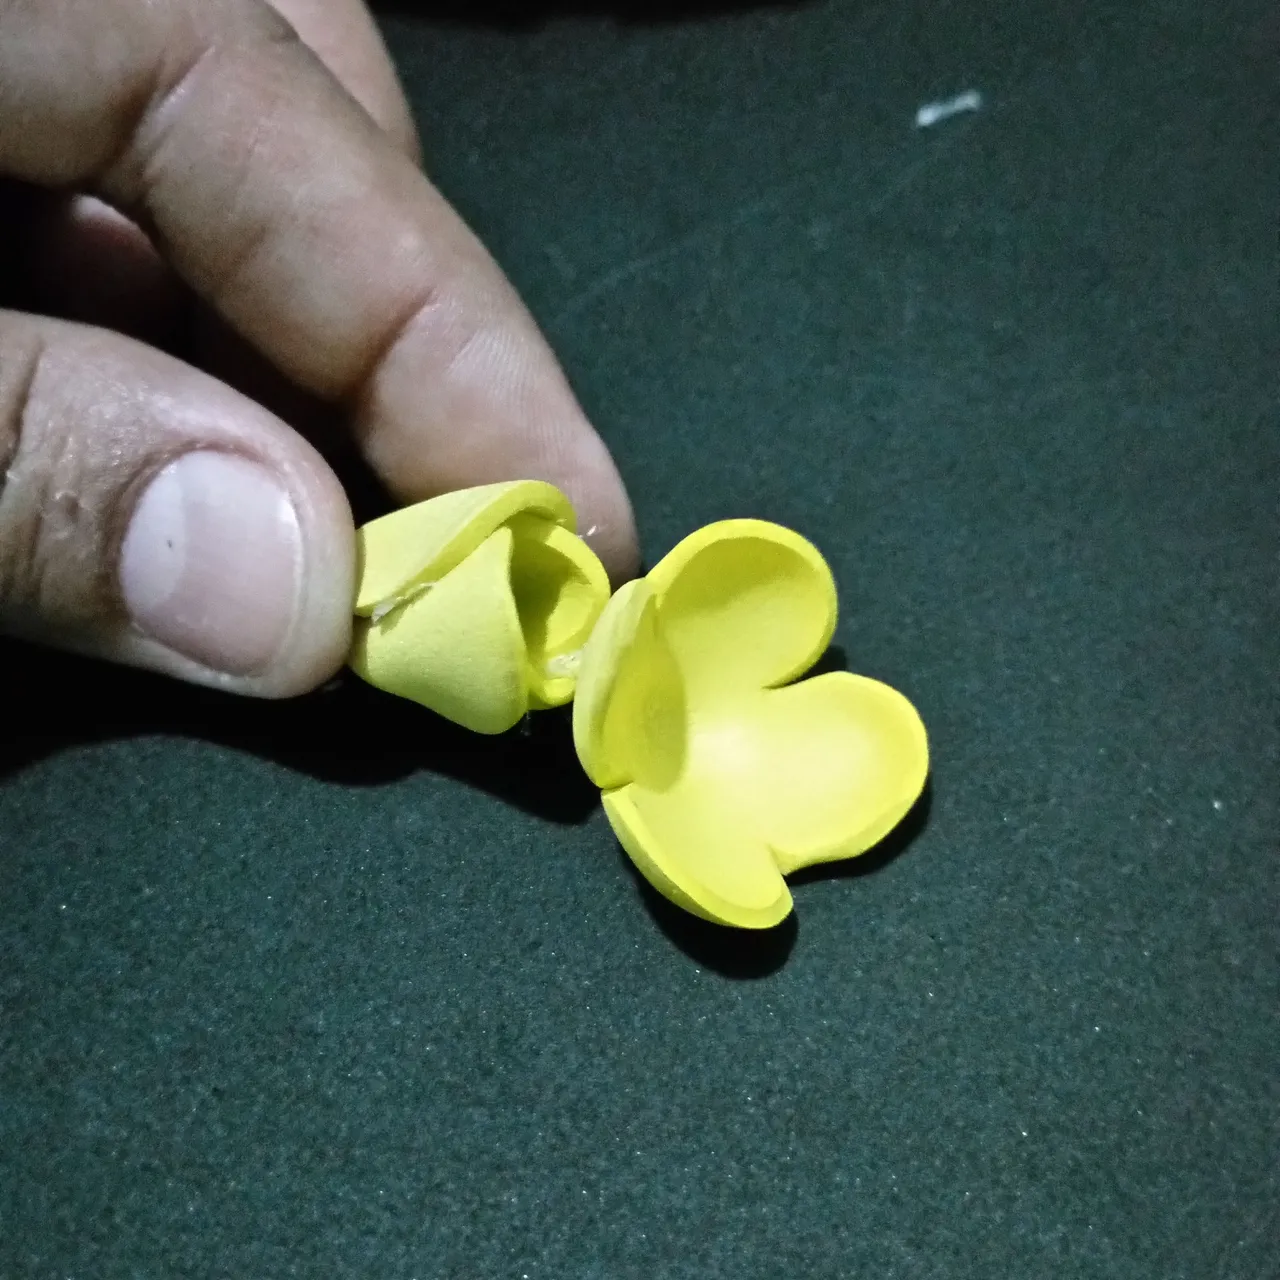
As you can see in the first picture, the flowers are molded and the leaves too, with the ribbing lines, which I made with green marker, before shaping them with the iron.
Some of the flowers I made a bud between open, to make a difference in the flowers, and give it more volume.
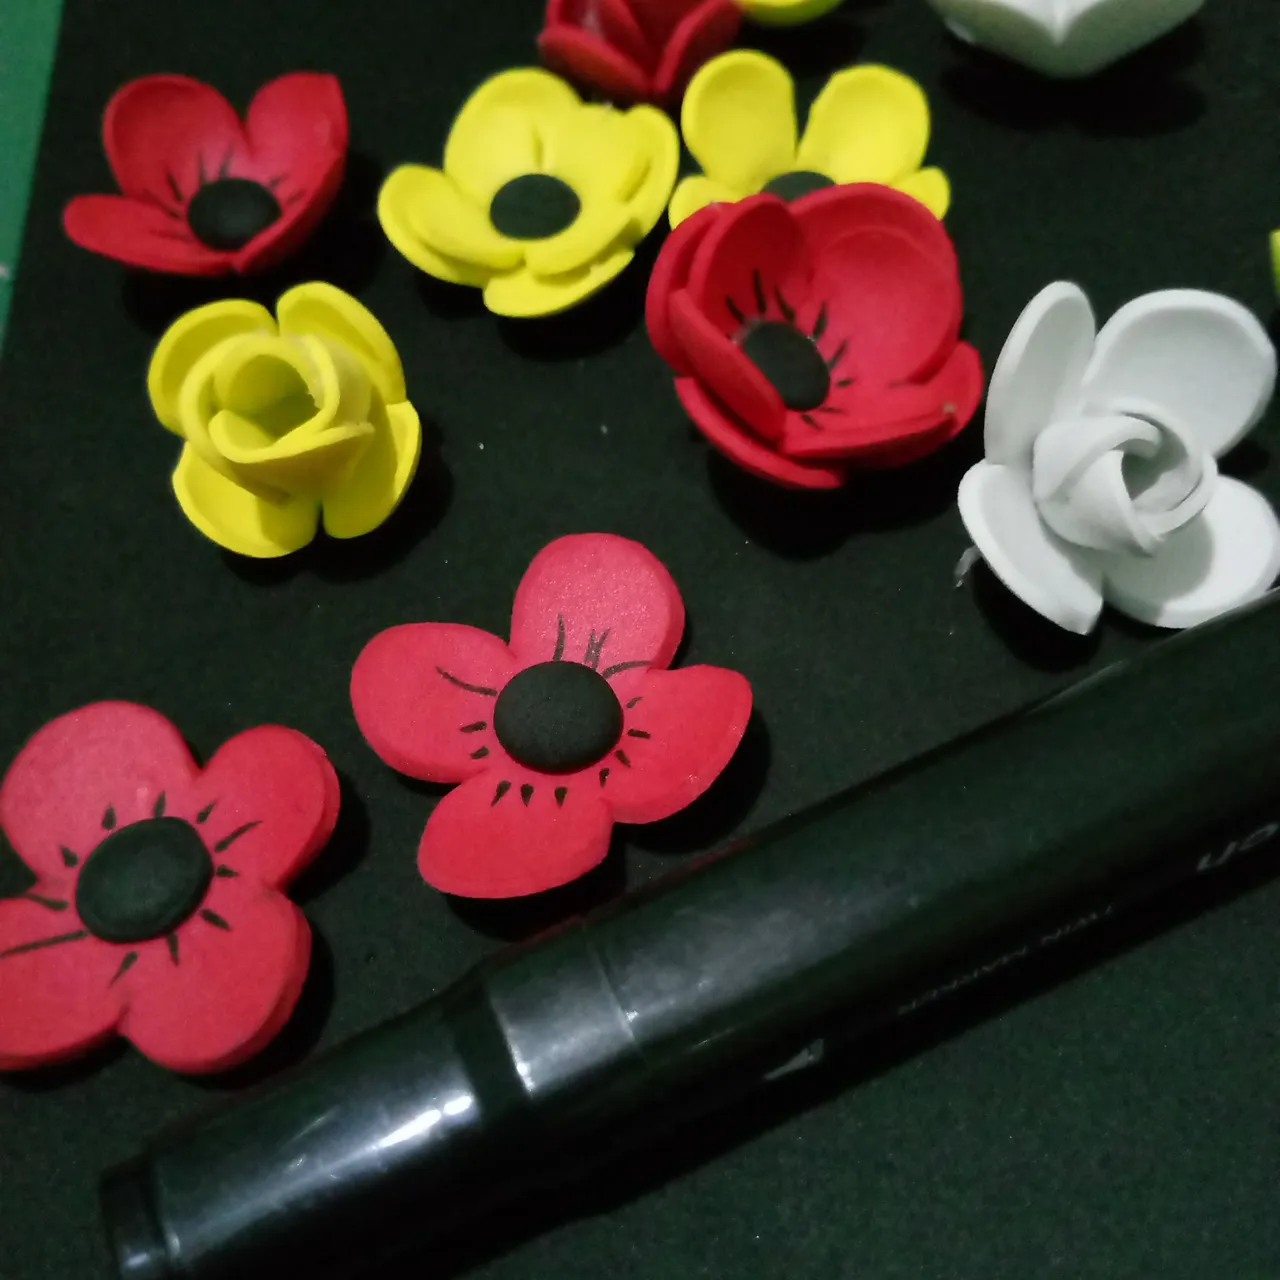
Finishing with the molding of leaves and flowers, I began to glue the leaves on the basket, also, I glued the black centers of the red and yellow flowers, decorating with black lines, to highlight the red flowers.
Como se observa en la primera fotografía, las flores están moldeadas y las hojas también, con las líneas de nervadura, que le hice con marcador de color verde, antes de darles forma con la plancha.
Alguna de las flores le hice un capullo entre abierto, para hacer una diferencia en las flores, y darle mayor volumen.
Terminando con el moldeado de hojas y flores, empecé a pegar las hojas en la cesta, también, pegue los centros negros de las flores rojas y amarillas, decorando con líneas negras, para resaltar las flores rojas.
 |  |
|---|
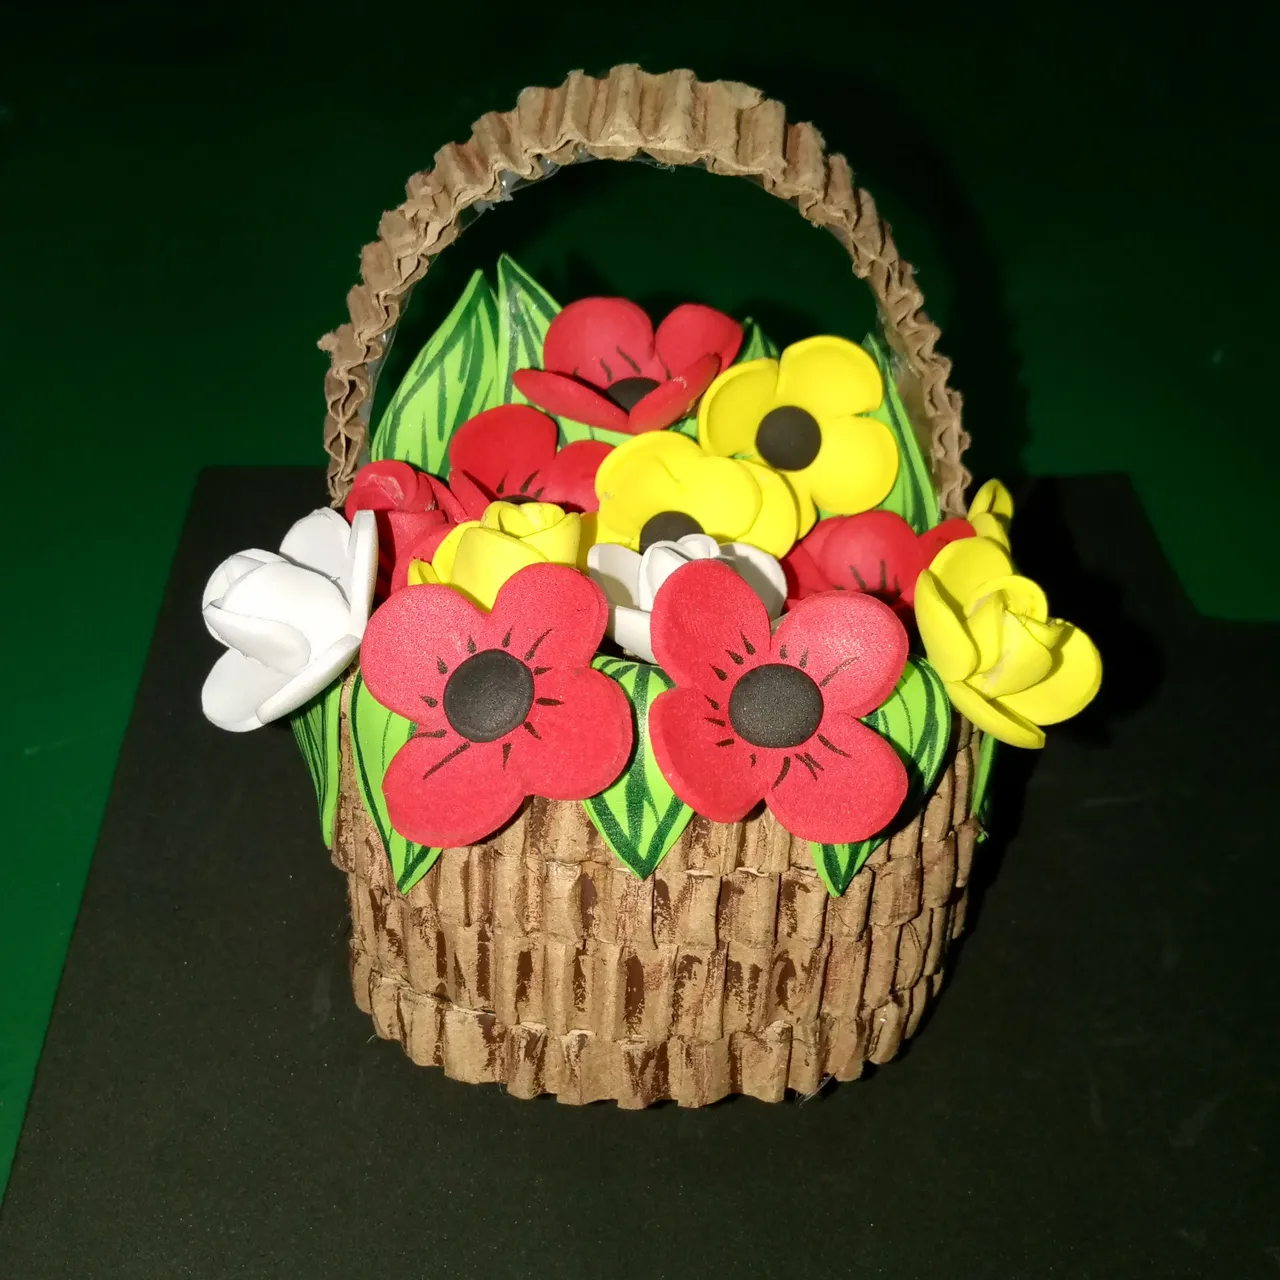
Finally, I finished with this craft, ideal and beautiful for your home and mine.
My dear friends, I hope you like it, and I hope you leave me your appreciated comment and evaluation about my project today.
I wish you the best in the world, health, peace and love. A hug for all.😚🤗💙💞
Finamente, termine con esta manualidad, ideal y bonita para tu casa y la mía.
Mis queridos amigos, espero que les guste, y me dejen su apreciado comentario, y valoración sobre mi proyecto de hoy.
Les deseo lo mejor del mundo, salud, paz y amor. Un abrazo para todos.😚🤗💙💞
social networks / redes sociales
![]()
![]()
Traductor Deepl
Translated Deepl
Ediciones Canva
Editions Canva