Hello Hivians, sure you're doing great. Today my first son helped me to make an RC Monster Truck Toy using cardboard
I never knew it was that easy.

Materials Needed
Cardboard
Motors
A circuit board for charging
A pair of scissors
Pen ink holders
Battery
Copper wires
Glue
4 Springs
Small white foam (found in coaxial cable)
LED bulbs
Wires
Receiver and transmitter
Paint
Plier
Procedure
- Step 1; I cut the cardboard to the shape of the truck and I cut circles with cardboard and glue them together about 9 circles for each tyres.


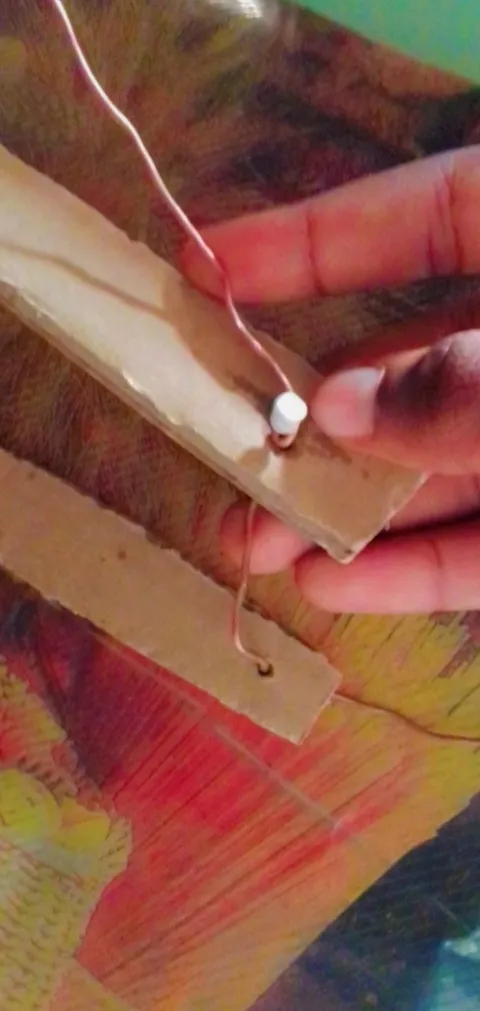
- Step 2 ; I put the springs on the pen ink holders to prevent it from bending. Then I put it in the hole in between the car shaped cardboard and a hole I made on the lower surface and glue it.

- Step 3 ; I cut a rectangle 16×3.5 cm and placed 2 motors on each end and joined the wires and put the pen ink holders on their spokes. I glue it on the lower surface for the back wheel drive.

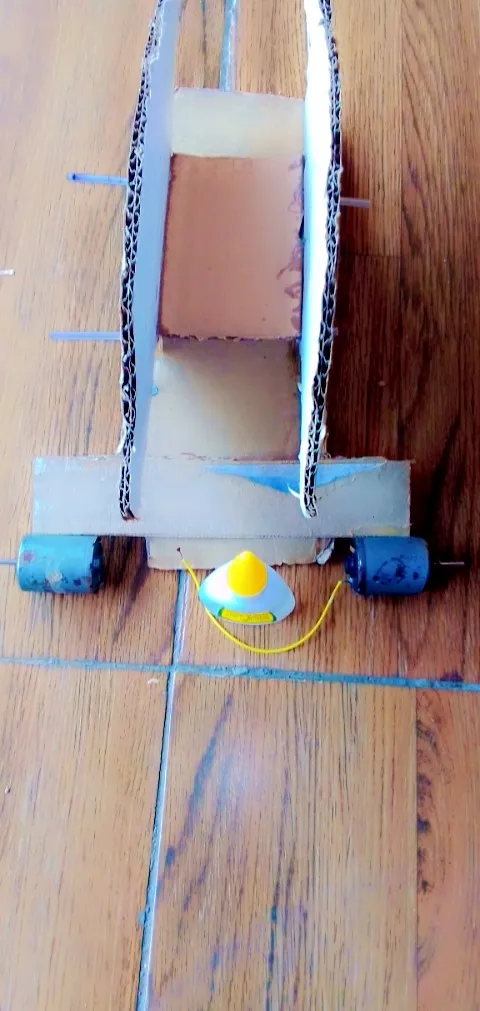
- Step 4; I cut 2 rectangles 16×2.5 cm and I cut 2 copper wires 11 cm each with a pair of plier bent 7.5 horizontally for the tyres then about 0.5cm vertically. I put each folding, I glue the lower rectangle to the lower surface.
STEP 5: I cut another two rectangles 15x7cm and glue one of the rectangle over the lower surface and under it to the to hold them together.

STEP 6; I used white foam to lock one of the coppers and to the other one and added a copper that I bent to form a small circle at one end . At the other end, I bent an "L" shape before I Locked it. I went ahead to cut a very small cardboard and open two wholes , one of which I put pen ink holders to prevent widening, and I put it in motor spoke . To the other hole, I put the "L" bent copper and I glue it to the surface.
- Step 7 ; I covered the body,put 2 chairs no it and I painted it.

- Step 8 ; I put the receiver & the circuit board for charging on the cardboard and connected it as follows:
Circuit board for charging ; B+ & B- to battery
L+ & L- to receiver
Receiver. ; F & B to drive
L & R to directions
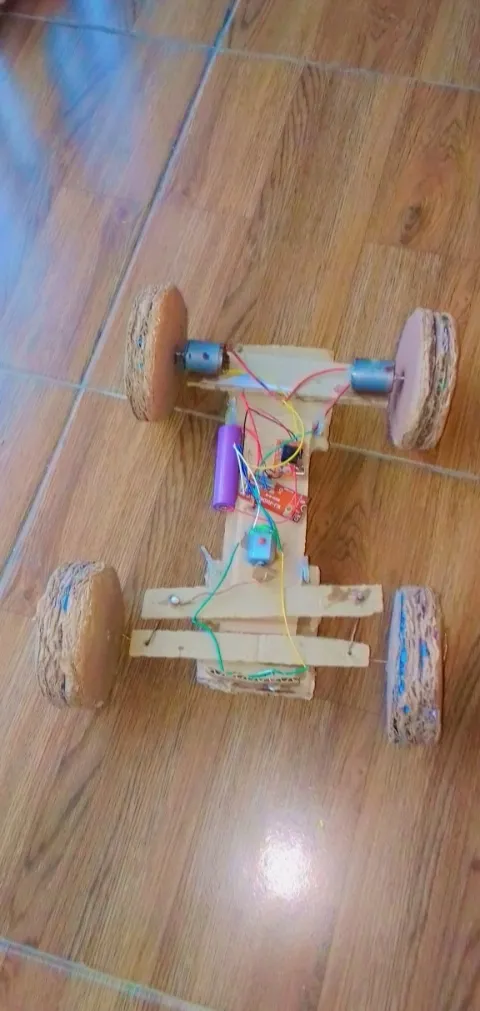

- Step 9 ; I painted the surface and tyres

Thanks for visiting my blog. Your comments and support is also appreciated.♥️♥️