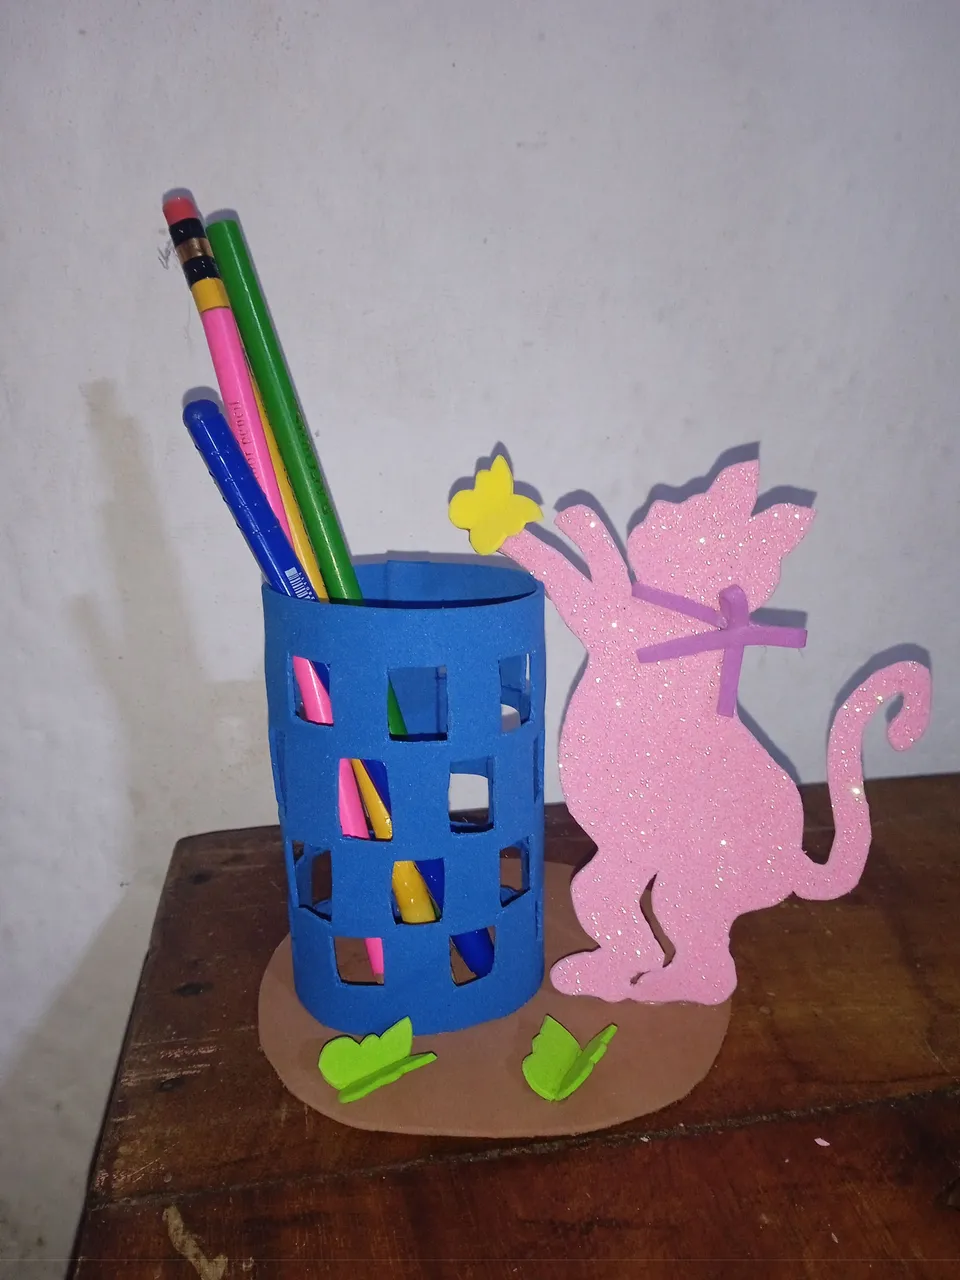
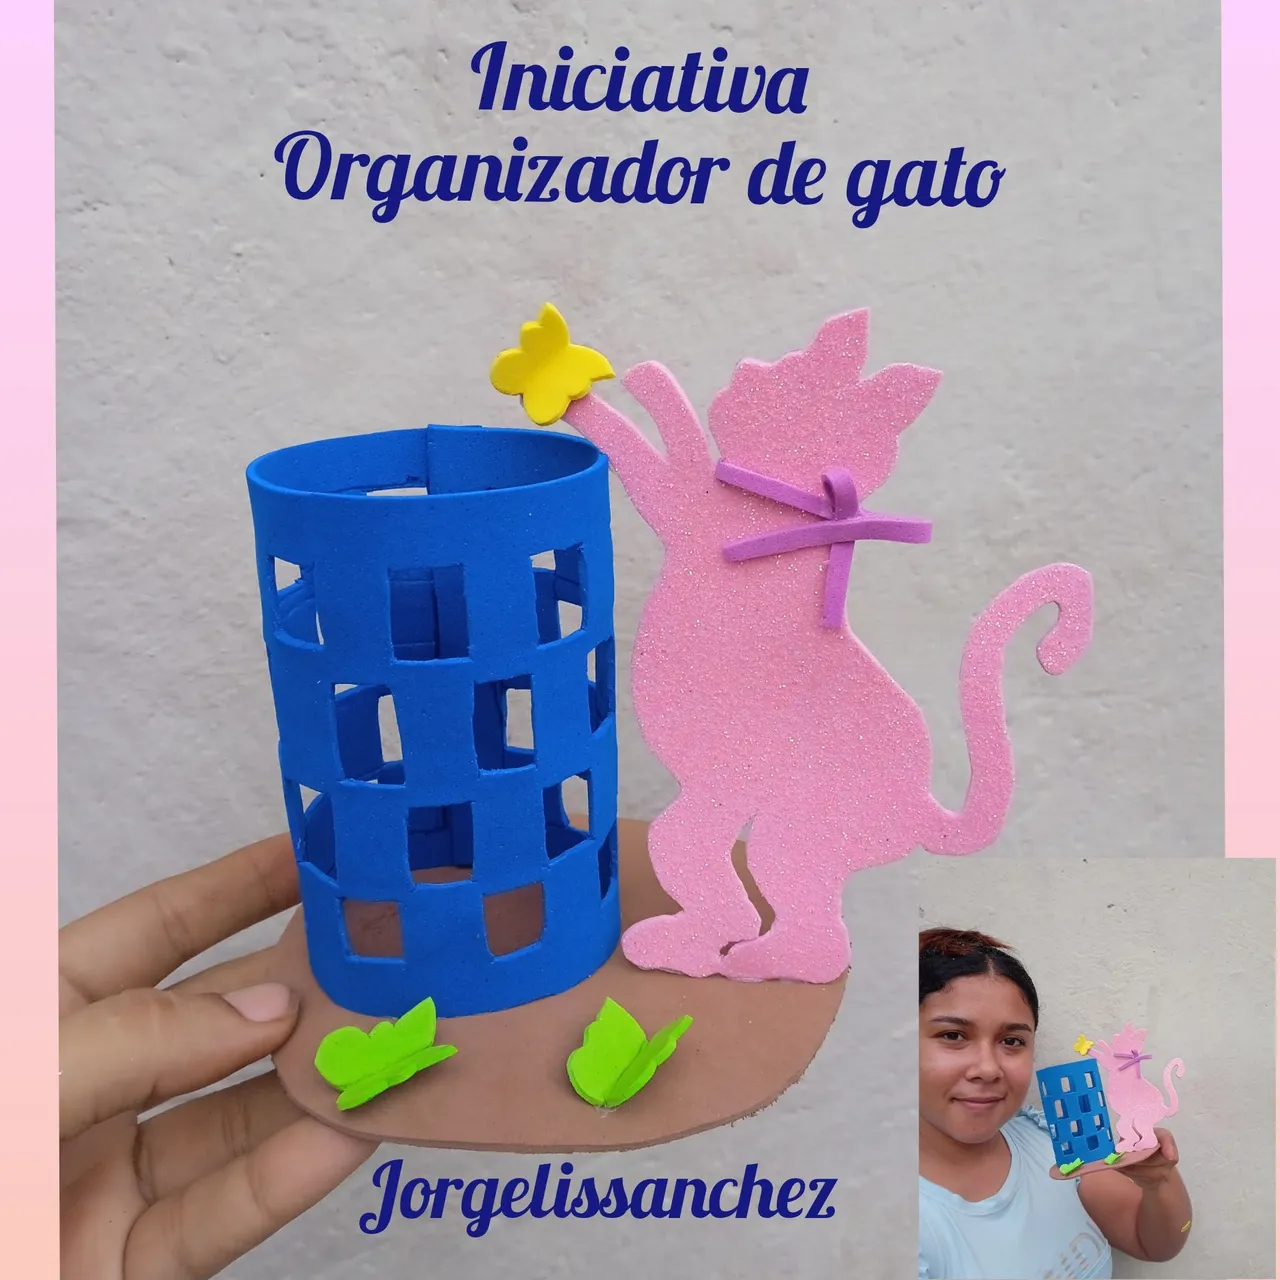
Hola buenas noches queridos amigos , espero que se encuentren bien , hoy quiero formar parte de la nueva iniciativa de el mes con la temática de gatos , unas mascotas domésticas que son adorables y sobre todo una excelente compañía , para esta ocasión prepare un organizador , la cual sirve como portalápices o multifunctional , le hago la invitación a mis talentosas amigas para que participen @taniagonzalez @yagelybr
@rameuris
Hello good evening dear friends, I hope you are well, today I want to be part of the new initiative of the month with the theme of cats, domestic pets that are adorable and above all an excellent company, for this occasion prepare an organizer, which serves as a pencil holder or multifunctional, I make the invitation to my talented friends to participate @taniagonzalez @yagelybr @rameuris
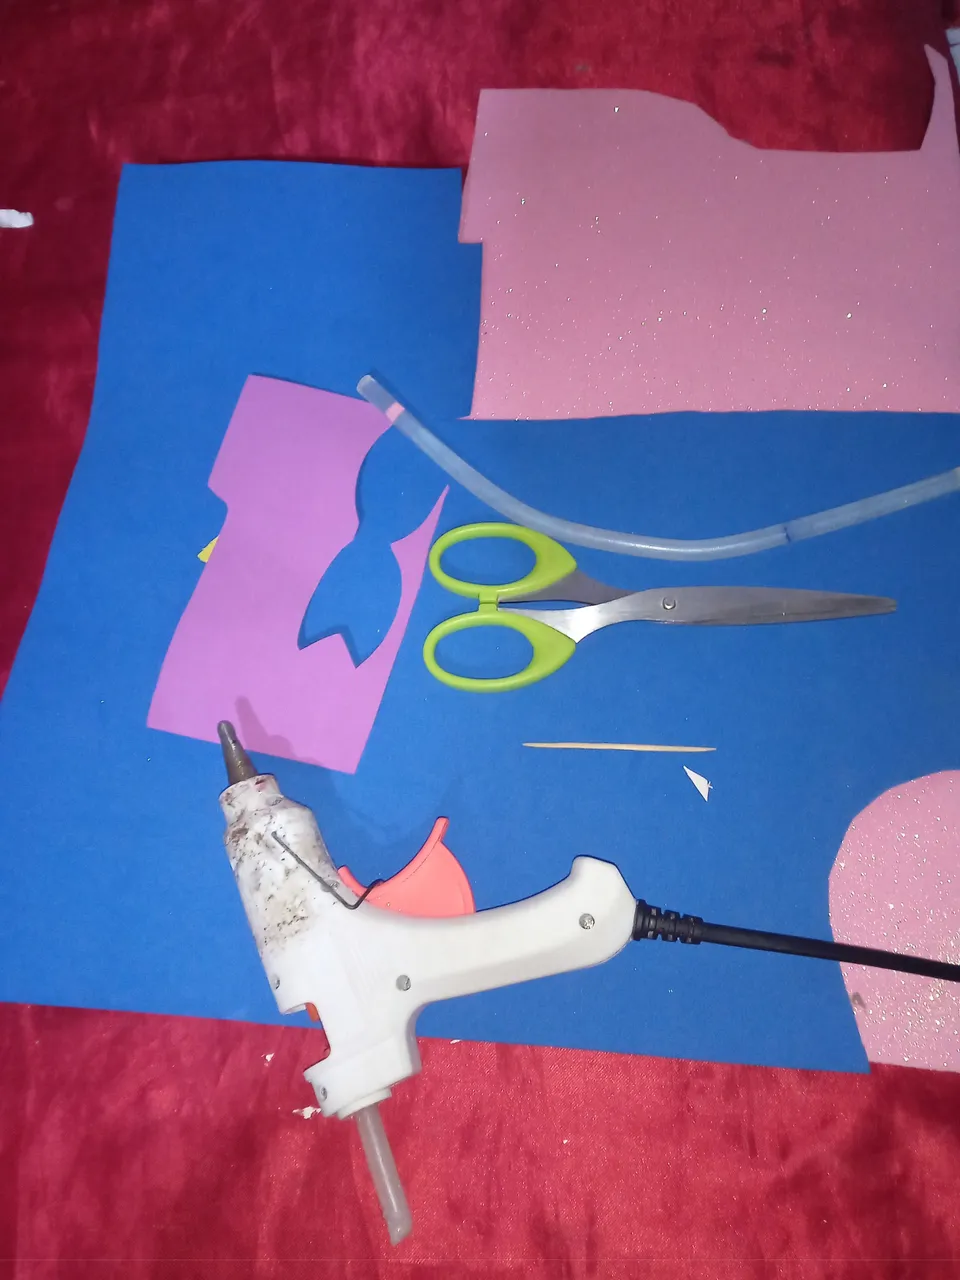
Materiales que utilice :
-Foamis
-Tijera
-Silicon
Materials I used :
-Foamis
-Scissors
-Silicon
Pasos a seguir :
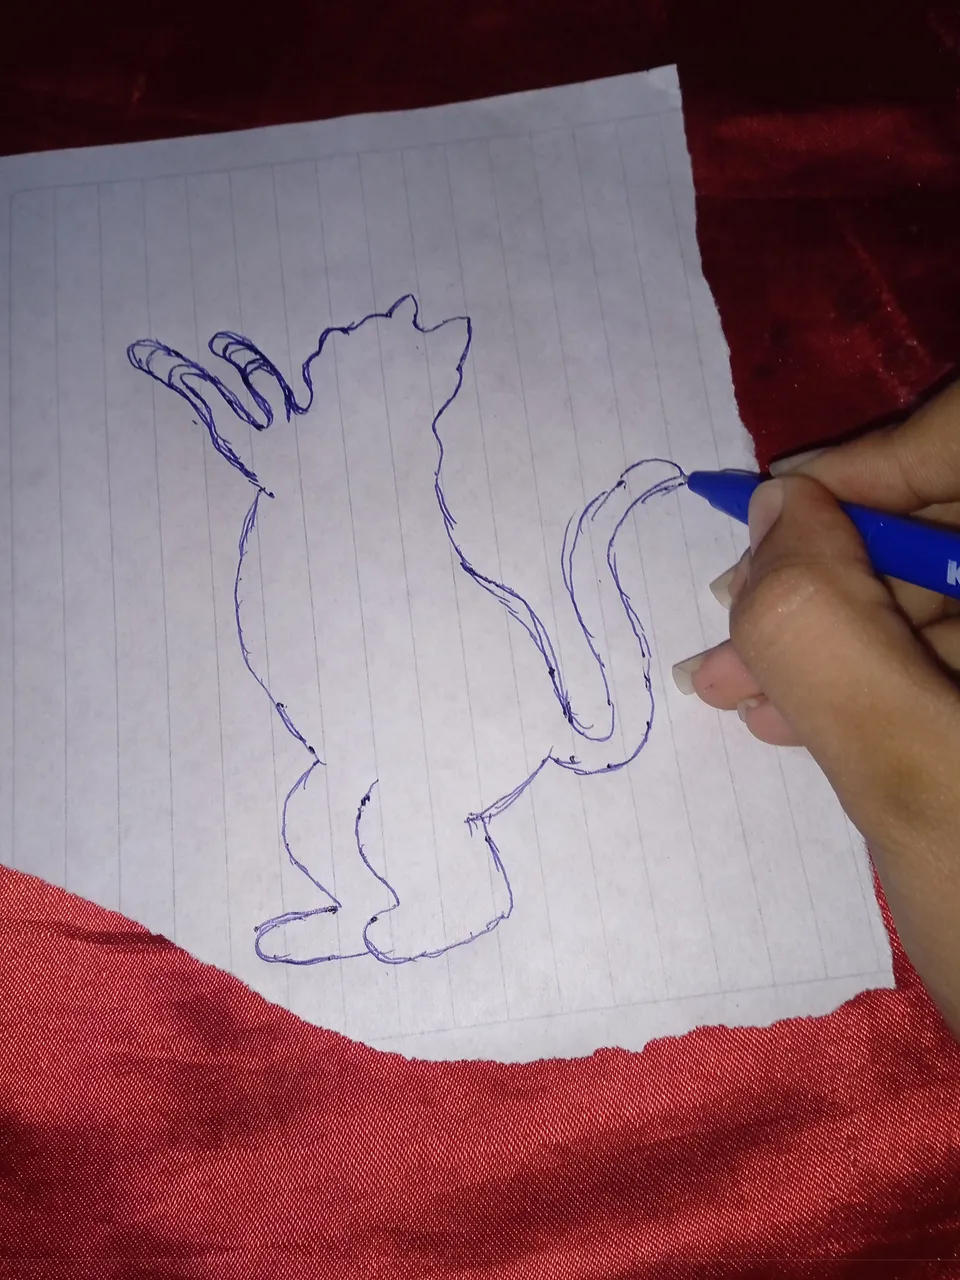
Comenzaremos dibujando en un papel la temática principal de nuestro organizador , la silueta de un gato parado en dos patas estirando las otras dos para tomar una mariposa
Steps to follow :
Start by drawing on a piece of paper the main theme of our organizer, the silhouette of a cat standing on two legs stretching the other two to take a butterfly.
Una vez que tengamos listo nuestro patrón , vamos a tomar lo y proceder a marcar en el foamis de nuestra preferencia , tomé un foamis color rosa escarchado y lo marque en la parte de atrás para no dañar las escarchas
Once we have our pattern ready, we will take it and proceed to mark on the foamis of our preference, I took a pink foamis frosted and mark it on the back to avoid damaging the frosting.
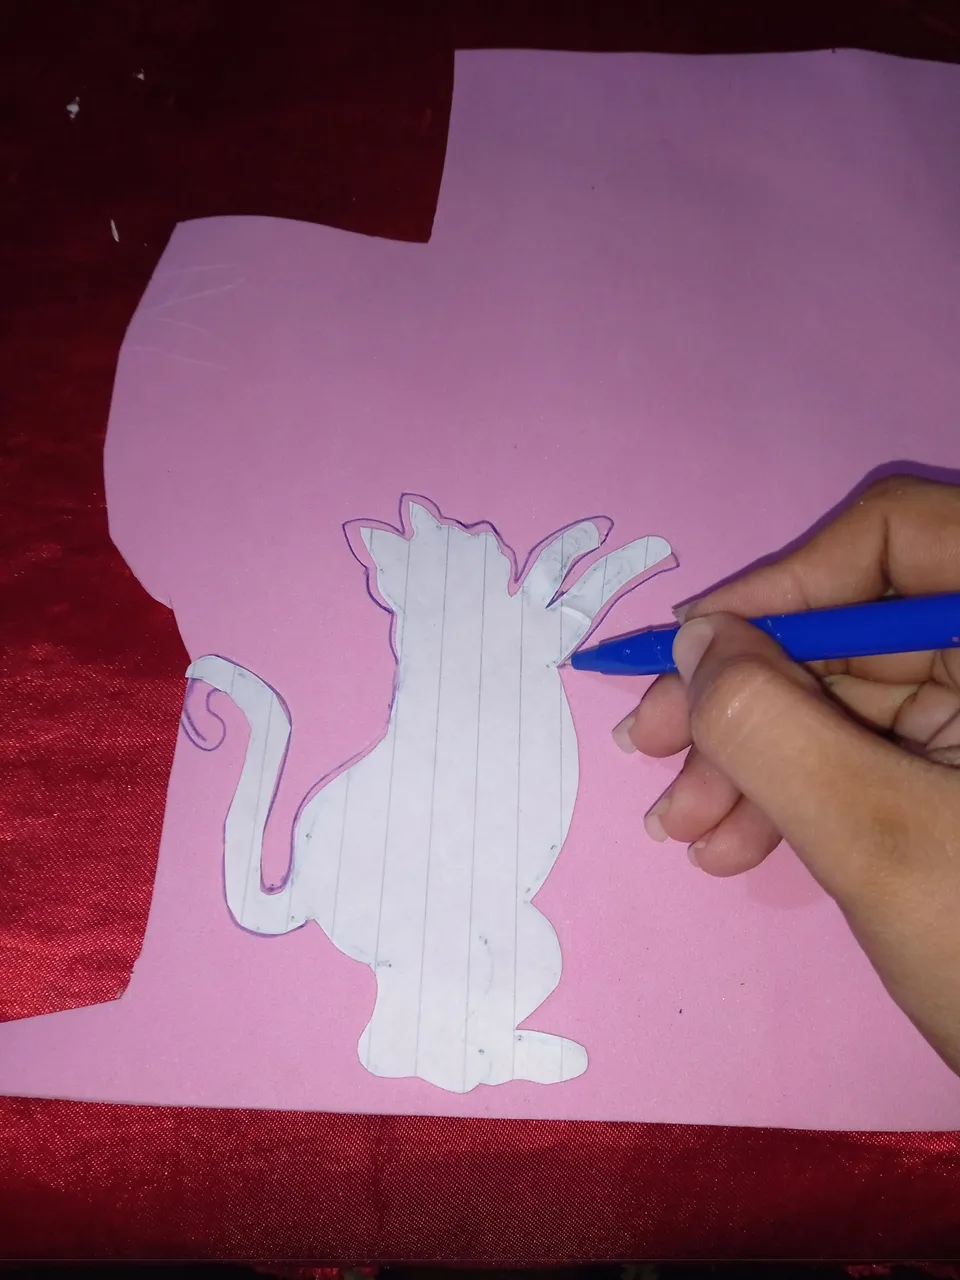
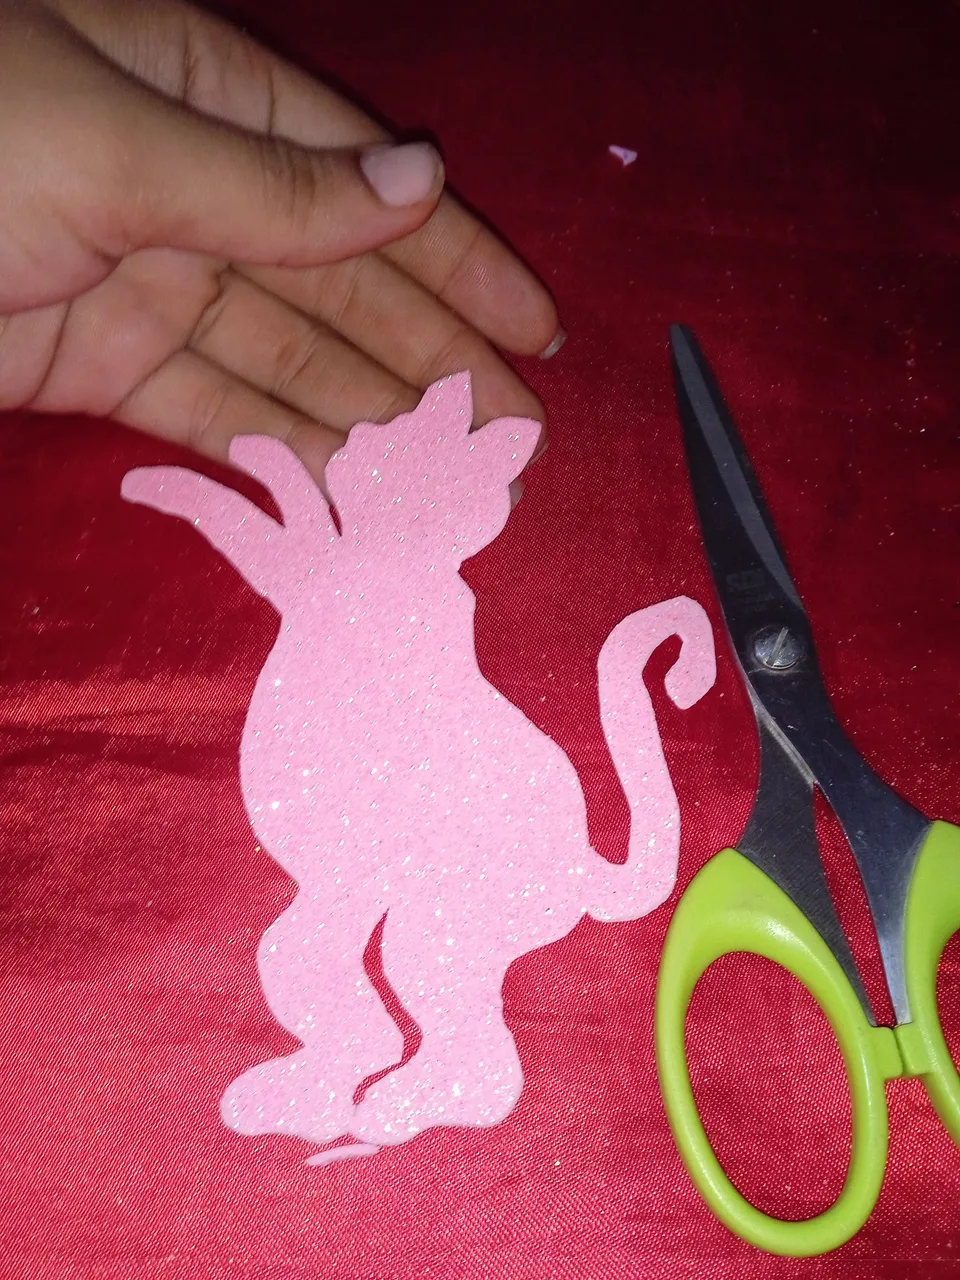
Luego continuaremos tomando nuestra tijera y recortando la con mucho cuidado para no dañar el diseño ya plasmado en nuestro foamis
Then we will continue to take our scissors and cut it out very carefully so as not to damage the design already on our foamis.
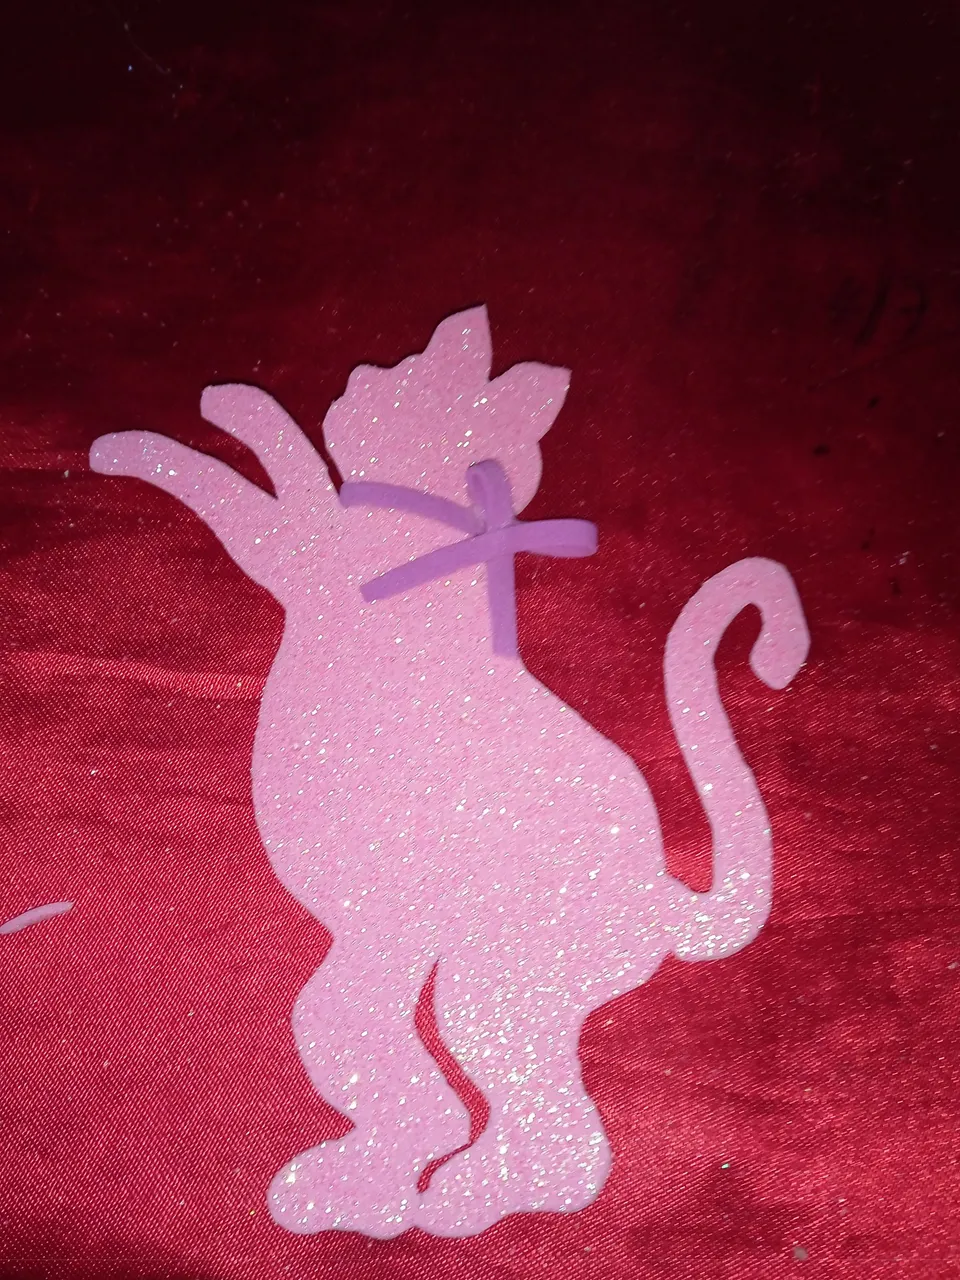
Una vez que tengamos listo nuestro foamis , vamos a proceder a recortar una pequeña tira y realizaremos con el un lazo ,este lazo lo vamos a proceder a pegar en el cuello de nuestro gato de modo que este tenga un collar que significa que tiene dueño
Once we have our foamis ready, we will proceed to cut a small strip and we will make a bow with it, this bow we will proceed to paste it on the neck of our cat so that it has a collar that means that it has an owner
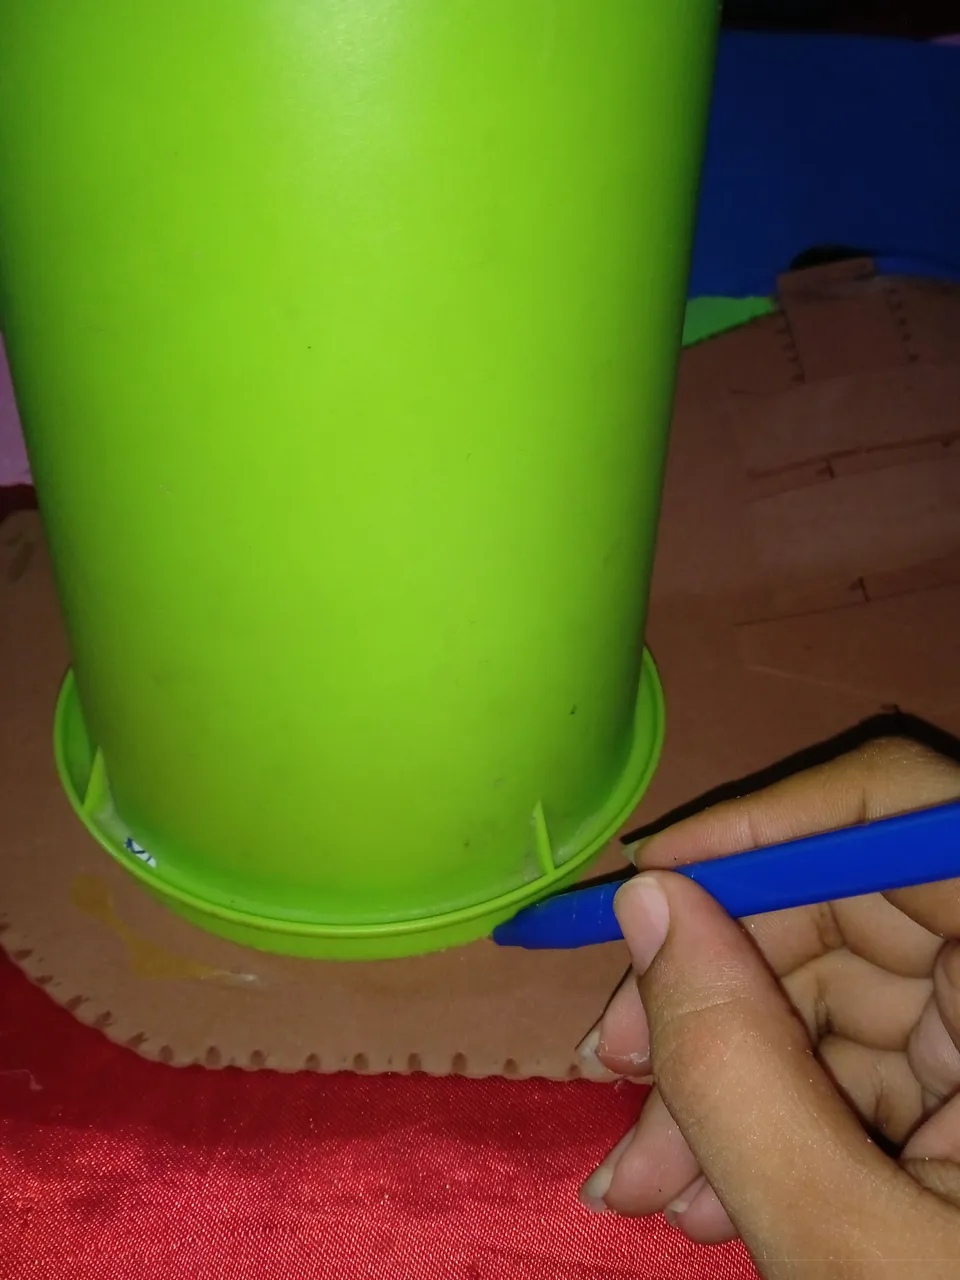
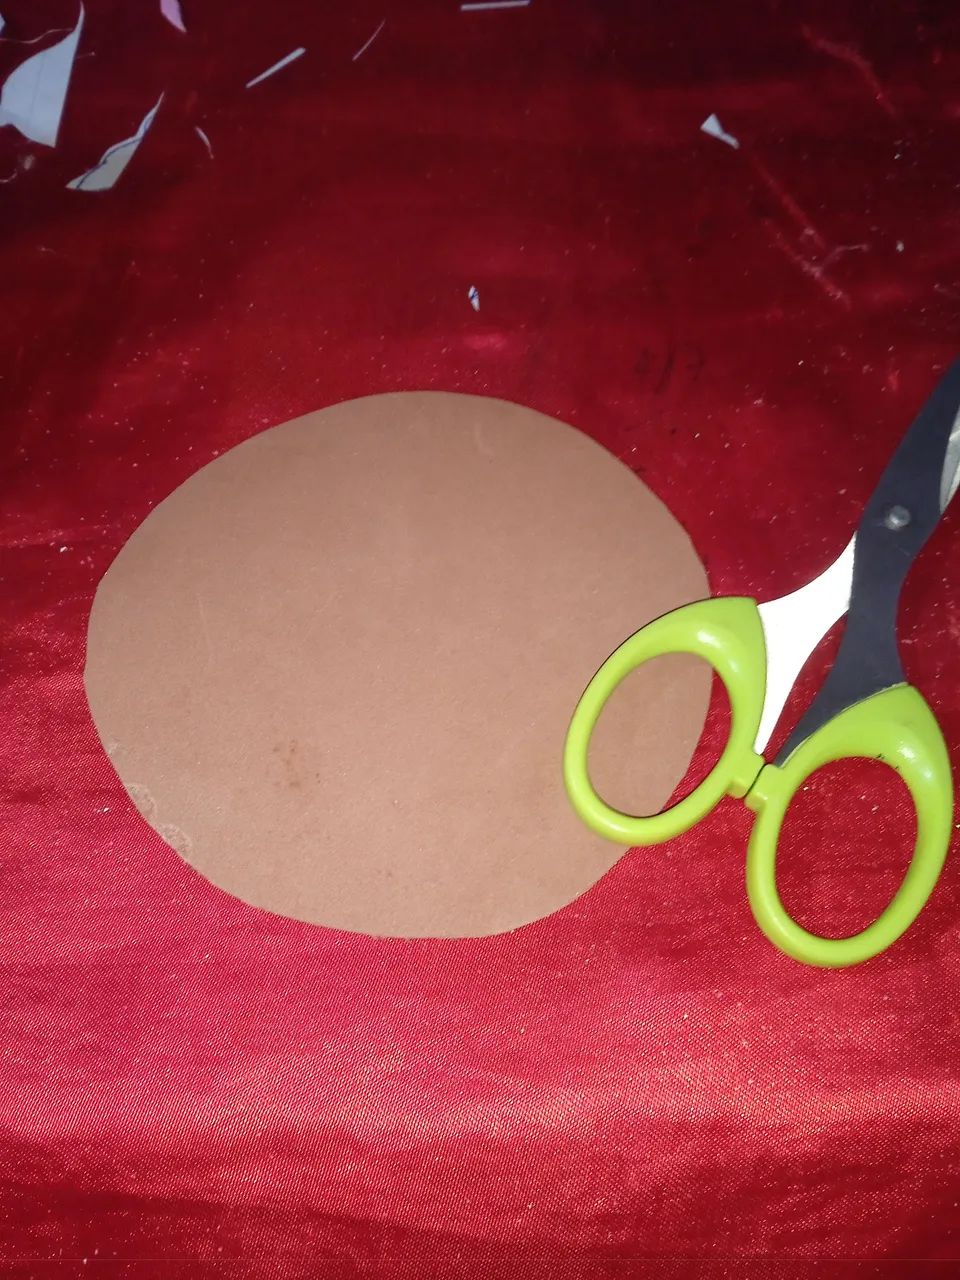
Para la base de nuestro organizador vamos a continuar realizando un círculo , para esto tomé un vaso que es de base redonda y lo marque en el
For the base of our organizer we are going to continue making a circle, for this I took a glass that has a round base and I marked it in the
En este siguiente paso procederemos a recortar el círculo que dibujamos en el paso anterior
In this next step we will proceed to cut out the circle that we drew in the previous step.
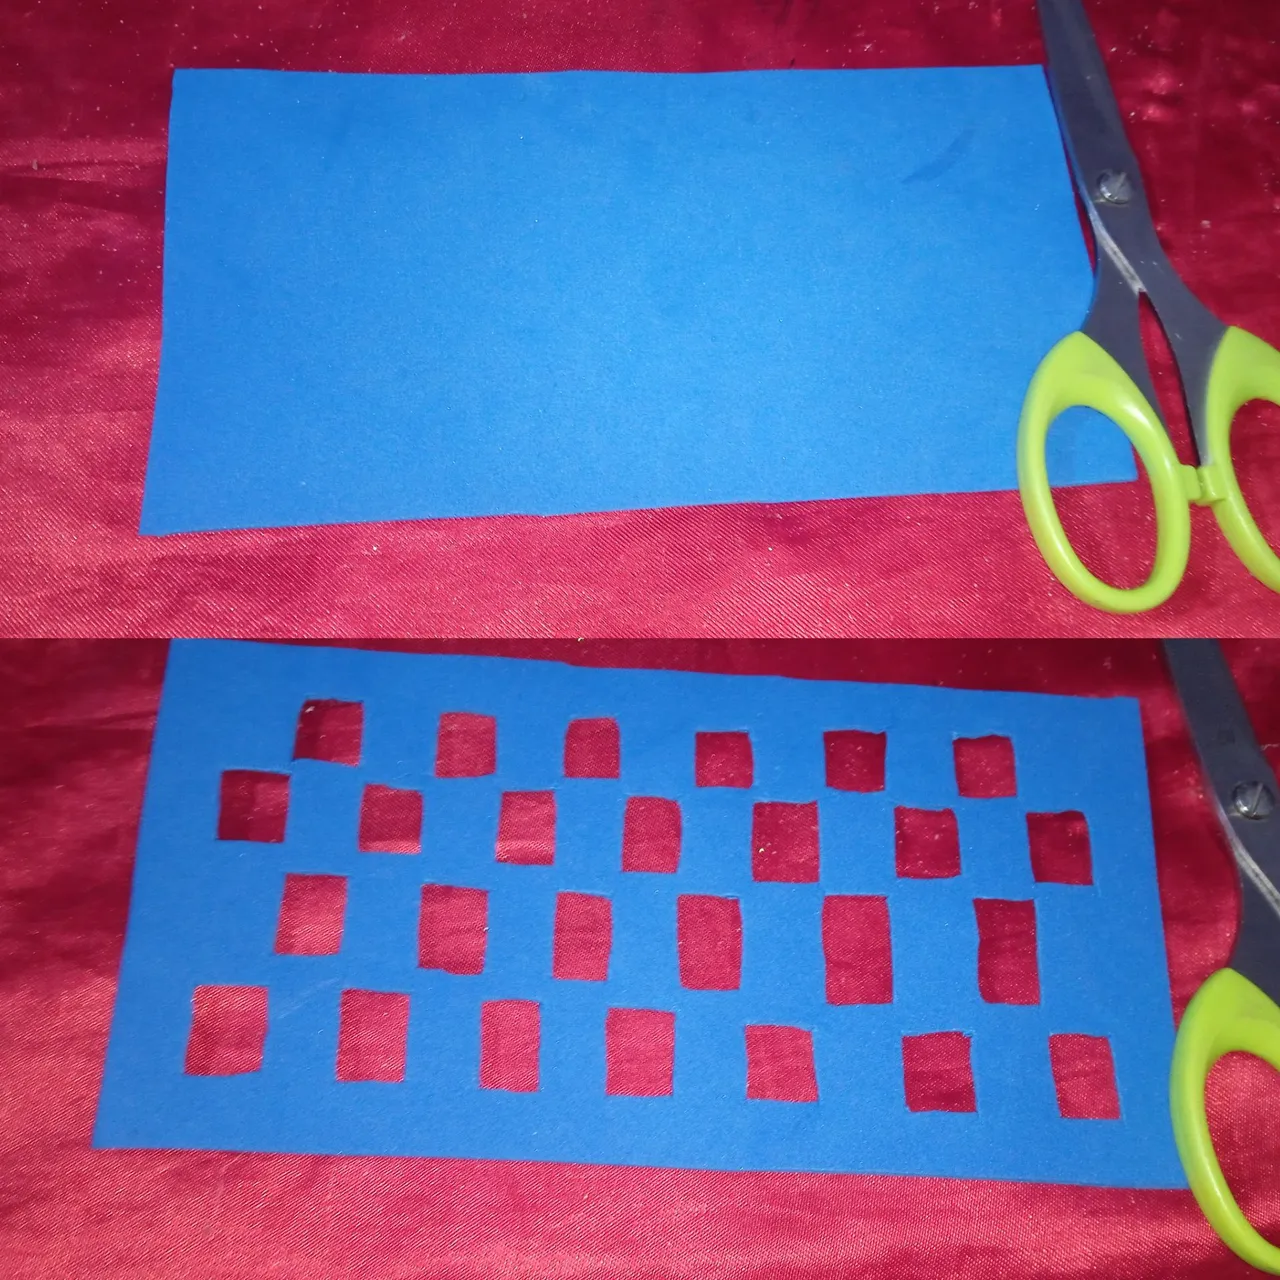
Luego vamos a proceder a recortar una tira de foamis en forma rectangular con el foamis color azul , para que nuestro organizador quedará más atractivo ,tomé la tijera y realice varios cuadros en todo el alrededor incluyendo el centro , de modo que se pueda observar el fondo de el organizador
Then we will proceed to cut a strip of foamis in a rectangular shape with the blue foamis, so that our organizer will be more attractive, I took the scissors and made several squares all around including the center, so you can see the bottom of the organizer.
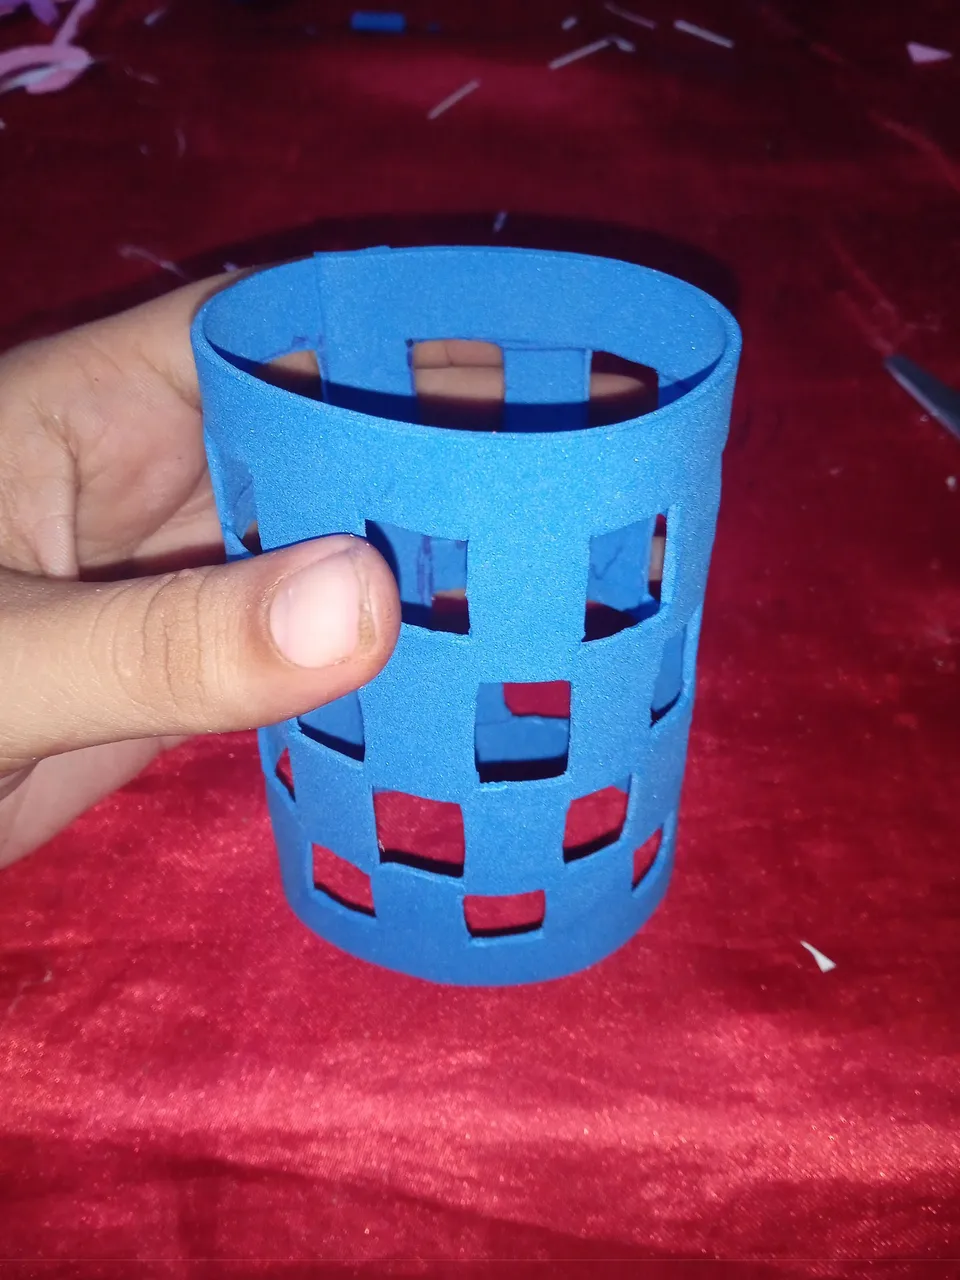
Una vez que tengamos listo nuestra pieza vamos a proceder a pegar borde con borde hasta obtener una figura de forma de un cilindro
Once we have our piece ready, we will proceed to glue edge to edge until we get a cylinder shape figure.
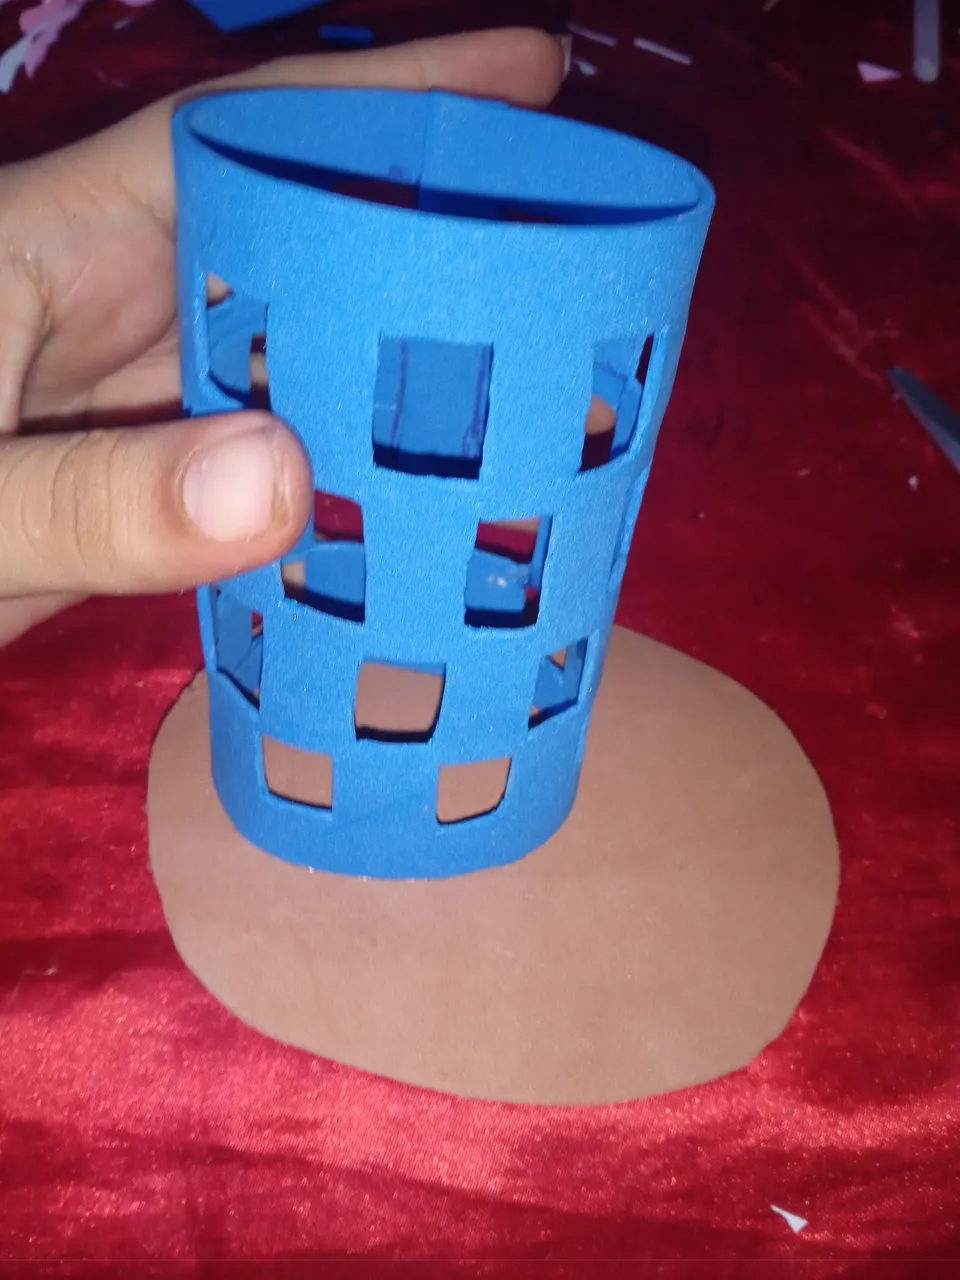
A continuación vamos a proceder a añadir silicon en la parte de abajo de el organizador y pegarlo al mismo tiempo a la base de modo que no se salga los objetos a guardar
Then we will proceed to add silicone to the bottom of the organizer and glue it at the same time to the base so that the objects to be stored do not come out.
En el otro lado contrario vamos a continuar pegando la silueta de nuestro adorable gato ,añadiremos silicón en sus patas hasta pegar los
On the other side of the organizer we will continue gluing the silhouette of our adorable cat, we will add silicone on its paws until we glue them to the base of the organizer.
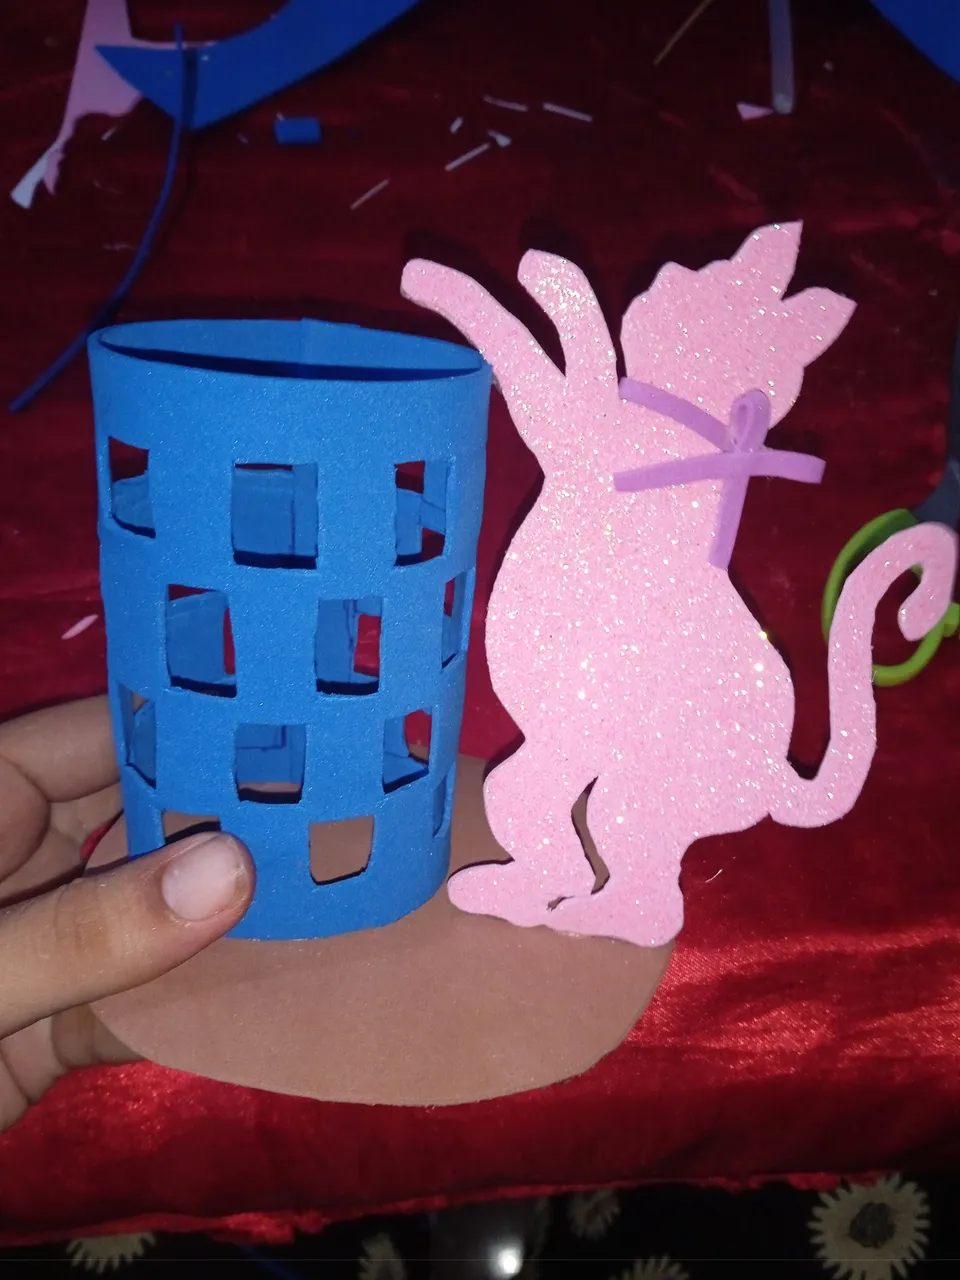
Este es el resultado final de mi hermoso organizador decorado con una temática de gatos , para festejar y formar parte de esta maravillosa iniciativa, las fotos las tomé con mi teléfono Redmi 9C y los textos los traduje con el traductor DeepL, que pasen bella noche
This is the final result of my beautiful organizer decorated with a cat theme, to celebrate and be part of this wonderful initiative, the photos were taken with my Redmi 9C phone and the texts were translated with the translator DeepL, have a nice evening
