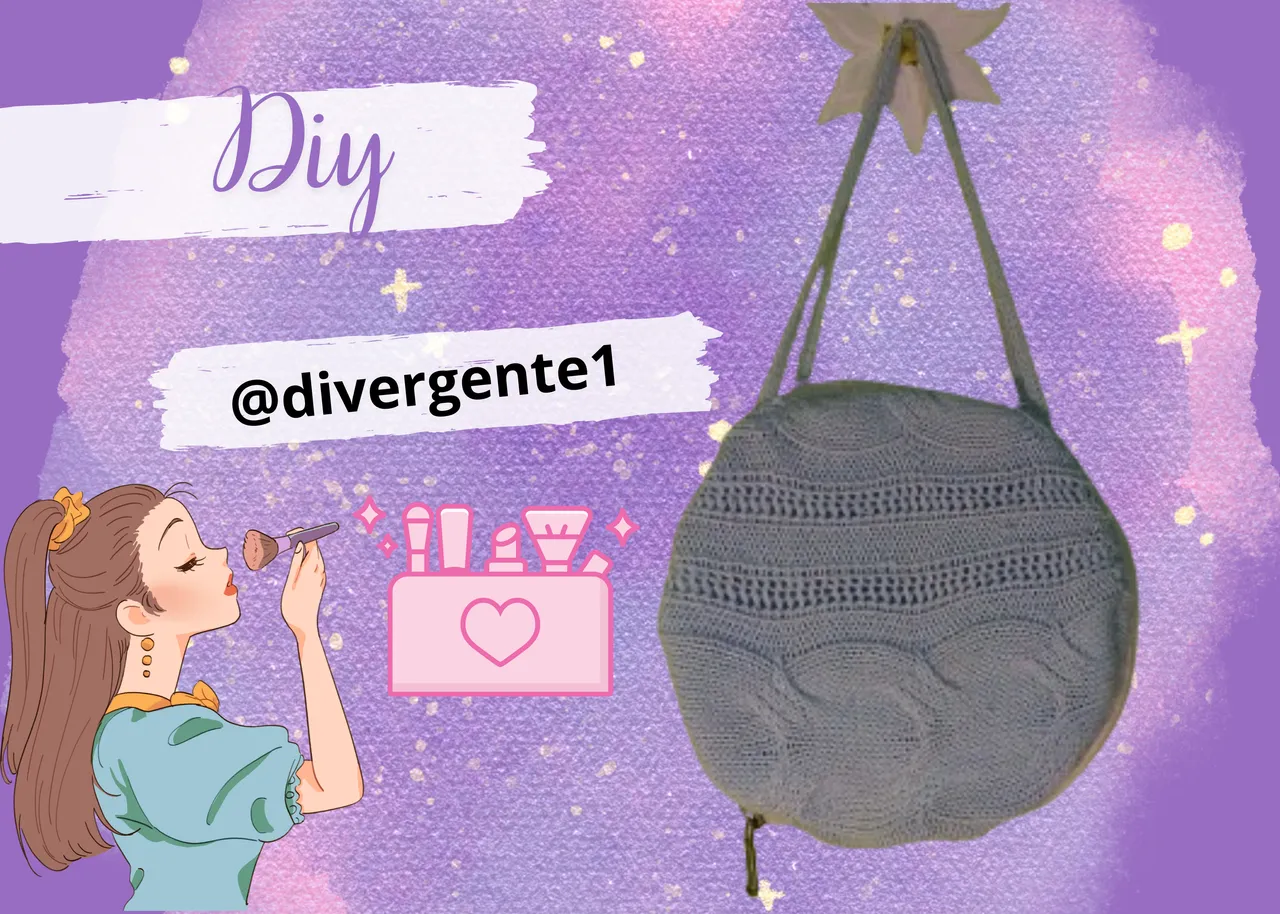
Hello friends, happy afternoon everyone. I am always happy to be able to present my designs in our beloved DiyHub community. Most of my posts this week on diyhub were dedicated to recycling so to culminate my contest entry I also made a bag using the material from two blouses I was no longer using.
( )
)
Materials
- Woven fabric (I used a woven blouse)
- Cotton or polyester or peach fabric
- Scissors
- zipper
Step by Step
1
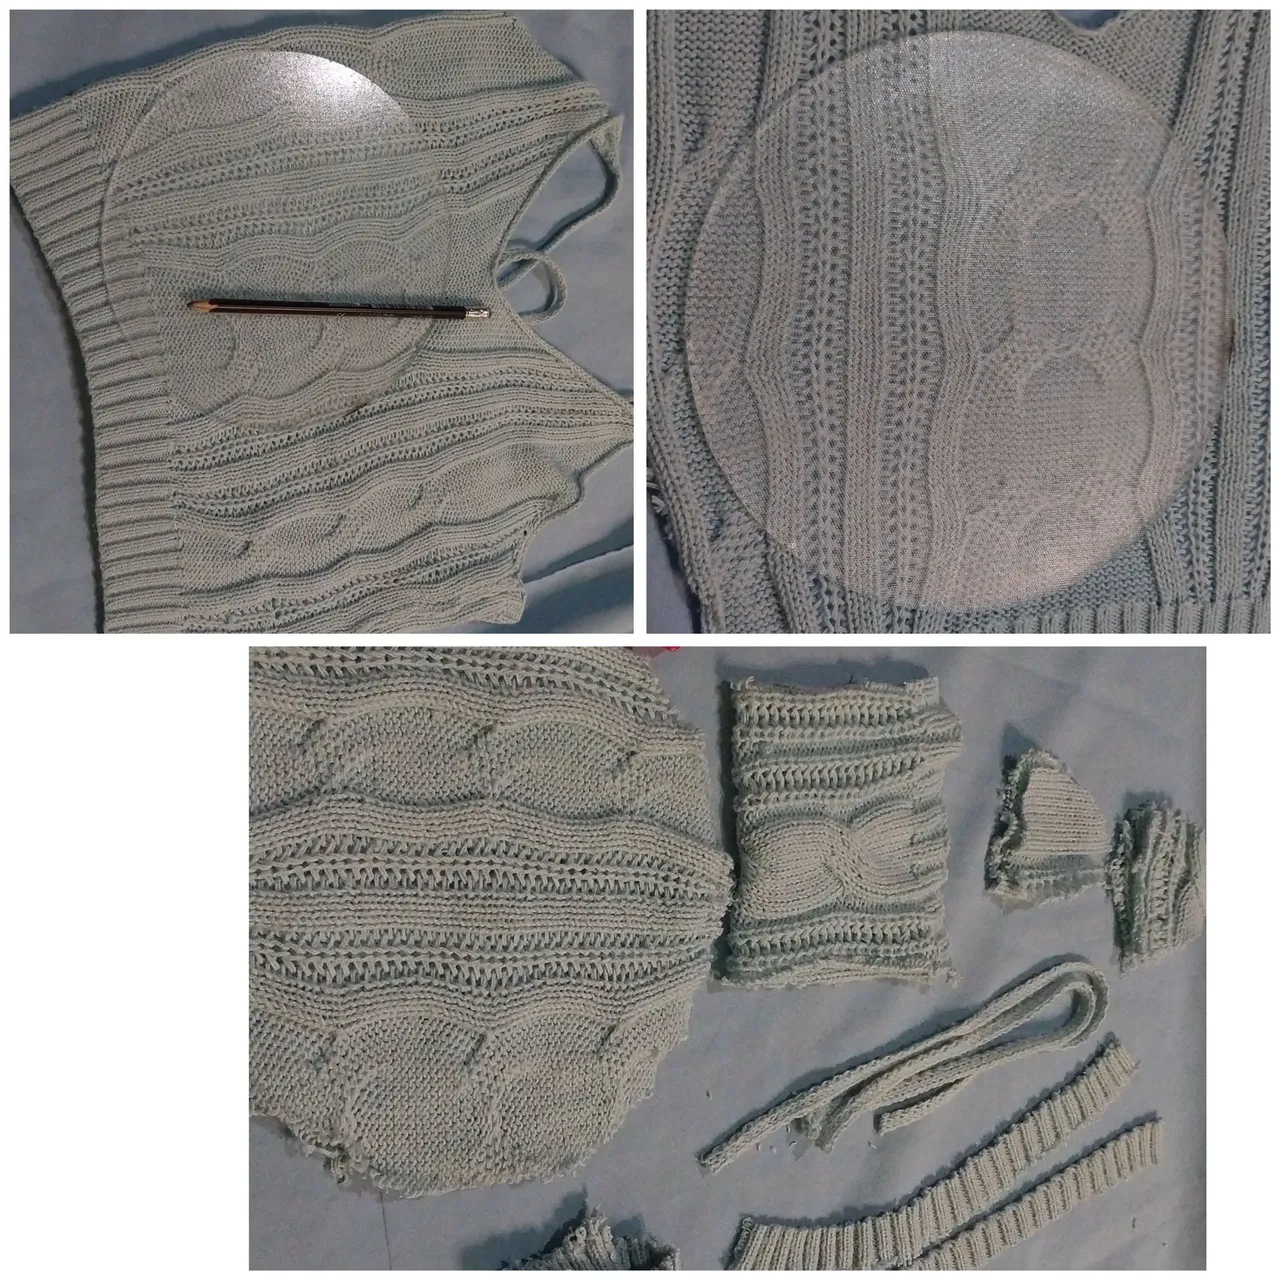
On the woven fabric we are going to draw a circle with a circular mold, and we can help us to mark it with a pencil or marker and proceed to cut out the two circles.
We remember two ribbons and the two straps of the blouse. We are going to use the ribbons to endow the diameter of the circle, so it must be the size of the circle.
2
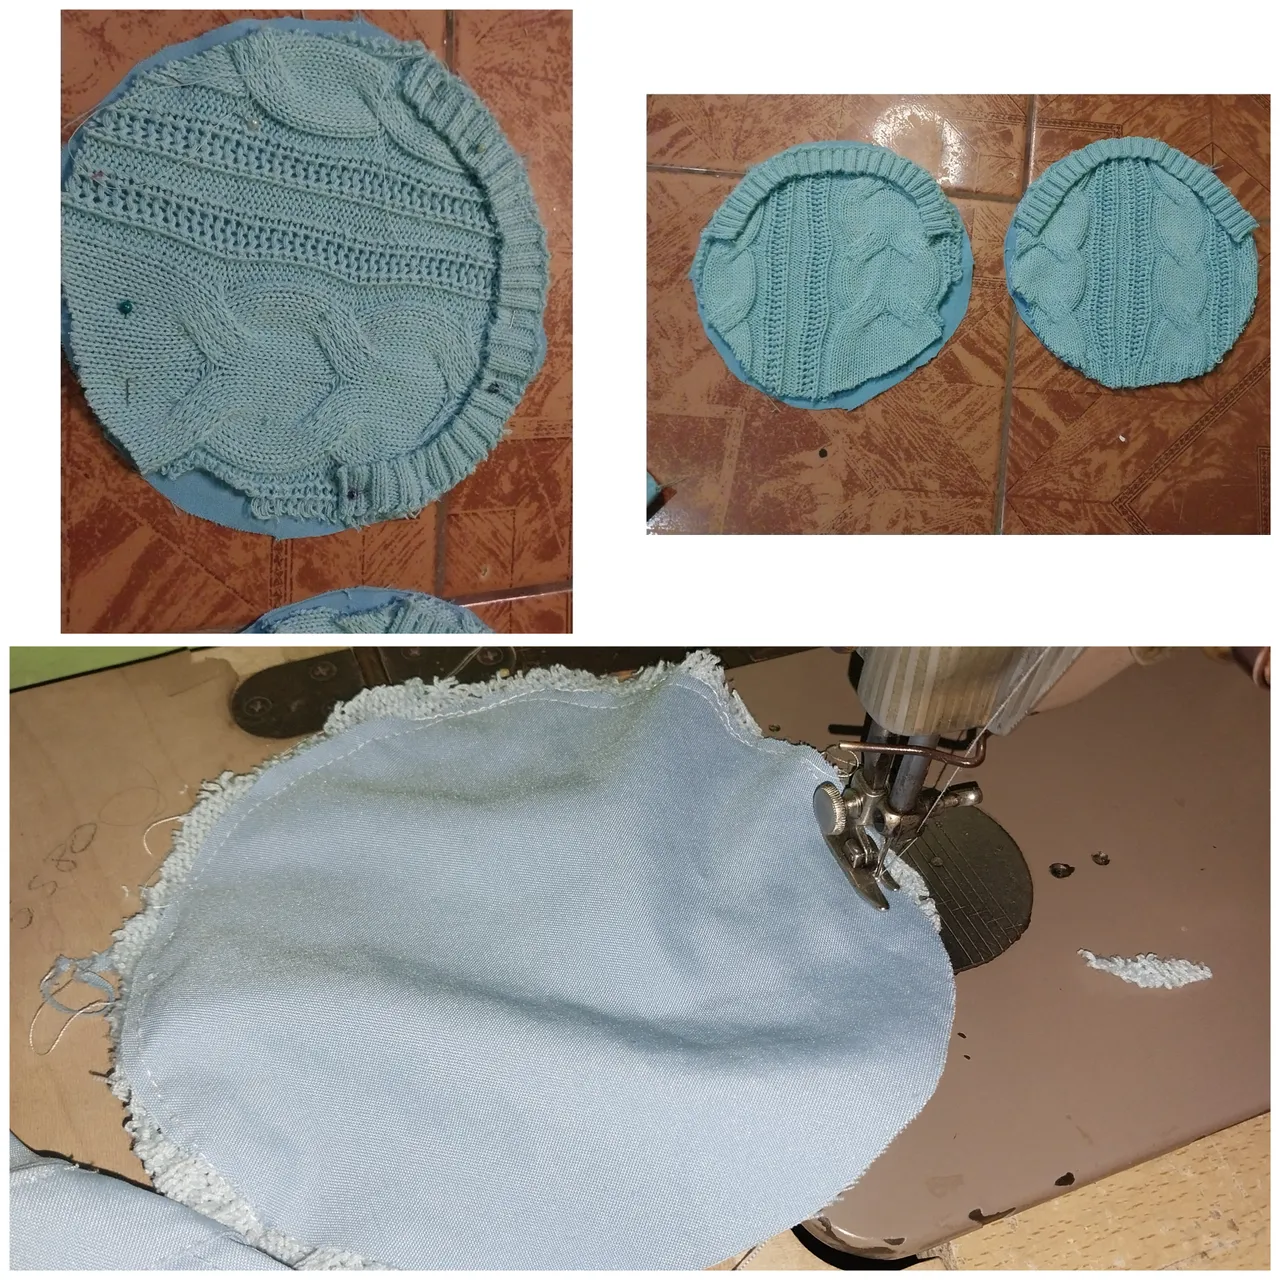
Then we help ourselves with pins to sew the ribbons around the circle, these are located in the middle of the circle because little by little we will be taking the ribbons to adjust it along the circle.
We proceed to sew...
3
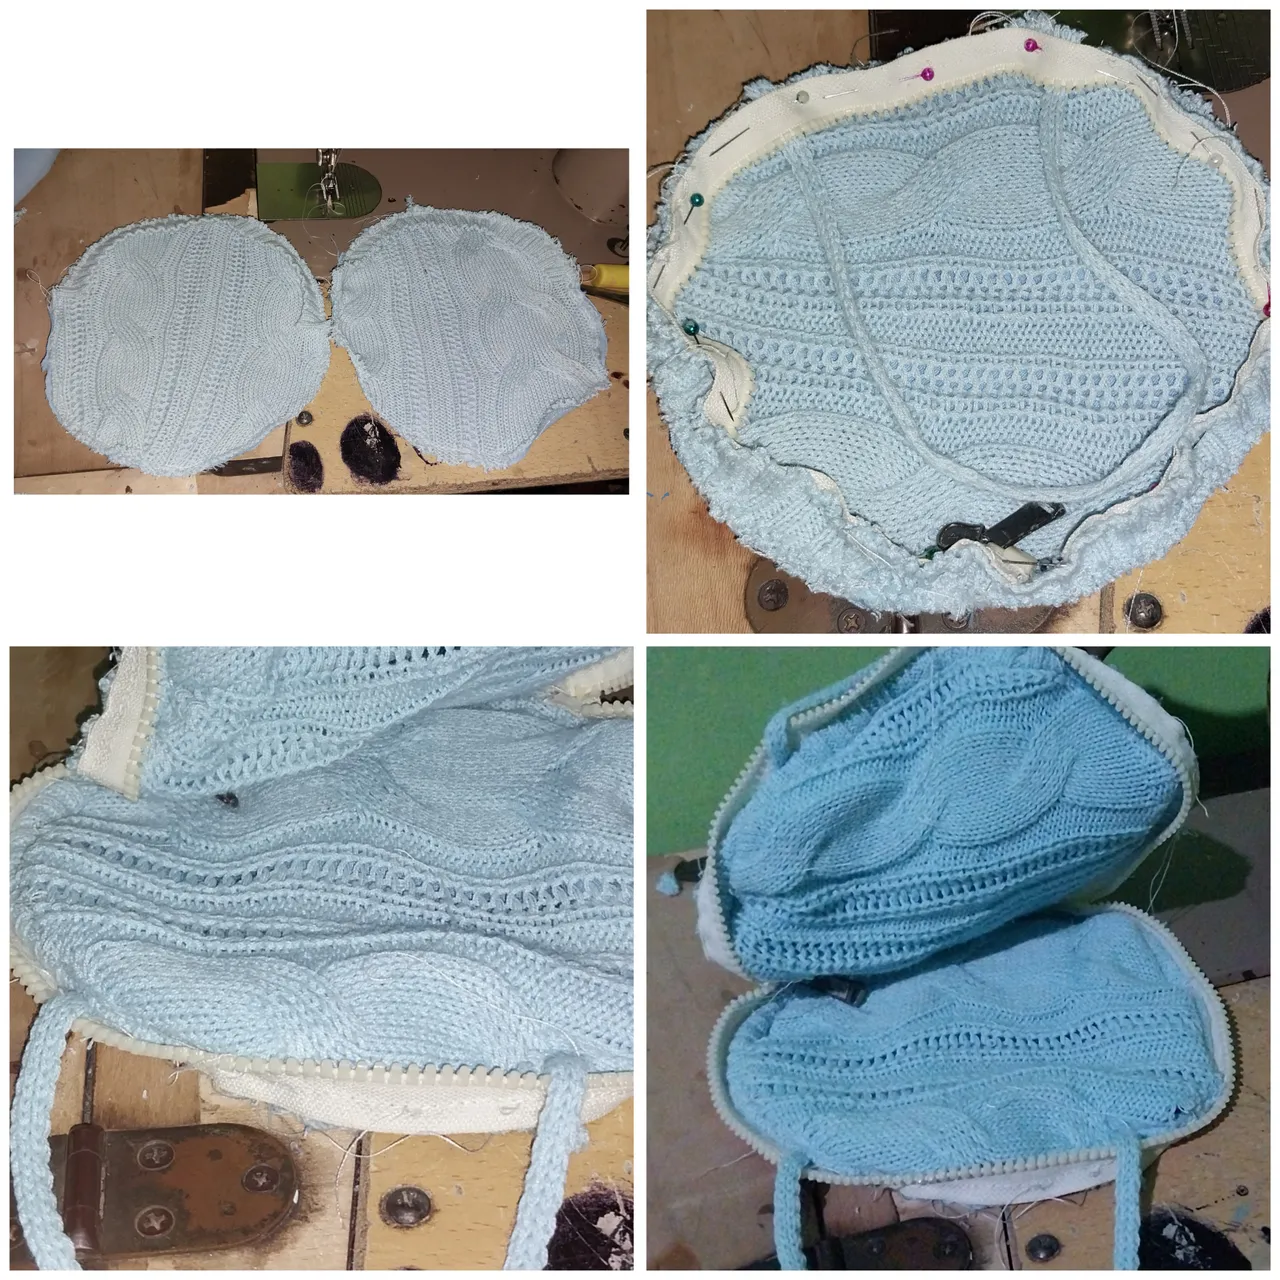
Then we take other pieces of fabric and do the same as in the previous step until we have covered the entire diameter of the ribbon (as if it were another 2.2 cm border).
Then we sew again...
Then we fix the zipper on the edge of this border and sew it too. We also place the braids as a handle for our cosmetic holder. And proceed to sew.
Repeat the same step with the other side.
4
1000213577.jpg]( )
)
By sewing the bottom edge of the two sides together we can open and close them through the zipper.
1000213571.jpg](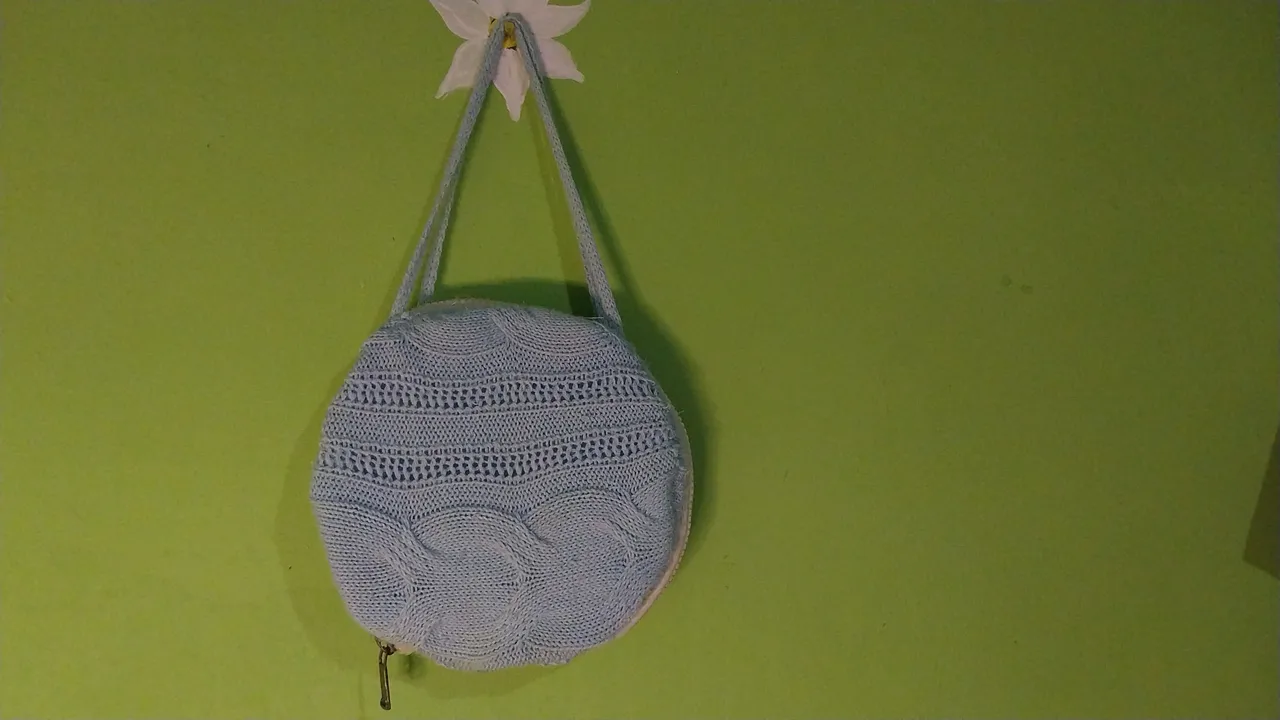 )
)
This is the final result, I hope you like it! Thank you very much❤️🌼❤️
- Images belong to me
- Translator: Deepl Traslator
- Editing: Canva
Hola amigos, feliz tarde reciban todos. Siempre estoy feliz de poder presentar mis diseños en nuestra querida comunidad de DiyHub. La mayoría de mis post de esta semana en diyhub estuvieron dedicados al reciclaje así que para culminar mi entrada al concurso también he realizado un bolso utilizando el material de dos blusas que ya no utilizaba.

Materiales
- Tela tejida (he utilizado una blusa tejida)
- Tela de algodón o poliester o durazno
- Tijera
- cierre
Paso a Paso
1

Sobre ta Tela tejida vamos a trazar un circulo con algún molde circular, y nos podemos ayudar para marcar este con algún lápiz o marcador y procedemos a recortar los dos círculos.
Recordamos dos cintas y los dos tirantes de la blusa. Las cintas las vamos a utilizar para dotó el diámetro del circulo, por ello debe ser del tamaño del circulo.
2

Luego nos ayudamos de Alfileres para coser las cintas alrededor del circulo, estas se encuentran a la mitad del circulo porque poco a poco iremos tomando las cintas para ajustarla a lo largo del circulo.
Procedemos a coser...
3

Luego tomamos otros retazos de telas y hacemos lo mismos del paso anterior hasta ner todo el diámetro cubierto de la cinta (como si fuera otro borde de 2,2 cm)
Luego cosemos nuevamente...
Seguidamente fijamos el cierre en ka orilla de este margen y cosemos también. También colocamos las trenzas como agarradera de nuestro porta-cosmeticos. Y procedemos a coser.
Repetimos el mismo paso con la otra cara.
4

Al coser el borde inferior de las dos caras estas se unen y podemos abrir y cerrar a través del cierre.

Este es el resultado final. Espero les guste! Muchas gracias ❤️🌼❤️
- Las imágenes me pertenecen
- Traductor: Deelp traslator
- Edicion: Canva
