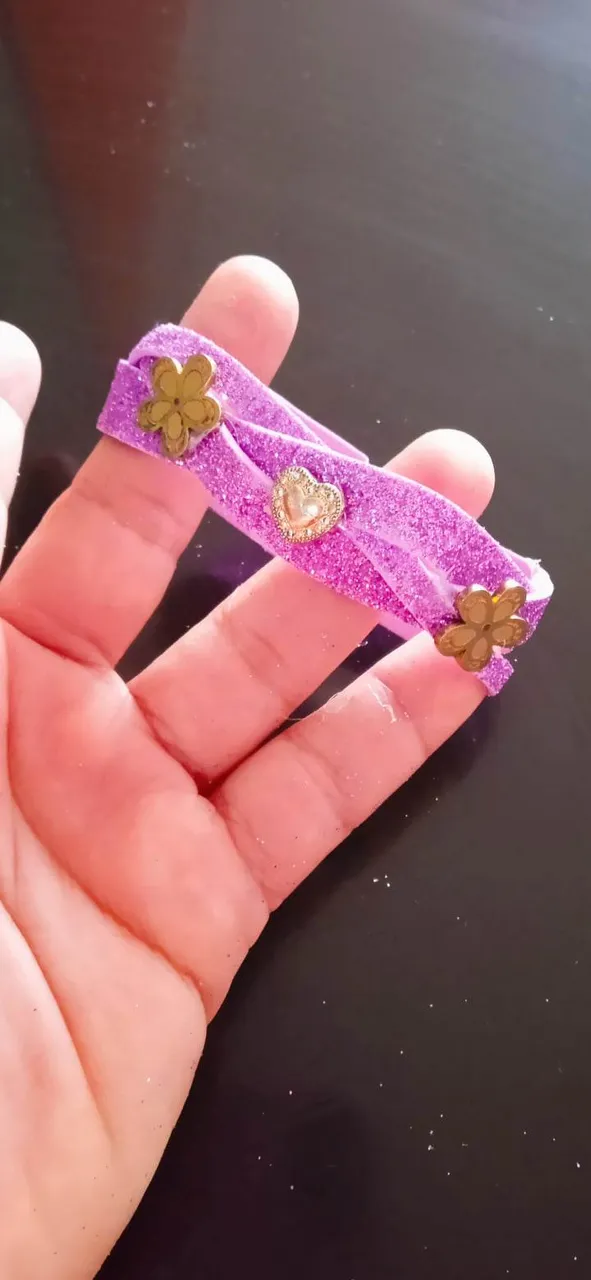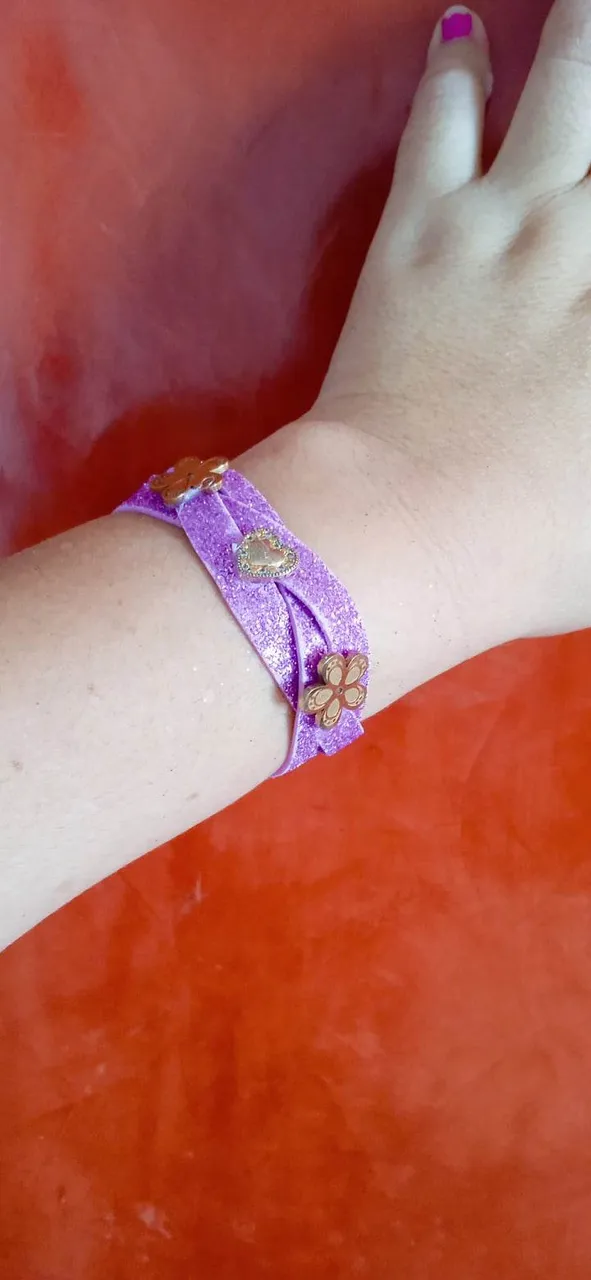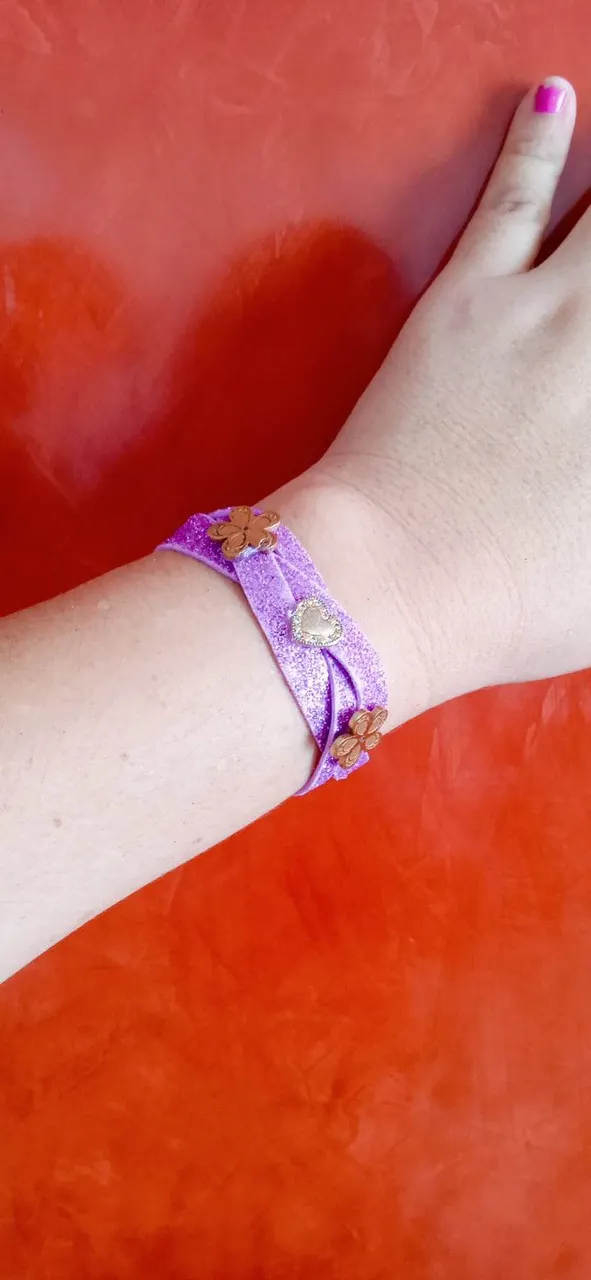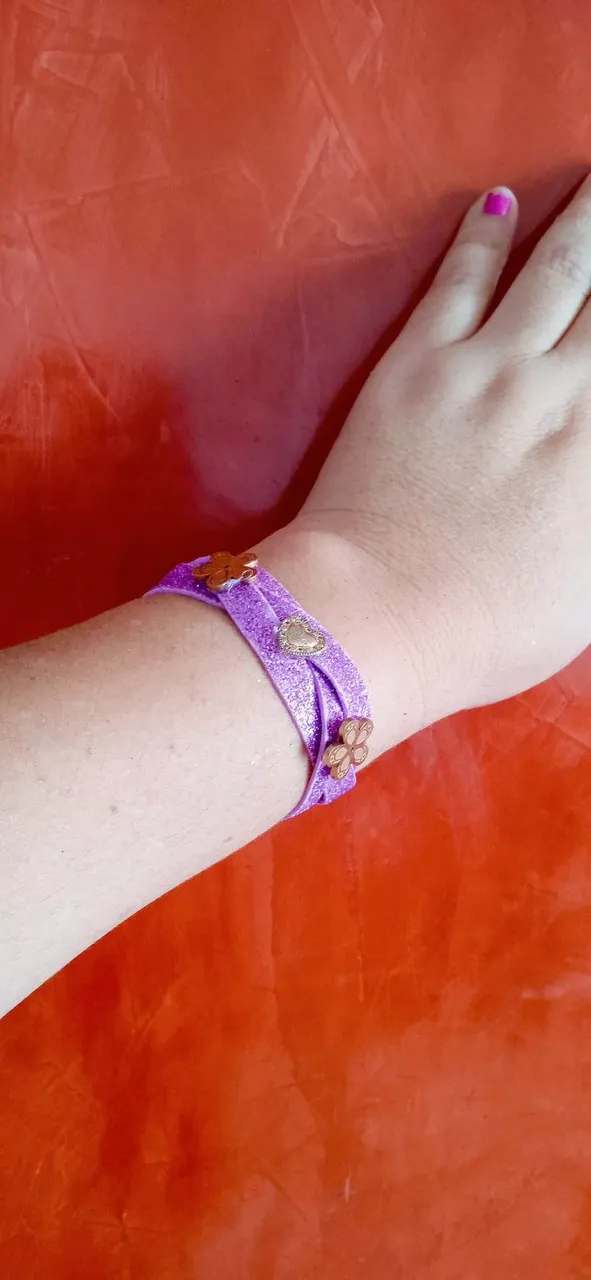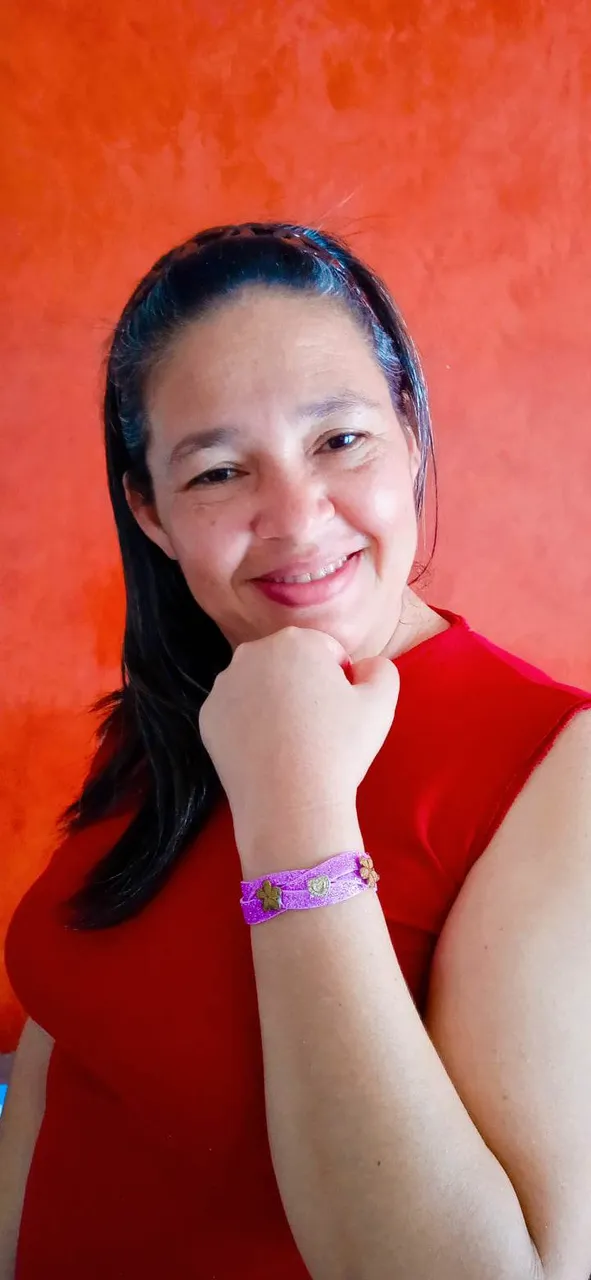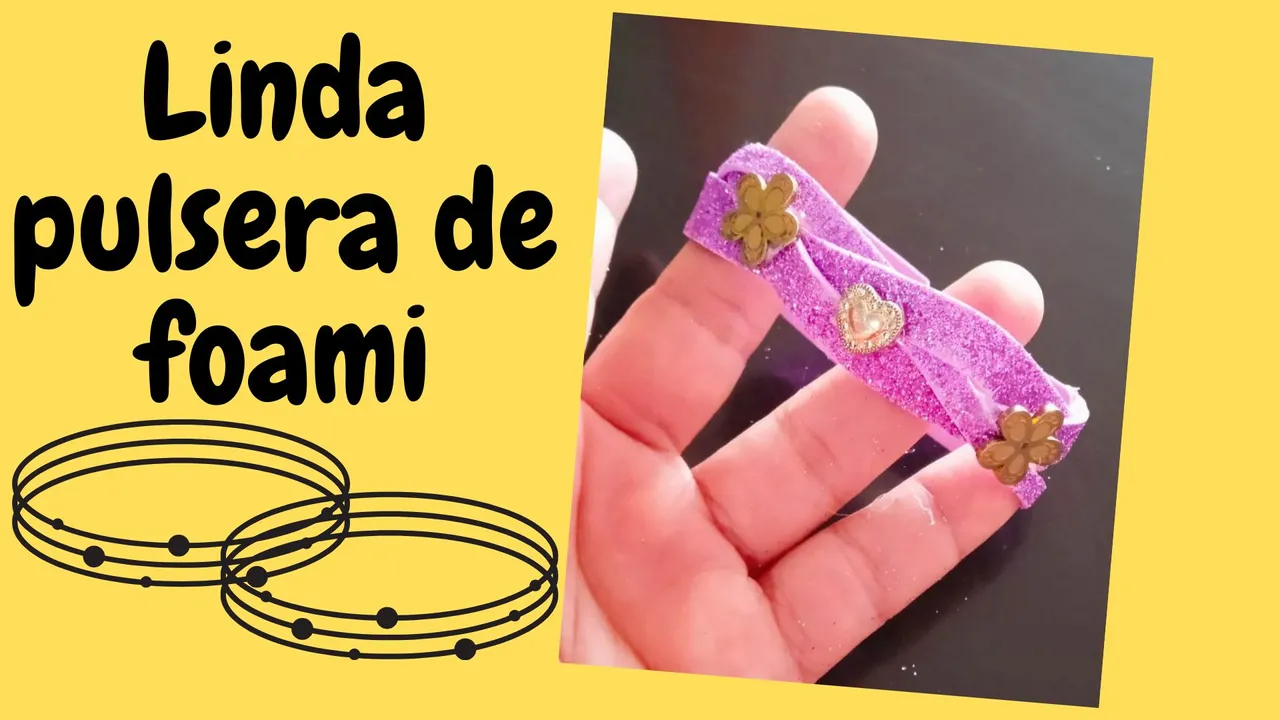
Happy and blessed day to all, it is a pleasure to share with you in this beautiful community this is my first post and I hope you like it, in this opportunity I made a nice and simple bracelet made with foami and decorated with flowers and heart, they are very nice and easy to make, let's see the steps to follow.

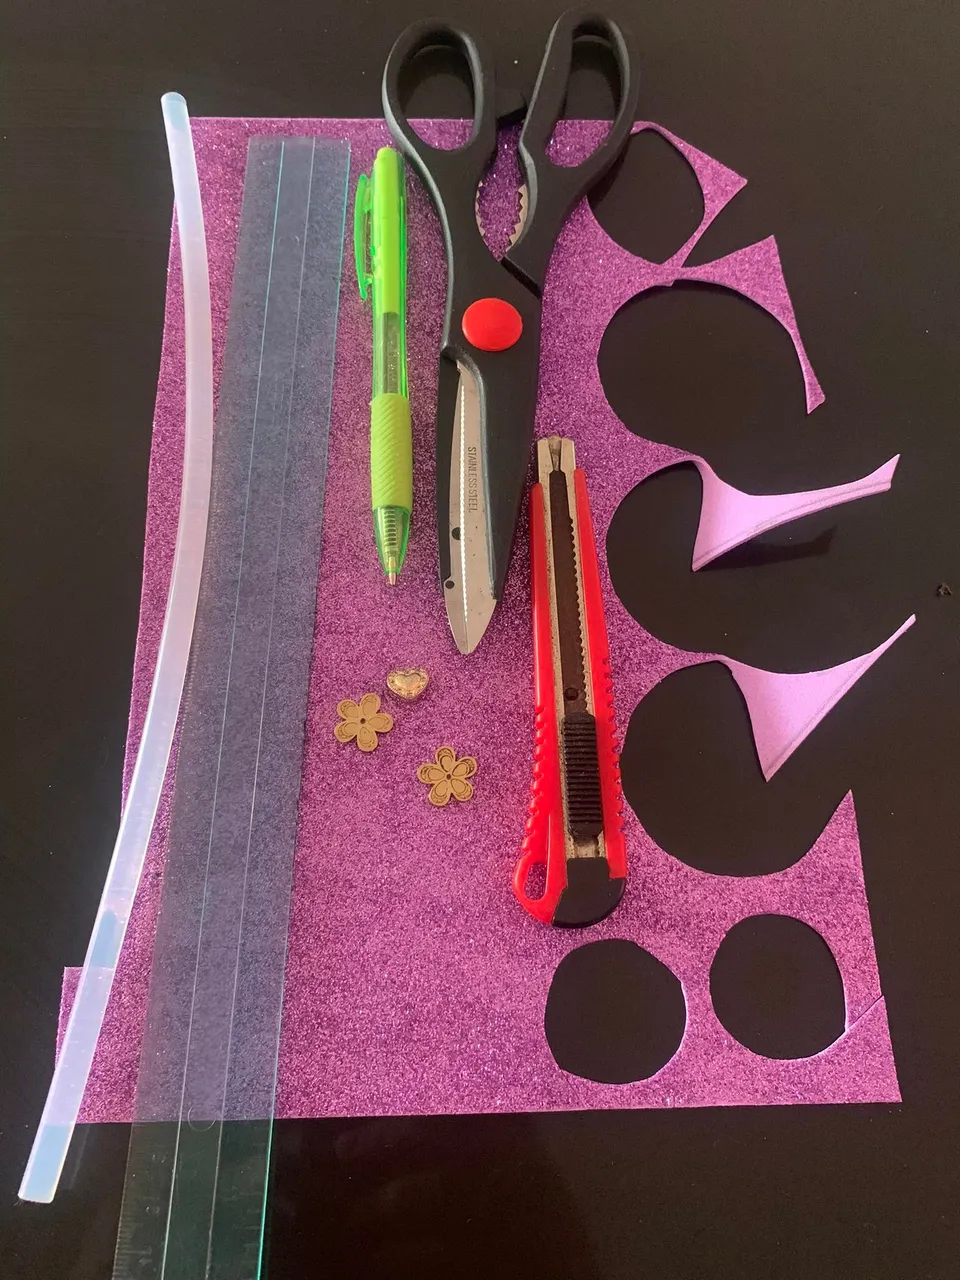
- Los materiales a utilizar son:
- Foami escarchado de cualquier color.
- Tijera.
- Silicón en barra.
- Lápiz.
- Regla.
- Adornos.
- Cutter.
- The materials to be used are:
- Frosted Foami of any color.
- Scissors.
- Silicone stick.
- Pencil.
- Ruler.
- Ornaments.
- Cutter.

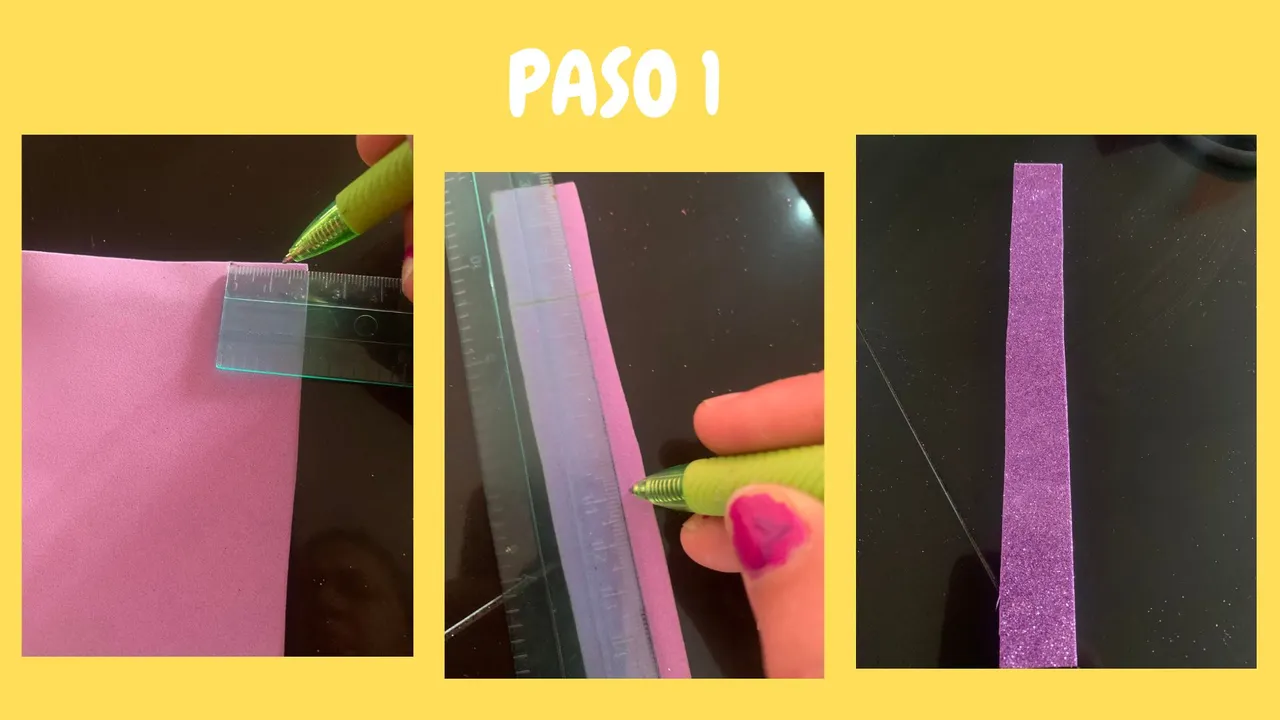
- Paso 1: Lo primero que debemos hacer es marcar en el foami las medidas de 2 cm de ancho por 20 cm de largo, luego recortamos para sacar lo que sería nuestra pulsera.
- Step 1: The first thing to do is to mark on the foami the measures of 2 cm wide by 20 cm long, then cut to get what would be our bracelet.

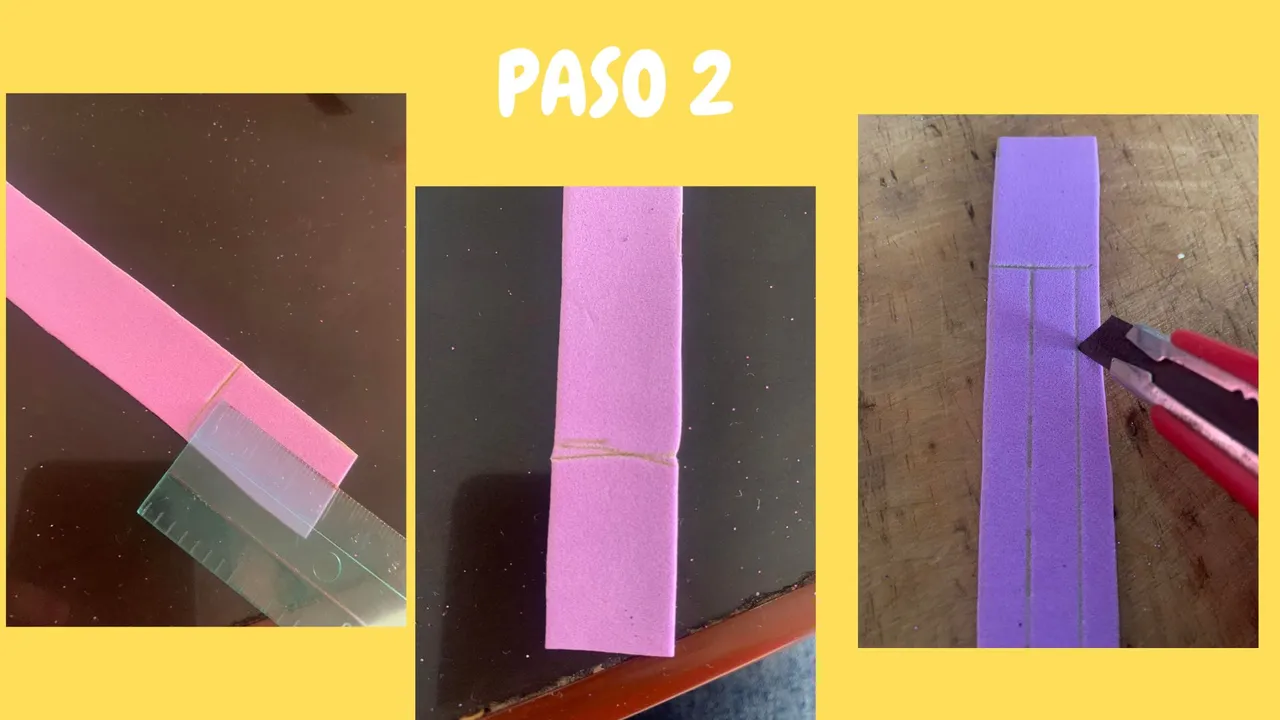
- Paso 2: Marcamos en cada extremo de la tira 3 cm, luego de esos 3 cm marcamos 3 líneas a lo largo del foami de extremoa a extremo, respetando las medidas de de 3 cm.
- Step 2: We mark 3 cm on each end of the strip, after those 3 cm we mark 3 lines along the foami from end to end, respecting the measures of 3 cm.

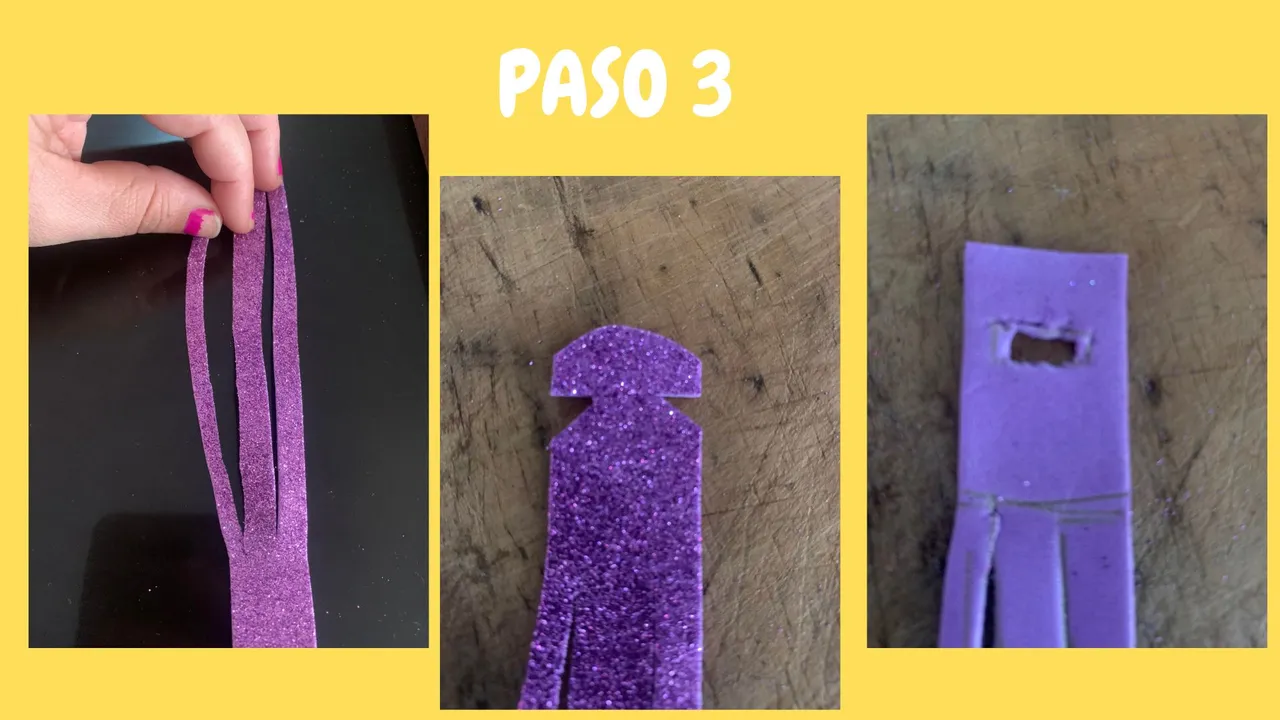
- Paso 3: Marcadas las 3 líneas cortamos con ayuda del cutter, luego en un extremo cortamos de cada lado como especie de pequeños triángulos redondeando la parte de arriba, tal cual muestra la segunda imágen y en el otro extremo hacemos un pequeño rectángulo y recortamos.
- Step 3: Once the 3 lines are marked, we cut with the cutter, then at one end we cut on each side as a kind of small triangles rounding the top, as shown in the second image and at the other end we make a small rectangle and cut it out.

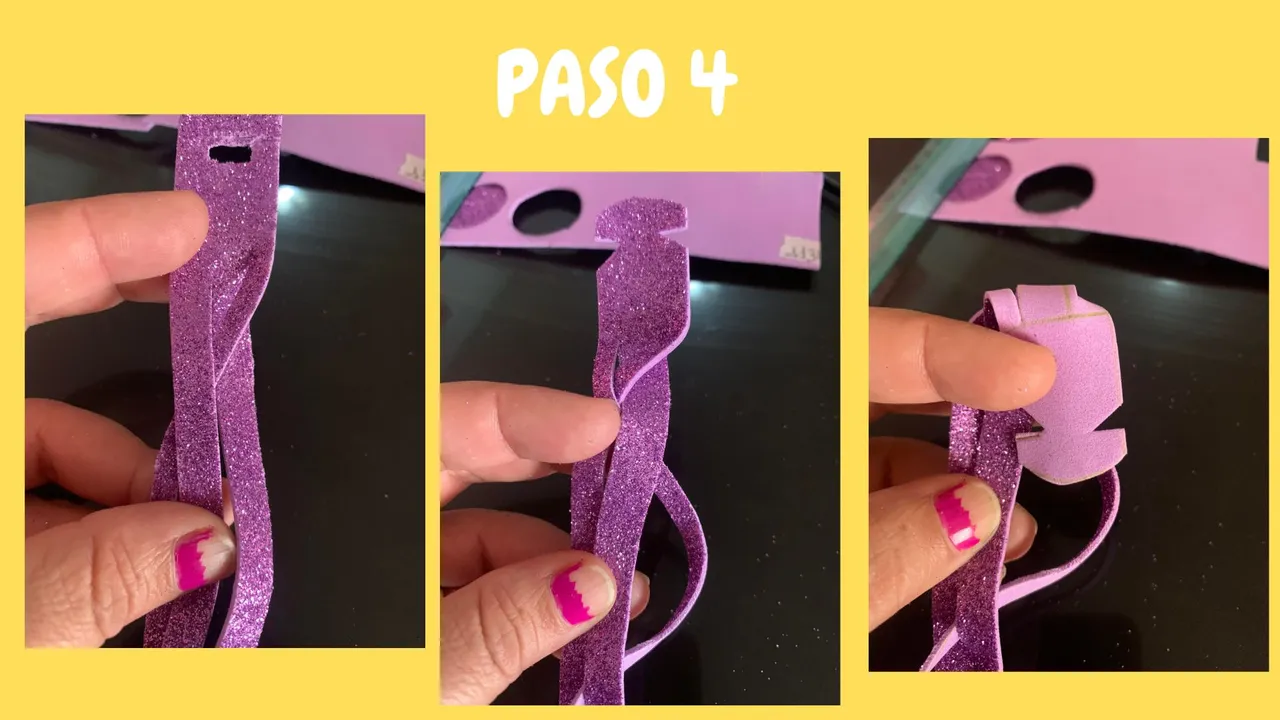
- Paso 4: Para comenzar con el tejido de la pulsera, primero llevamos la tira izquierda hacía el centro, luego la tira derecha hacía el centro, esto lo debemos hacer 3 veces, luego en el espacio que nos queda debajo metemos la parte superior de la pulsera.
- Step 4: To start weaving the bracelet, first we take the left strap to the center, then the right strap to the center, this we must do 3 times, then in the space left underneath we put the upper part of the bracelet.

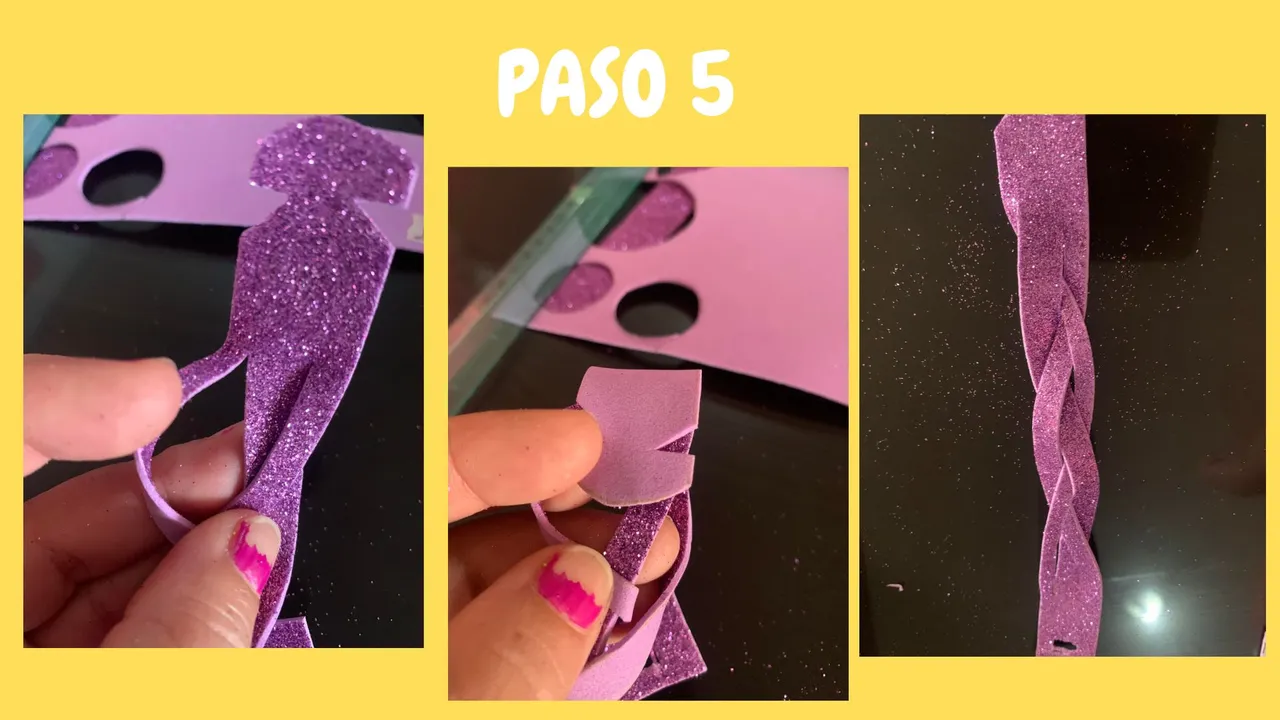
- Paso 5: Luego la volvemos a meter en el espacio que nos queda arriba y posteriormente acomodamos el trenzado de la pulsera.
- Step 5: Then we put it back into the space above and then we place the braiding of the bracelet.

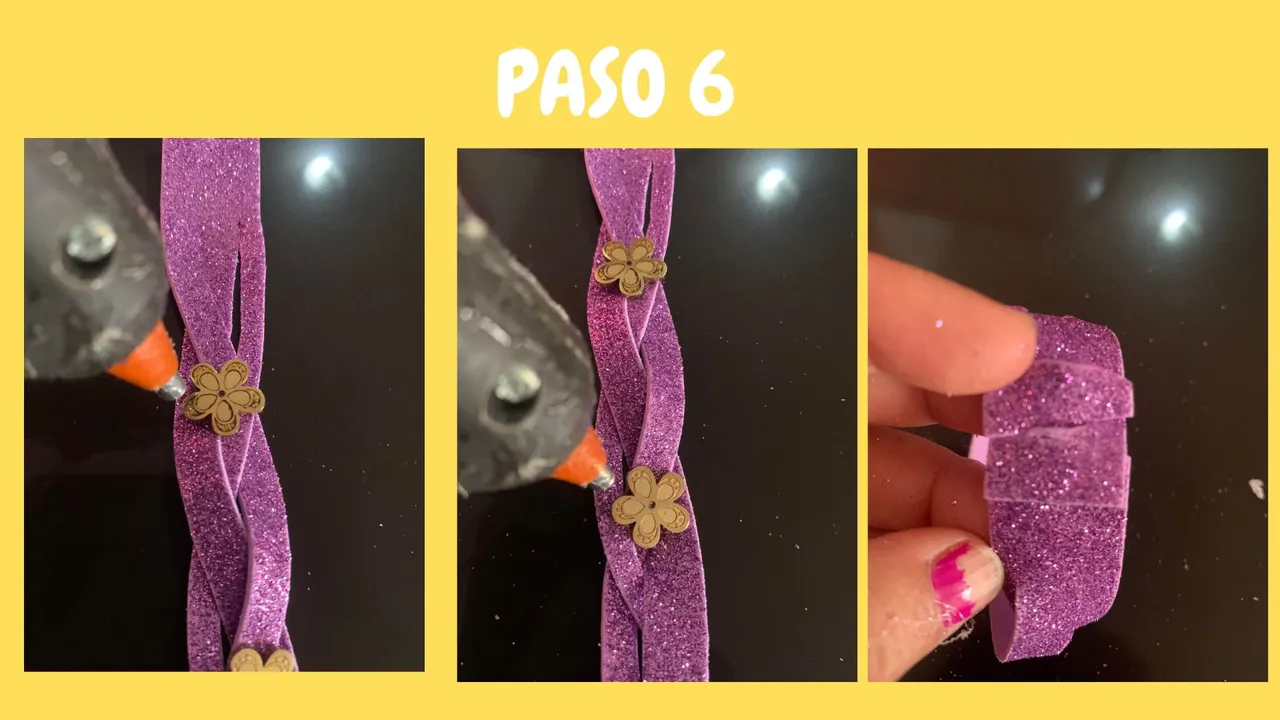
- Paso 6: Por último adornamos nuestra pulsera a nuestro gusto y estilo, y cerramos la pulsera introduciendo un exrtemo de la pulsera dentro del rectángulo que abrimos anteriormente.
- Step 6: Finally we decorate our bracelet to our taste and style, and close the bracelet by inserting an exrtemo of the bracelet inside the rectangle that we opened previously.

