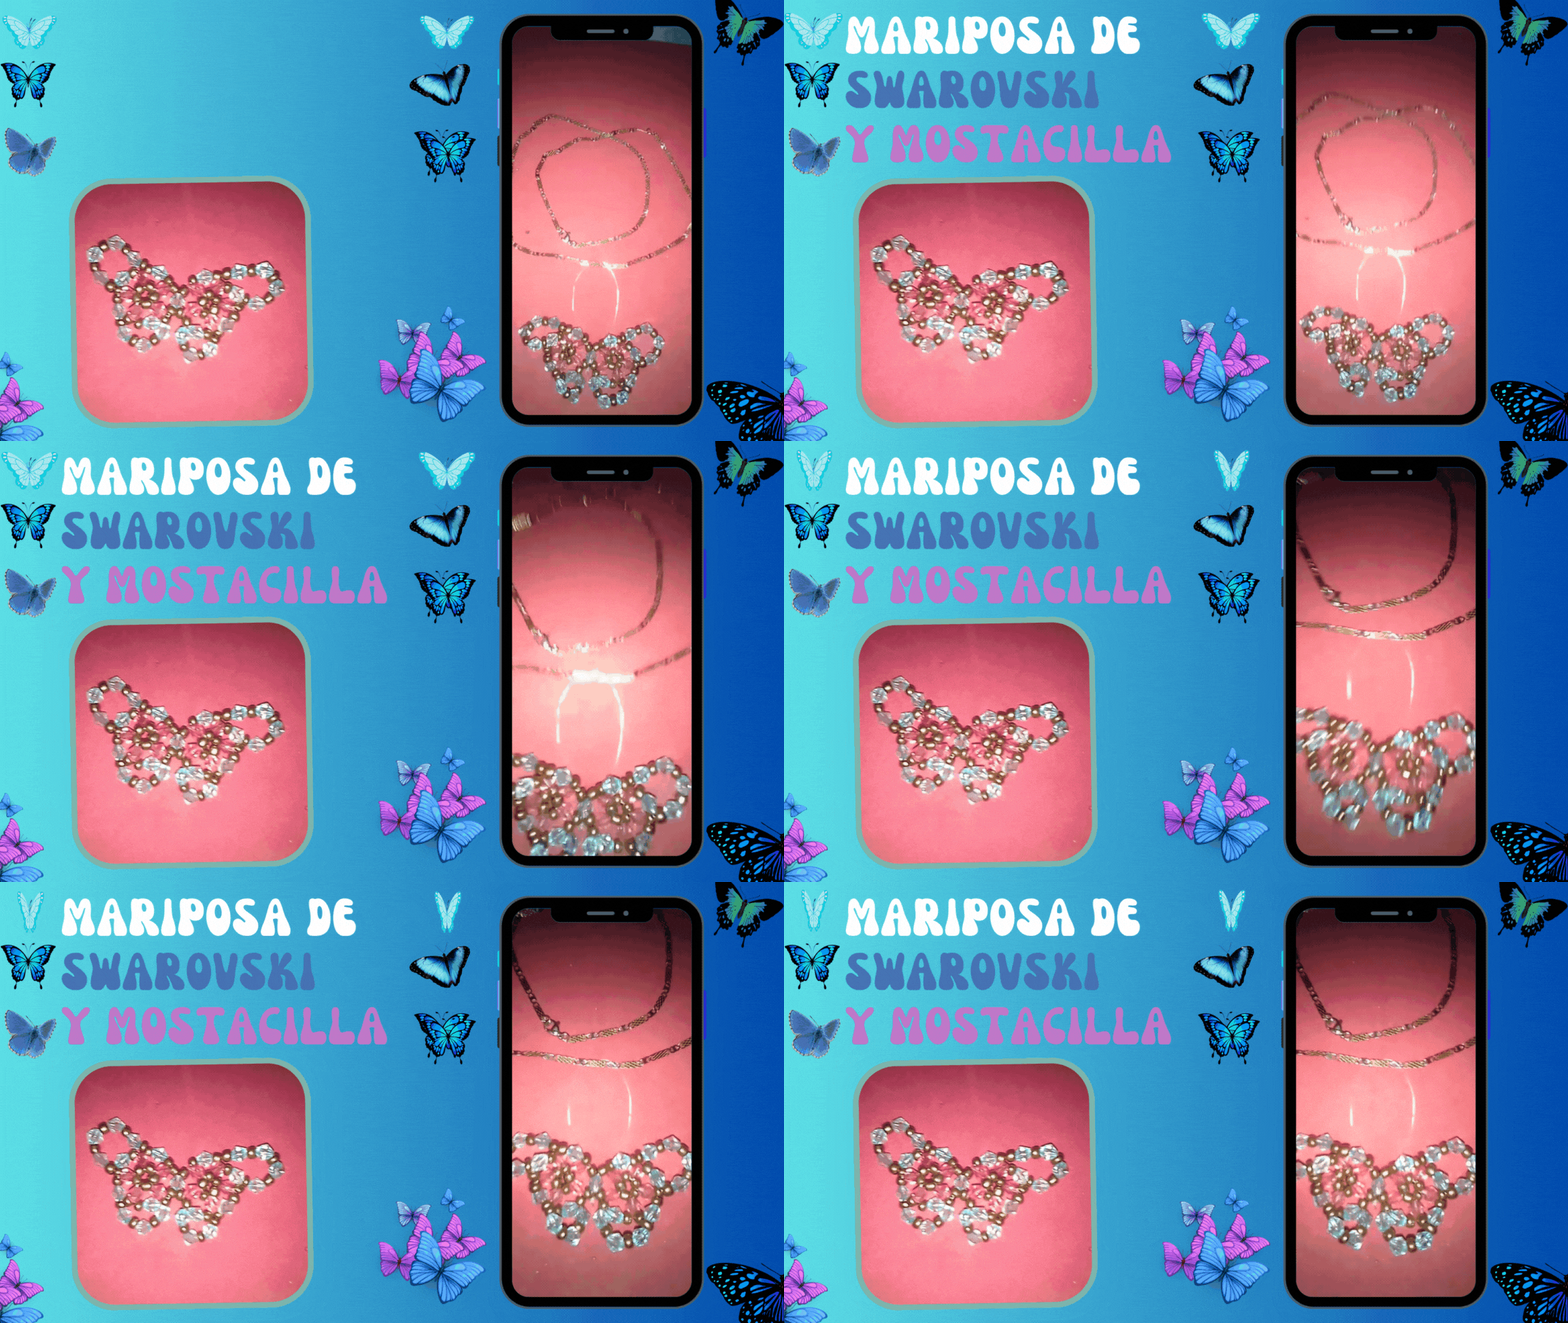
Hola amigos de la comunidad de Jewelry, en este post nuevo quiero mostrarles un tutorial sobre una mariposa hecho con swarovskis y mostacillas, es sencillo de hacer queda muy bonito. Espero les guste y se animen a hacerse el suyo. También pueden usar esta mariposa para en vez de hacer un dije, colocarla en un ganchito de cabello , en algún cintillo o usarlo como prendedor para sujetar una blusa.
Hello friends of the Jewelry community, in this new post I want to show you a tutorial about a butterfly charm made with swarovskis and beads, it's easy to make and looks very pretty. I hope you like it and I encourage you to make your own. You can also use this butterfly instead of making a pendant to place it on a hair clip, on a headband or use it as a pin to hold a blouse.
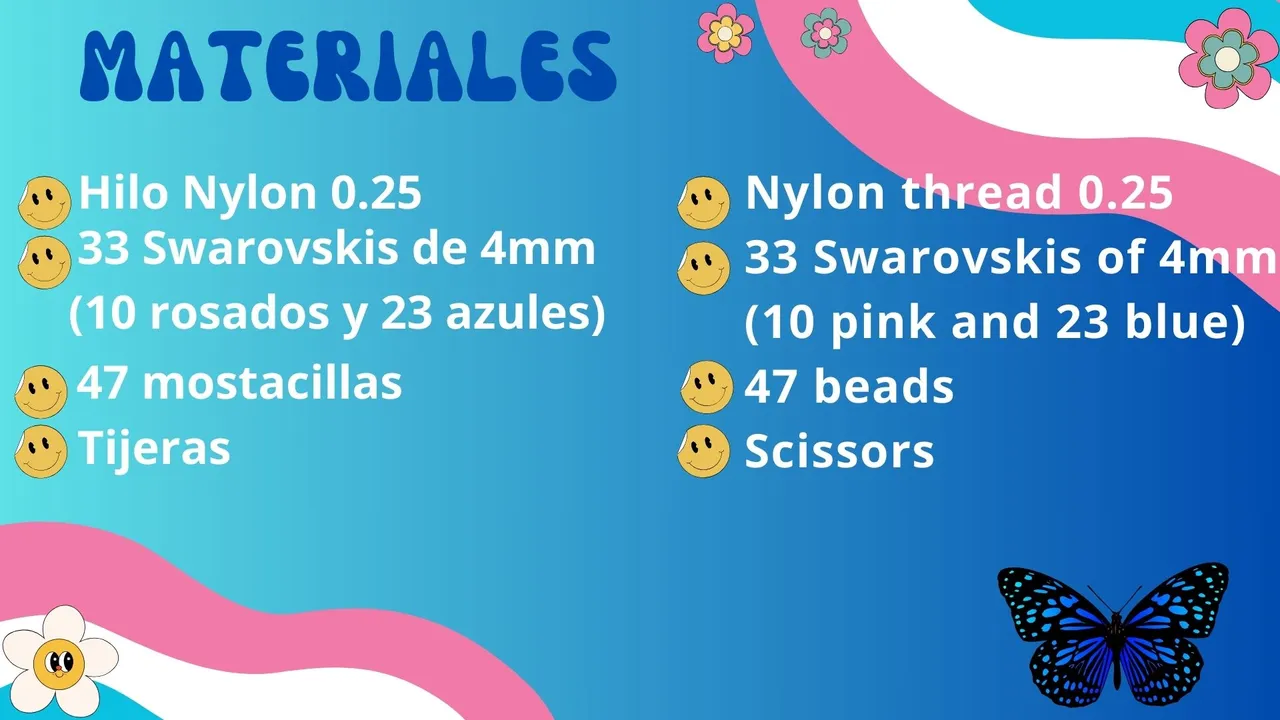
Materiales | Materials
Procedimiento | Procedure
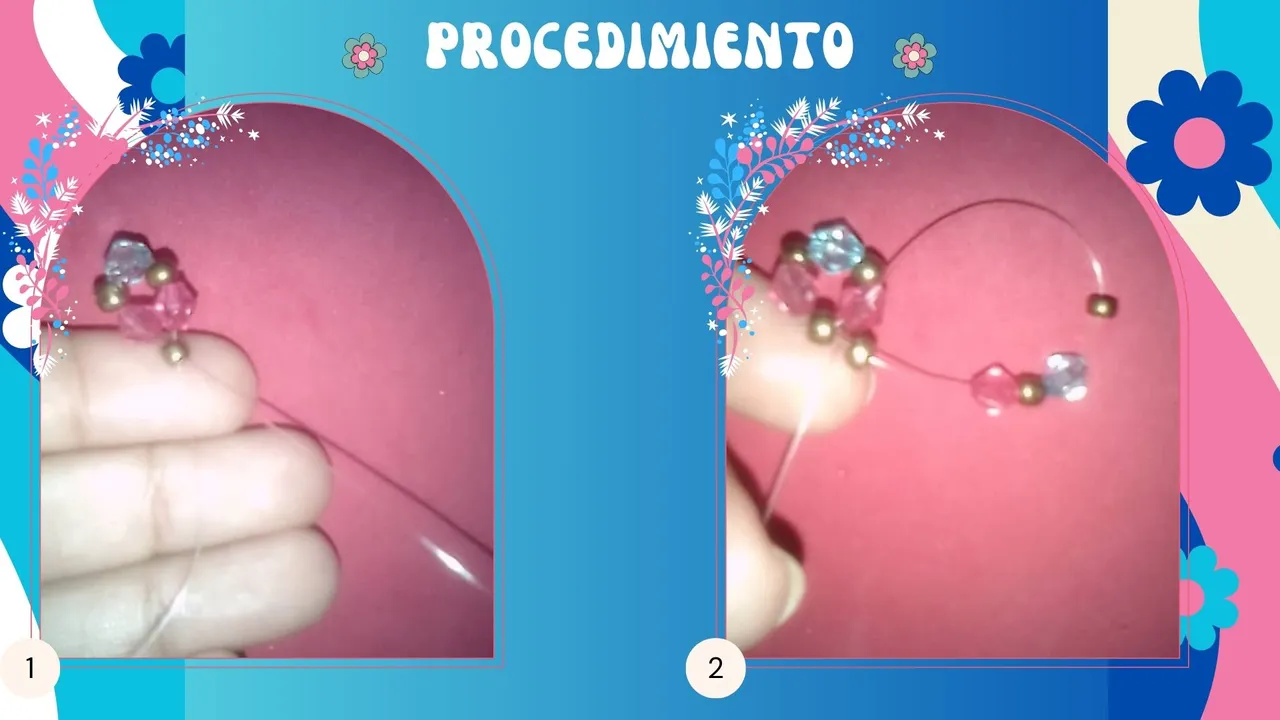
Paso 1 | Step 1
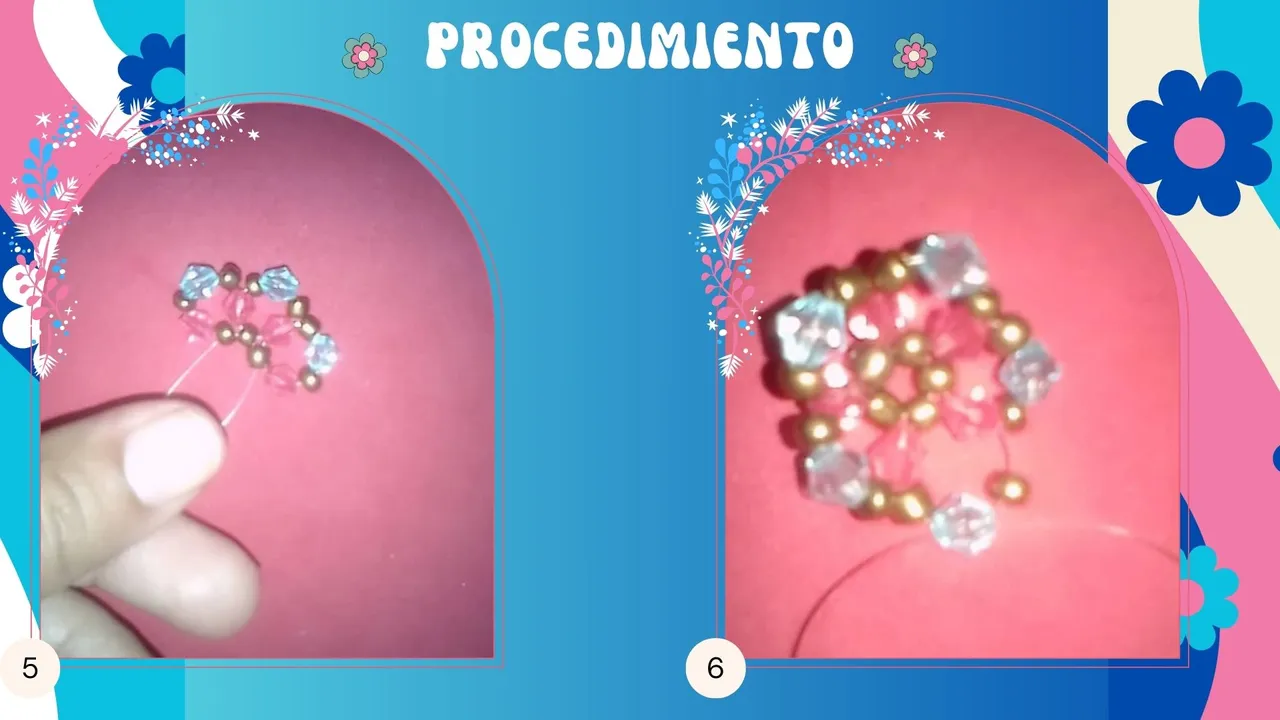
Primero, ingresamos una mostacilla, un cristal rosado, una mostacilla, un cristal azul, una mostacilla, un cristal rosado y cruzamos por la ultima mostacilla formando un circulo, luego con el hilo sobrante volvemos a ingresar una mostacilla , un cristal rosado, una mostacilla, otro cristal azul, una mostacilla y luego ingresamos el hilo por el cristal rosado mas cercano por el lado contrario de donde salio el hilo como se ve en la imagen 2.
First, we enter a bead, a pink crystal, a bead, a blue crystal, a bead, a bead, a pink crystal and cross through the last bead forming a circle, then with the remaining thread we enter again a bead, a pink crystal, a bead, a bead, another blue crystal, a bead and then we enter the thread through the closest pink crystal on the opposite side from where the thread came out as shown in image 2.
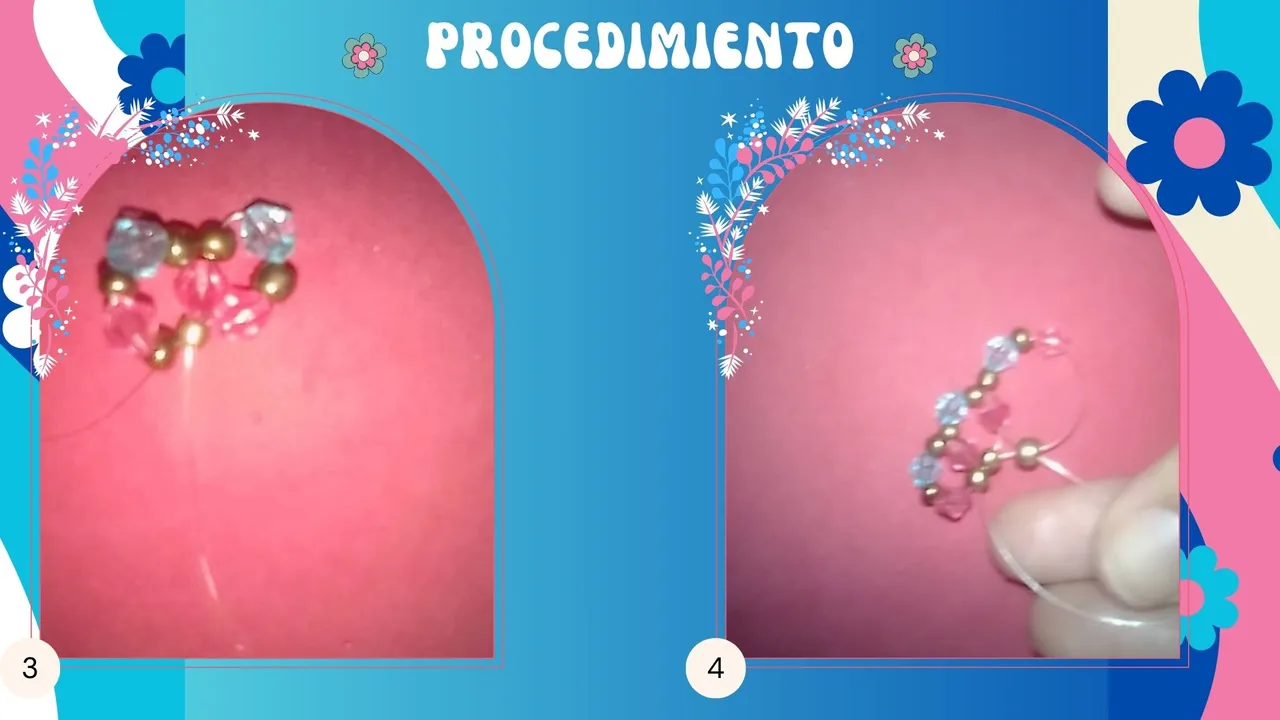
Paso 2 | Step 2
Repetimos el mismo paso hasta completar los petalos de la flor que se va formando.
Repeat the same step until completing the petals of the flower that is being formed.
Paso 3 | Step 3
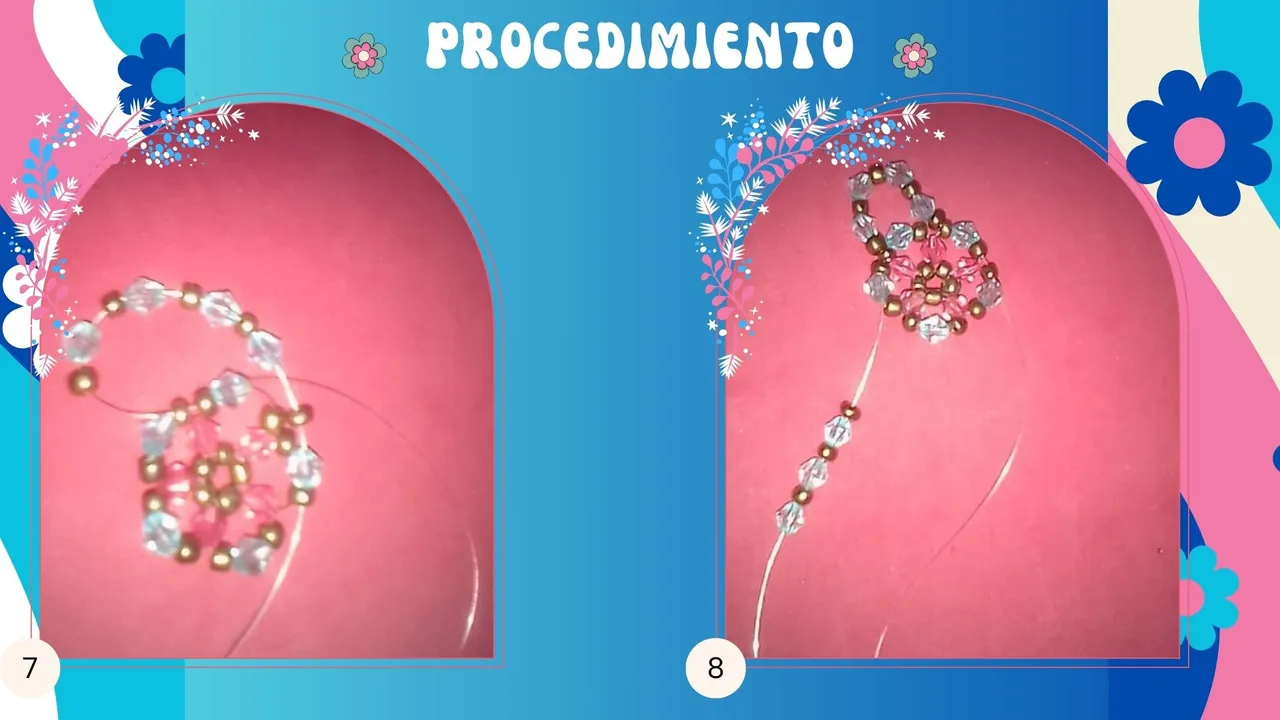
Luego, cuando completamos la flor, vamos dejar nylon de un lado y nylon de otro lado de un cristal azul, como se ve en la imagen 7, alli ingresamos: una mostacilla, un cristal azul, mostacilla, cristal azul, hasta que se completen 4 cristales y mostacillas para la parte de arriba de la ala, saltamos 2 mostacillas y un cristal e ingresamos el hilo por, una mostacilla, un cristal y otra mostacilla.
Then, when we complete the flower, we are going to leave nylon on one side and nylon on the other side of a blue crystal, as shown in picture 7, there we enter: a bead, a blue crystal, bead, blue crystal, until we complete 4 crystals and beads for the top of the wing, we skip 2 beads and a crystal and enter the thread through, a bead, a crystal and another bead.
Paso 4 | Step 4
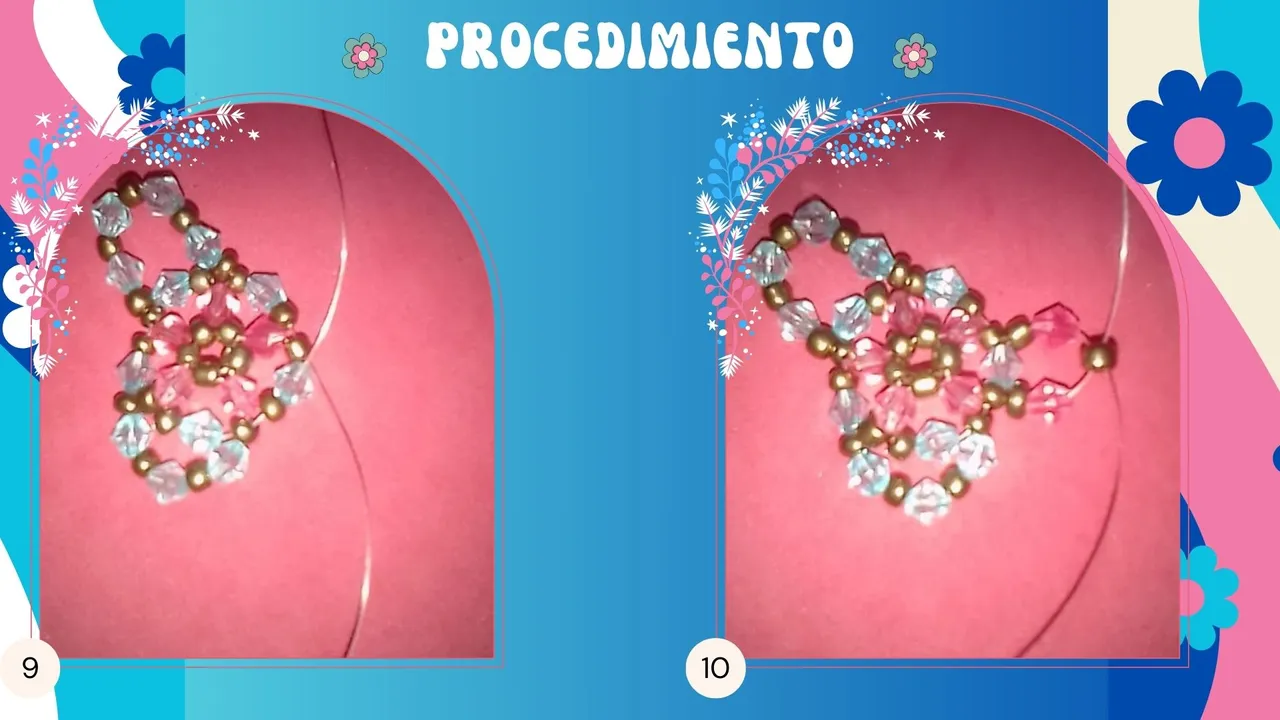
Luego del otro hilo sobrante se agrega una mostacilla y cristal azul, una mostacilla y cristal azul, una mostacilla y cristal azul como se ve en la imagen 8. Luego saltamos dos mostacillas y un cristal y pasamos el hilo por dos mostacillas y un cristal que siguen y el hilo es el que se ve haci arriba. Ya aquí temos completada un ala de la mariposa. El centro será por donde esta saliendo este hilo que se vce hacia arriba. Ver imagen 9.
Then from the other leftover thread we add a bead and blue crystal, a bead and blue crystal, a bead and blue crystal as shown in picture 8. Then we skip two beads and a crystal and pass the thread through two beads and a crystal that follow and the thread is the one shown above. Here we have completed one wing of the butterfly. The center will be where this thread is coming out that is seen upwards. See image 9.
Paso 5 | Step 5
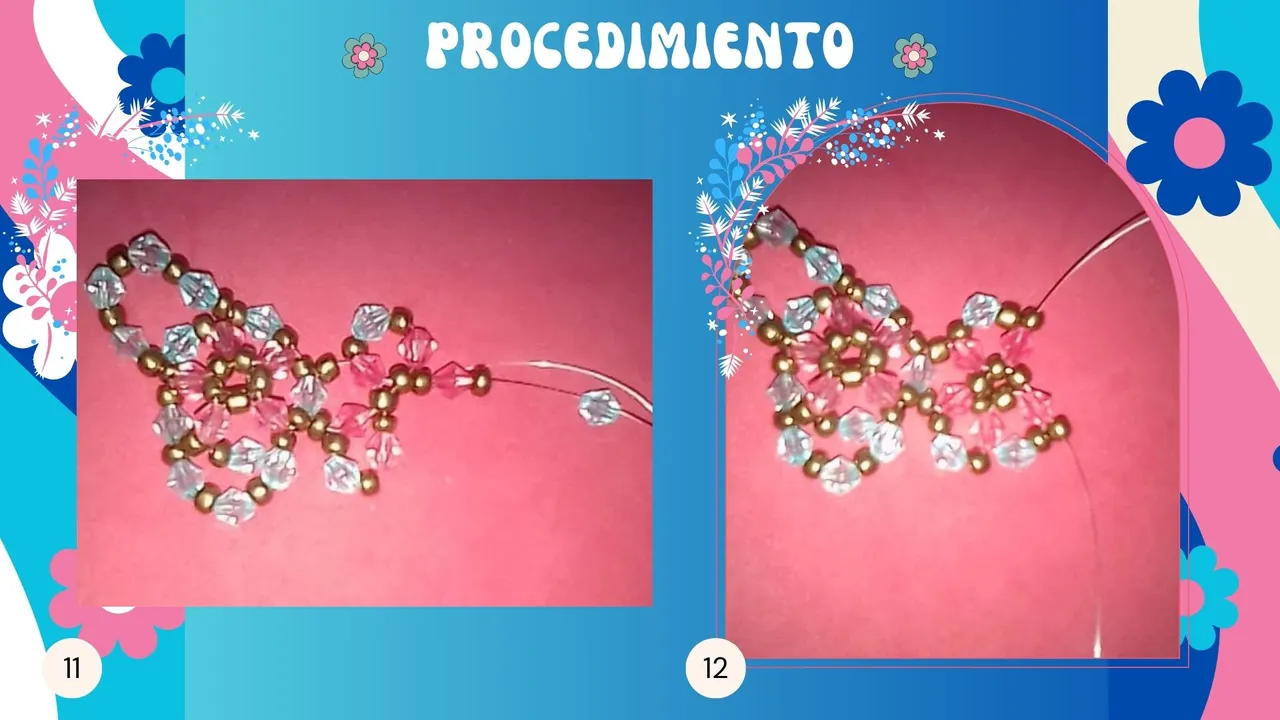
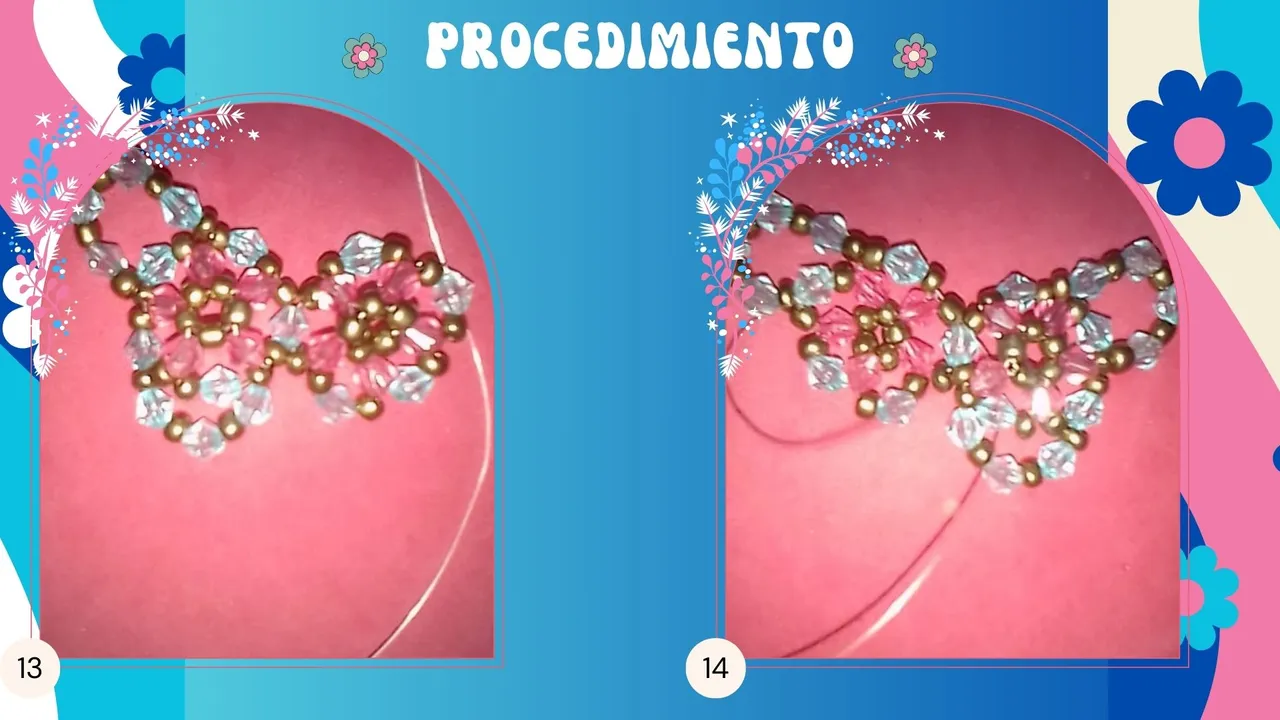
Luego, debemos pasar el hilo que señala hacia abajo lo pasamos por el cirstal azul donde vemos que sale el otro hilo hacia arriba. Luego quedando estos dos hilos parejos al mismo nivel y tamaño colocamos una mostacilla en cada hilo y un cristal rosado en cada hilo luego agregamos una mostacilla y cruzamos los hilos. Como se ve en la imagen 10. Luego seguimos los primeros pasos para formar la flor y cerrar la flor y luego formarle la parte de arriba y de abajo del ala derecha. Ver imagen 11 y 12. Ya en la imagen 14 se puede ver que completé la parte de arriba y abajo del ala derecha.
Then we must pass the thread that points down we pass it through the blue cirstal where we see that the other thread comes out upwards. Then we place a bead on each thread and a pink crystal on each thread, then we add a bead and cross the threads. As shown in picture 10. Then we follow the first steps to form the flower and close the flower and then form the top and bottom of the right wing. See image 11 and 12. Already in image 14 you can see that I completed the top and bottom of the right wing.
Resultado | Result
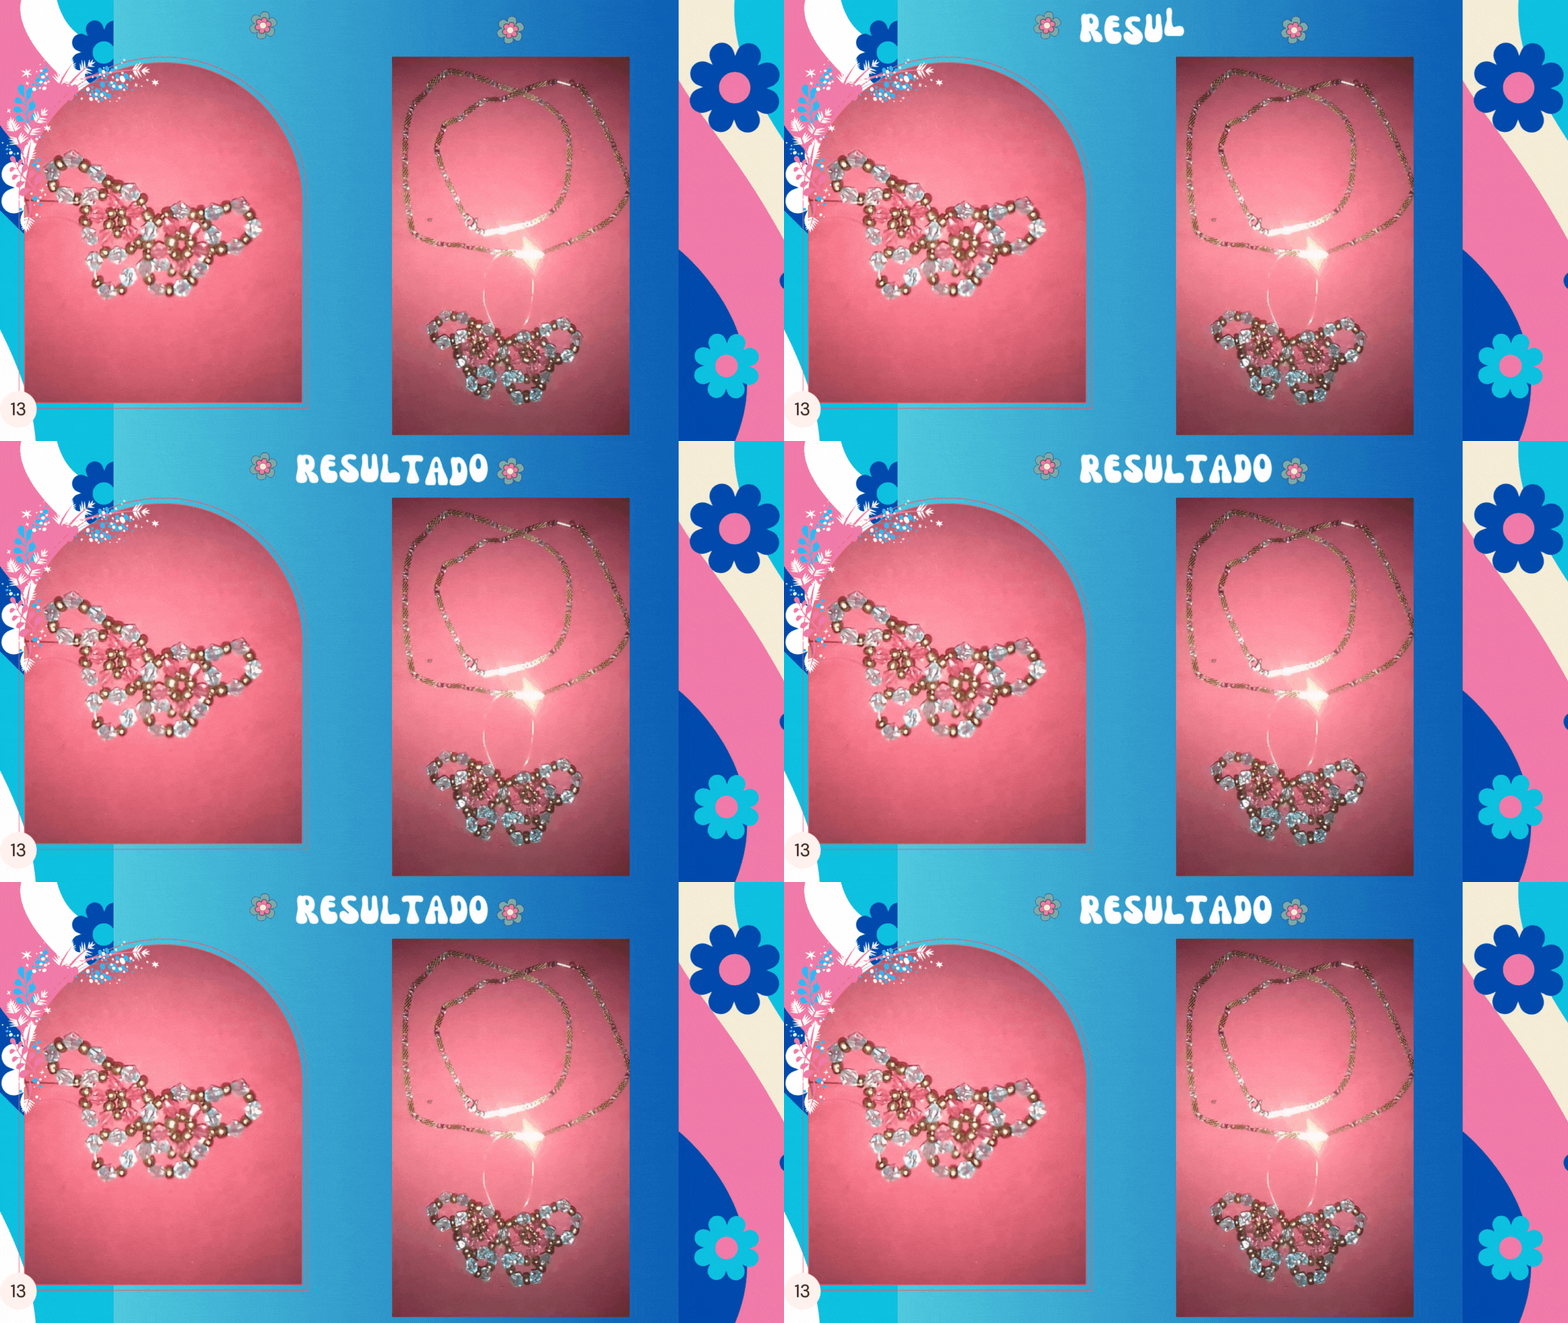
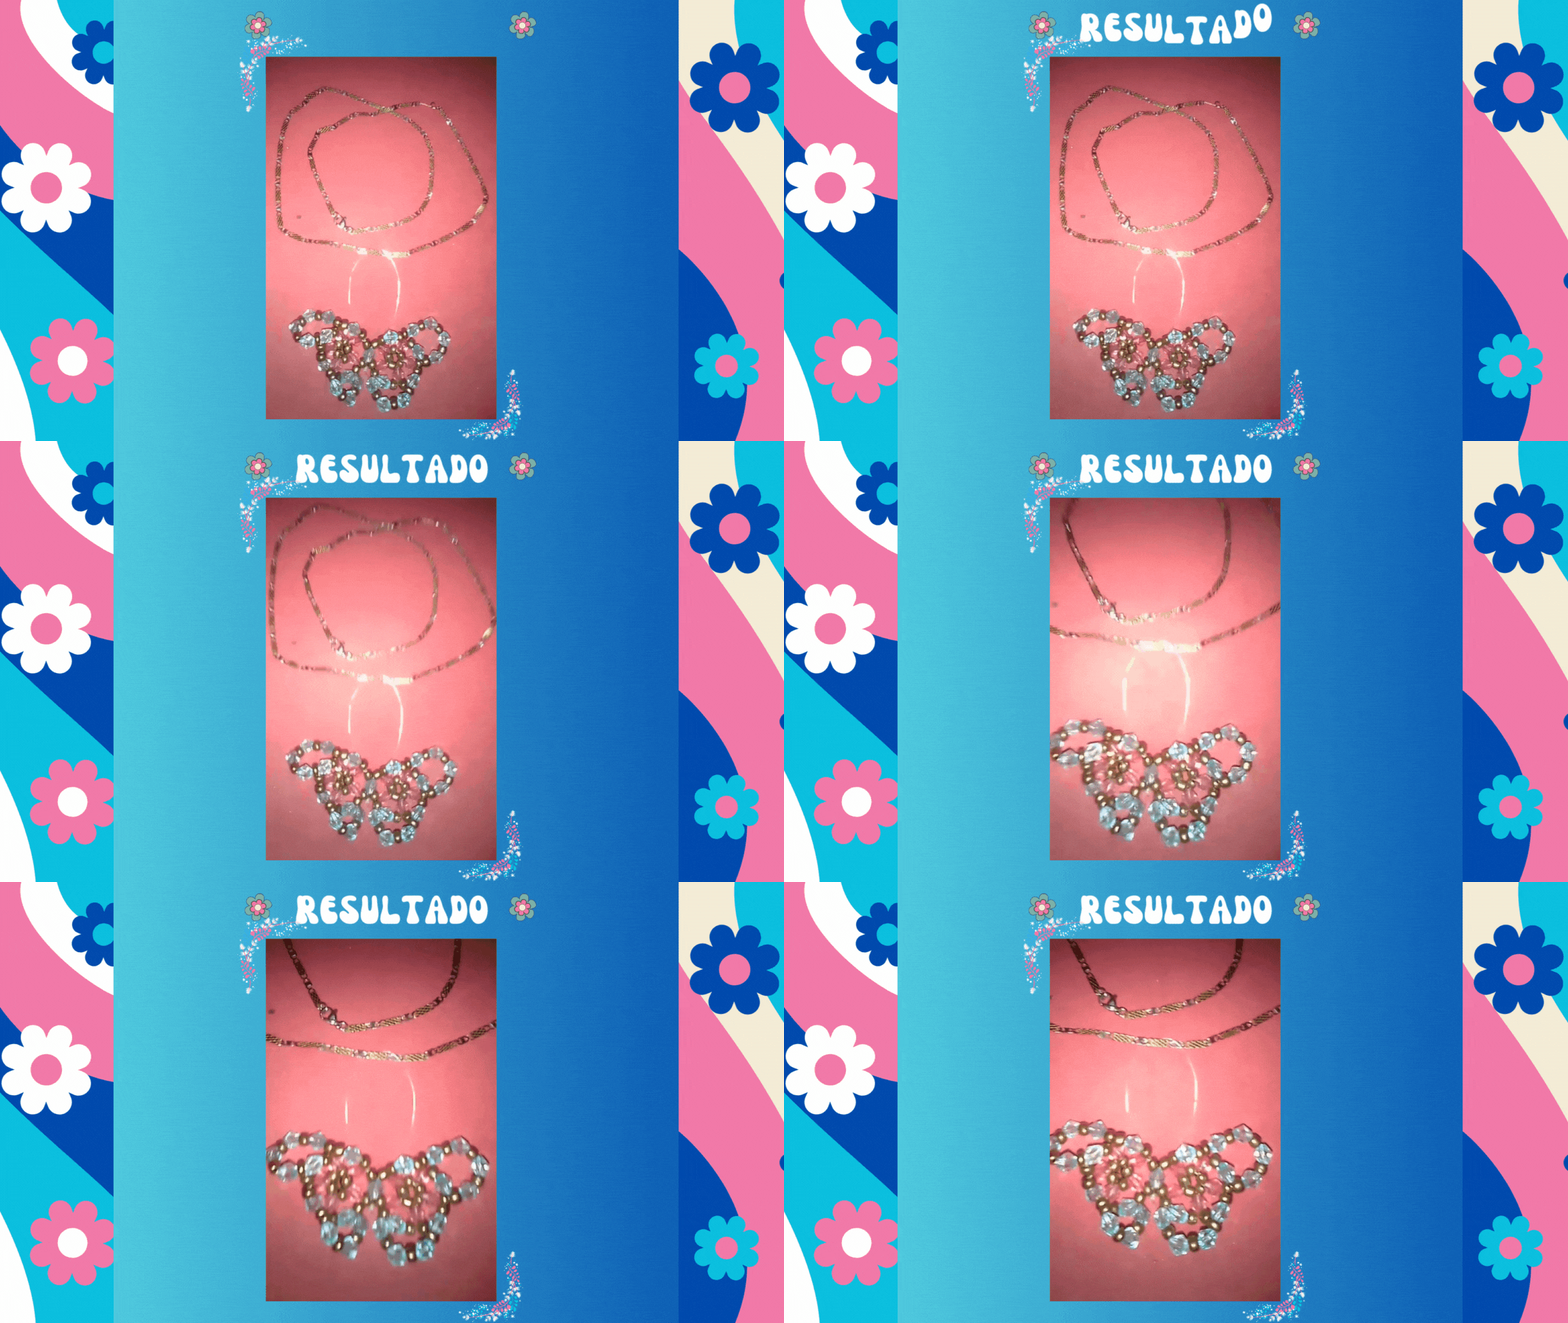
Y este es el resultado chicos, la verdad ha sido muy facil y queda muy bonito, me quedo medio chueco no se pero igual me gusta. Espero se animen a intentarlo.
Well, this is the result, I really liked it, because it is easy and quick to make, I hope you are encouraged to do it!

Gracias por leer !!!
Thanks for reading!!!
Créditos | Credits
Utilicé Canva para editar imágenes y personalicé un poco una plantilla de Canva.
I used Canva to edit images and customize a Canva template a bit.
Utilicé deepl.com para la traducción
I used deepl.com to traduction.
Todas las imagenes del paso a paso son mías, tomadas con mi telefono Yezz Liv1.
All the step by step images are mine, taken with my Yezz Liv1 phone.
 |
 |
 |