Hola, hola mi gente linda. Bienvenidos a mi blog.!!!!!
Hello, hello my beautiful people. Welcome to my blog.!!!!!
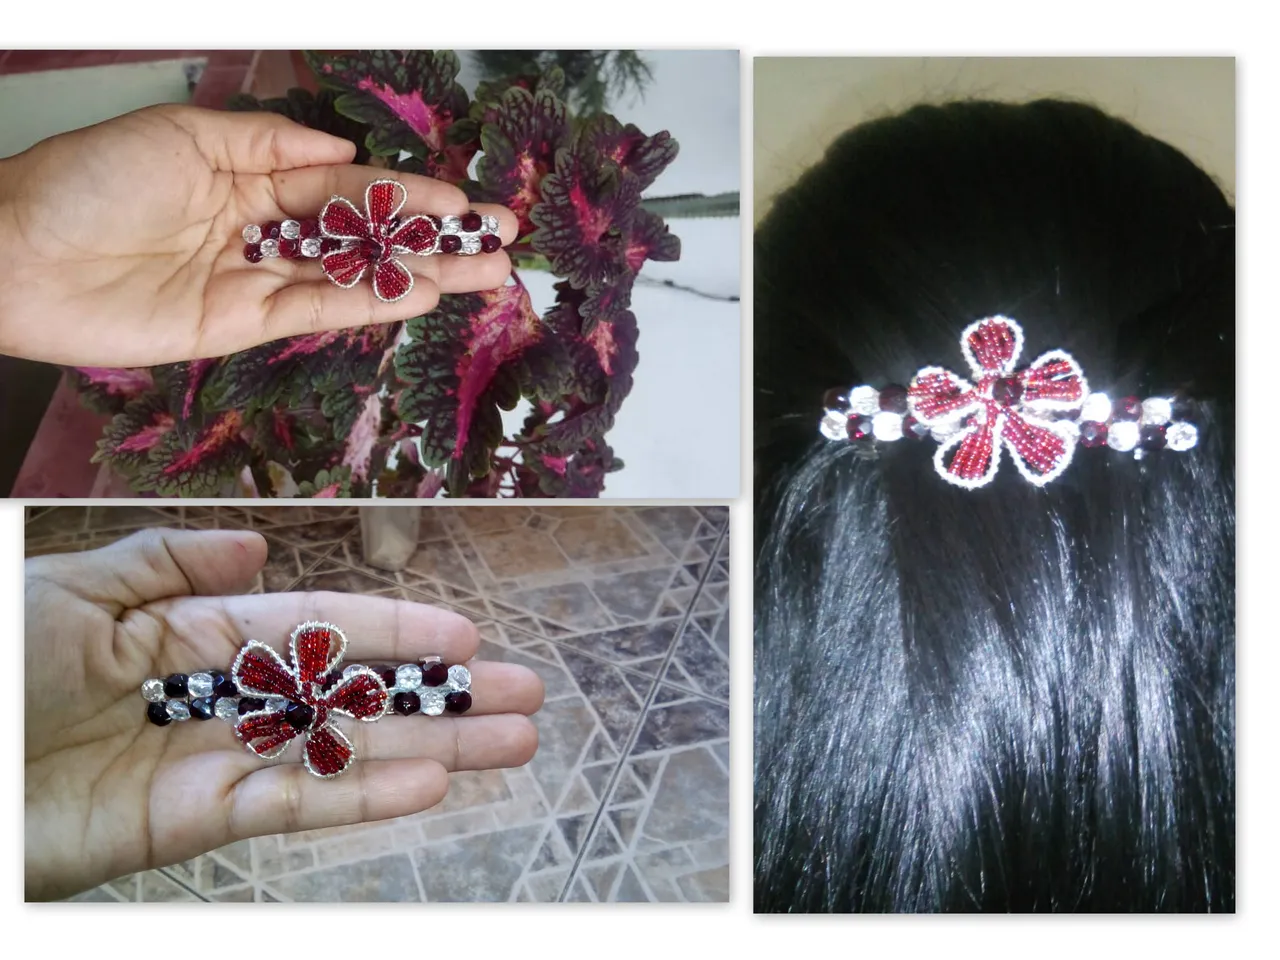
Feliz y bendecido dia.. El de dia de hoy mi querida comunidad de #jewelry les mostraré un nuevo tutorial paso a paso donde les mostrare como decorar un broche francés con mostacillas en pocos minutos. Este tipo de broches nos encanta ya que no nos maltrata el cabello y son muy decorativos para nuestros peinados, es la primera vez que decoro uno, ya que siempre los compraba decorados pues hoy quise decorar uno a mi manera y a mi gusto y compartir el paso a paso con mi gente linda y talentosa de @jewerly. Al principio si se me hizo un poco complicado al darle forma al alambre ya que estaba un poco duro pero bueno lo logre los invito a que sigan viendo y leyendo cada paso de mi proyecto, sin perder mas tiempo comienzo por enumerar el material utilizado en este proyecto.
Happy and blessed day... Today my dear #jewelry community I will show you a new step-by-step tutorial where I will show you how to decorate a French brooch with beads in a few minutes. We love this type of brooches because they do not mistreat our hair and they are very decorative for our hairstyles, it is the first time that I decorate one, since I always bought them decorated because today I wanted to decorate one in my own way and to my liking and share the step step by step with my beautiful and talented people from @jewerly. At first it was a bit complicated for me to shape the wire since it was a bit hard but well I did it I invite you to continue watching and reading each step of my project, without wasting any more time I start by listing the material used in this Project.
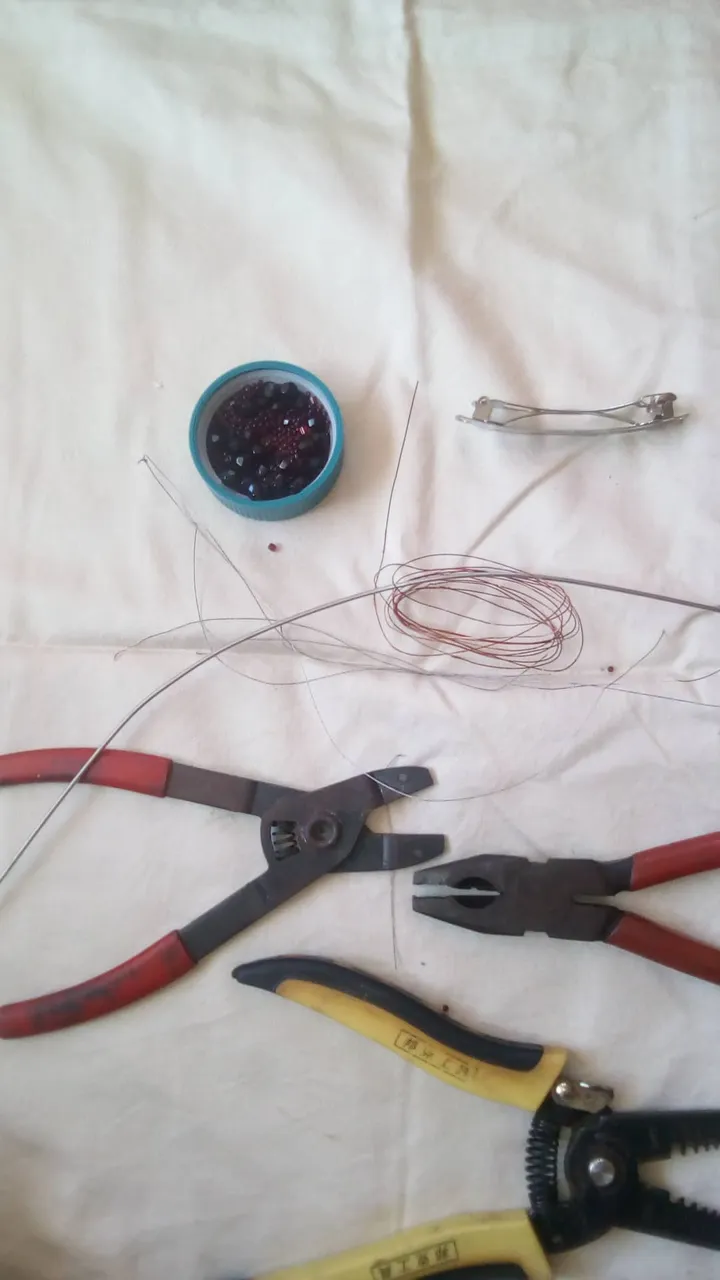
Materiales:
- 1 broche francés #6
- alambre de calibre 30 – 28 (0.25 – 0.32mm)
- Mostacillas rojas y transparentes.
- Tijeras o tenazas.
- alambres de calibre 16 – 14 (1.3 – 1.6mm)
Materials:
- 1 French brooch #6
- 30 – 28 gauge wire (0.25 – 0.32mm)
- Red and transparent beads.
- Scissors or pliers.
- 16 – 14 gauge wires (1.3 – 1.6mm)
Paso a Paso
Step by Step
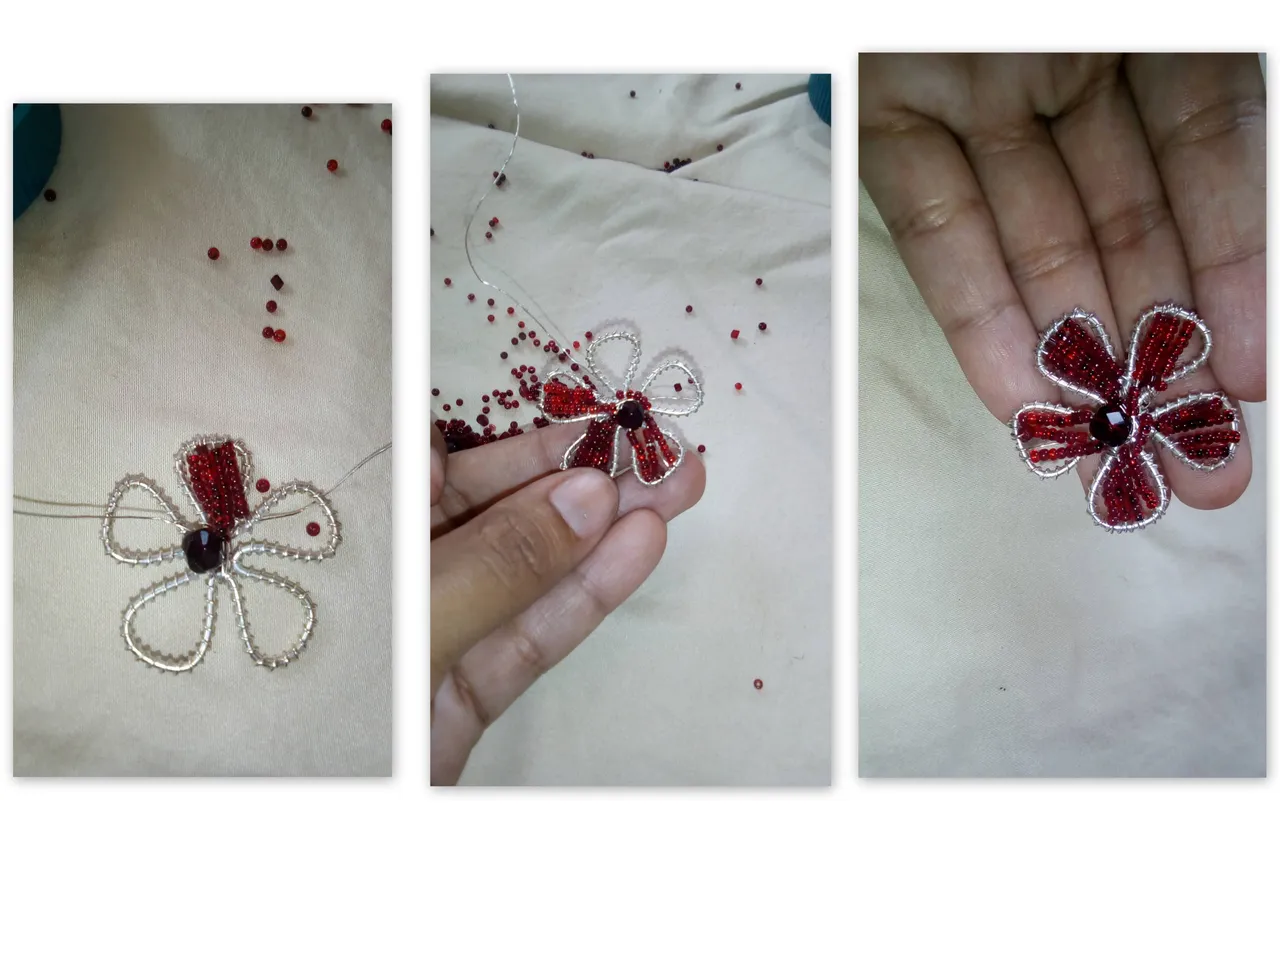
El diseño o decoración de nuestro broche se va a basar en una flor, para ello vamosa utilizar el alambre de calibre 16-14 ya que son los más resistentes y duros de utilizar por su gran tamaño, con la ayuda de una pinza le daremos la forma a nuestra flor, y en el medio de nuestra flor vamos a iniciar a usar las mostacillas, le vamos a sujetar una mostacilla de color rojo en el centro.
The design or decoration of our brooch will be based on a flower, for this we will use 16-14 gauge wire since they are the most resistant and hard to use due to their large size, with the help of a clamp we will give the shape to our flower, and in the middle of our flower we are going to start using the beads, we are going to hold a red bead in the center.
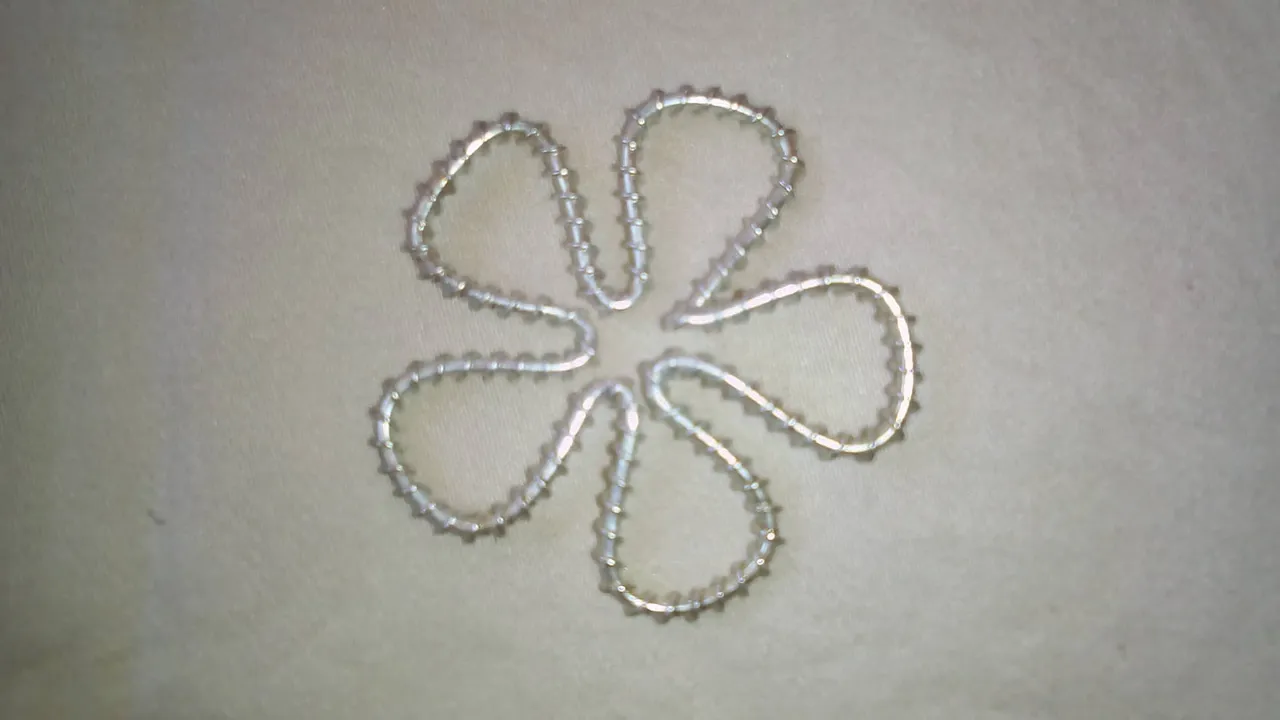
Luego con el alambre, el mismo alambre que sujetamos la mostacillas central vamos a empezar a intruducirles mostacillas verticalmente de menor tamaño que la central, aquí utilizamos alambre de calibre 30 -28 este tipo es muy útil en el armado de joyería delicada y pequeña, efectiva para realizar la técnica de tejido de alambre o engarzar pequeñas mostacillas como cristales o perlas.
Then with the wire, the same wire that we hold the central beads, we are going to start inserting beads vertically smaller than the central one, here we use 30-28 gauge wire, this type is very useful in assembling delicate and small jewelry, effective to perform the wire weaving technique or to crimp small beads such as crystals or pearls.
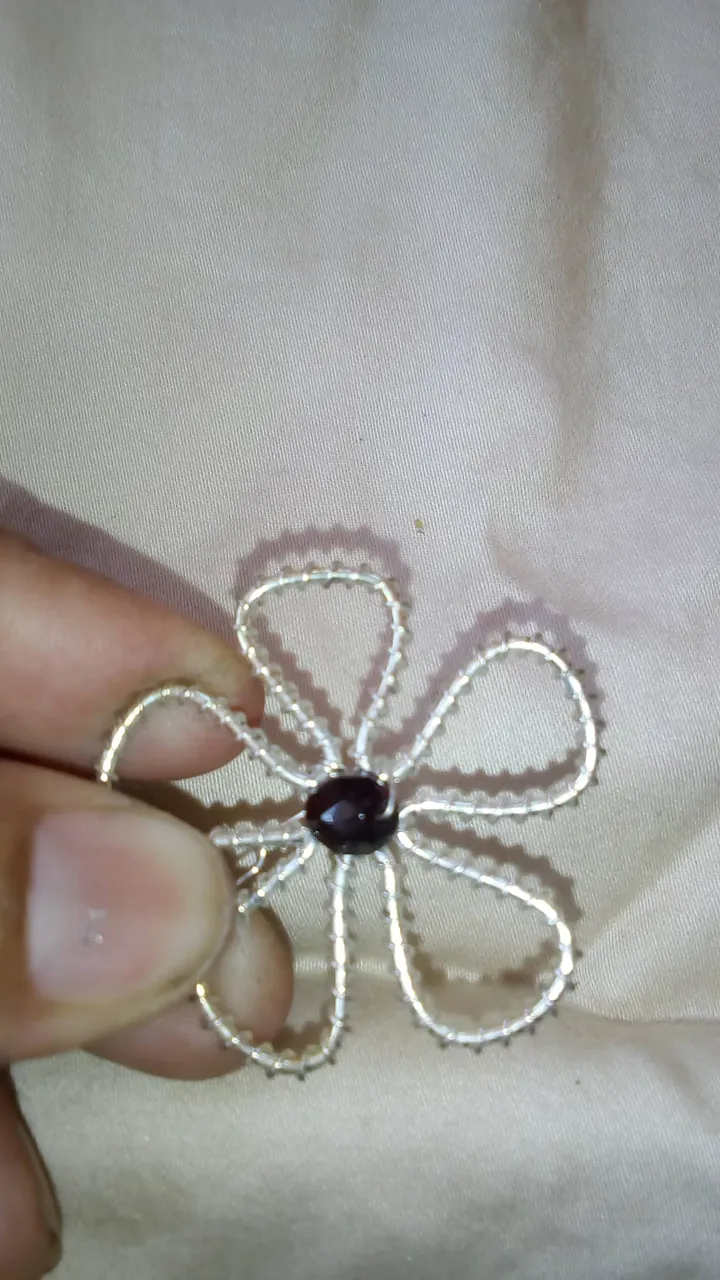
Como les dije en el paso anterior la flor la debemos rellenar de mostacillas en color de su preferencia, en forma vertical.
As I told you in the previous step, we must fill the flower with beads in the color of your preference, vertically.
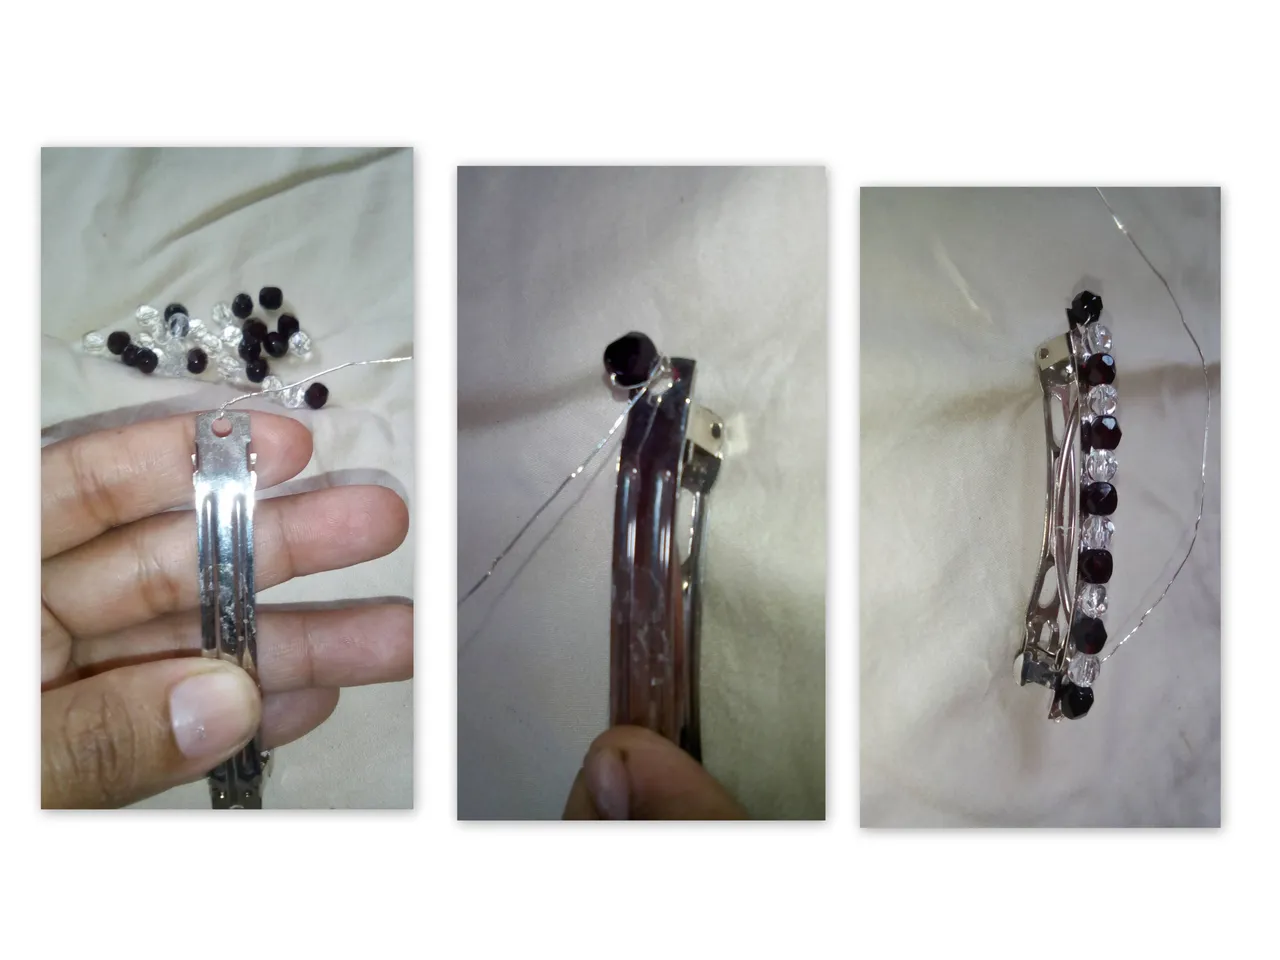
El siguiente paso es sujetar el alambre del agujero que tiene el broche en cada extremo, e introducir mostacillas rojas y transparente, es como para hacerle una capa sobre la cual vamos a montar la flor que previamente hicimos.
The next step is to hold the wire of the hole that has the clasp at each end, and insert red and transparent beads, it is like making a layer on which we are going to mount the flower that we previously made.
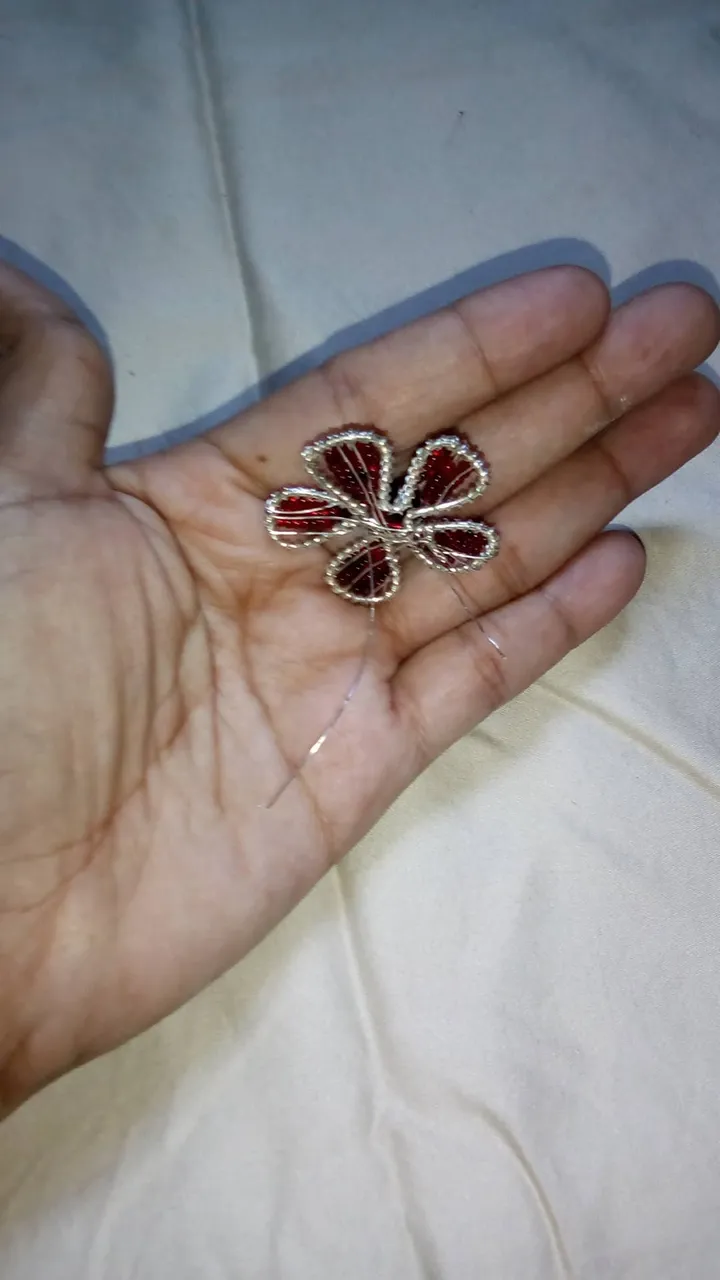
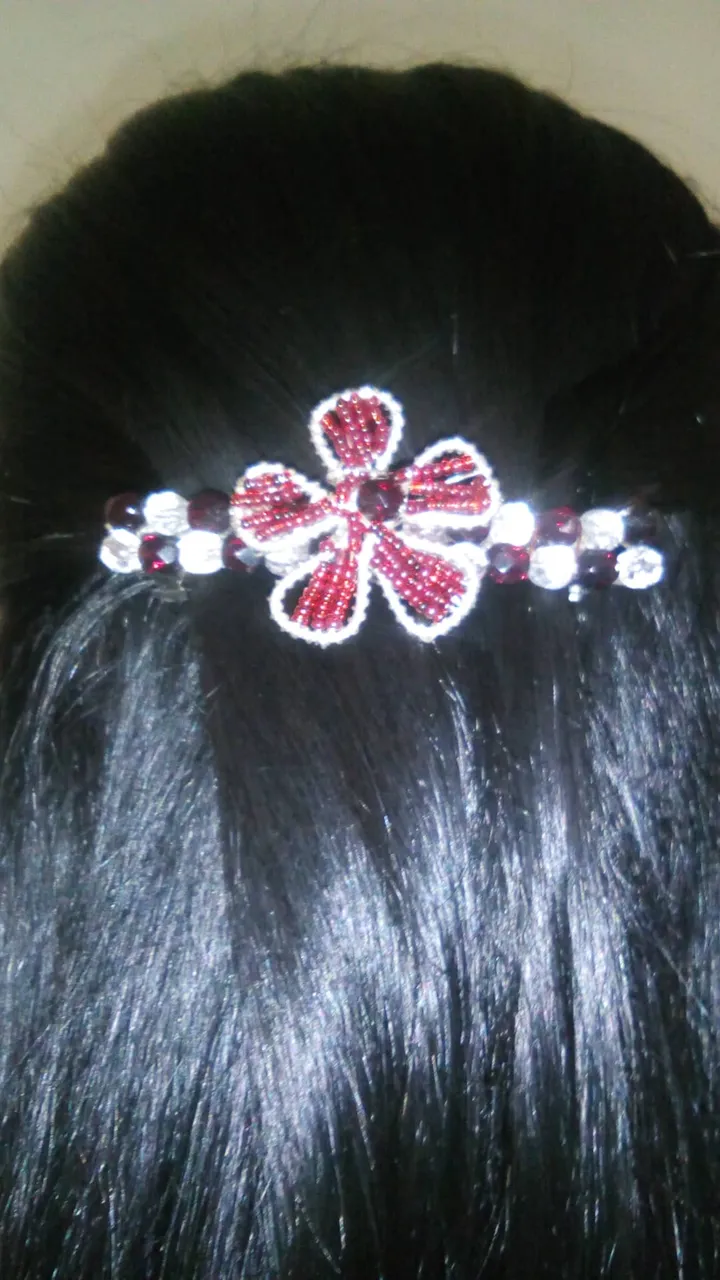
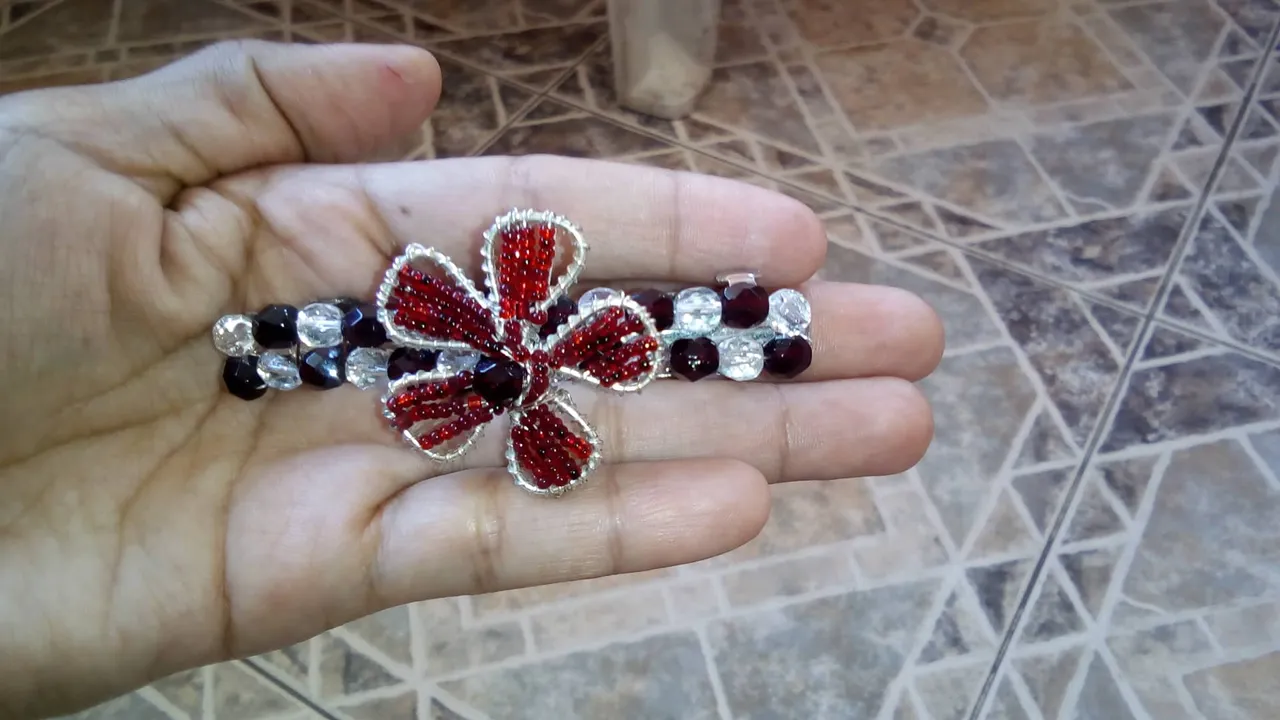
Luego sujetamos o unimos la flor al broche, como les muestro en la fotografía.
Then we attach or attach the flower to the brooch, as I show you in the photograph.
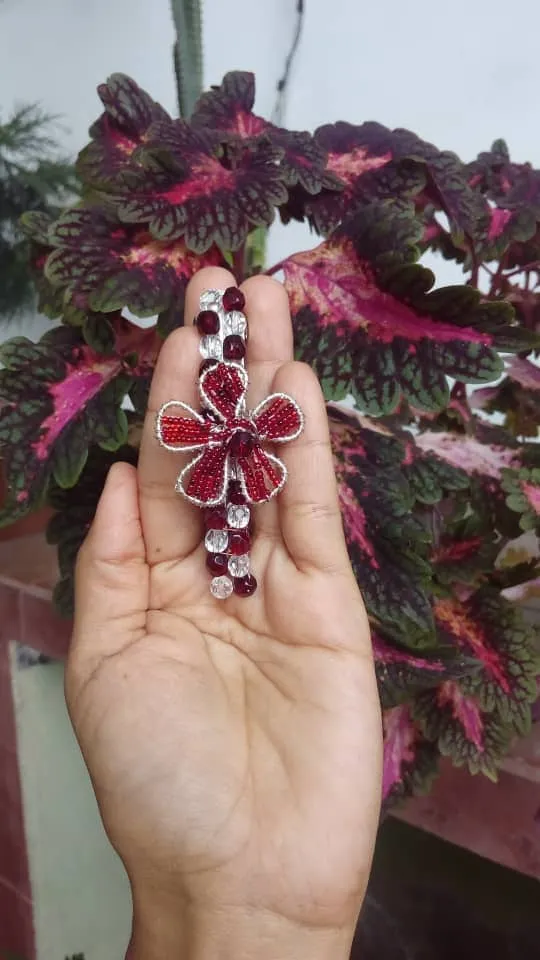
RESULTADO:/ RESULT:
Gracias amigos por tomarse unos minutos de su tiempo y visitar mi publicación, nos vemos pronto .. Dios los bendiga ...!!!!!
Thank you friends for taking a few minutes of your time and visiting my publication, see you soon... God bless you...!!!!!
Todas las fotos son de mi autoría capturadas con la camara de mi telefono Blu Advance A6, y editadas en mi computadora con la app Picasa 3.
All the photos are my own, captured with the camera of my Blu Advance A6 phone, and edited on my computer with the Picasa 3 app.