Hello V-Gang!,
I can't believe I haven't posted a recipe for a while, the time just seems to fly by. I have a few Italian recipes lined up, so hopefully, I can't get more active in the kitchen.
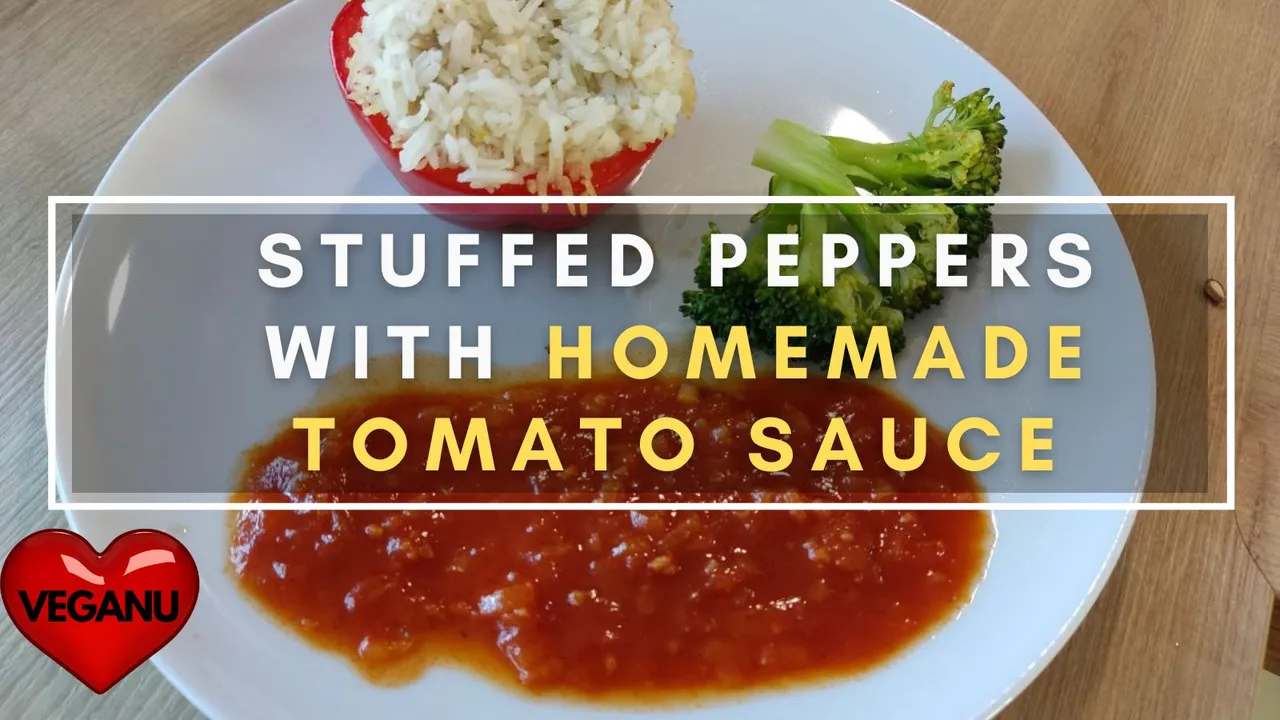
Today, I decided to whip up a dish that I had in mind for a while and that is Stuffed Peppers with a Homemade Tomato Sauce. I stuffed the peppers with a delicious garlic mushroom rice and then roasted them in the oven.
To go with the stuffed peppers, I made a garlic-flavored tomato sauce plus steamed some broccoli. I love broccoli and had some left over from the weekend. I only like to eat it steamed or roasted and I thought it could be the perfect compliment to my dish.
First, for the main dish, the ingredients you need for 3 peppers are:
- 2 Mushrooms
- 3 Peppers - The Bigger the Better
- 1 Onion
- 1 Clove of Garlic
- 200g Broccoli
- 250g Rice
- Generous sprinkling of Vegeta
- A few tablespoons of Olive Oil
- Salt and Pepper to taste
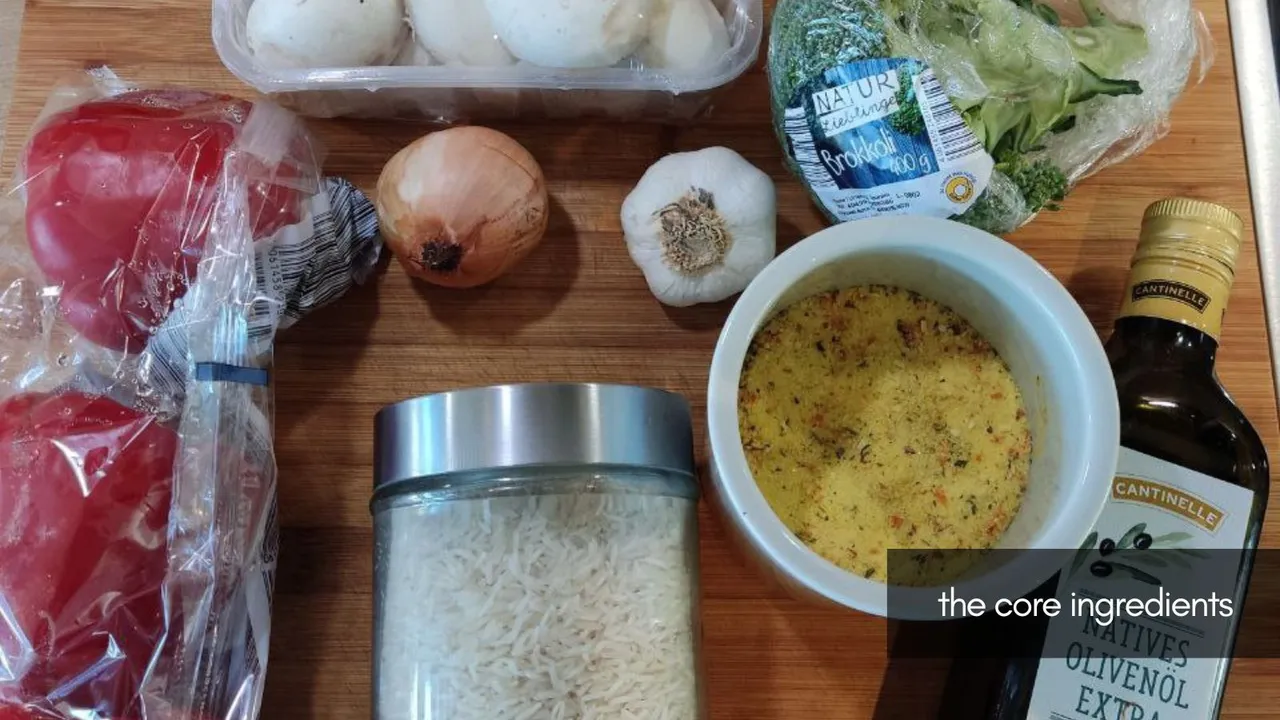
The first step is to gather the main ingredients.
This is me getting started to cook.
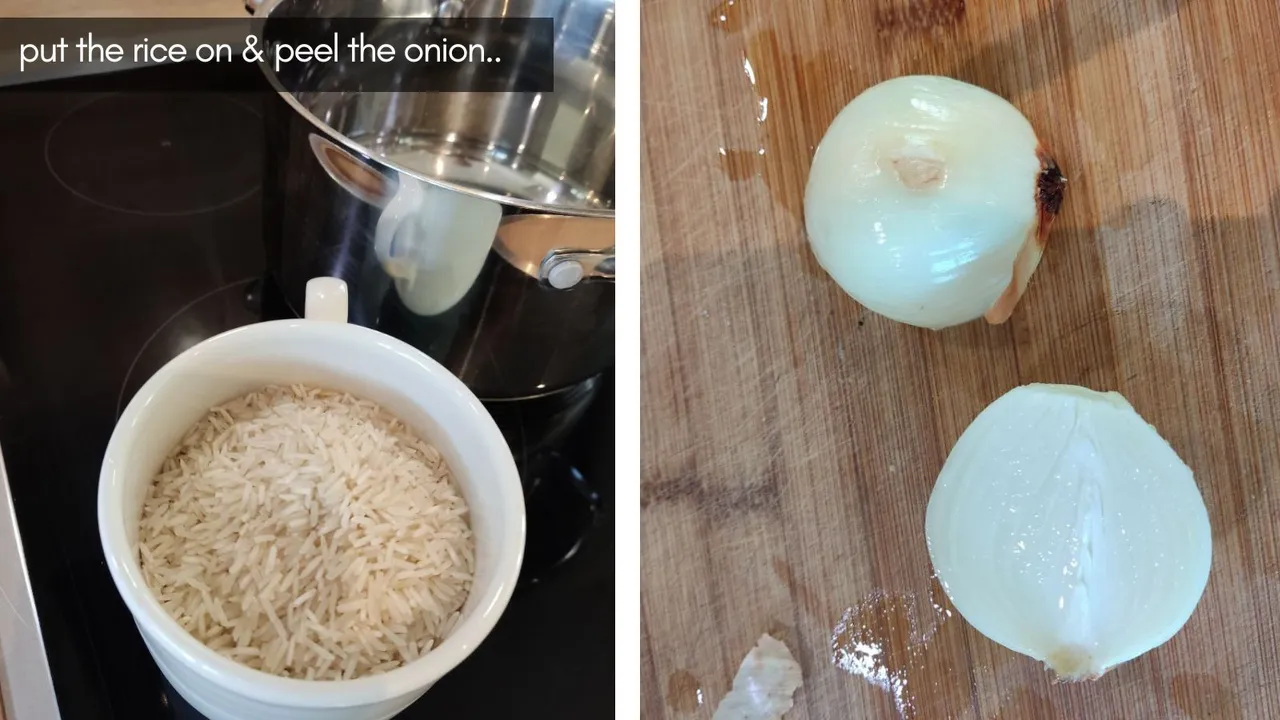
To start with, I prepare the rice first. I fill a large mug with rice and add it to the saucepan. I fill initially 2 more mugs of water so that I have a 2:1 ratio. In reality, after around 5 minutes, I add in a little extra water as it needs a little more.
I also peel the onion ready for chopping.
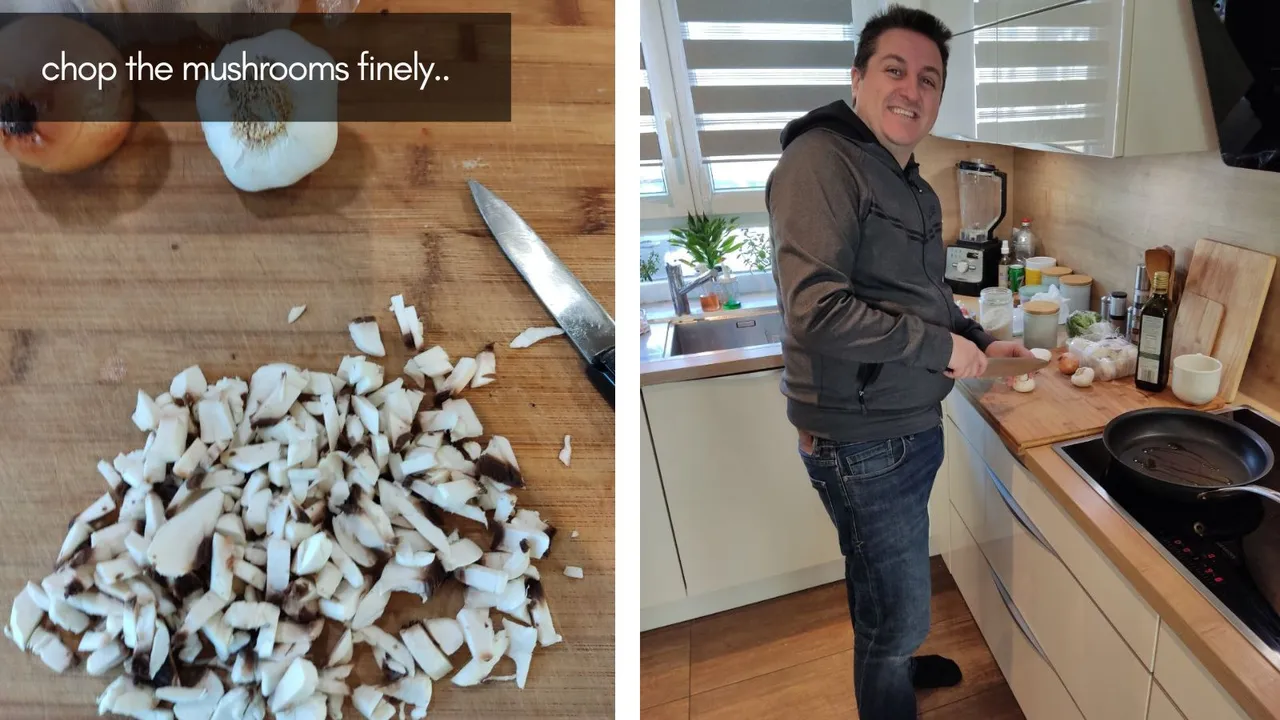
I am grinning because I picked up the huge knife for the photo, but it is too big to chop mushrooms with and is just a photo prop.
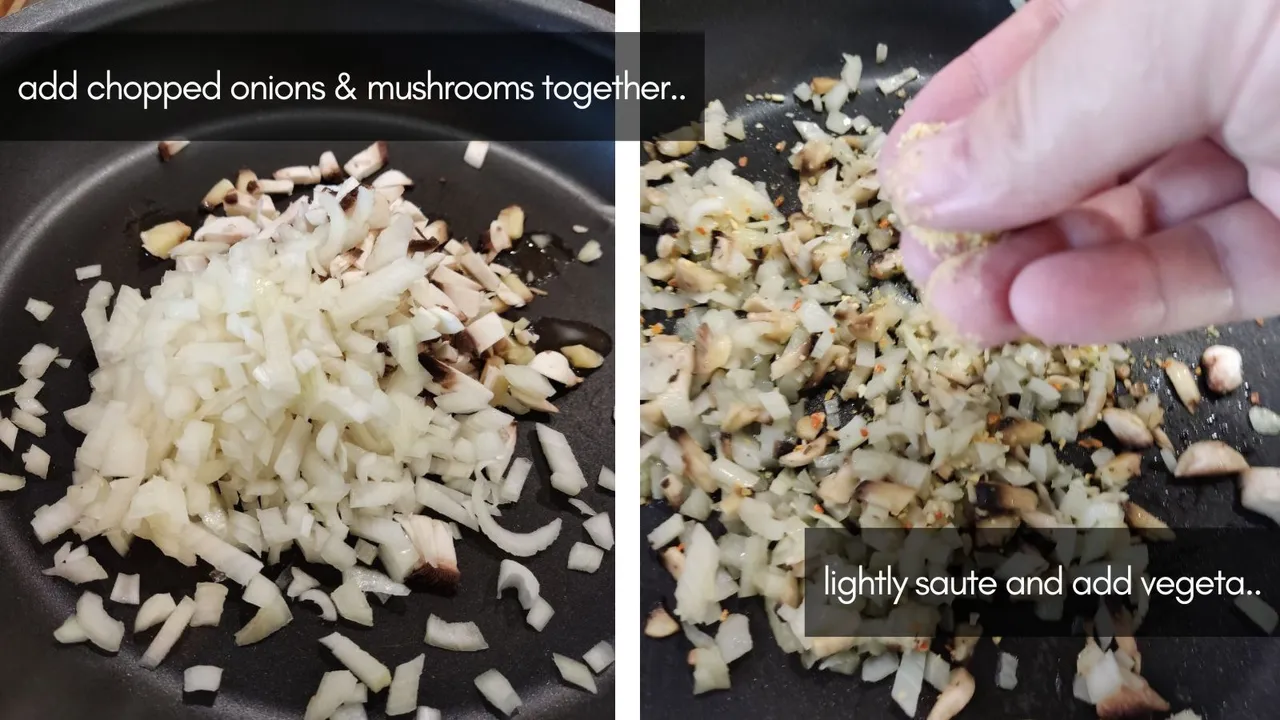
I chop also the onion, the more finely the better, and throw them into the pan. I also add some Vegeta and olive oil into the mix plus some garlic. Fry them until the onion turns no longer see-through.
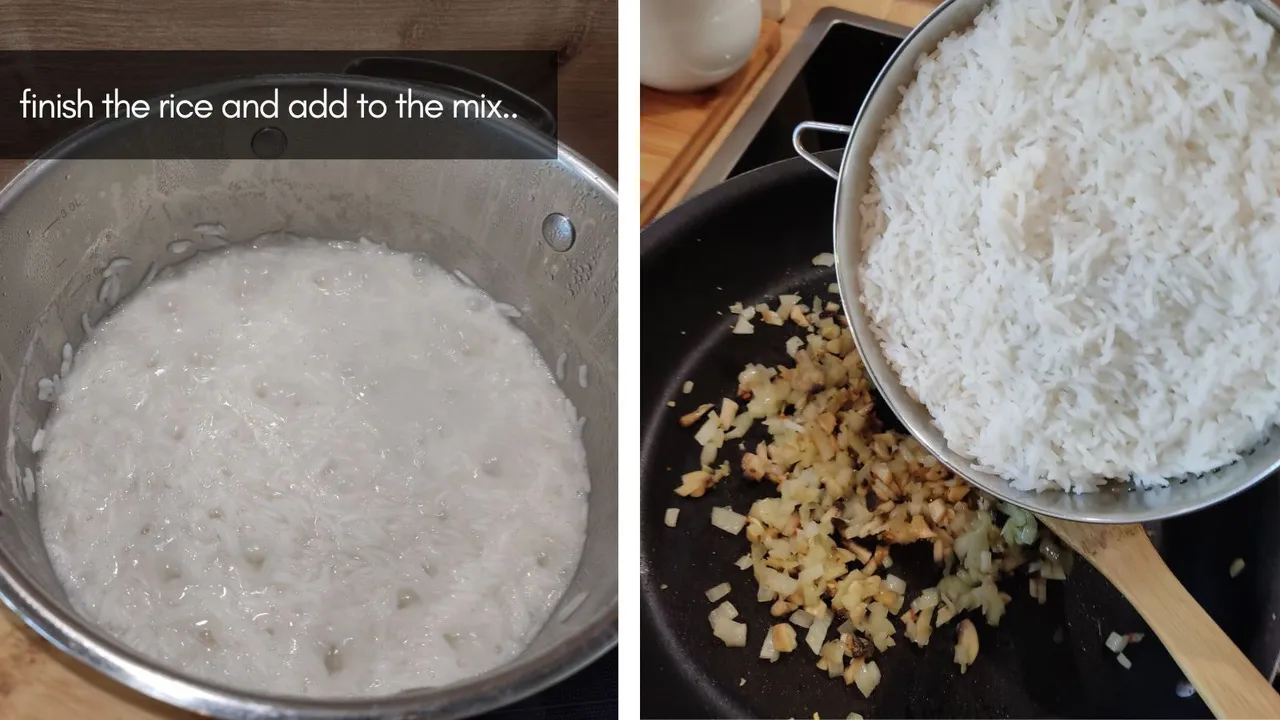
I check back on the rice and add a little more water as I said above. Near the end, I boil the kettle to pour boiling hot water over the rice to remove the starch from the rice and make it less sticky. I then add it to the mix and realise I have made too much rice, but this is ok as it is good to also eat some extra on the side.
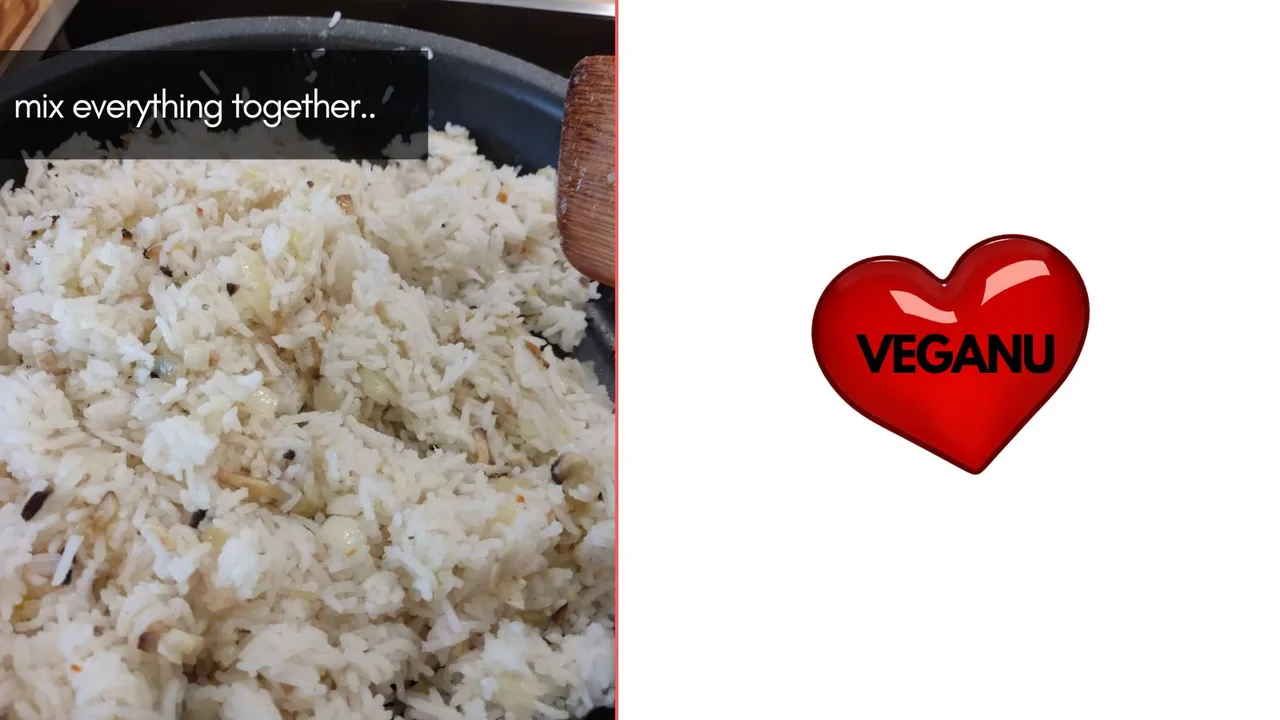
I keep mixing everything together but on a lower heat. I add also some more Vegeta.
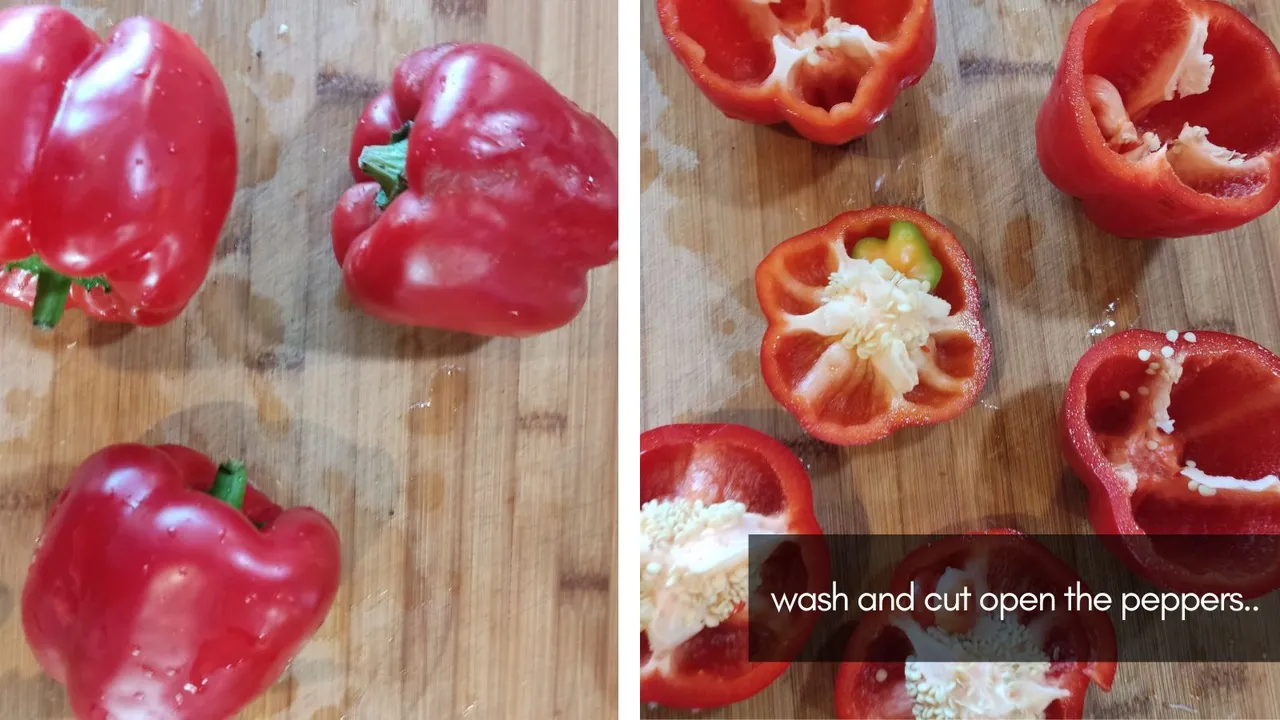
Meanwhile, I start to prepare the peppers by washing them and then cutting the tops off and clearing the white parts and seeds from inside.
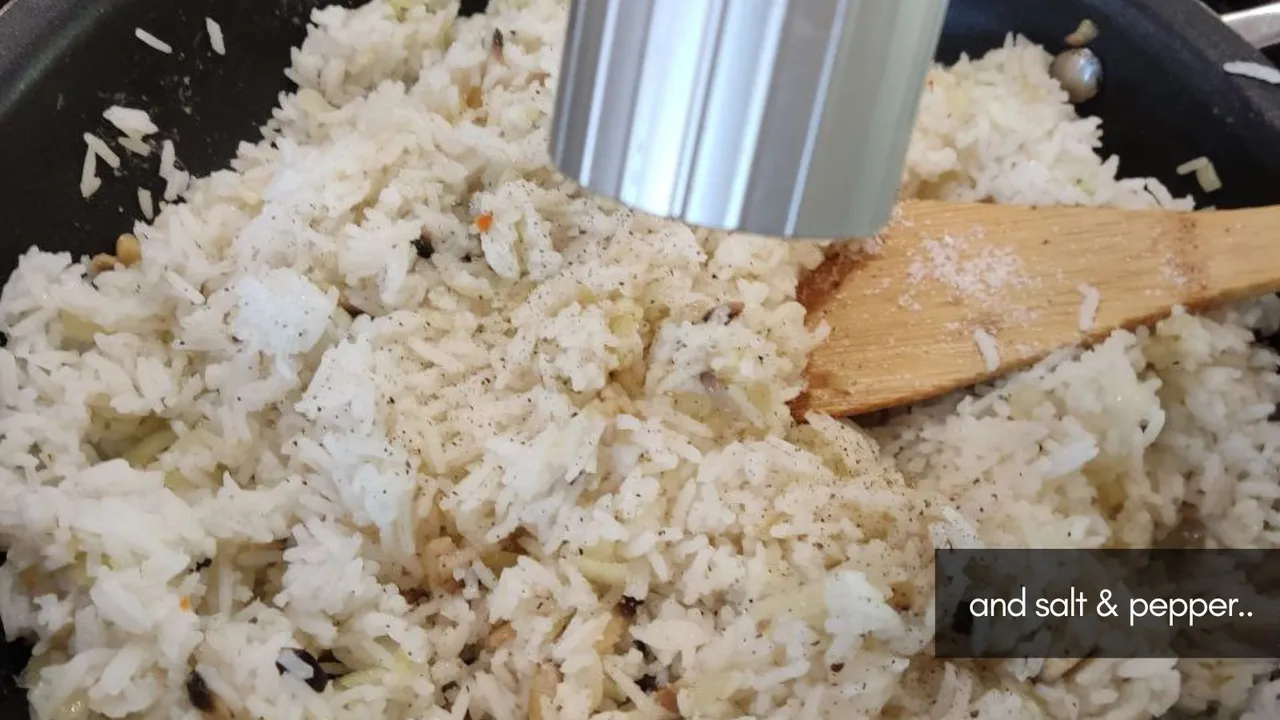
I add some salt and pepper for some extra taste.
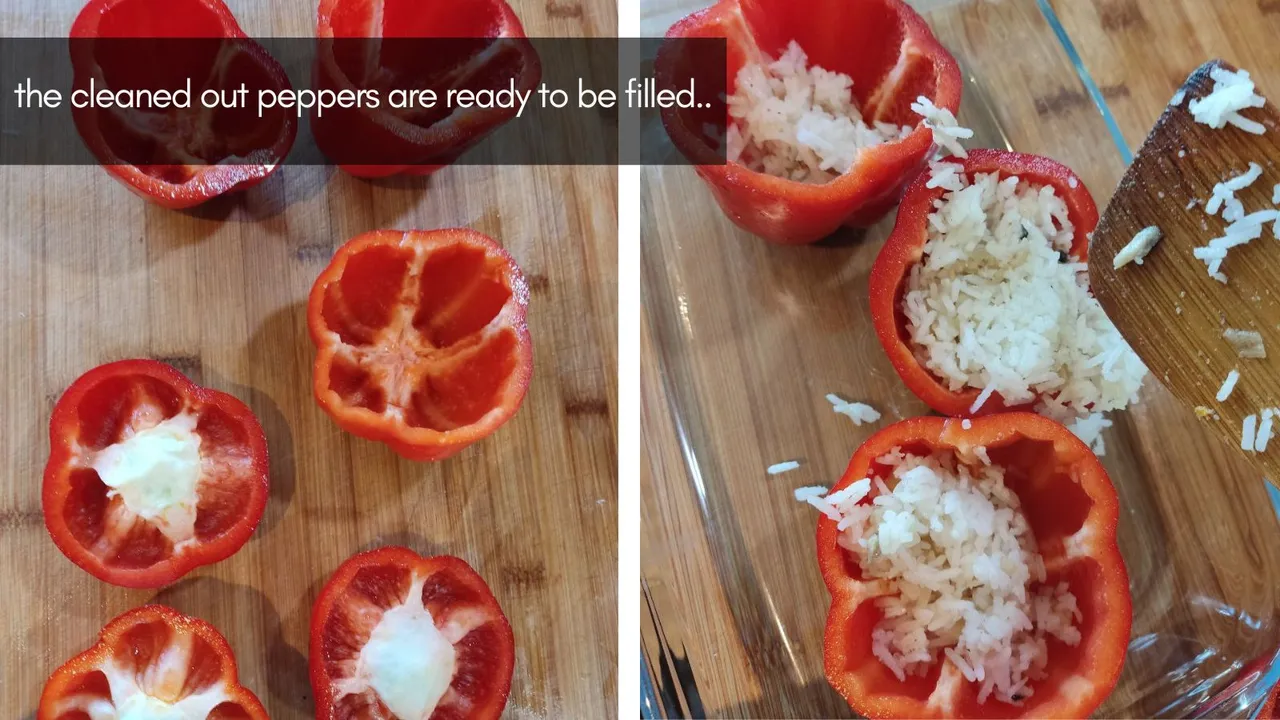
Next, it is time to fill the peppers with the rice mix. Try and squeeze as much as you can in. Profi tip - fill the peppers over the frying pan and not the roasting dish to avoid getting rice everywhere. lol
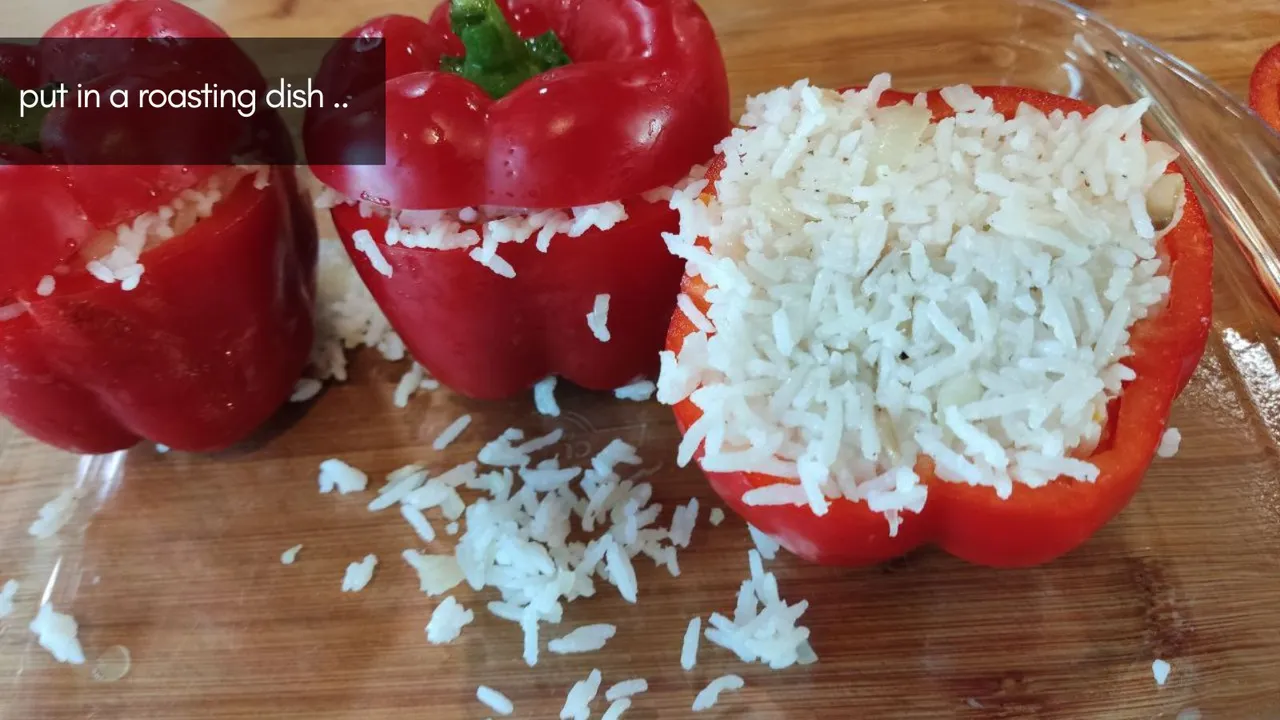
Once full, you can add the tops to the peppers and get ready to roast the peppers.
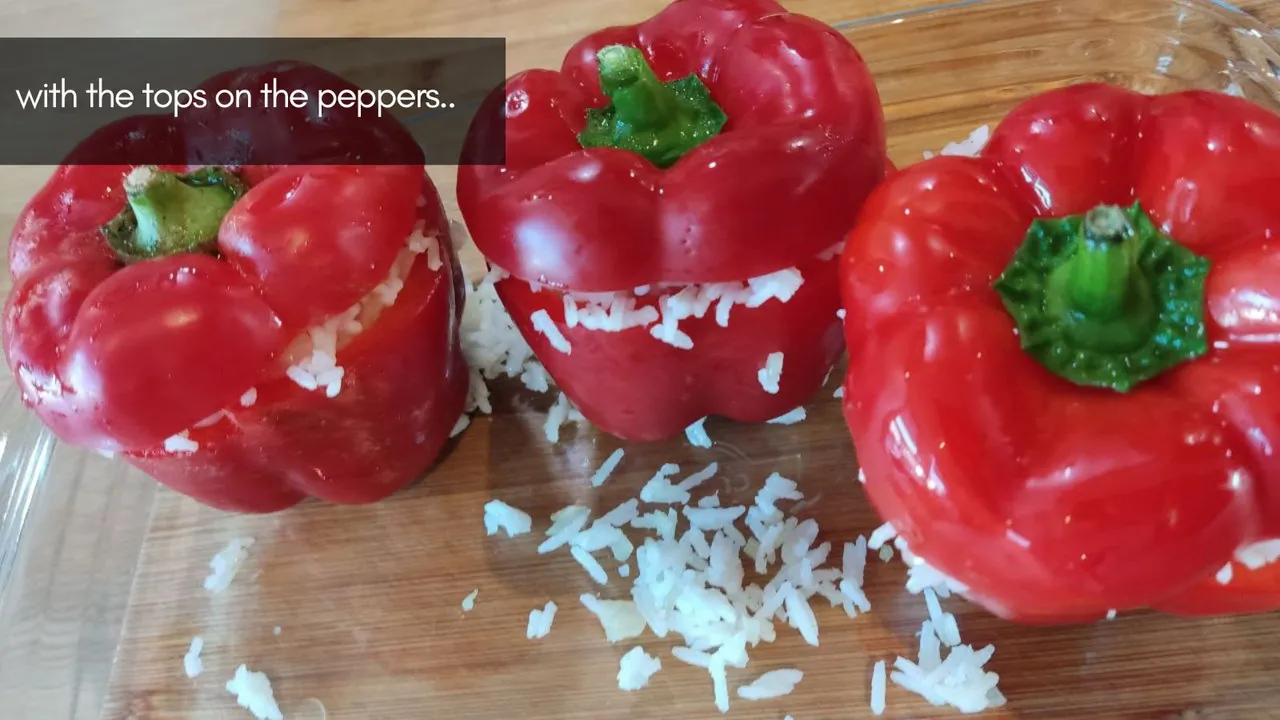
I preheated the oven to 180°.
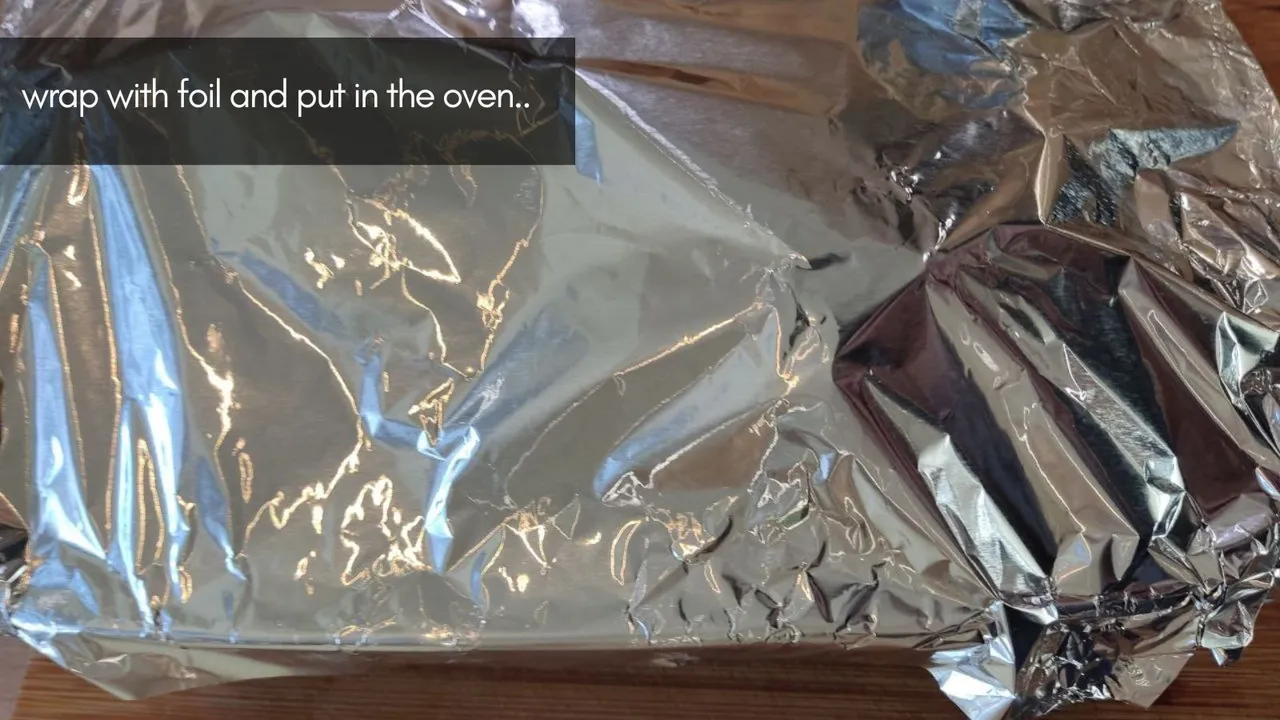
Before putting them in the oven, I covered them with foil so they don't burn on the outside, we want the peppers to get nice and soft. I cook with foil on for around 1 hour and then 10-15 minutes without.
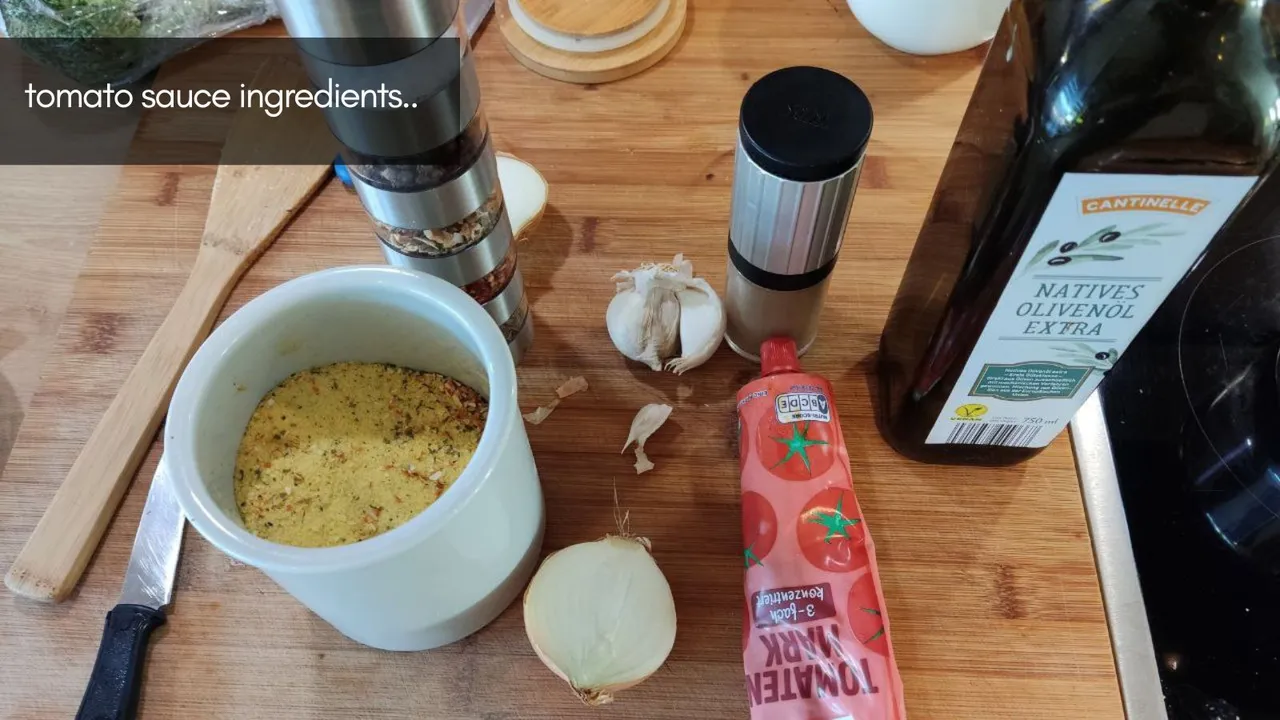
Next on to the tomato sauce. I gather the ingredients:
- Generous Helping of Vegeta
- Generous Tablespoon of Olive Oil
- Salt and Pepper
- 1/3 a Tube of Tomato Puree (~30g)
- 1/2 an Onion
- 1 Clove of Garlic
- 250ml of Water
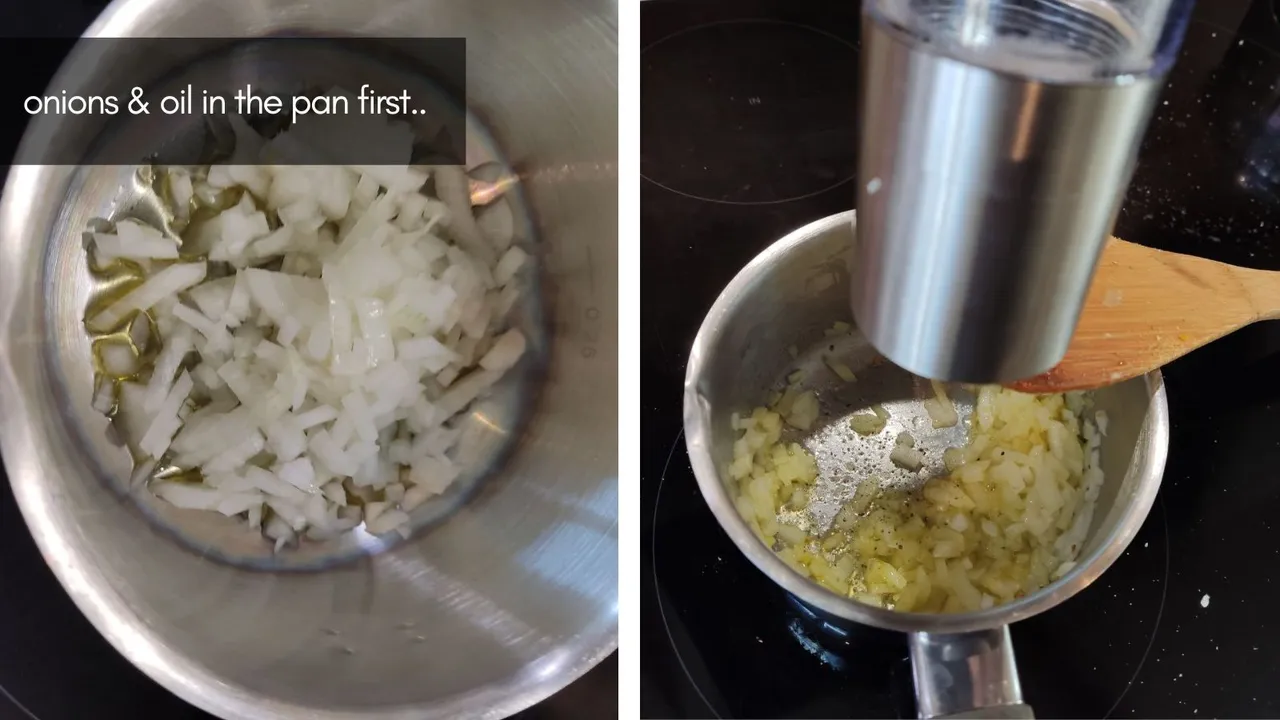
First, the onions and olive oil go in and lightly saute. Add salt and pepper to taste.
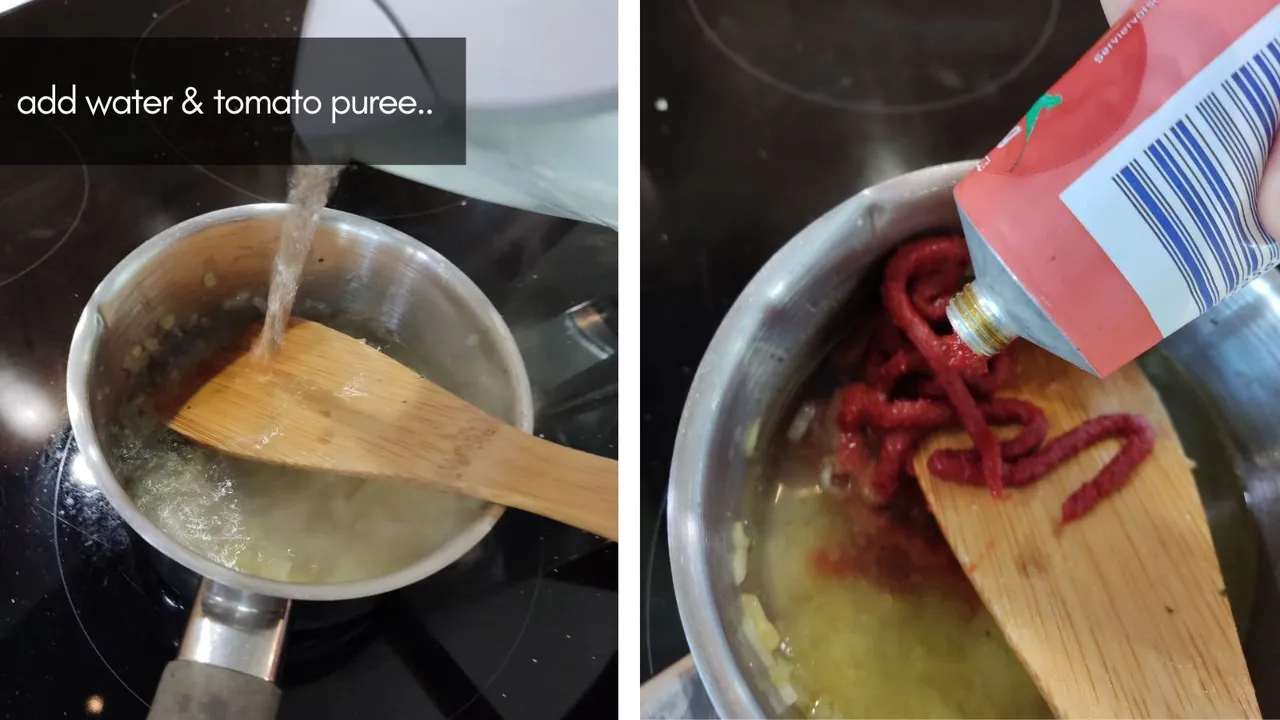
Next, add the water and tomato puree.
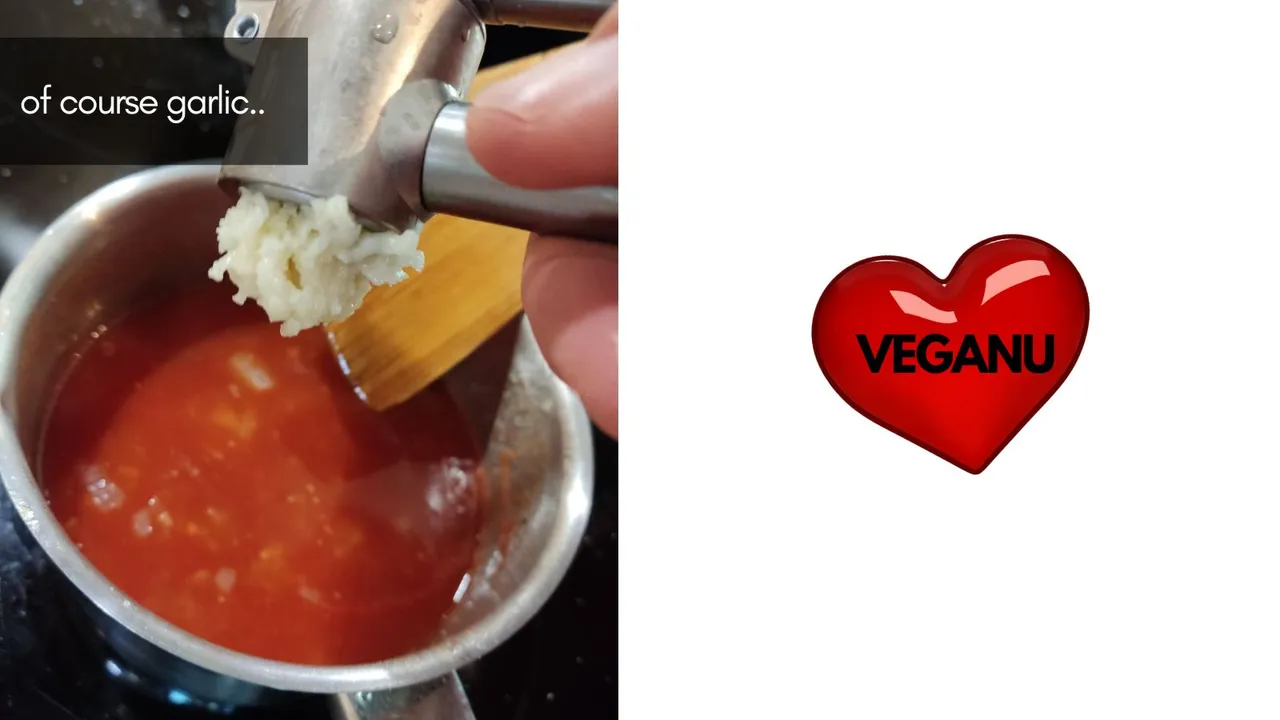
Not forgetting the garlic too. This is gonna taste great!!
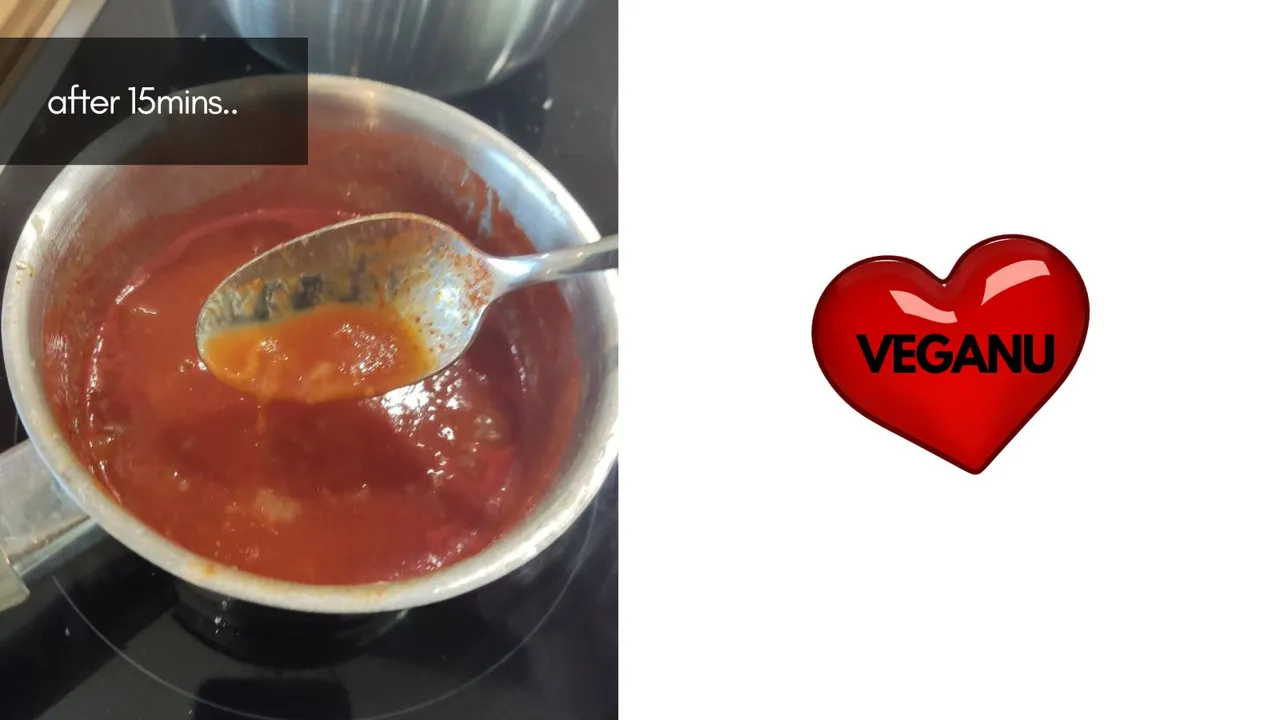
Cook on a medium heat for around 15mins, you can see the paler, darker color coming out. Ideally, the onion should be cut really fine, but a little bigger is also ok for some texture to the sauce.
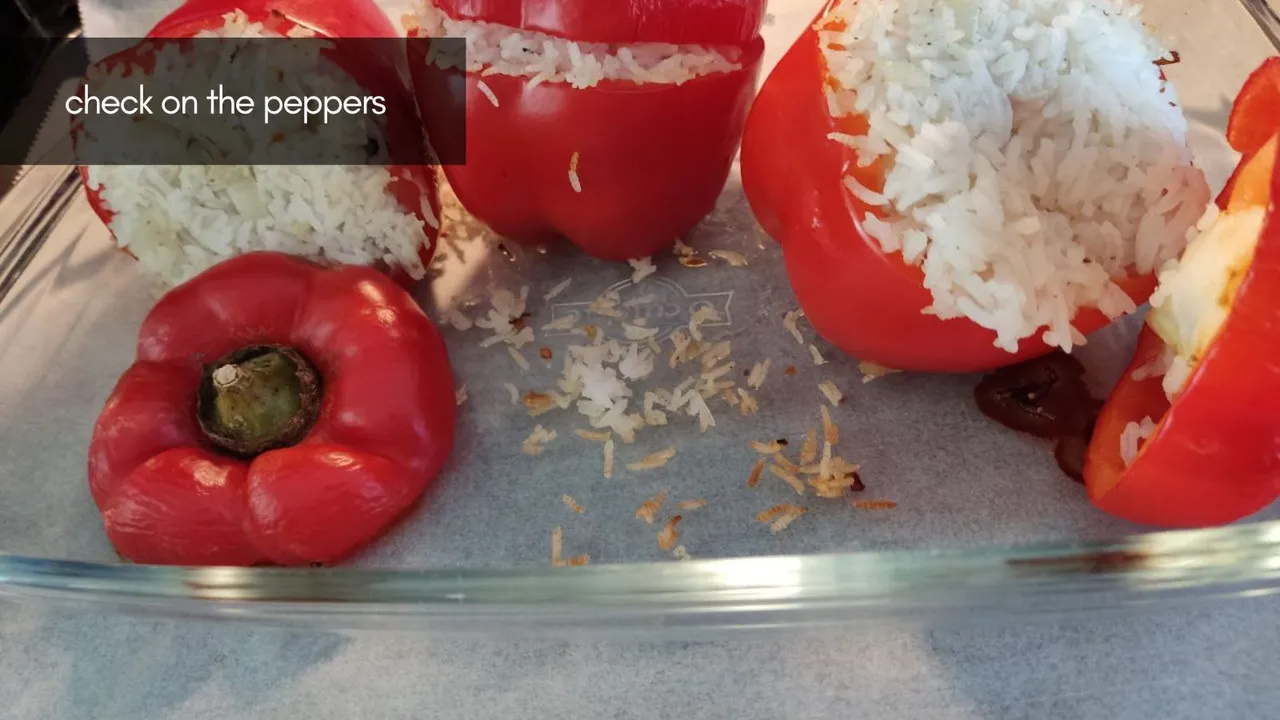
After an hour, I check on the peppers and remove the foil to complete the remaining cooking.
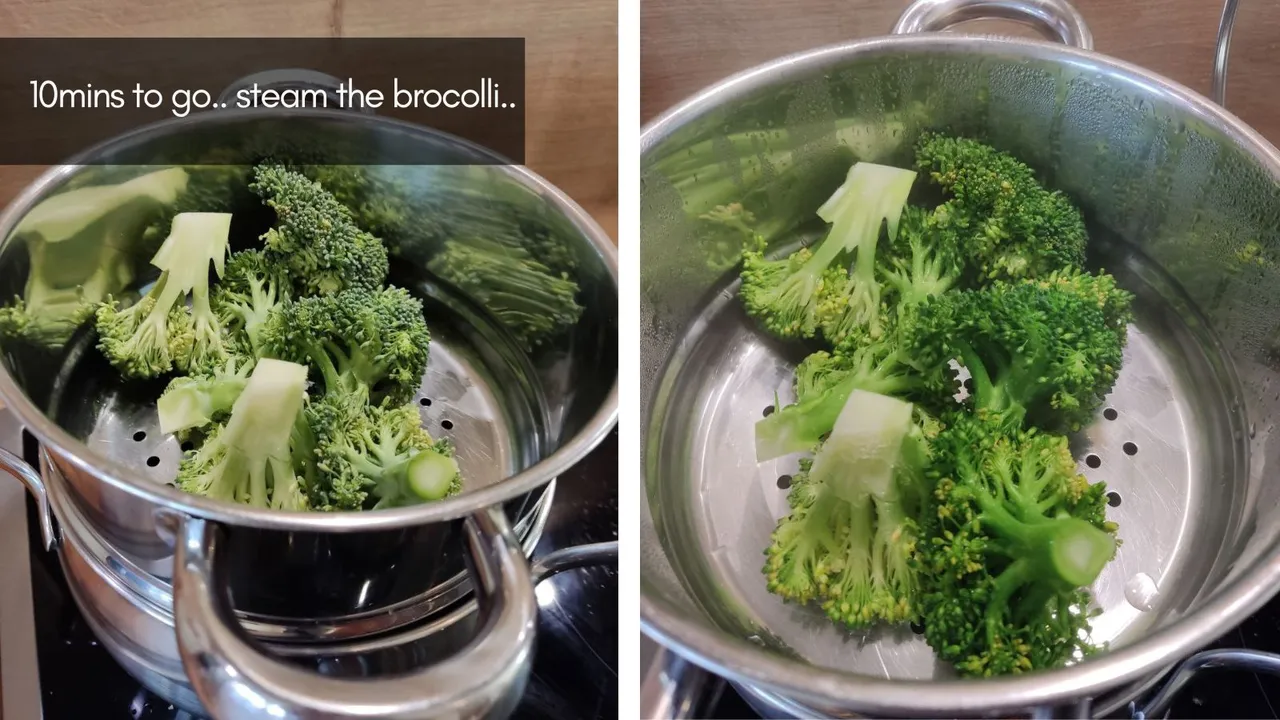
10mins before the end, I prepare the broccoli by washing it and putting it in a pan above some boiling water to steam. I steam usually for between 5-10mins but no longer. Having a bright green and slightly crunchy broccoli is important. I can't stand soggy veggies!
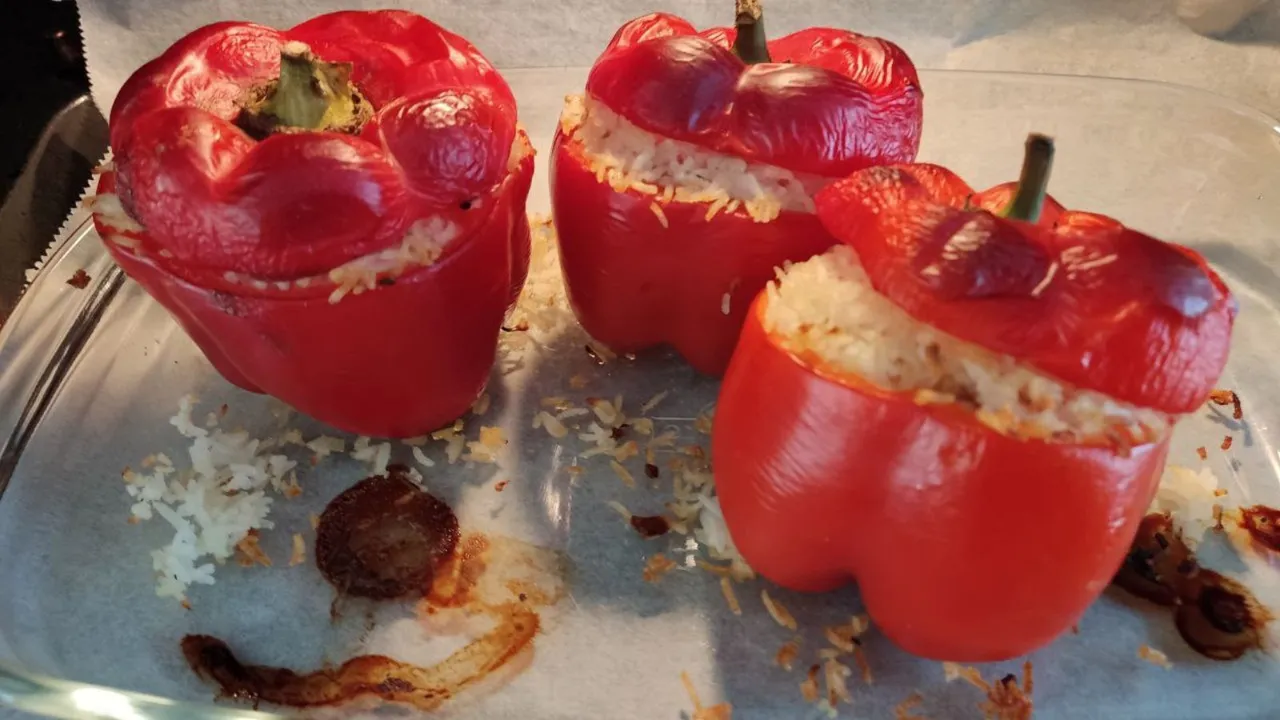
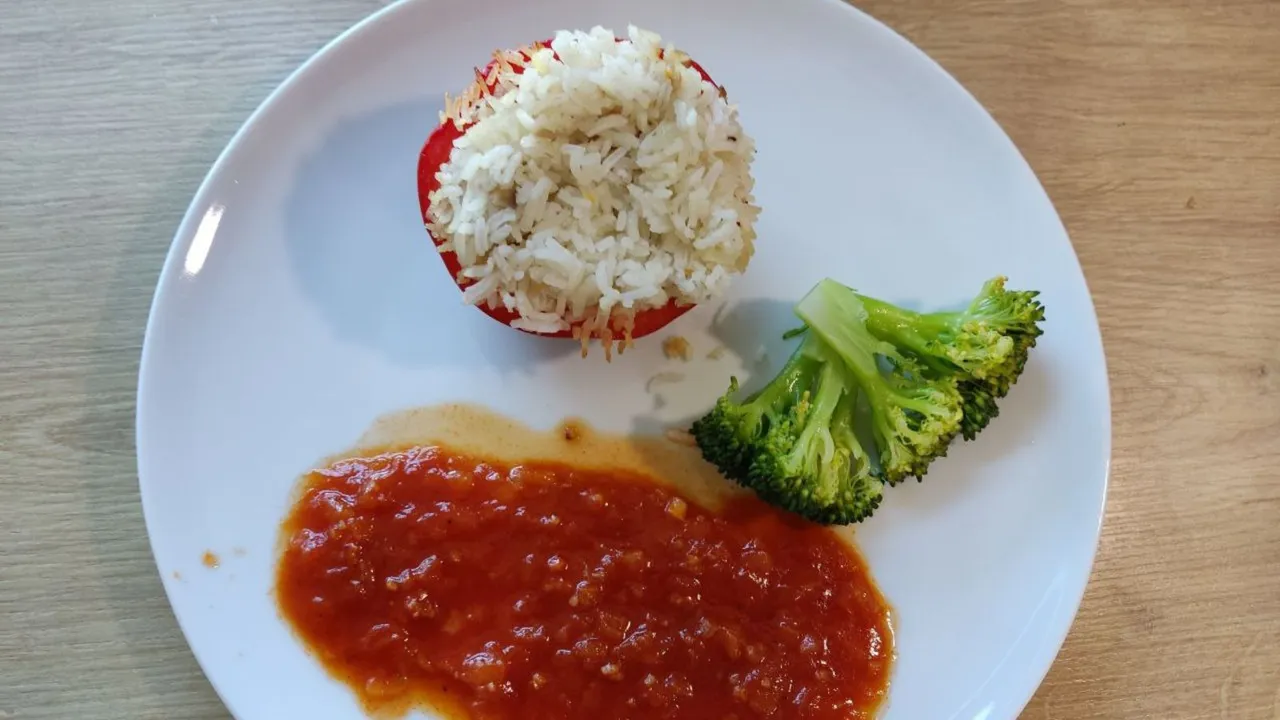
I pull the bad boys from the oven and they look ready to eat.
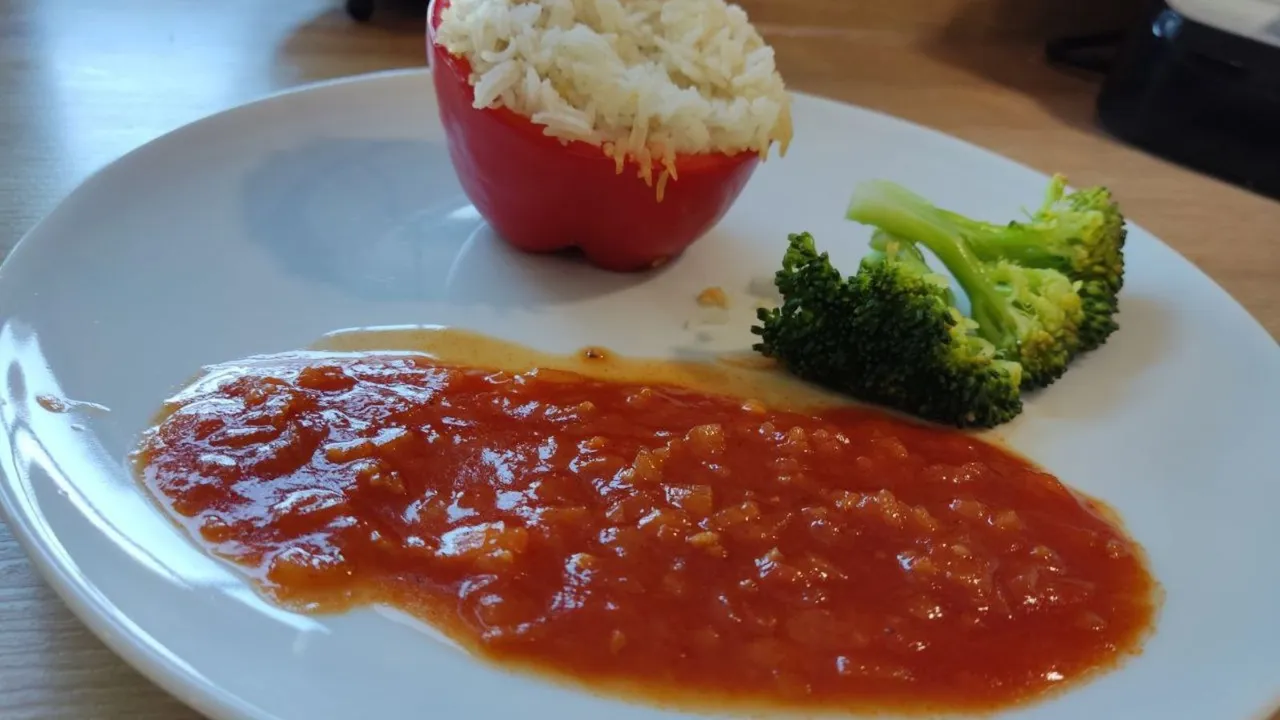
I plate up with some sauce and broccoli.
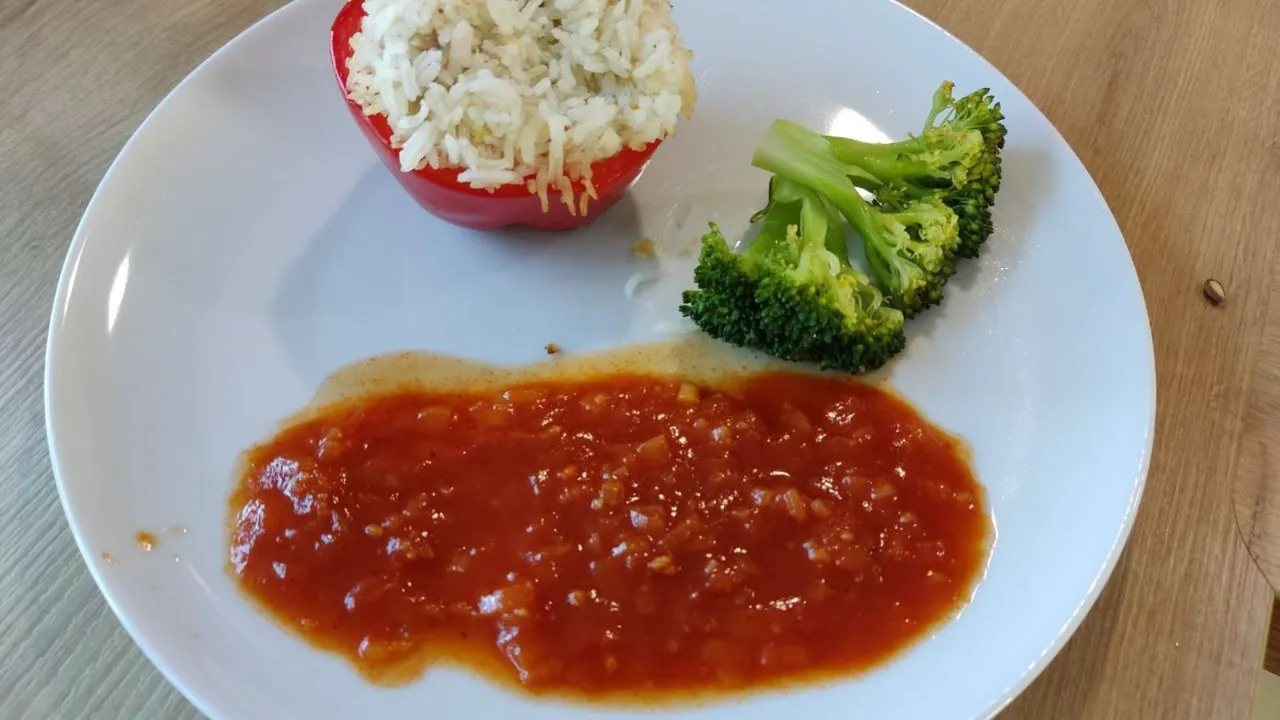
This tasted so good I can tell you.
Thanks for checking out my recipe.
That's it for this week. Bon Appetit!



My other recipes:
Zucchini with Garlic Zucchini Fried Rice
Introducing the C.L.T.
Vegan Aubergine di Parmigiana
Vegan Homemade Quesadilla with Guacamole
Vegan English Breakfast
Homemade Vegan Bigos - My First Polish Dish
Vegan Spanish Style Chilli
Vegan Cauliflower Curry
Fusilli Bolognese ala Vegan - Glutenfree Edition
A Twist on a German Classic!
Mushroom Curry made with love and leftover ingredients

Credits:
Title image and a few photos created by myself in Canva with their free-to-use clipart. Above VEGAN image created by myself in Canva with inspiration from the TShirts made by Tim Schieff that you can see here.
All photos are my own.
Let's connect : mypathtofire