It's been a long ride so far but I'm happy to say that our house renovation is now complete and we are back to living in our home.
For this culminating post I'm going to recap the entire project. If you've been following along throughout then some of this will be repeat for you but I'll try and keep the begining brief.
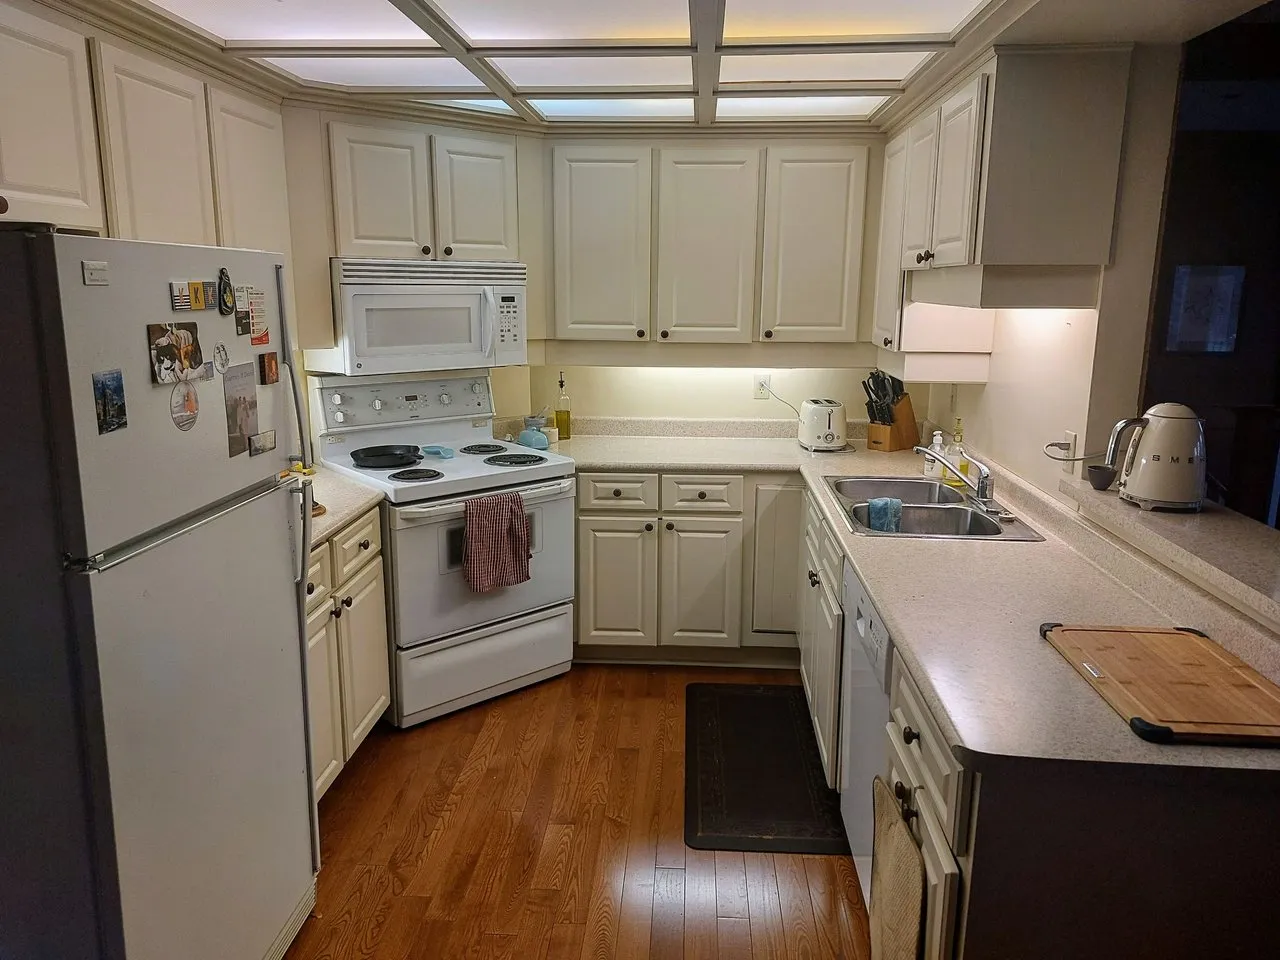
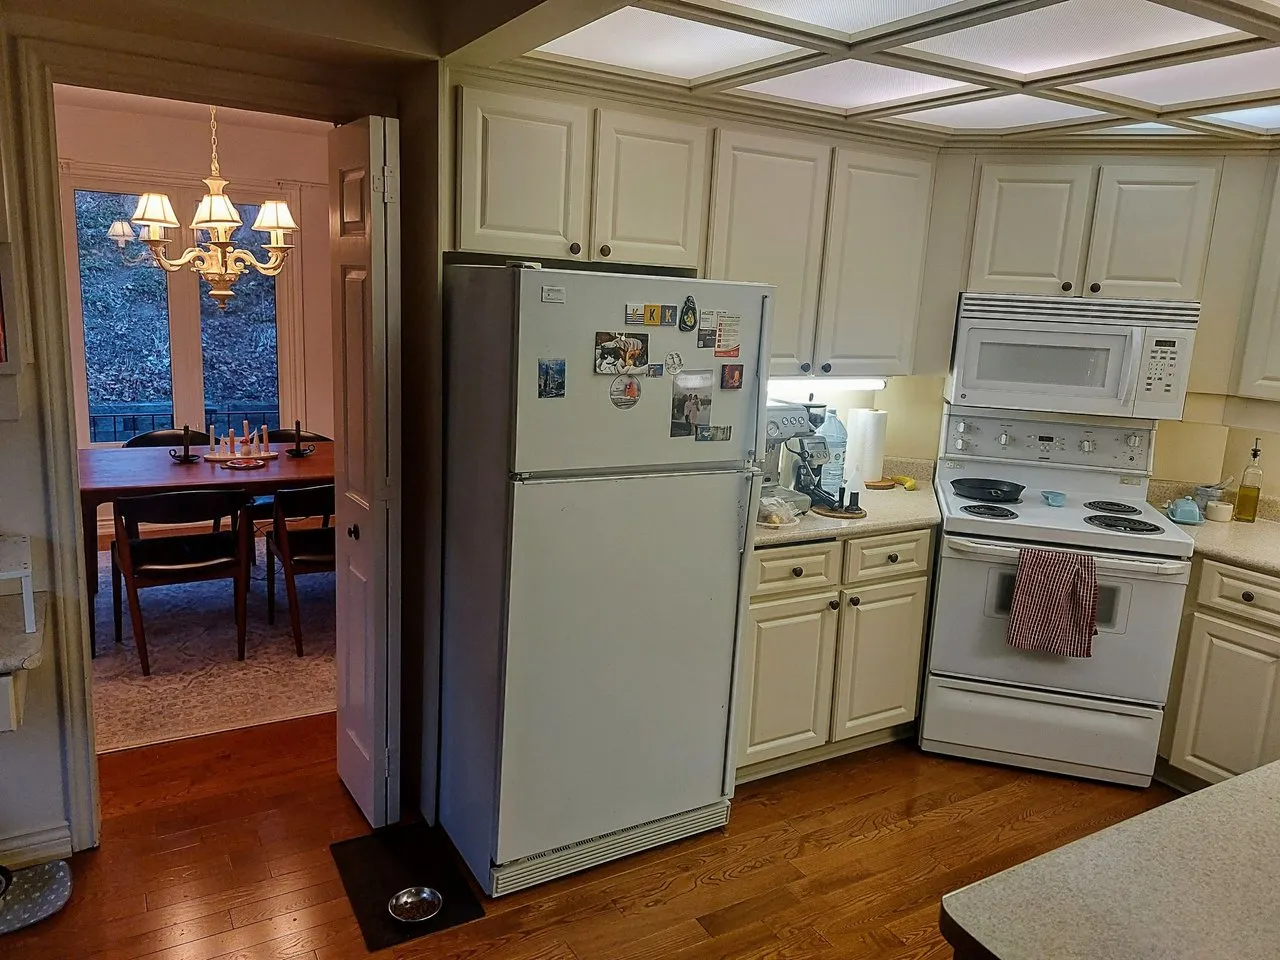
First let's take a look back on where we started, at a few of the before photos.
Before Photos
Design Plans
The plans drawings give an overhead view of the project and will hopefully help piece together where everything is when you're looking at the photos.
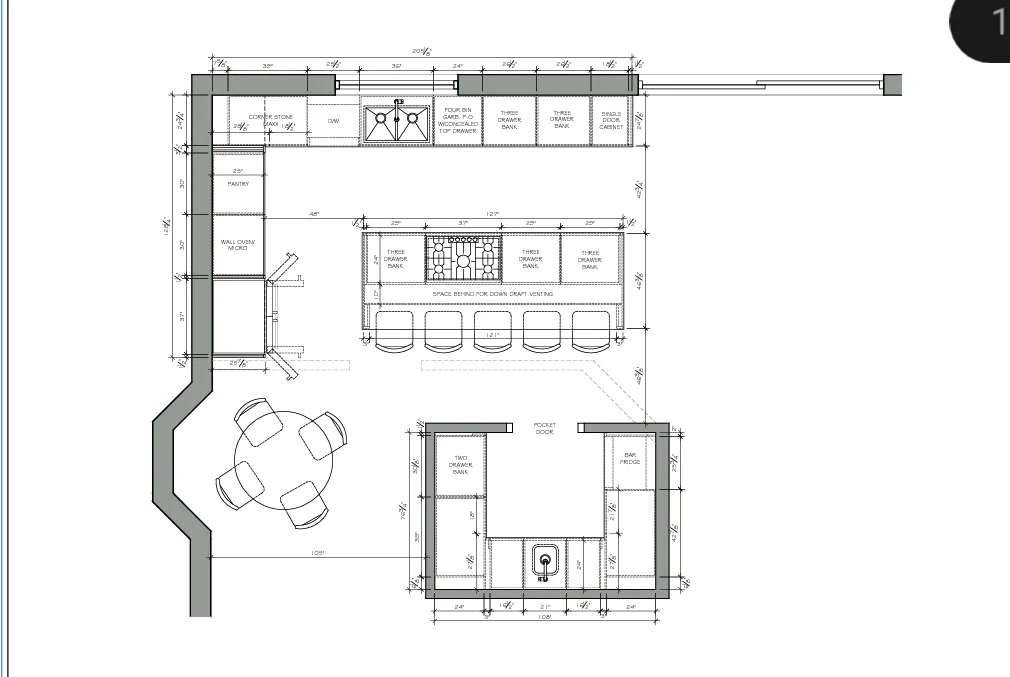
If you care to look close enough you can see where the existing walls were removed in the kitchen to create the pantry space and how we combined the bathroom and closet space in the ensuite.

We also expanded the ensuite into the bedroom to make it a little larger.


The pantry design was based on inspiration photos that I gave to the kitchen designer. When they first showed me their drawings I had some major concerns with the layout and the placement of the cabinets. Everything seemed random to me and they seemed to place no thought into the symmetry and esthetics of their design.
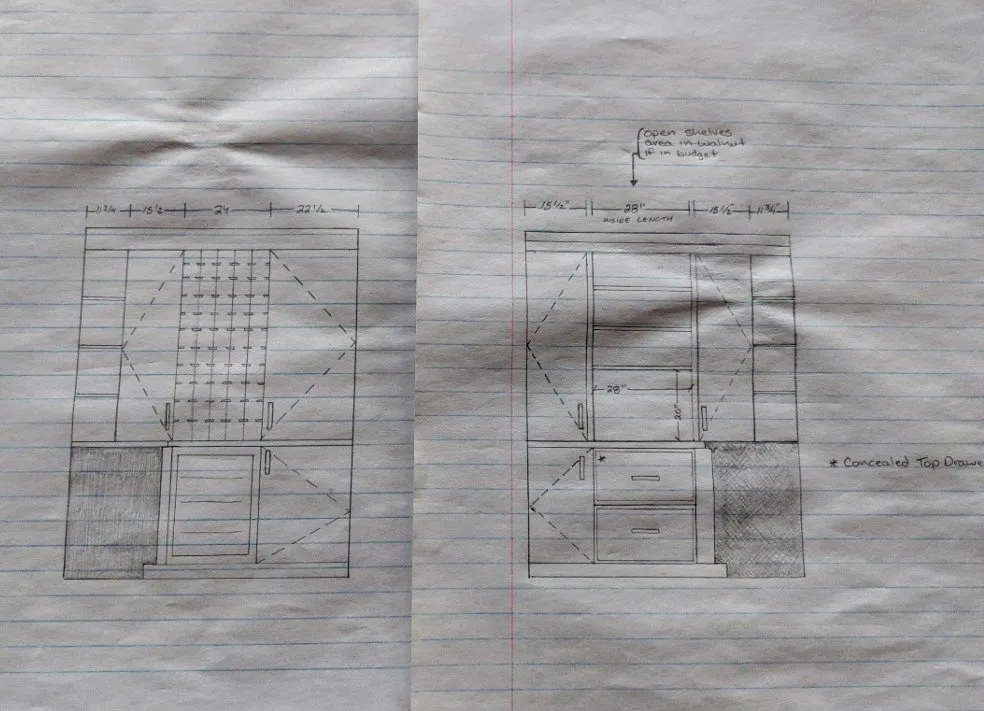
I ended up re-drawing the whole thing and giving it back to them. I wanted the two sides to be as symmetrical as possible with the wood accents on both sides in the same place to sort of mirror each other. We went back and forth a few times and eventually we worked it all out together. Now seeing the finished product I think it turned out pretty good and I'm really glad that I said something back then.
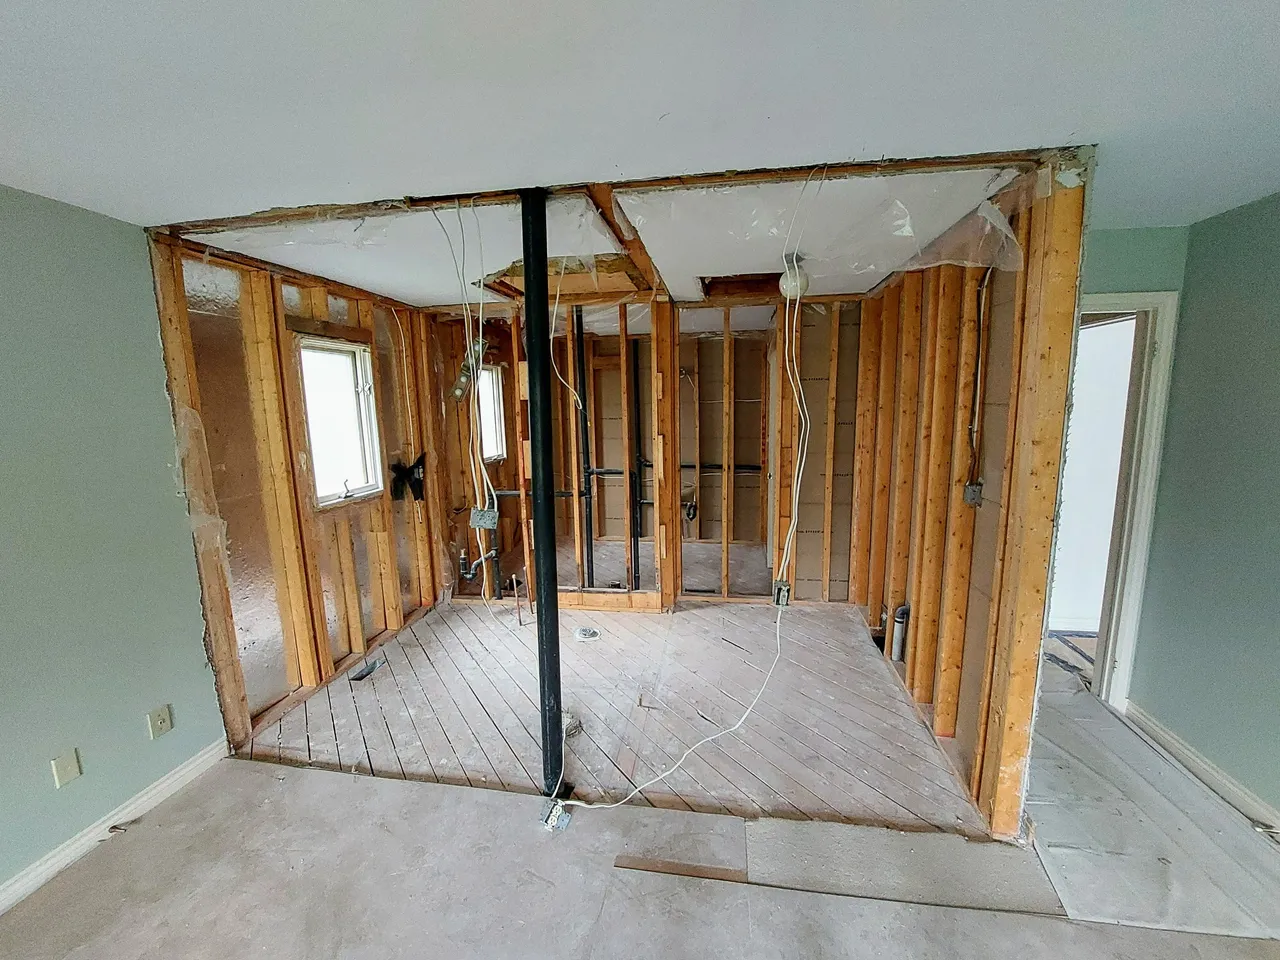
Demo
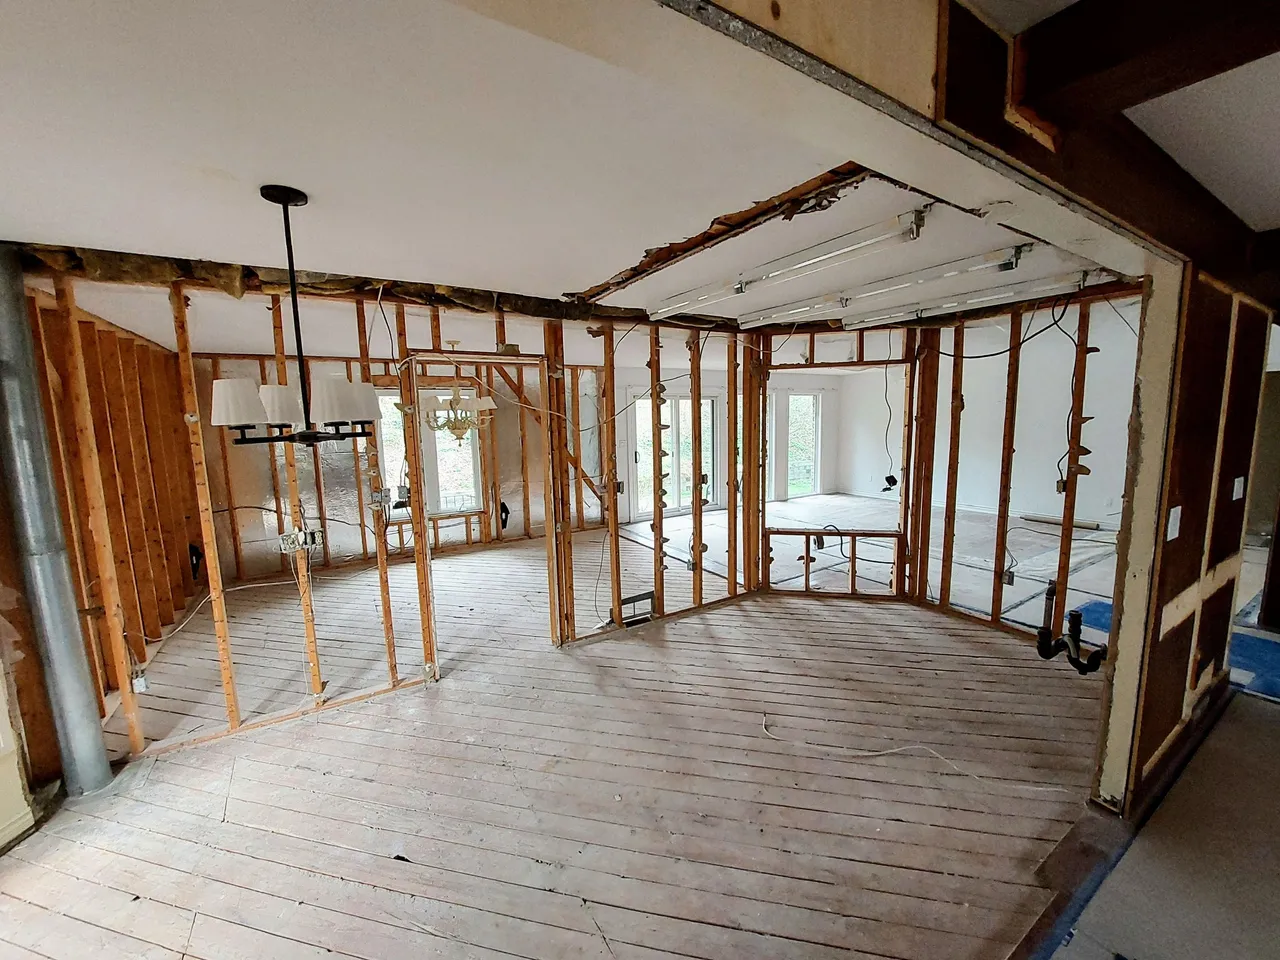
I'm not going to spend a lot of time talking about the demo but here are a few pictures of it to show what we were dealing with.
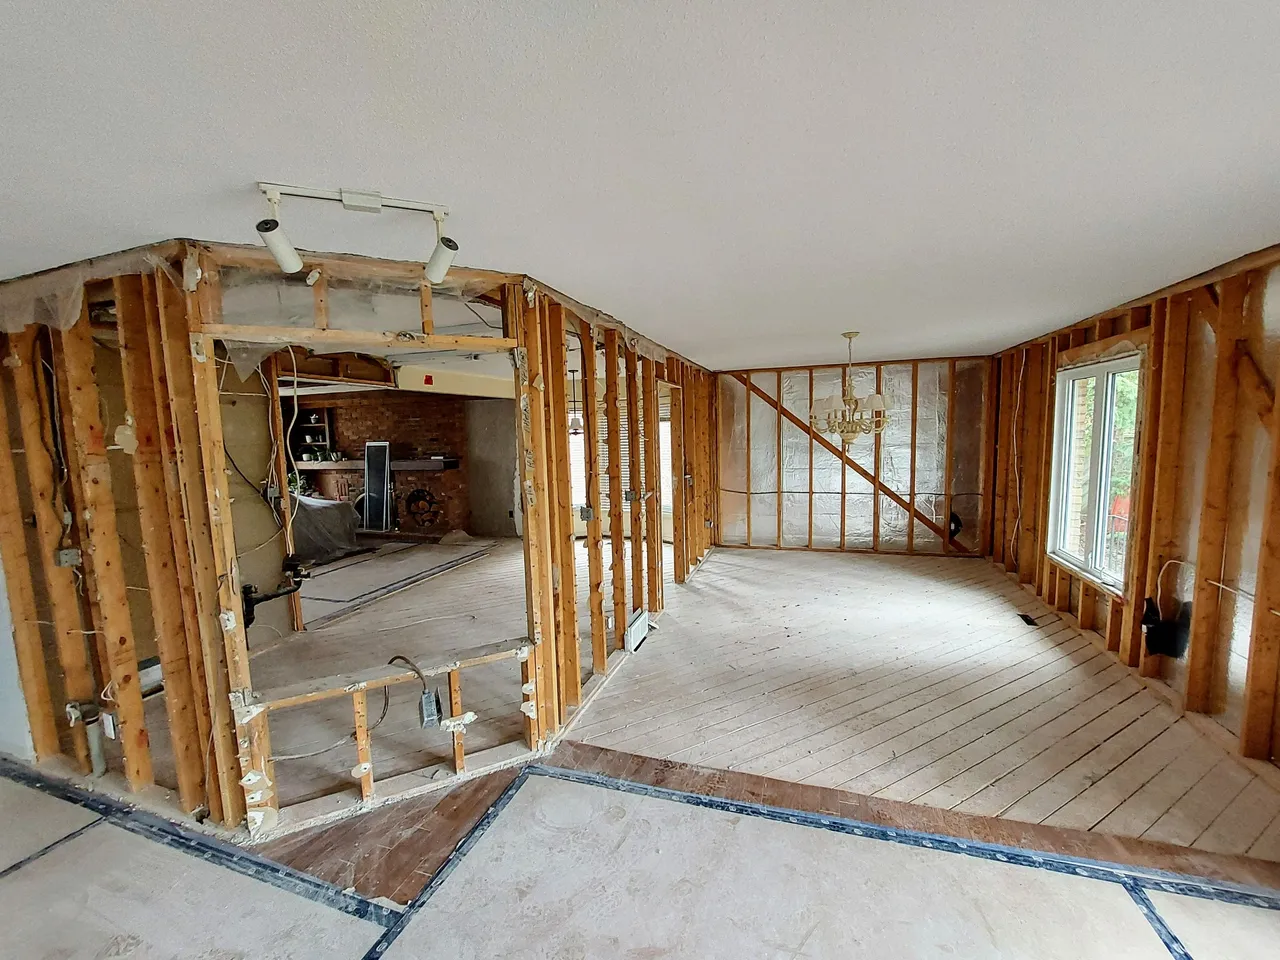
You can see why we needed to move out of the house for the 14 weeks of the project.
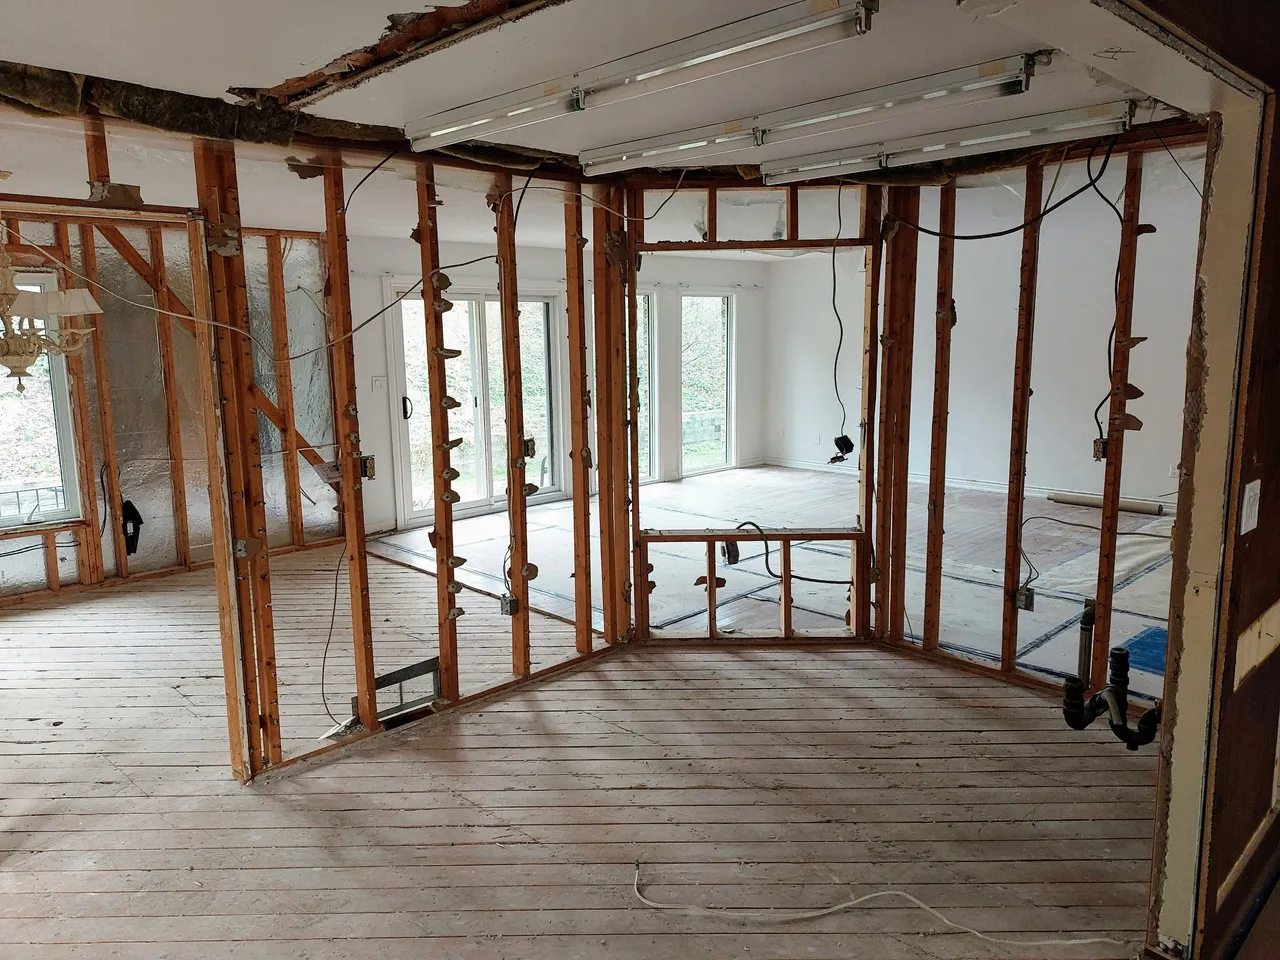
This was not a small kitchen swap reno.
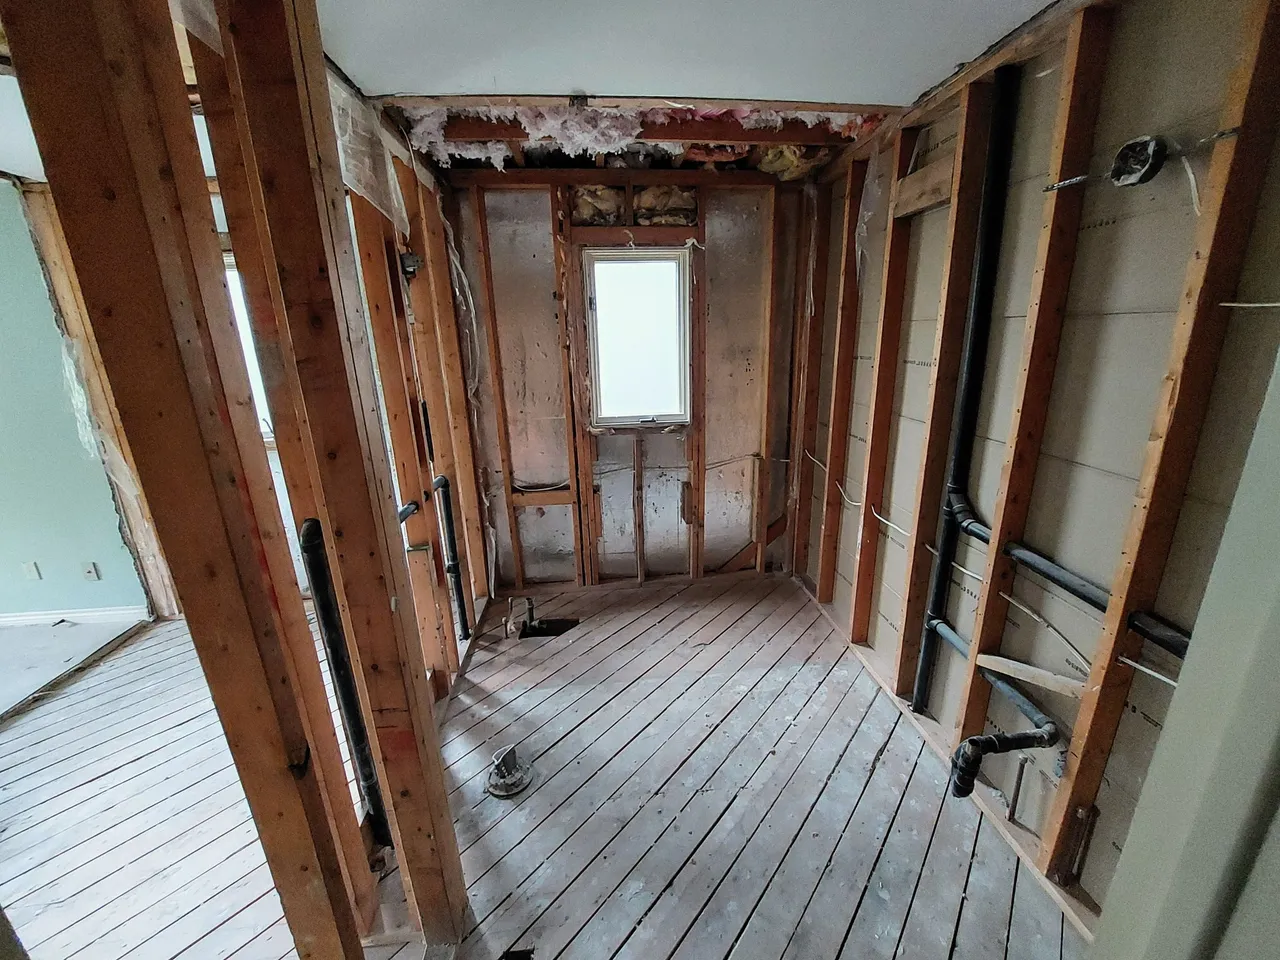
These photos don't show the ceiling being scraped to remove the stucco or the trenches cut into the floor to move the plumbing and electrical either.
Finished Project
Okay, now to get into the finished project, starting with the kitchen.
Kitchen
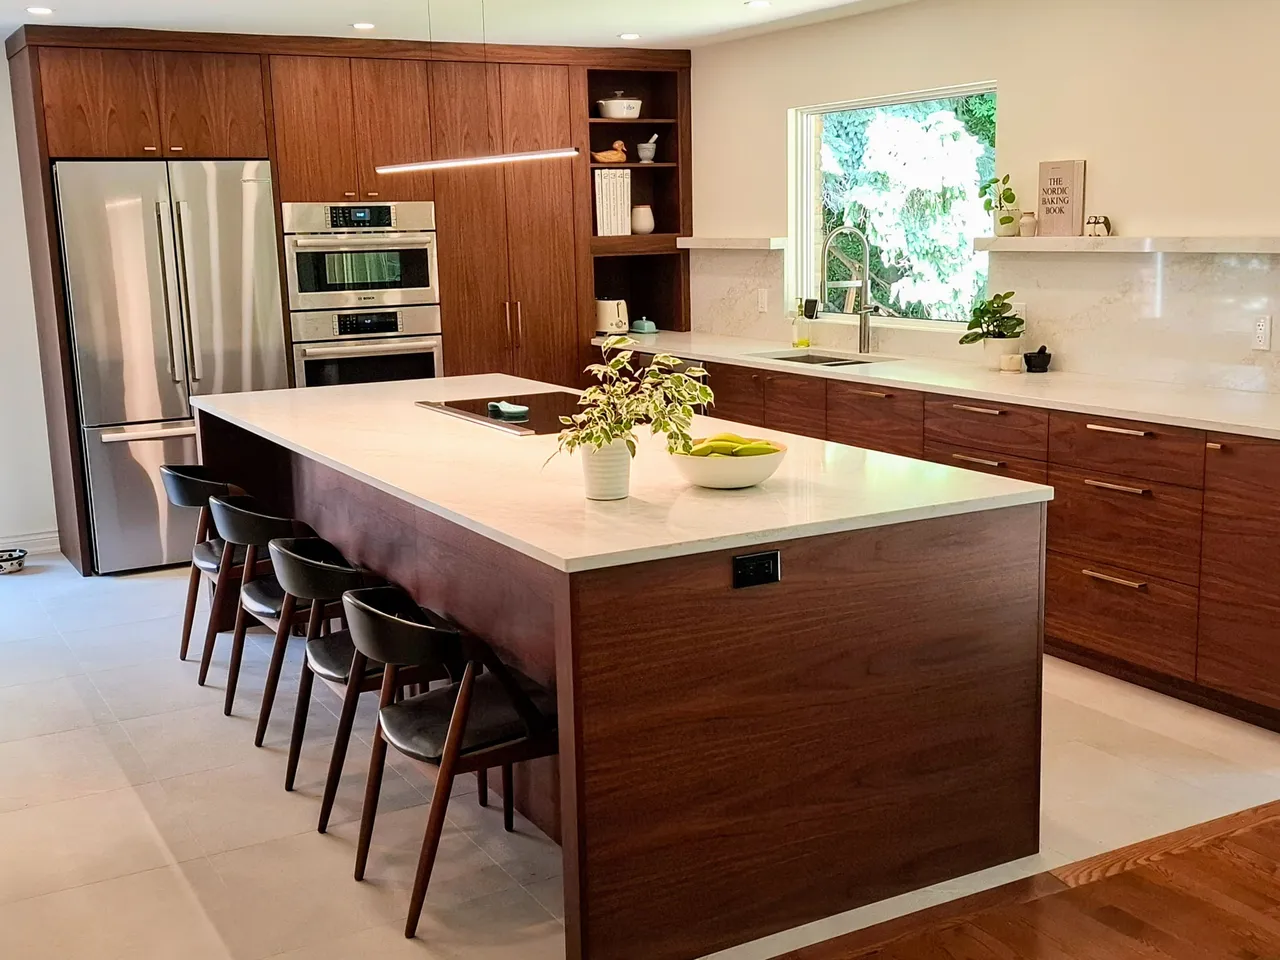
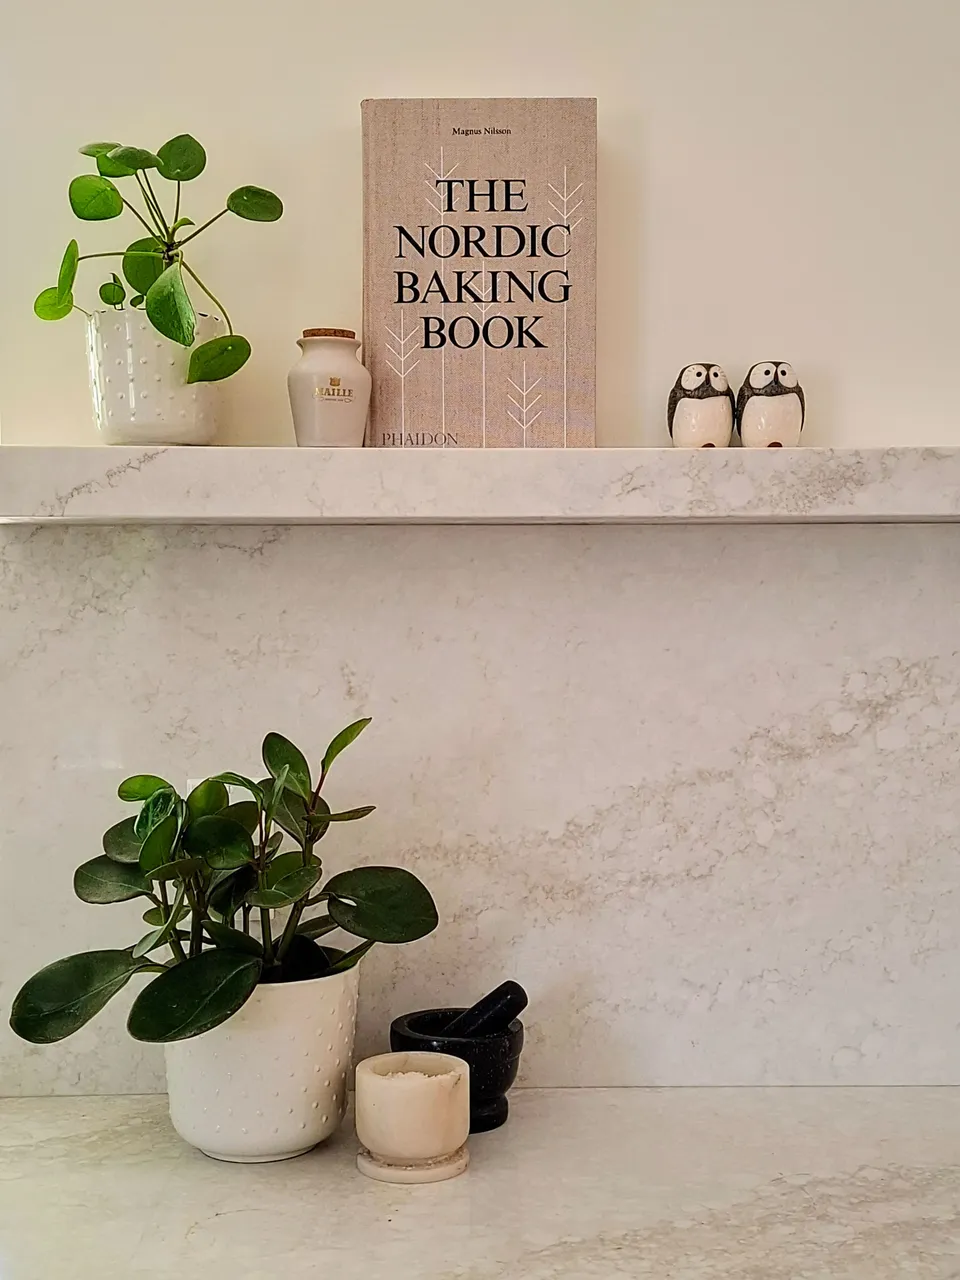
My wife and I really like mid century modern architecture which incorporates simple design and usually a lot of wood finishes - teak, red oak and walnut are common.
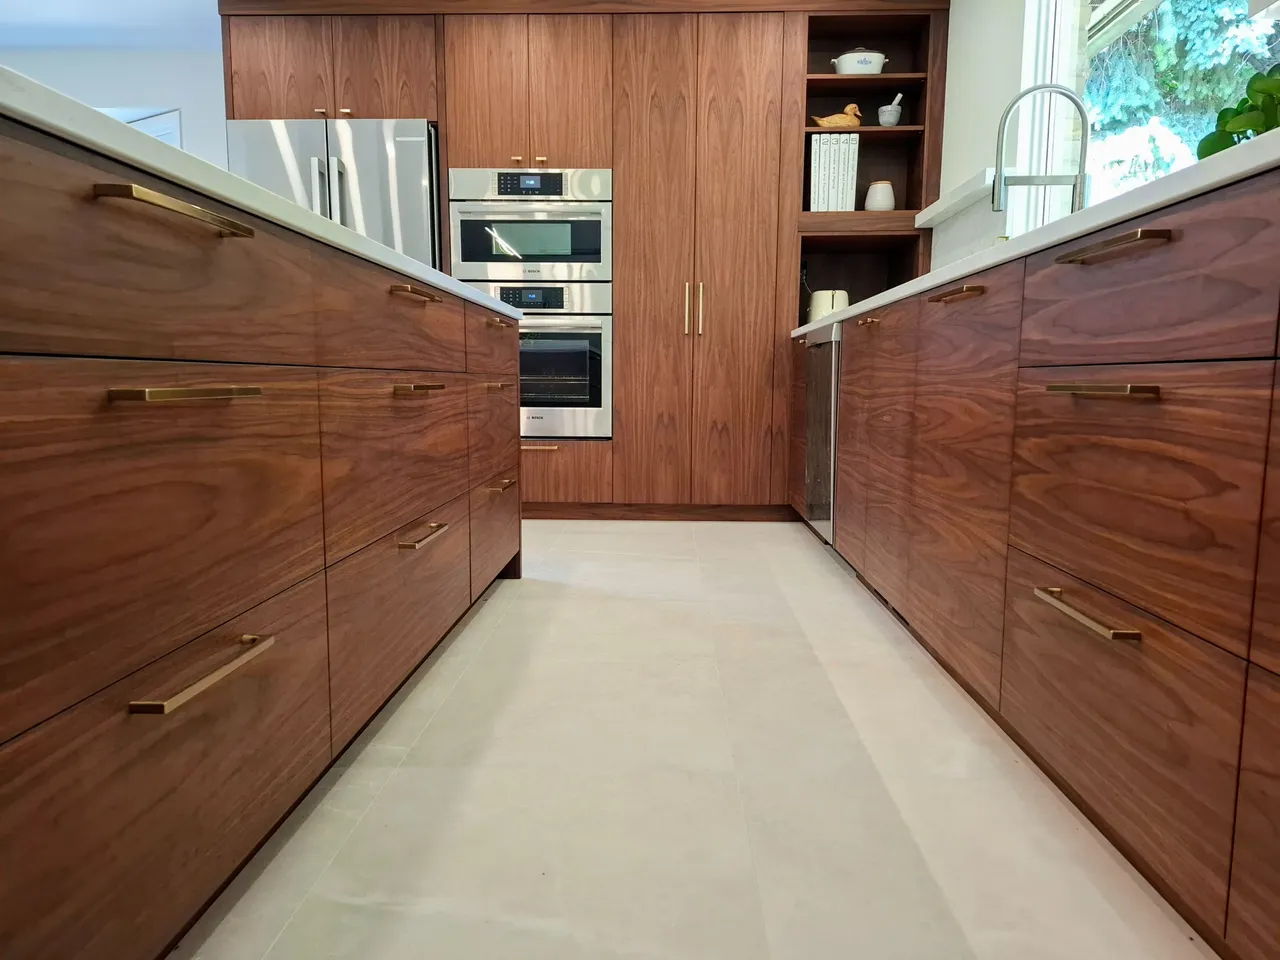
It's often associated with Scandinavian design and decor as well.
We chose walnut veneer cabinet fronts without shakers on the doors, quarts countertops and backsplash and stainless steel appliances. We chose not to do upper cabinets, which is a little different and takes some getting used to.
We had originally chosen white oak cabinets in the begining but after we saw what they looked like with dark stain on them (terrible) we pivoted to walnut.
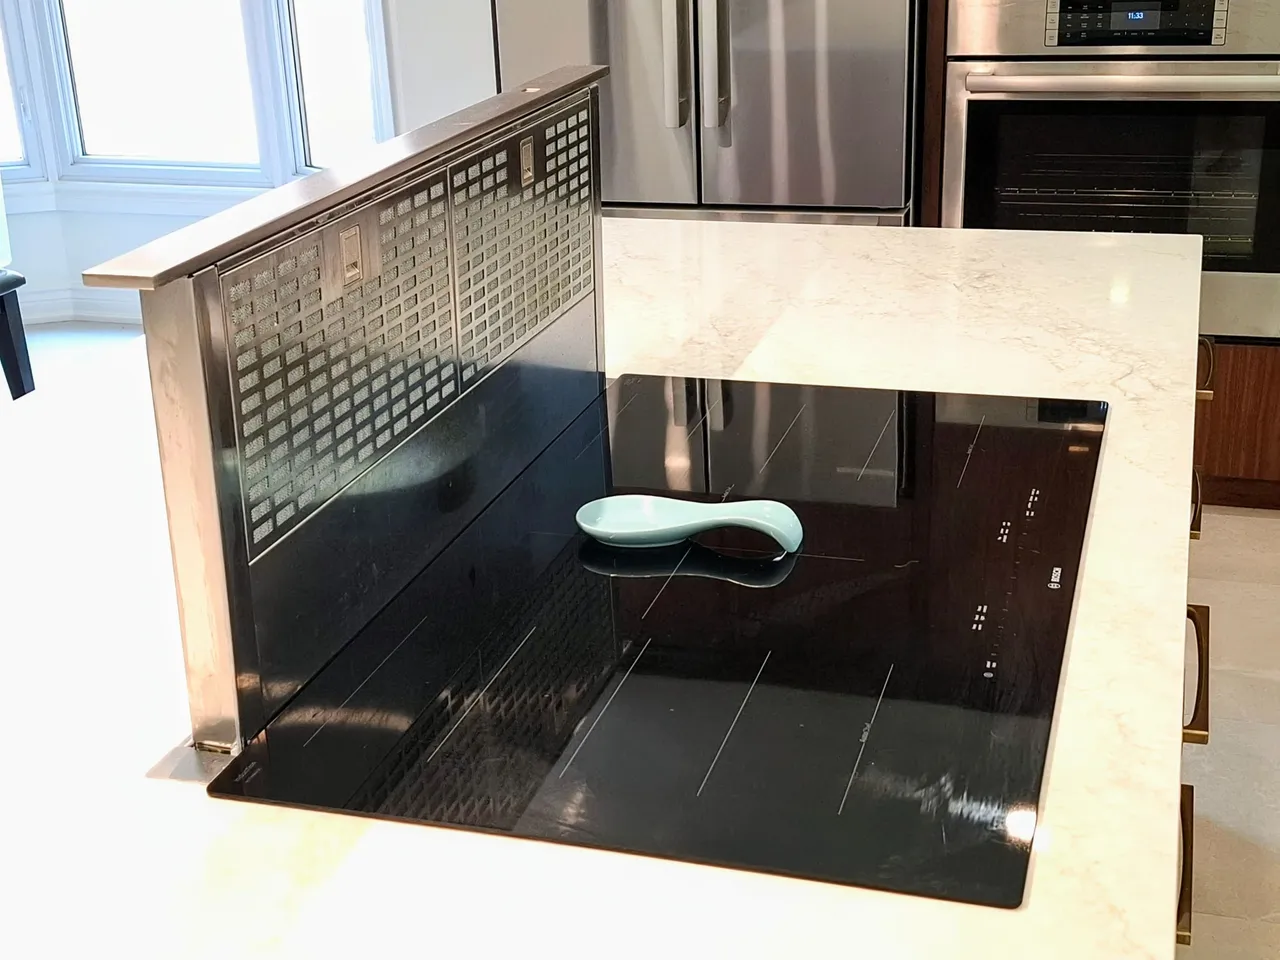
We wanted the sink by the window and the stovetop in the island but we didn't want a vent hood in the middle of the kitchen that would obstuct the sightline. The solution was to install a down draft vent that raises up when needed and which tucks away flush when not in use. There were some challenges to piping the vent through the floor instead of the attic but it was worth it for the unobstructed look. The stove we chose is induction. Gas stoves are quite popular in Canada but for me personally I can't stand to cook with gas. Why take 10-15 minutes to boil a large pot of water when you can do it 30-60 seconds? Once you've cooked with induction you never go back in my opinion. Induction seems to be more of a European thing that is only now starting to make it's way to North America.
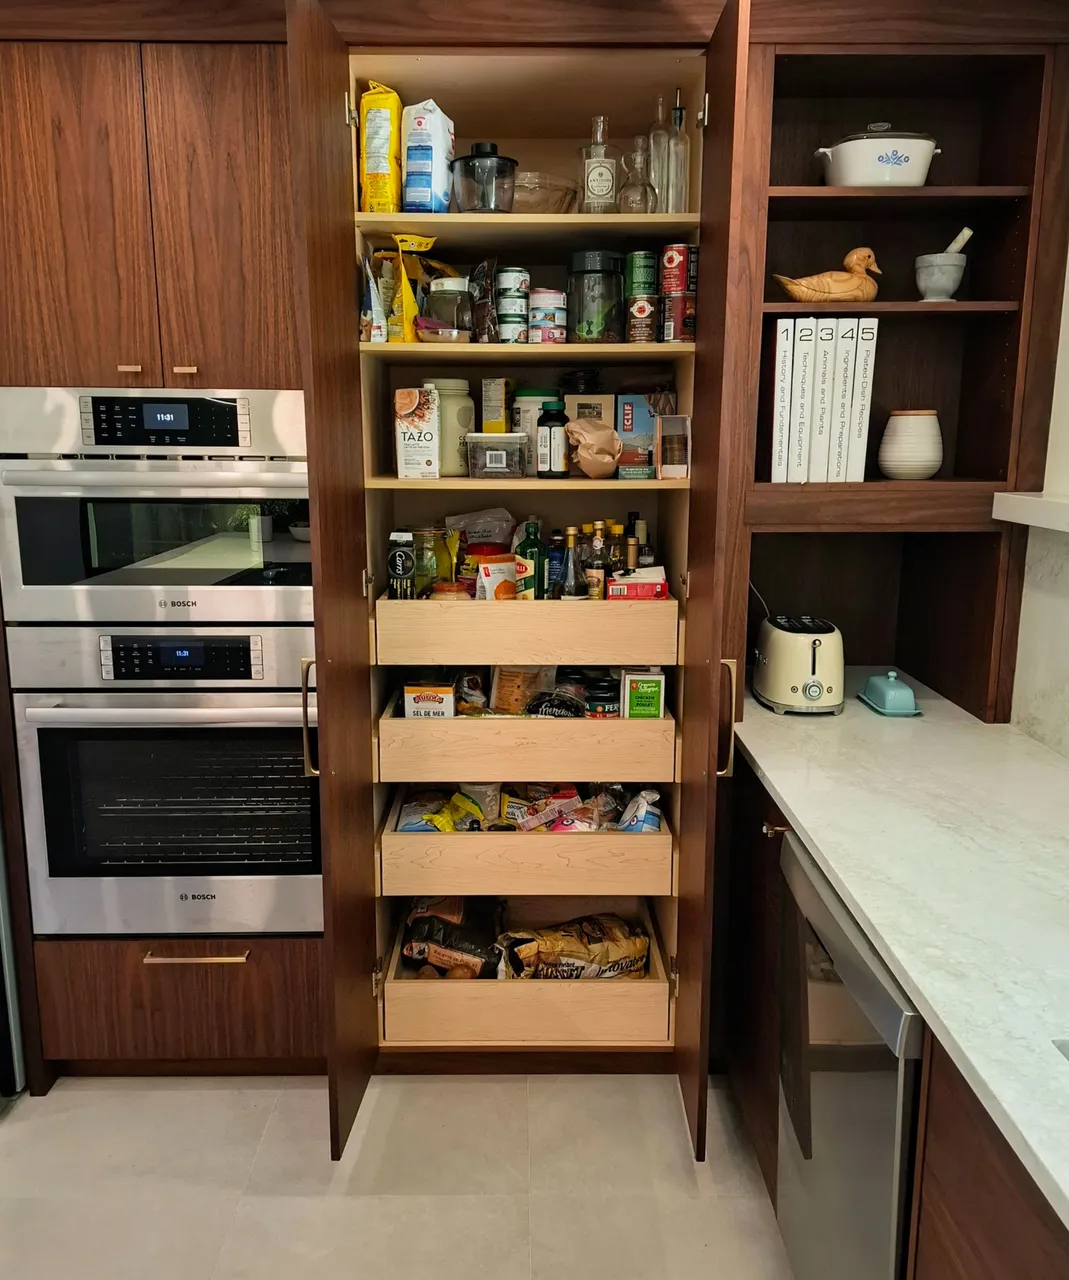
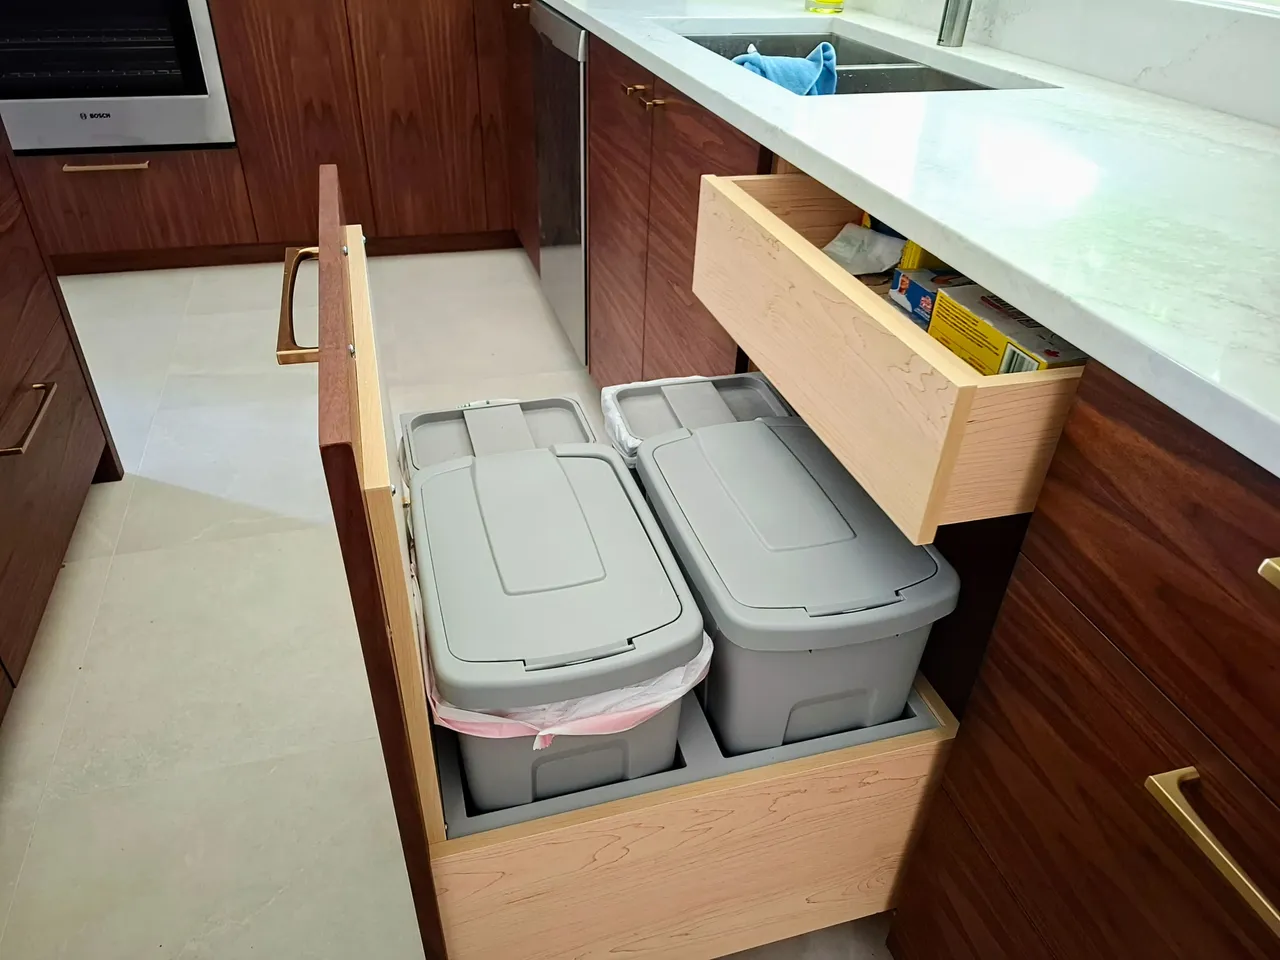
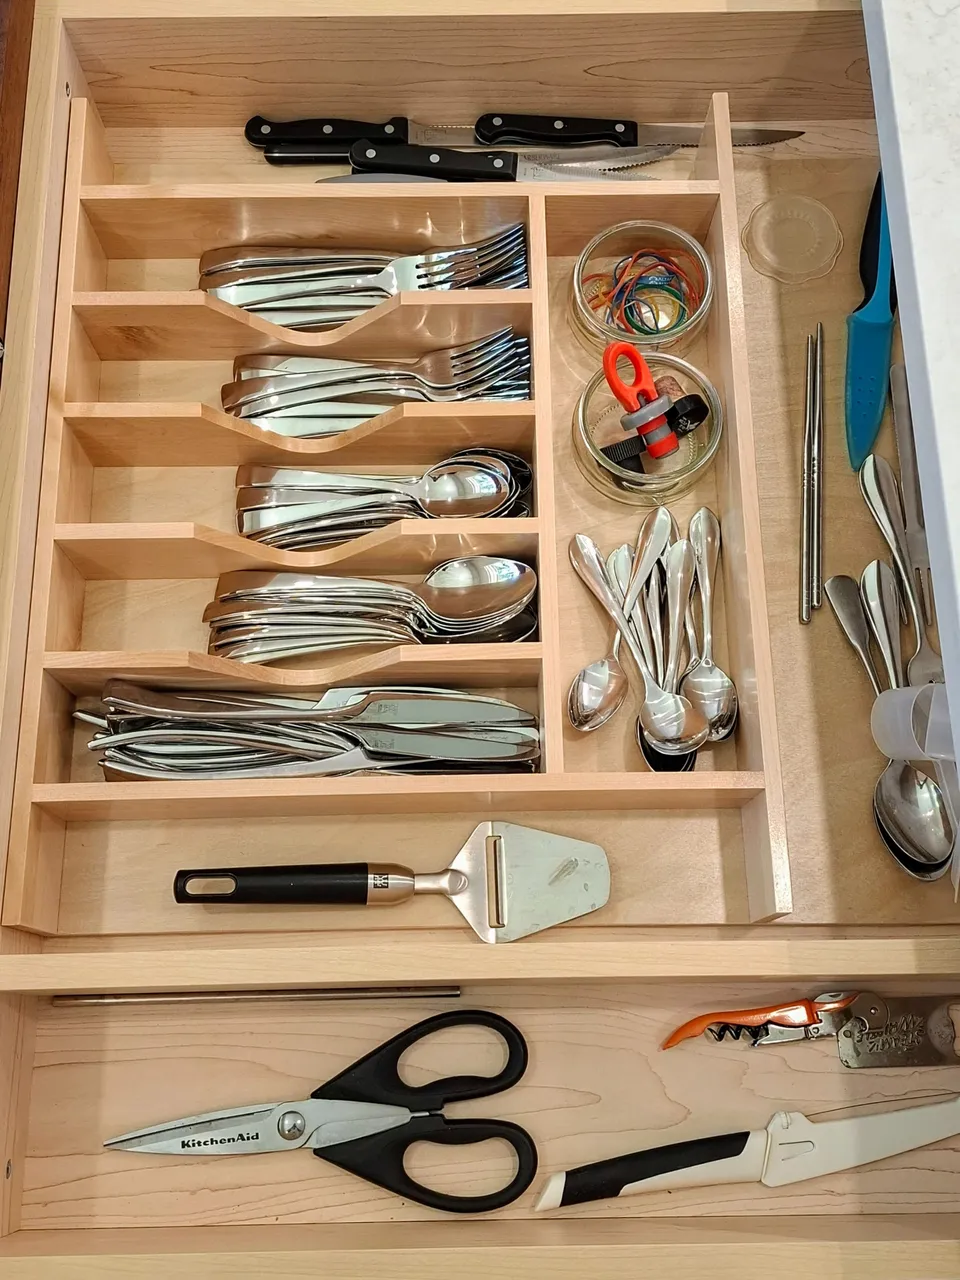
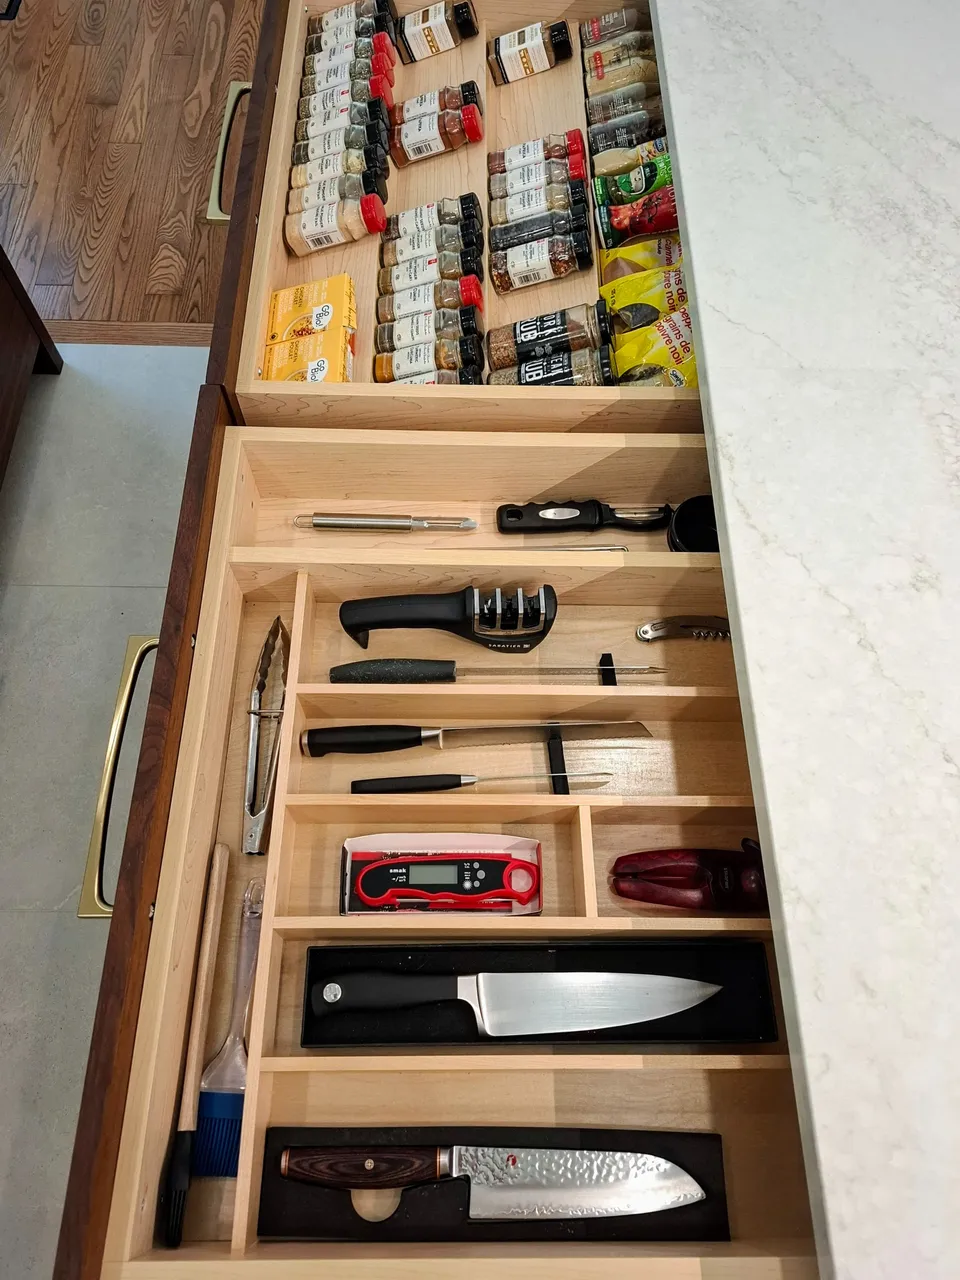
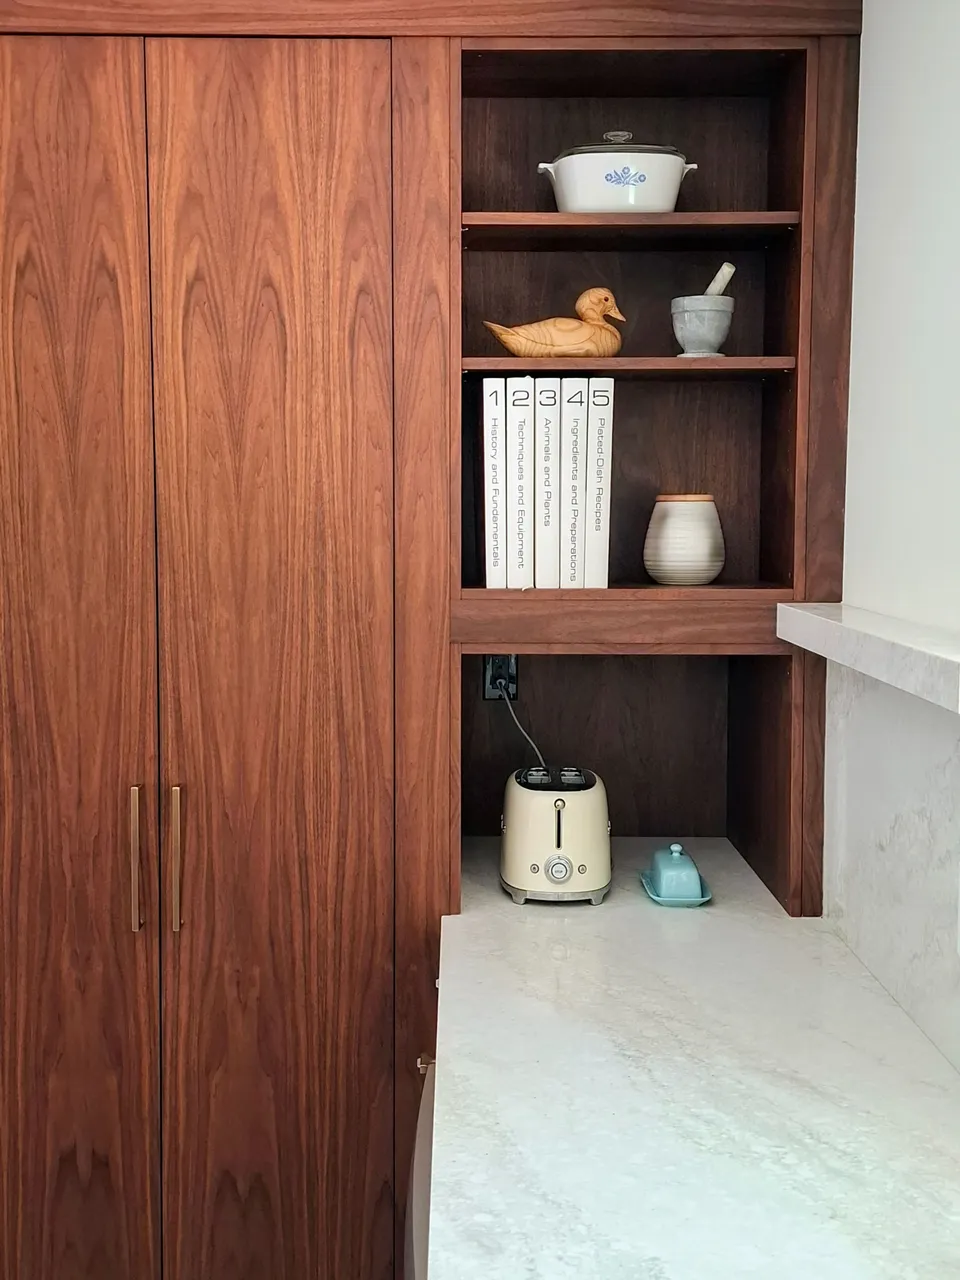
There are quite a few other built-ins in the cabinets and drawers but I won't bore you with more of that. They are for flatware, glasses, cutting boards and baking pans and corner lazy Susan's.
Butlers Pantry
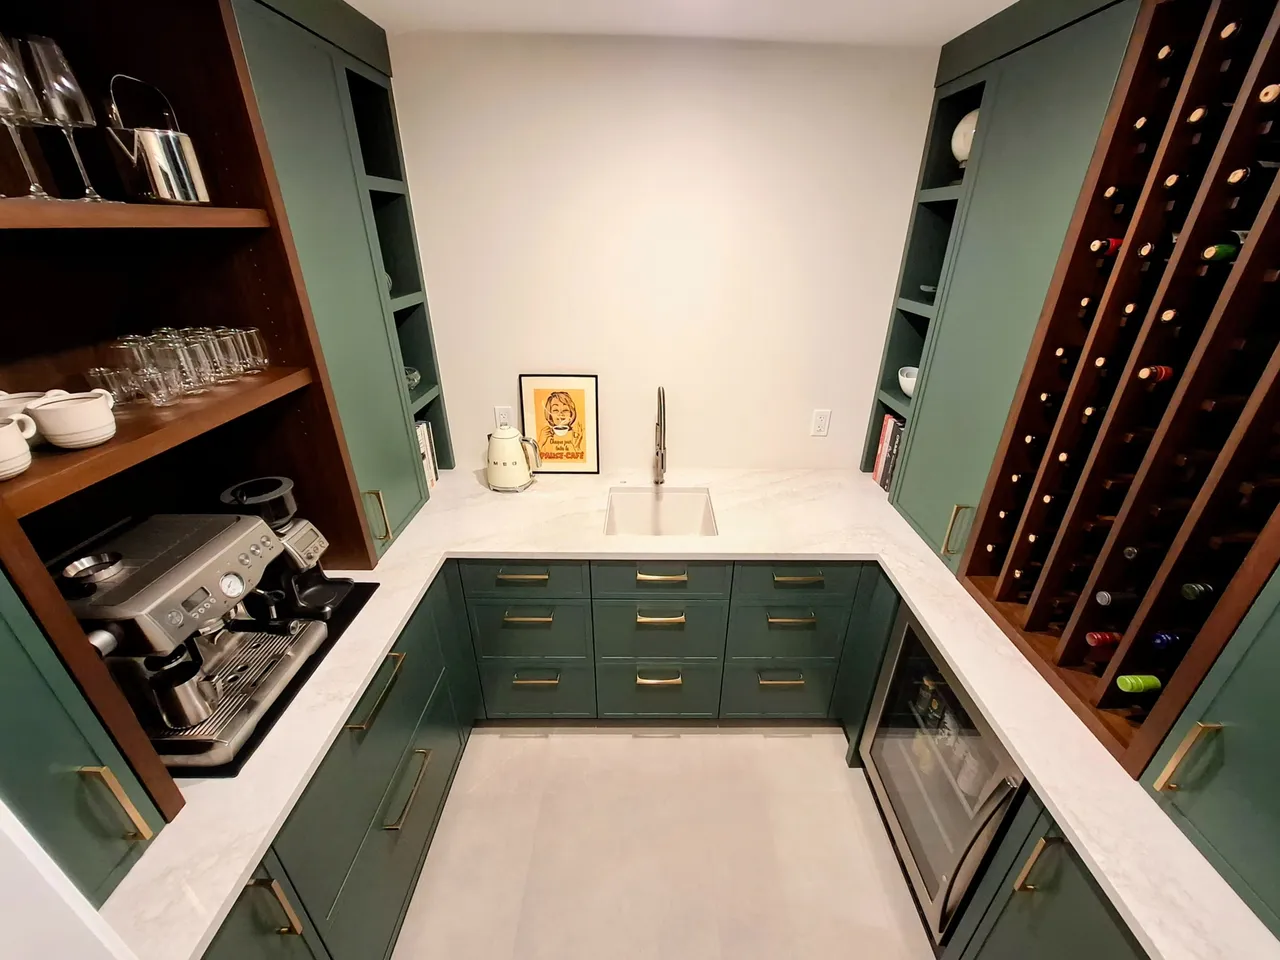
The pantry was the last part of the project to be finished and the one that I was the most excited about.
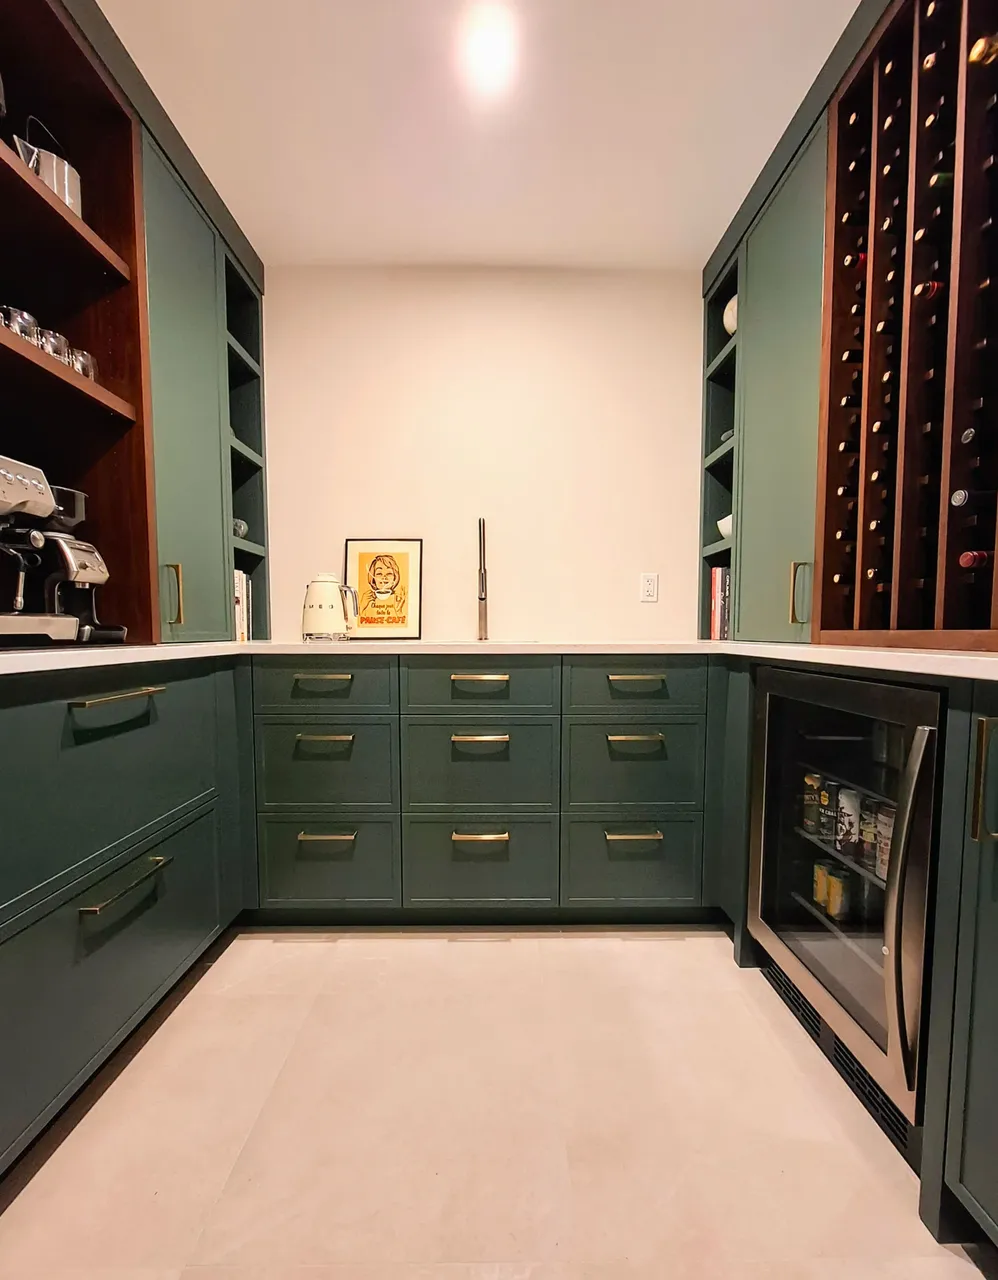
We designed it to be more of a butlers pantry than one of food storage. We wanted it to be it's own room in the house and as discussed previously we put a lot of thought into its design.


My wife wanted the cabinets to be green and I really like the color that she chose. We tied the room into the main kitchen space by making the countertops and handle pulls the same and by incorporating walnut into the coffee bar and wine rack.
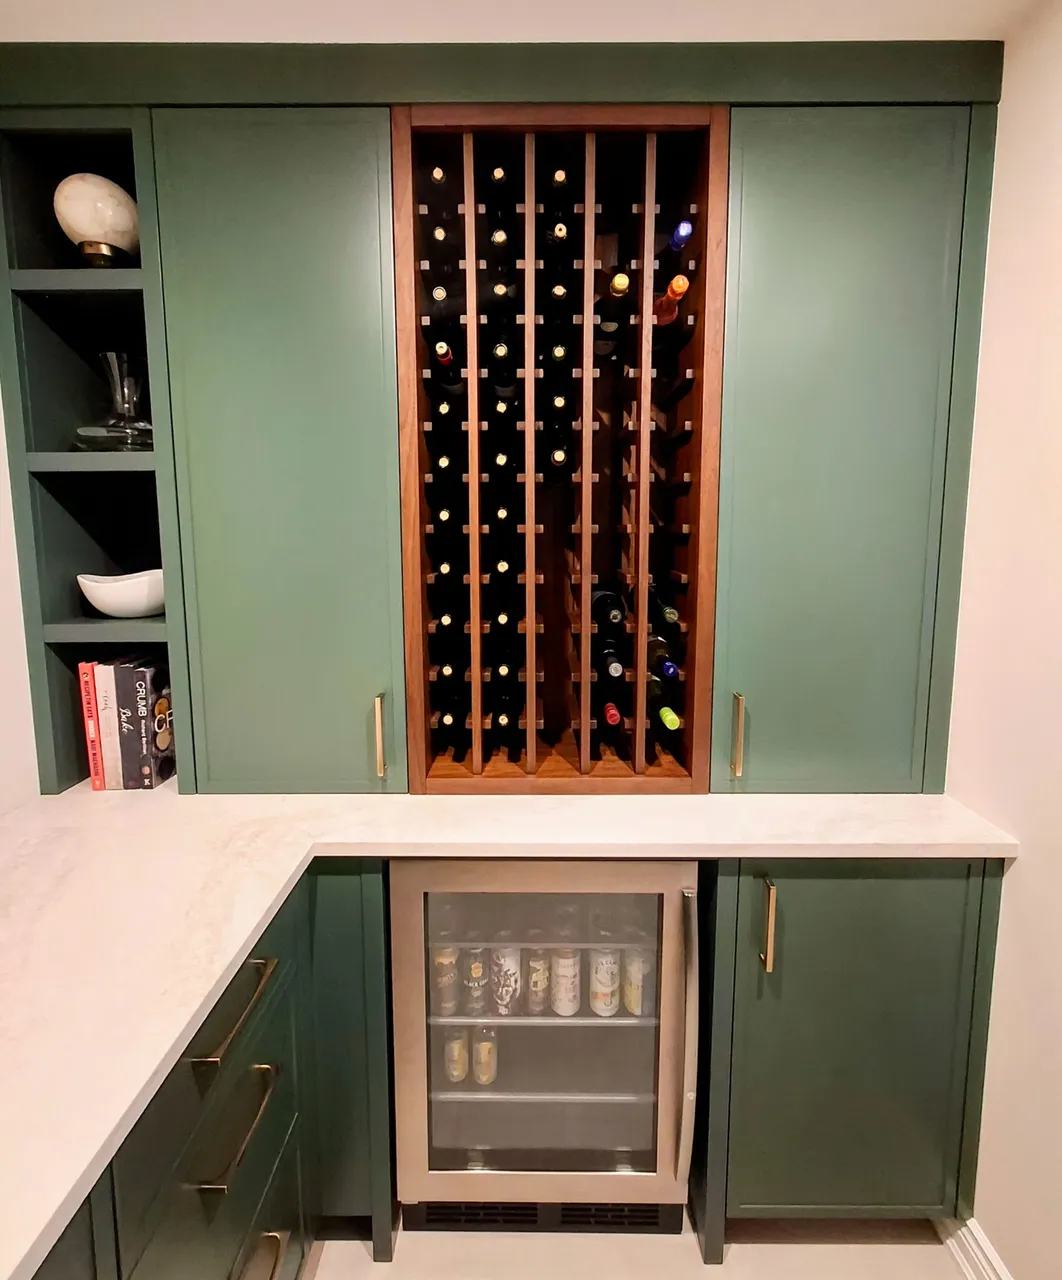
My wife didn't want the wine rack for the longest time and I had to really convince her of it. Personally I think it adds a lot to the space and I think that she would secretly agree now that its finished, though she may not admit it to me. I do a lot of cooking with wine so the majority of the bottles in it are wine that I had brewed specifically for that purpose. Our drinking wine stores are pretty low right now.
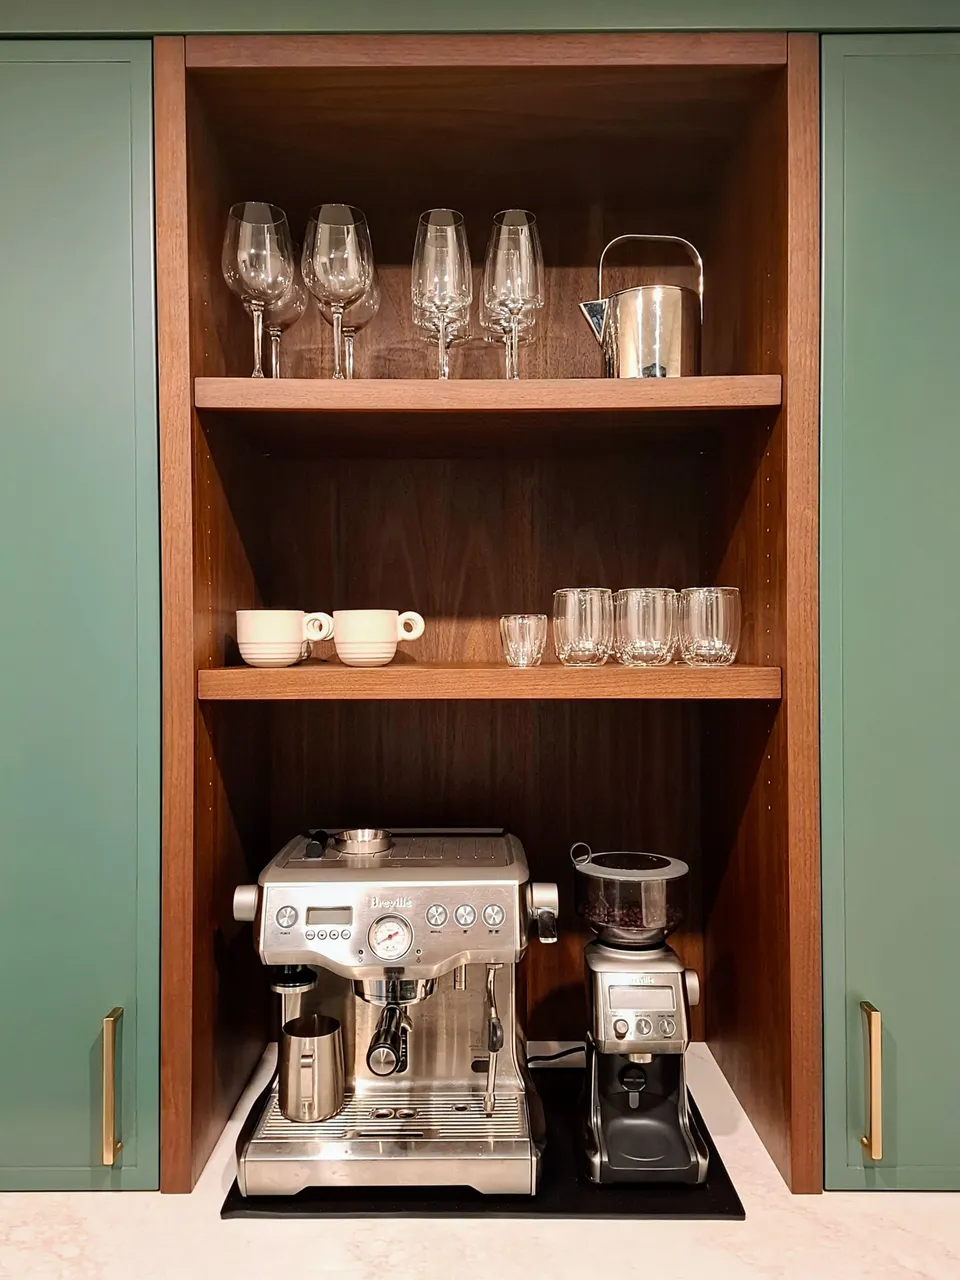
The coffee bar is the star of the show in there, in my opinion. Wine is great but nothing beats coffee.
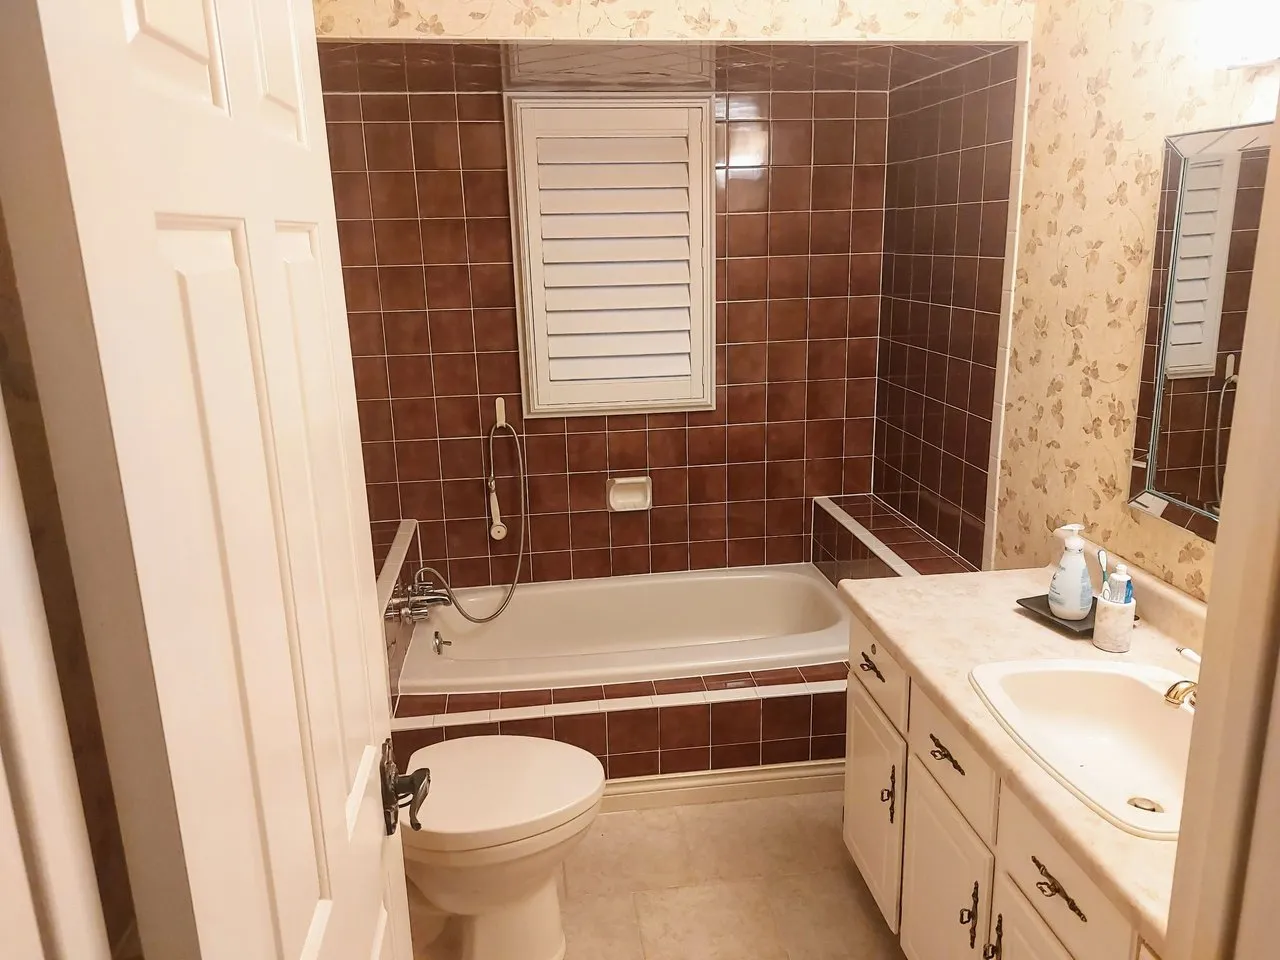
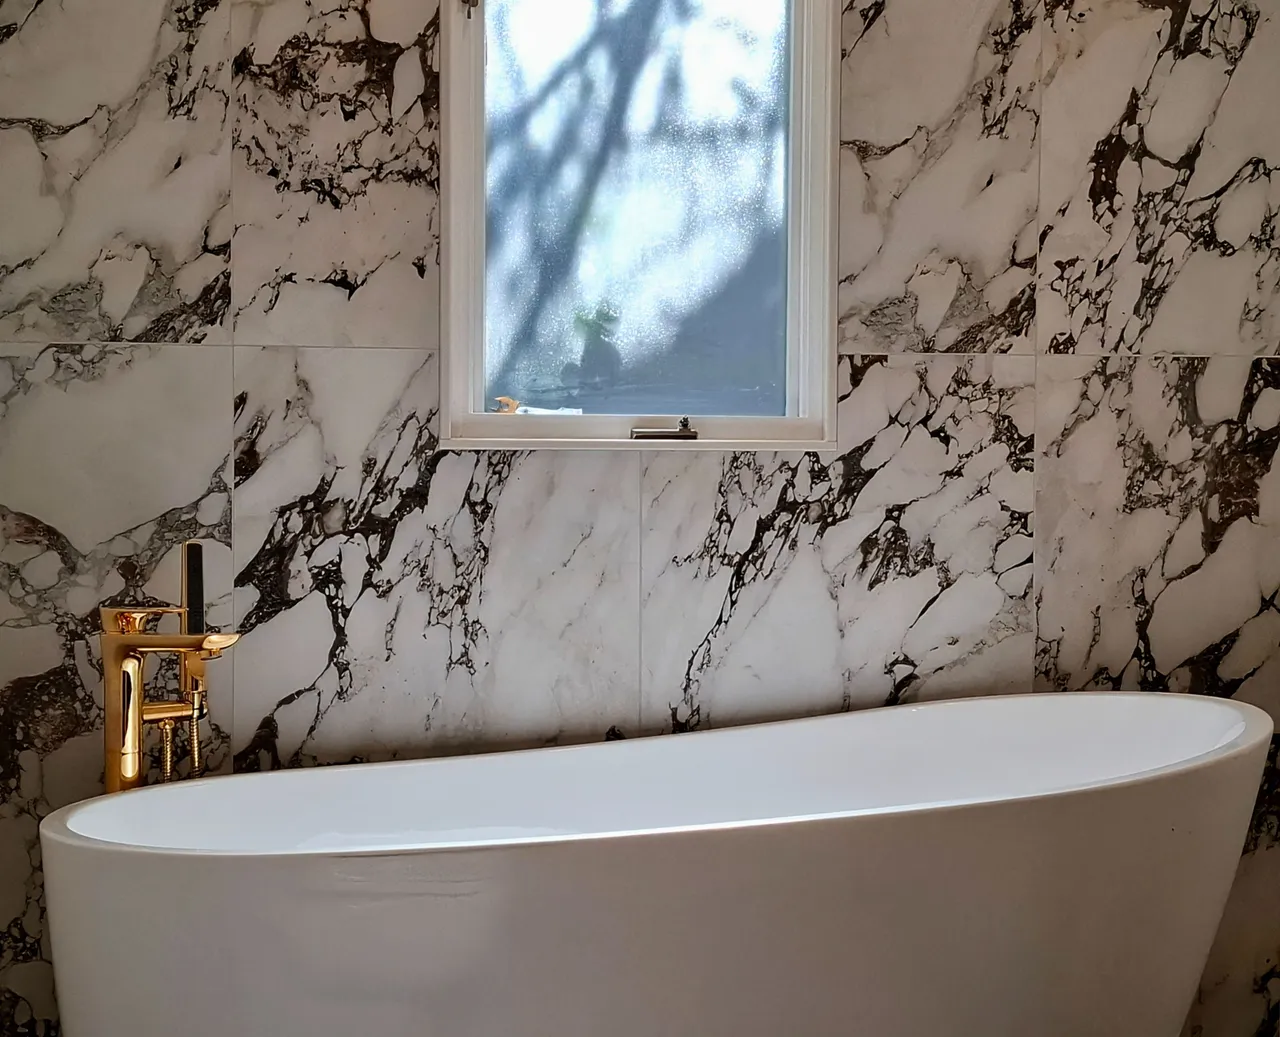
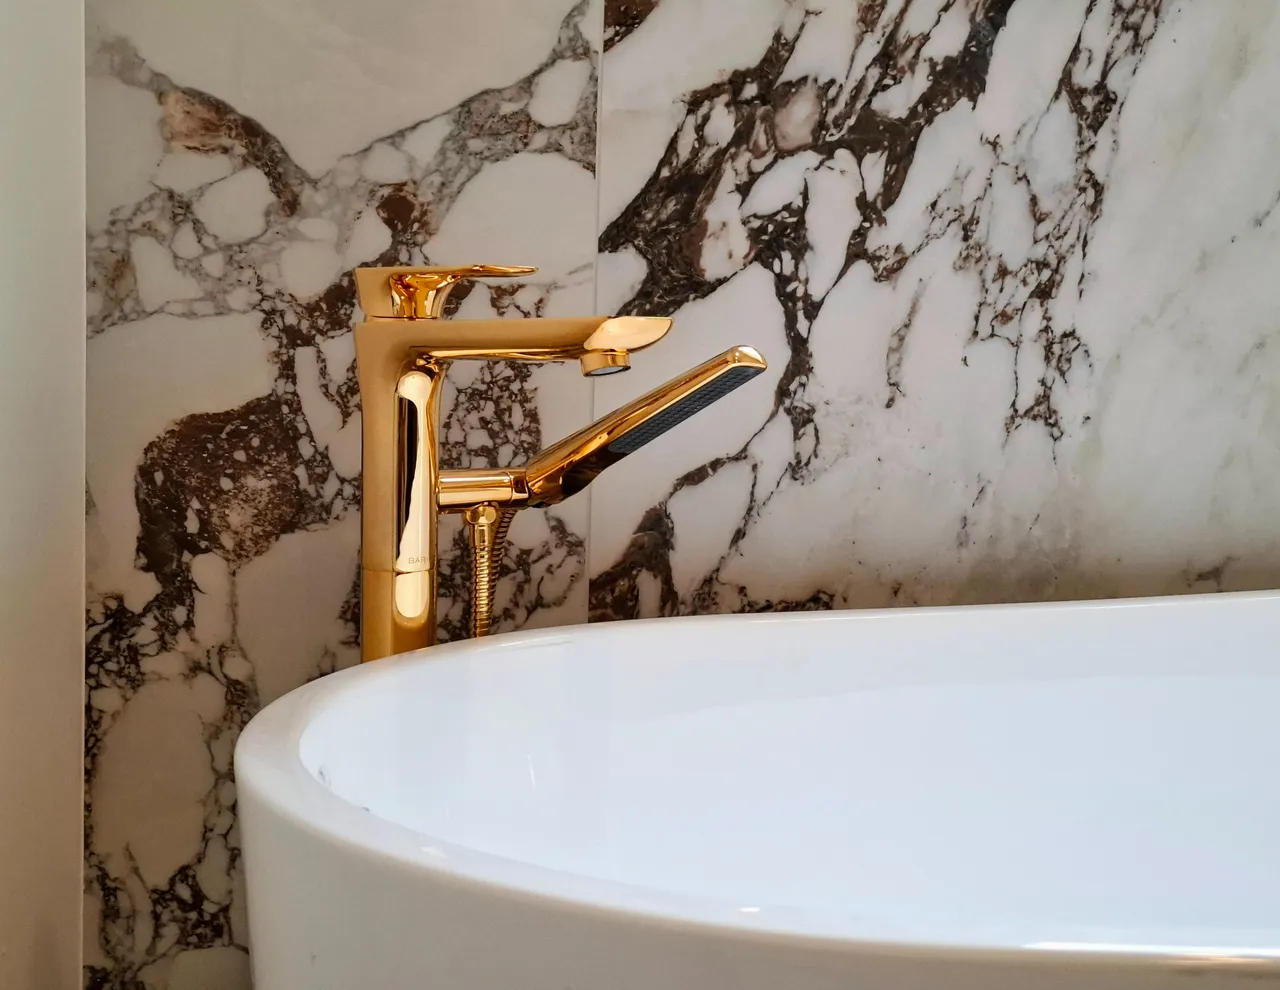
Main Bath
Not much has changed in the main bathroom since I last posted about it but I may as well show it again.
Its not very mid century modern and has more of an art deco look about it, but we are quite happy with how it turned out.
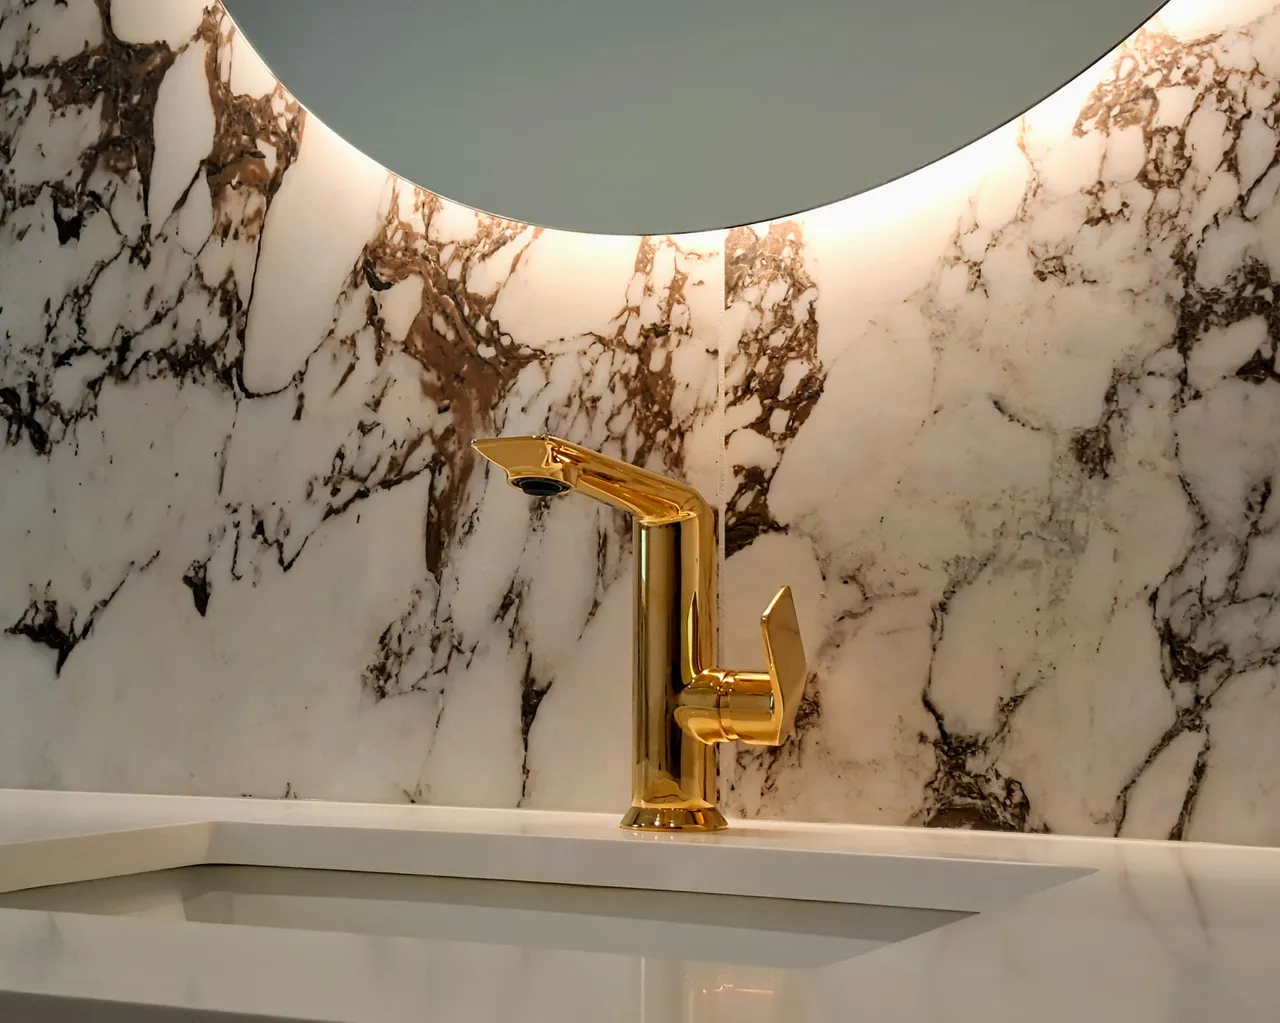
We knew that we wanted gold finishes in this bathroom but it was pretty challenging to find a gold that we liked. We ended up choosing this polished gold by a company called Baril.
The frustrating thing about this was that the company literally has 9 different finishes for their hardware and faucets but this particular gold happened to be the most expensive and probably double in price compared to everything else.
We had bugetary prices on everything in the project and these were quite a bit more than we had alotted for. In the end though, we went ahead with it because we couldn't find another gold color that we liked by any other company. We basically just treated it as a splurge purchase. I think with home renovations the trick is to not get too caught up with staying on budget for every little item but instead to try and stay within the overall budget (if that makes sense). Basically you win in some places and lose in others. In our case we saved a lot on the tiles that we chose in the kitchen and bathrooms and then we used those saving to put towards other areas that were more expensive than we anticipated. We did that throughout the project (spent more on things that mattered to us and less on things that didn't) and in the end we were able to stay within our overall budget.
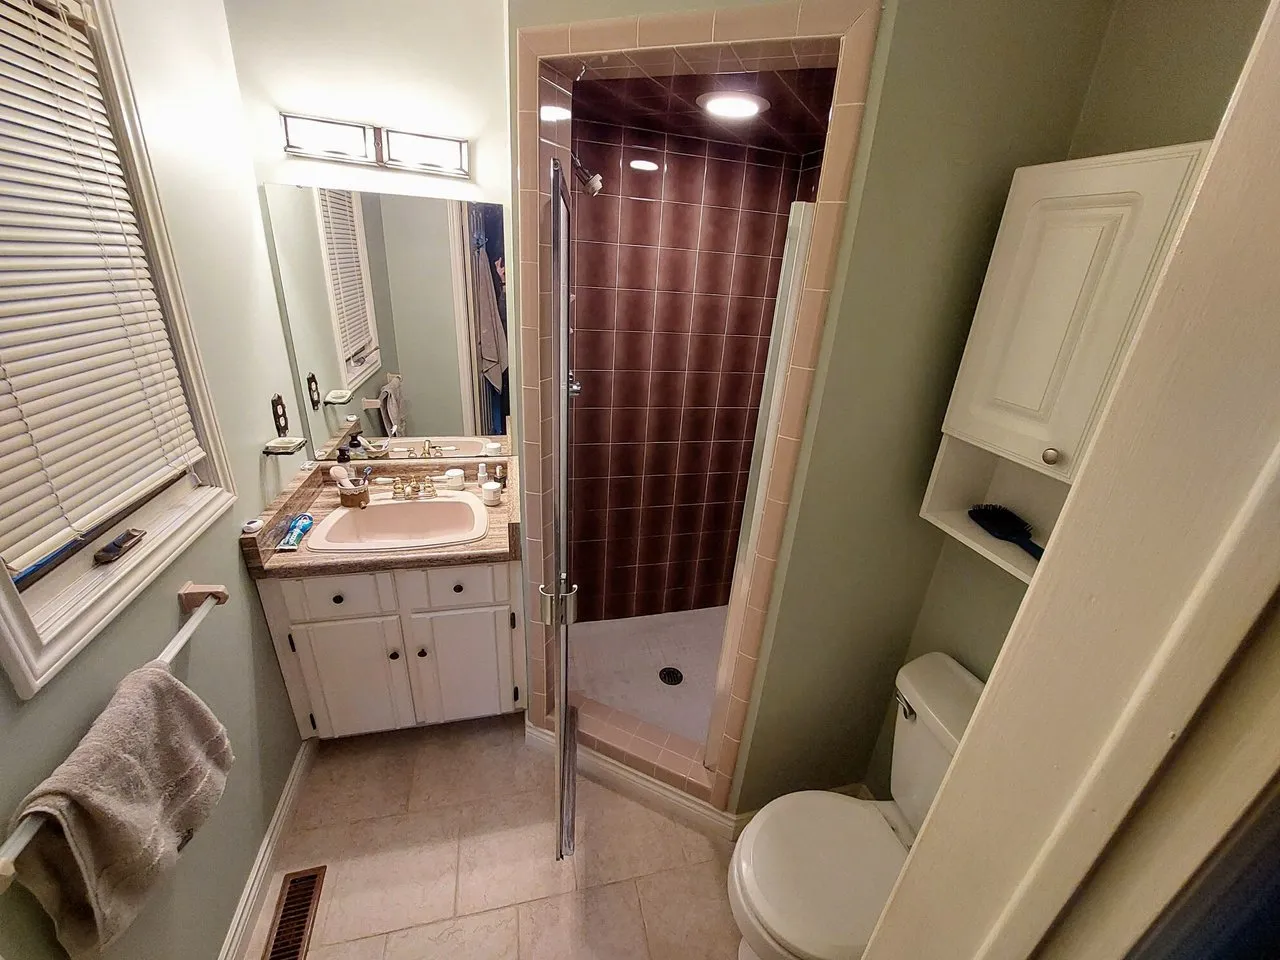
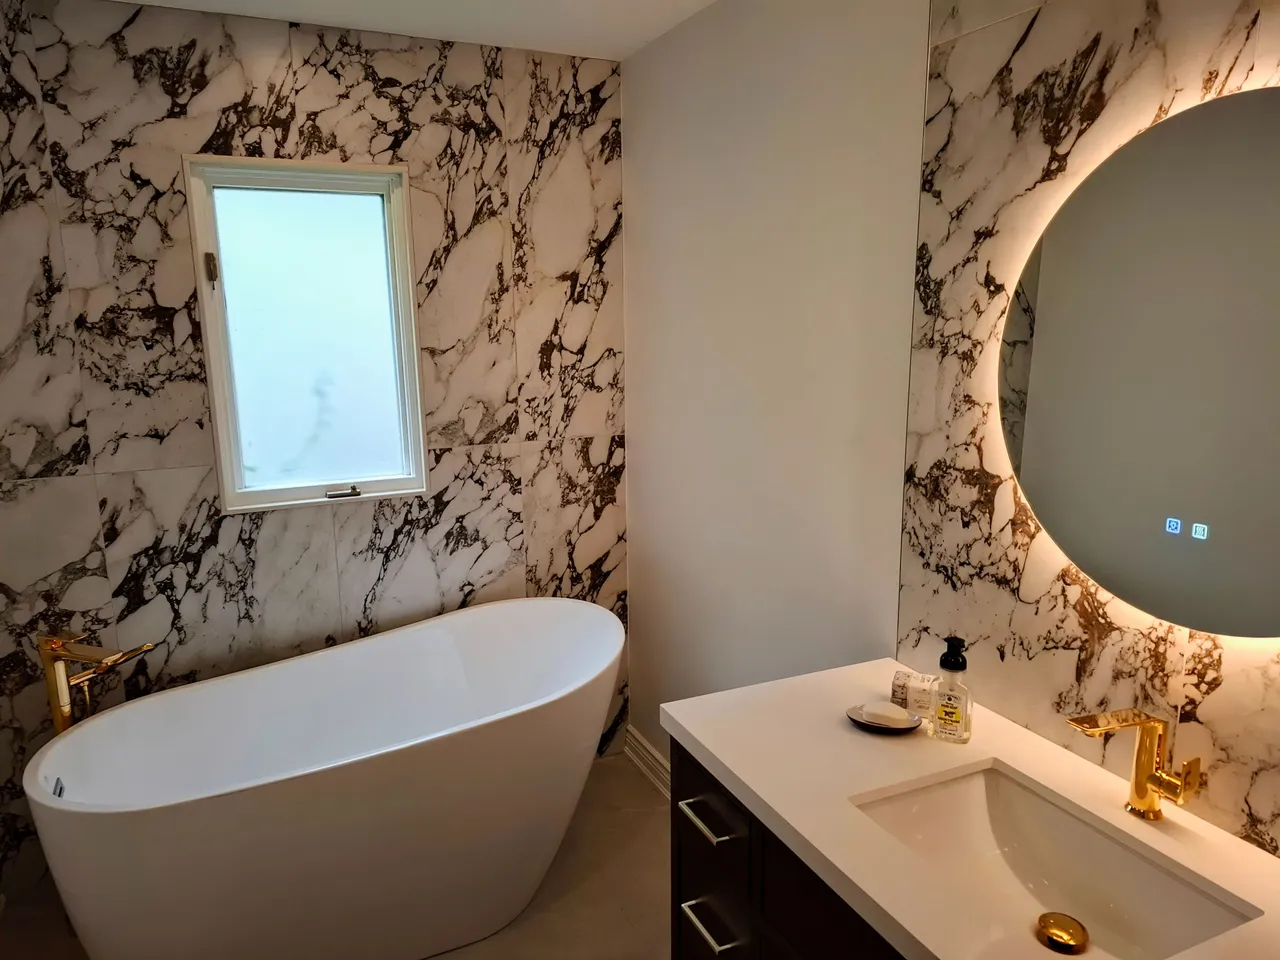
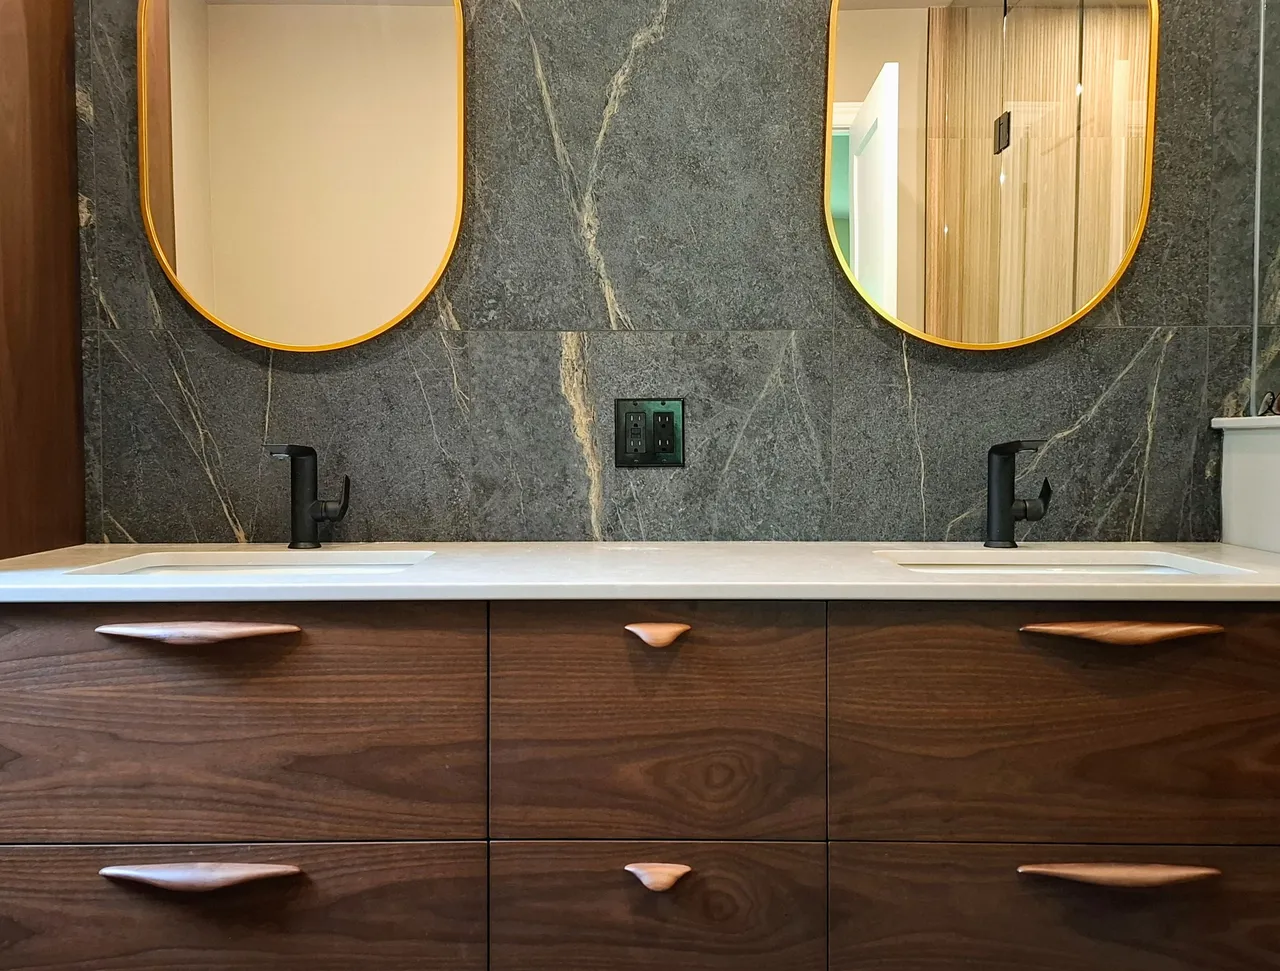
Ensuite Bath
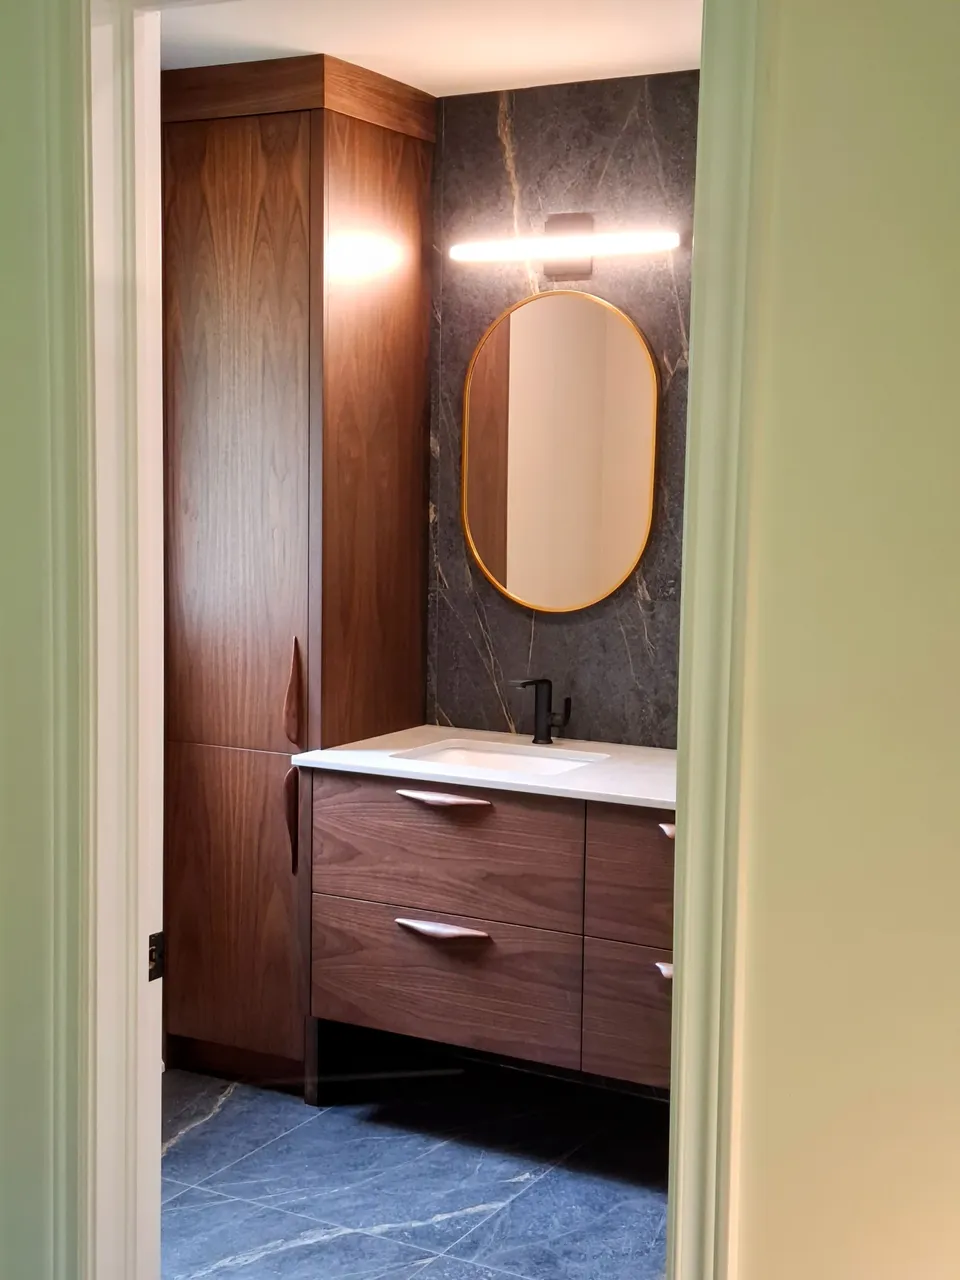
The last I spoke about the ensuite I mentioned that I was a bit disappointed in how it turned out. There is a lot going on in this bathroom and it ended up looking different than our inspiration photos were.
Luckily for me, I've since come back around to being satisfied with it.
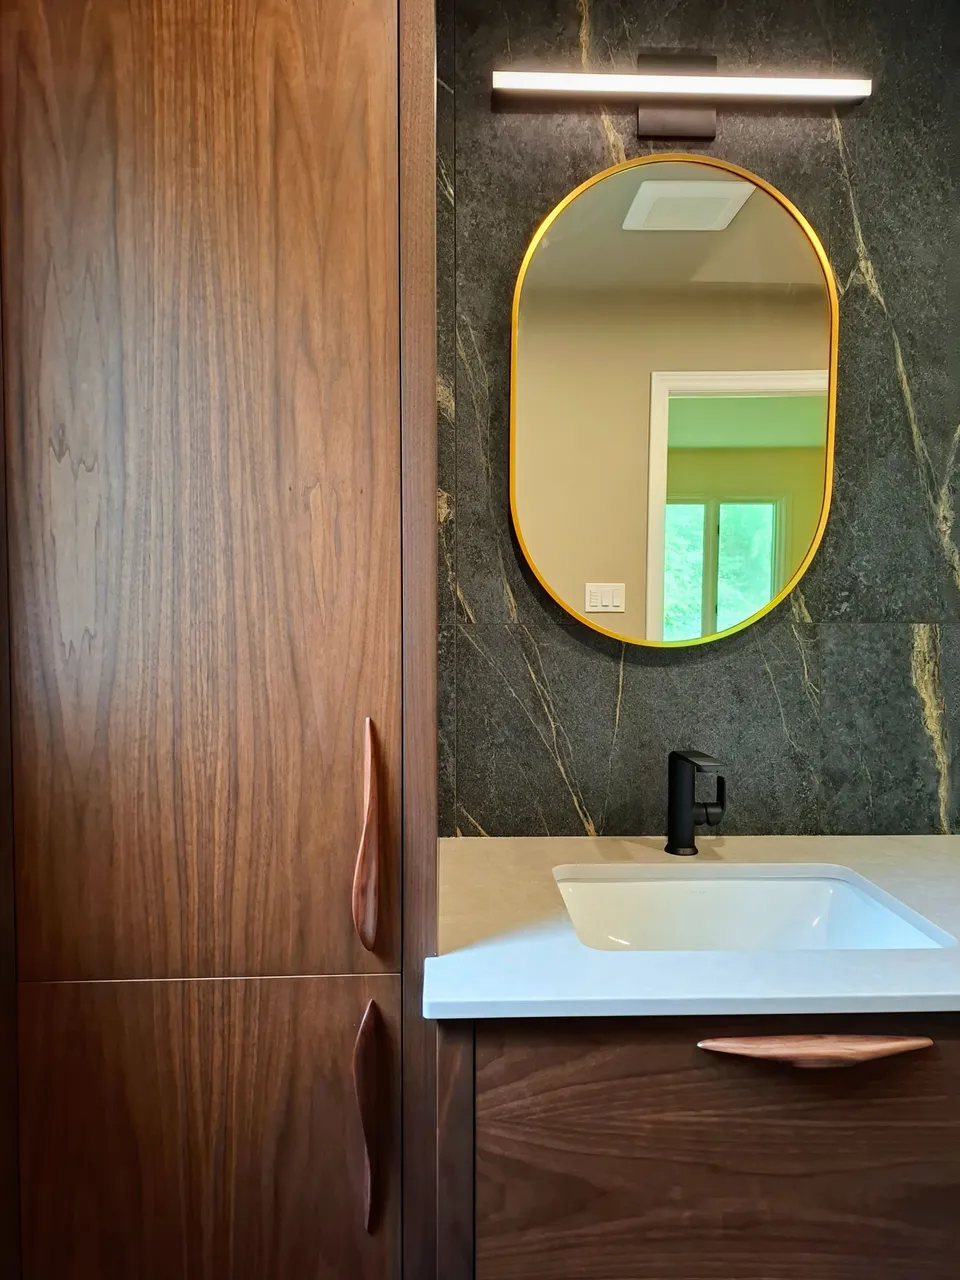
It's not perfect by any means but now that the mirrors are hung and the protective paper has been taken off the floors I think it looks okay overall.
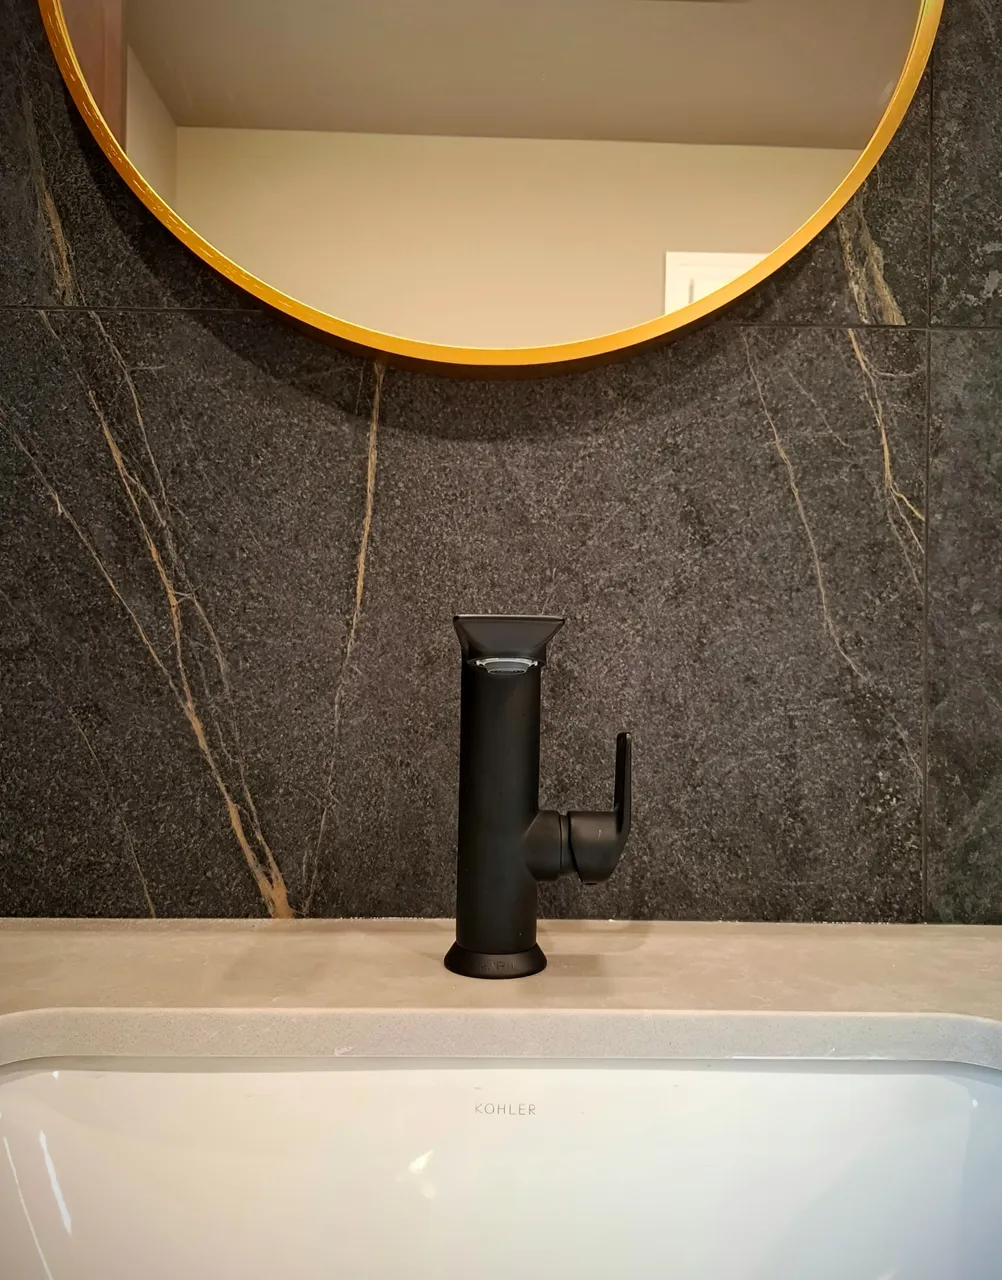
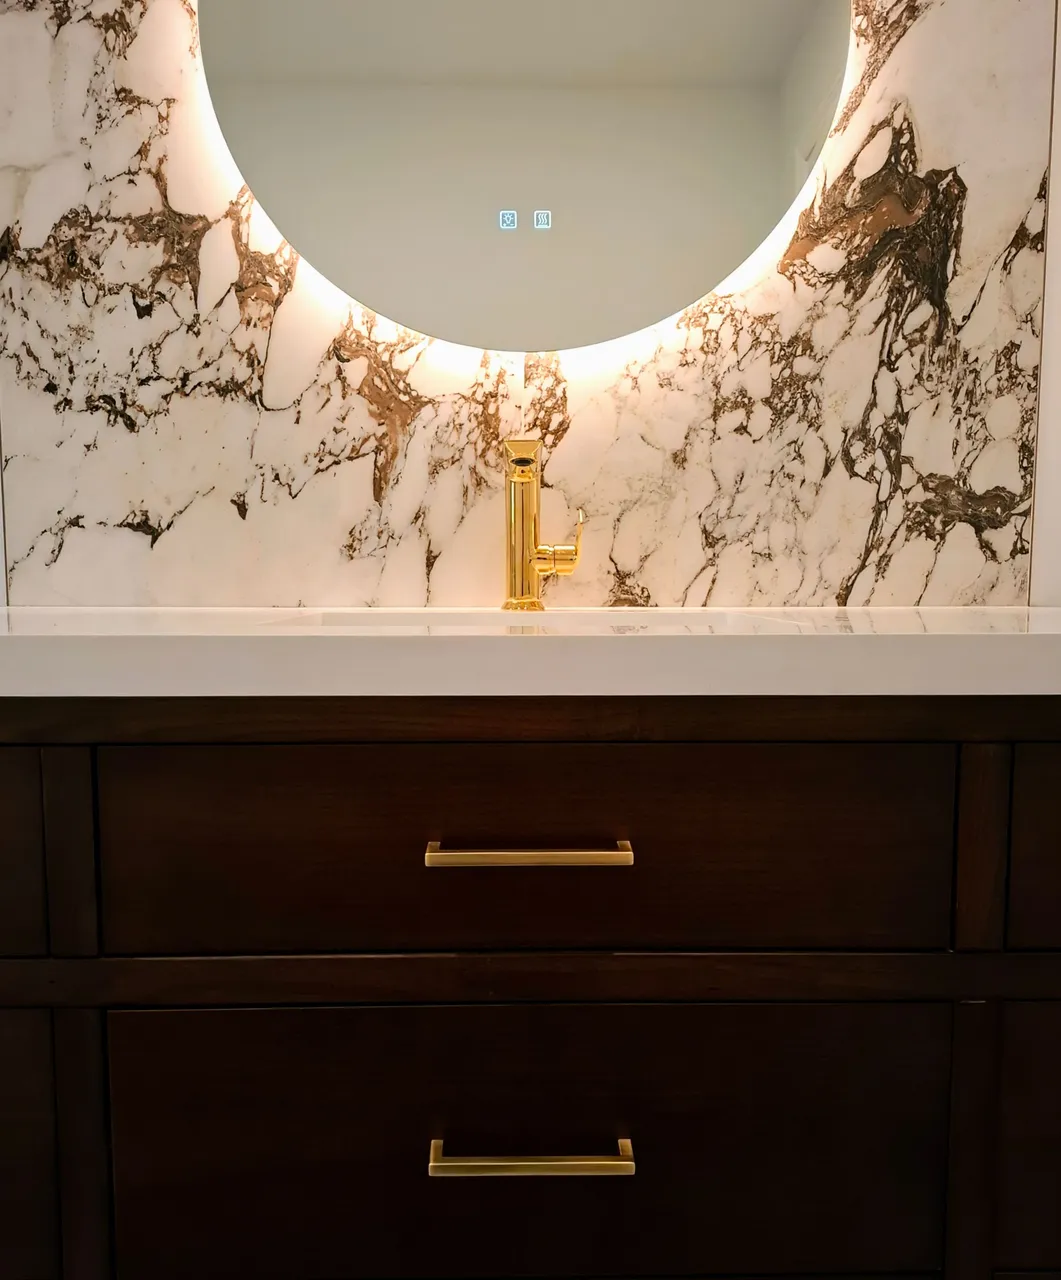
We wanted this bathroom to be dark, to contrast the lightness of the other one. Walnut is our theme throughout the house so we went with a vanity designed by the company that did our kitchen. Again, the kitchen came out less than quoted but the custom vanity was more expensive and things were a wash in the end.
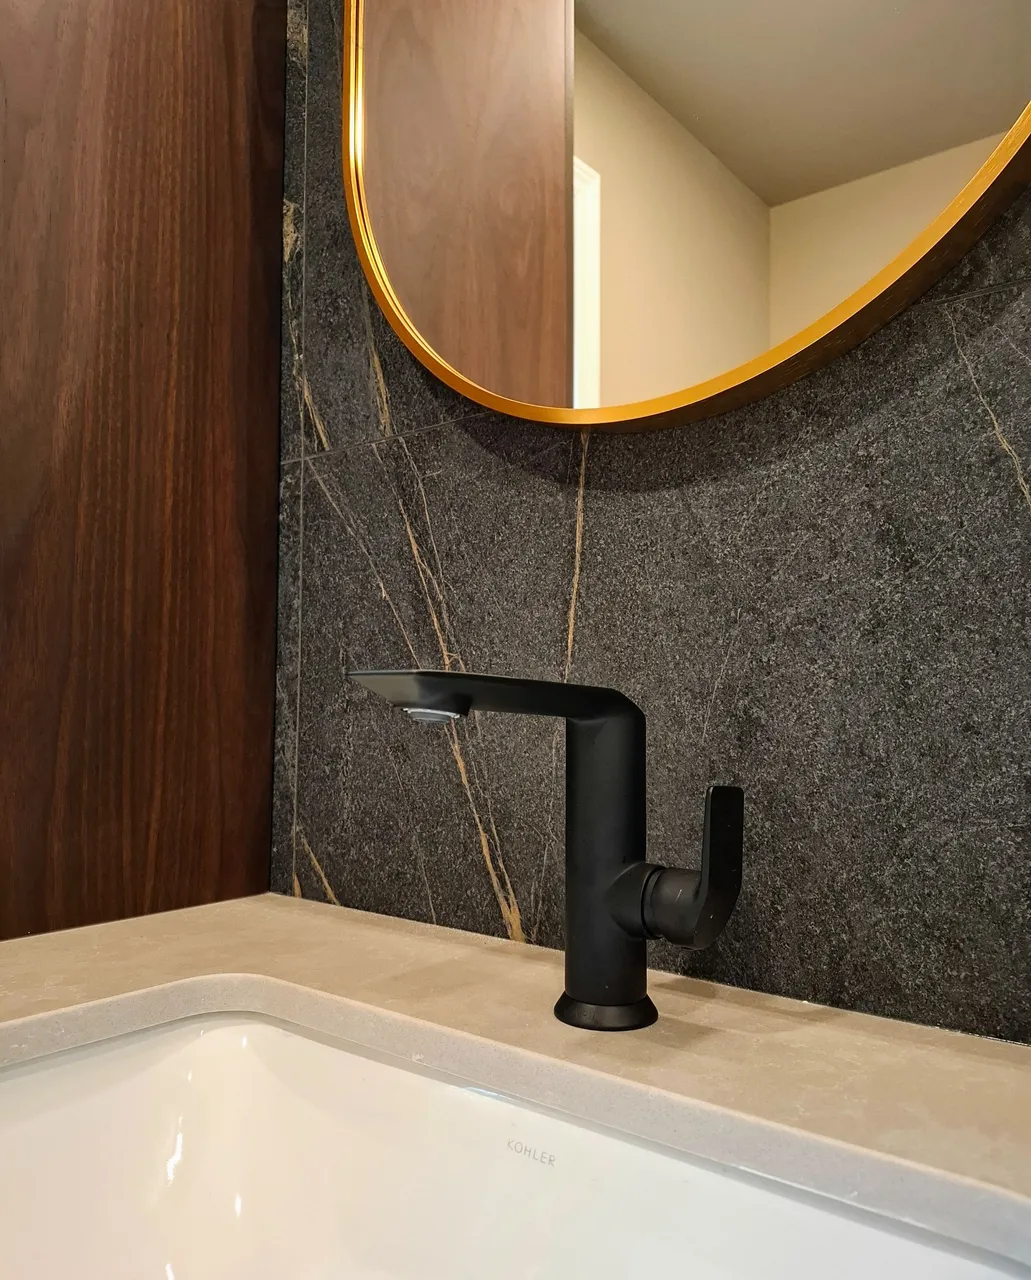
We did matt black finishes and chose the same faucets as the ones in the other bathroom.
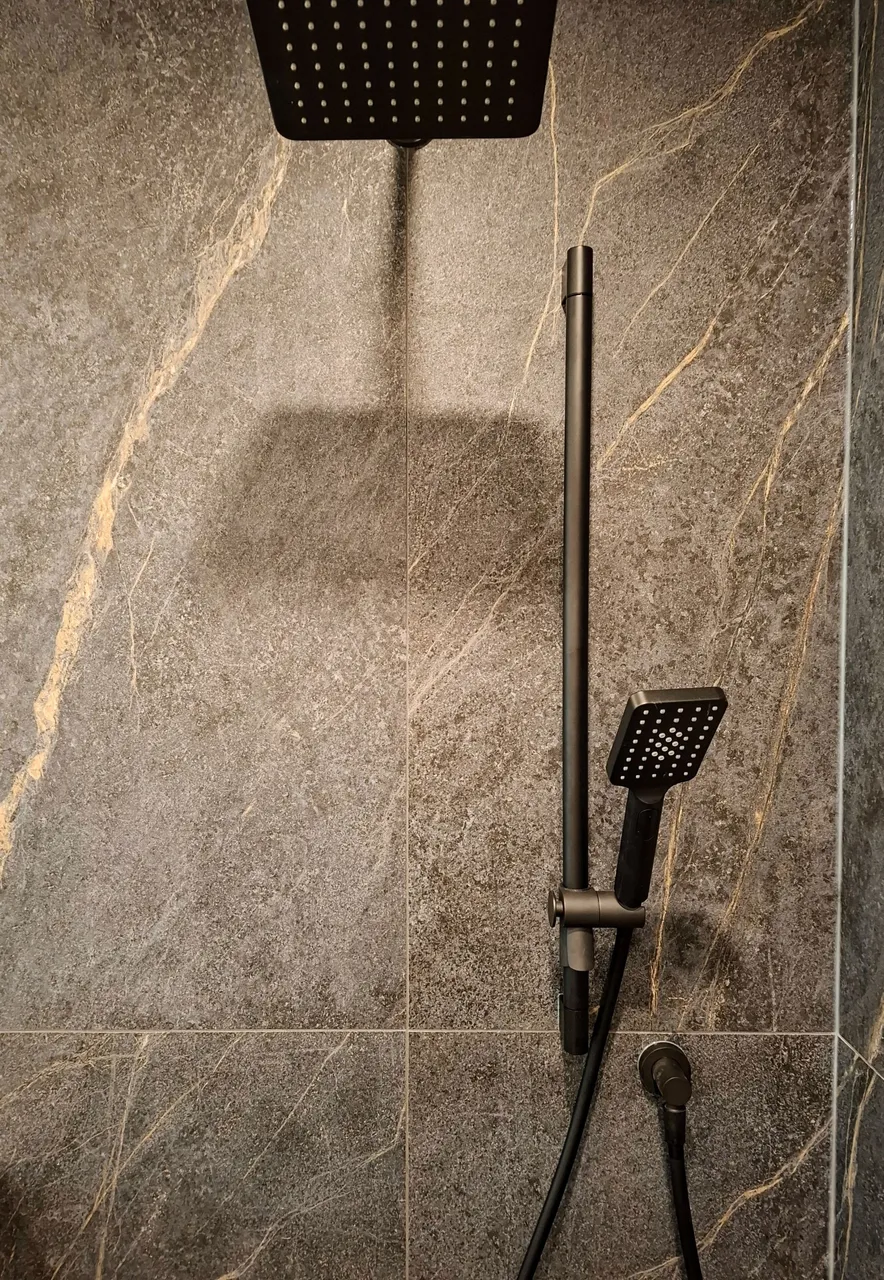
Matt black had the bonus of being a cheaper finish so that was a win.
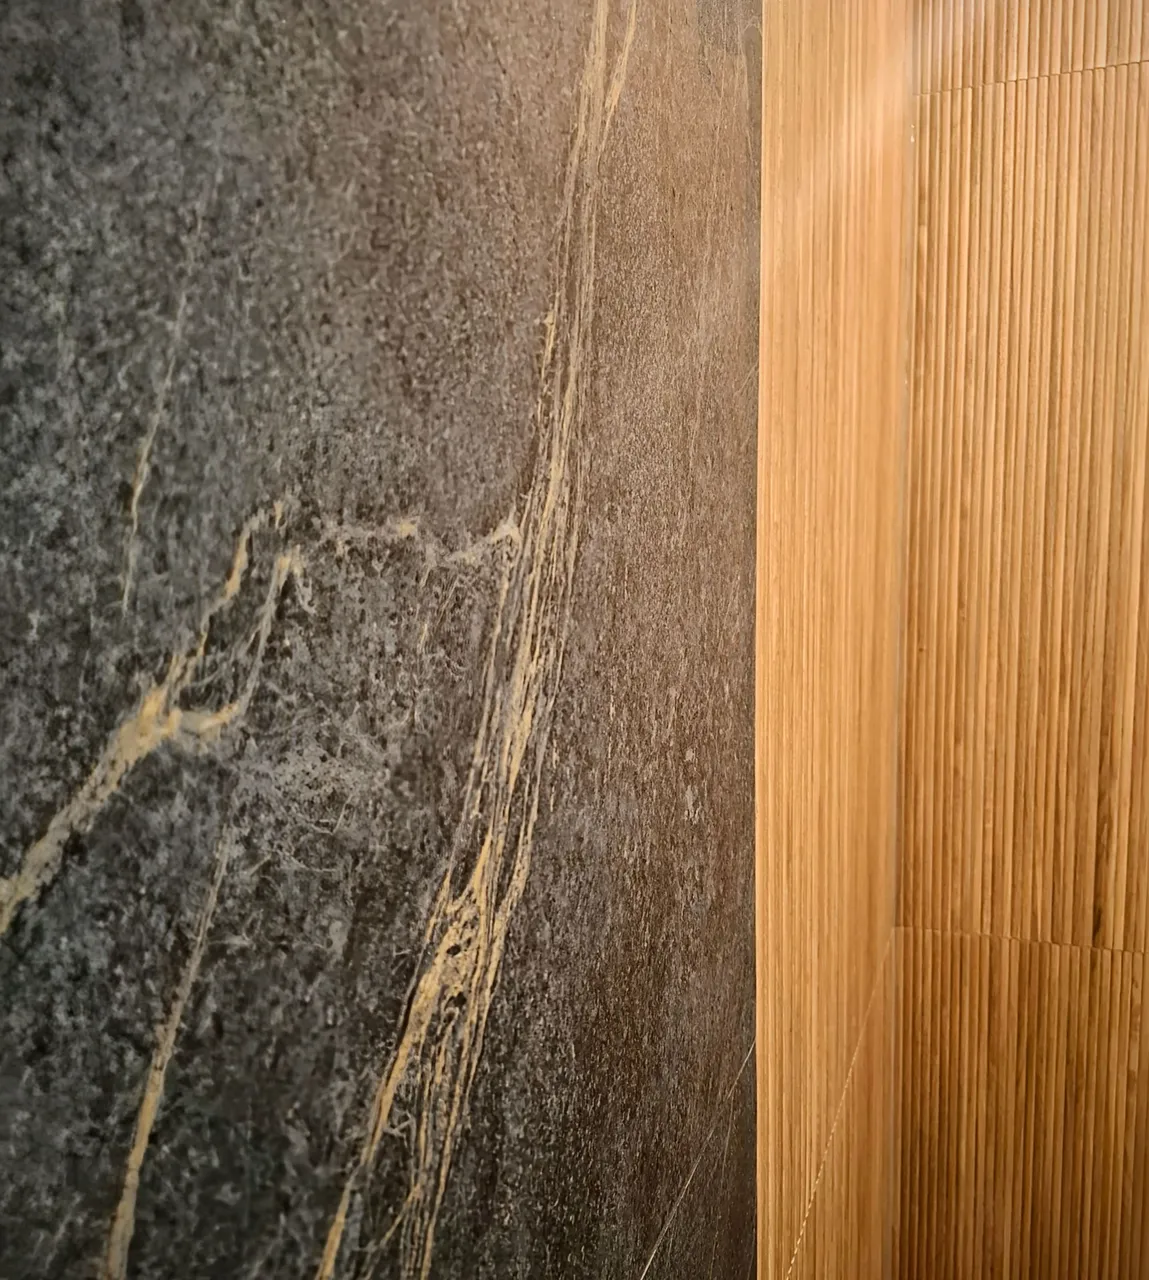
The shower has an accent wall of reeded tiles for something a little different.
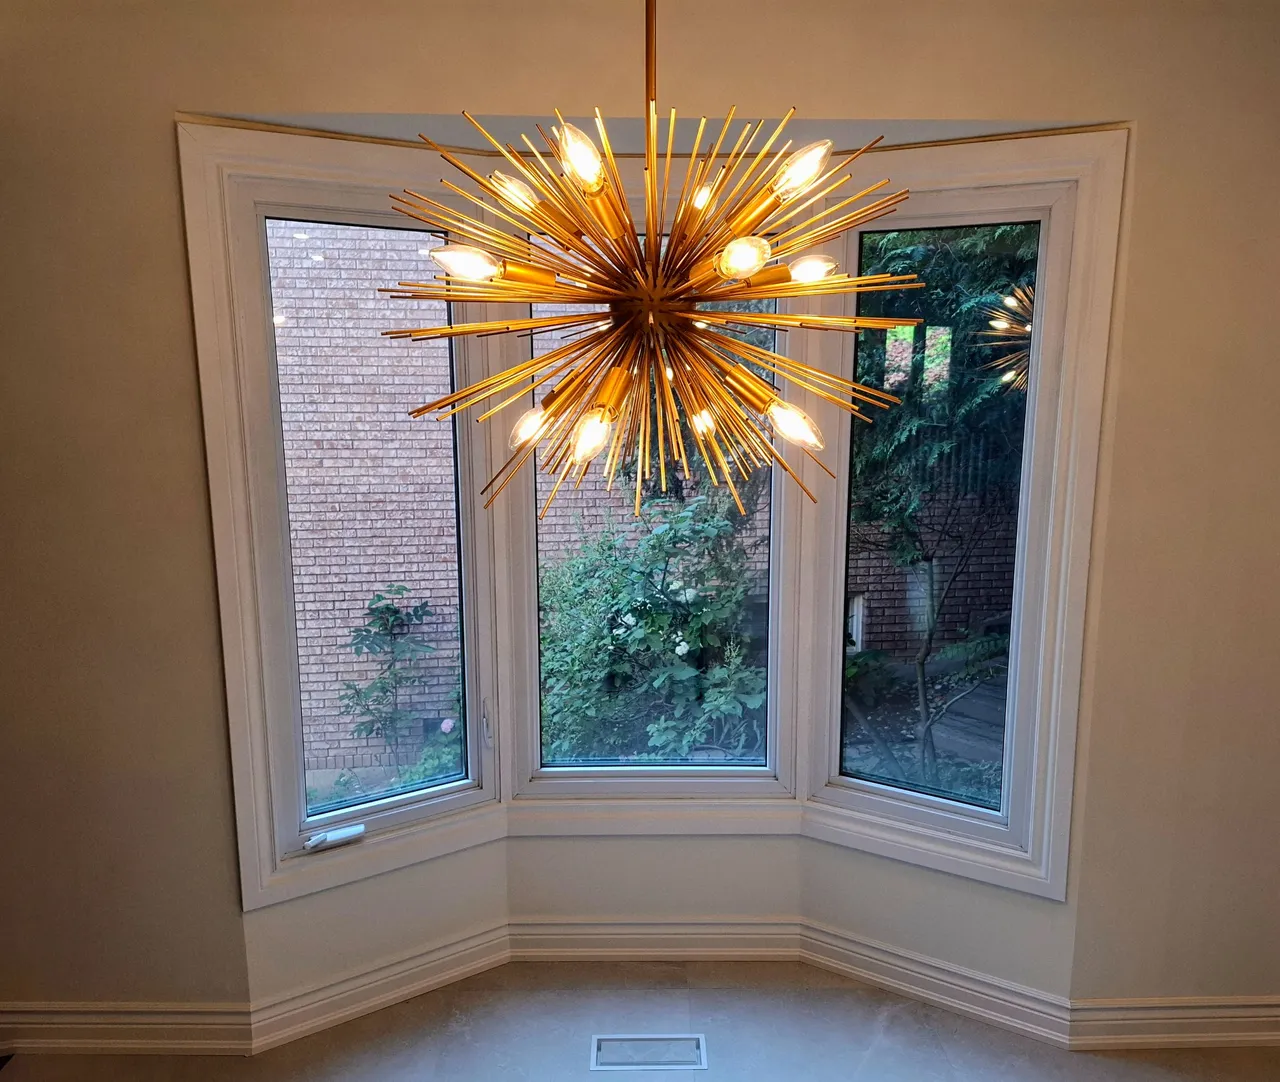
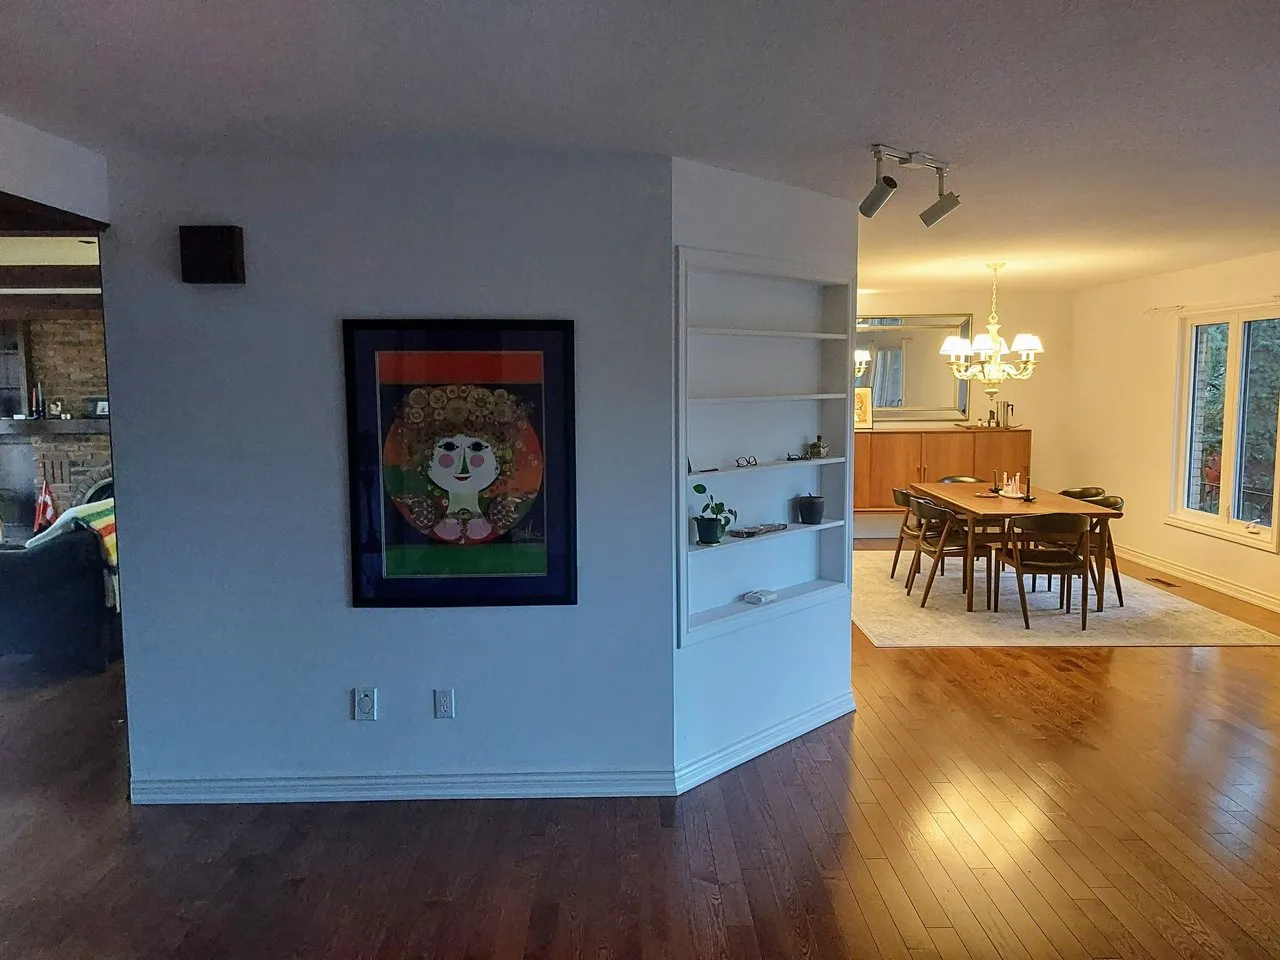
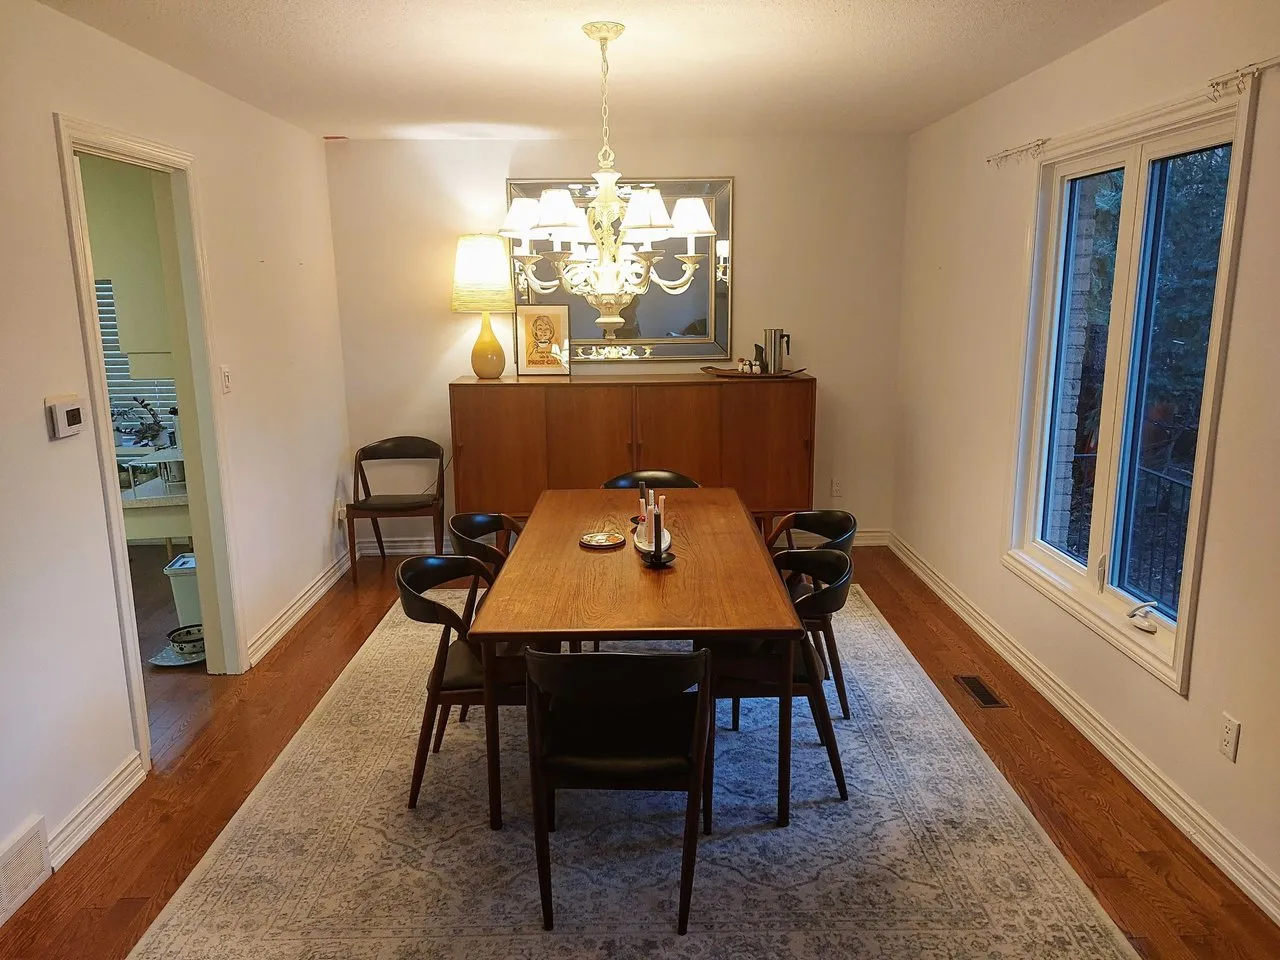
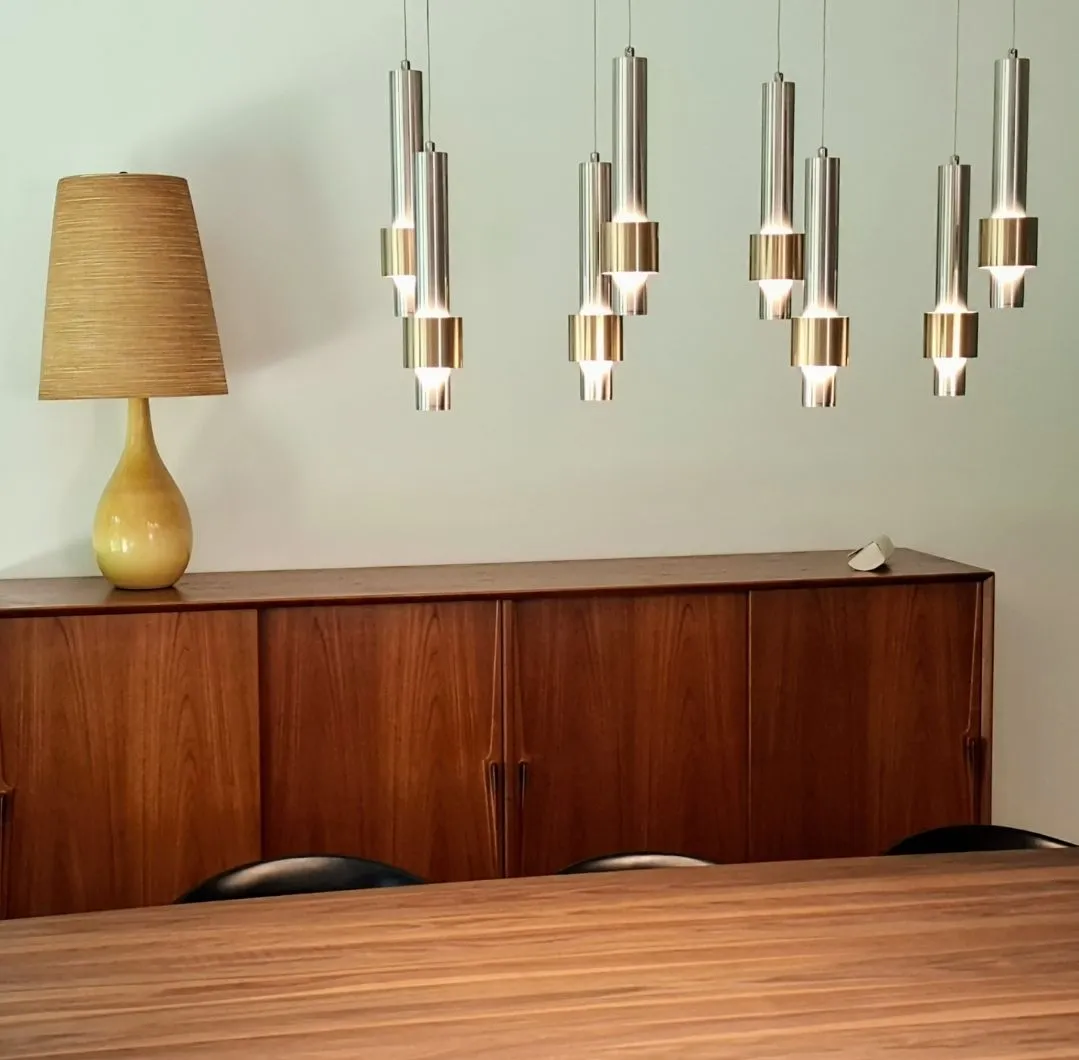
Dining and Lighting
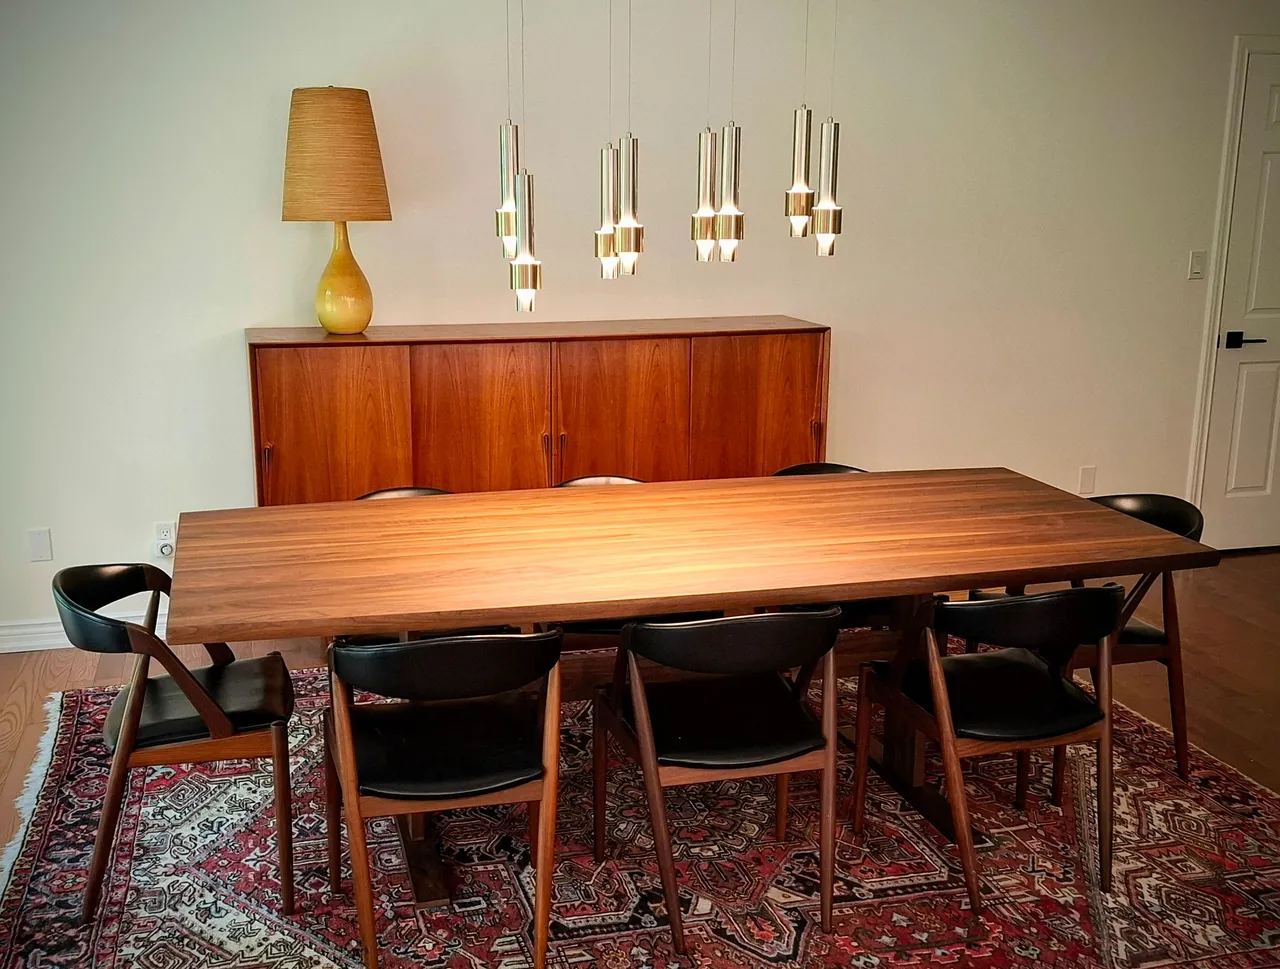
The last thing that I'll mention is that we created a formal dining room in the large empty space that used to be the family room. We have no need to have a living room and a second family room right next to it so we put in a large oversized table in the space that we can host a decent amount of people, should we ever wish to. It looks pretty plain in there now and around the house in general because we are only now starting to get everything sorted and hanging pictures again.
A smaller breakfast nook area was created off the kitchen at the opposite end that we will eventually put a smaller tulip table in and four chairs. Right now we just have a sputnik chandalier at the perfect height to take your eyes out if you aren't paying attention... we've set a chair under it with a box on top that forces you to walk around it, for safety reasons.