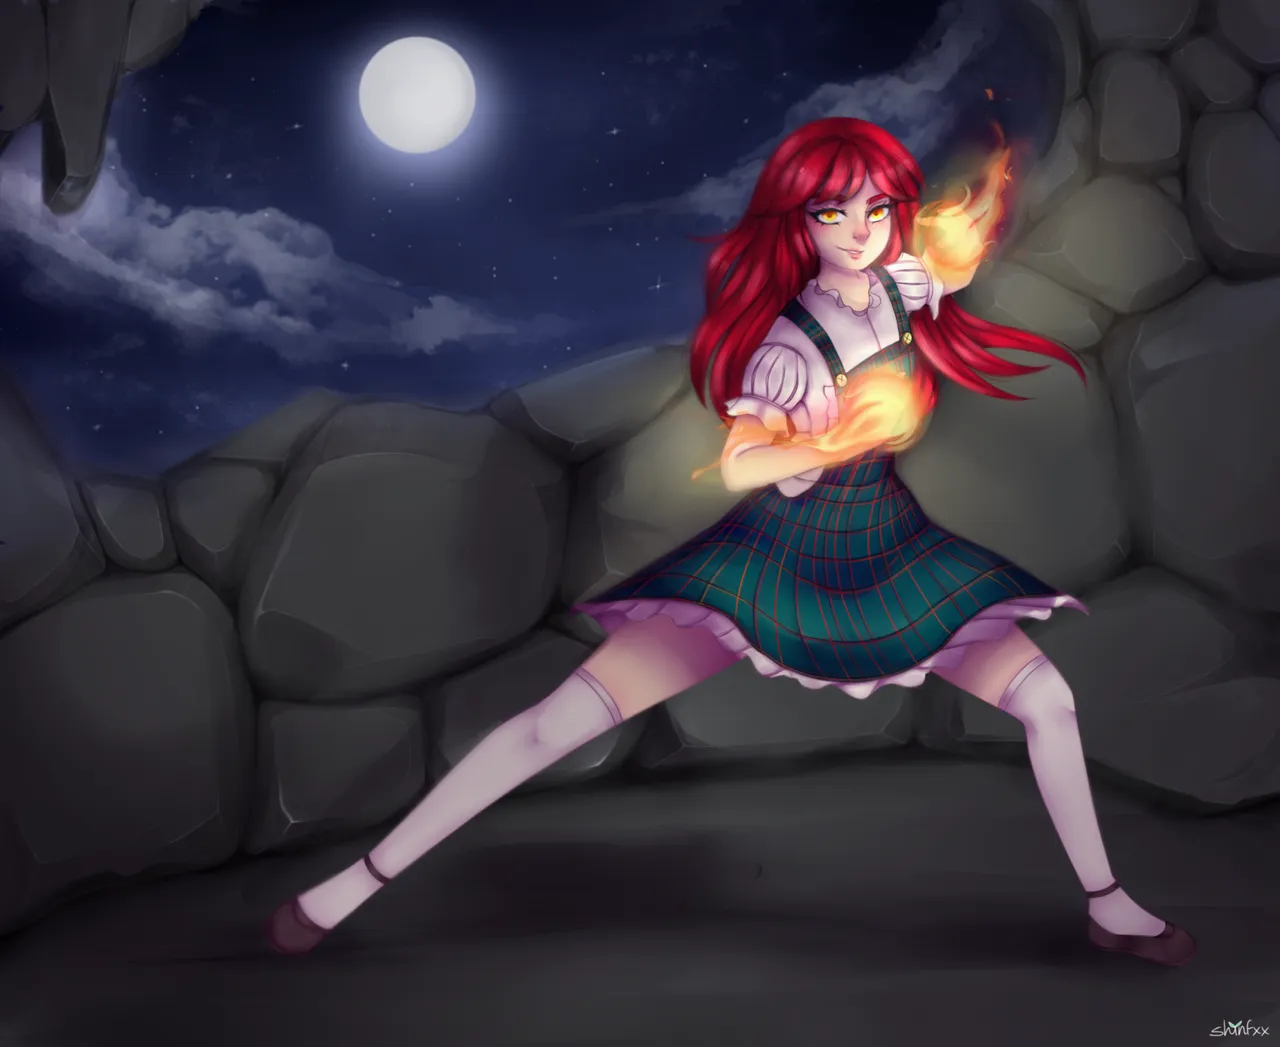

Hola amigos de Hive, les traigo un nuevo dibujo para el concurso semanal de Splinterlands.
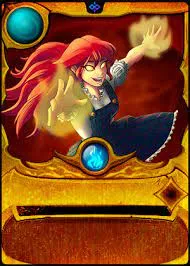
Para el día de hoy decidí dibujar a Tarsa, una de las cartas más faciles de reconocer a mi parecer. Este concurso siempre supone un reto para mi, pero aún así me incentiva a salir de mi zona de confort para dibujar cosas que nunca había probado hacer con anterioridad, en este caso fue el fuego.
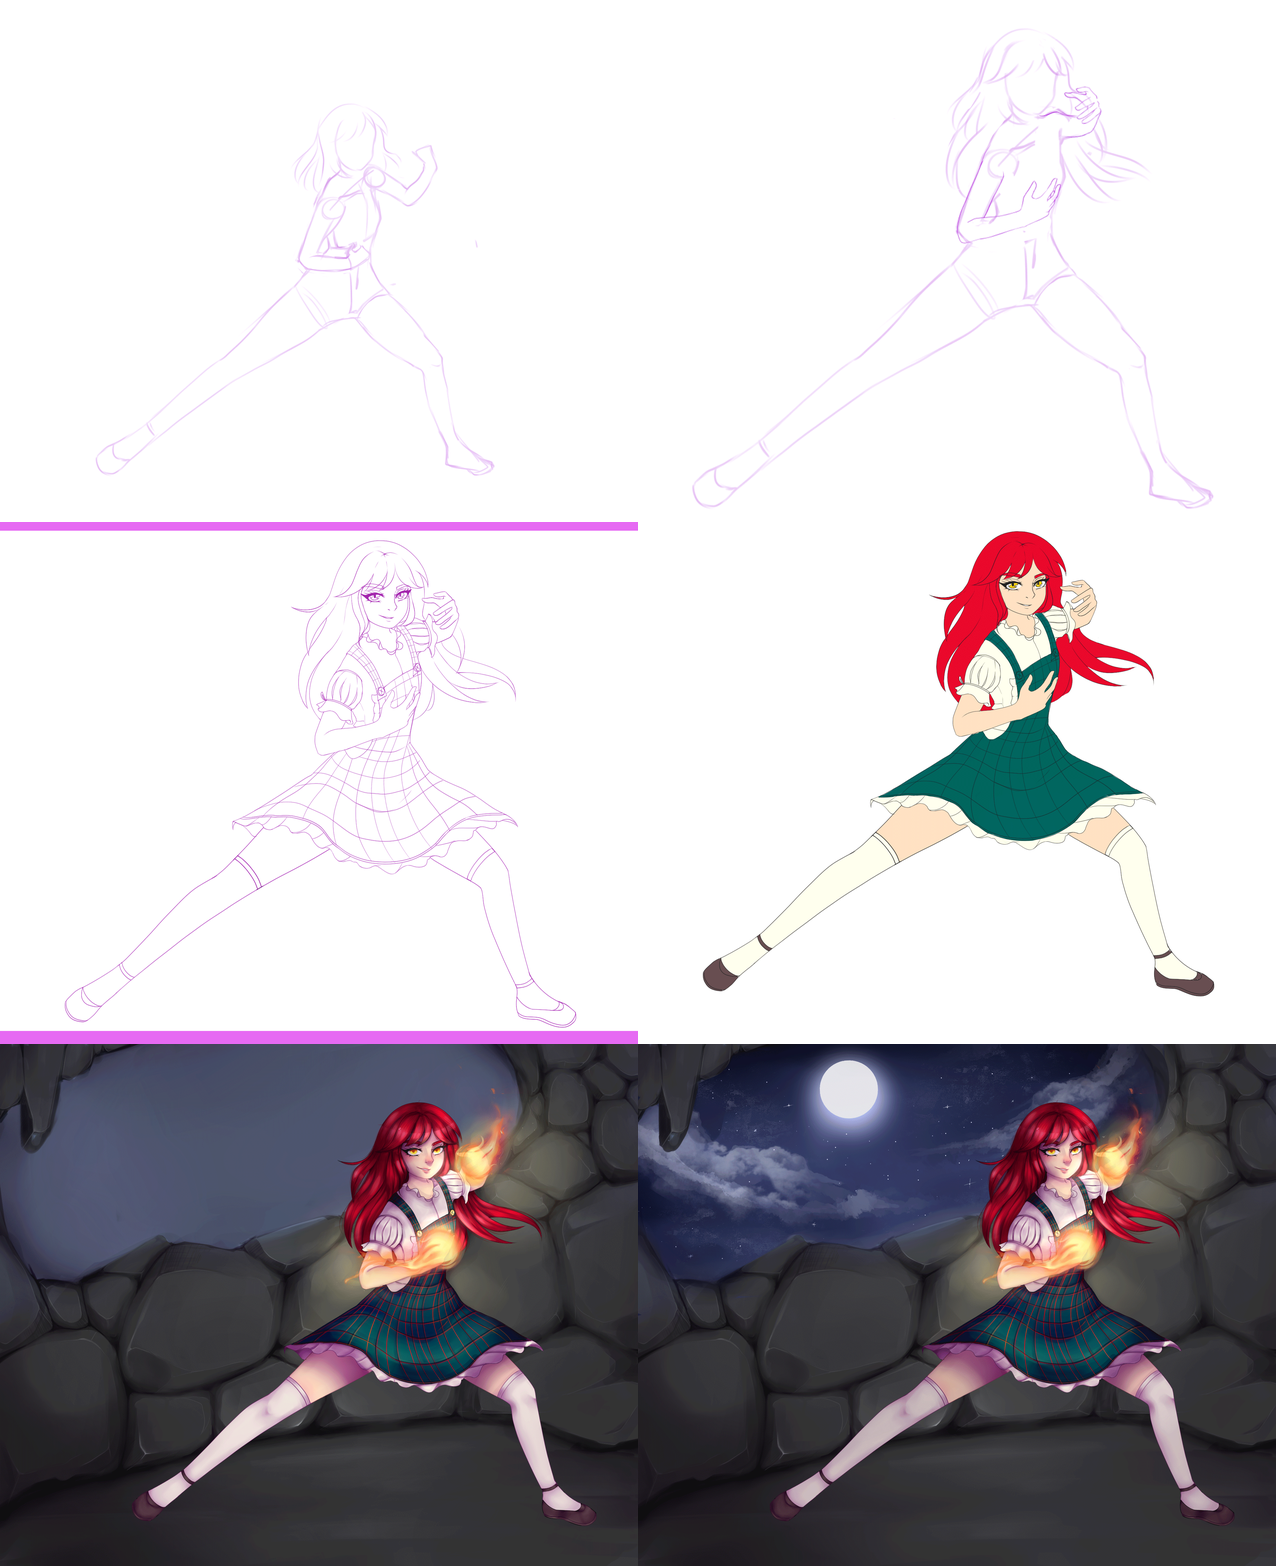
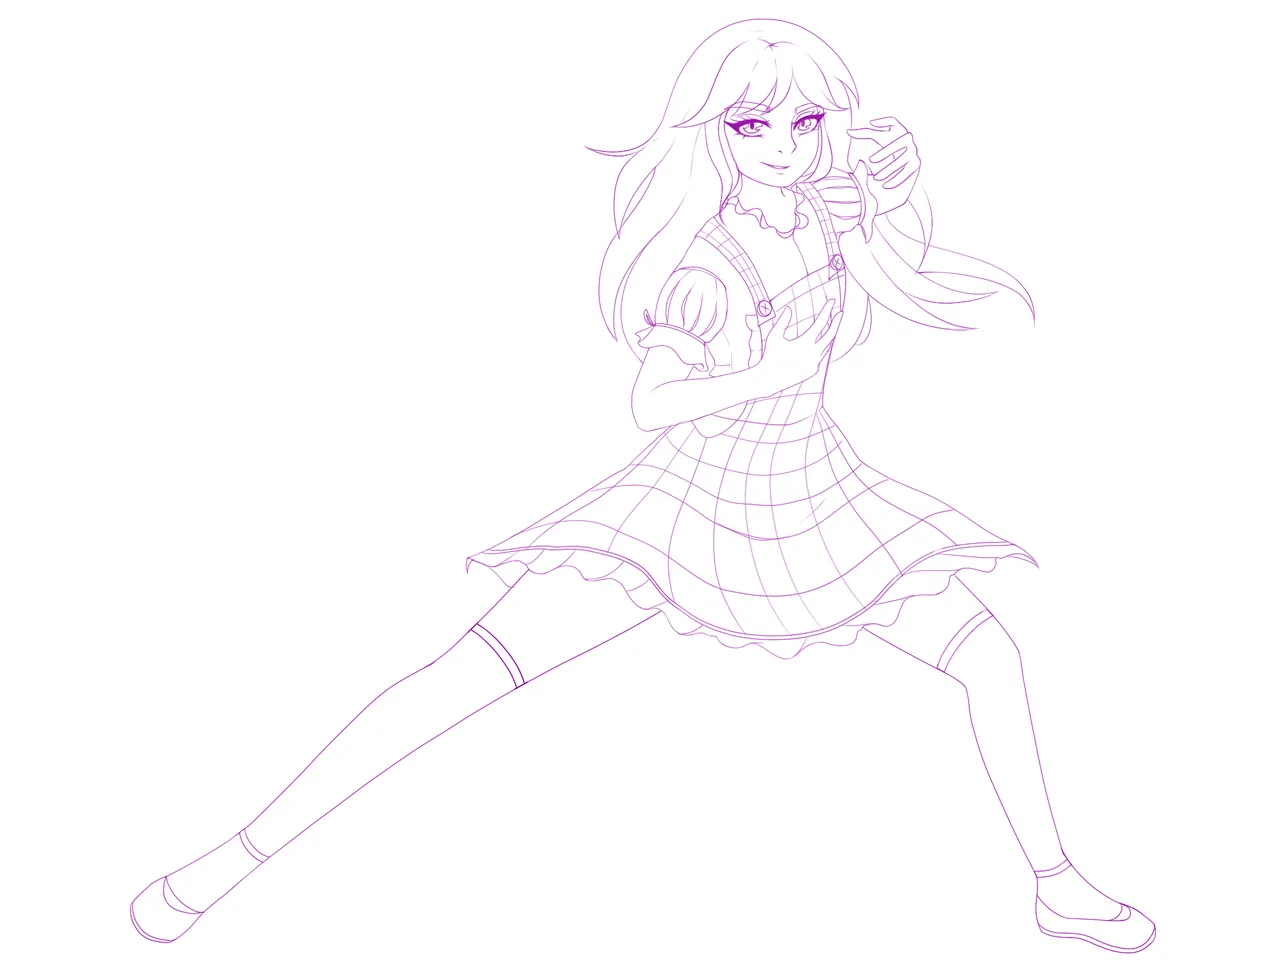
A continuación, adjuntaré el procedimiento de la ilustración.

Hello friends of Hive, I bring you a new drawing for the weekly Splinterlands contest.
For today I decided to draw Tarsa, one of the easiest cards to recognize in my opinion. This contest is always a challenge for me, but it still encourages me to go out of my comfort zone to draw things I have never tried before, in this case it, was the fire.
I'll show the illustration process below.

Proceso 🌱 Process
Sketch
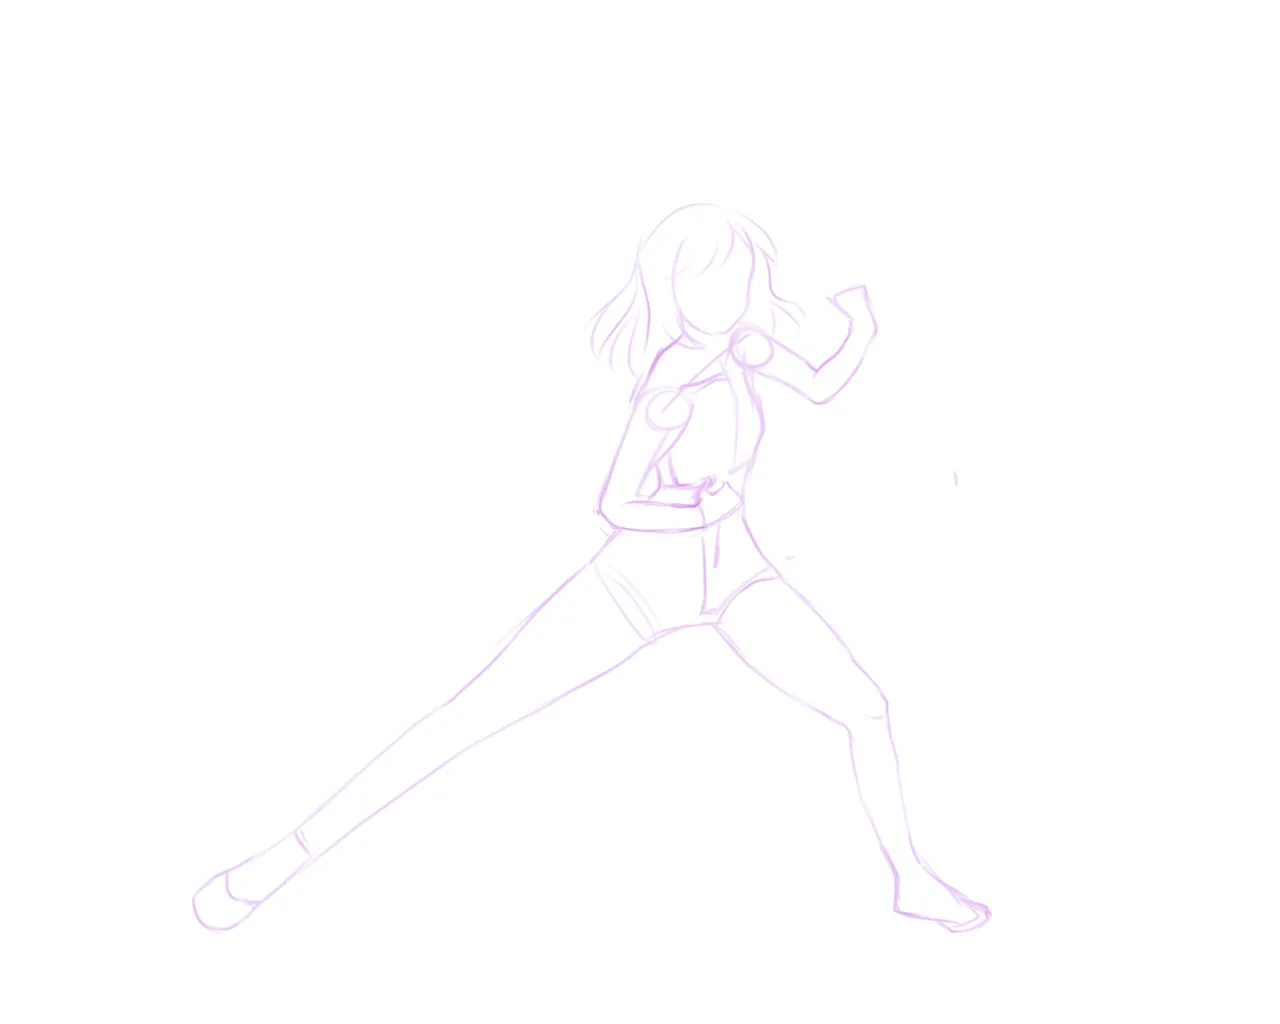
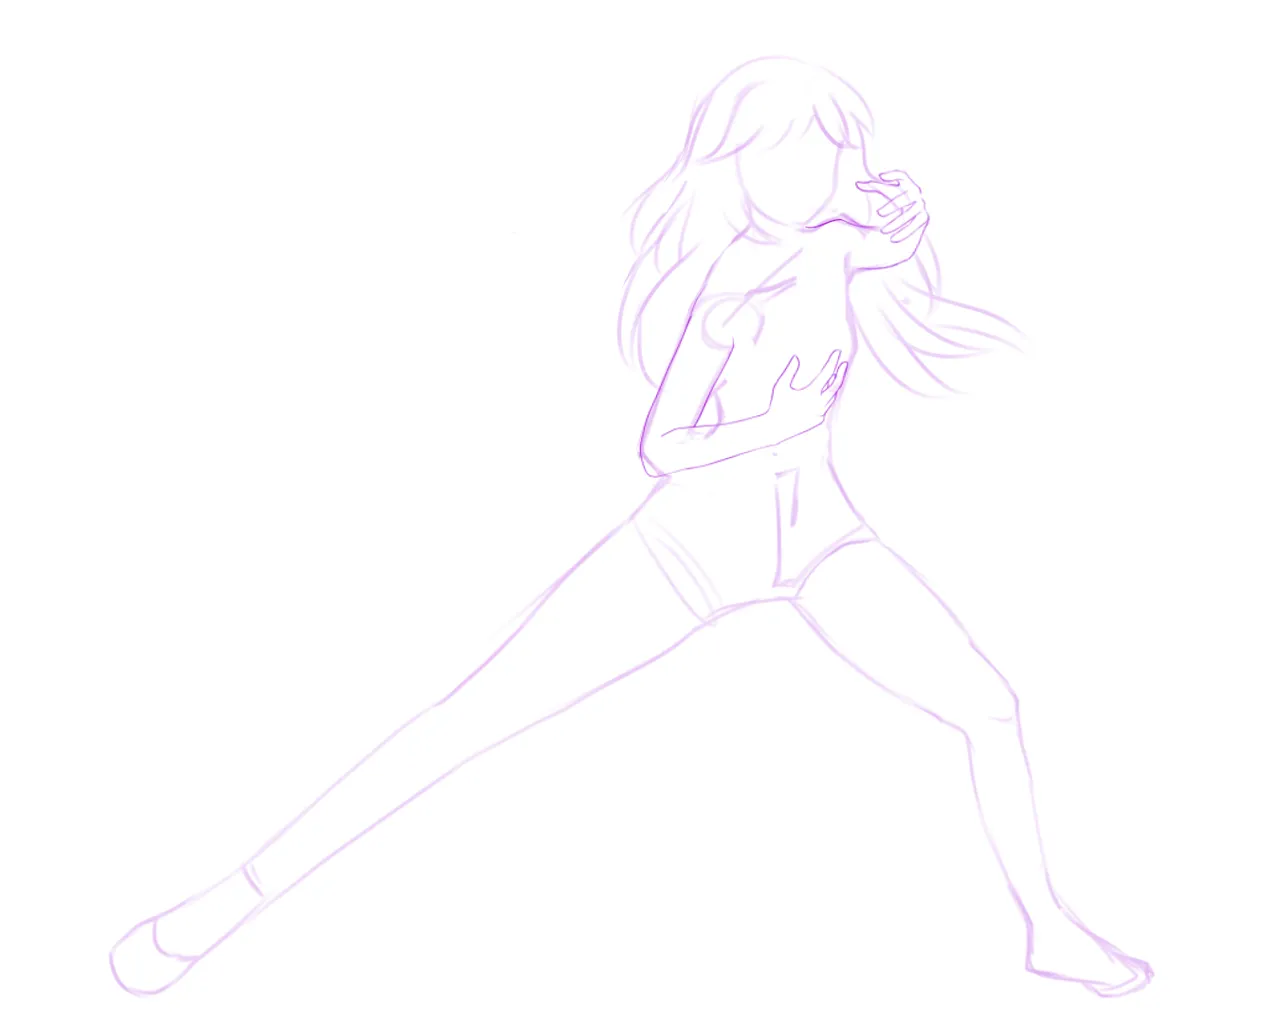
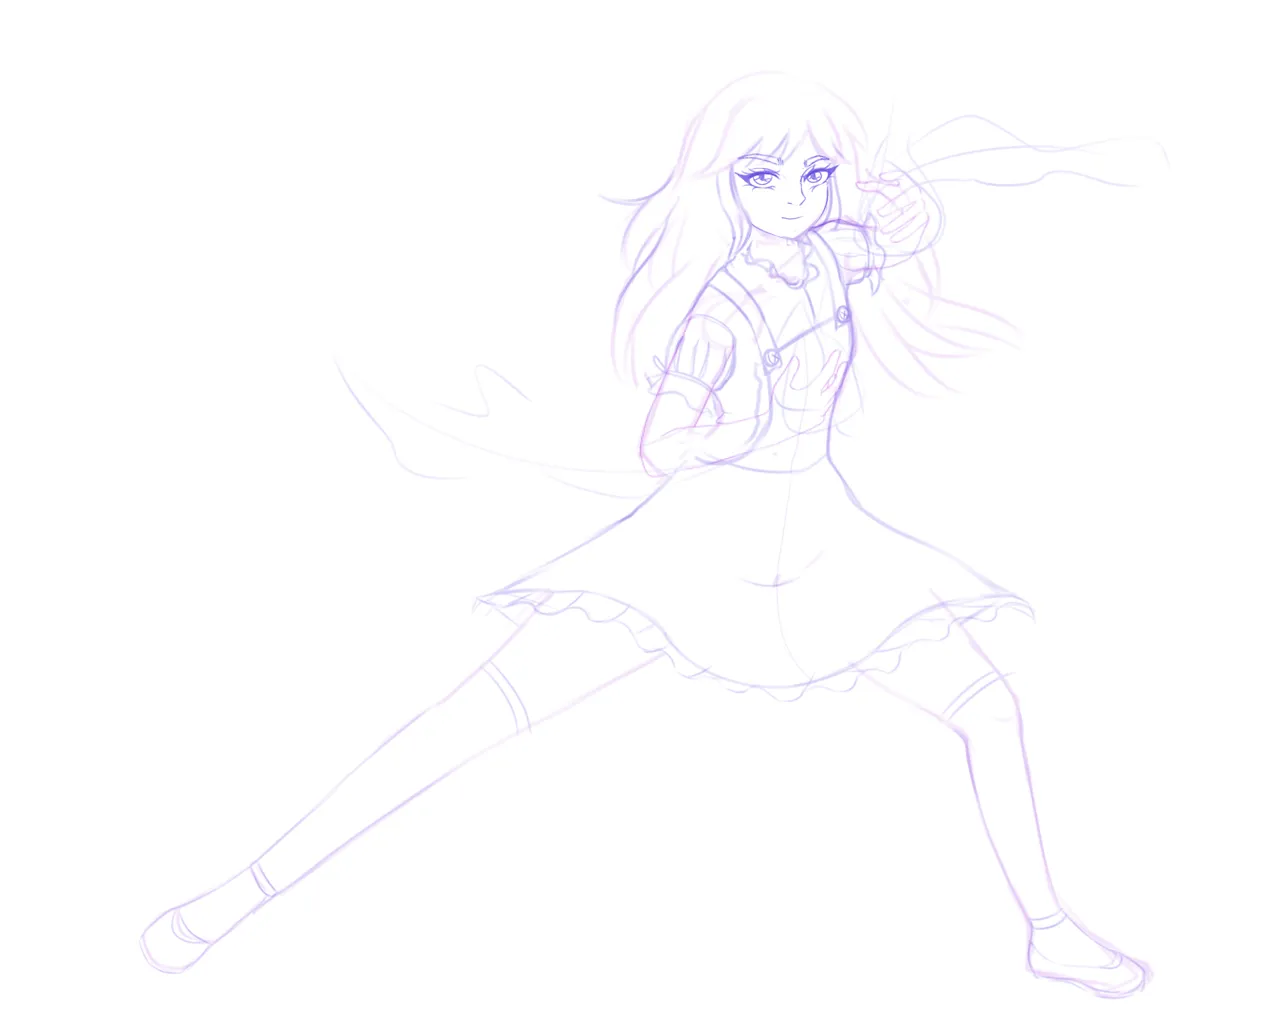
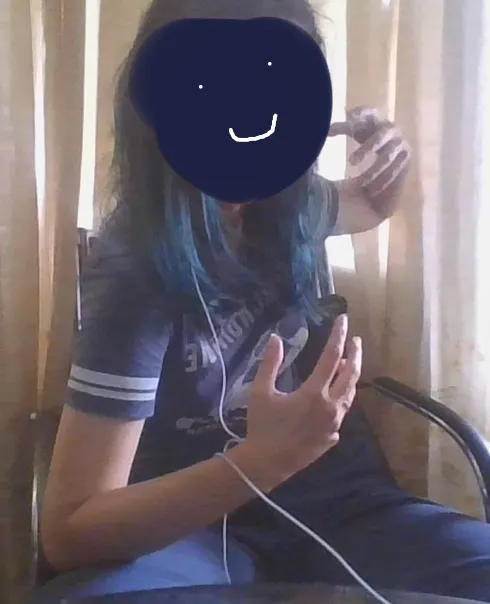
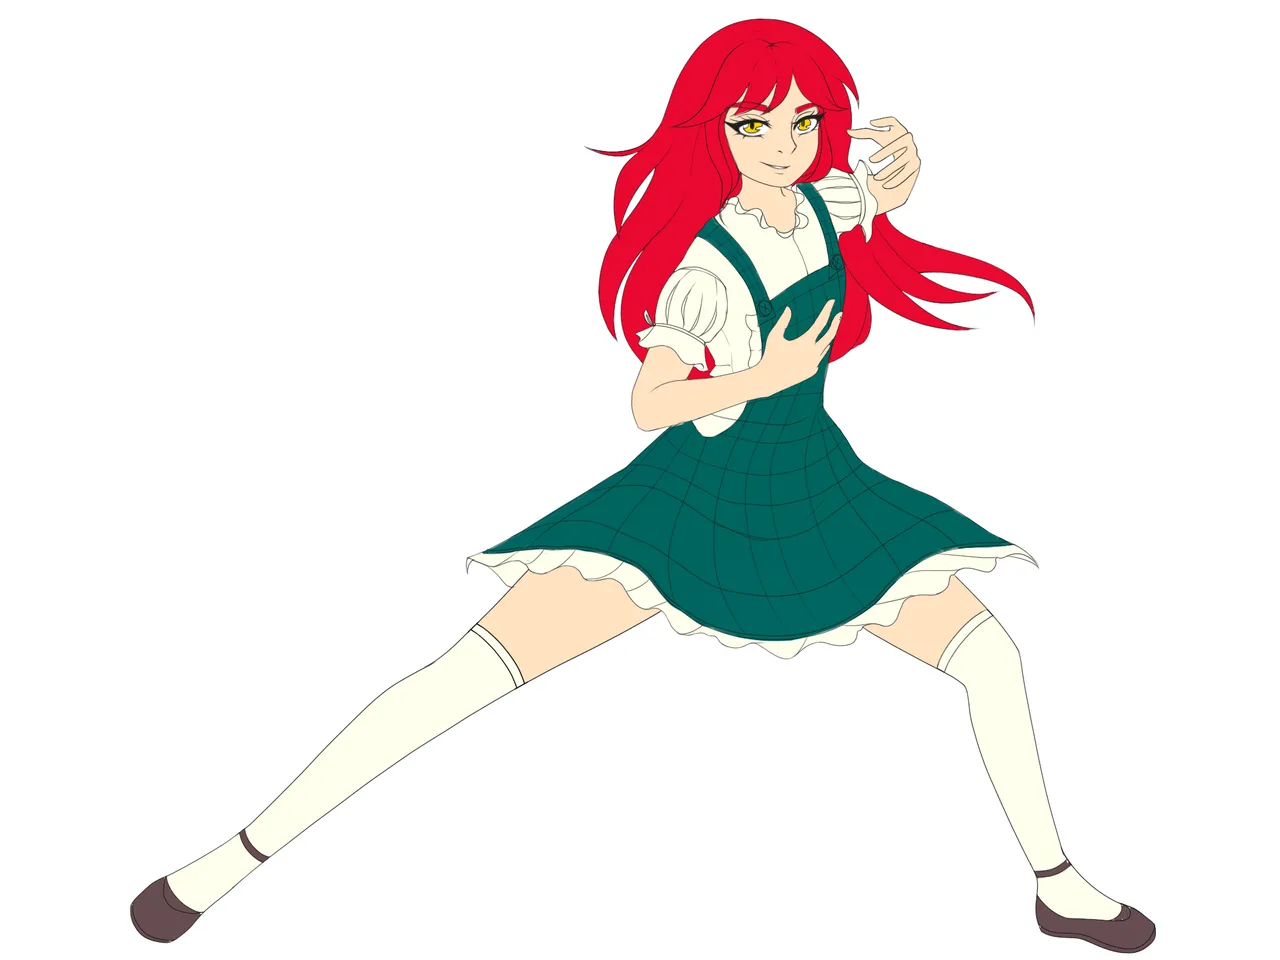
Inicie haciendo el boceto inicial, y luego transformandolo a la dimension más acorde al tamaño del lienzo porque me quedó muy pequeño. Para el la pose de los brazos en la pose use una foto mía como referencia, pues no lograba conseguir el movimiento que quería lograr. Adjunto kek
Lineart
Base Colors
Shading
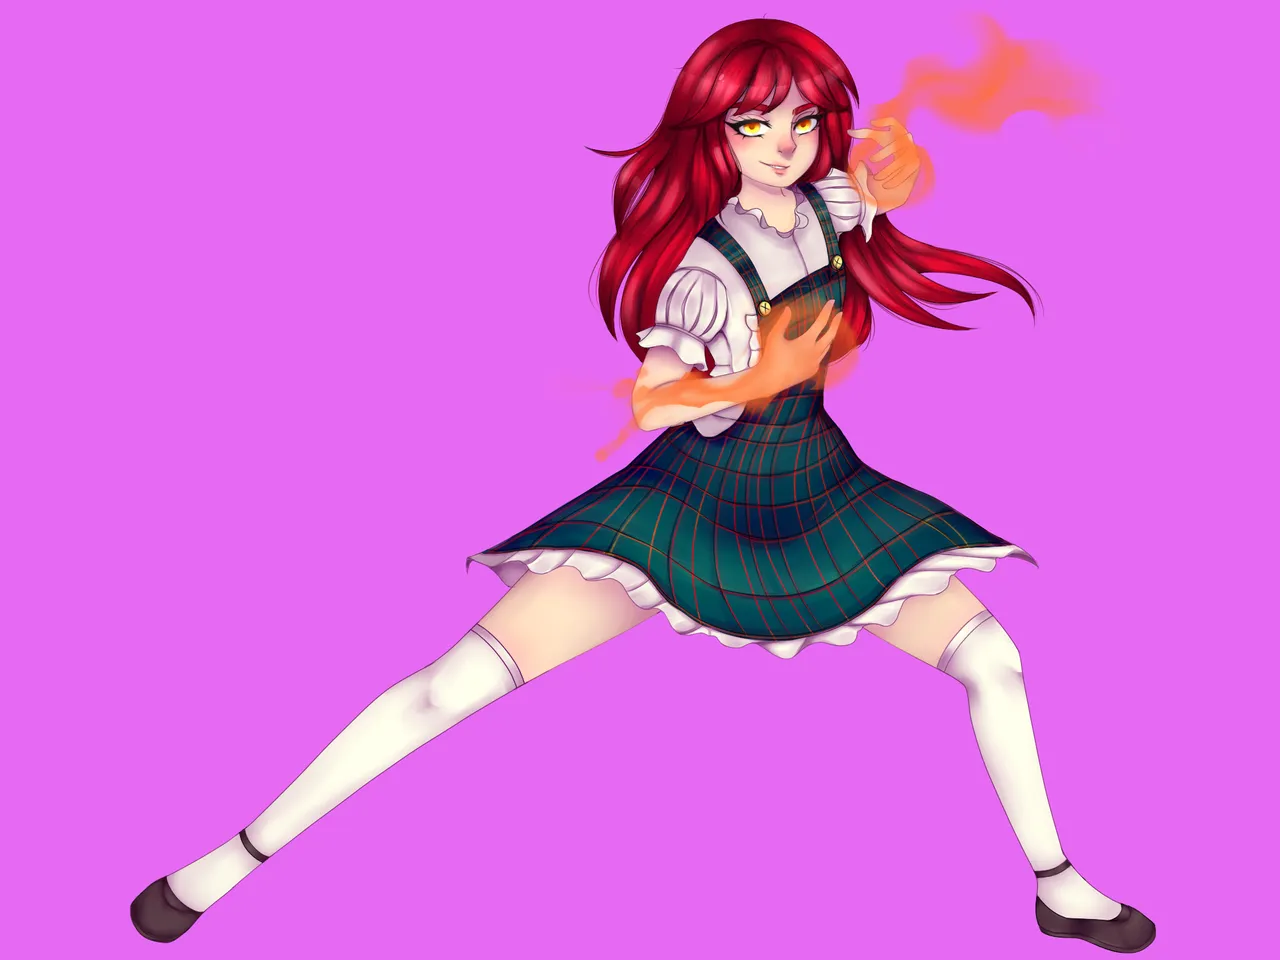
Sombreé como lo hago usualmente con tonos color violeta.
Para las llamas, hice un par de bolas de color naranja a las cuales le fui agregando detalles en tonos rojos y amarillos con las capas en modo Pantalla o Luminosidad, hasta que encontré un resultado que me agradara.
I shaded as I usually do with violet tones.
For the flames, I made a couple of orange balls to which I added details in red and yellow tones with the layers in Screen or Luminosity mode, until I found a result that I liked.
Background
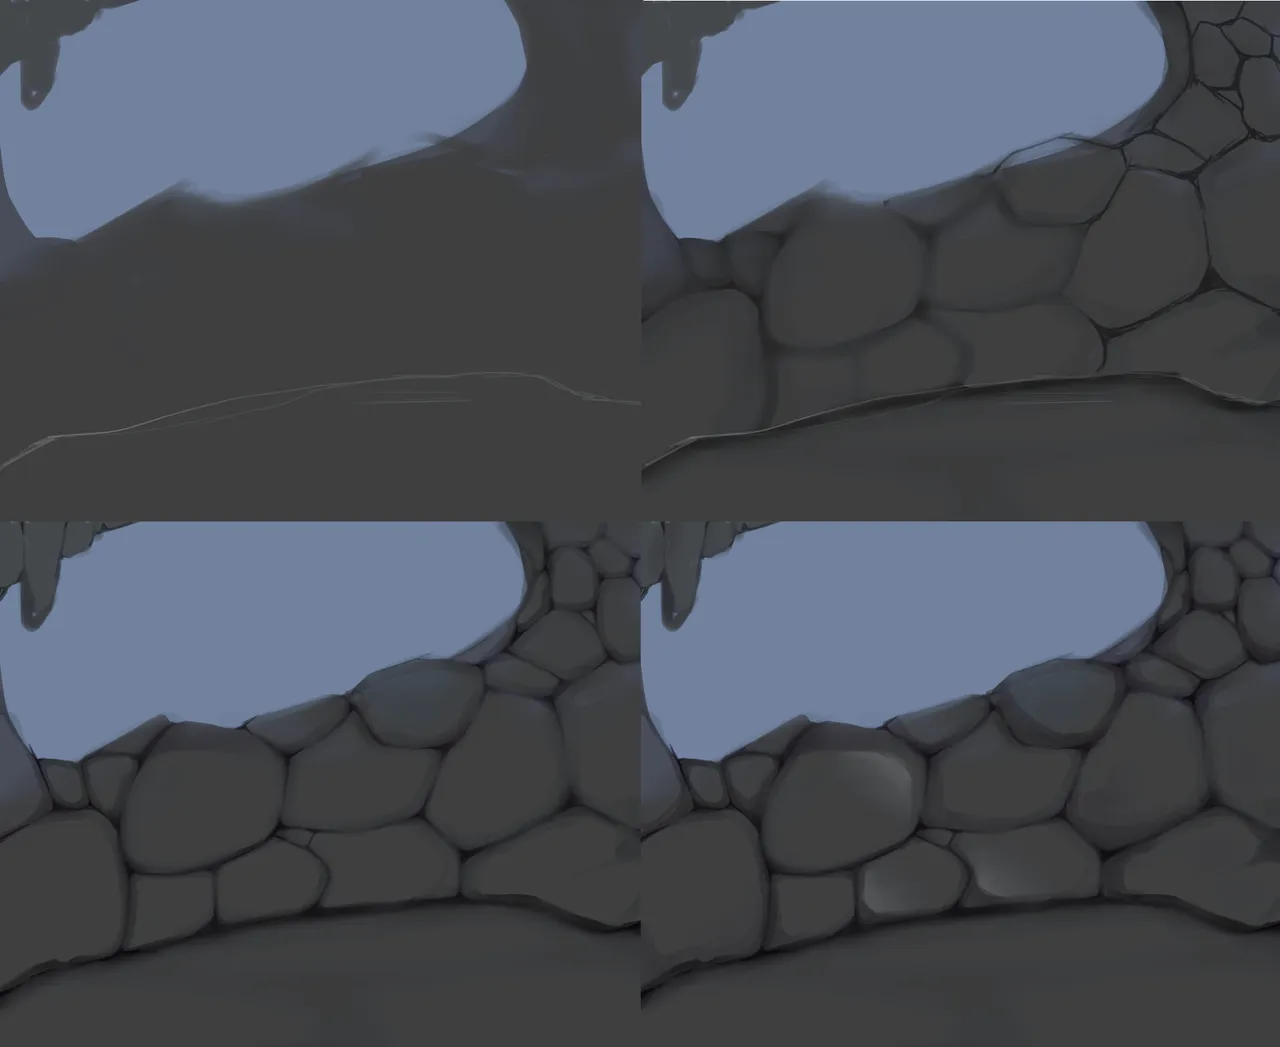
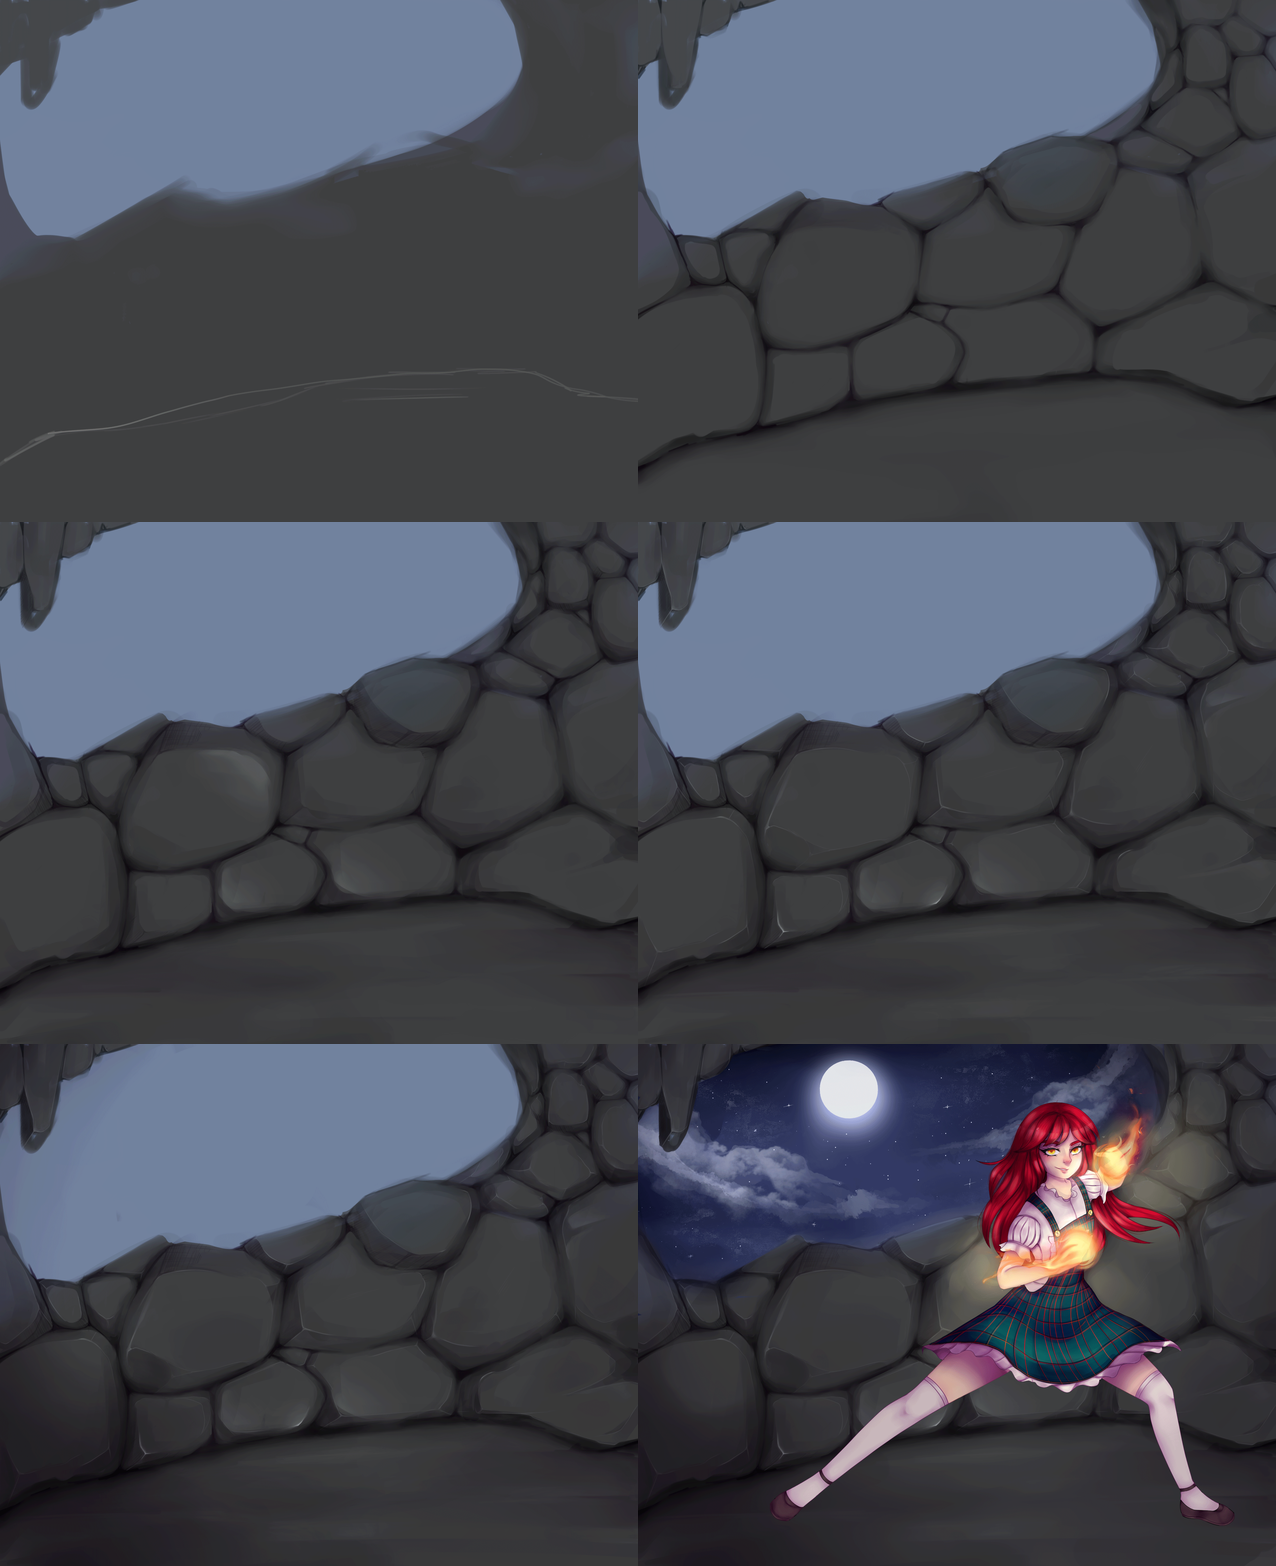
Empecé boceteando el espacio de la cueva, haciendo la forma de las rocas canteadas, y luego empecé a trabajarlas con más detalle.
Las sombreé con un pincel suave, luego con un color oscuro hice las separaciones entre las rocas, iluminé un poco con un gris más claro.
I started sketching the space of the cave, making the shape of the canted rocks, and then I started to work on them in more detail.
I shaded them with a soft brush, then with a dark color I made the separations between the rocks, and I illuminated a little with a lighter gray.
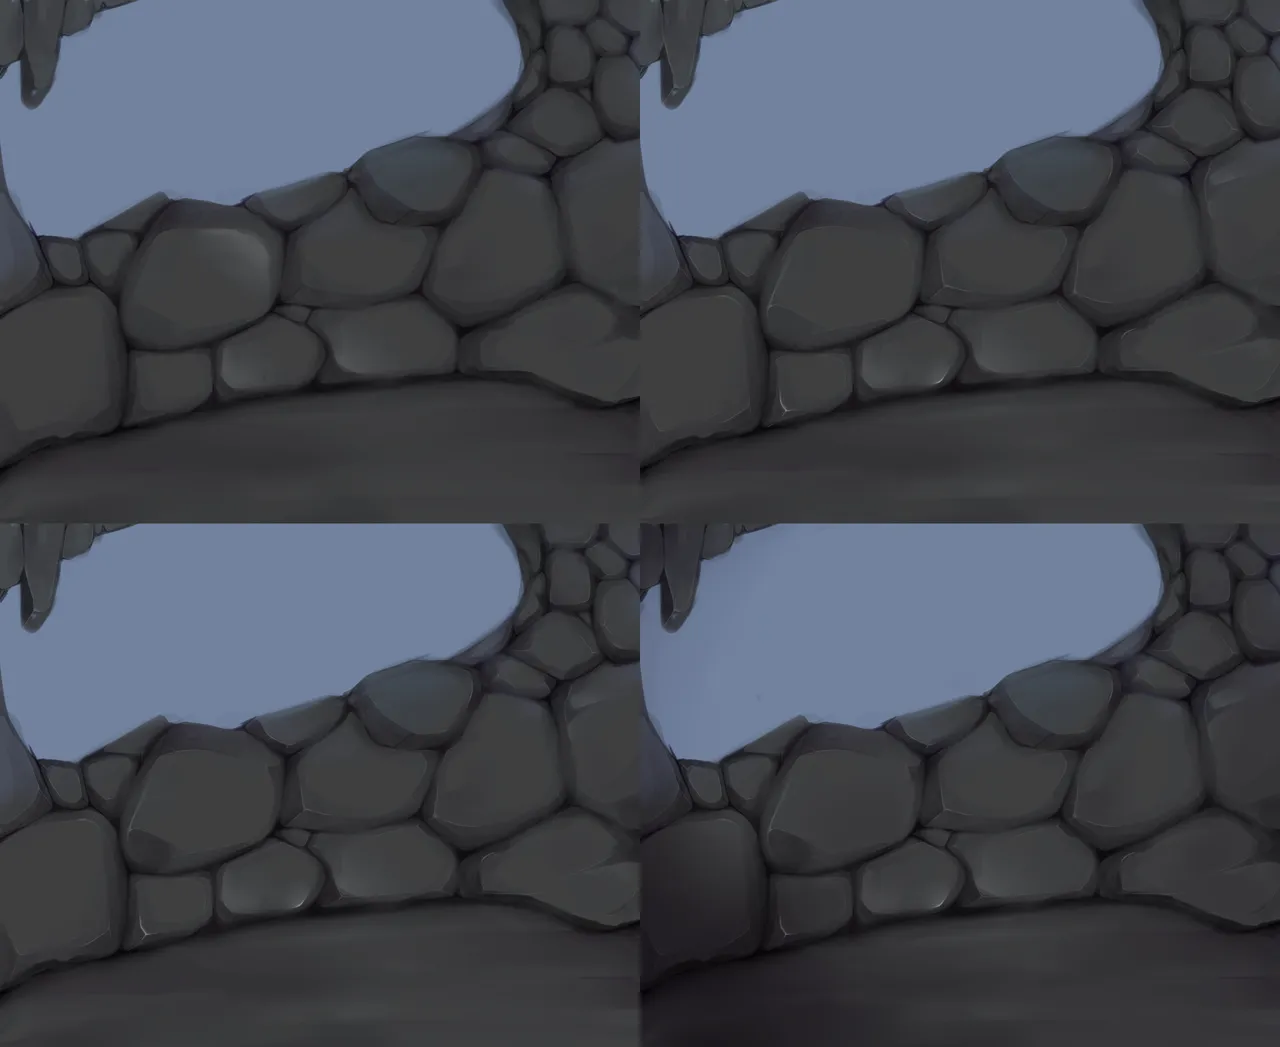
Agregué detalles de los bordes de las rocas con un pincel fino en color blanco, y luego a las caras que se formaban, les apliqué distintos tonos de grises. Acoplé la imagen final y sombreé con un tono morado.
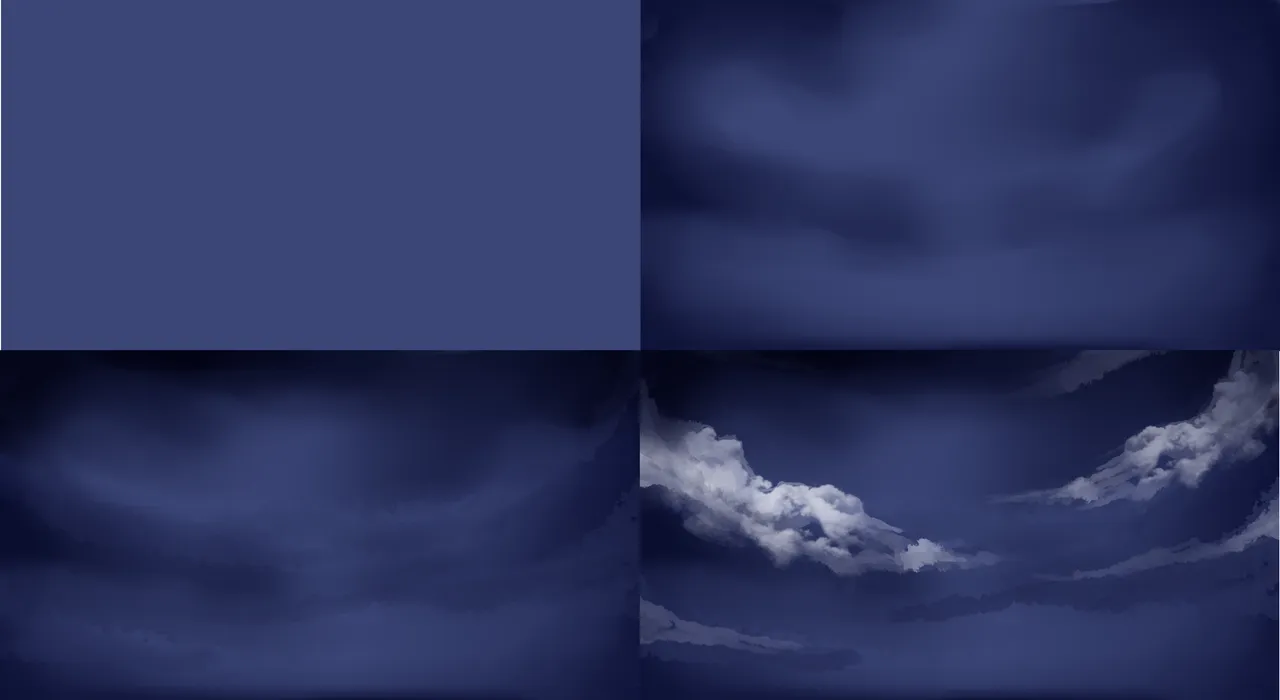
Para el cielo, apliqué un tono azul, sombreé en las esquinas con el mismo tono en modo multiplicar, con un pincel de nubes, agregué un par de nubes del mismo color de las sombras, y sobre estas agregué las nubes de color blanco.
For the sky, I applied a blue tone, shaded in the corners with the same tone in multiply mode, with a cloud brush, I added a couple of clouds of the same color as the shadows, and on top of these I added the white clouds.
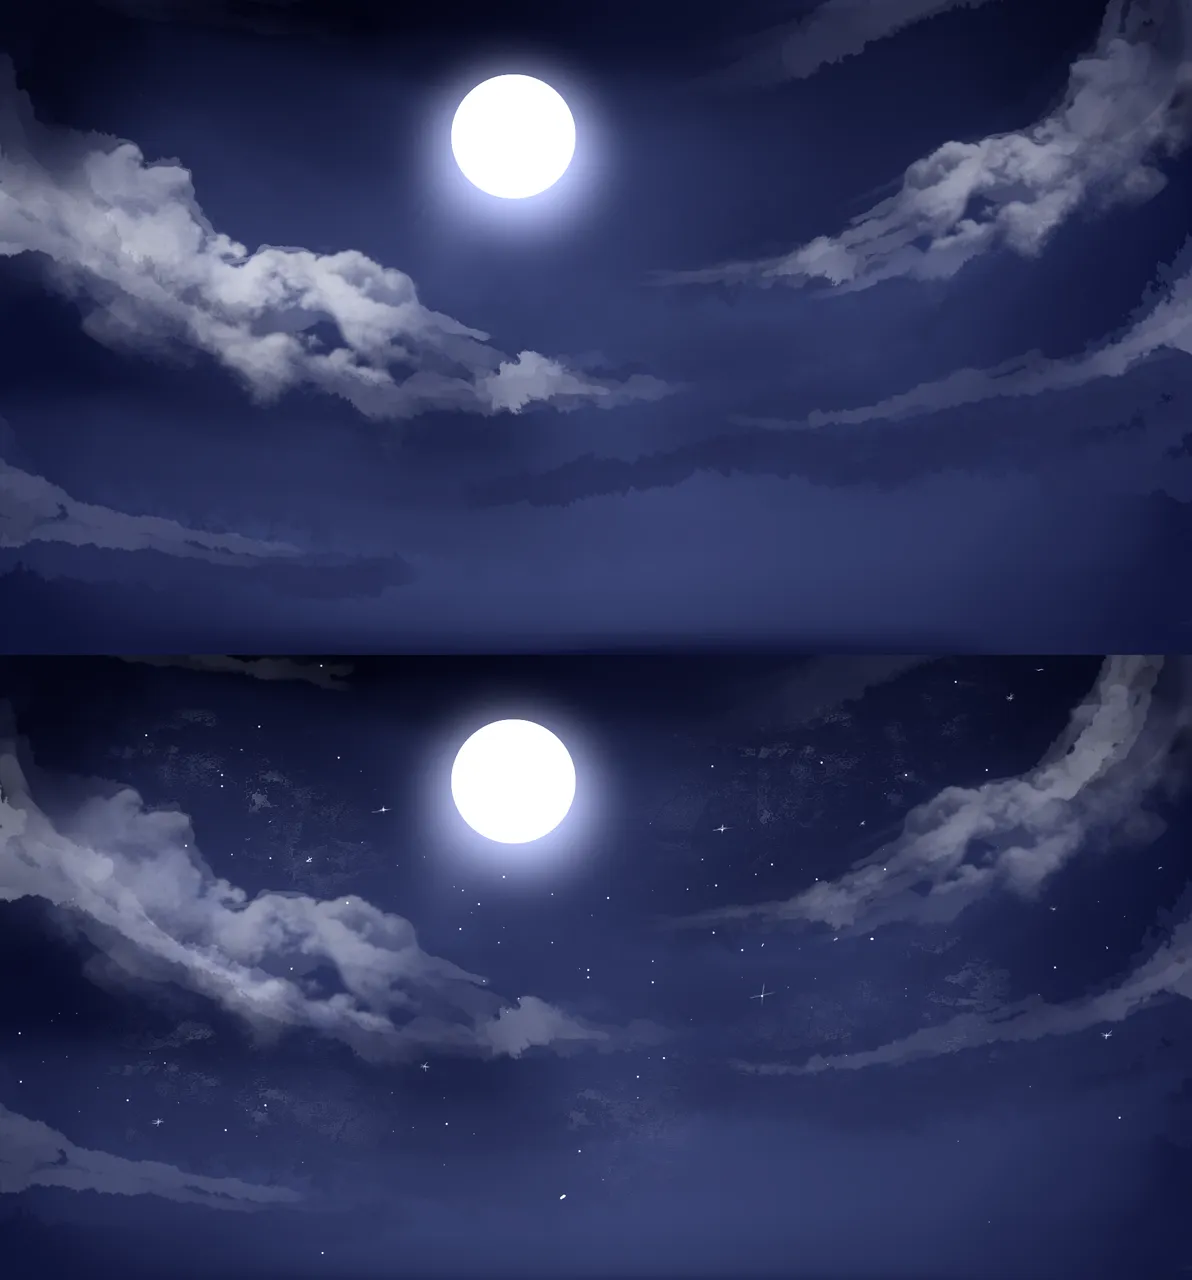
Agregué la luna y su resplandor en modo luminosidad, luego en otra capa con el mismo modo, agregué detalles, estrellas, reflejos y brillos.
I added the moon and its glow in luminosity mode, then in another layer with the same mode, I added details, stars, reflections and glows.
Final

Step by step
