John wick is one my favourite action movie series. In this franchise already 3 movies has released and those three were superb in every aspect of an action movie. One more to come soon.
I am very excited.
The movie cast was also a big factor for its huge success. The leading role is done by Keanu Reeves. It is considered like a legendary character from Keanu.
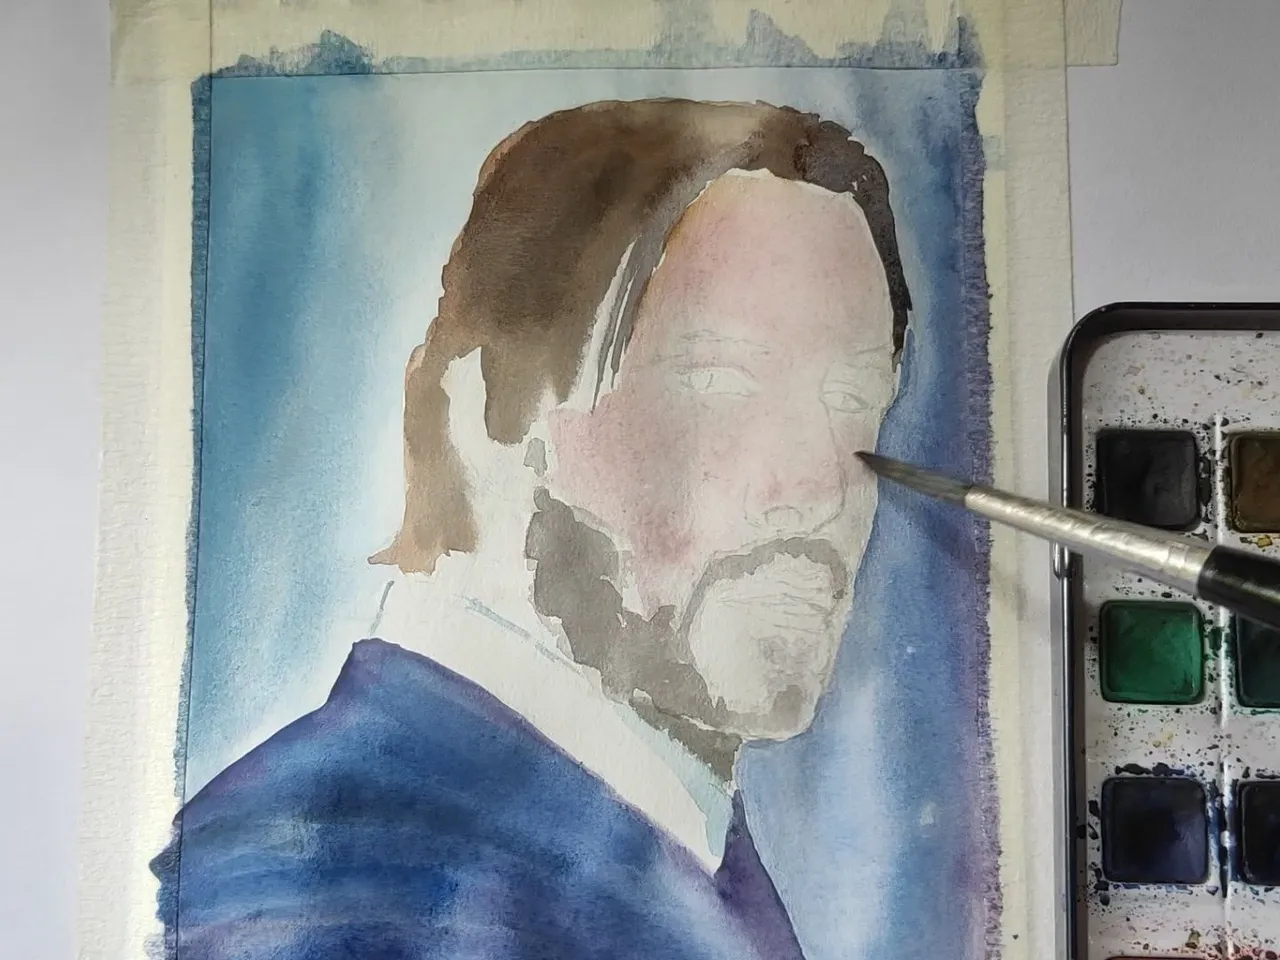
Here I made a Watercolour painting of this extra ordinary character John Wick with watercolours on a paper from my sketchbook.
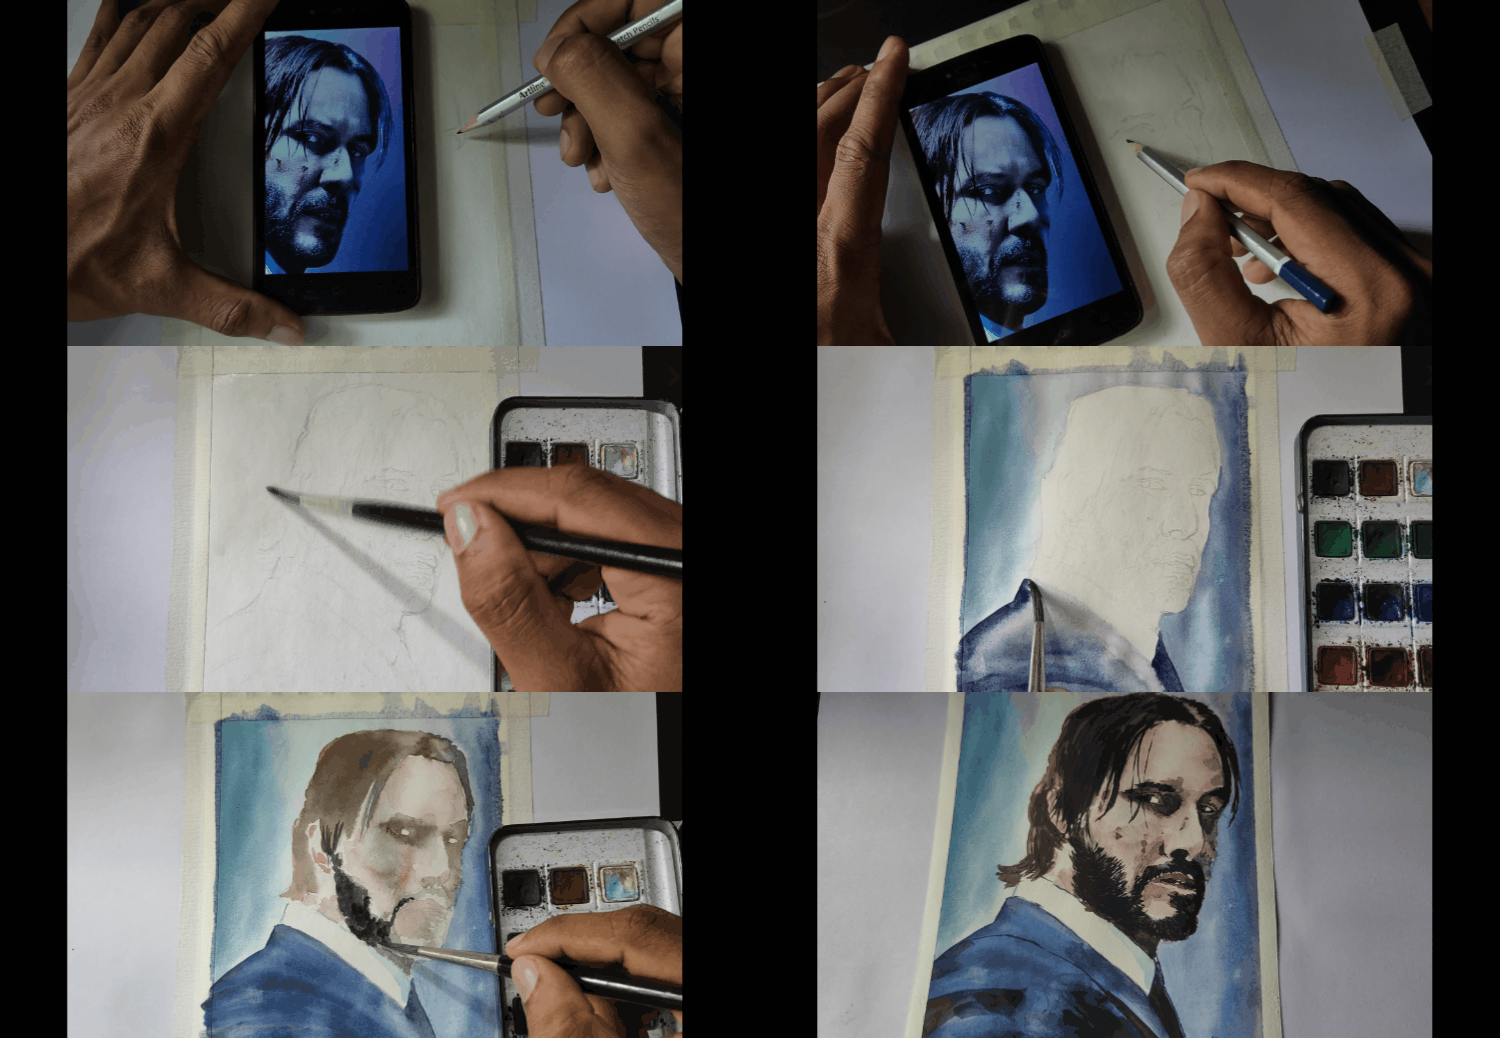
Actually my plan was to shoot the full making of the painting and post it on Dtube or Youtube. But I was unable to do so and I made a gif of the entire process to get a quick view of the making of it.
Enjoy the view.

Ref
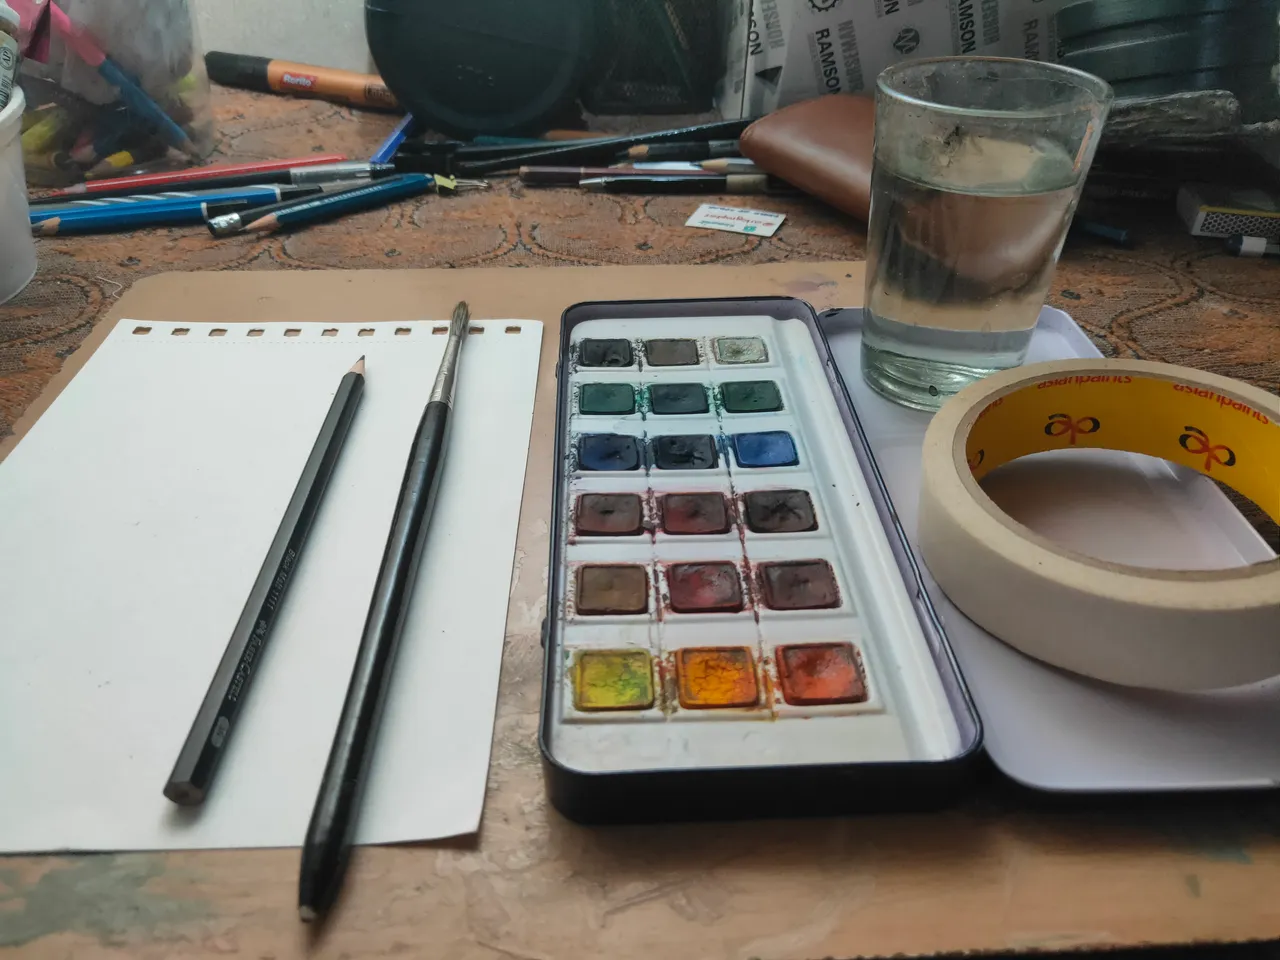
| Materials used |
|---|
| Pencil |
| Paper 300gsm A5 |
| Artist Watercolour cakes - Camelin |
| Brushes, water |
| Masking tapes |
Preparing the paper
First I took the paper and pasted it on a plane cardboard sheet with masking tapes to get clean edges and an easy attachment with a smooth surface.

Drawing the primary sketch
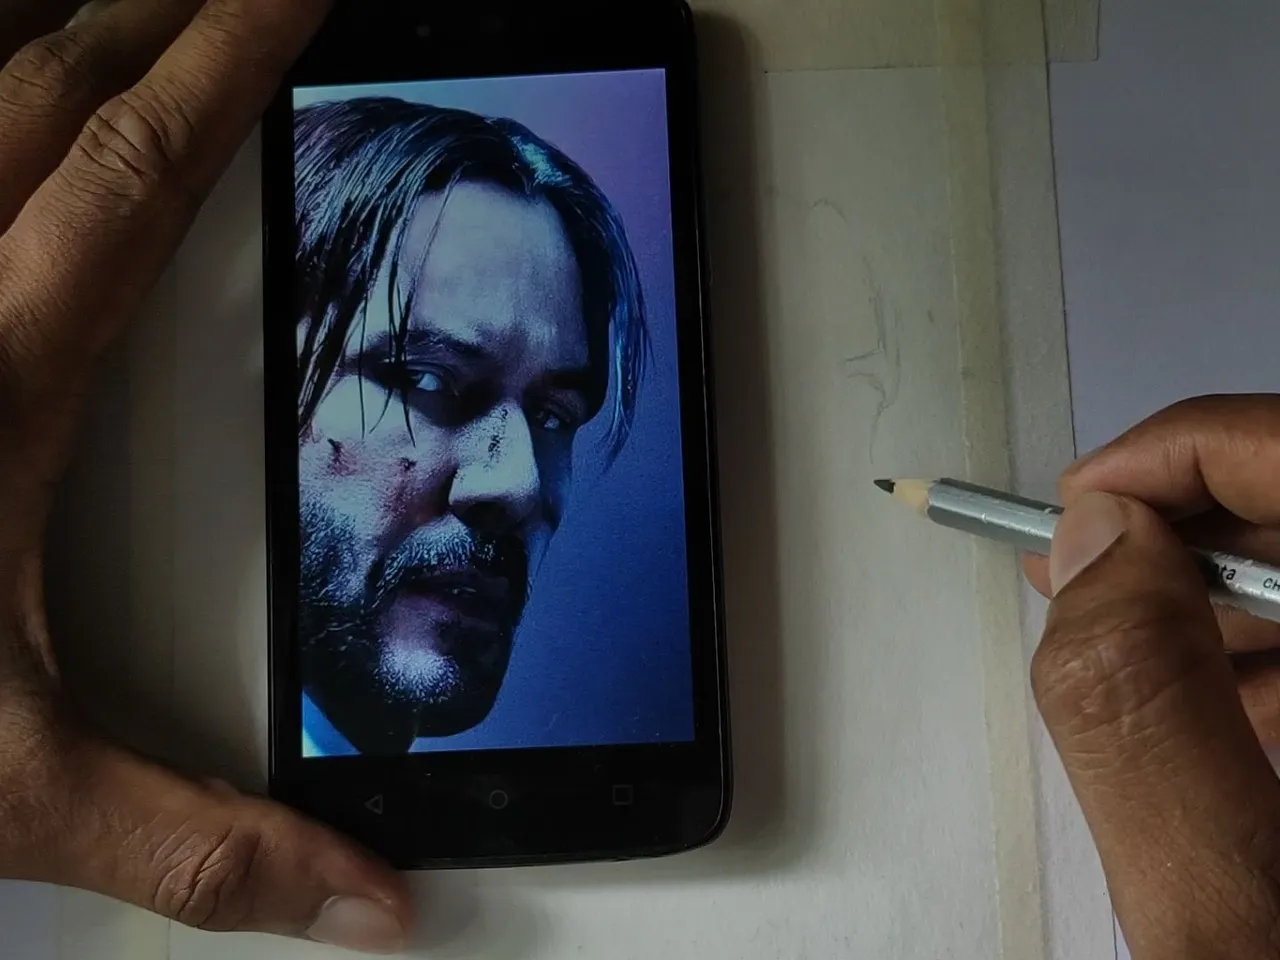
In this part I used an Hb pencil and try to draw the portrait itself on the paper without any grids. Using grids are super beneficial to get a picture like an exact copy of the reference, but it is so much time consuming. So I used direct scaling by the direct comparison with the reference. It took me more than half an hour to finish the primary sketching. I wanted the sketch to be with a minimum detailing. This will help more while painting.


Painting the primary layer
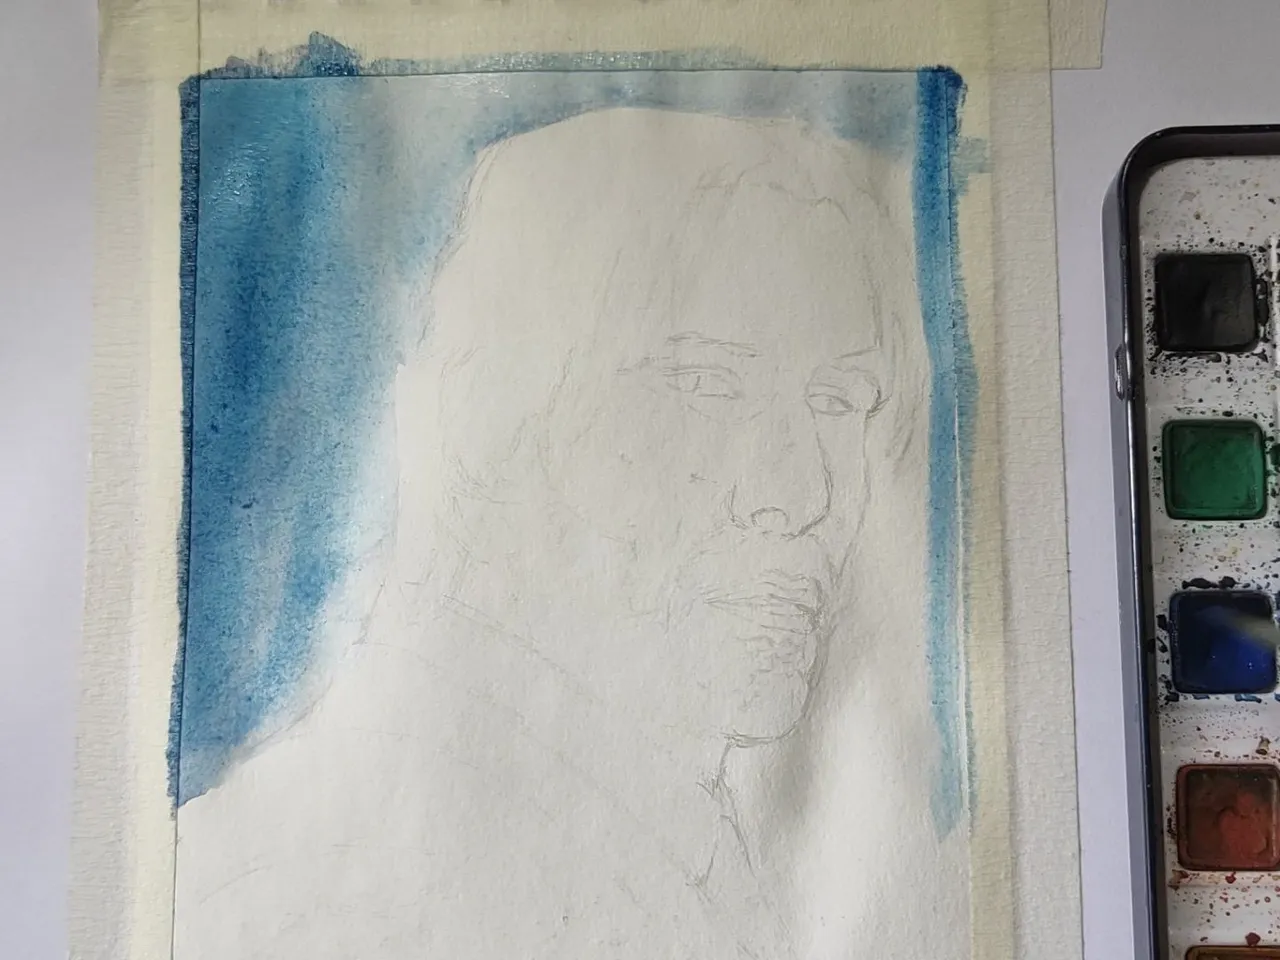
The methode I always followed for the primary layer for watercolour painting is wet on wet. Here I lets the paper to be wet first. For this I use a medium or large round brush and paint with only water on a region wher I will use one specific colour. Then I apply some basic colour on the same region without any notable contrast.




Final layer, Detailing
This is the final stage in my usual Watercolour portrait painting processes. Here I use strong contrast colours on the complete dry paper to get some sharp corners and saturated looks. In this stage the detailing is also done with a point brush instead of large round brushes.
Honestly I mostly use a zero point brush for creating this sharp edges for moustache and hair of the characters.
After finishing the painting let it for drying for some time then removes the masking tape from the paper without damaging it.


I hope that was enjoyable
Stay tuned for more contents like this. This is your friend @artographer, I will be seeing you soon. GODSPEED