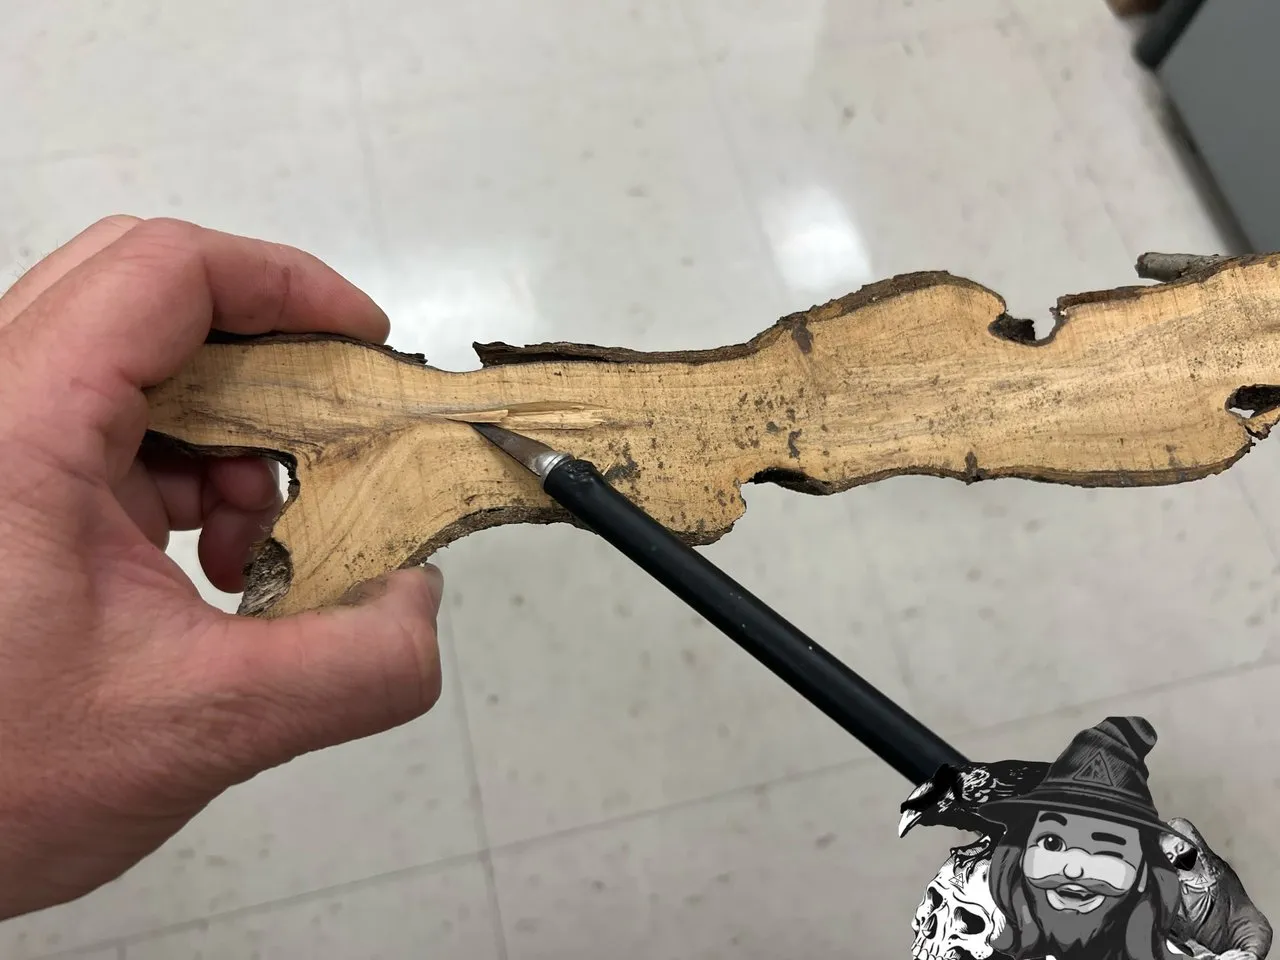
I couldn’t wait for a hooked blade. I had an old exacto blade laying around, and decided to get started with that.
DAY 1
After about an hour, I’d managed to carve out the beginnings of the channel on one side.
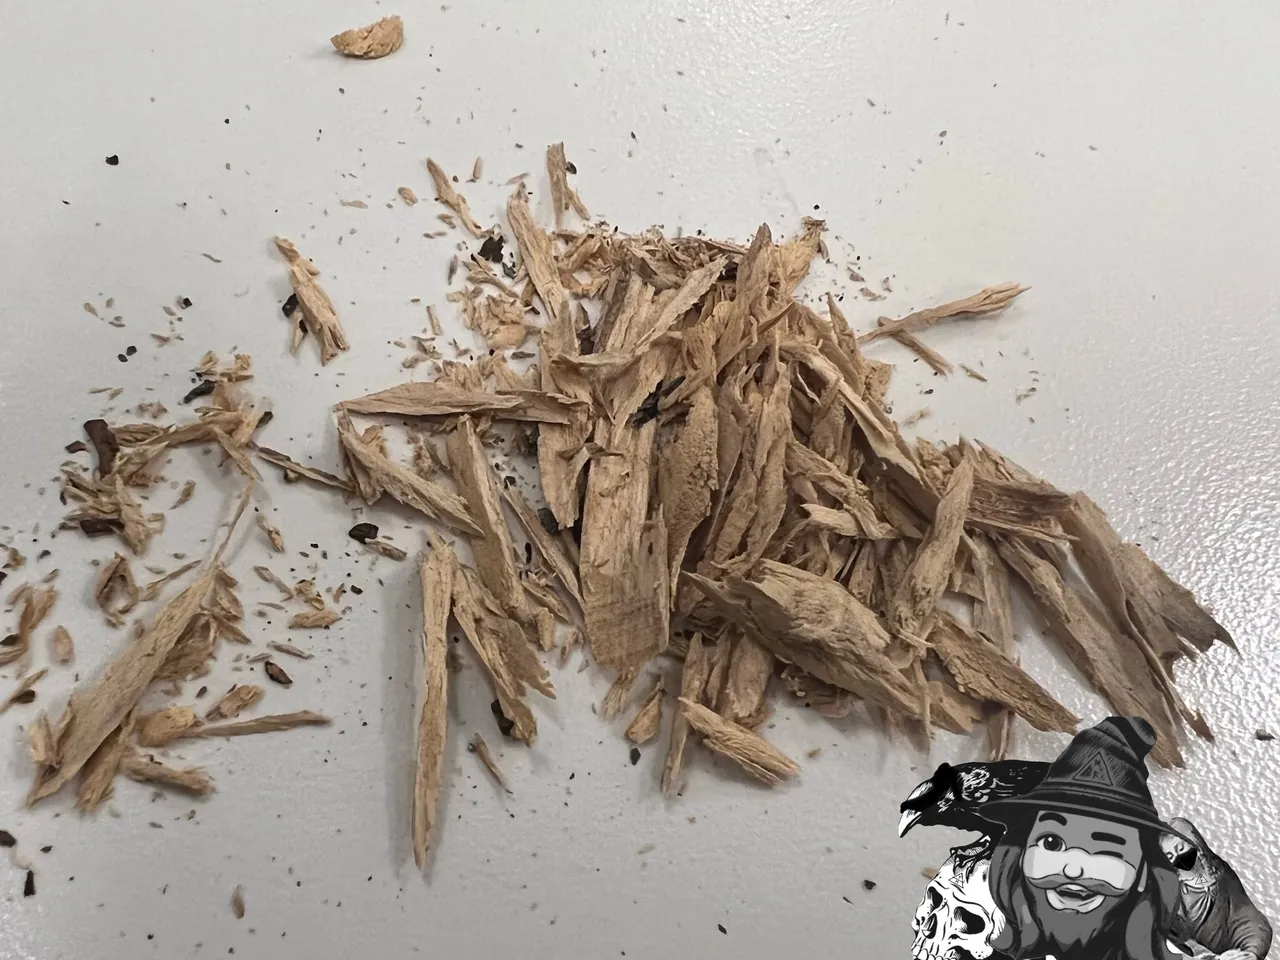
For my approximate hour of labor, this is most of the shavings I collected. I did dump the pile once, about half way through, but still, much time and effort in this case went in to the removal of only a small amount of material; I think this would go much faster with a tool that’s better suited to this specific style of work, but at this point I had become convinced that the exacto blade would be at least capable of doing the bulk of the hollowing work.
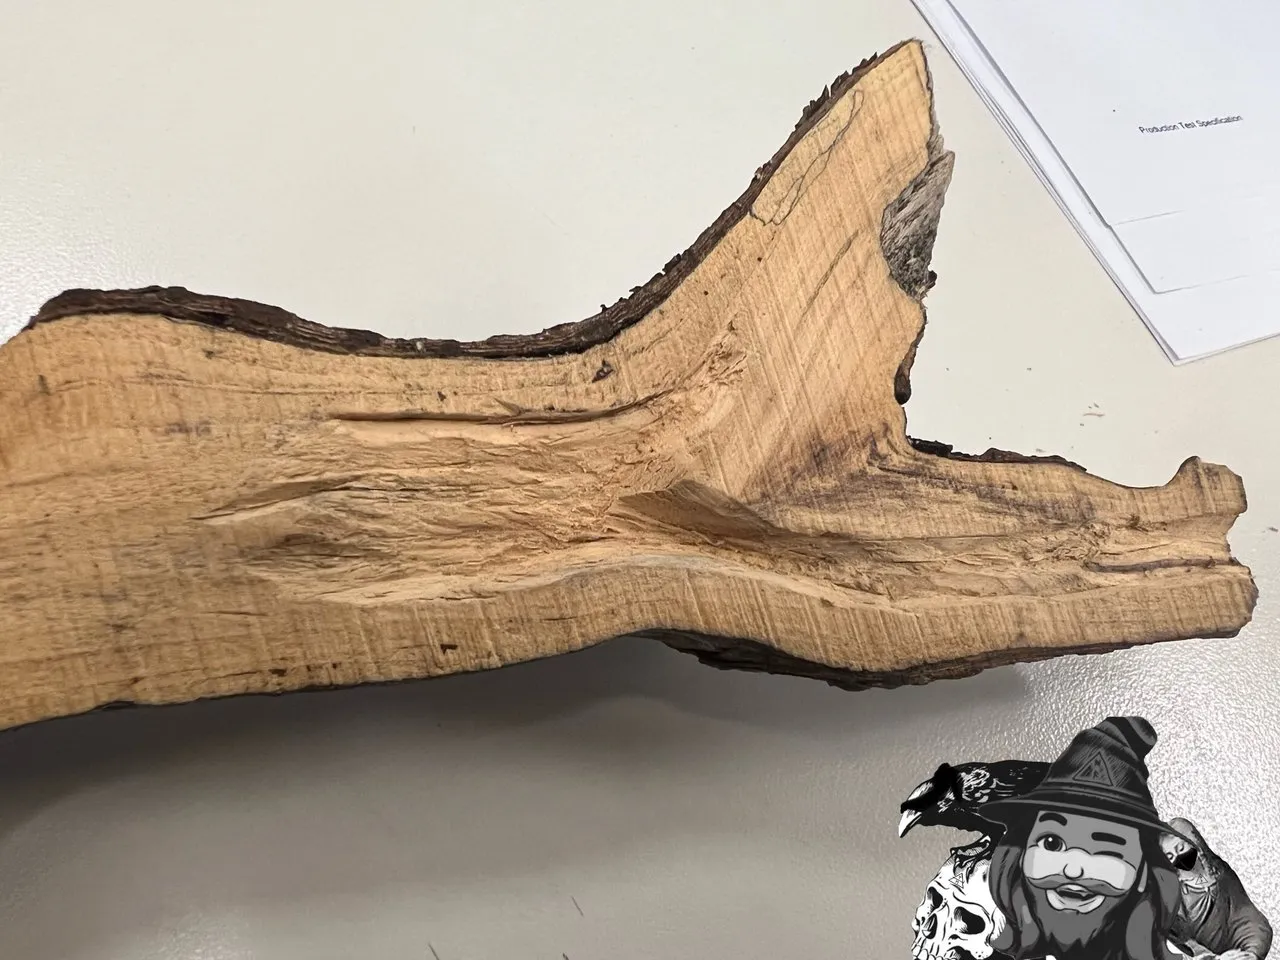
Early into this process, it’s become clear that the chamber on this instrument is going to be very oddly shaped. I had originally planned on making a branch quena, mostly because the embouchure is so much simpler than the Native American Flute-style block whistle. Due to the odd chamber volume/shape, I may end up having to close off the end(s) and make something more like a long bodied ocarina…but I decided to wait until I’m done hollowing out the two sides to figure that out.
The diagonal line carved into the branch (towards the left) marks the approximate center of a thin spot. The majority of the chamber in this are will have to be carved out of the other half.
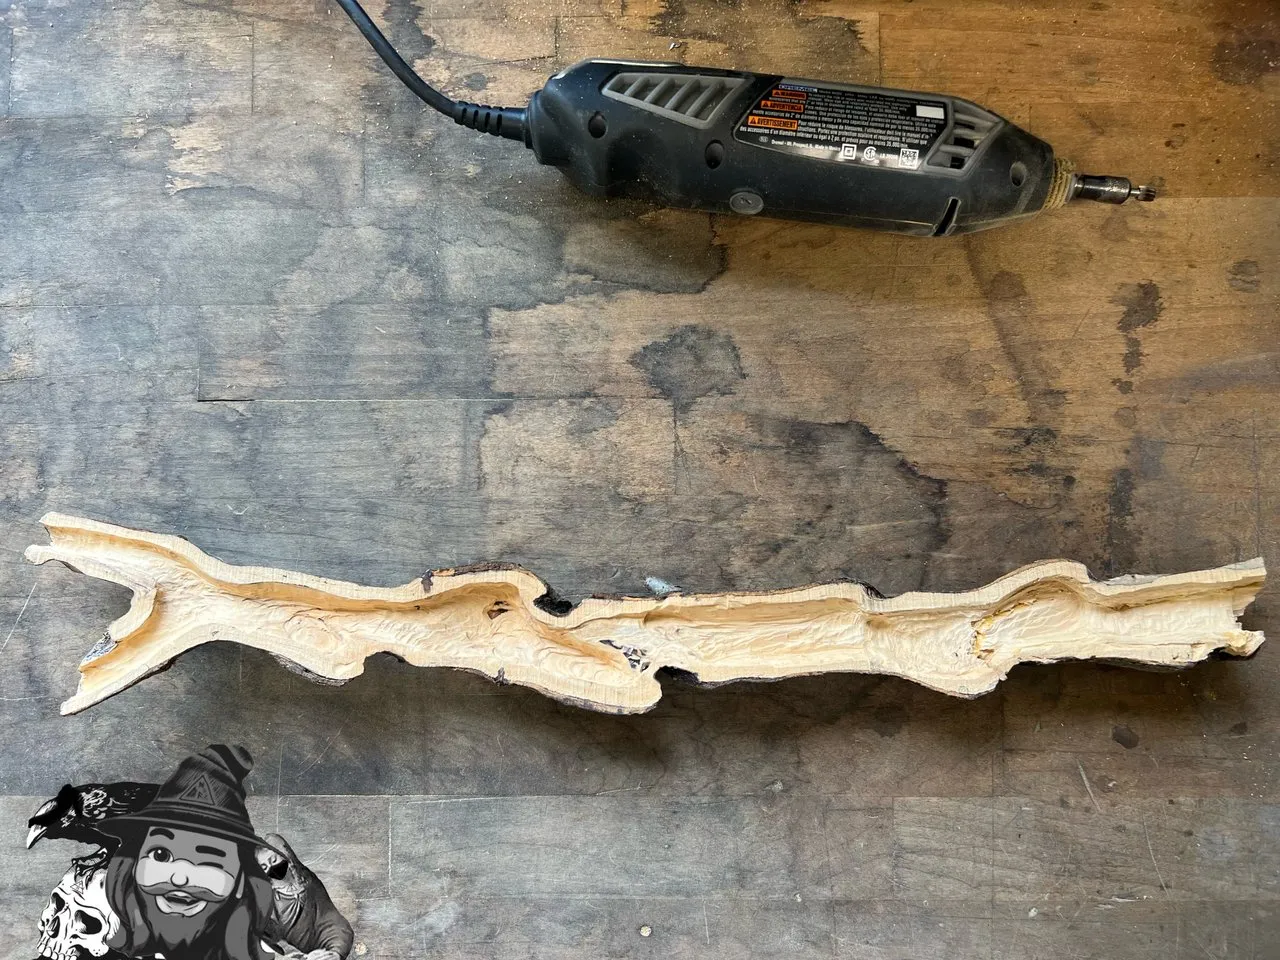
DAY 2
Because I have no idea how this will turn out, at least for this project I decided not to take the purist/hand-tools-only approach. But before using power tools, I used the exacto blade to outline my cutting path and mark the locations where the cut should be more shallow (diagonal cross-lines)
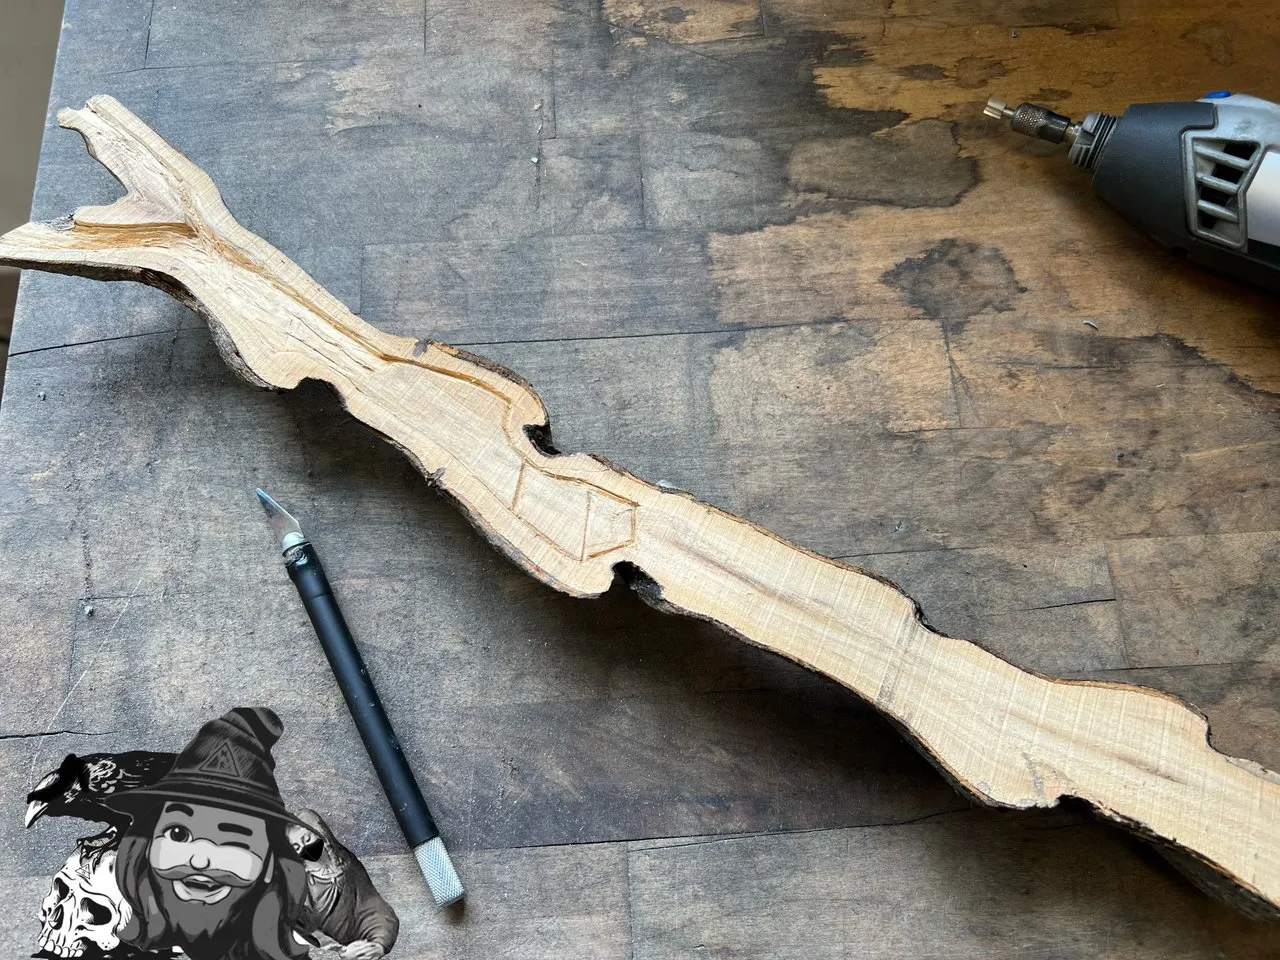
Next I started using a Dremel tool to route out the interior chamber. This went fast and felt less dangerous.
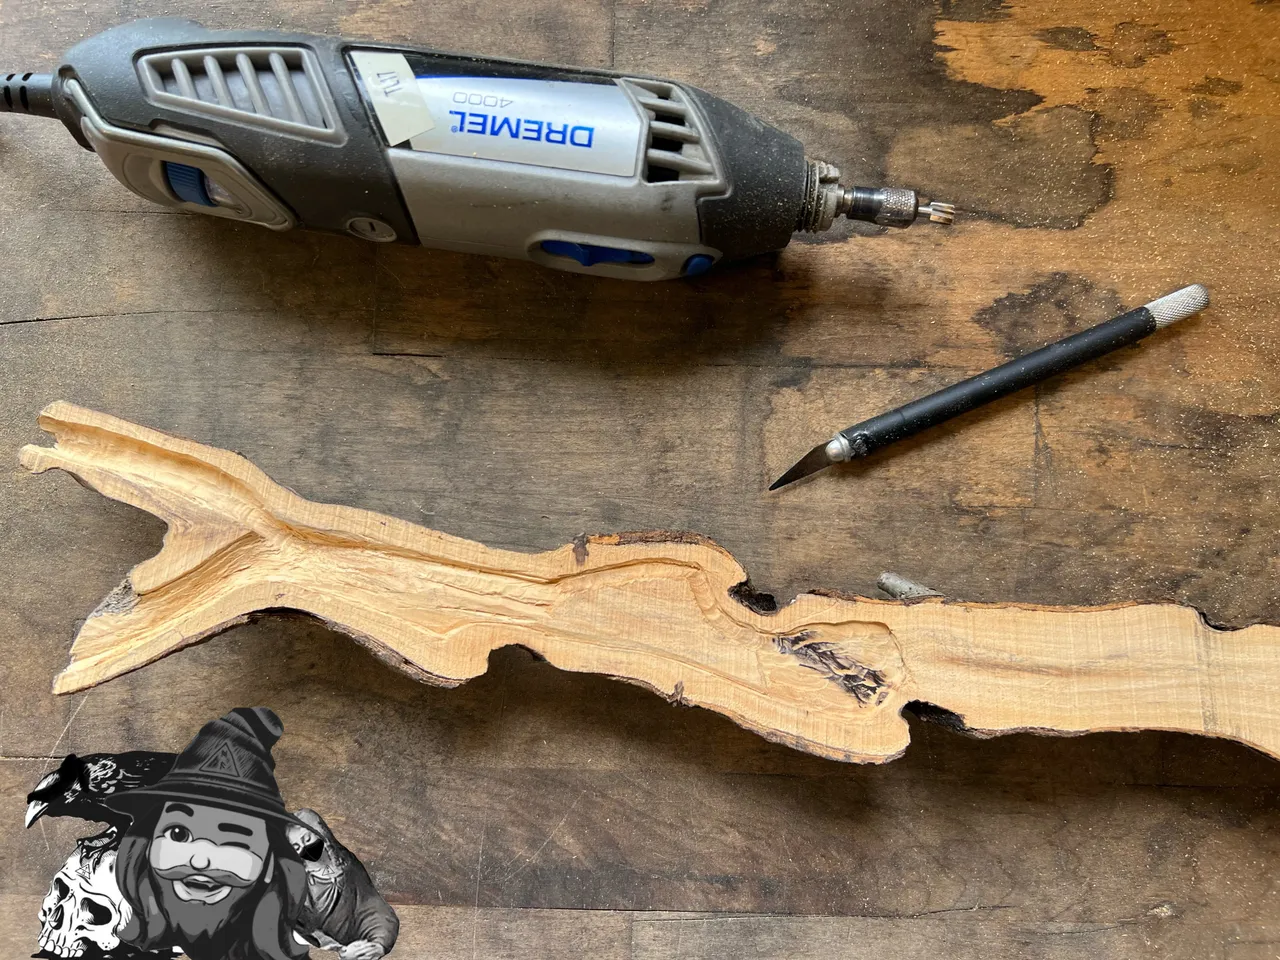
The Dremel tool has made much faster work of things, but it also allows for more pronounced mistakes. Looking at the progress I made yesterday, I saw that there were two places where I’d gone through the wood completely, and one spot where the router bit jumped and took a chunk out of the mating surface. So far nothing that won’t be fixable with a little bit of epoxy, but I’ll need to proceed with caution if I want this to have a chance of working out.

DAY 3
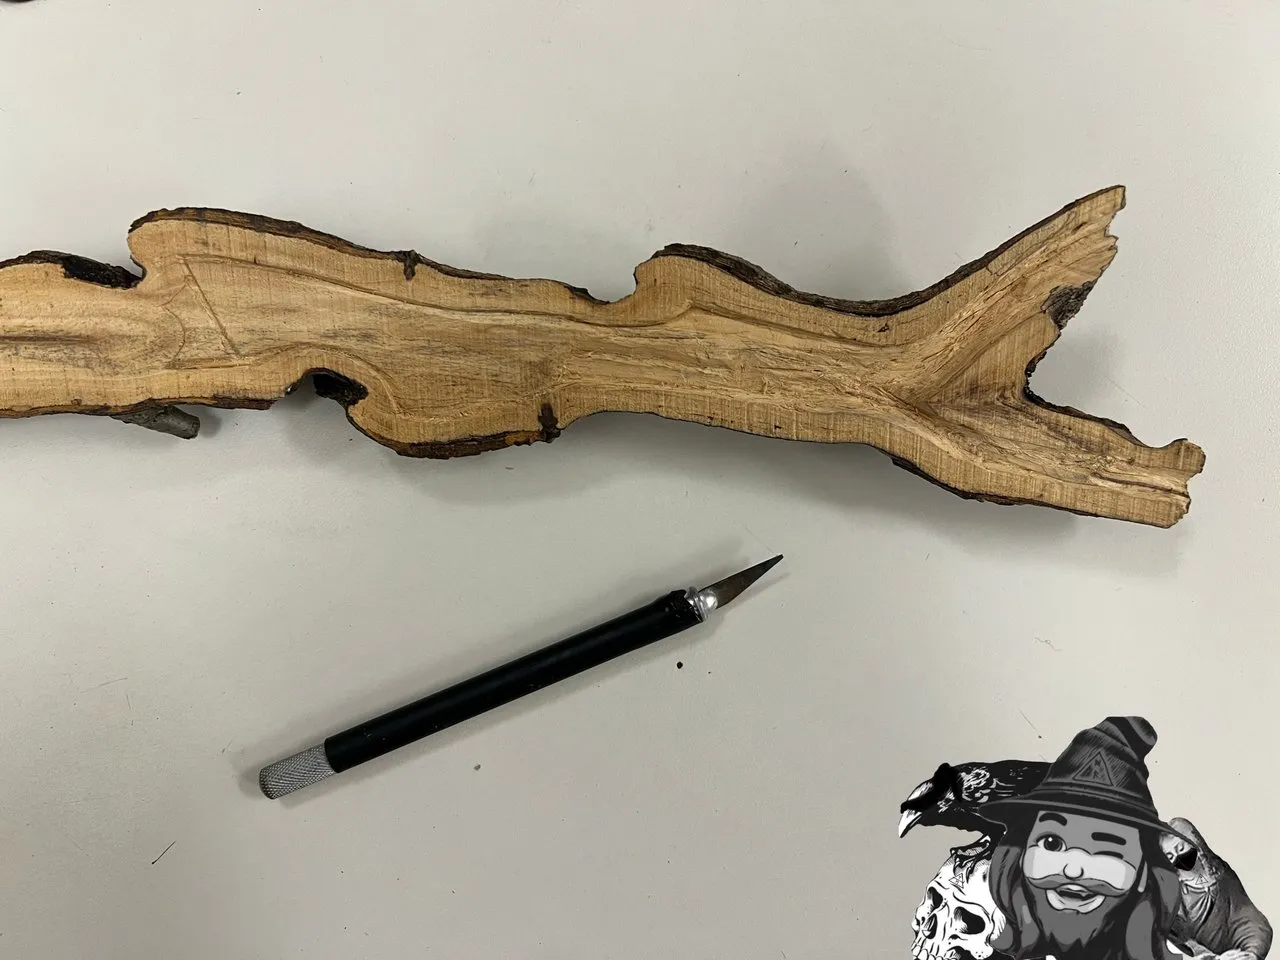
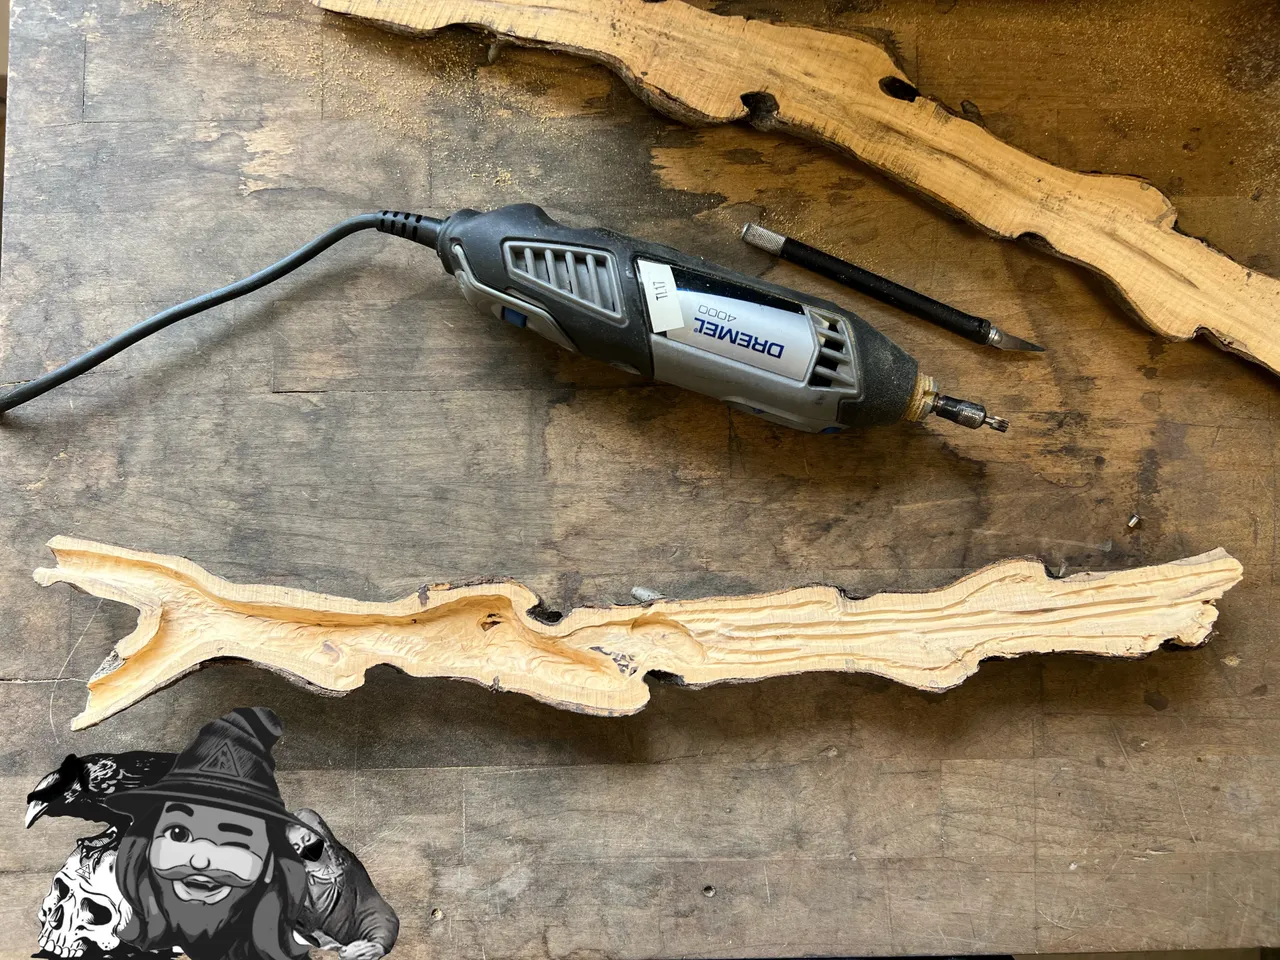
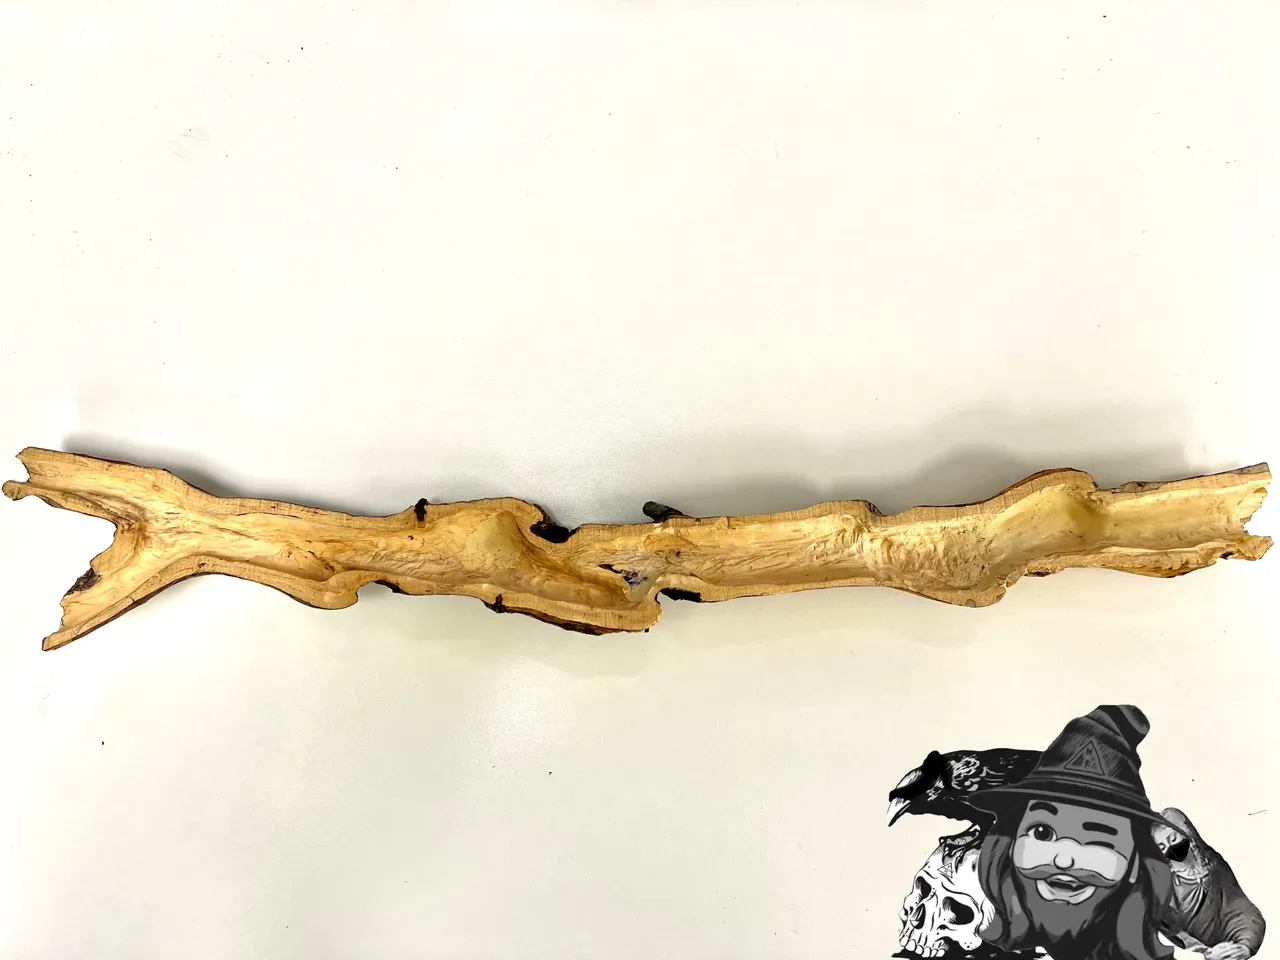
I started Day 3 of the hollowing process by finishing the first half.
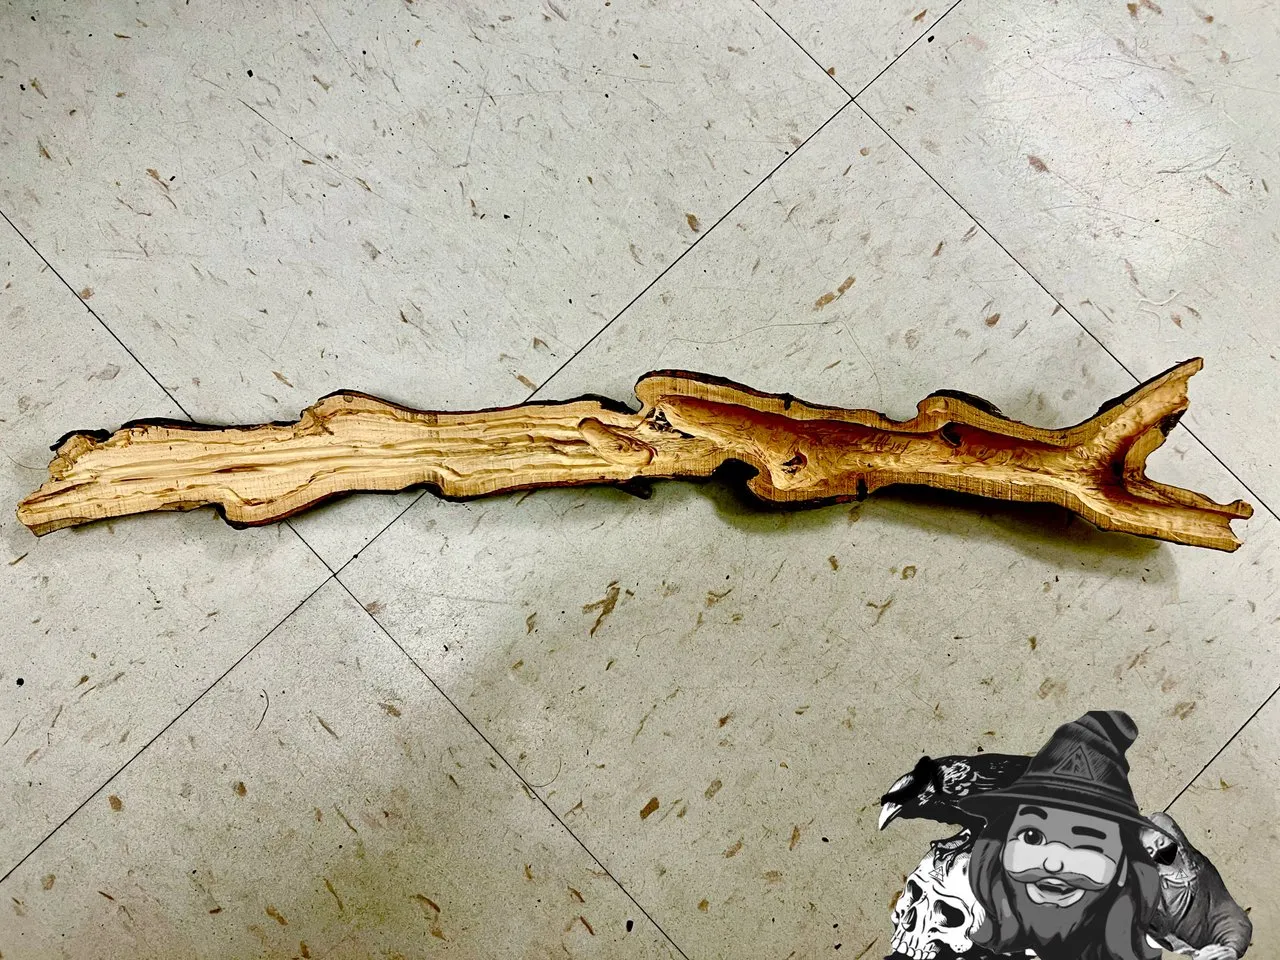
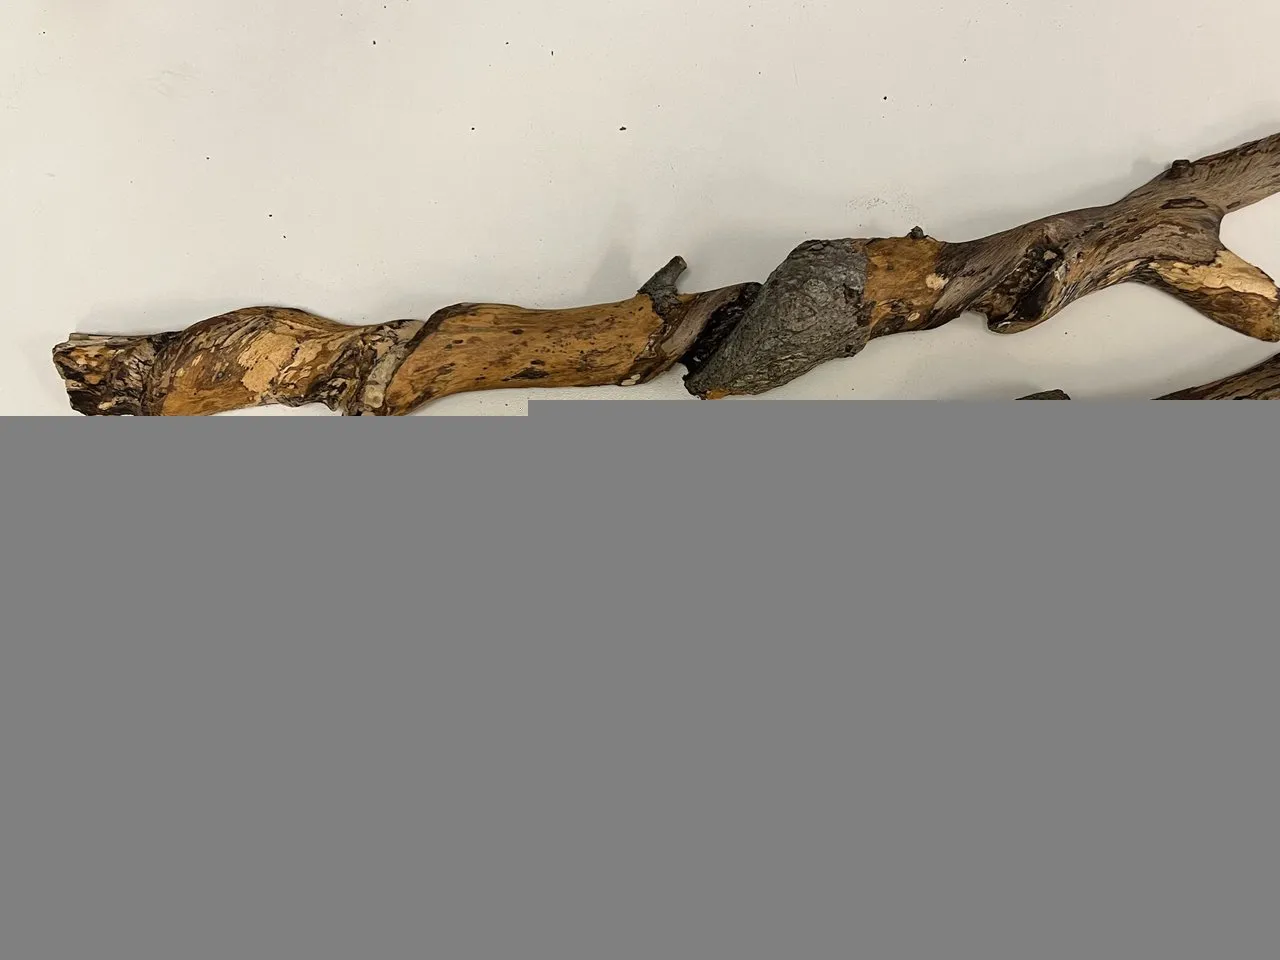
I took a little bit of time to start whittling the bark off of the branch. The bark looks super cool and I kind of hate to remove it, but I think the rough texture would not be conducive to playing, and also I think it would peel off over time. But I left the thin membrane in tact as much as I could, which gives the wood a nice dark and textured look. Not sure yet if I’ll sand it down to pure wood and stain it, or what I’ll do. Decision for later anyway.
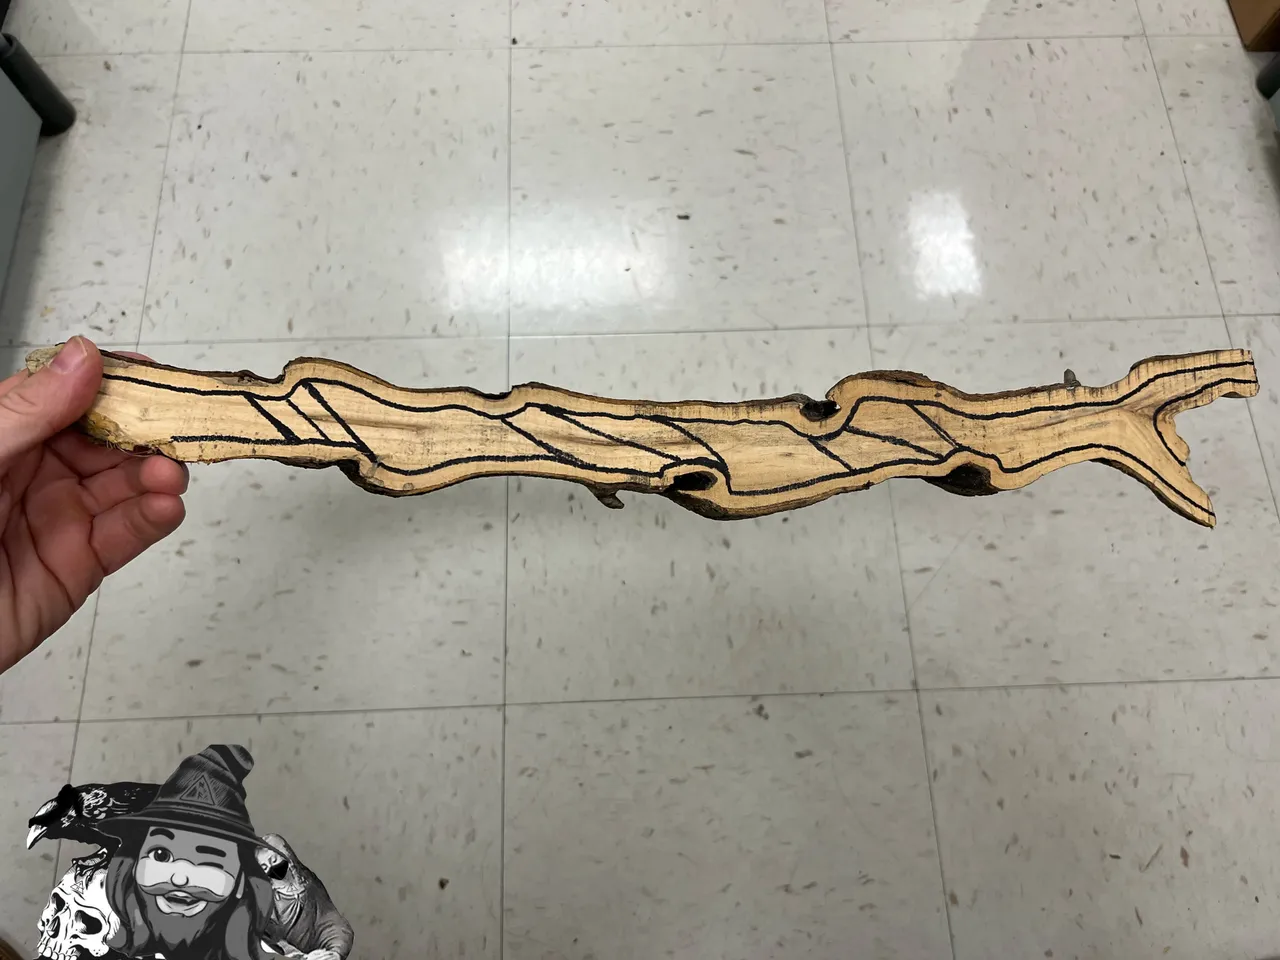
After the experience of cutting out the first half, I thought it would be a good idea to mark my cutting boundaries and shallow areas with a marker before getting started.
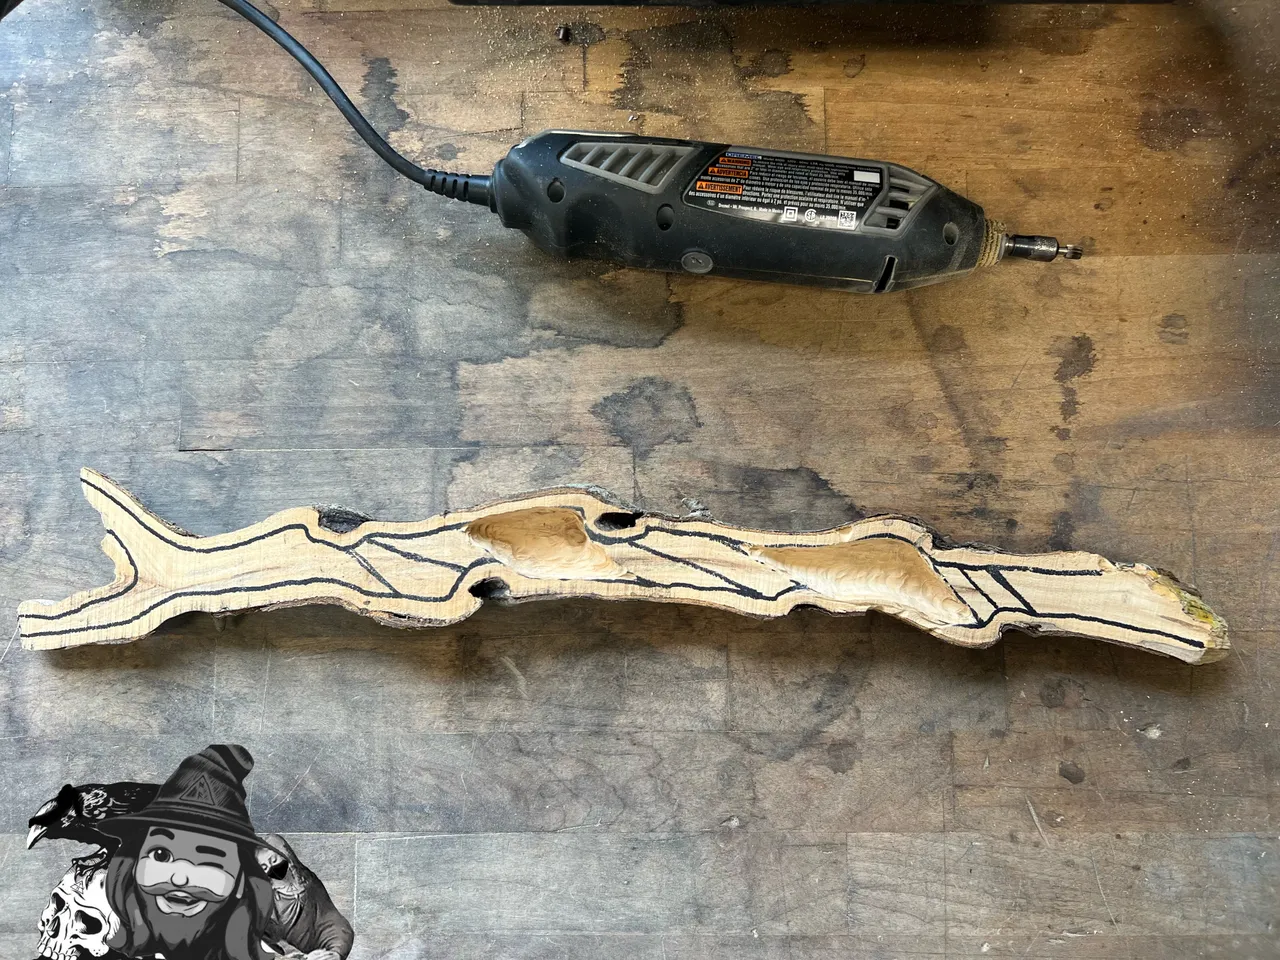
By the end of Day 3, I had managed to carve out two of the four larger recesses.
DAY 4
I knew that once these two sides were hollowed out, I’d be desperately excited to put them together and see if I can get this branch to sing, but there were a few openings in the first half that would need to be filled first - so I stopped at the hardware store today and picked up some wood filler.
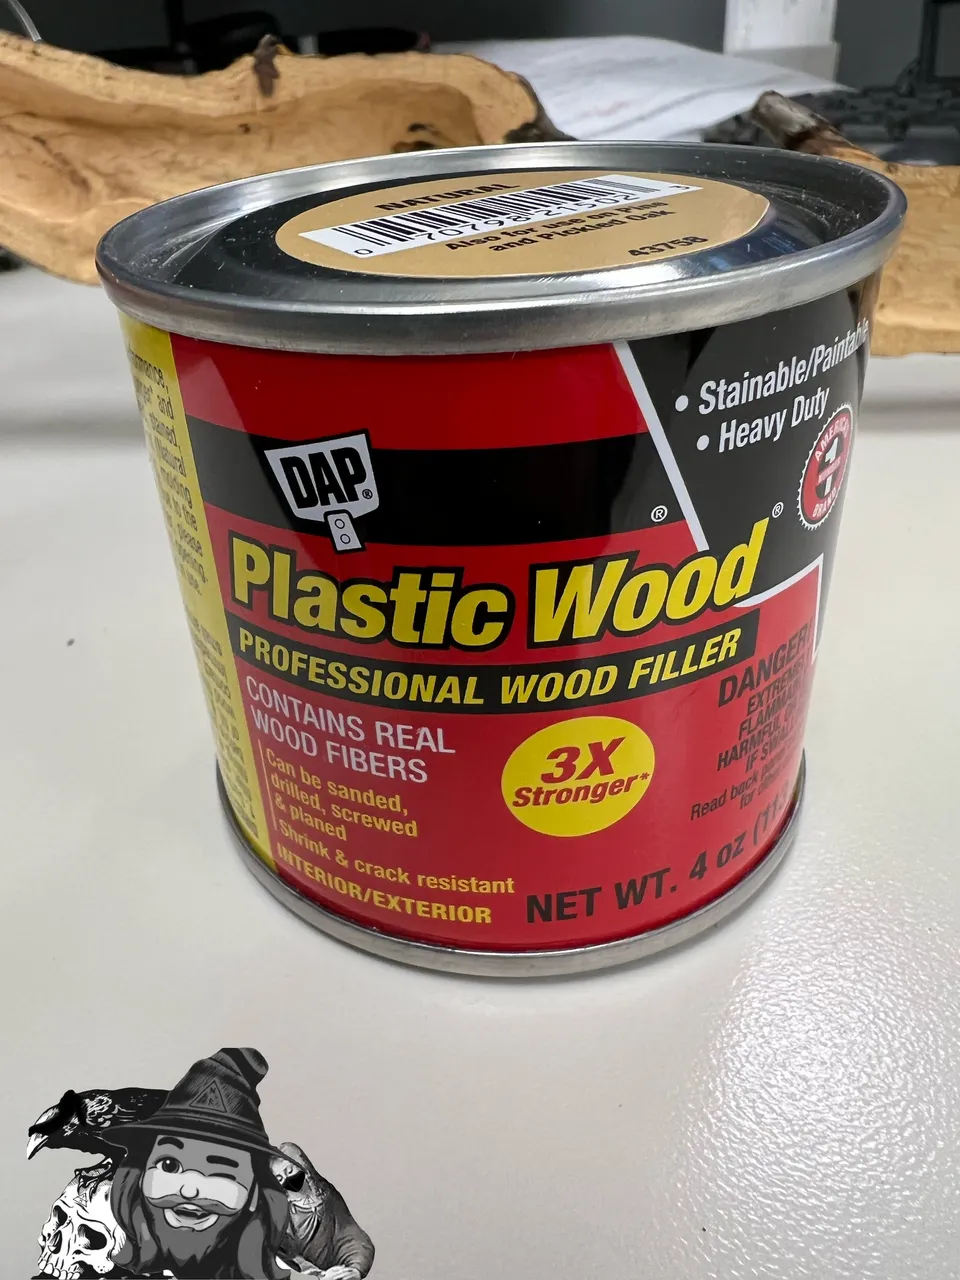
The lid is on the bottom of the container! …or the label was installed upside down I guess. Either way, this stuff is really thick!
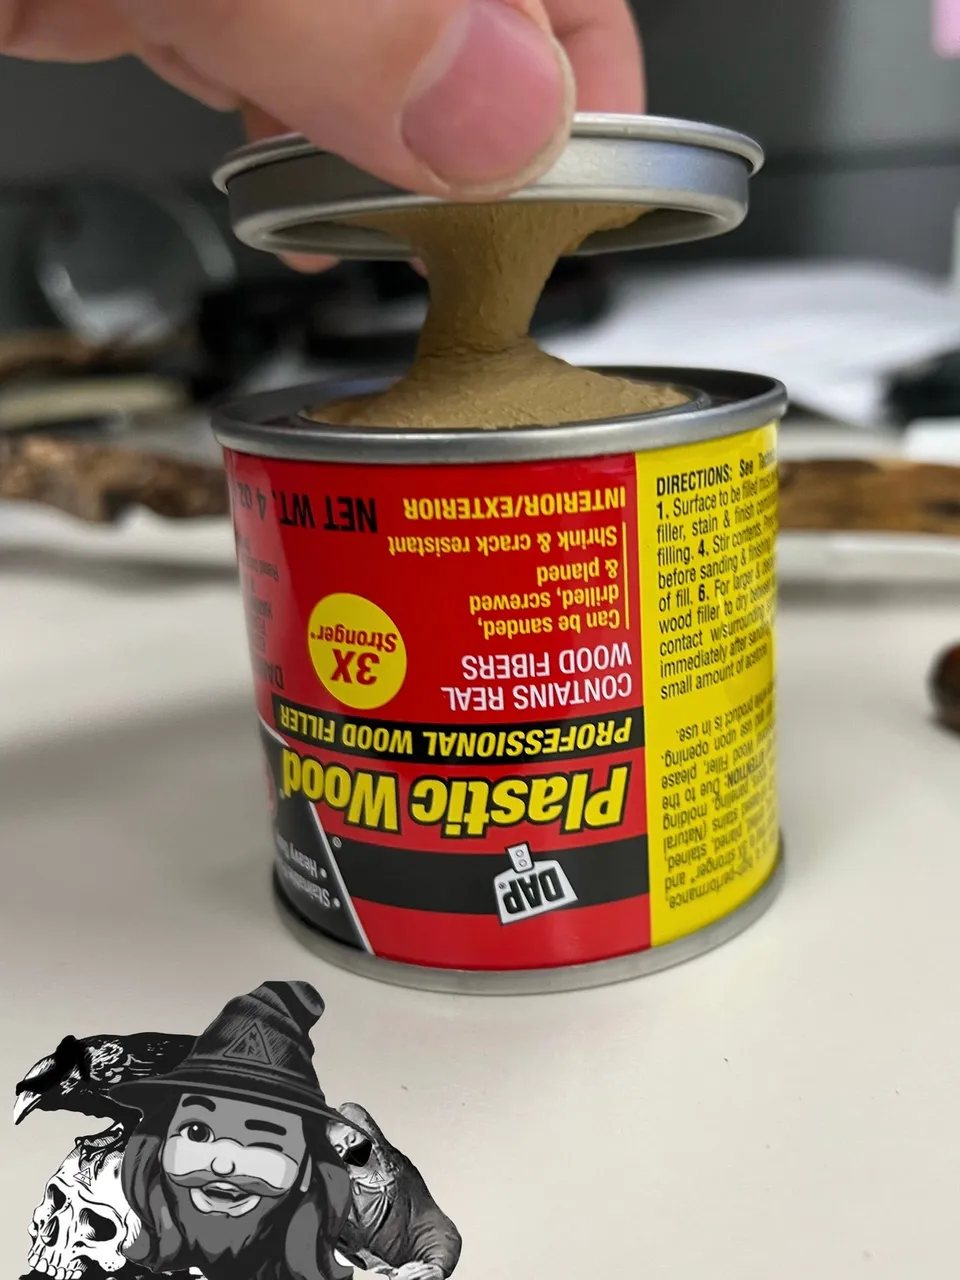
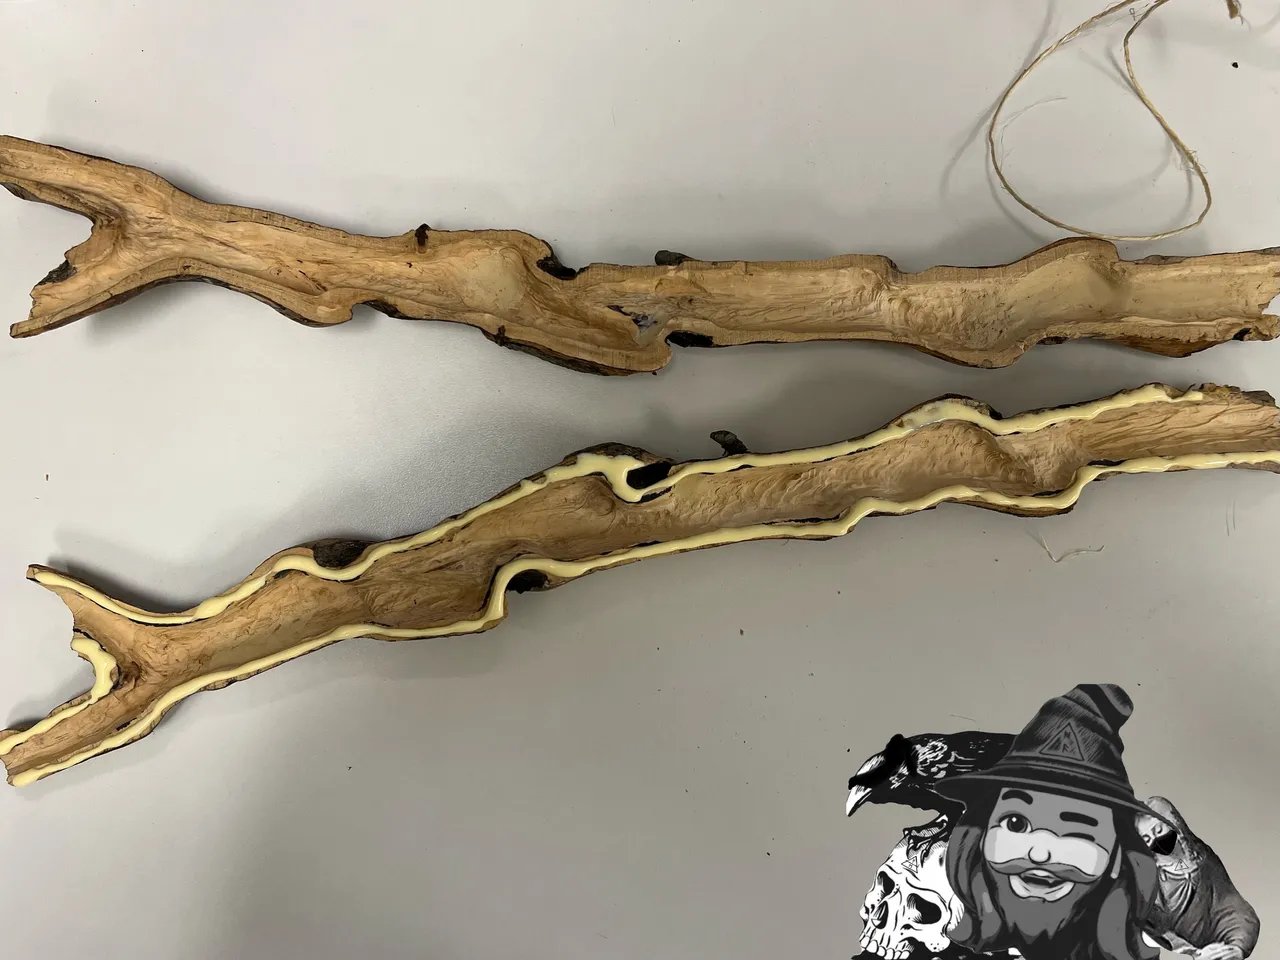
I filled in all the holes that were pointed out at the end of day two, and also, if you saw Part 1, you may remember that my first attempt to split the branch failed and had to be glued back together…I filled in the gaps there as well.
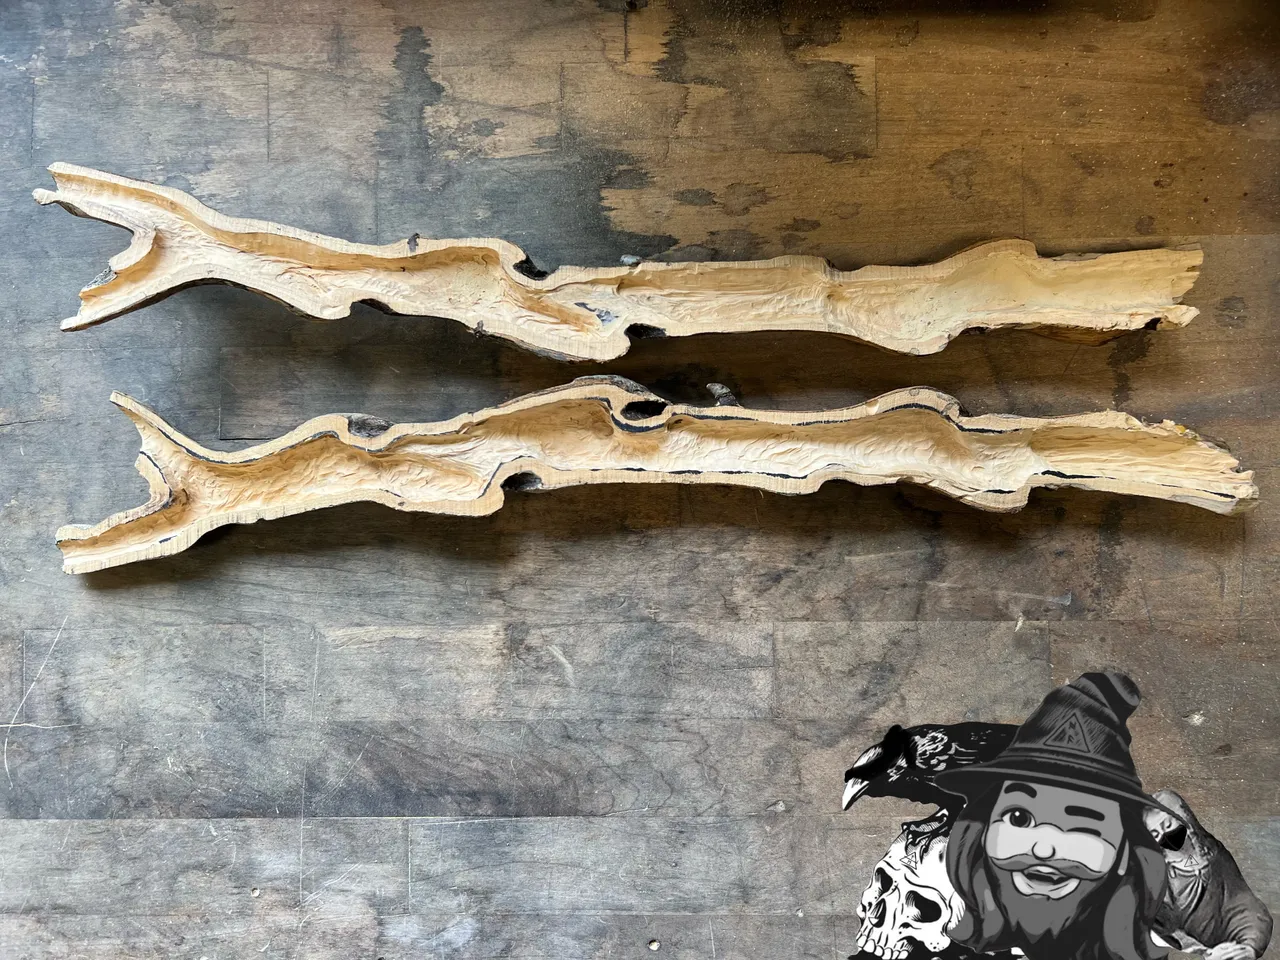
Next, I hollowed out the remaining portions of the second half.
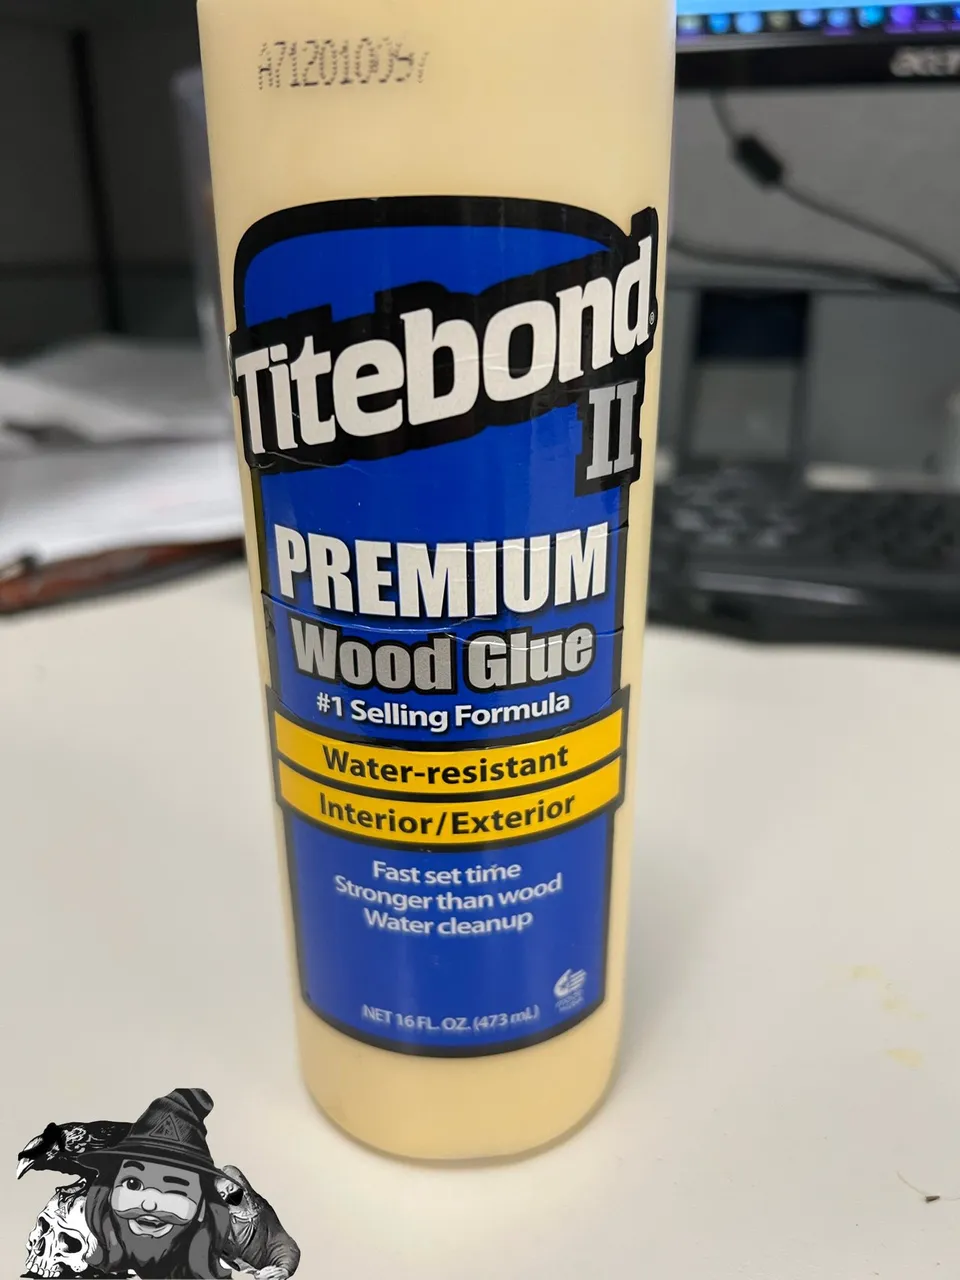
I just used standard wood glue to put it back together:
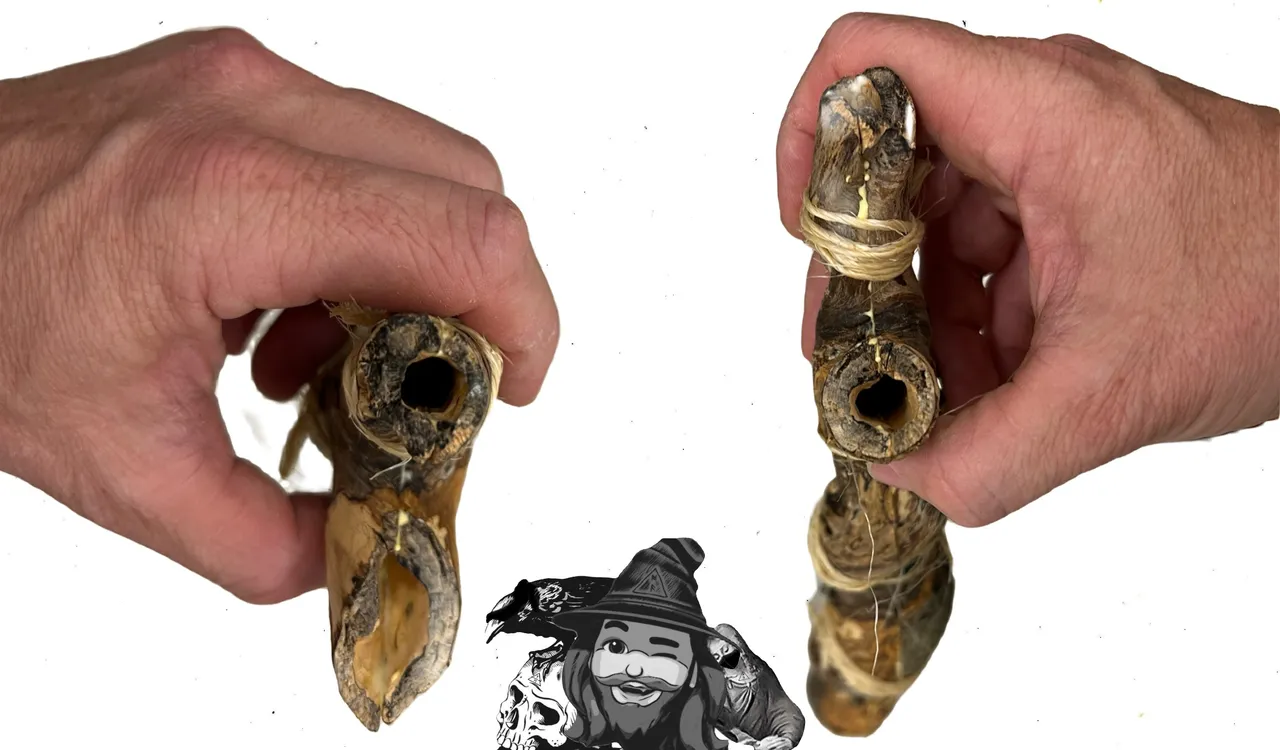
I placed the two sides together, lining them up and checking the edges to make sure they were nicely aligned, and then I bound them together with twine every couple inches or so.
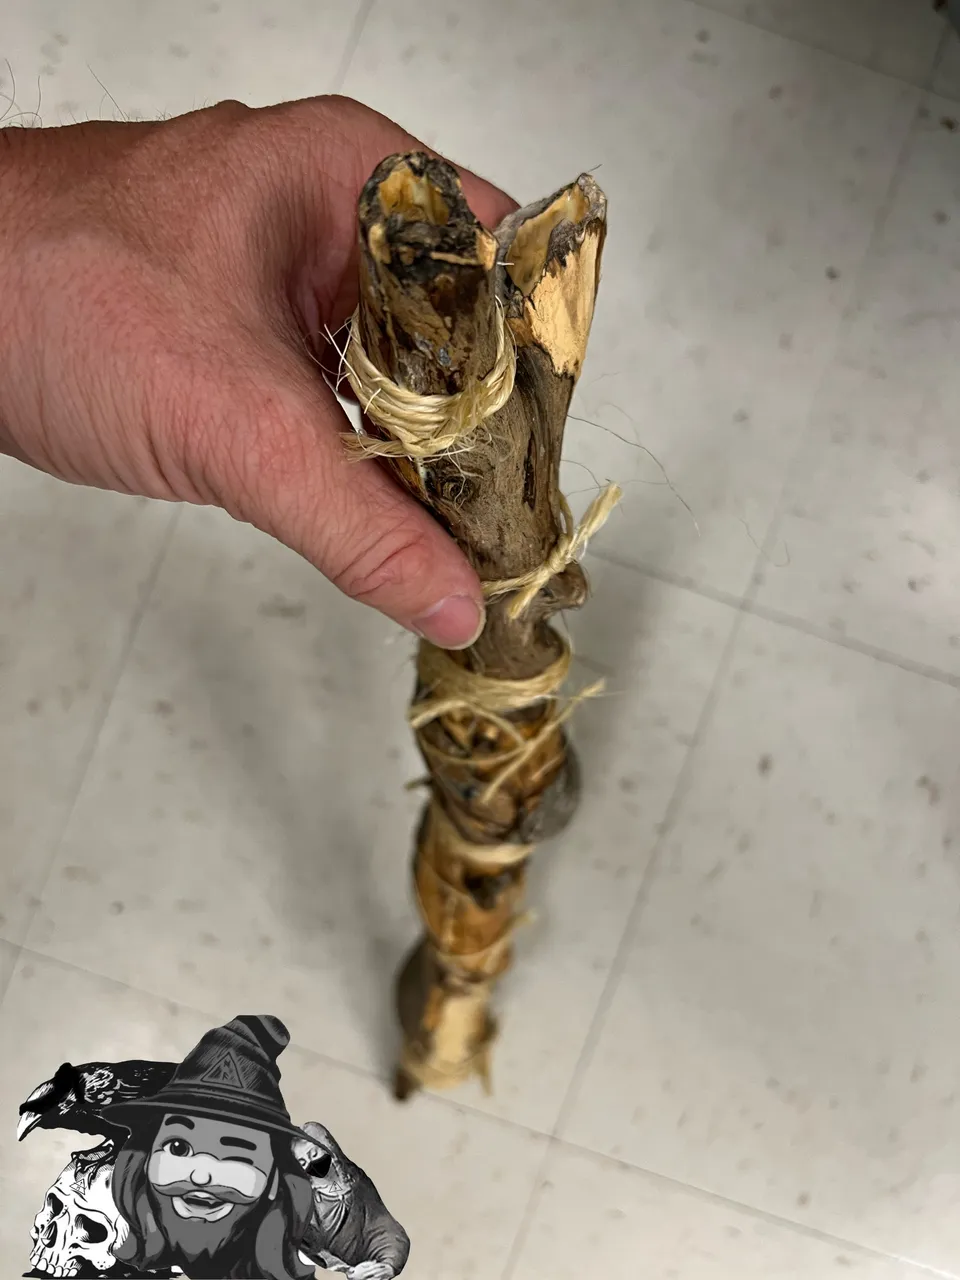
The two openings on the outlet side came out very nicely. So did the other end, but I didn’t take a picture of that…guess I figured this was getting long enough as it is.
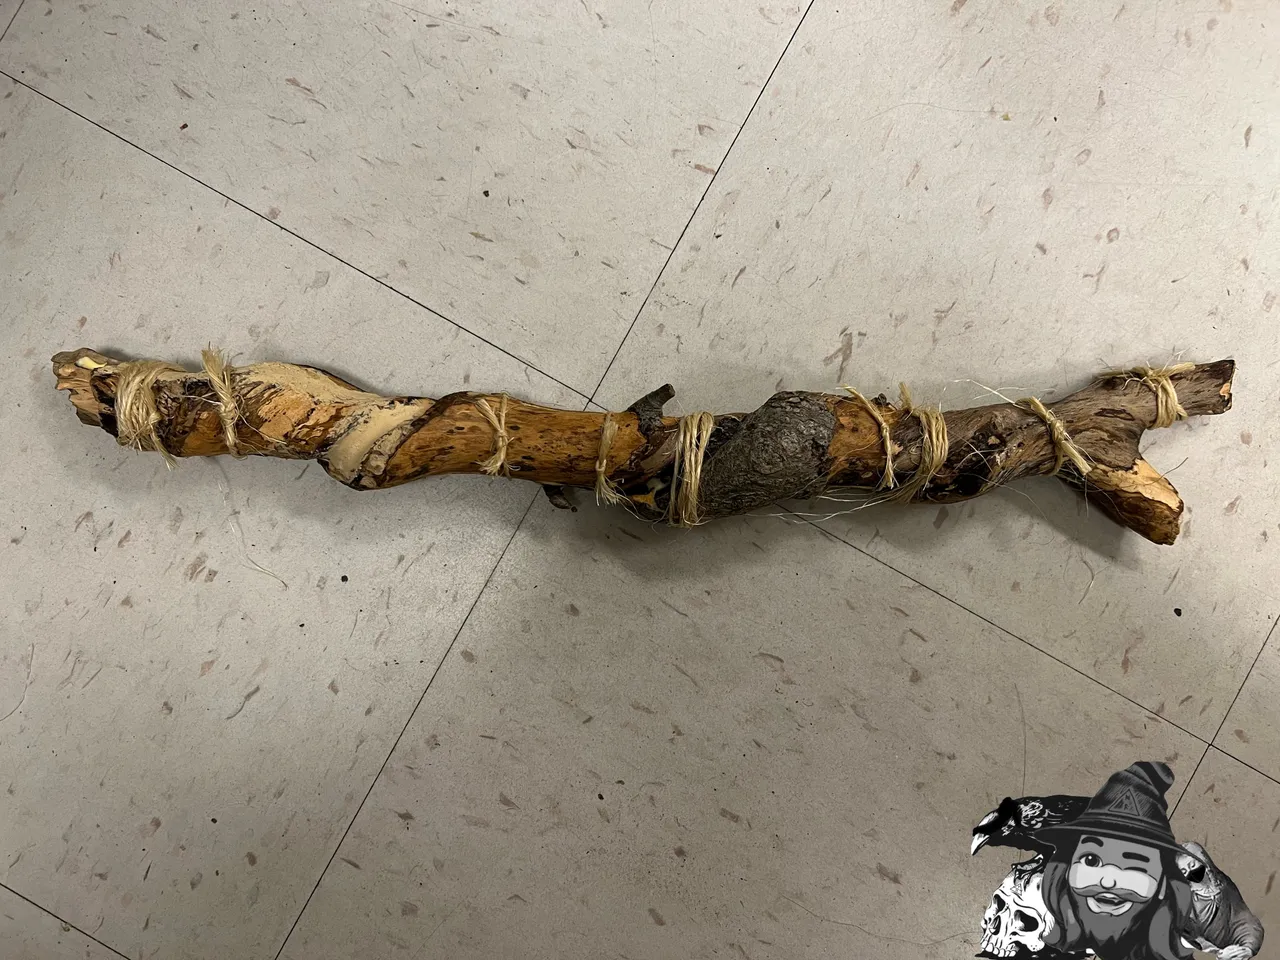
And here it is, in all its glory!
Next time I think I’ll remove the twine and clean/stain the outside, but who knows. Truth be told, I have no idea what I’ll do next for sure.
…although I’m still a ways out from having to make any decisions about tuning/fingering positions, I am considering maybe trying a three-hole configuration with a quena-style embouchure. I’ve seen a couple of names for this style, but I don’t know enough about the variations to speak to them, so I’m just going to call it a three-hole flute for now. It sounds like it would be limited in range, but check this out!

…this would be a very good configuration for a Car-Fluting flute :)
Thanks for checking out some more of my work! As always, I hope you enjoyed witnessing as much as I enjoyed creating!
© Photos and words by @albuslucimus, except where otherwise indicated.

If you enjoy my content, check out the Albus Index!
Here you’ll find links to various post-groupings, so you can find all posts related to a specific topic quickly. Topics include lists of brewing recipes, flutes, crypto talks, rucking posts and an index of all acoustic covers. The lists are updated as new content is added, so they can always be used to quickly navigate my content.