Hi there! I just joined this community and WOW! This is amazing!! I am blown away with how many amazing artists are on here!
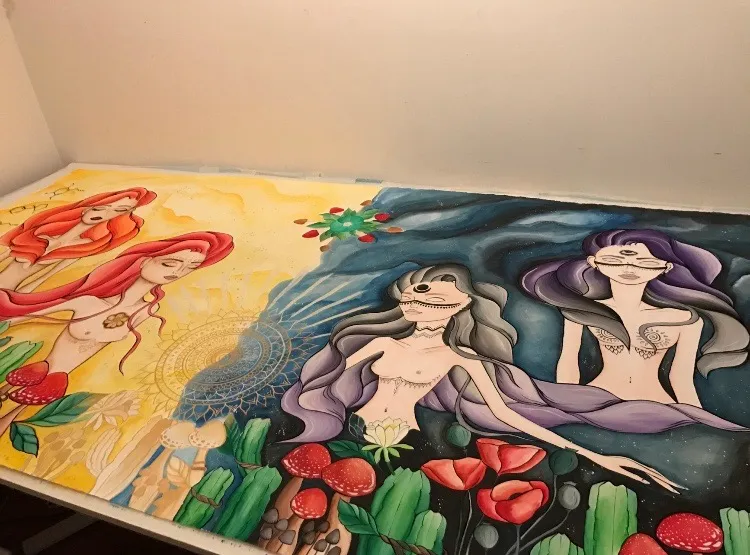
I thought I would share with you the biggest painting I have ever done! It was nearly 3mtrs long!!!
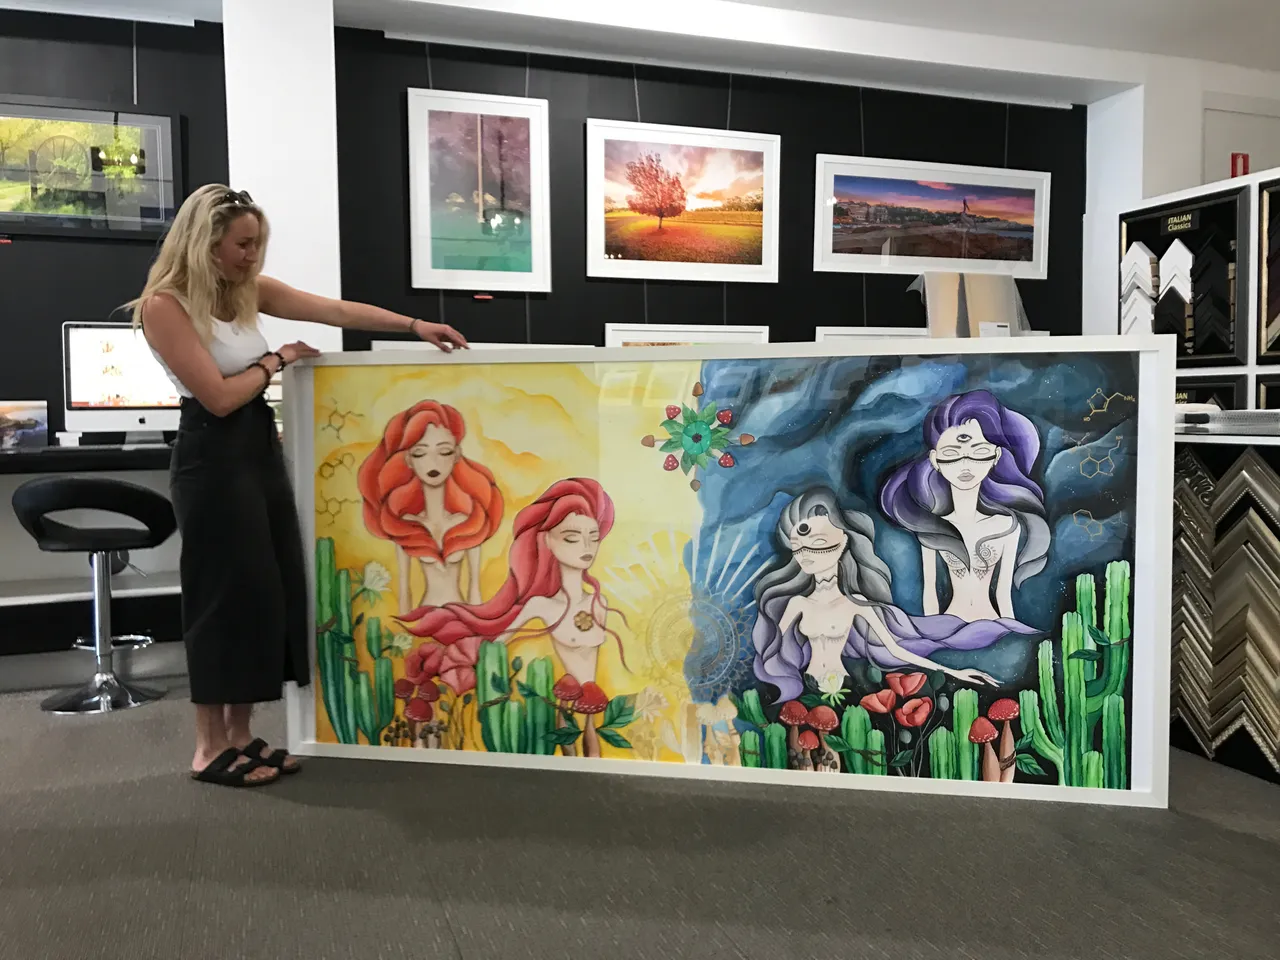
This piece was commissioned by somebody who saw my artwork hanging in a cafe. They told me they had a had a vision of this artwork in their head for 5 YEARS and when they saw my art they felt like they had found someone with the right style to bring it to life (such a compliment! Also a little side note- my art had been hanging in this cafe for months with very little result. This person ended up buying one of those pieces plus this big commission so I feel thats an important thing to share!!! Sometimes when doubt sets in you just have to push it aside and keep going.... if your doing what you love it will work out!!!)
I sat with the client 3 different times to work out exactly what they wanted and was also able to add in a lot of my own ideas to make it more "cohesive" as an artwork. I have found over the years people are all so different! Some have a fully finished idea in their heads and just want you to bring it to life, others have no idea what they want besides maybe one simple element and just want you to do your thing and create something special for them. This client was in between. As much as they had a vision for what they wanted, the size they where asking for meant a few things needed to be pointed out to make it as cool as possible. For example.... it was such a big size they where wanting I actually marked out how big it was going to be with them sitting there. Initially they only wanted 2 figures but when I explained there would be a lot of space to fill (which would usually be fine but they wanted the body figures as the central features, and to only show the torso) I made the recommendation that 4 would be much better to look at when it was hanging on the wall.... it changed the artwork totally, and also barely at all!!!
After these meetings and about 2 dozen emails with reference images and changes I was able to sketch up a replica of what it was going to look like. This was awesome as I usually don't do but it was really important to have everything spaced out perfectly from the get-go! Once I got the go-ahead from the client.... the fun really began!!
I ordered a massive piece of MDF board from the local hardware store and pretty much emptied my whole studio so I had room to do it. The whole time I was working on this I actually had to turn side ways to get in and out of my studio room!
I ordered a 10 mtr roll of watercolour paper and rolled it out over the board, cut it to size and taped it down. (This literally took me a whole day to do....about 2 hrs in I also cried because the paper kept rolling up and I couldn't get it perfectly straight on the board.... everything is time consuming and a LOT harder working with this kind of size!)
Next step was sketching out the artwork. I was so grateful for my accurate sketch to work off! It meant I could block it all out with very light pencil work and get every element in "sort of" the right place before adding in the detail of the sketch. This was probably the most rewarding step- seeing it all prepped perfectly and ready to go after already a few days of work was so relieving and cool!!!
Now... the fun part!!!! PAINT!!!!!!!
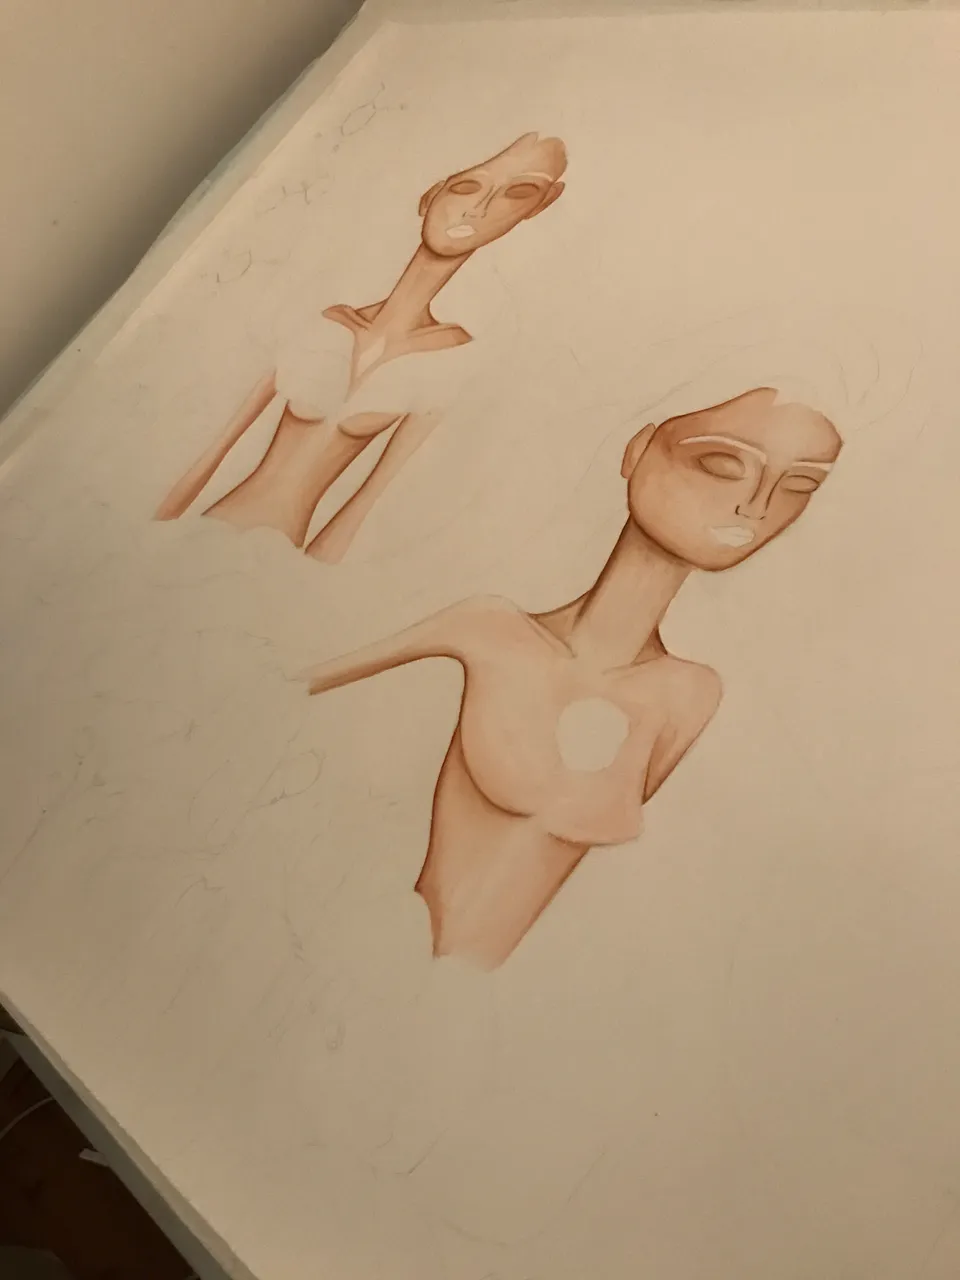
I started with the skin tones first. For this I actually used water colour pencils as I can never seem to get skin right with just paint. The rest of the artwork was all watercolour paint from a pallet and gauge for a deeper, more saturated effect where needed (the hair!!!!)
The hair was probably the most relaxing part, I love painting hair and getting to work with such bright colours was so much fun!
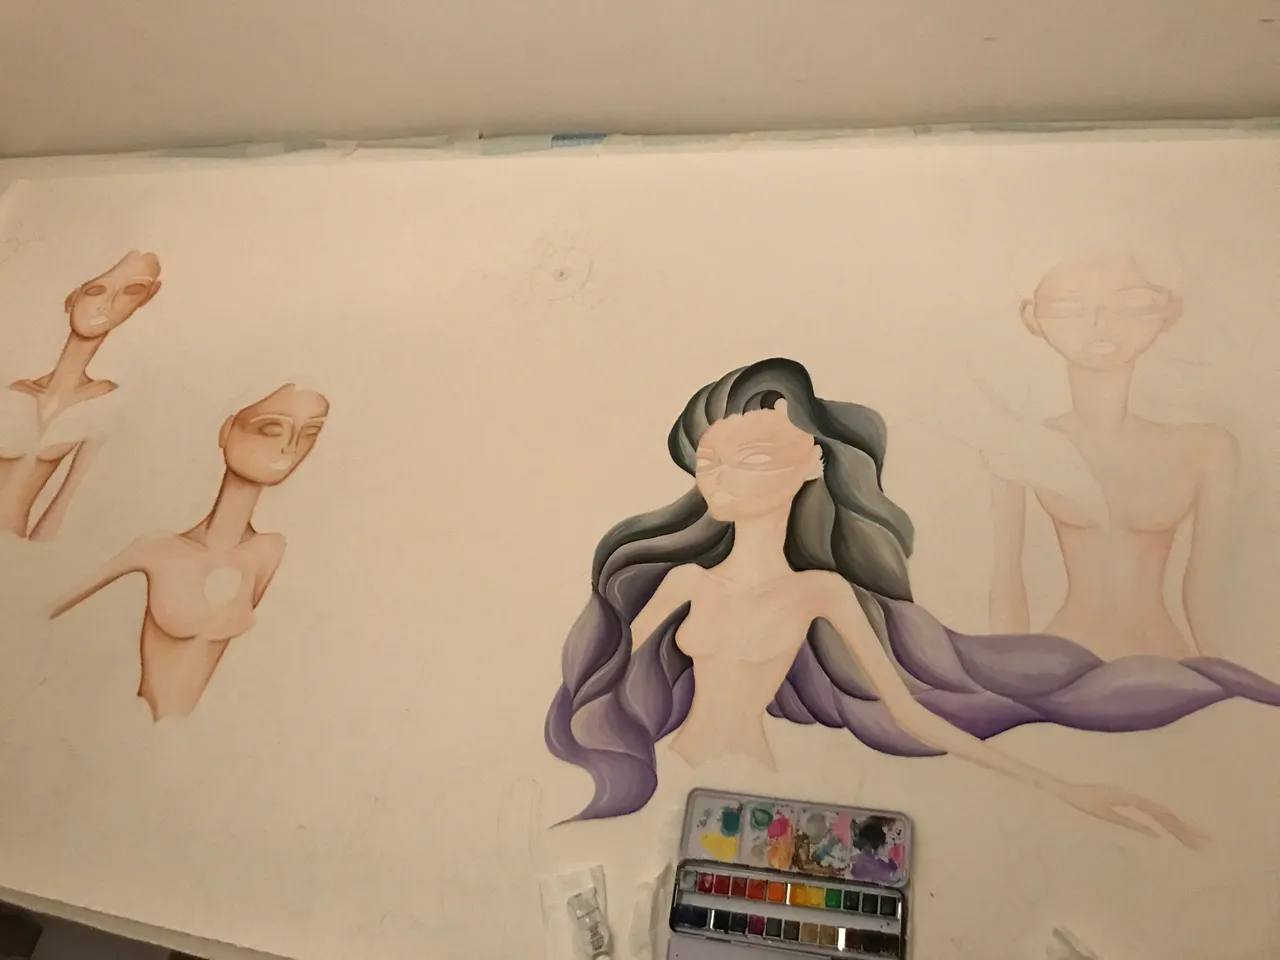
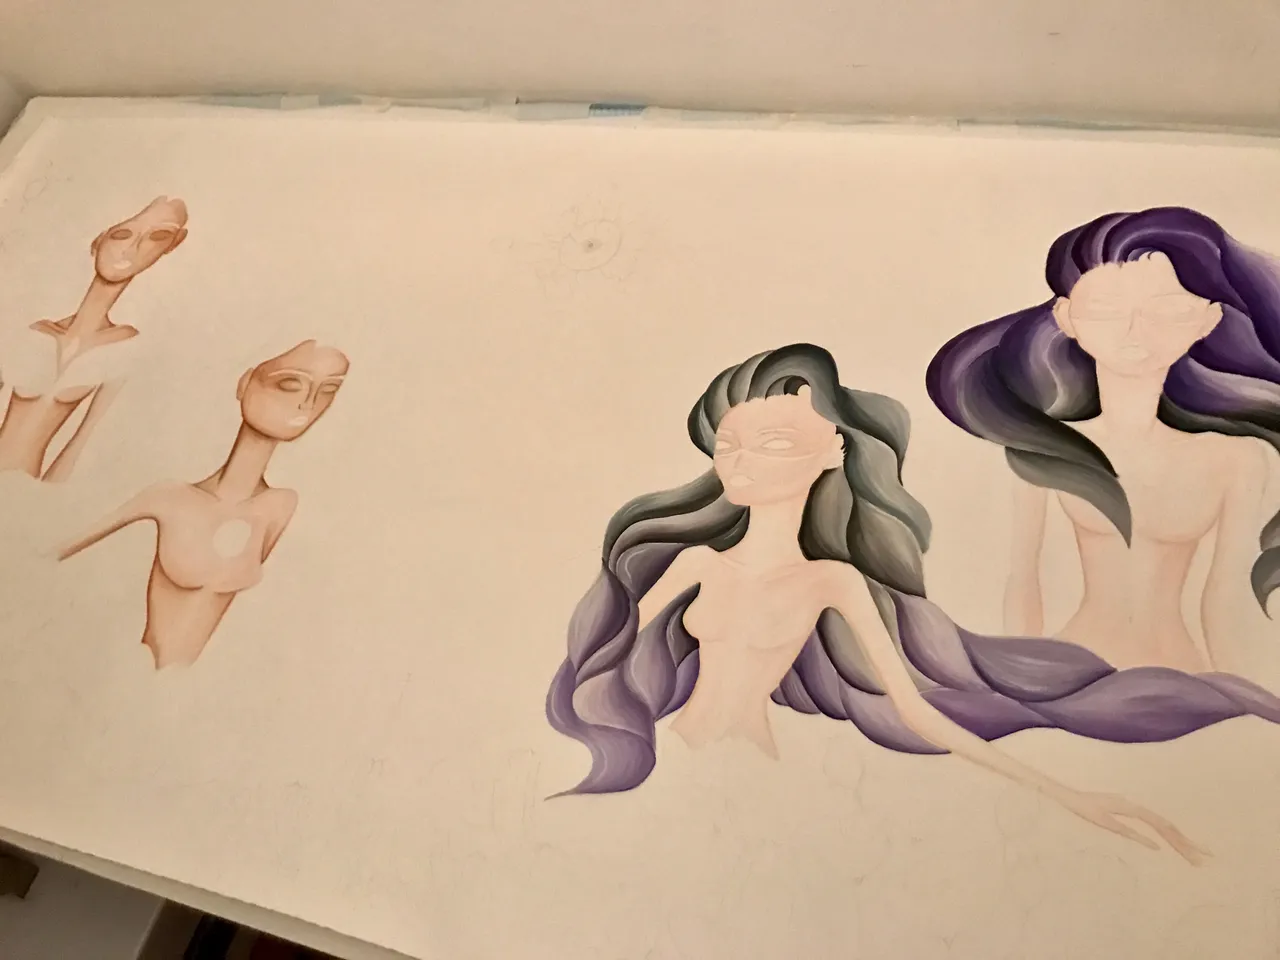
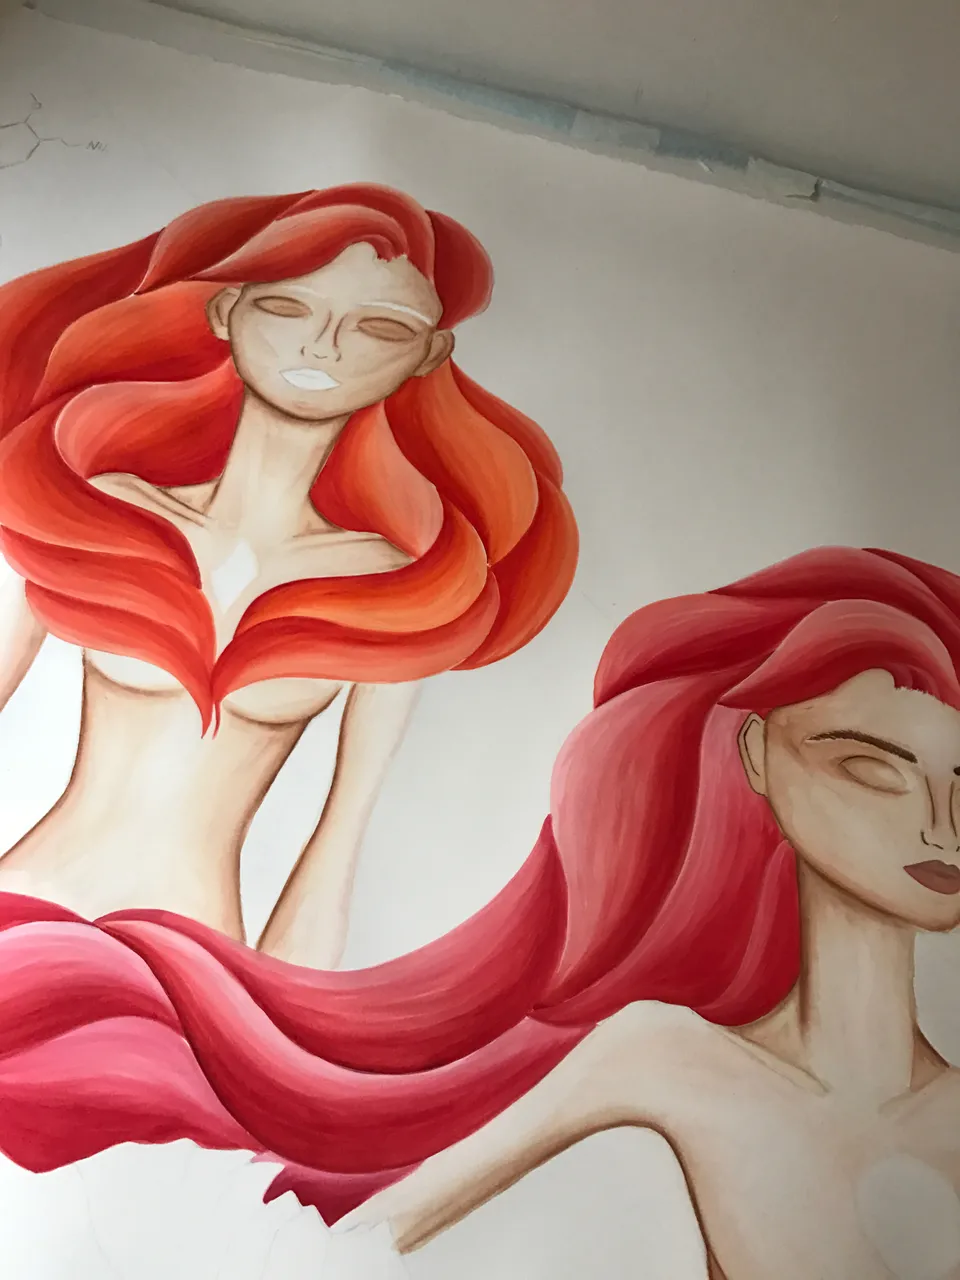
Then I added in all the detail to the girls. All the tattoos, face paint etc was a heap of fun! I had most of it in the sketch but I added in some extra tattoos because it looked so cool!
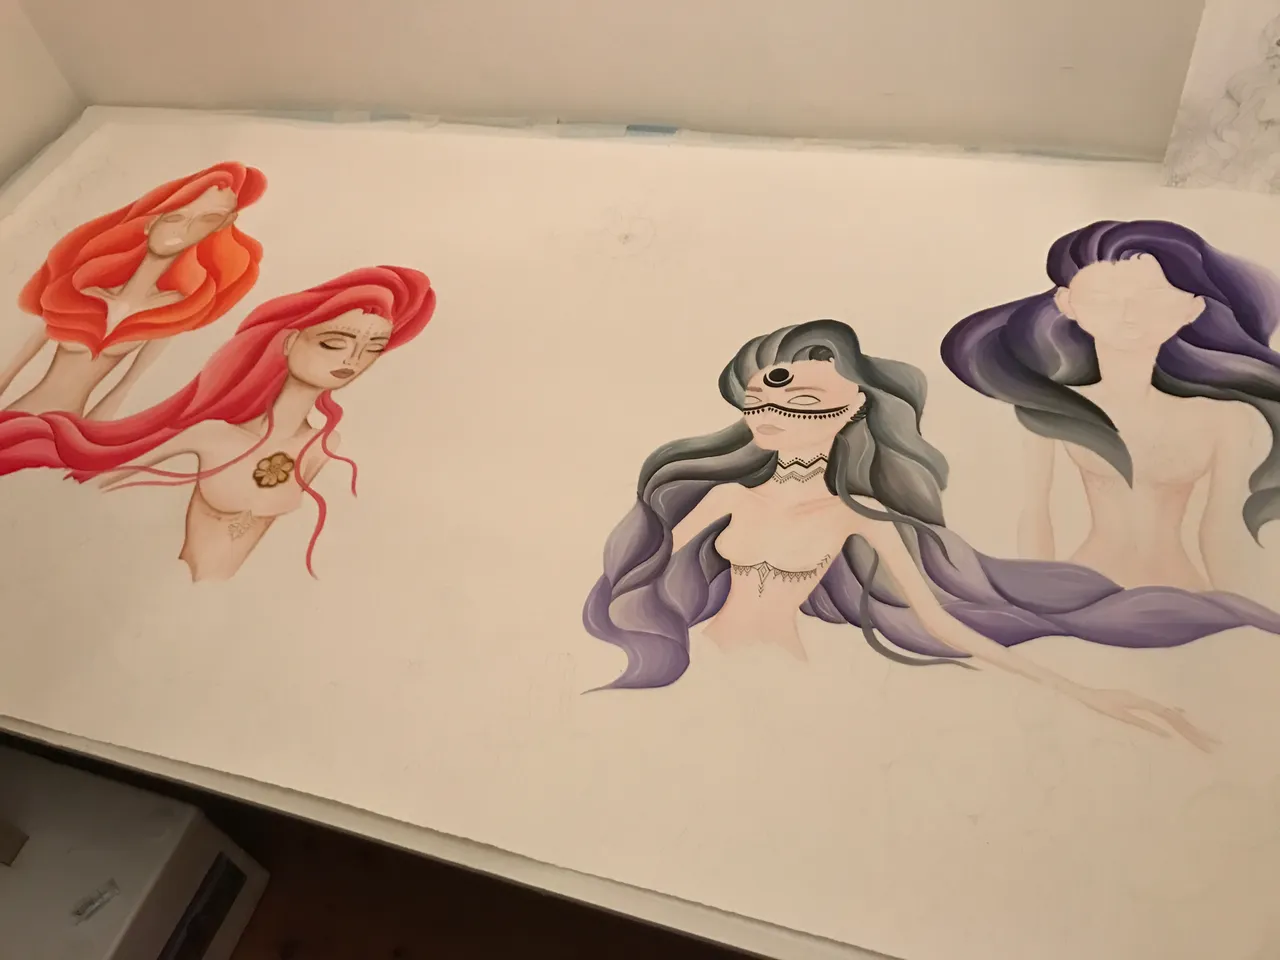
Next comes the back ground!!! For this I used a few layers of thinner watercolour paint then added in some heavier parts on top using white gauge to bring it all to life and create some depth.
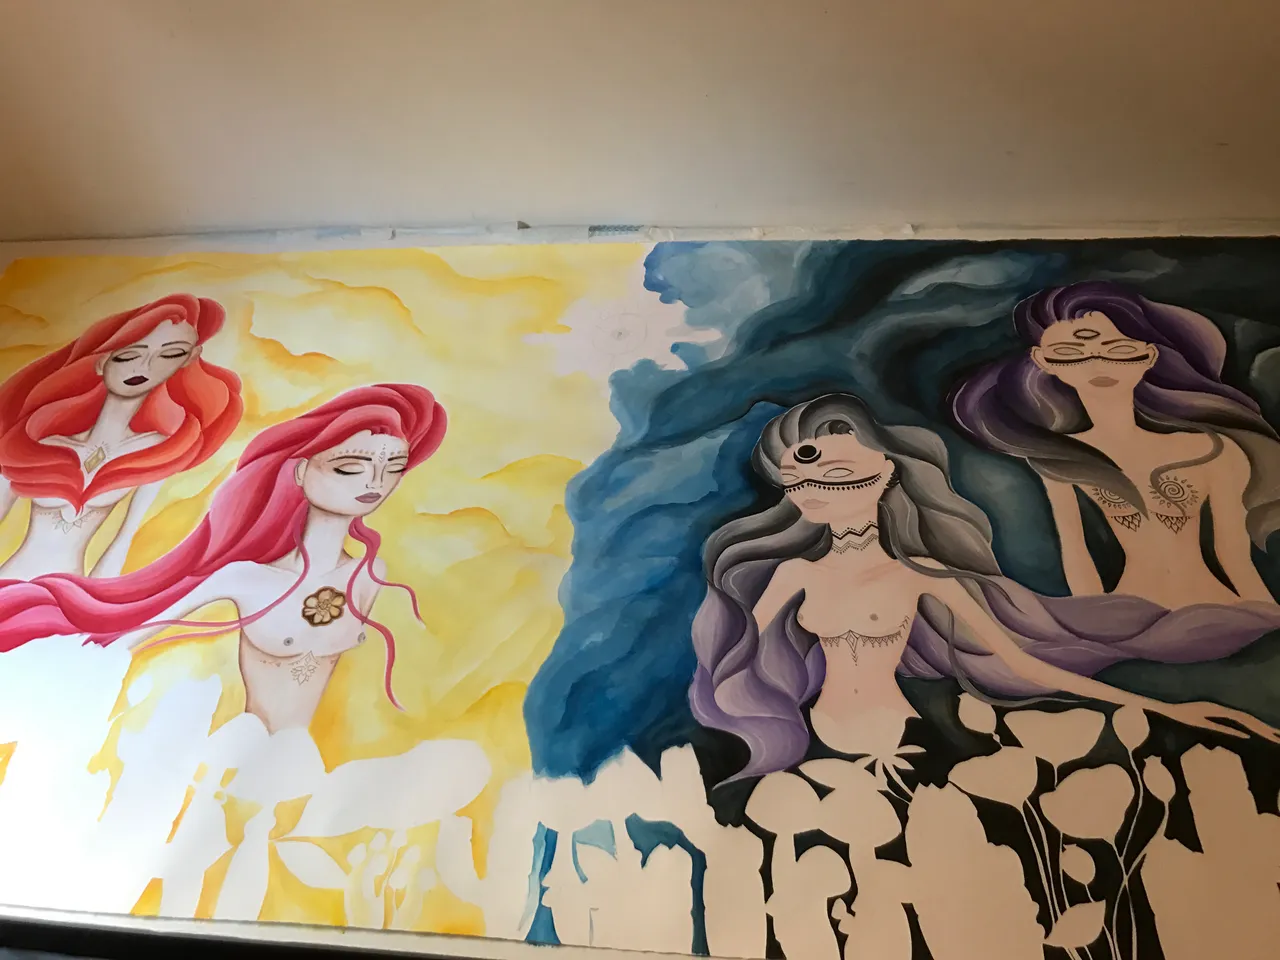
Then I worked on all the plants at the bottom of the page. The idea for these was to really "frame" the figures. I also painted the mandala in the centre at this point too.
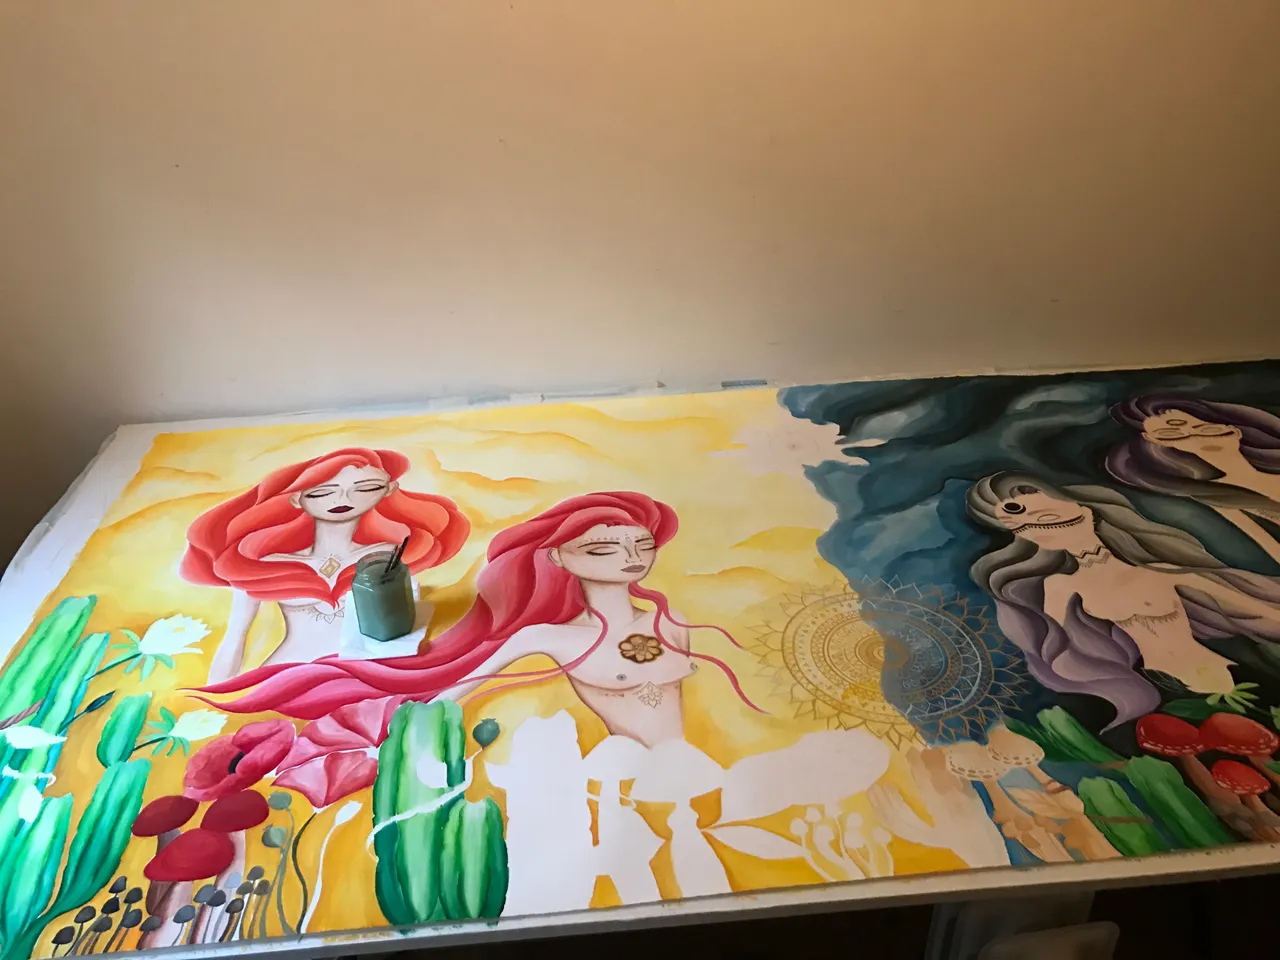

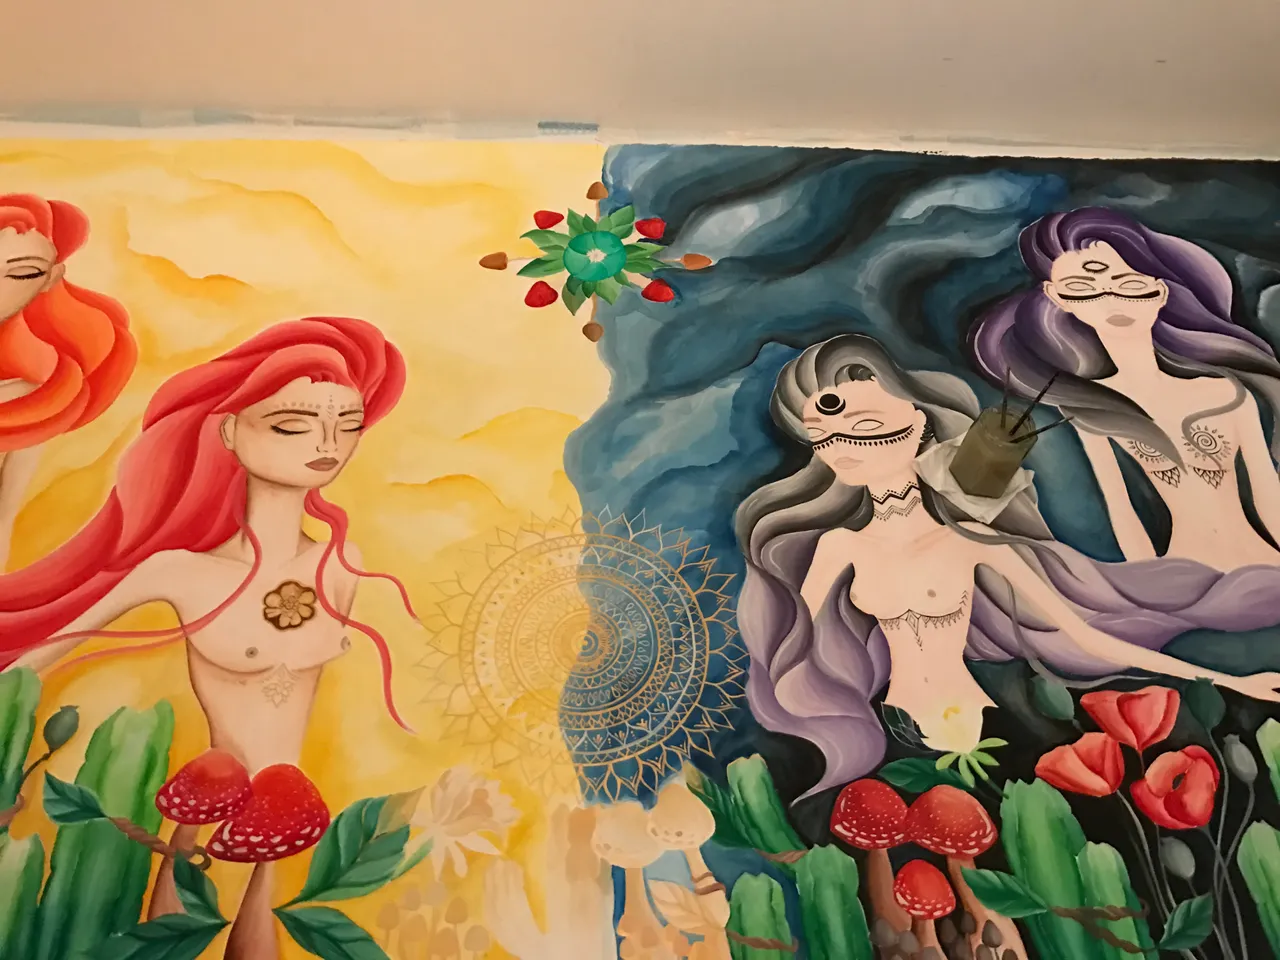
Now... here's where it really comes to life! The outlining!!!! I think this step took me about a week from start to finish, but its so rewarding! It makes all the elements you have been working on separately come together and POP!
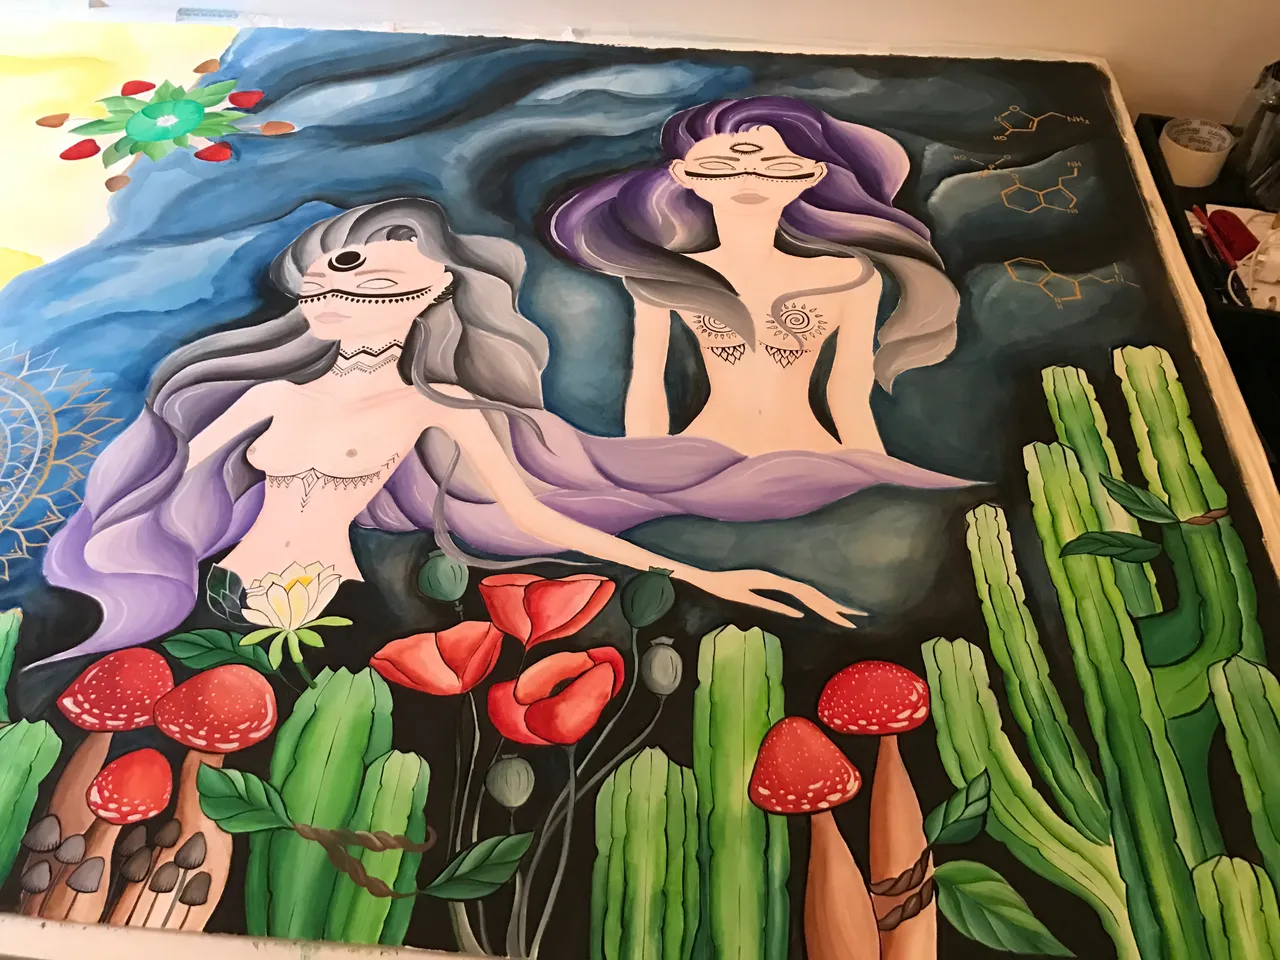
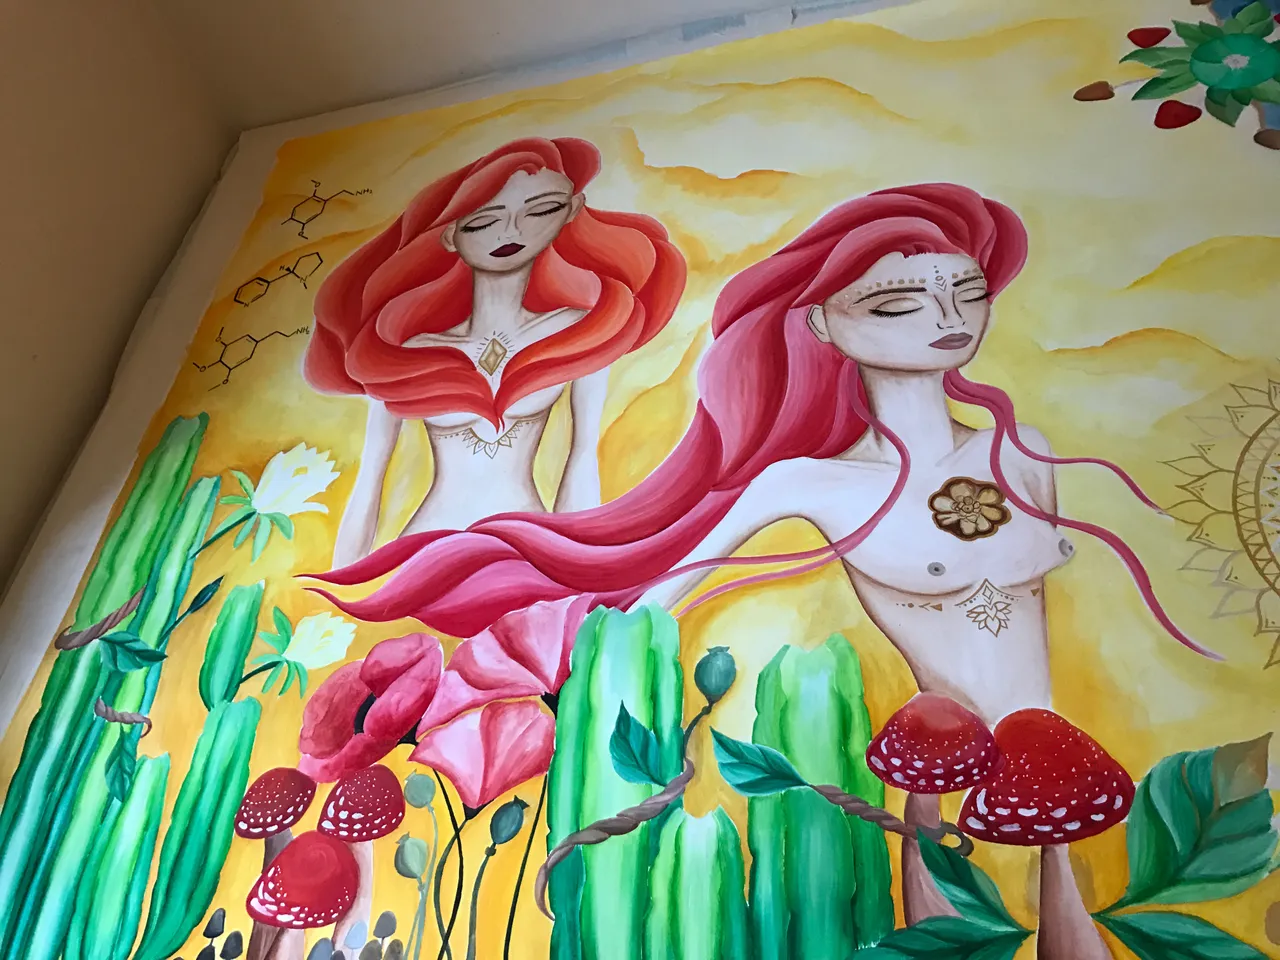
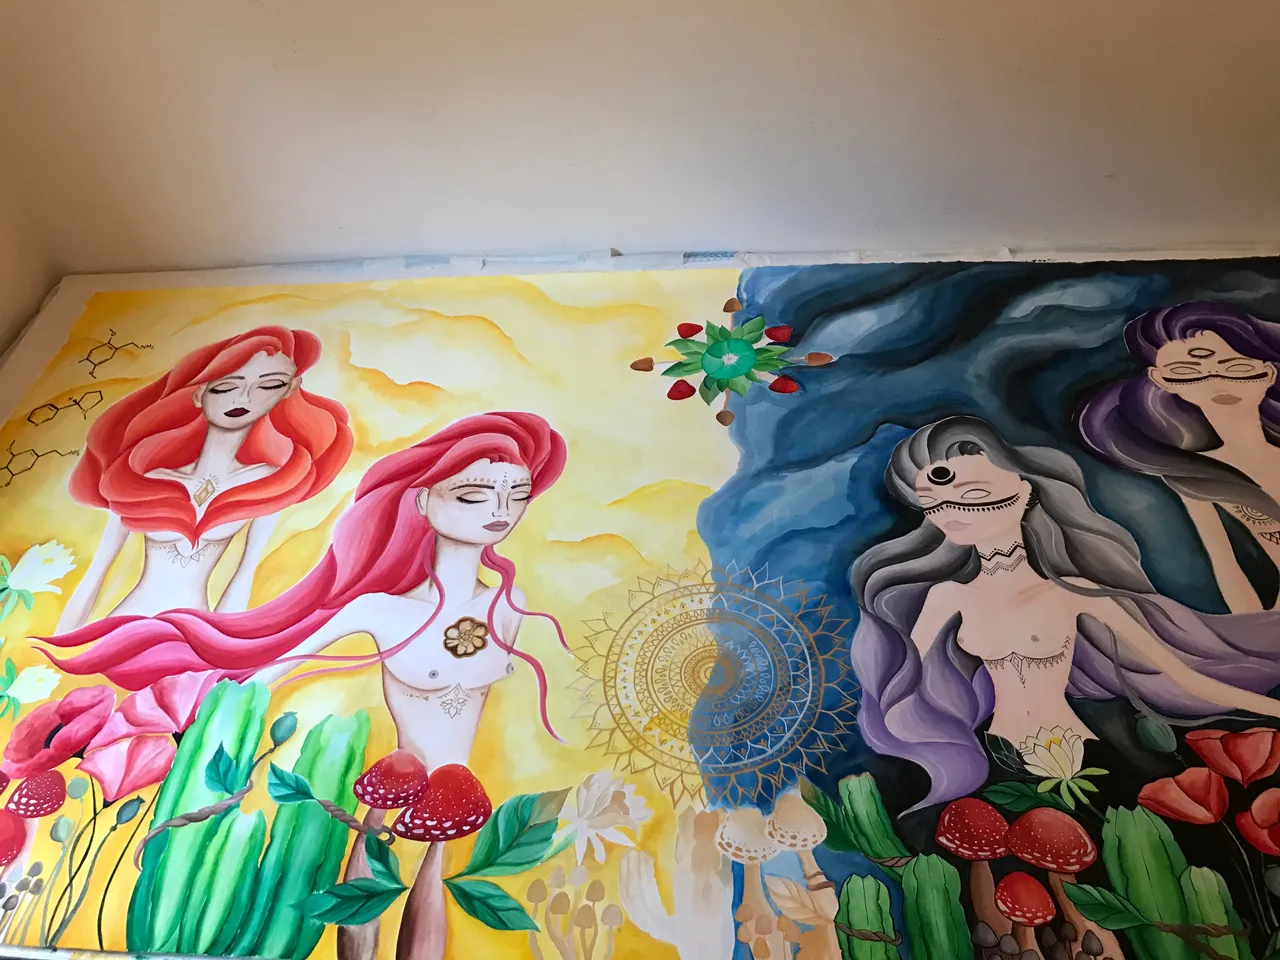
And then I added in the rays of light coming from the mandala, tidied everything up and..... its done!!!
I rolled it up and bought a wide, plastic tube from the local plumbing supply store so I could safely transport it to the framers where I met the client and they saw it fully completed!!!! I got to help pick the frame too!!!
From start to finish this was the coolest piece I have ever worked on. The size was so far out of my comfort zone but the elements weren't. So everyday I just blocked it down into little sections and little bit by little bit I got it done.
I am so happy with how this artwork came out! The client was so happy and said I managed to paint what they had seen in their head..... sometimes I cant paint what I see in MY HEAD so this was the best possible compliment I could receive and outcome for all the months of hard work.
I hope you liked the story of this artwork!!!! Thank you so much for reading!!
Jess :)