𝓖𝓻𝓮𝓮𝓽𝓲𝓷𝓰𝓼
Hello Hive Learners, In lecture 62 we add a new Profile Page in our app. We show the User Display Name and the email of the login user. Today we will upload the profile image with a login user's firebase uid and get the URL of that uploaded image. Then we will store it in the UserProfileChangeRequest and by using the Glide library we will fetch the from the URL into an ImageView.

GitHub Link
Use this GitHub project to clone into your directory. The following lecture will update it so you will never miss the latest code. Happy Coding!
What Should I Learn
- How to upload an image with a unique name
- How to get the Uploaded file link
- What is Glide Library
- How to add and use Glide Library
Assignment
- Get the Uploaded File Link
- Save it in the UserProfile
Procedure
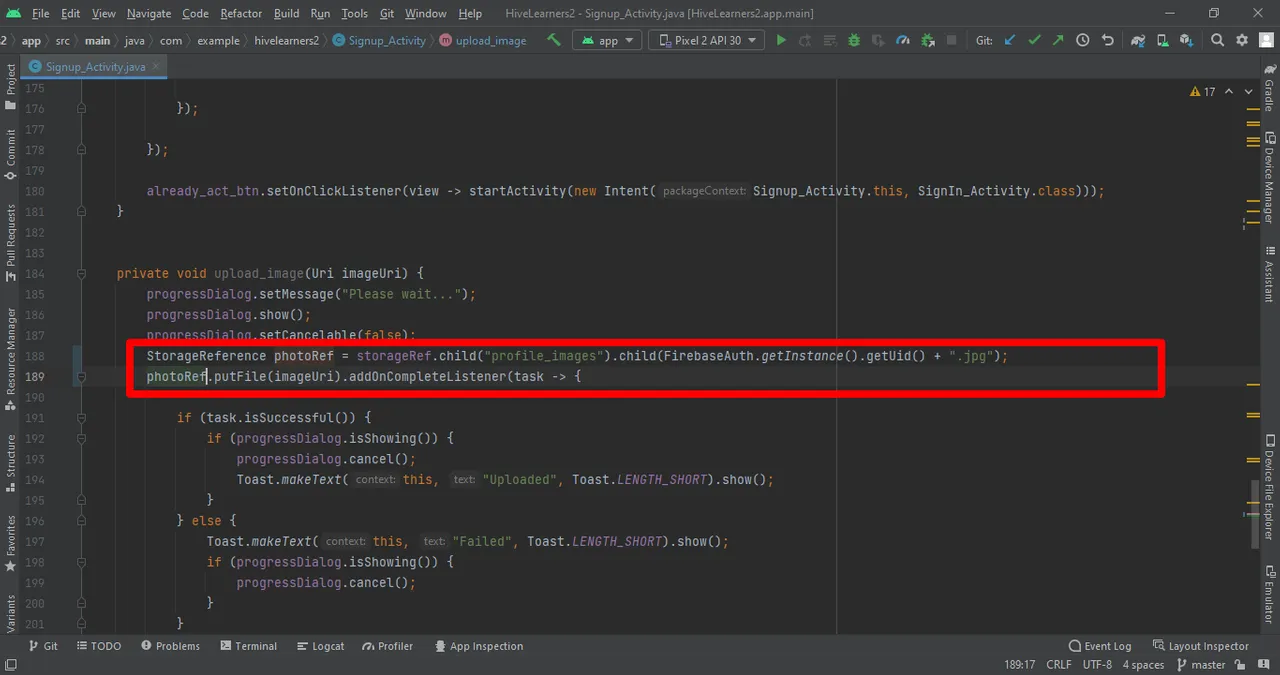
First, we need to create a Storage reference with a unique name of the image we need to upload. We will add the .jpg extension at the end of the filename. We use this ```photoRef`` to upload the file.
 StorageReference photoRef = storageRef.child("profile_images").child(FirebaseAuth.getInstance().getUid() + ".jpg");
        photoRef.putFile(imageUri).addOnCompleteListener(task -> {

            if (task.isSuccessful()) {
                if (progressDialog.isShowing()) {
                    progressDialog.cancel();
                    Toast.makeText(this, "Uploaded", Toast.LENGTH_SHORT).show();
                }
            } else {
                Toast.makeText(this, "Failed", Toast.LENGTH_SHORT).show();
                if (progressDialog.isShowing()) {
                    progressDialog.cancel();
                }
            }


        });
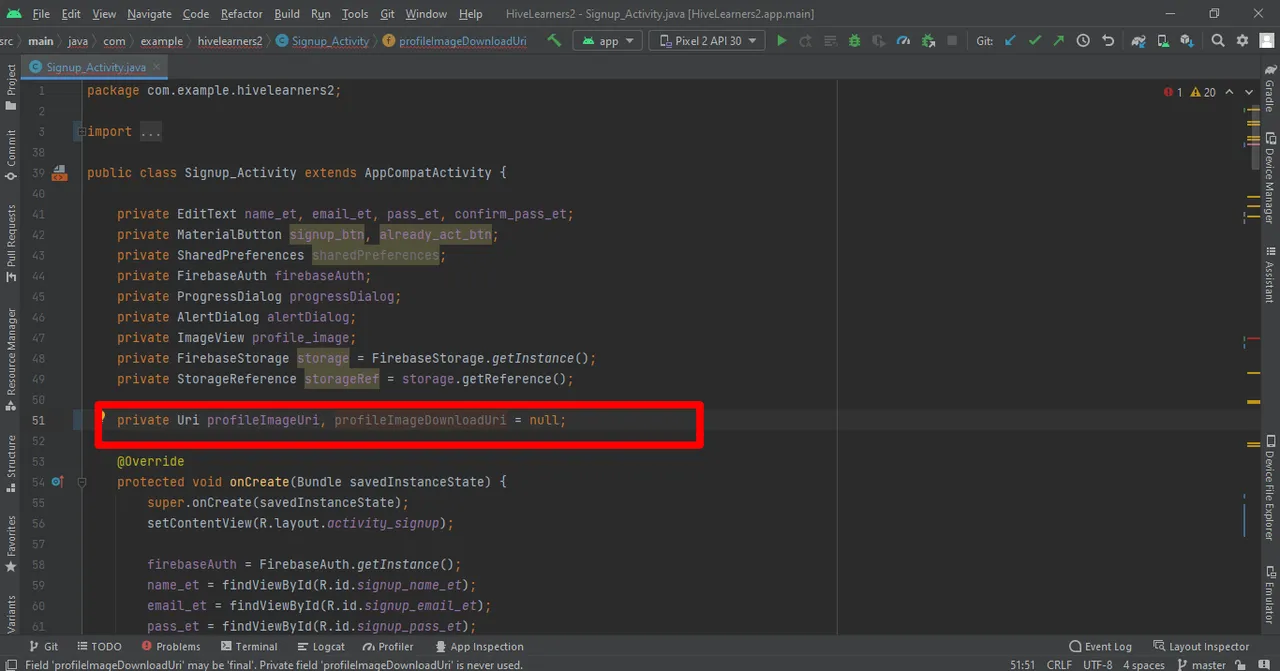
Declare another Uri variable profileImageDownloadUri.
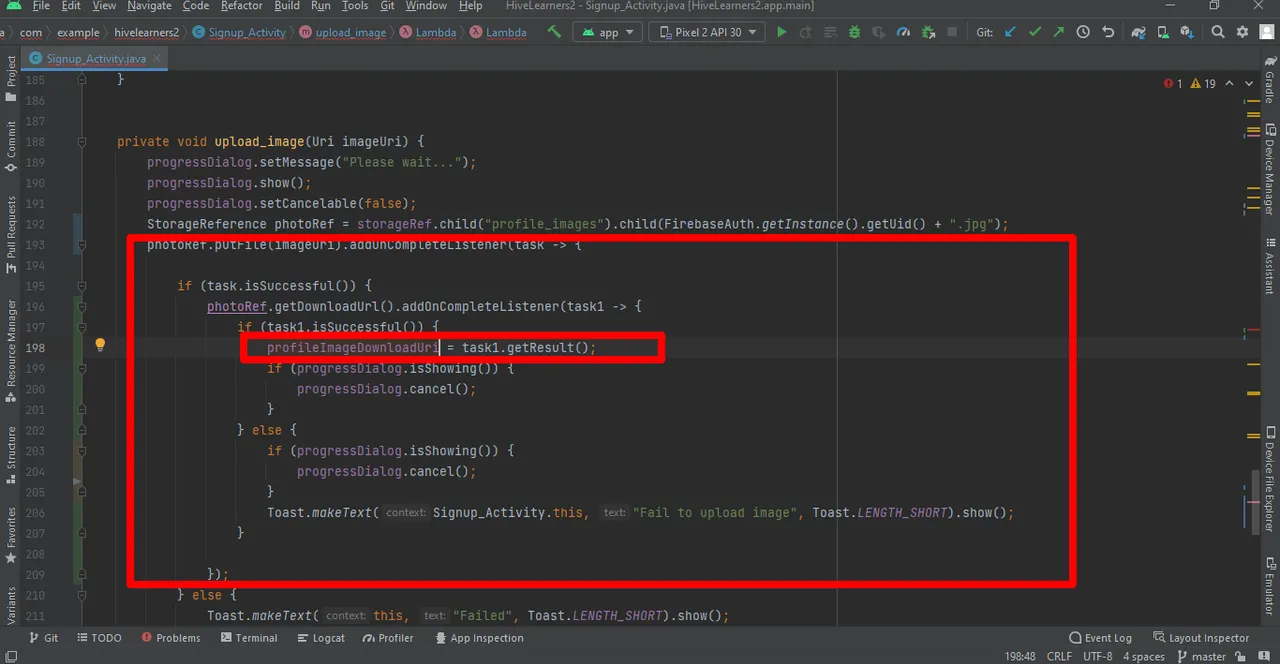
After the successful file upload, we need to get the Url to access that file. To get the URL we will use the same photoRef.
photoRef.getDownloadUrl().addOnCompleteListener(task1 -> {
                    if (task1.isSuccessful()) {
                        profileImageDownloadUri = task1.getResult();
                        if (progressDialog.isShowing()) {
                            progressDialog.cancel();
                        }
                    } else {
                        if (progressDialog.isShowing()) {
                            progressDialog.cancel();
                        }
                        Toast.makeText(Signup_Activity.this, "Fail to upload image", Toast.LENGTH_SHORT).show();
                    }

                });
Now we are creating a separate function to create a user profile. We will move all the FirebaseAuth.createUser code to this function. There are three parameters email, password and username
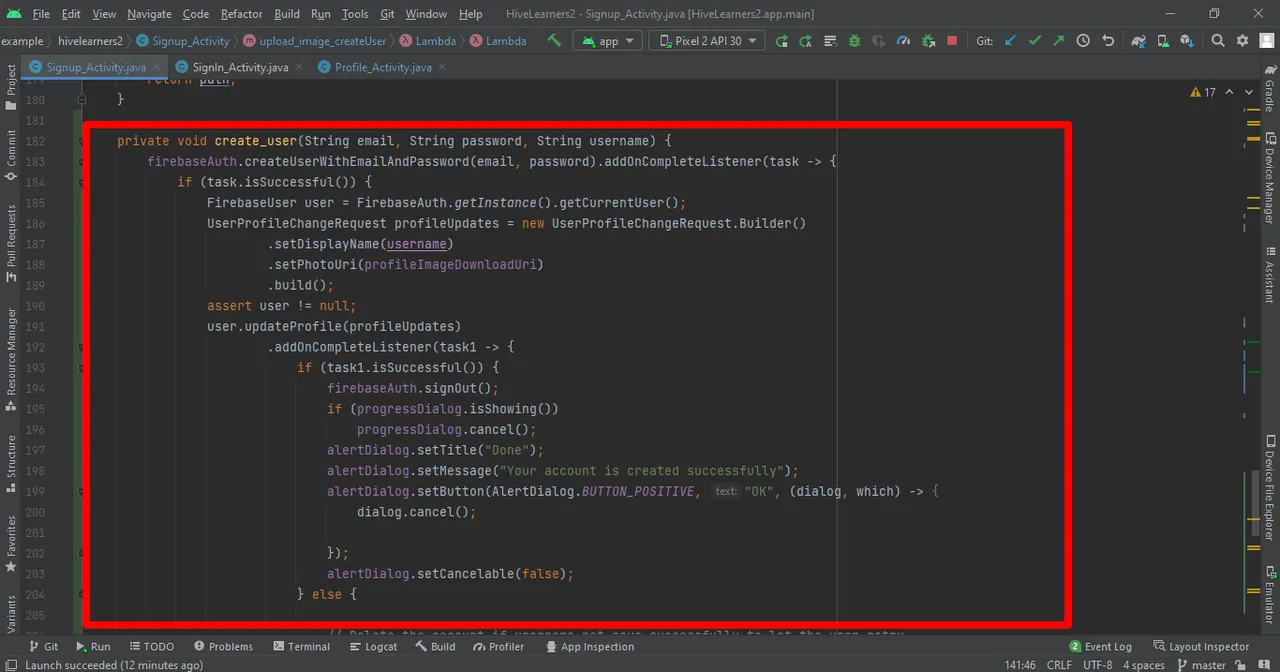
private void create_user(String email, String password, String username) {
        firebaseAuth.createUserWithEmailAndPassword(email, password).addOnCompleteListener(task -> {
            if (task.isSuccessful()) {
                FirebaseUser user = FirebaseAuth.getInstance().getCurrentUser();
                UserProfileChangeRequest profileUpdates = new UserProfileChangeRequest.Builder()
                        .setDisplayName(username)
                        .setPhotoUri(profileImageDownloadUri)
                        .build();
                assert user != null;
                user.updateProfile(profileUpdates)
                        .addOnCompleteListener(task1 -> {
                            if (task1.isSuccessful()) {
                                firebaseAuth.signOut();
                                if (progressDialog.isShowing())
                                    progressDialog.cancel();
                                alertDialog.setTitle("Done");
                                alertDialog.setMessage("Your account is created successfully");
                                alertDialog.setButton(AlertDialog.BUTTON_POSITIVE, "OK", (dialog, which) -> {
                                    dialog.cancel();

                                });
                                alertDialog.setCancelable(false);
                            } else {

                                // Delete the account if username not save successfully to let the user retry
                                assert firebaseAuth.getCurrentUser() != null;
                                firebaseAuth.getCurrentUser().delete();
                                alertDialog.setTitle("Failed");
                                alertDialog.setMessage(task1.getException().getMessage());
                                alertDialog.setButton(AlertDialog.BUTTON_POSITIVE, "OK", (dialog, which) -> {
                                    dialog.cancel();

                                });
                            }
                            alertDialog.show();
                        });


                //Sig up Successful
            } else {

                if (progressDialog.isShowing())
                    progressDialog.cancel();

                alertDialog.setTitle("Failed");
                alertDialog.setMessage(task.getException().getMessage());
                alertDialog.setButton(AlertDialog.BUTTON_POSITIVE, "OK", (dialog, which) -> {
                    dialog.cancel();

                });
                alertDialog.show();
                // Sign up failed
            }

        });
    }
We will rename the upload_image function and also add this new create_user function in it in the image successful upload listener.
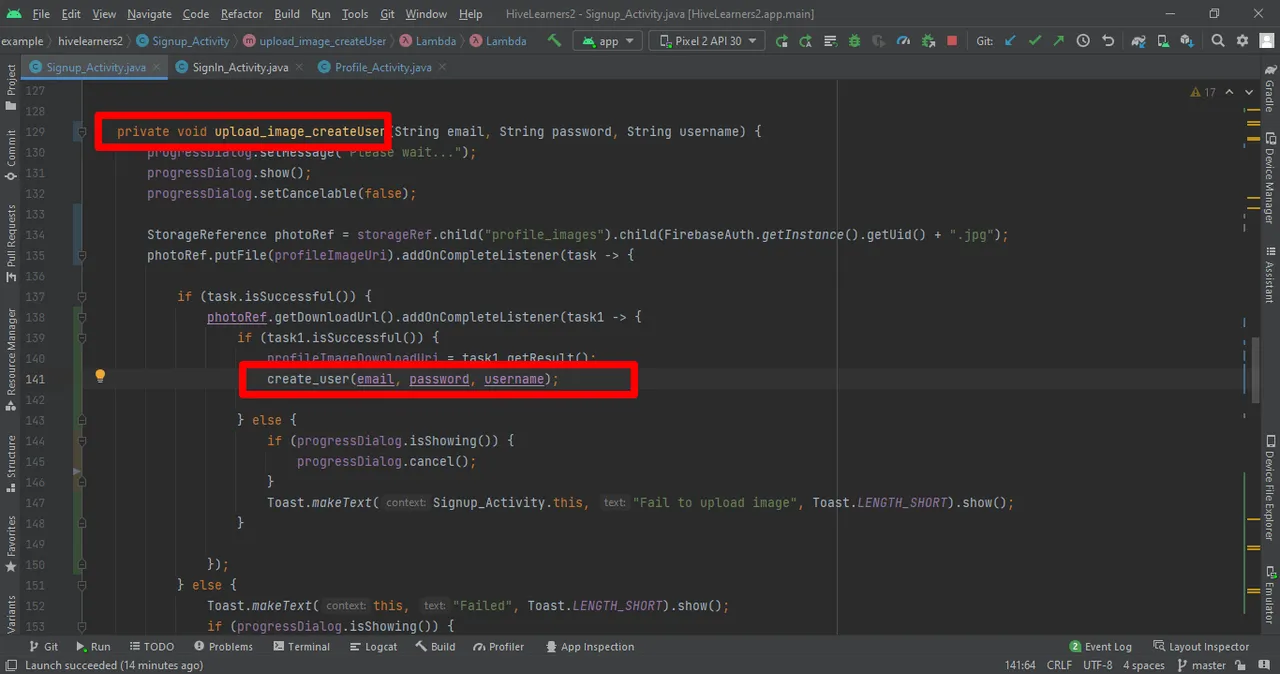
Now we need to call this function in the signup_button click.
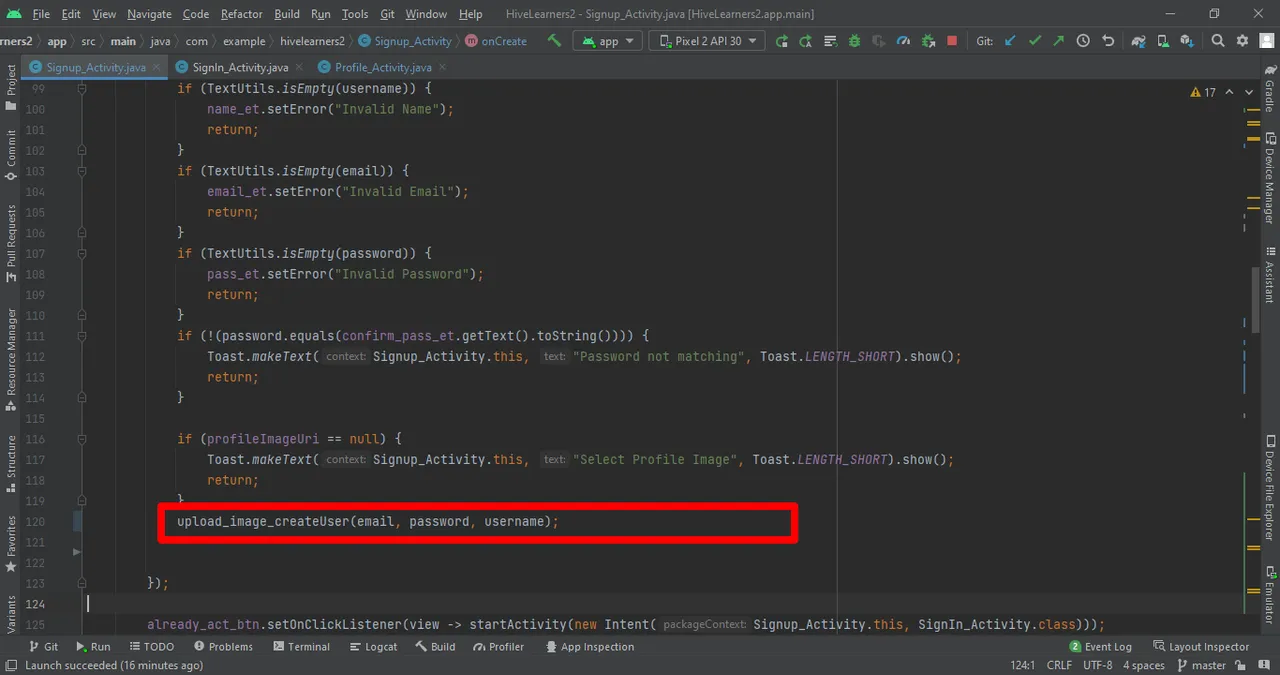
Done!, Our signup logic now saves the user profile image on the signup button click. In the second part of this lecture, we will continue to work on Glide Library. Thank You.

Thank You

