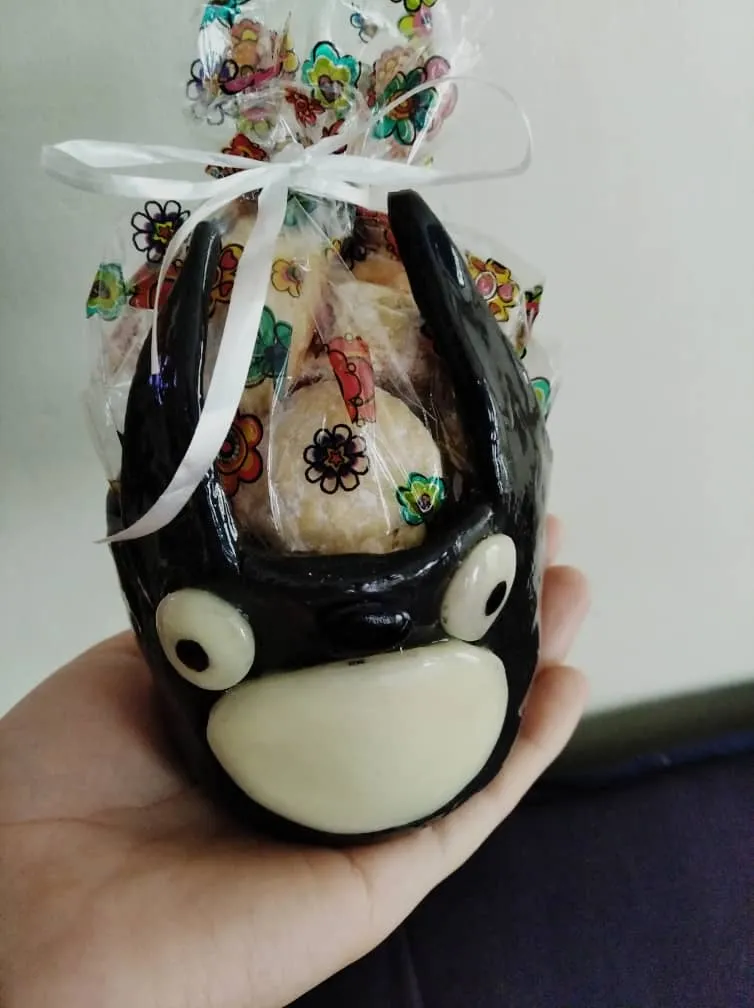
Saludos Hivers, como dice el dicho "lo prometido es deuda". Así aquí les traigo mi breve explicación sobre cómo hice mi vasito con temática de Totoro, personaje del estudio Ghibli, para más información tanto del personaje (que pertenece a una película japonesa) y su historia, les comparto el link de mi querida @tibaire dónde hace una exelente explicación de ello.
Greetings Hivers, as the saying goes, "a promise is a debt". So here I bring you my brief explanation about how I made my little glass with the theme of Totoro, a character from the Ghibli studio. For more information about both the character (who belongs to a Japanese film) and his story, I share with you the link of my dear @tibaire where he makes an excellent explanation of it.
@tibaire/meet-totoro-te-presento-a-totoro
De acuerdo, para quienes no lo han visto, en mi anterior post explico cómo hacer porcelana fría que es el material que voy a usar a continuación. De todas formas, en los futuros post que haga dónde use este material, dejaré el link en la descripción como referencia.
Okay, for those who have not seen it, in my previous post I explain how to make cold porcelain which is the material I will use next. Anyway, in the future posts I will make where I use this material, I will leave the link in the description as a reference.
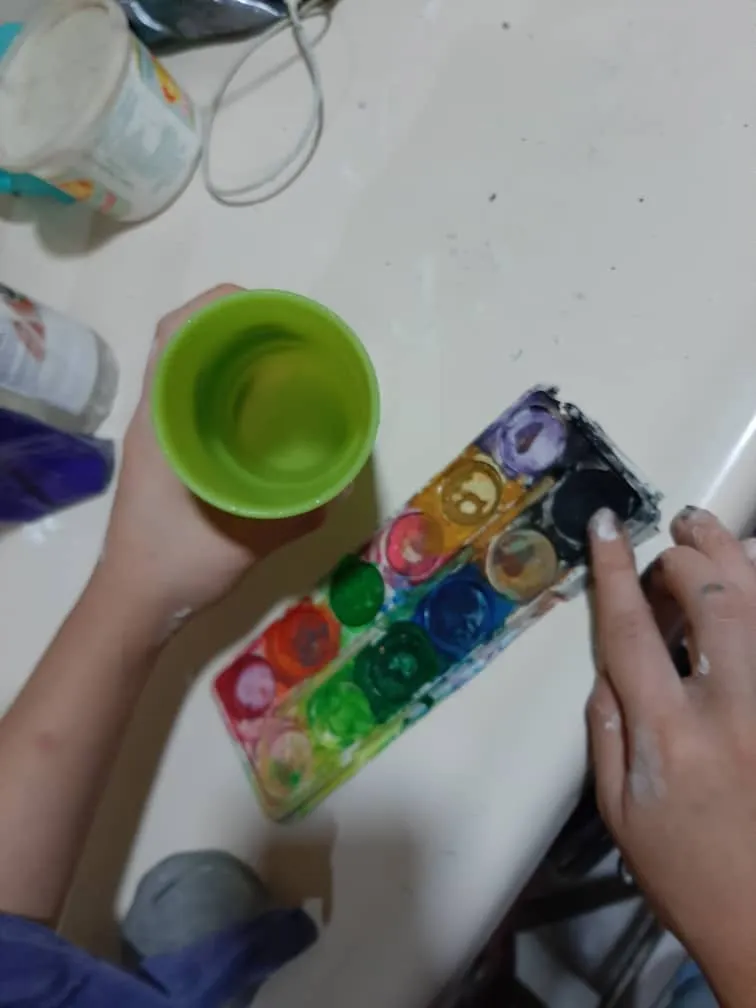
Nuestro primer paso será pintar la masa que usaremos, Totoro es gris con blanco. Así que pintaremos una buena porción de masa de color gris, esto varía dependiendo del tamaño de la pieza que ustedes prefieran ¿Cómo la pinté? Primero tomamos acuarela negra y con nuestro dedo húmedo lo pasaremos por encima de ella, y a su vez encima de la masa repetidas veces. Esta es una alternativa ya que no tenía gris.
Our first step will be to paint the mass we will use, Totoro is gray with white. So we will paint a good portion of dough in gray, this varies depending on the size of the piece you prefer, how did I paint it? First we take black watercolor and with our wet finger we will pass over it, and in turn over the dough repeatedly. This is an alternative as I did not have grey.
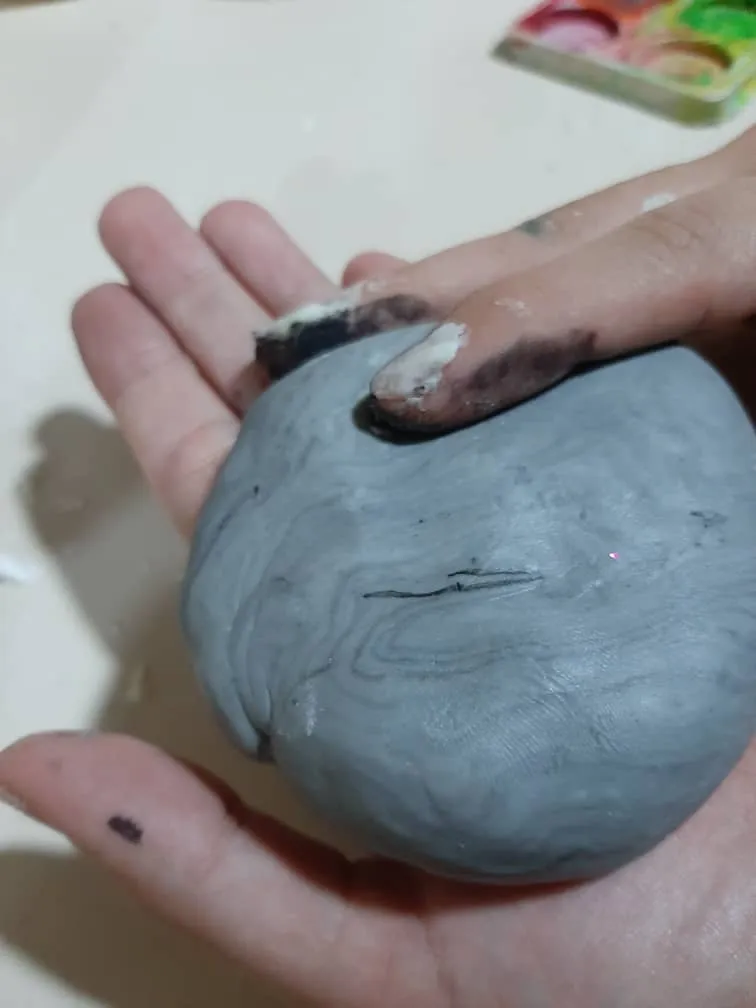
Luego solo queda amasar hasta que el color quede totalmente uniforme (en caso de no tener rodillo pueden usar un vaso).
Then we just knead it until the color is totally uniform (in case you don't have a roller you can use a glass).
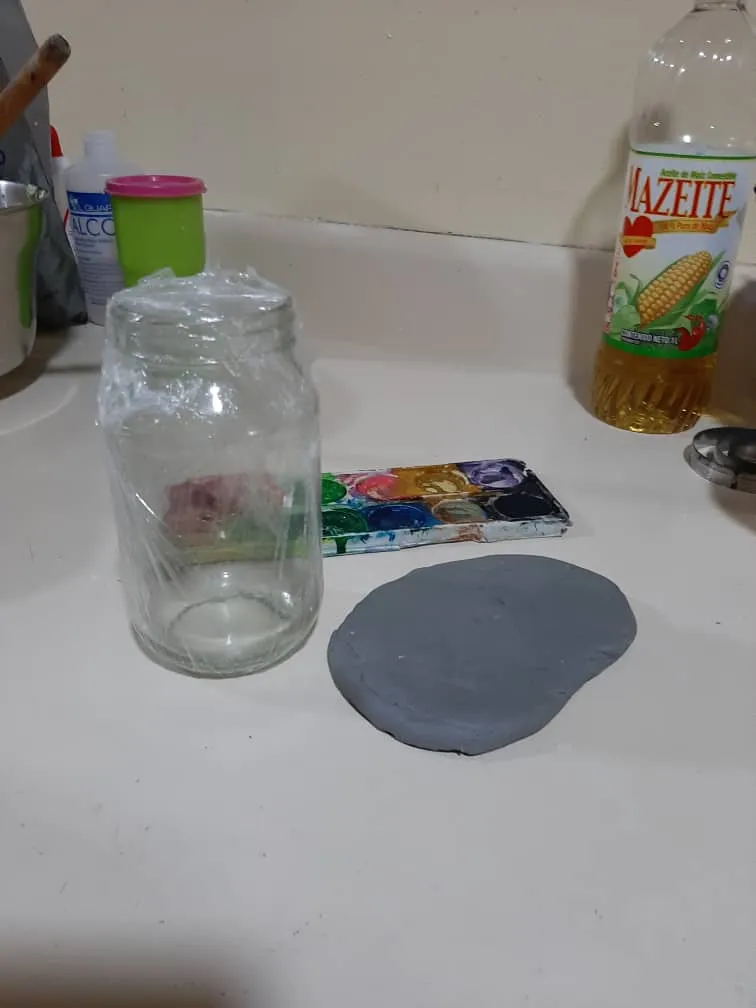
Cómo es mi primer vasito tenía mucho miedo jajaja y para evitar deformidades usé otro frasco. Entonces forre de papel contac el envase, para poder retirar después la masa sin que se quedase pegada. Otro dato importante, si ustedes quieren forrar un frasco, buenísimo, si funciona (pero entonces no le pongan papel). Queda super lindo de todas formas, ya es cuestión de gustos.
As it is my first cup I was very afraid hahaha and to avoid deformities I used another cup. Then I lined the container with paper so that I could remove the dough later without it sticking. Another important piece of information, if you want to line a jar, great, if it works (but then don't put paper on it). It is very nice anyway, it is a matter of taste.
Bueno, para poder estirar la masa humedeci un poco mis manos y fui forrando y estirando. En la parte de arriba usé un cuchillo de mesa para quitar la masa sobrante.
Well, to be able to stretch the dough I wet my hands a little and I lined and stretched. At the top I used a table knife to remove the excess dough.
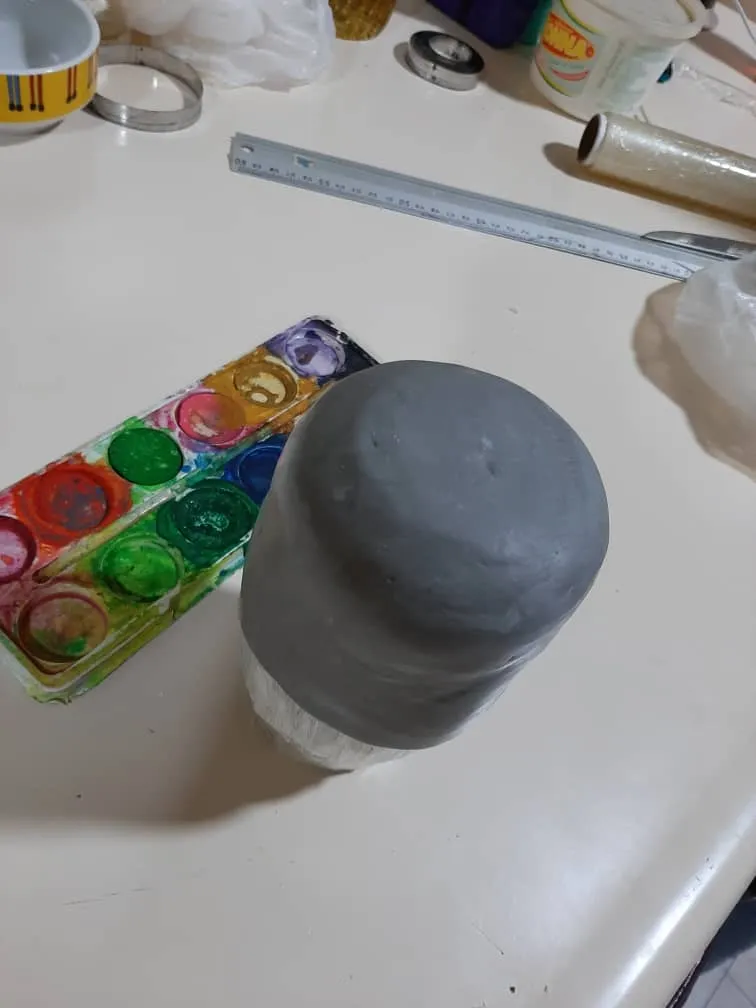
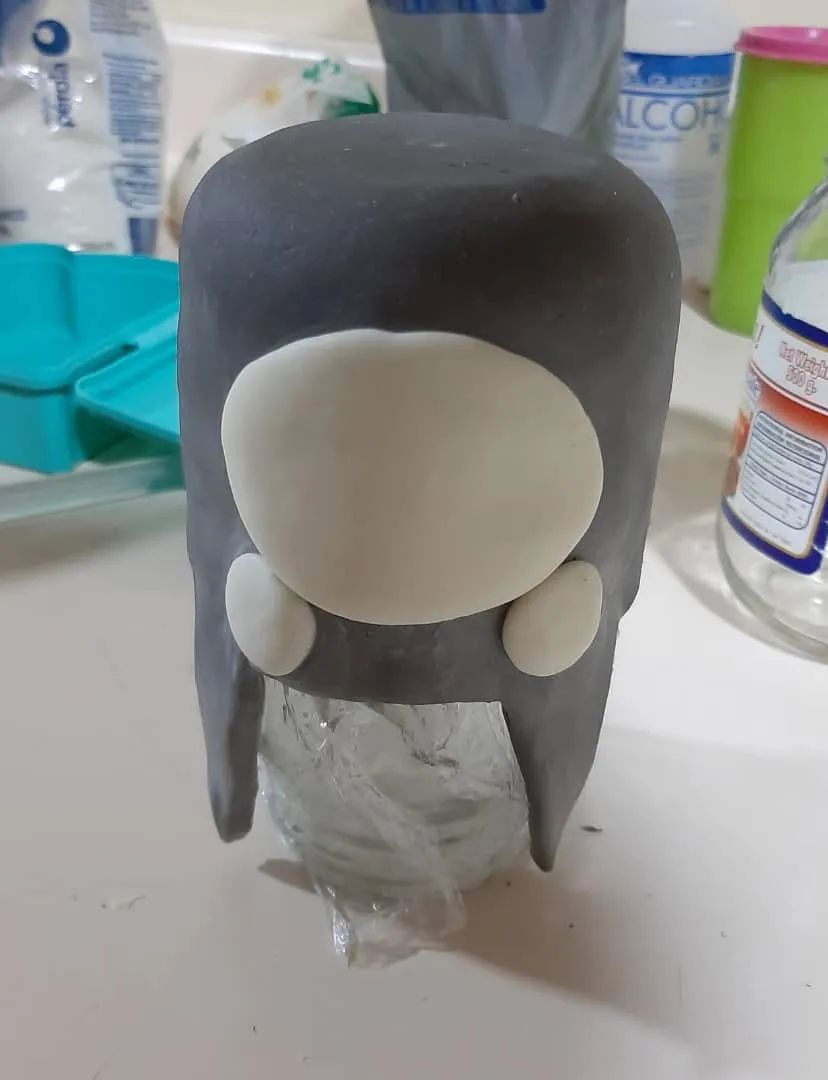
Este frasco mide aproximadamente 5cm de alto, y las orejas de mi Totoro unos 3cm, son como unos triángulos planos así no fue difícil de hacer ¡Importante! Cuando vayan a pegar un pedazo de masa encima de otro, debes humedecer tanto la pieza como la figura principal, para evitar que algo se te despegue, si es posible también es conveniente usar palitos de altura o de los más pequeñitos. Y con el dedo mojado desaparecer los bordes.
This jar is about 5cm high, and my Totoro's ears are about 3cm, they are like flat triangles so it wasn't difficult to make. When you are going to paste a piece of dough on top of another, you must moisten both the piece and the main figure, to prevent something from coming off, if possible it is also convenient to use sticks of height or the smallest ones. And with the wet finger disappear the edges.
Hice lo mismo con los ojitos y la panza que con las orejas. Al ir secando es necesario cambiar de posición la figura, la coloqué al revés para que sus orejas no se cayeran hacía abajo, y al secar arriba debes volver a colocarla derecha, porque al ser más pesada la pieza se te puede dañar algo (cuestión de gravedad).
I did the same with the eyes and the belly as with the ears. When drying, it is necessary to change the position of the figure, I placed it upside down so that its ears don't fall down, and when drying up you must place it straight again, because the piece can be heavier and damage it somewhat (a matter of gravity).
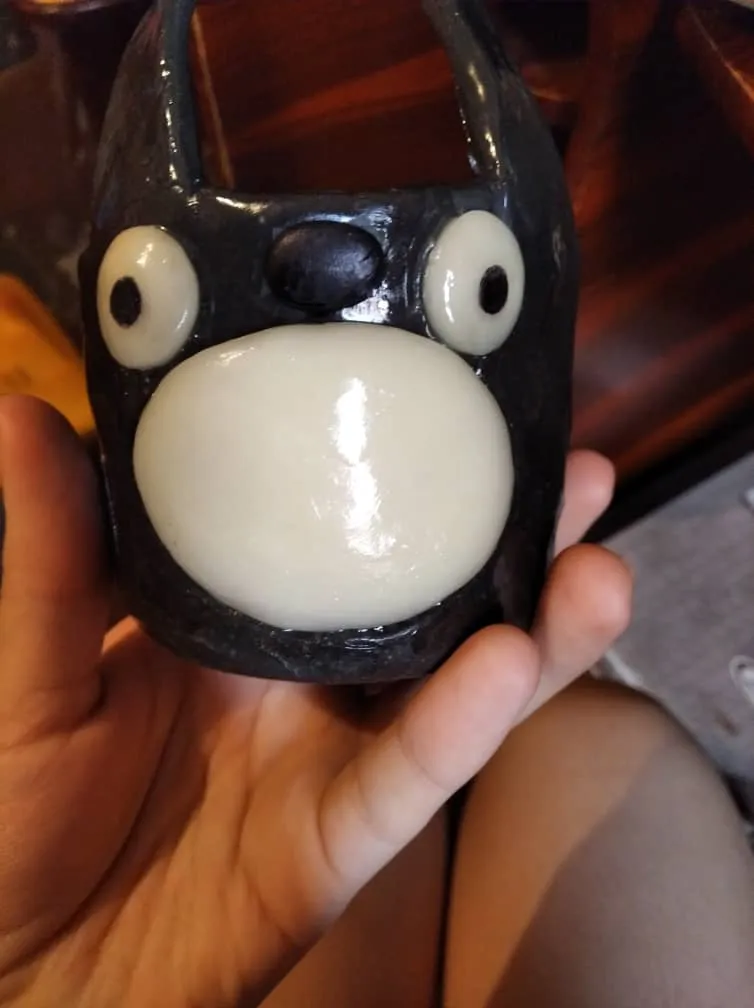
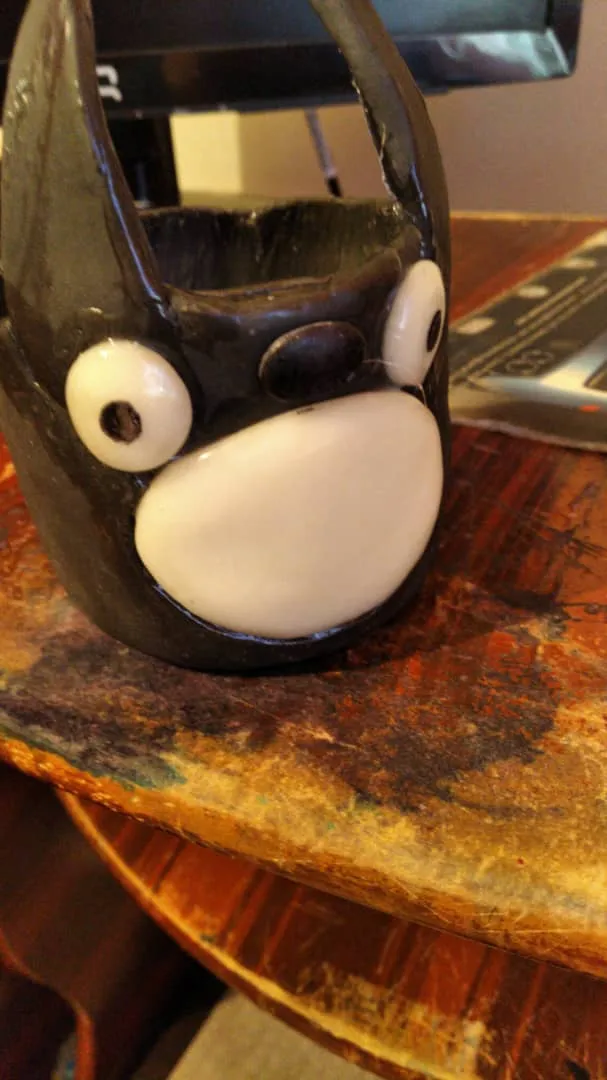
Después pinté sus ojitos y le pegué una nariz. Por dentro lo pinté de verde pero encima del gris. Y por supuesto que tenía que ser barnizado por todos lados para que quedase brillante.
Then I painted her eyes and glued a nose. Inside I painted it green but over the gray. And of course it had to be varnished everywhere to make it shine.
En mi tutorial de cómo hacer la porcelana fría también se explica cómo hacer un barniz casero, les comparto el link por si acaso.
In my tutorial on how to make cold porcelain also explains how to make a homemade varnish, I share the link just in case.
@yoslehz/tutorial-de-como-hacer-porcelana-fria-tutorial-on-how-to-make-cold-porcelain
Espero que mis próximas y futuras figuras de porcelana también les gusten ¡Abrazos!
I hope that my next and future porcelain figures will also like. Hugs!
