Hola, muy buenos dias amigos de Hive / Hello, good morning friends of Hive.
Today, I want to give you a practical tutorial so that you can clean your keyboard at home, helping to extend its life and save your pocket.
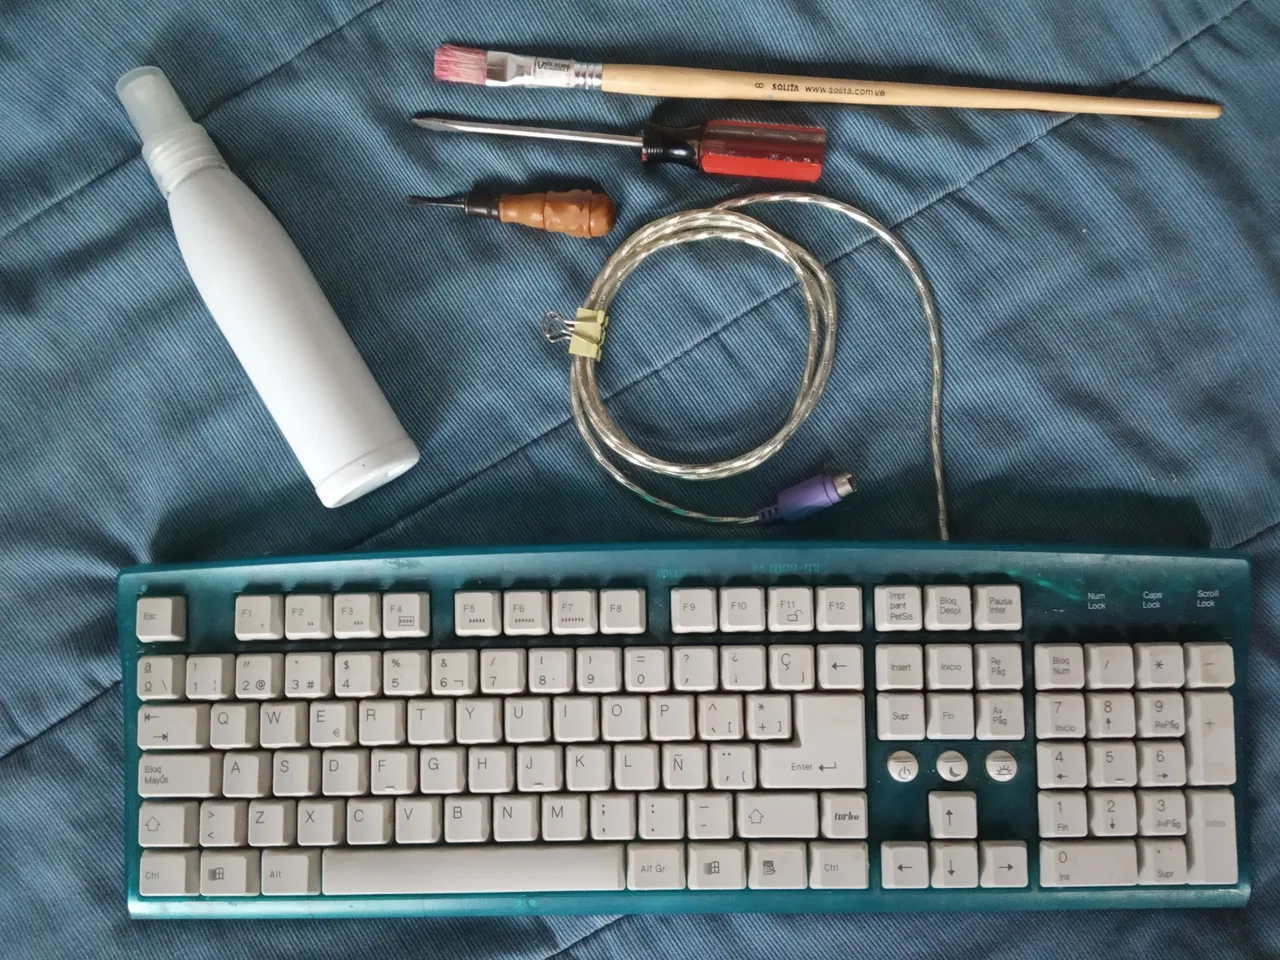
Empecemos / let us begin.
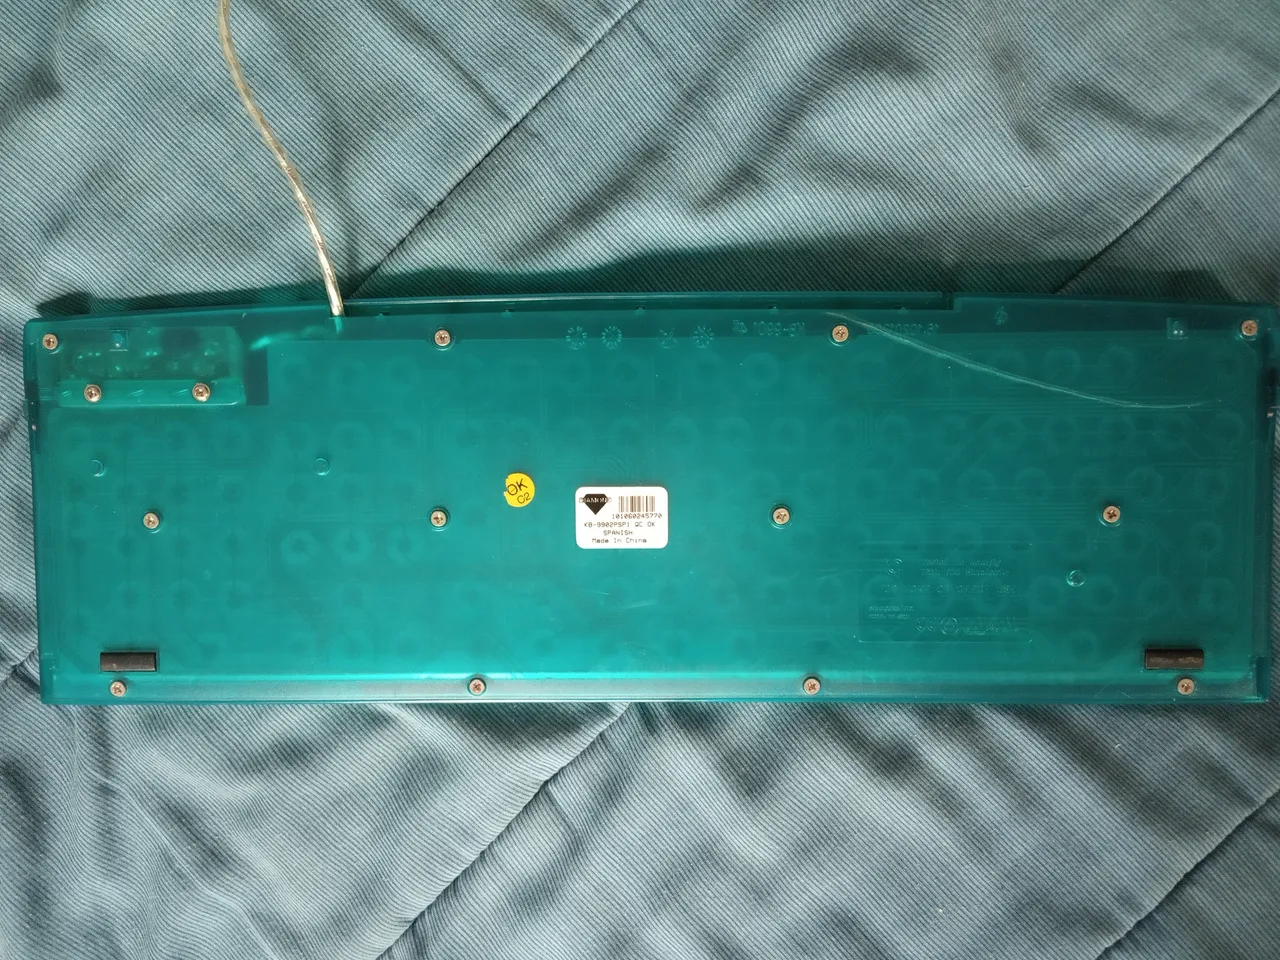
1- Ubicar los tornillos del teclado y proceder a retirarlos con el destornillador.
1- Locate the keyboard screws and proceed to remove them with the screwdriver.
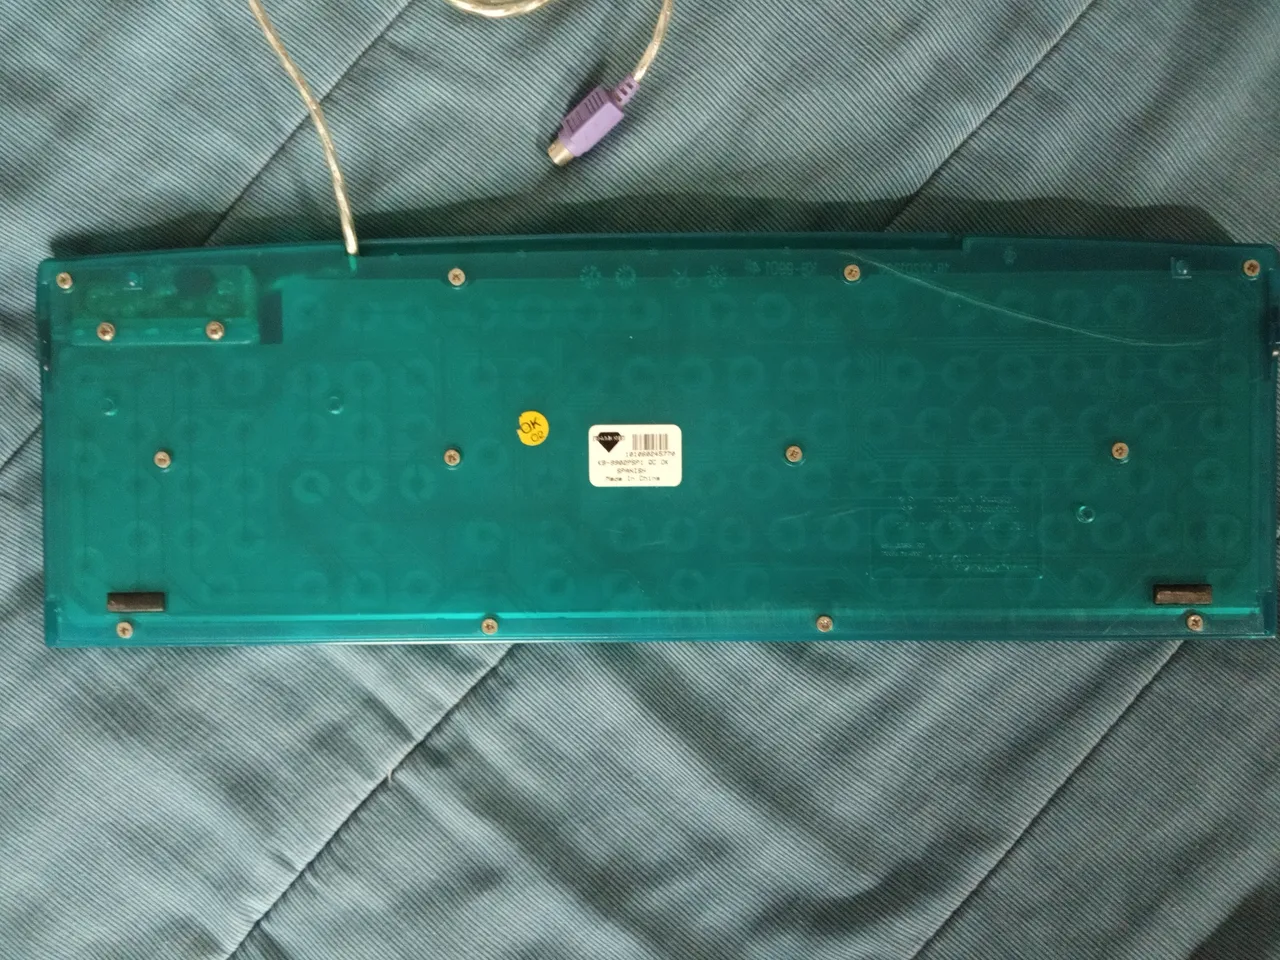
2- Una vez quitados los tornillos se procede a retirar la tapa trasera.
2- Once the screws have been removed, the rear cover is removed.
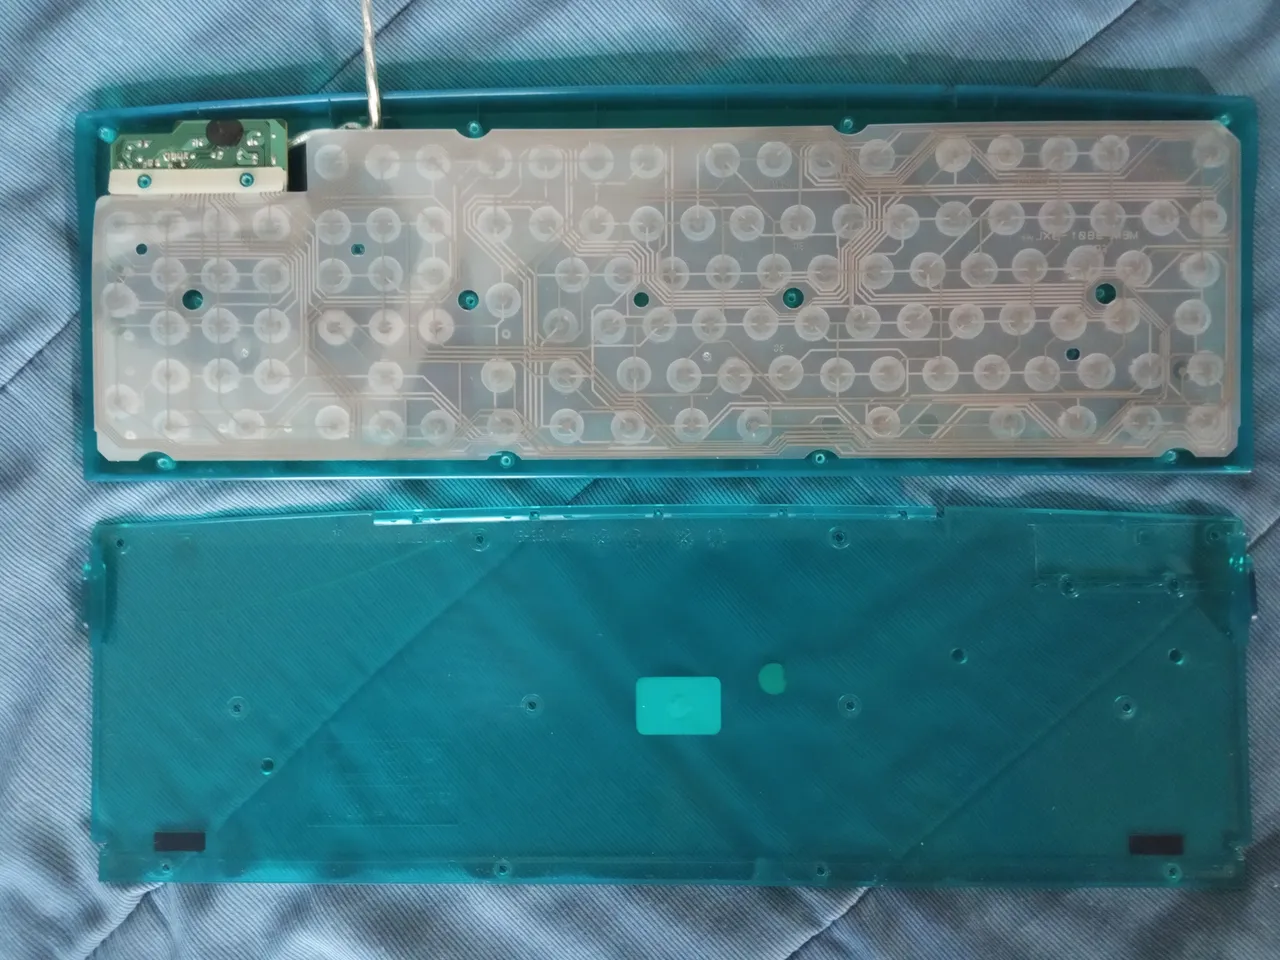
3- Retirar cuidadosamente la membrana cuidando que las gomas de las teclas no se vayan pegadas con la membrana ya que se pueden caer y son faciles de perder.
3- Carefully remove the membrane taking care that the key rubbers do not stick to the membrane as they can fall off and are easy to lose.
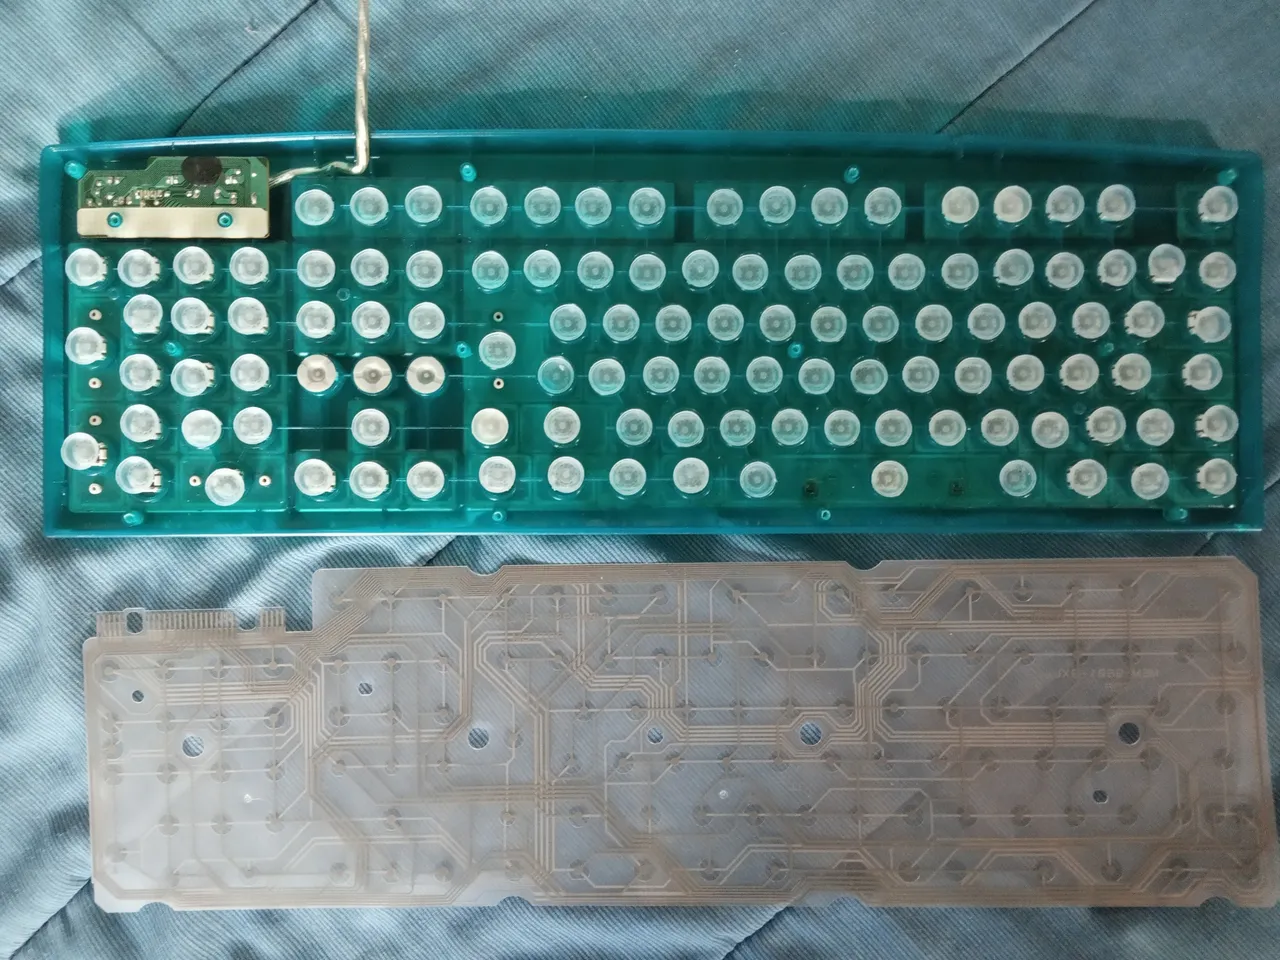
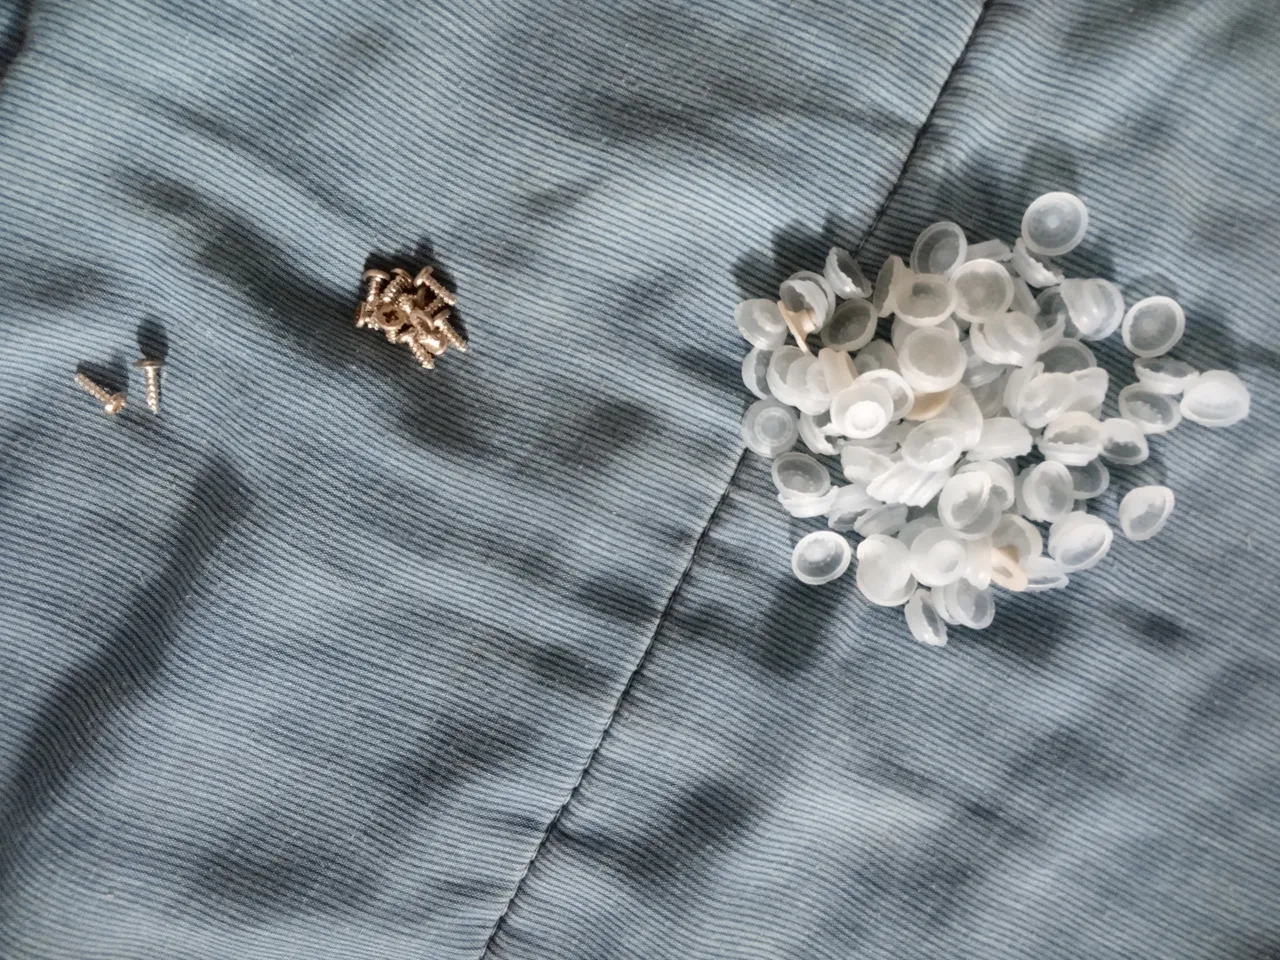
4- Ubicar los tornillos y gomas en una zona despejada para evitar perderlos.
4- Locate the screws and rubbers in a clear area to avoid losing them.
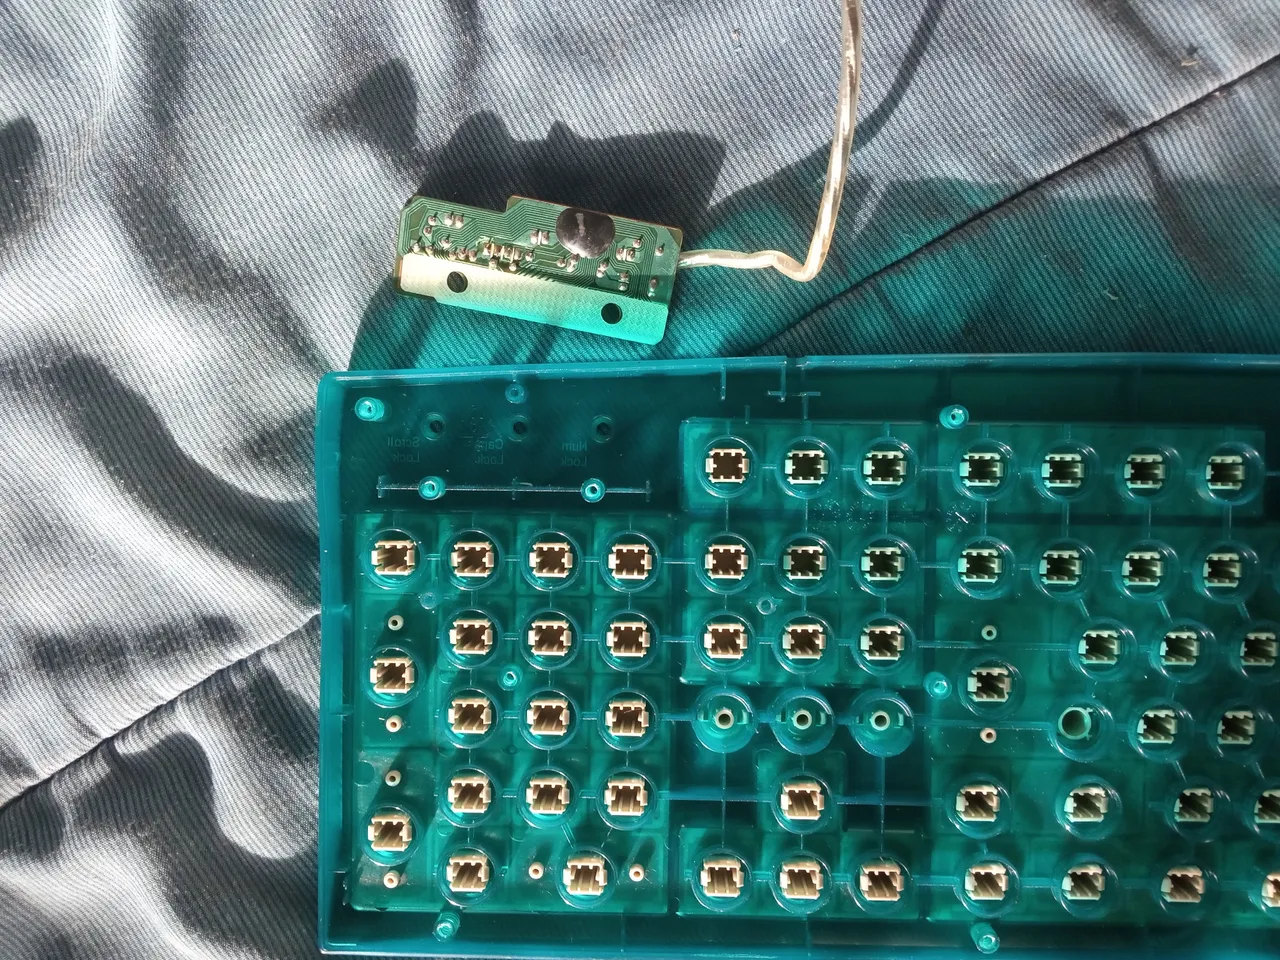
5- Retirar cuidadosamente el circuito del teclado.
5- Carefully remove the keyboard circuit.
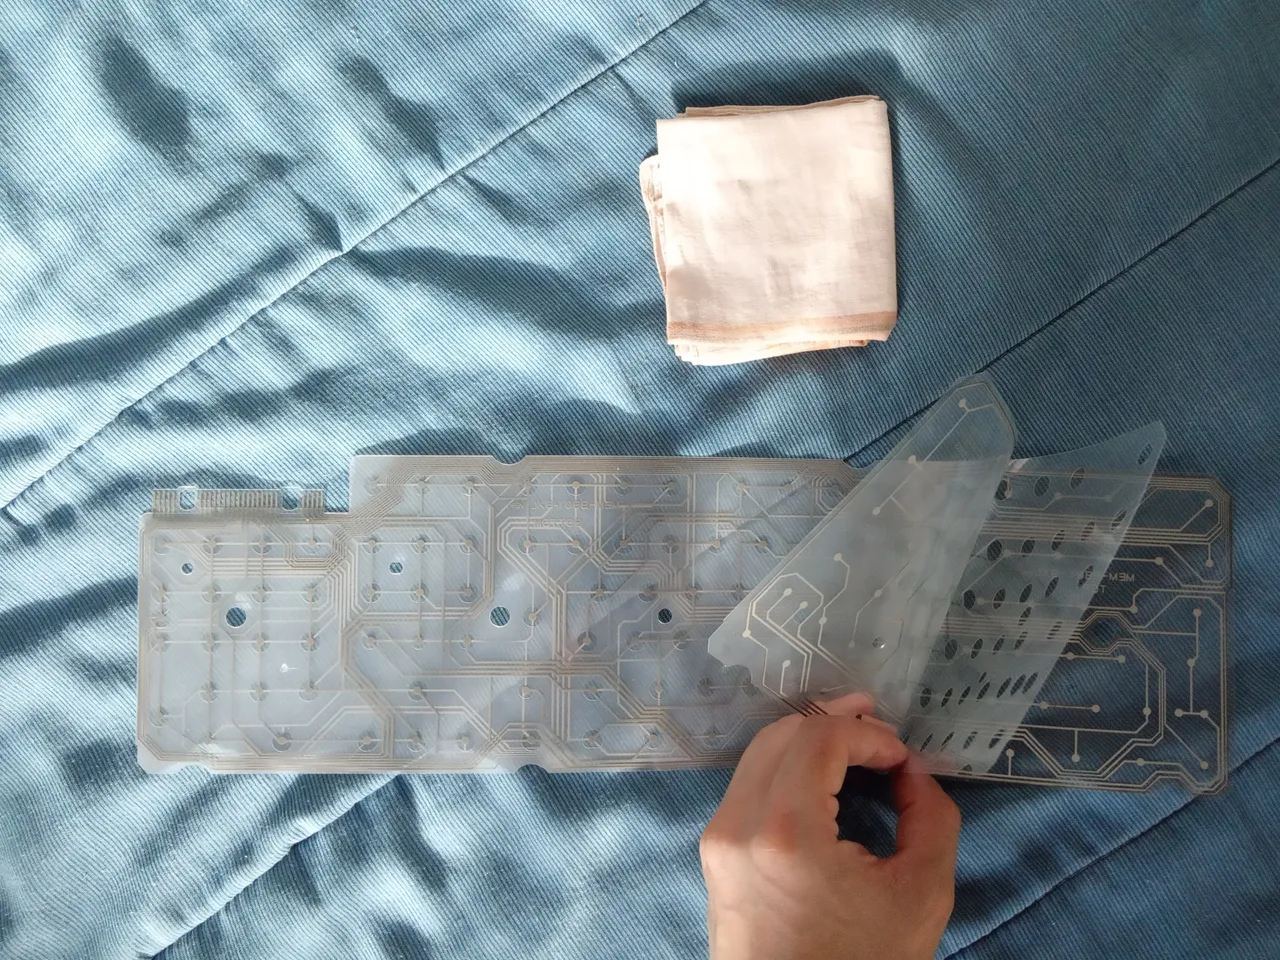
6- Limpiar con el pañuelo seco las membranas del teclado suavemente para retirar el polvo que pueda tener alojado.
6- Gently wipe the keyboard membranes with a dry tissue to remove any dust that may have lodged.
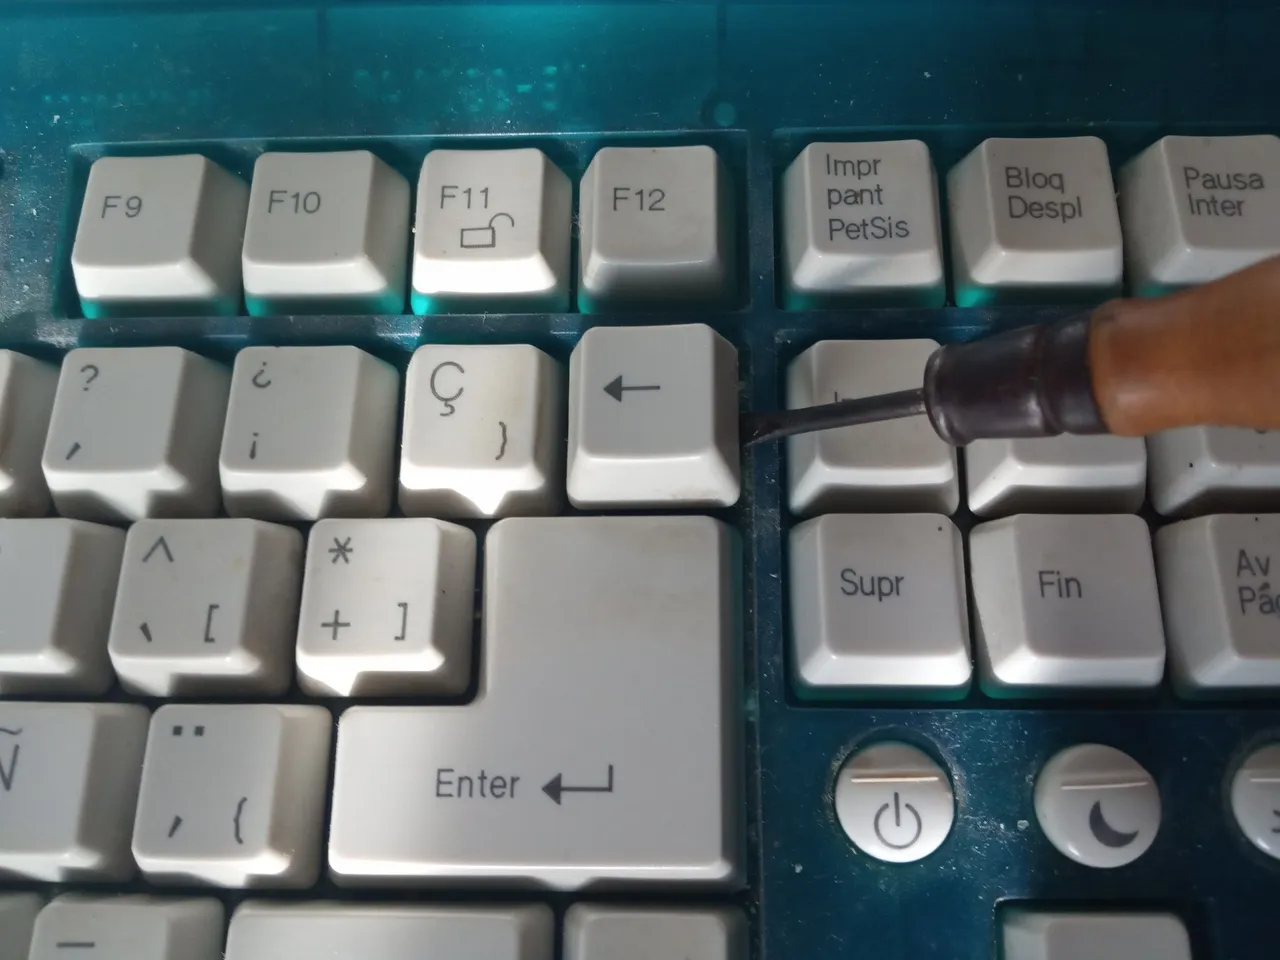
7- Retirar las teclas con la ayuda de un destornillador de paleta para hacer una pequeña palanca.
7- Remove the keys with the help of a paddle screwdriver to make a small lever.
8- Retirar el polvo con un cepillo, brocha, o como en mi caso, un pincel, posteriormente lavar o limpiar con alcohol y un pañuelo la carcasa y tapa trasera del teclado.
8- Remove the dust with a brush, brush, or as in my case, a brush, then wash or clean with alcohol and a tissue the case and back cover of the keyboard.
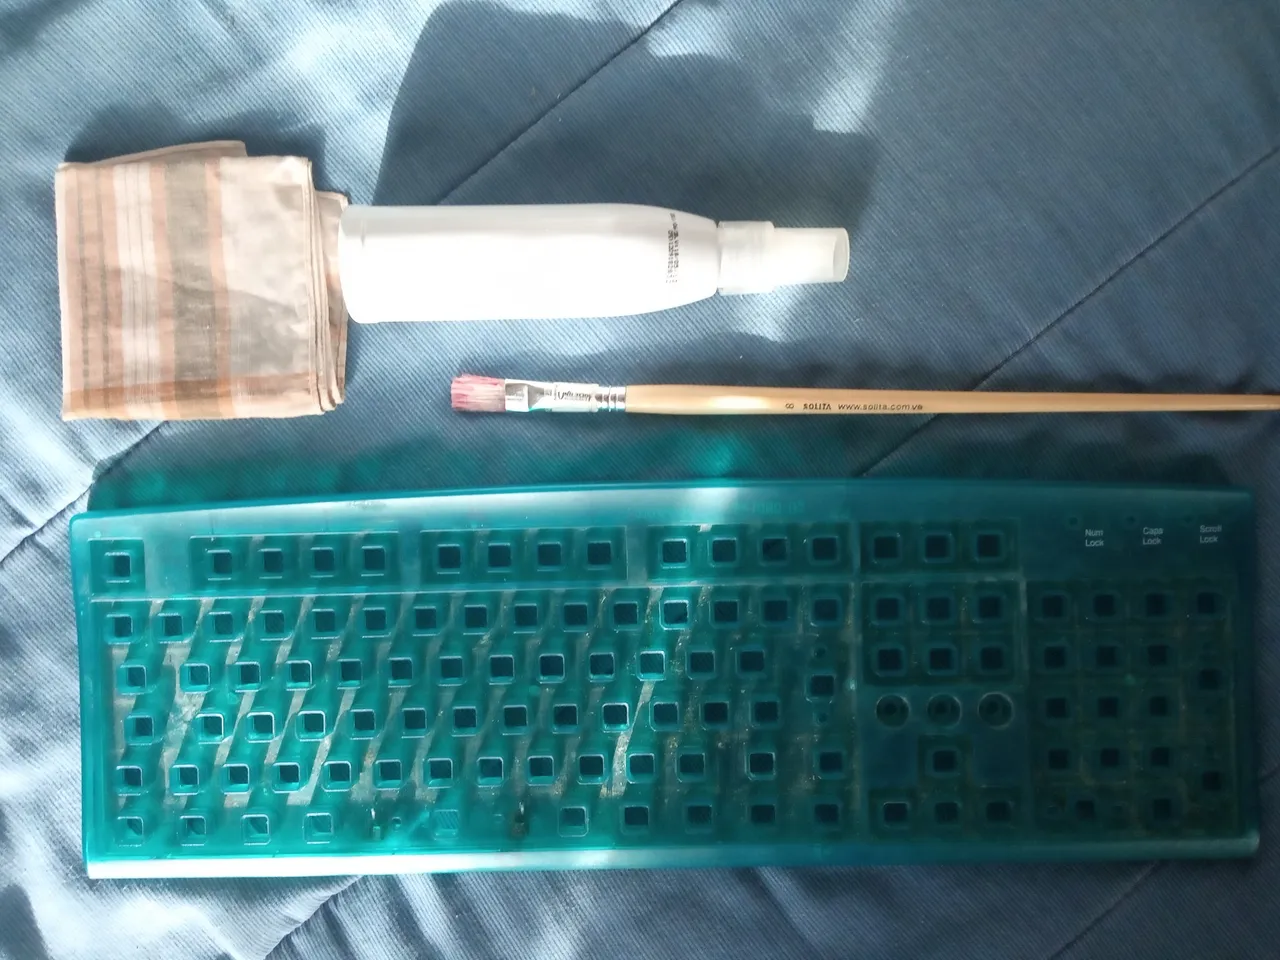
9- Una vez limpias la carcasa y la tapa trasera, secar completamente evitando puntos de humedad ya que pueden afectar el teclado en su posterior ensamble.
*9- Once the case and the back cover are cleaned, dry completely, avoiding humidity spots as they can affect the keyboard in its later assembly.
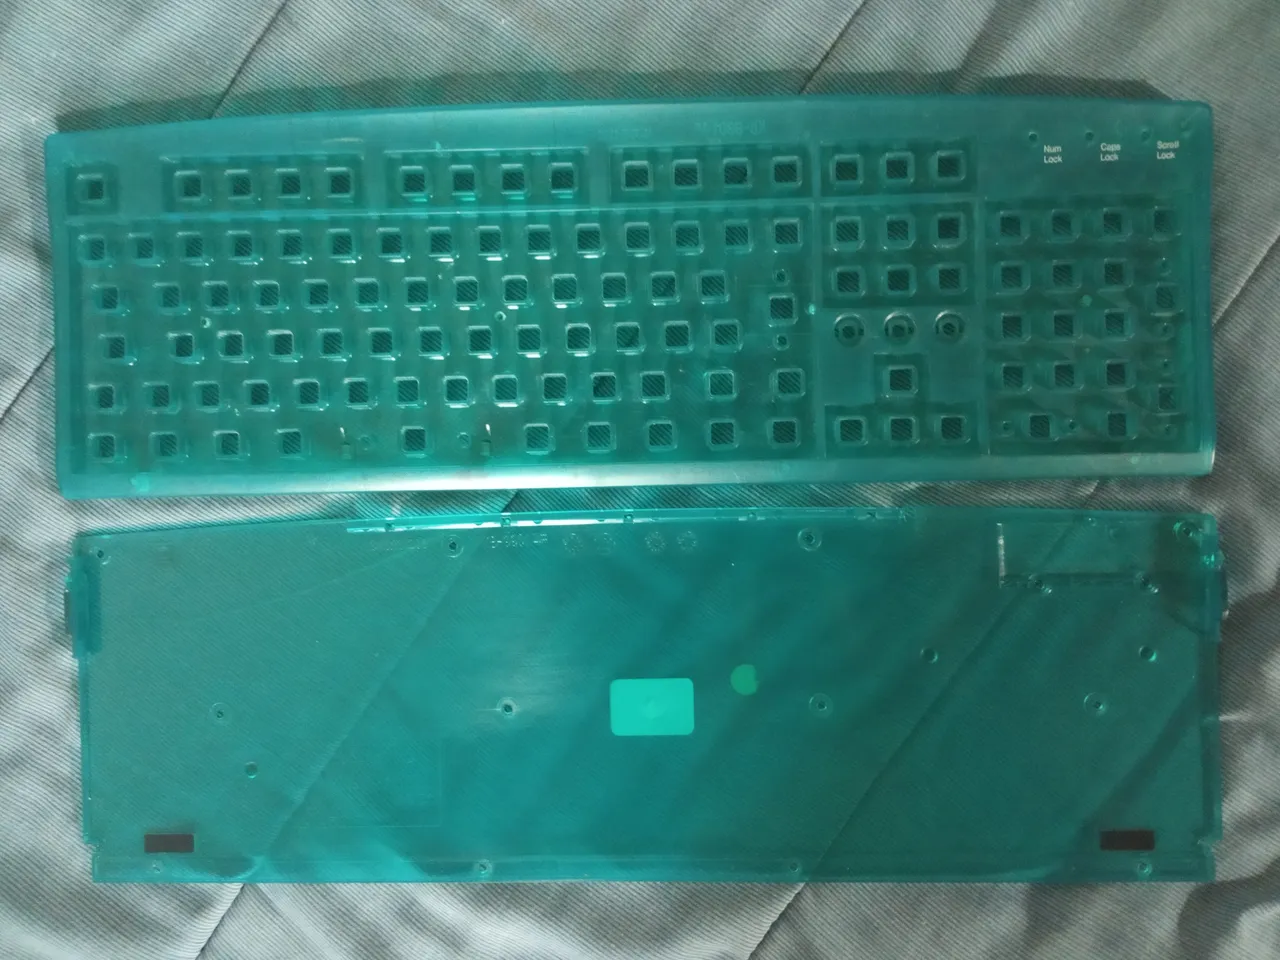
10- Limpiar con el pañuelo y un poco de alcohol cada tecla, en la parte trasera de las piezas limpiar con el pincel para retirar el polvo.
10- Clean each key with the handkerchief and a little alcohol, at the back of the pieces clean with the brush to remove the dust.
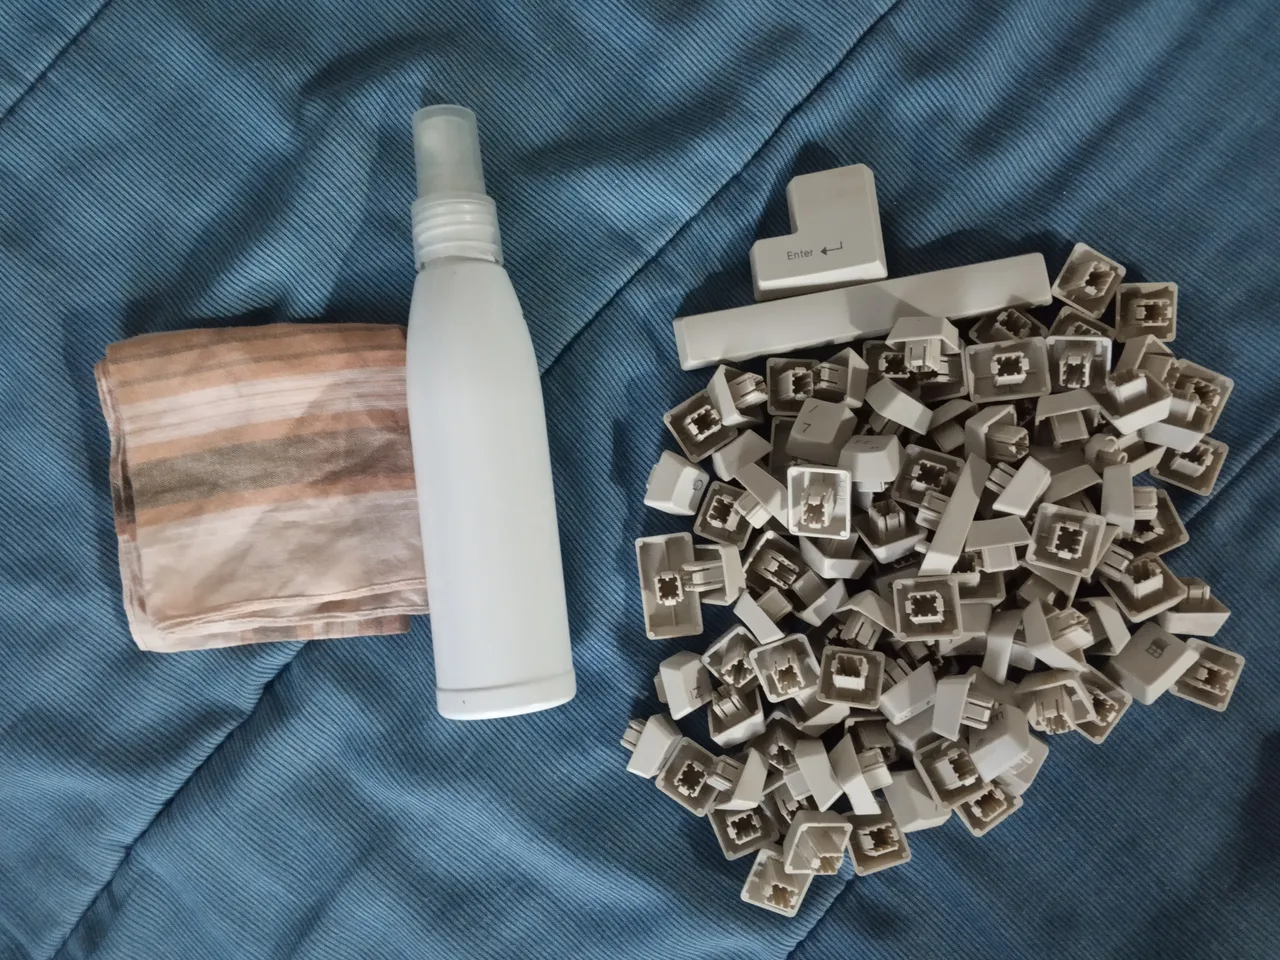
11- Colocar nuevamente las gomas en la carcasa del teclado.
11- Put the rubbers back into the keyboard case.
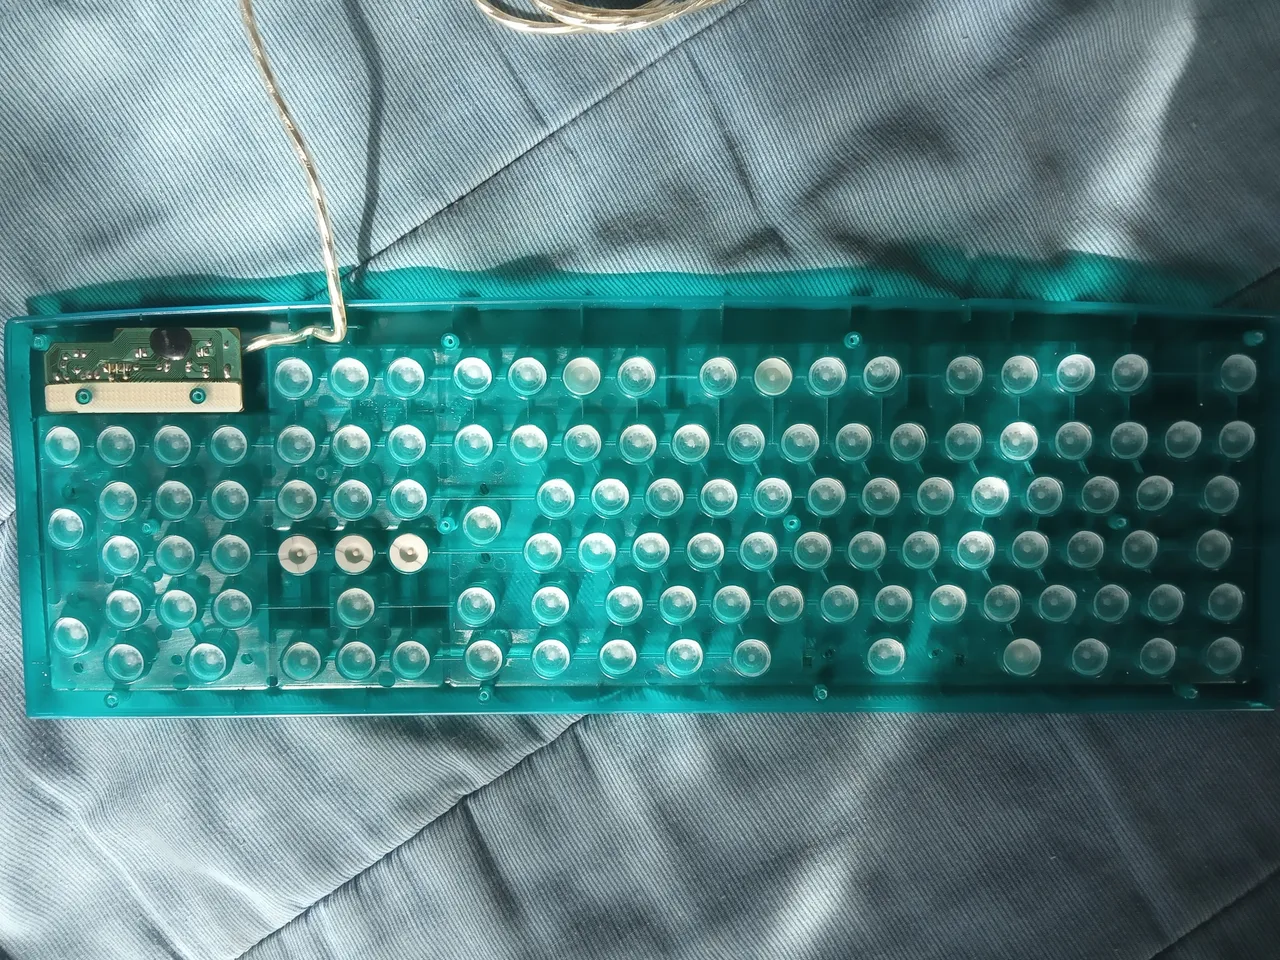
12- Colocar nuevamente la membrana y la goma ajustadora del circuito.
12- Replace the membrane and the circuit adjusting rubber.
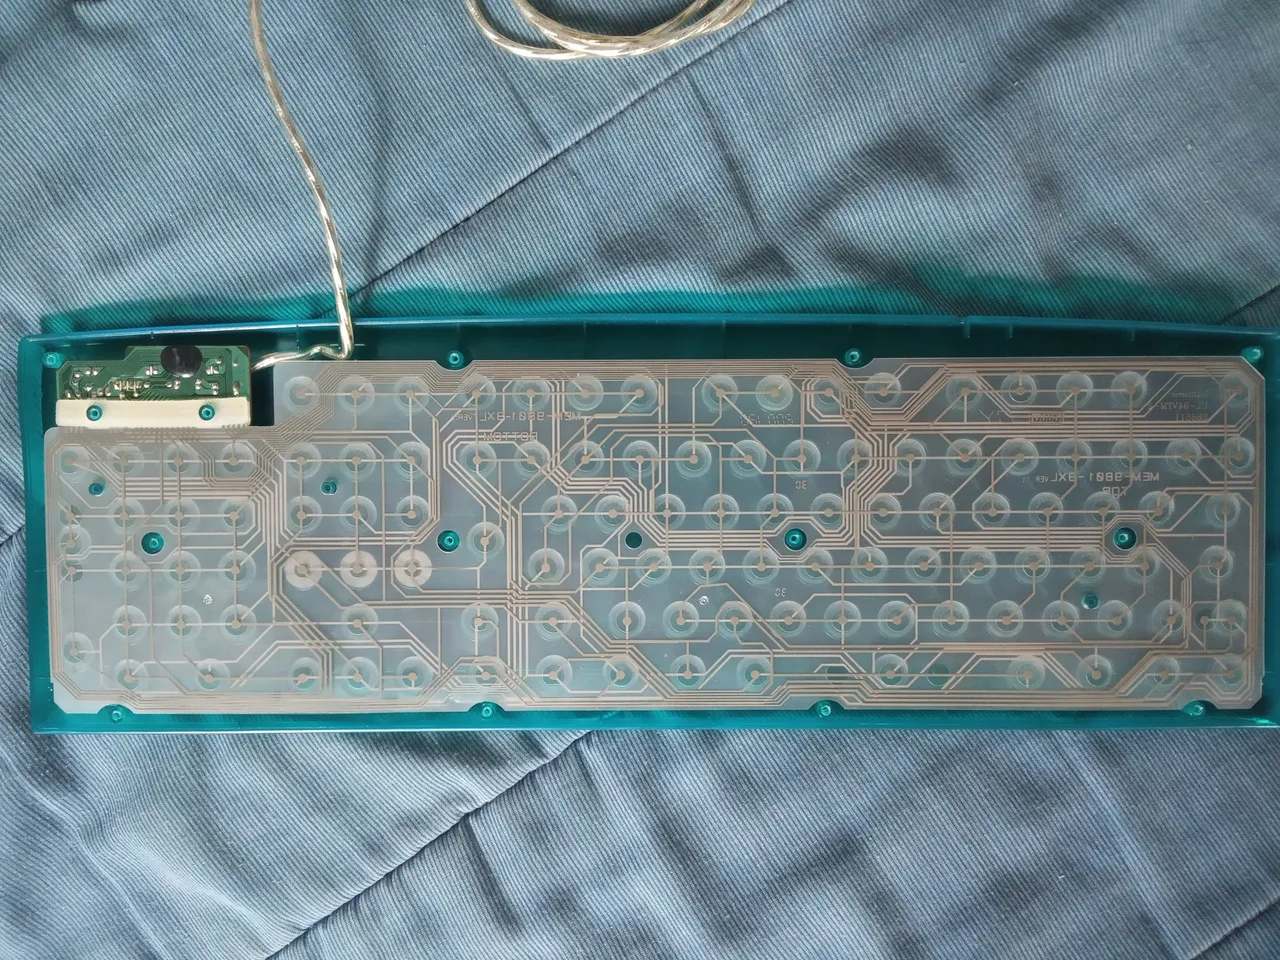
13- Colocar la tapa trasera y ajustar los tornillos.
13- Replace the back cover and tighten the screws.
14- Ajustar todas las teclas en su lugar y hemos terminado.
14- Snap all the keys into place and we're done.
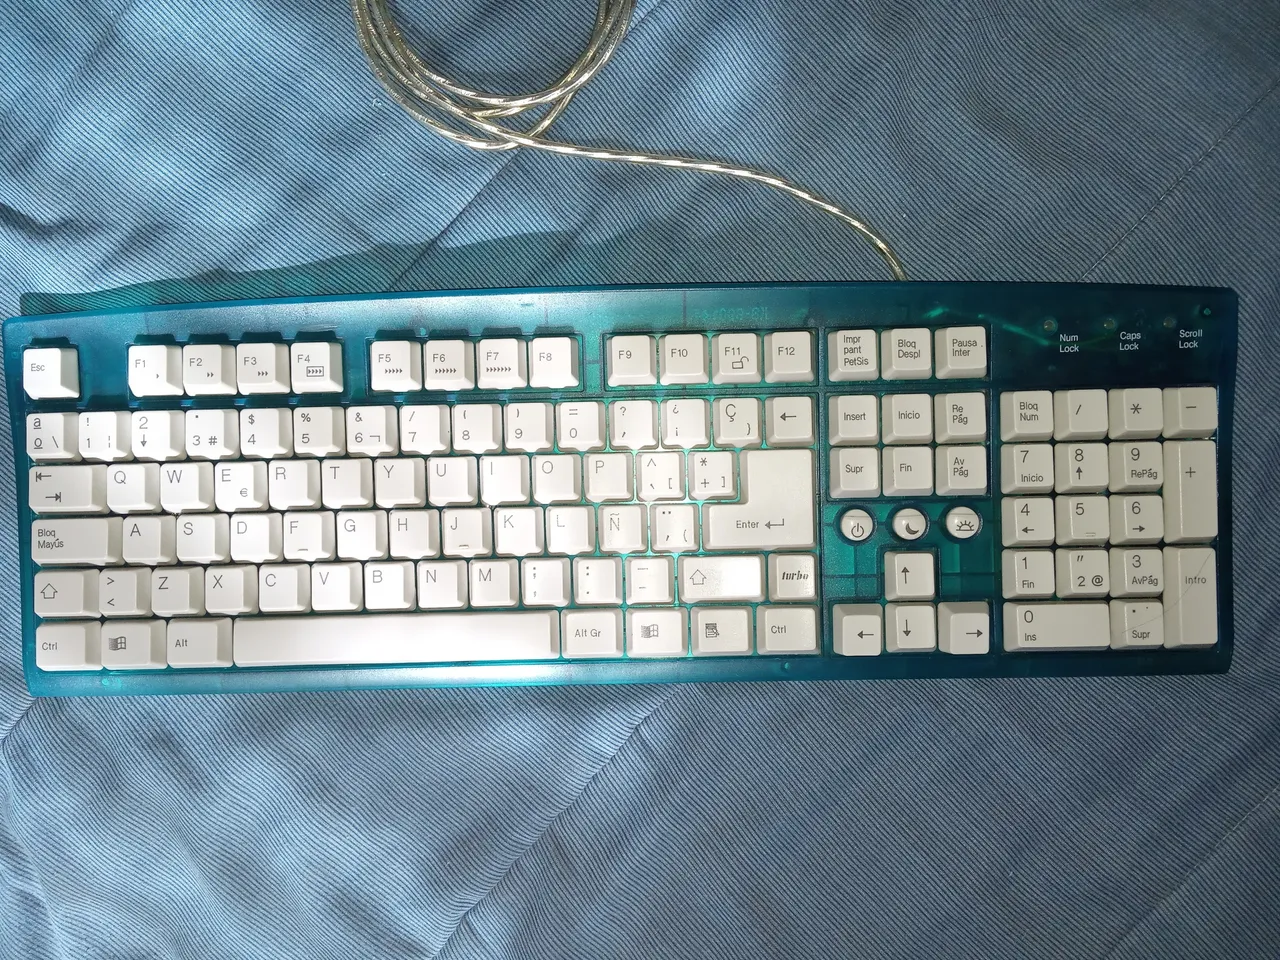
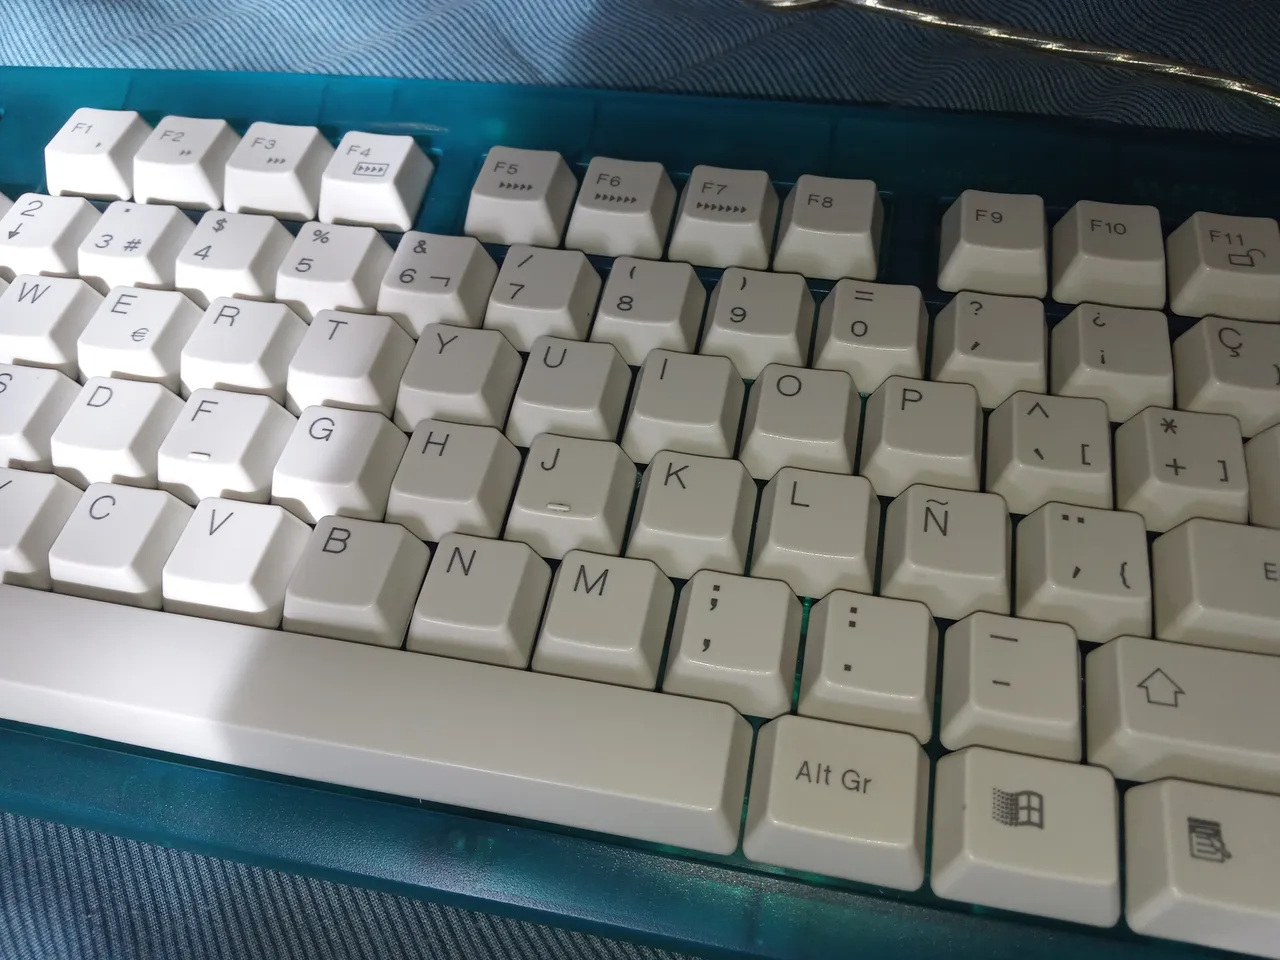
Espero les sea de gran ayuda, normalmente algunas teclas dejan de funcionar solo por la suciedad, dale una nueva vida siempre que puedas a tu teclado. Gracias por su atención.
I hope it is of great help, normally some keys stop working just because of the dirt, give your keyboard a new life whenever you can. Thanks for your attention.