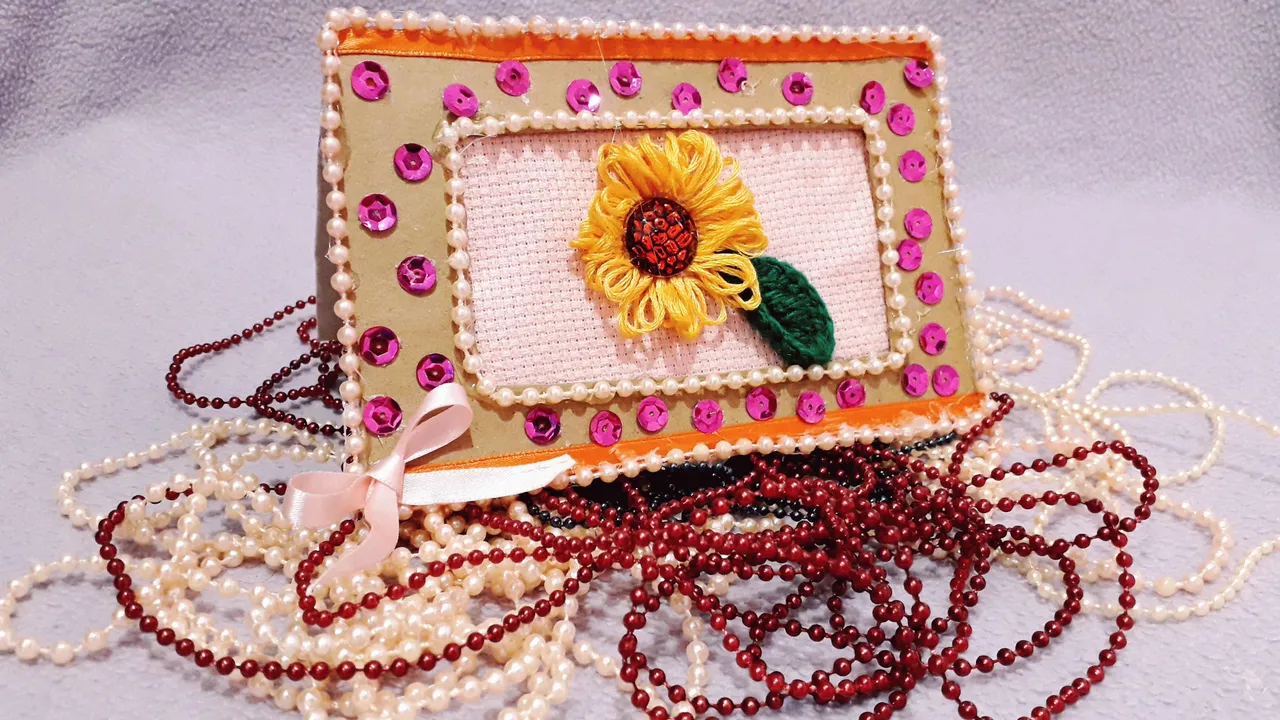
Me gusta regalar tarjetas, es como mantener viva esa esencia del disfrute de leer palabras escrita usando mano y tinta; es así como ver como se mueve el amor en cada letra. Esas tarjetas siempre van decoradas pensando en la persona, en lo que le conmueve, en lo que le gusta en lo que lo hace feliz.
Esta tarjeta la realicé para una gran amiga amorosa, amante de las flores en cualquiera de sus tipos, amante del brillo que vive en todo y en todos.
Hoy te muestro una forma de hacer tarjetas decorada con una flor bordada.
I like to give cards as a gift, it is like keeping alive the essence of the enjoyment of reading words written by hand and ink; it is like seeing how love moves in each letter. These cards are always decorated thinking about the person, what moves them, what they like, what makes them happy.
I made this card for a great loving friend, a lover of flowers in any of their types, a lover of the brightness that lives in everything and everyone.
Today I show you a way to make cards decorated with an embroidered flower.
Los materiales
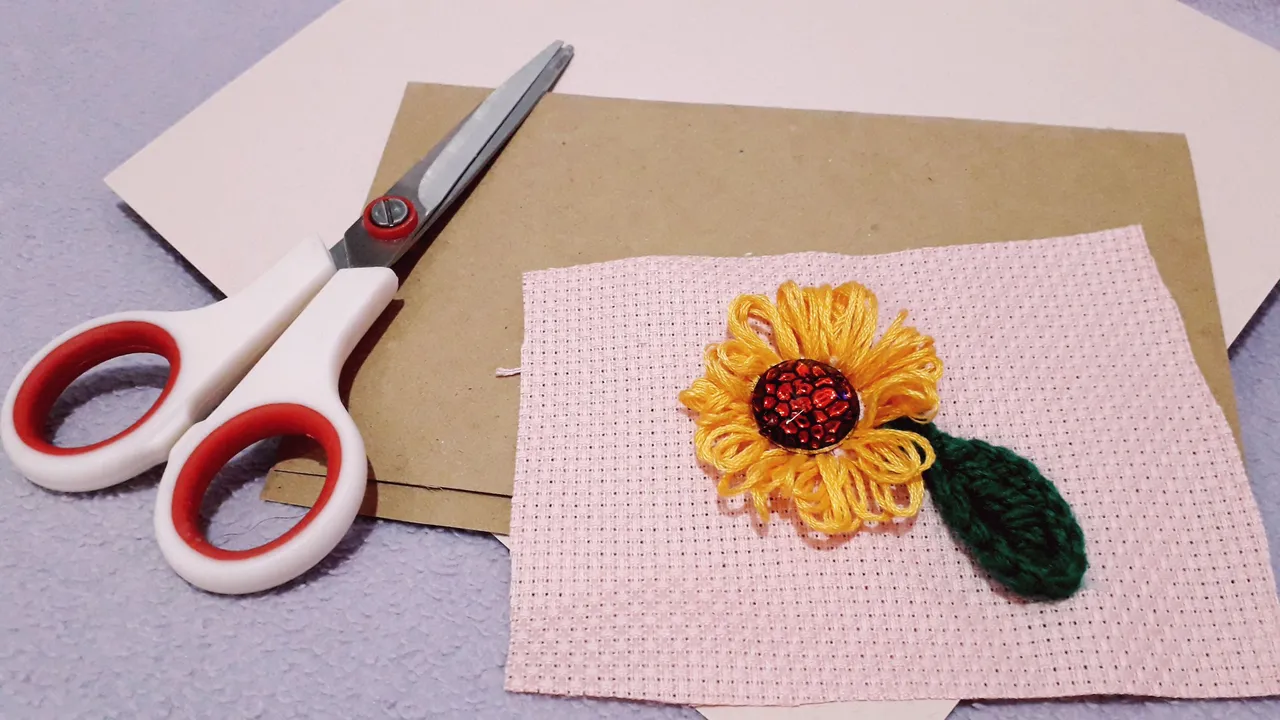
Para este proyecto utilicé dos cartulinas tamaño carta, puedes usar algún cartón de alguna caja de cereal, por ejemplo, la cartulina oscura era la contraportada de una libreta, el usar este tipo de material, nos permite darle vida a otro producto a partir de usar un producto que ya no se usaba, con ello contribuimos con el equilibrio ambiental. El tamaño de las cartulinas puede ser a tu elección.
También usé lentejuelas, perlitas, silicone caliente y tijeras. Esta es una tarjeta con mucho brillo, normalmente mis trabajos siempre son más sobrios.
Como protagonista principal, usé una flor bordada que había bordado previamente.
The materials
For this project I used two letter size cardboard, you can use some cardboard from a cereal box, for example, the dark cardboard was the back cover of a notebook, using this type of material, allows us to give life to another product from using a product that was no longer used, thus contributing to the environmental balance. The size of the cardboard can be of your choice.
I also used sequins, beads, hot silicone and scissors. This is a card with a lot of glitter, normally my works are always more sober.
As the main protagonist, I used an embroidered flower that I had previously embroidered.
Instrucciones
Paso 1
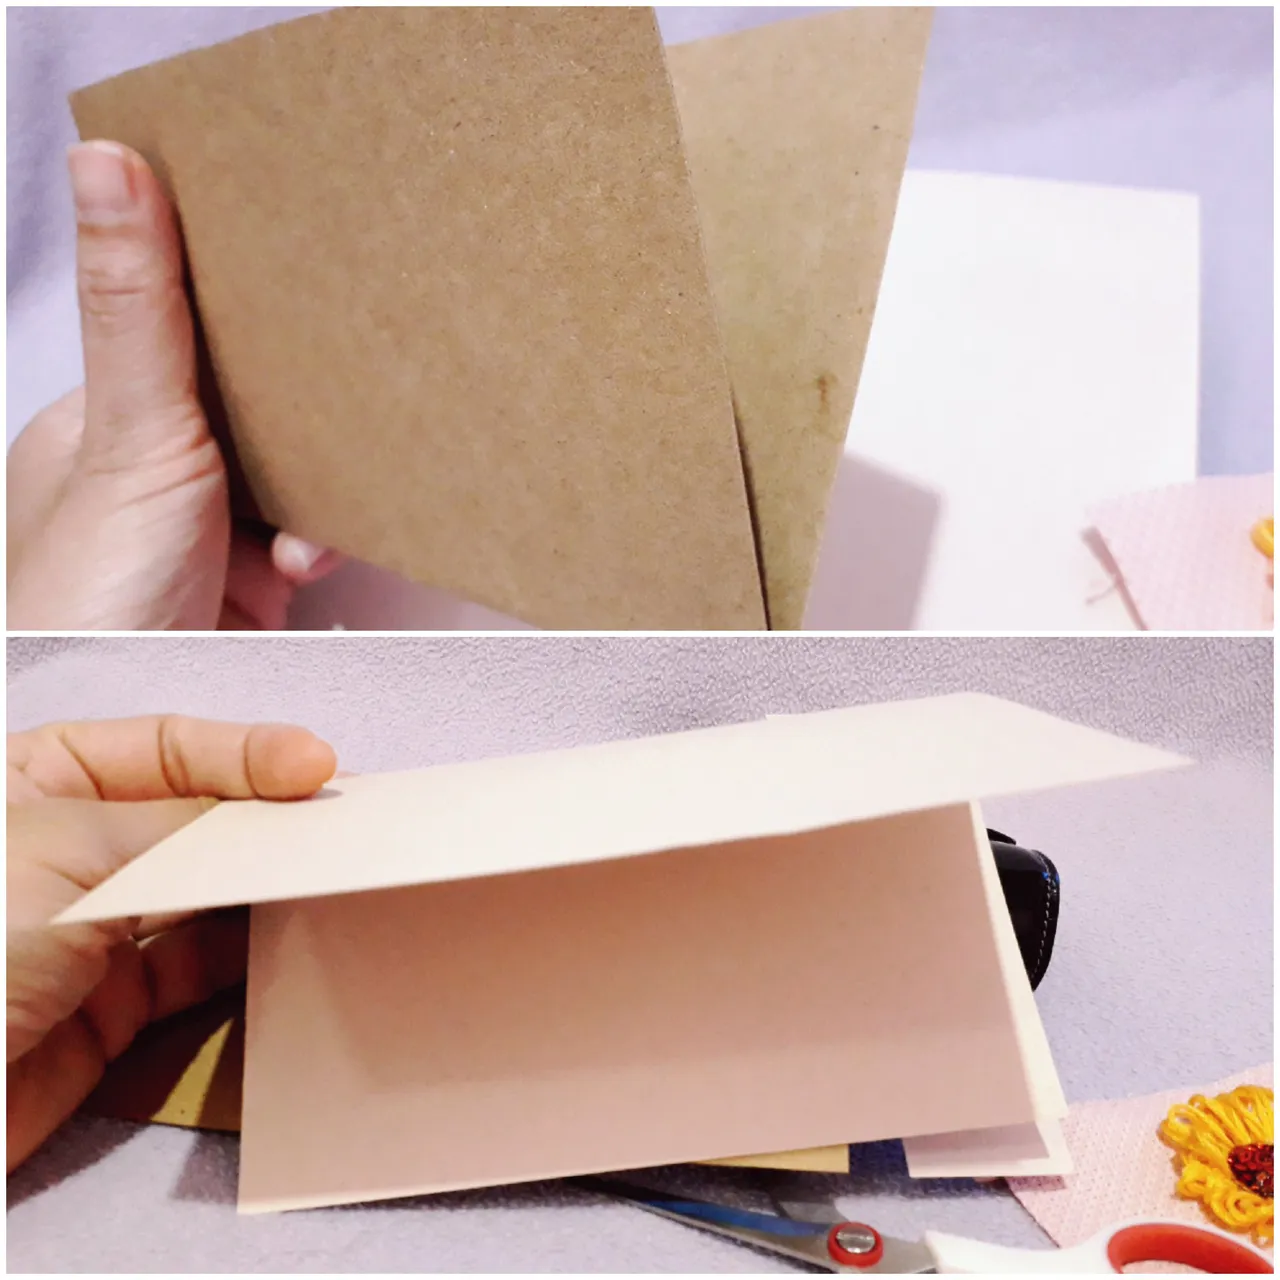
Doblar cada cartulina a la mitad, la cartulina oscura será la parte de afuera de la tarjeta y la cartulina clara será la cartulina interna. Fíjense, si deciden usar una cartulina de una caja de cereal, no importaría, ya que el frente de la tarjeta no tendría las letras y diseño de la caja de cereal, es decir las letras quedarían del lado interno y serían cubiertos por la otra cartulina.
Instructions
Step 1
Fold each card in half, the dark card will be the outside of the card and the light card will be the inside card. Note, if you decide to use a cereal box card stock, it would not matter, as the front of the card would not have the cereal box letters and design, i.e. the letters would be on the inside and would be covered by the other card stock.
Paso 2
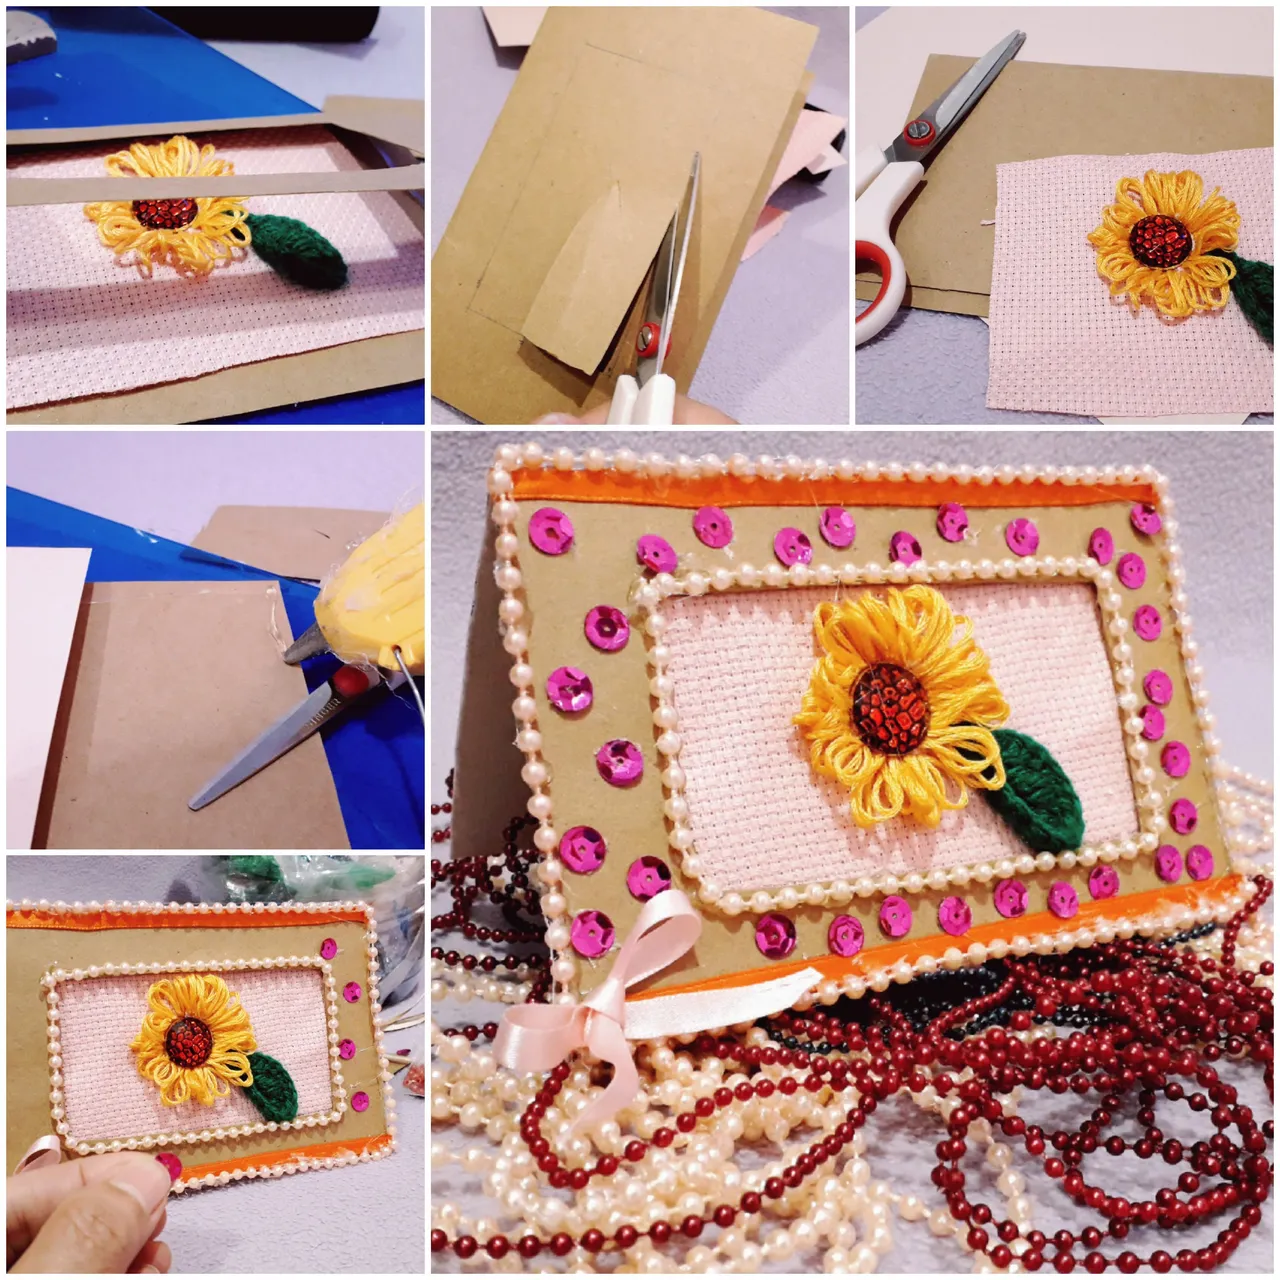
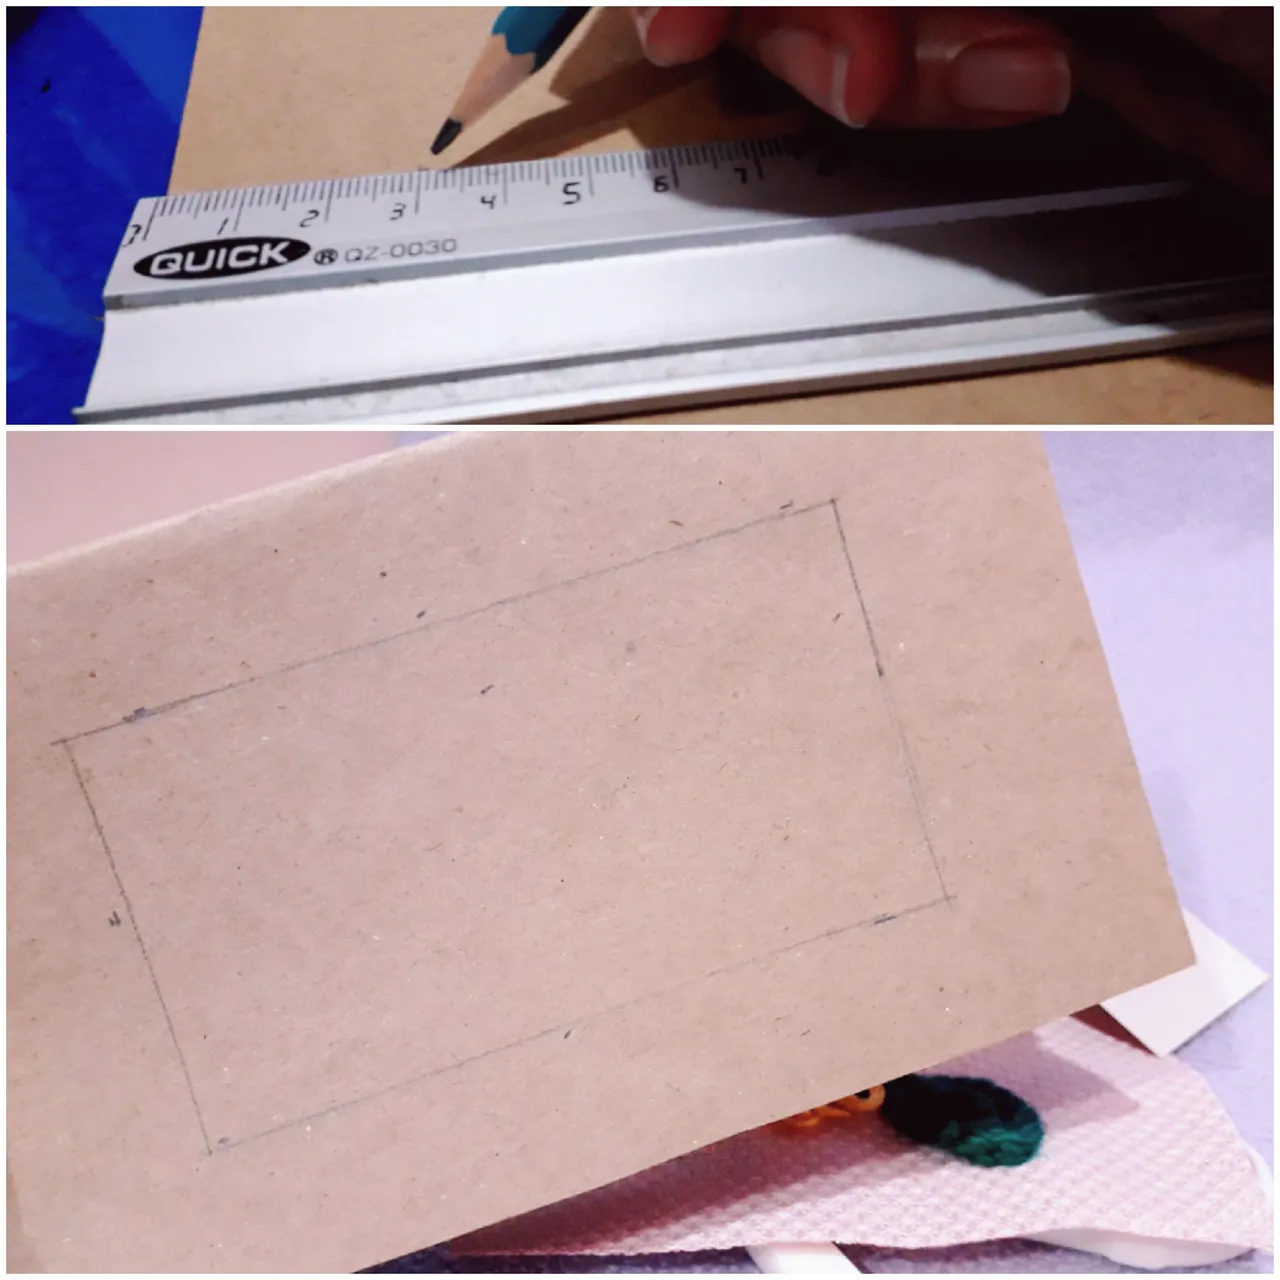
Es el turno de hacer el marco para la pieza con la flor bordada. Lo que realicé fue marcar con una regla un cuadro, que estaría representando el marco.
Step 2
It is the turn to make the frame for the piece with the embroidered flower. What I did was to mark with a ruler a square, which would be representing the frame.
Paso 3
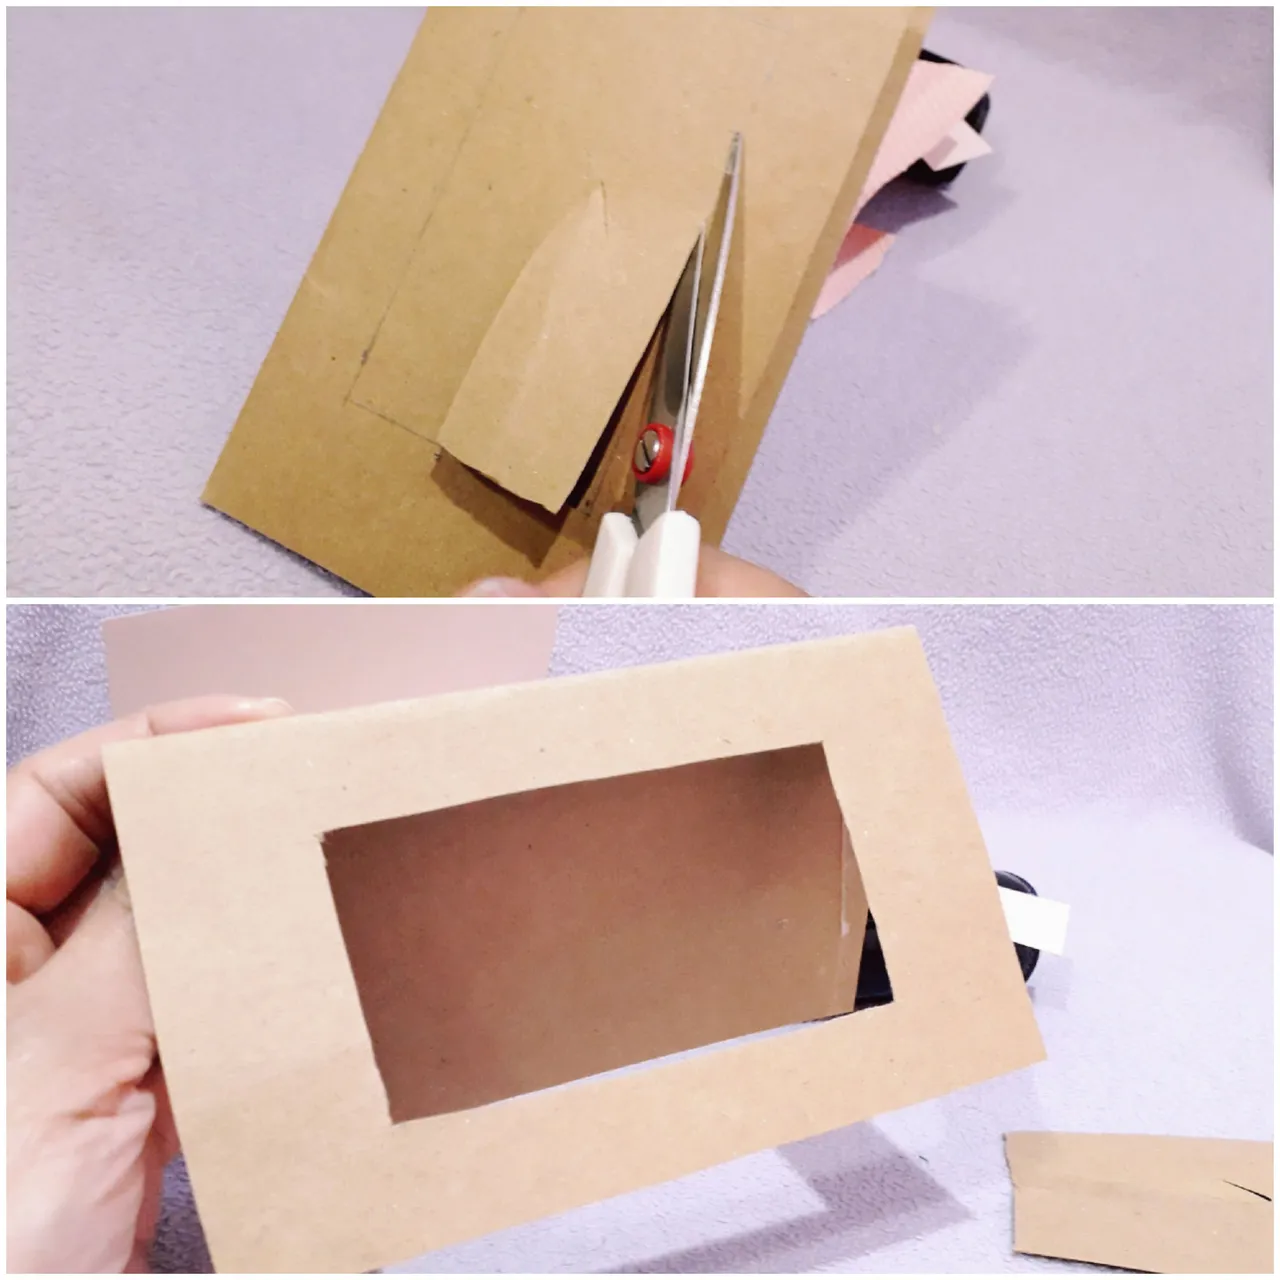
Seguidamente, tomé las tijeras y recorté, guiándome por la línea que había trazado previamente.
Step 3
Next, I took the scissors and cut, following the line I had previously drawn.
Paso 4
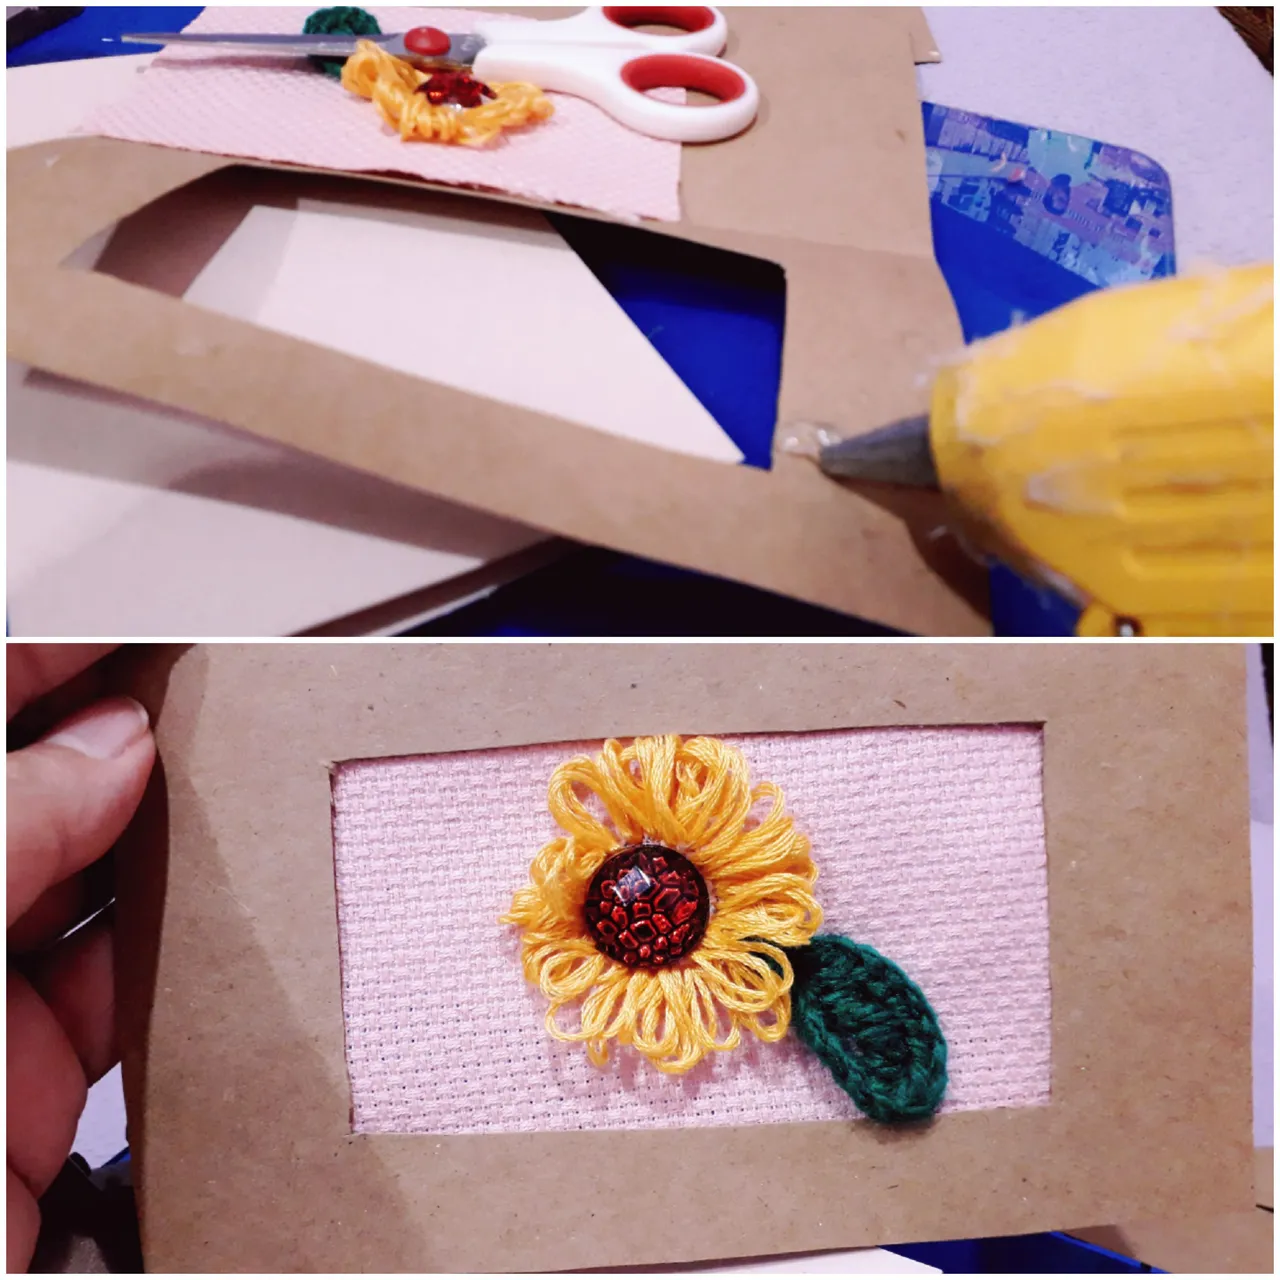
Cuidadosamente tratando de que la pieza quede centrada en el marco y utilizando silicone caliente procedí a pegar en el cartón la pieza con la flor bordada.
Step 4
Carefully trying to keep the piece centered in the frame and using hot silicone, I proceeded to glue the piece with the embroidered flower on the cardboard.
Paso 5
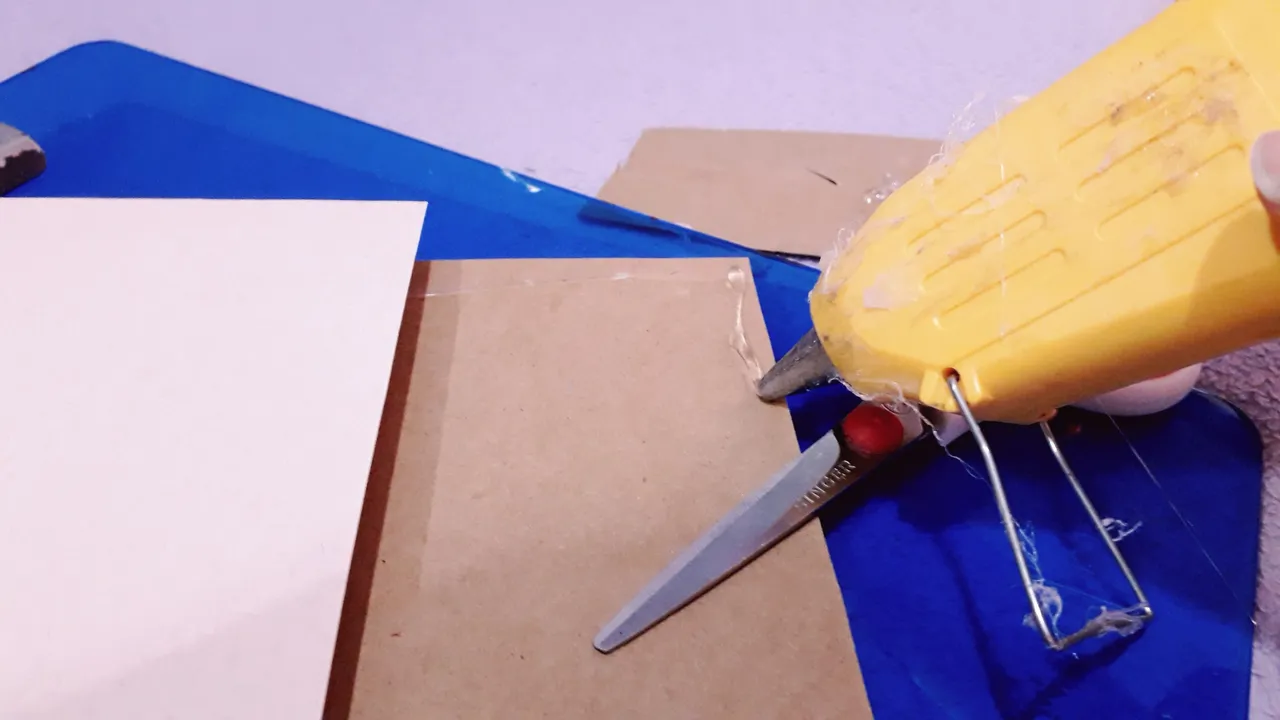
Luego de haber ubicado en el marco la pieza bordada, es el momento de pegar amabas cartulinas, colocar suficiente silicone caliente y luego pegar ambas cartulinas.
Step 5
After having placed the embroidered piece on the frame, it is time to glue both cards, place enough hot silicone and then glue both cards.
Paso 6
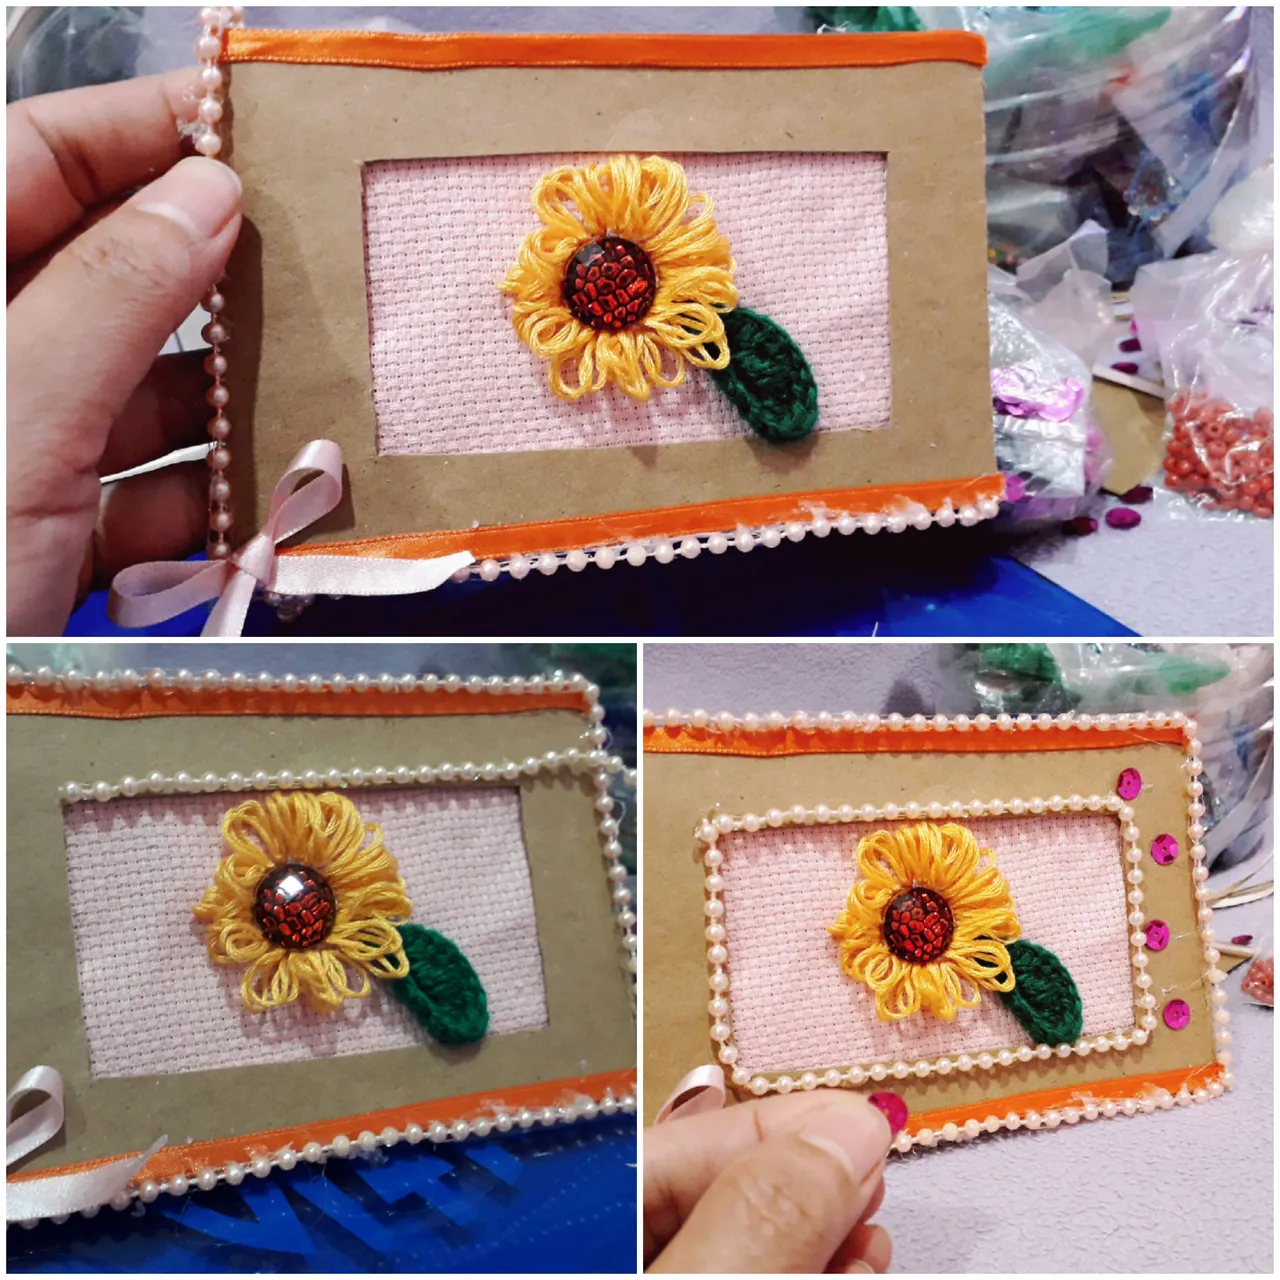
Llegó la parte más divertida del proyecto, la decoración. Usé cinta de raso, decoré con perlitas. Puedes colocar los elementos que desee, lo que más te guste. Cada elemento lo pegué usando silicone caliente.
Step 6
Now came the most fun part of the project, the decoration. I used satin ribbon and decorated with beads. You can place the elements you want, whatever you like. I glued each element using hot silicone.
A obsequiar!!!
Espero te animes a realizar este tipo de tarjeta, y nos olvidemos un momento de lo digital, y retomemos lo maravilloso de lo que escribir en papel o en una tarjeta y obsequiar a ese ser tan especial. Inclusive, puedes enviar la tarjeta por correo no digital, imaginen la cara de la persona al saber que le ha llegado una carta, imaginen abriendo y sobre y que reciba algo que has creado con tus propias manos, yo de solo imaginarlo, me enternezco.
Obsequiousness!!!
I hope you are encouraged to make this type of card, and let's forget about the digital for a moment, and let's go back to the wonderful thing of what to write on paper or in a card and give to that special person. You can even send the card by non-digital mail, imagine the face of the person to know that a letter has arrived, imagine opening and envelope and receive something that you have created with your own hands, I just imagine it, I am touched.

Gracias por dedicar un espacio de su tiempo para leer la publicación. Si hay alguna pregunta, por favor pregúntame en la sección de comentarios a continuación.
Thank you for taking the time to read this publication. If there are any questions, please ask me in the comments section below.
Texto e imágenes: Por @jicrochet
Text and images: By @jicrochet
