Greetings my friends from the hive. Today we will be making a mini plane, they have always been one of my favorite toys. In this post I am going to show you how to do it in a few steps, let's get started.
Materiales
- Paletas de helado
- Tijera
- Pegamento
- Pinturas
- Pincel
- Cuchillo
- Cartulina
- 3 botones
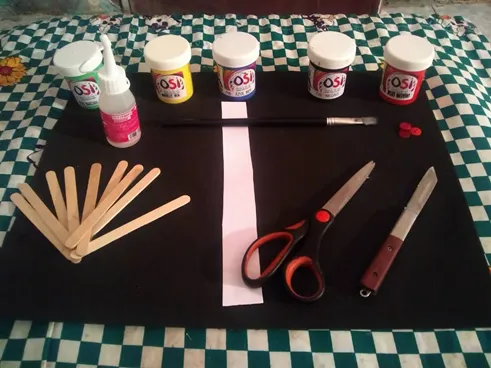
Materials
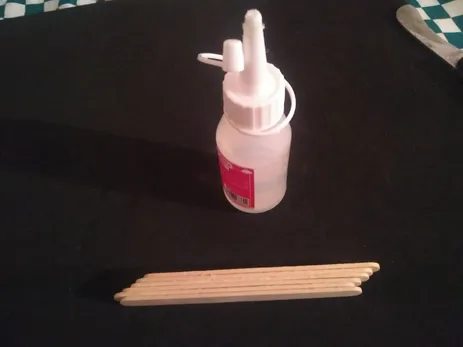
- Ice cream stick
- Scissor
- Glue
- Paintings
- Brush
- Knife
- Cardboard
- 3 buttons
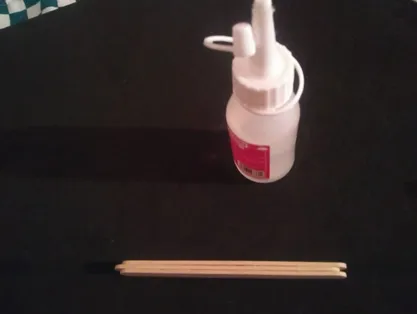
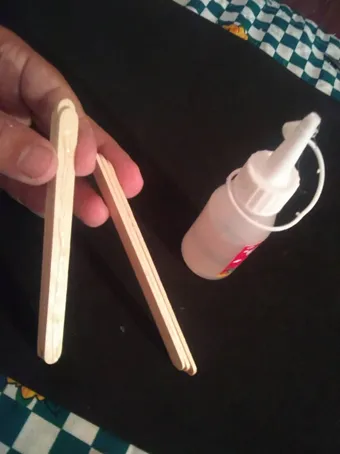
- Pegamos entre sí 3 paletas de forma que por un extremo se forme un saliente y por el otro un entrante
- We glue 3 pallets together so that a projection is formed at one end and a recess on the other.
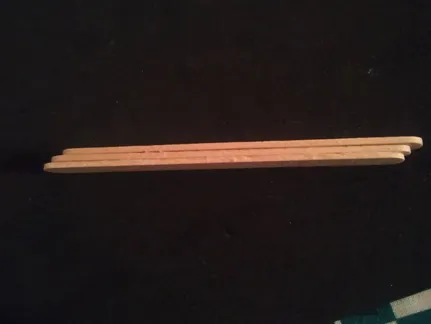
2 después pegamos 3 paletas entre sí pero en forma de escalera
2 then we glue 3 pallets together but in the form of a ladder
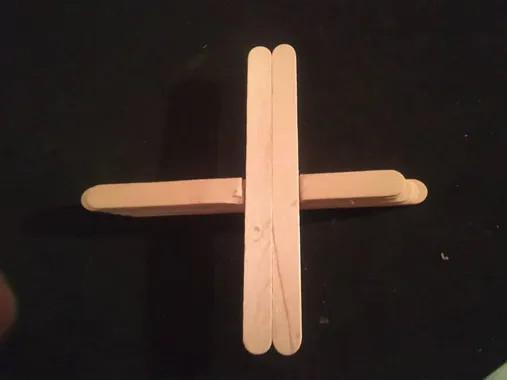
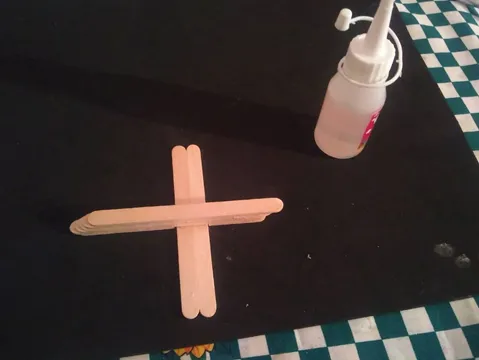
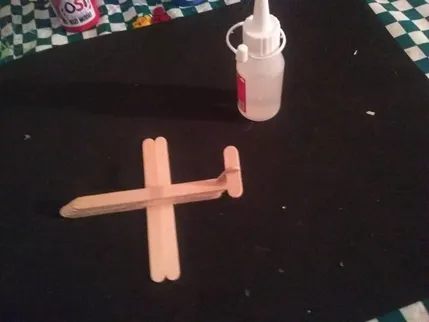
3 Luego unimos las dos piezas
3 Then we join the two pieces
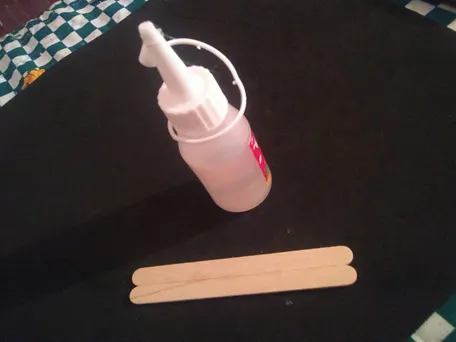
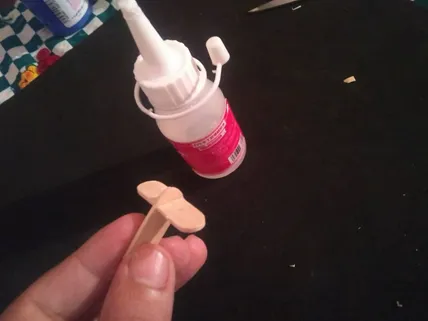
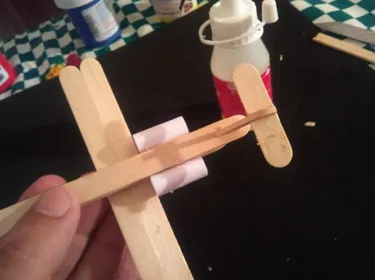
4 pegamos dos paletas una al lado del otro, estas serán nuestras alas
4 we glue two paddles next to each other, these will be our wings
5 Haremos una abertura a una de las paletas donde es que pegaremos las alas
5 We will make an opening to one of the pallets where we will glue the wings
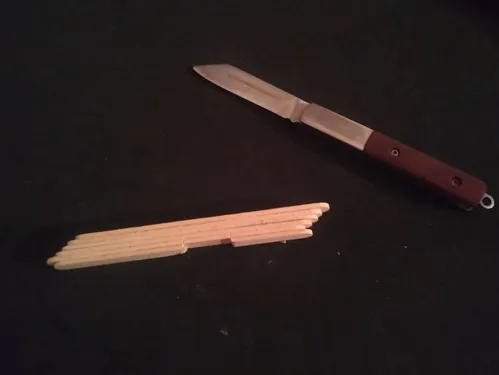
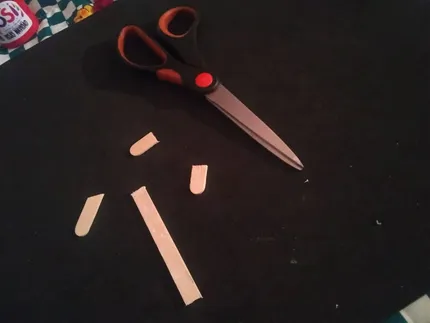
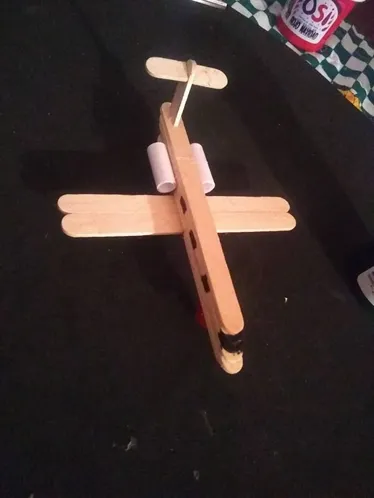
6 Seguimos, cortamos tres pedazos de una paleta para luego unirlas para formar nuestra cola trasera y las pegamos a lo que será la parte trasera del avión
6 We continue, we cut three pieces of a pallet and then join them to form our rear tail and glue them to what will be the back of the plane
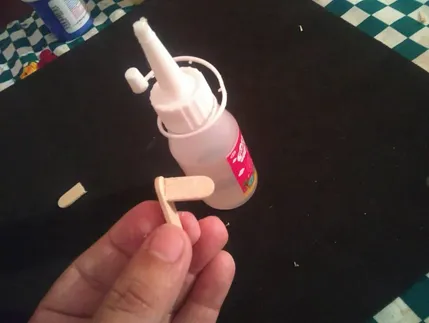
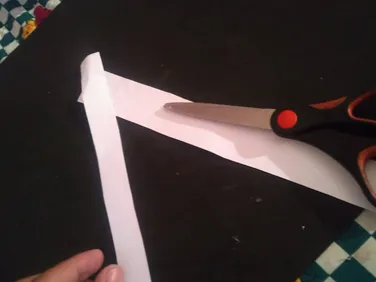
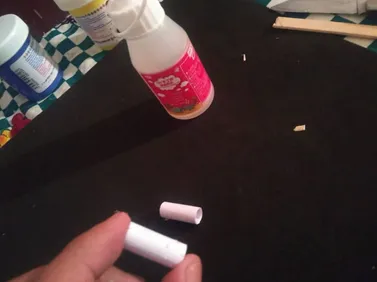
7 Los motores lo haremos con cartulina, recortamos una tira, la enrollamos y las pegamos
7 Los motores lo aremos con cartulina, recortamos una tira, la enrollamos y las pegamos
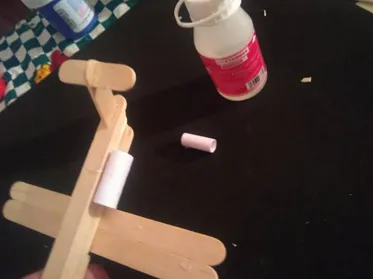
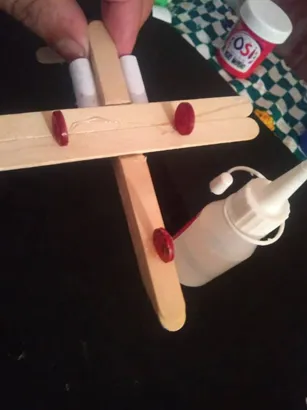
8 Los tres botones serán el tren de aterrizaje
8 The three buttons will be the landing gear
9 Luego pintamos las ventanas
9 Then we paint the windows
10 Para terminar procedemos a pintar nuestro avion con los colores preferidos o que tengan a la mano
10 To finish we proceed to paint our plane with the favorite colors or that they have on hand
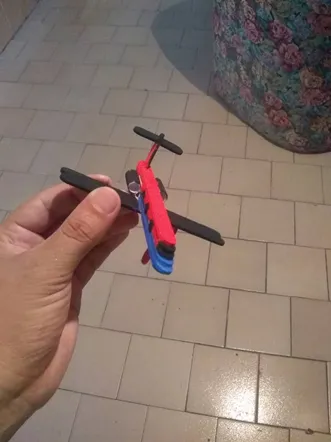
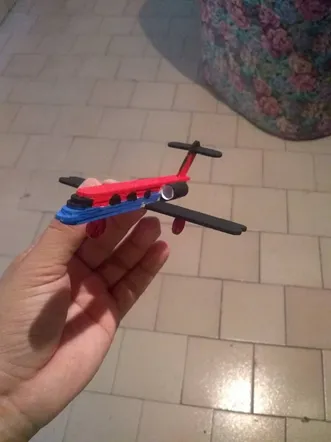
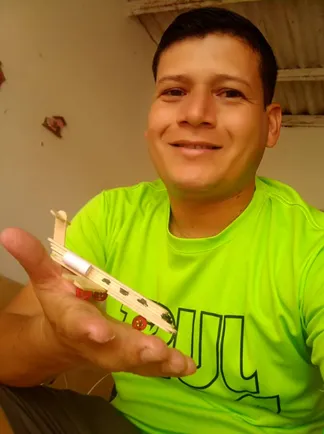
Listo así fabricamos un mini avión en tan pocos pasos
Ready so we make a mini plane in just a few steps
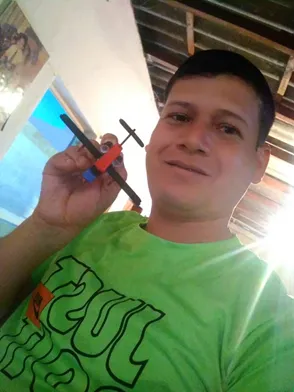
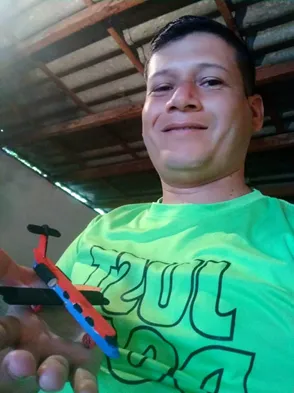
Gracias por leer y pasar por mi post. Espero que sea de gran provecho para los mas pequeños de la casa. Hasta una próxima oportunidad.
Thanks for reading and going through my post. I hope it will be of great benefit to the little ones in the house. Until next time.