Hola amigos espero que estén bien un gusto saludarlos , hace algún tiempo mi mamá y yo nos dimos a la tarea de hacerle unos cintillos personalizados a mi sobrina que tiene actualmente un mes y medio de nacida , nos dedicamos a diseñar cintillos que fueran ideales para ella que es una bebé y sobre todo que fueran de nuestro gusto , hicimos muchos al rededor de unos veinte , me pareció una idea genial para un emprendimiento ya que son muy lindos y fácilmente se pueden vender , quiero mostrarles como hacer uno base y los demás quedan a su total creatividad.
Hello friends I hope you are well a pleasure to greet you, some time ago my mom and I took on the task of making personalized headbands for my niece who is currently a month and a half old, we dedicated ourselves to designing headbands that were ideal for her that she is a baby and above all that they were to our liking, we made many around twenty, it seemed like a great idea for a venture since they are very cute and can easily be sold, I want to show you how to make a base one and the rest remain to your full creativity.
MATERIALES
• Un metro de elástica
• Un metro de cinta roja
• Un retazo de cinta amarilla
• Hilo de coser
• Silicona caliente
MATERIALS
• A meter of elastic
• A meter of red tape
• A piece of yellow tape
• Sewing thread
• Hot silicone
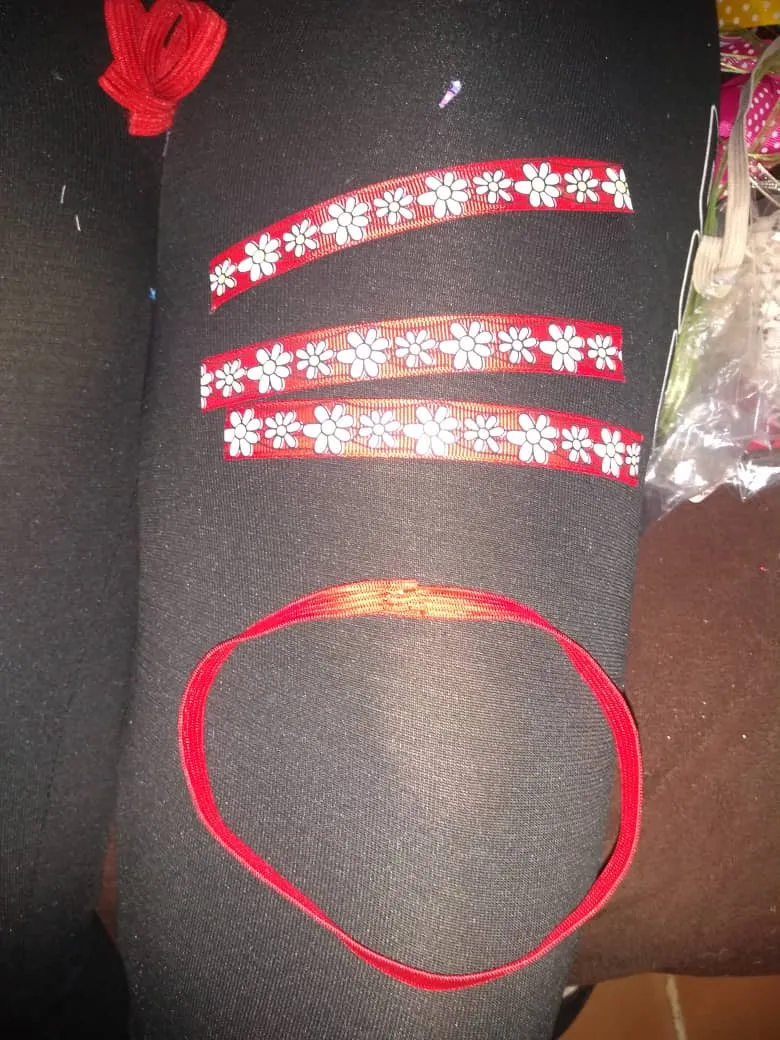
Lo primero que hicimos fue cortar la elástica a la medida de queríamos , está será la base para nuestro cintillo , de un metro nos salieron dos bases , en este caso solo usaremos una parte , unimos la elástica para que nos quede lista la base lo hicimos con dos puntadas de aguja e hilo pero también la pueden unir con silicona caliente.
The first thing we did was cut the elastic to the size we wanted, this will be the base for our headband, two bases came out of one meter, in this case we will only use one part, we join the elastic so that the base is ready, we did it with two needle and thread stitches but you can also join it with hot silicone.
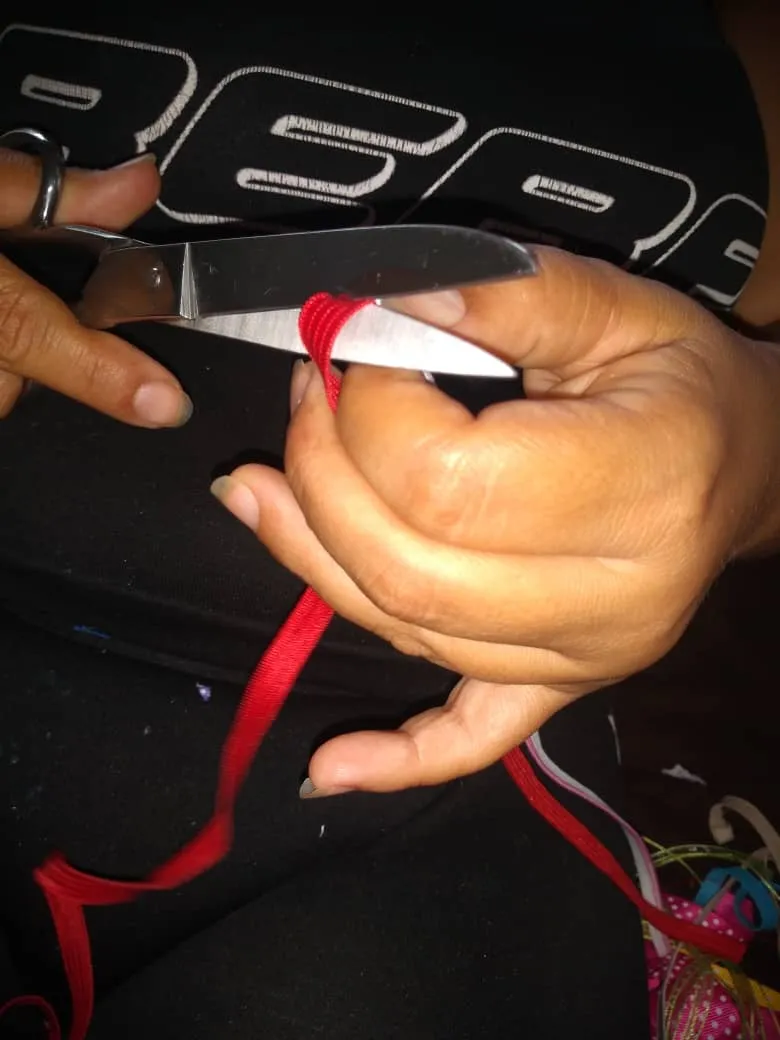
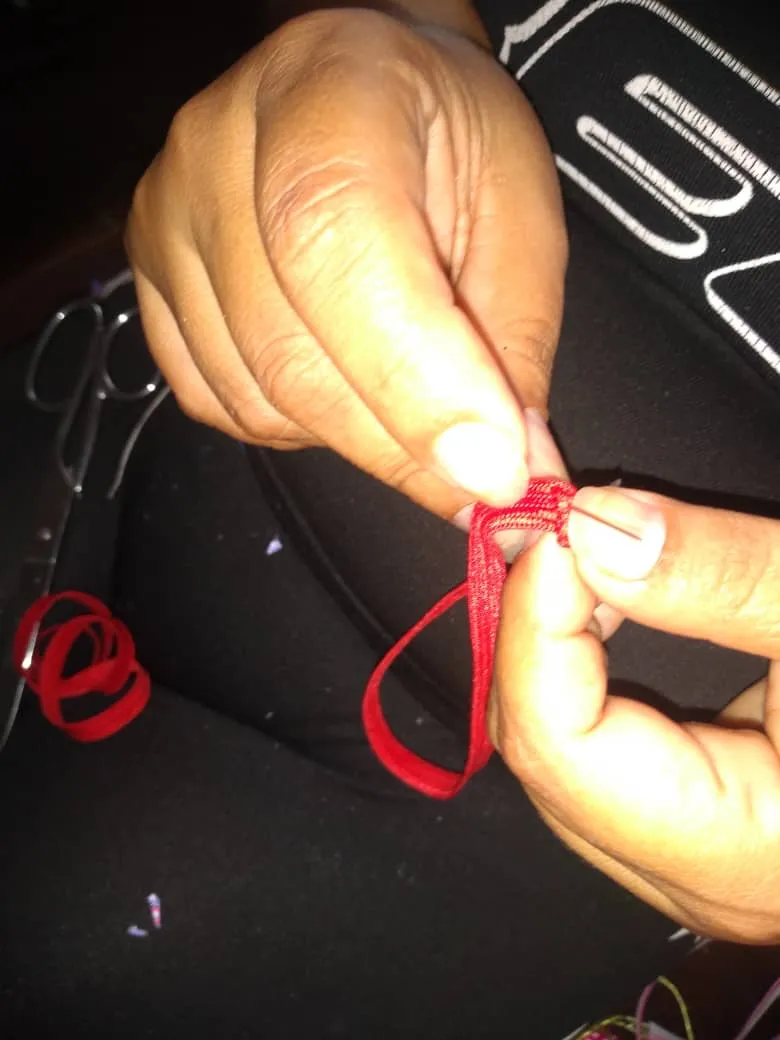
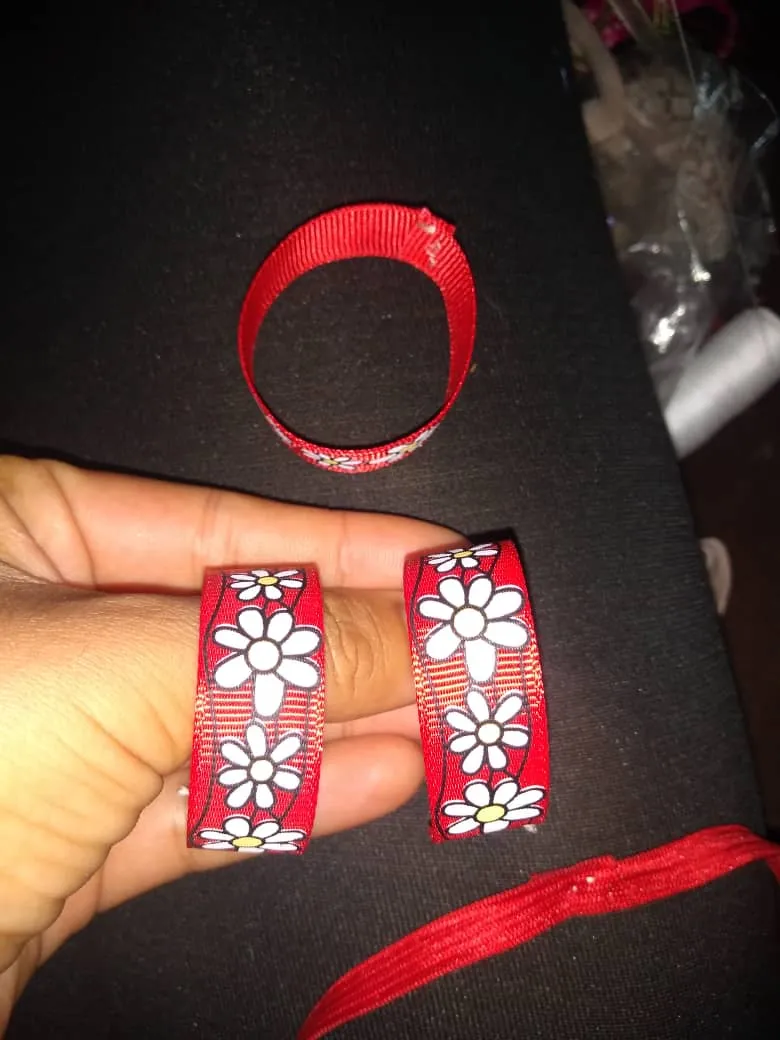
Ahora vamos armar el lazo decorativo , nos quisimos inspirar un poco en los colores de la princesa Blanca nieves por eso usamos la combinación de rojo y amarillo la verdad todo está en la creatividad, cortamos cuatro tiras del mismo largo usamos una cinta roja con decoración de flores amarillas, estás cintas las unimos cada una con su extremo .
Now we are going to put together the decorative bow, we wanted to be inspired a bit by the colors of the Blanca Nieves princess, that is why we used the combination of red and yellow, the truth is that everything lies in creativity, we cut four strips of the same length, we used a red ribbon with decoration of yellow flowers, these tapes we join each one with its end.
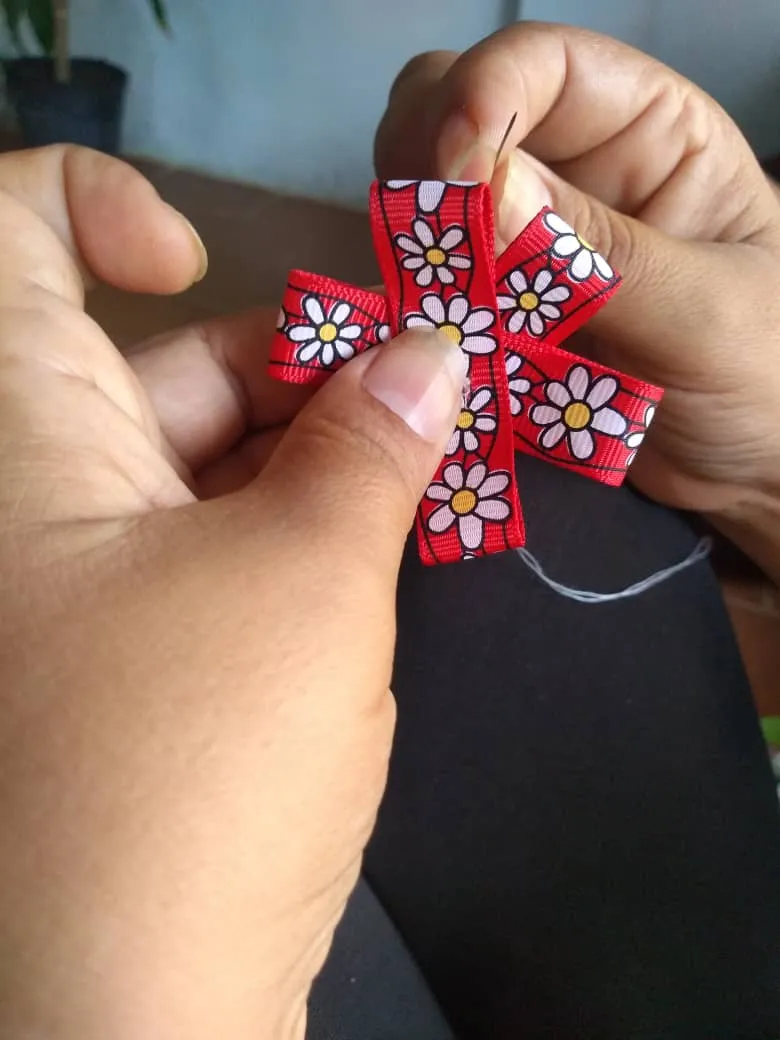
Unimos nuestras cintas una arriba de otra con ayuda de una puntada de hilo , también las pueden unir con silicona, luego para darle un detalle extra hicimos un lazo tradicional muy pequeño con un poco de retazo de cinta amarilla y en el medio un pedacito de cinta roja , se lo pegamos con silicona en el medio del lazo grande que hicimos .
We join our ribbons one on top of the other with the help of a thread stitch, they can also be joined with silicone, then to give it an extra detail we made a very small traditional bow with a bit of yellow ribbon and a small piece of ribbon in the middle red, we glued it with silicone in the middle of the big bow we made.
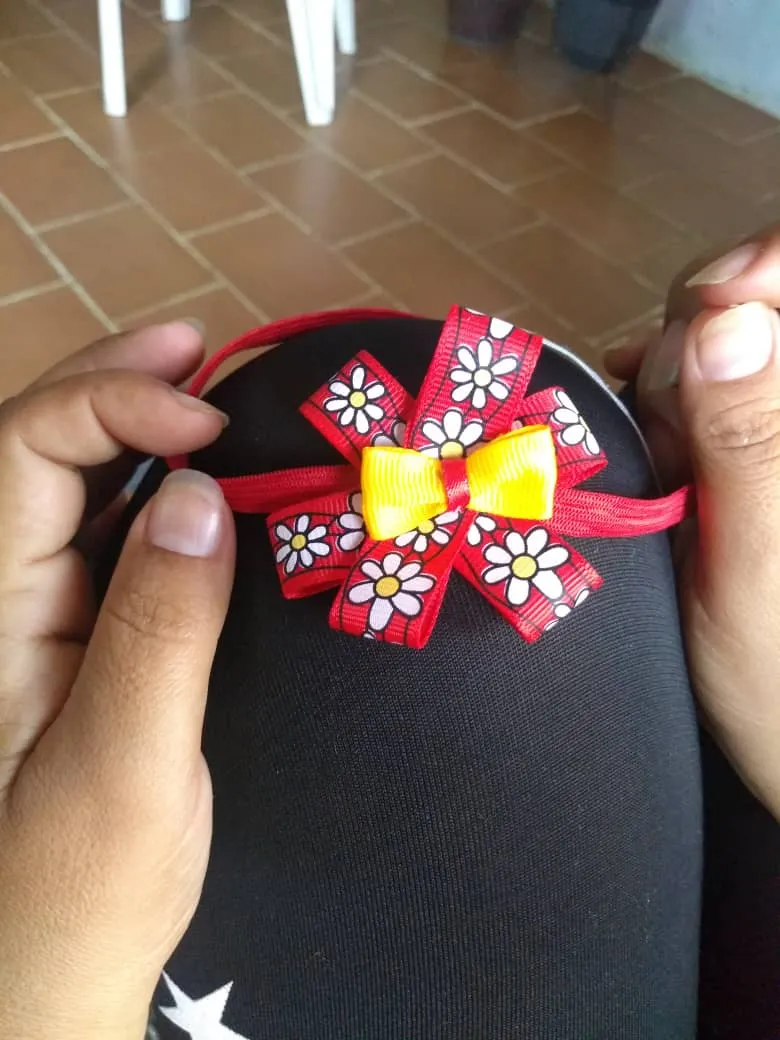
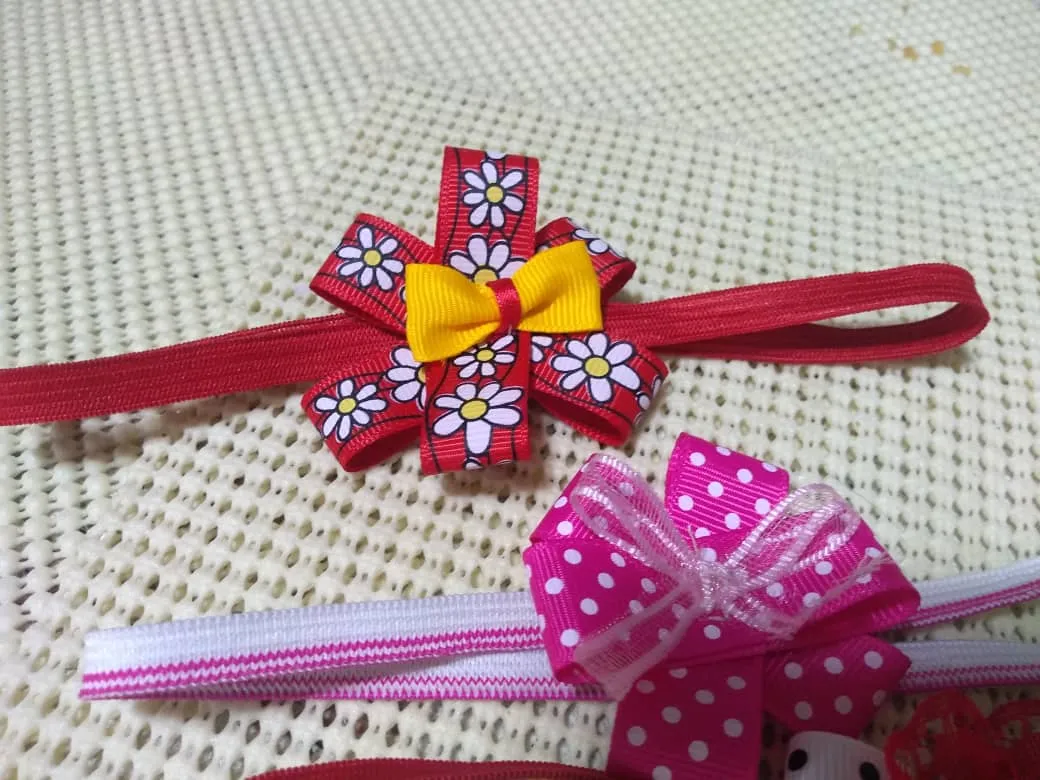
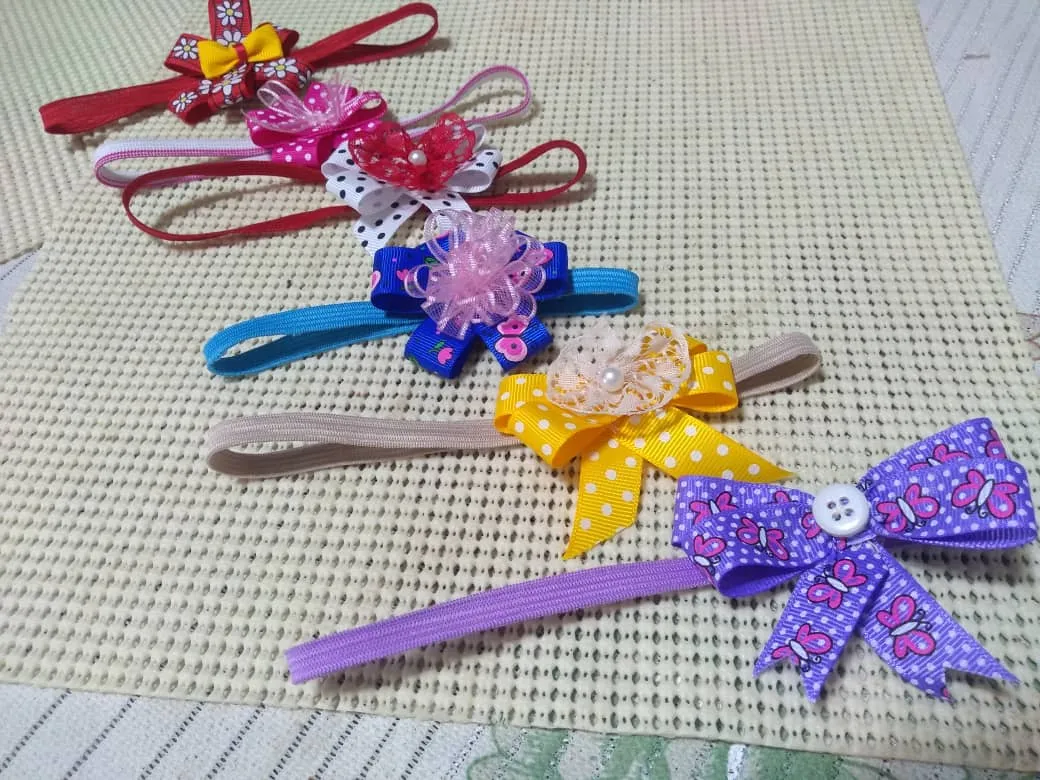
Por último pegue el lazo completo a la base de elástica que cortamos al principio, y así de fácil tuvimos nuestro cintillo personalizado, hicimos muchos diferentes, varios colores combinaciones todo queda en la creatividad de cada uno , pero sólo nos tomo unos 15 min hacer cada cintillo por eso pienso que es una gran opción para un emprendimiento.
Lastly, glue the complete bow to the elastic base that we cut at the beginning, and that easy we had our personalized headband, we made many different, various color combinations, everything is left to the creativity of each one, but it only took us about 15 min to make each headband, that's why I think it's a great option for a business.
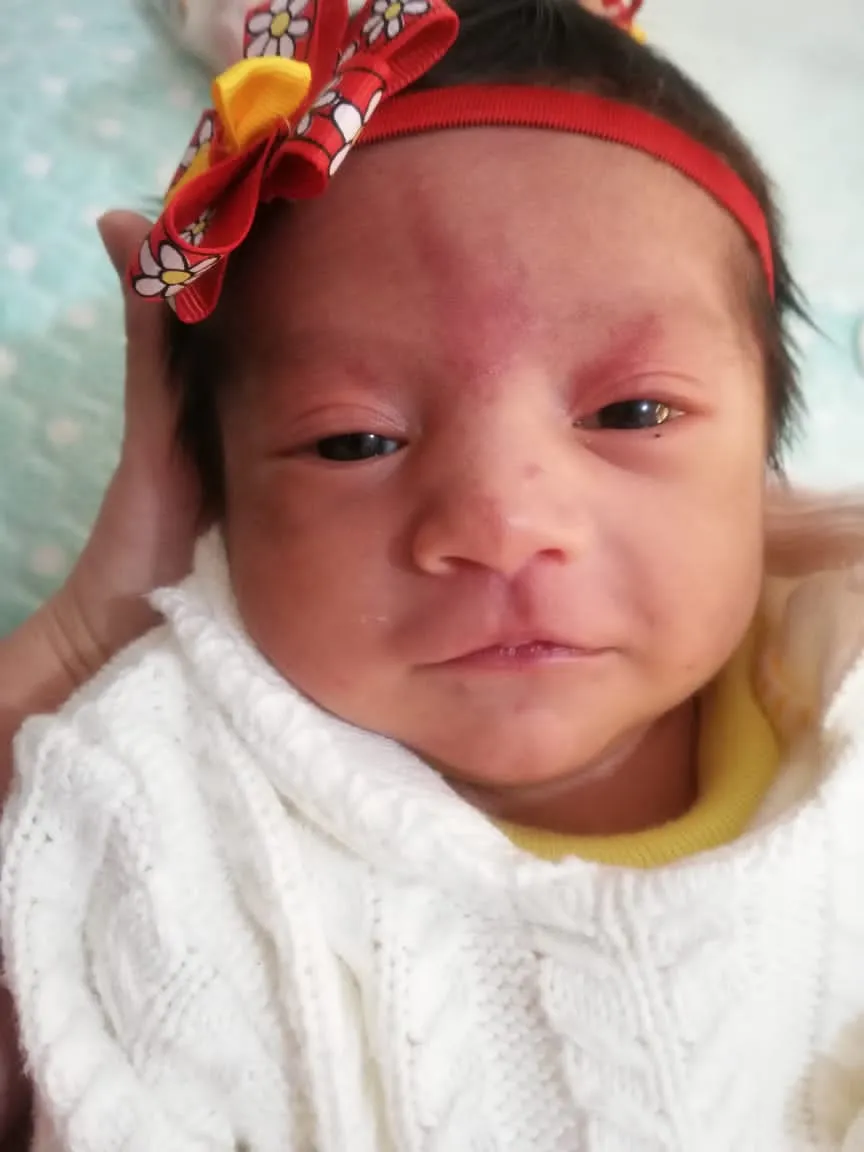
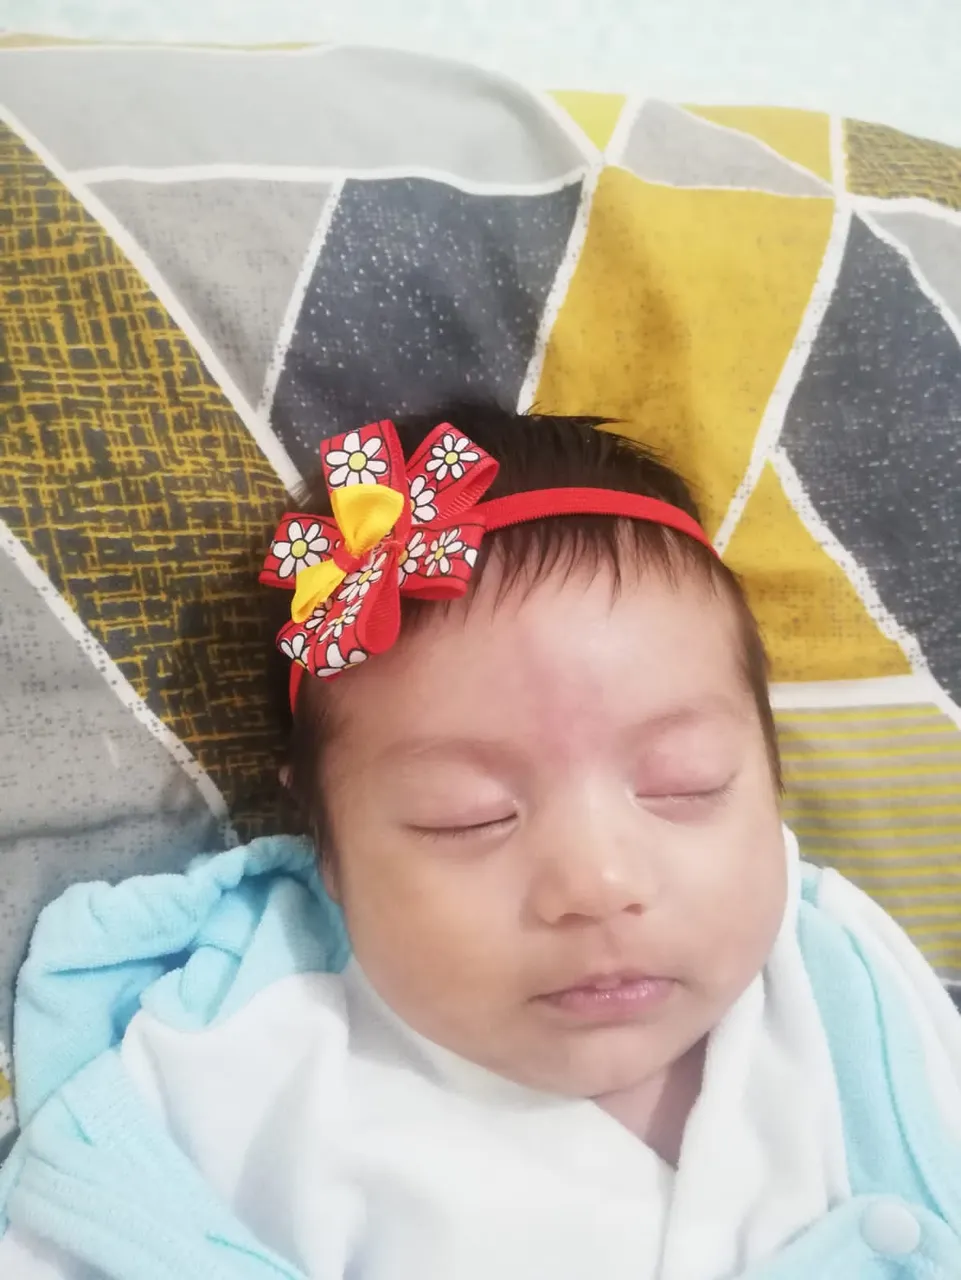
Hasta aquí mi post de hoy amigos espero que les gustará esta gran opción para hacer nuestros cintillos en casa , le doy créditos especiales a la modelo del día mi bella sobrina Ginger . Feliz tarde amigos nos vemos en otra oportunidad.
So far my post today friends I hope you will like this great option to make our headbands at home, I give special credits to the model of the day my beautiful niece Ginger. Happy afternoon friends see you another time.