🔸Sin más que añadir, a continuación los dejo con el paso a paso:
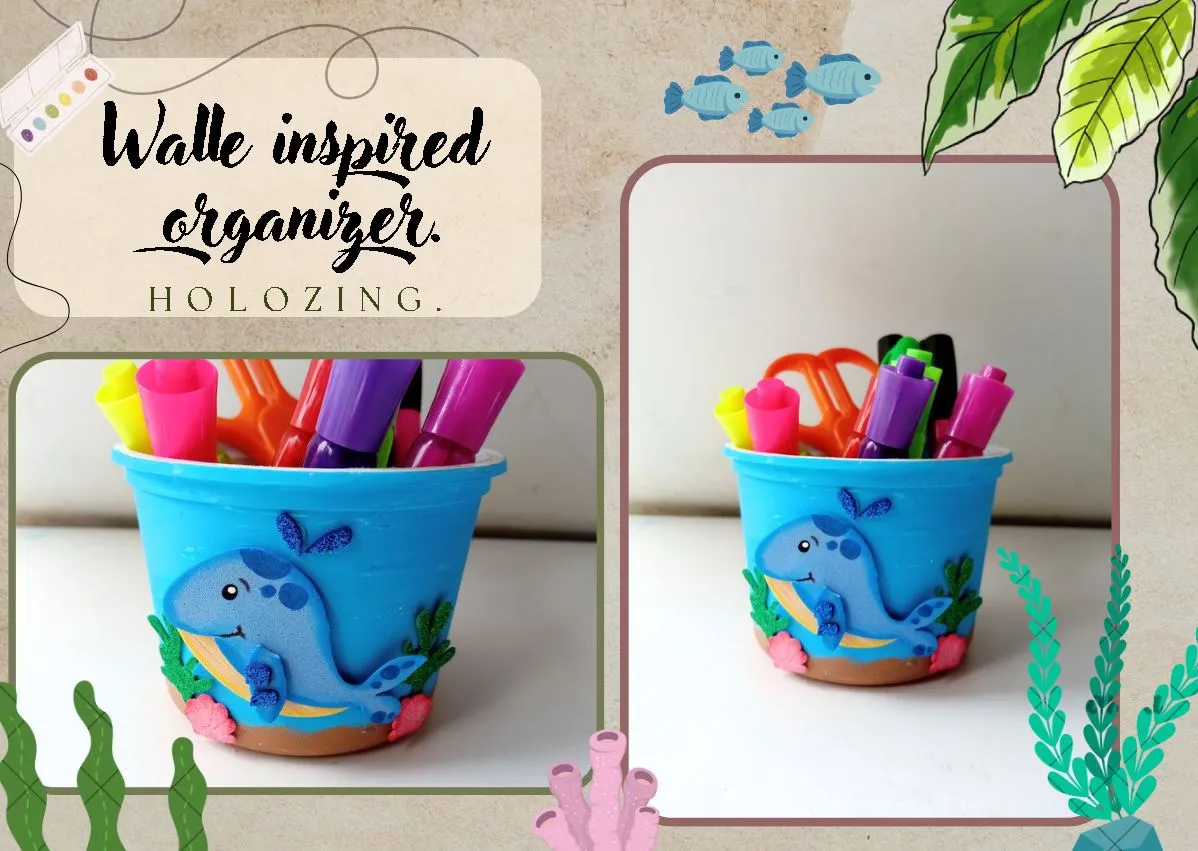
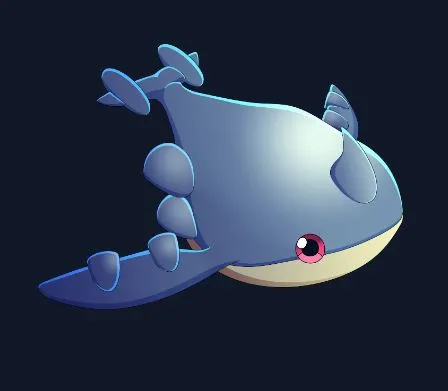
** 🐳¡Good afternoon, holozing friends! 🐳** I hope you are feeling great today and are having a nice week. For my part, I am happy to stop by again to share with you a cute desk organizer inspired by Water Whale. On this occasion I wanted to combine my paintings with the foam decoration and it seemed like a great idea to create a pencil holder with this creature, since I had never had an idea with this one.
At the end of the creation I was not convinced, but after seeing it again I think it was cute and that it is a nice idea for the little ones in the house. In addition, you do not need a large amount of materials to make it.💕
🔸Without more to add, then I leave you with the step by step:
♥️ESPERO QUE TE GUSTE,
¡Empecemos!
♥️I HOPE YOU LIKE IT,
Let's start!

✂️ MATERIALES | ✂️ MATERIALS
- Envase plástico.
- Pinturas y marcador.
- Foami escarchado azul.
- Foami escarchado rosa.
- Foami escarchado verde.
- Foami azul.
- Foami crema.
- Pegamento.
- Hoja blanca.
- Lápiz.
- Tijeras.
- Plastic container.
- Paints and marker.
- Blue frosted foam.
- Pink frosty foam.
- Green frosty foam.
- Blue foam.
- Cream foam.
- Glue.
- White sheet.
- Pencil.
- Scissors.
🐳 PROCEDIMIENTO | 🐳 PROCESS
- ✨ PASO 1:
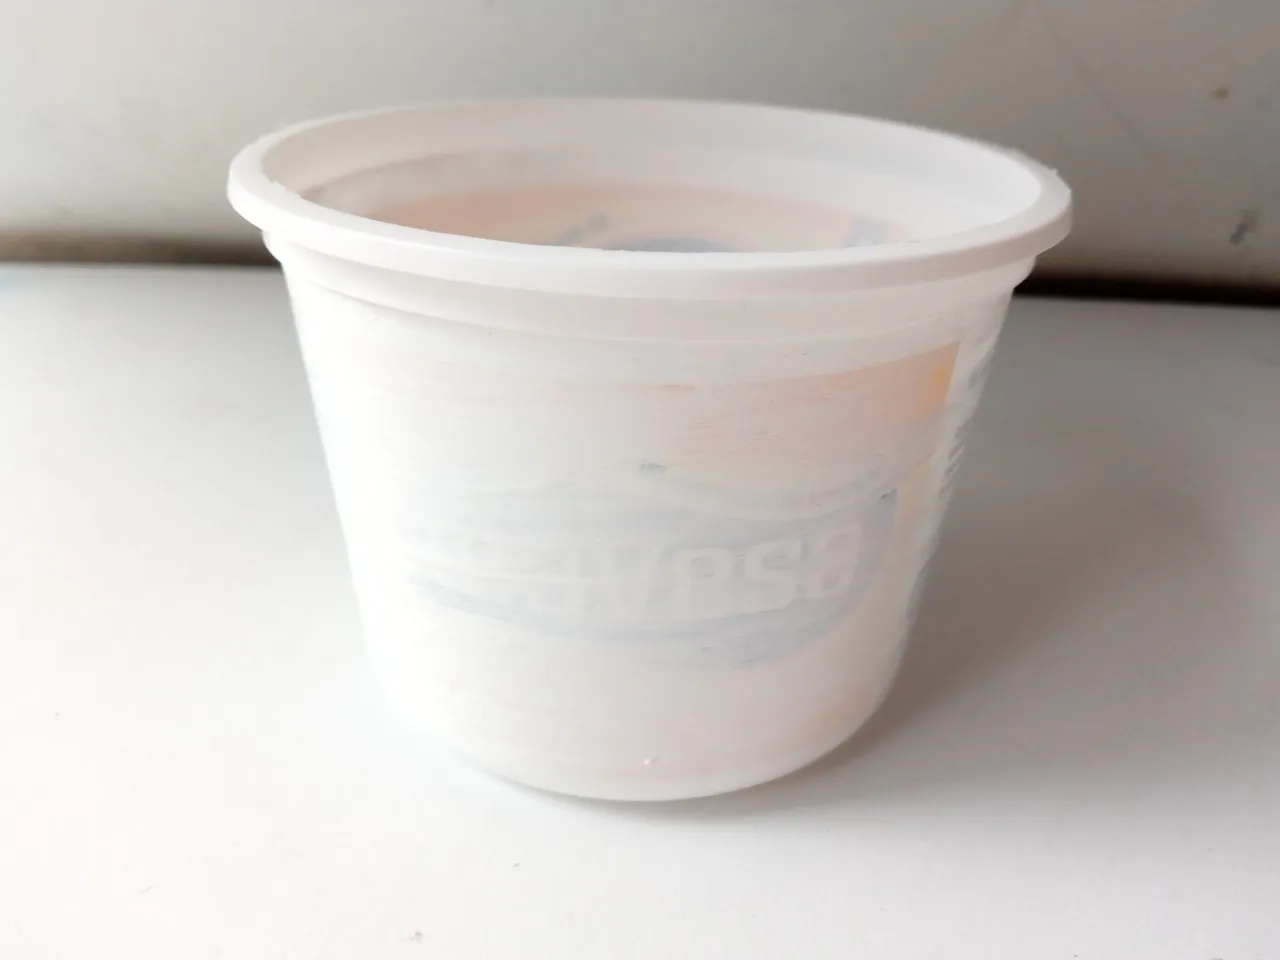
Lo primero que hice fue pasarle una capa de pintura al envase que iba a estar utilizando, para así tapar un poco los colores originales y que resaltara el color final. Al secar, di dos capas de pintura azul claro y en la base, pase pintura marrón y dejé secar muy bien.
- ✨ STEP 1:
The first thing I did was apply a layer of paint to the container I was going to be using, in order to cover the original colors a little and highlight the final color. When dry, I applied two coats of light blue paint and on the base, I applied brown paint and let it dry very well.

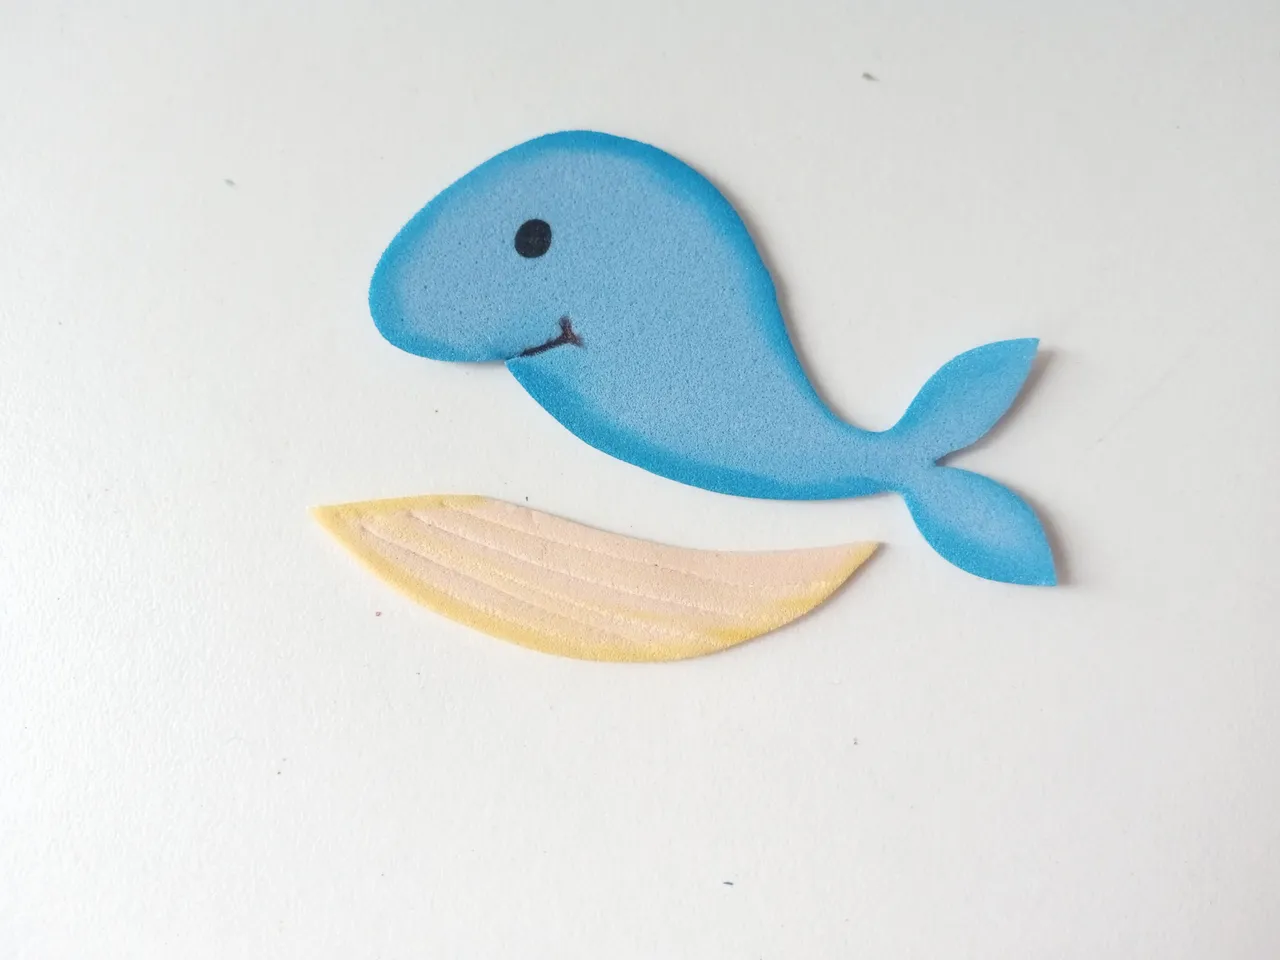
- ✨ PASO 2:
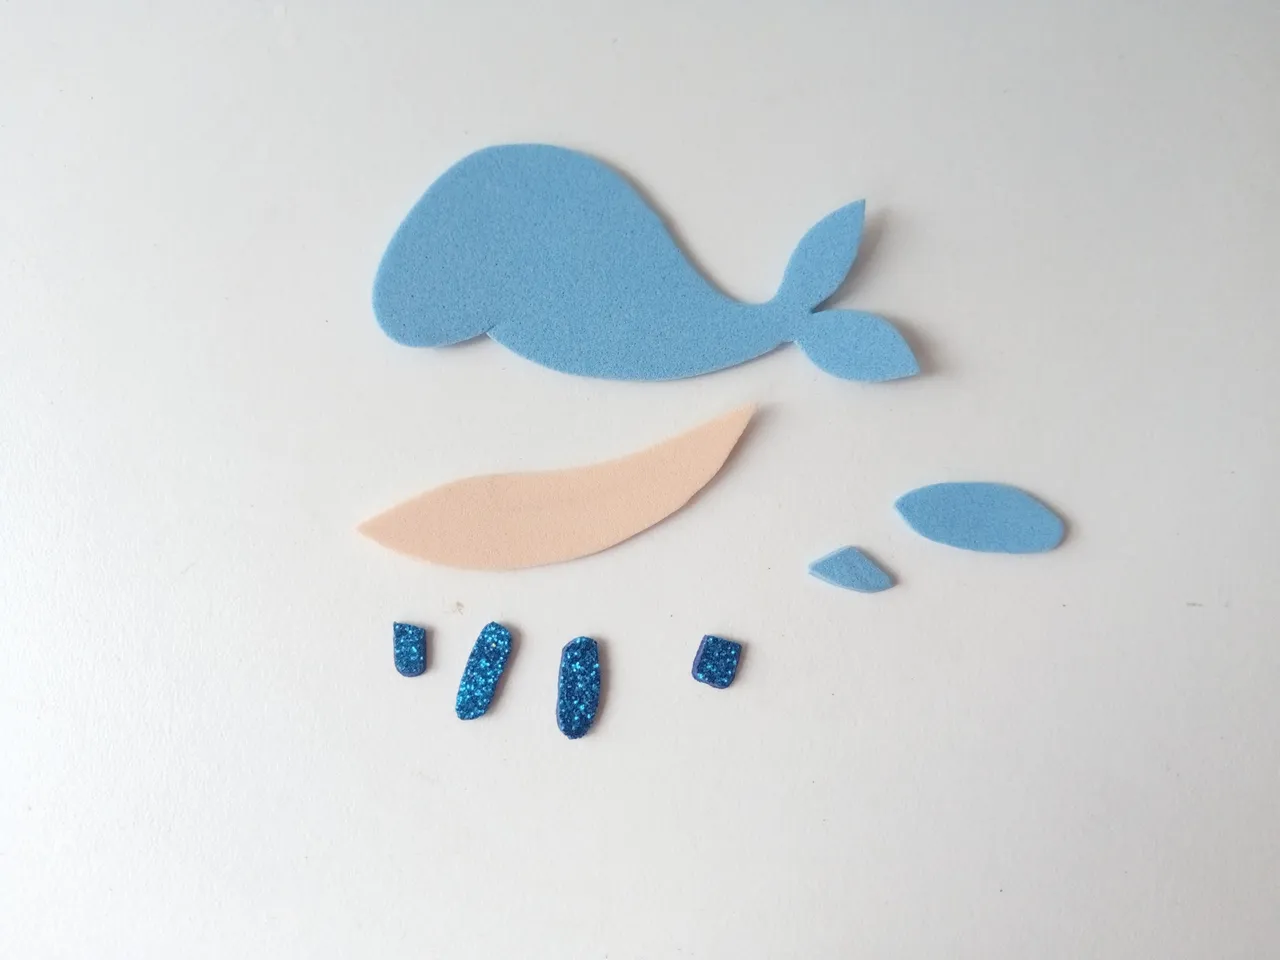
Mientras, comencé a dibujar a Walle en una hoja blanca y luego, transferí cada parte del cuerpo en el color correspondiente de foami, que en este caso fue foami azul, crema y azul escarchado. Una vez recortadas todas las piezas, tomé pinturas más oscuras o que contrastaran con cada pieza y con ayuda de un pañito, froté por todo el borde de cada una.
- ✨ STEP 2:
Meanwhile, I started drawing the whale on a white sheet and then, I transferred each part of the body in the corresponding color of foami, which in this case was blue, cream and frosty blue foami. Once all the pieces were cut out, I took darker paints or those that contrasted with each piece and with the help of a cloth, I rubbed all over the edge of each one.

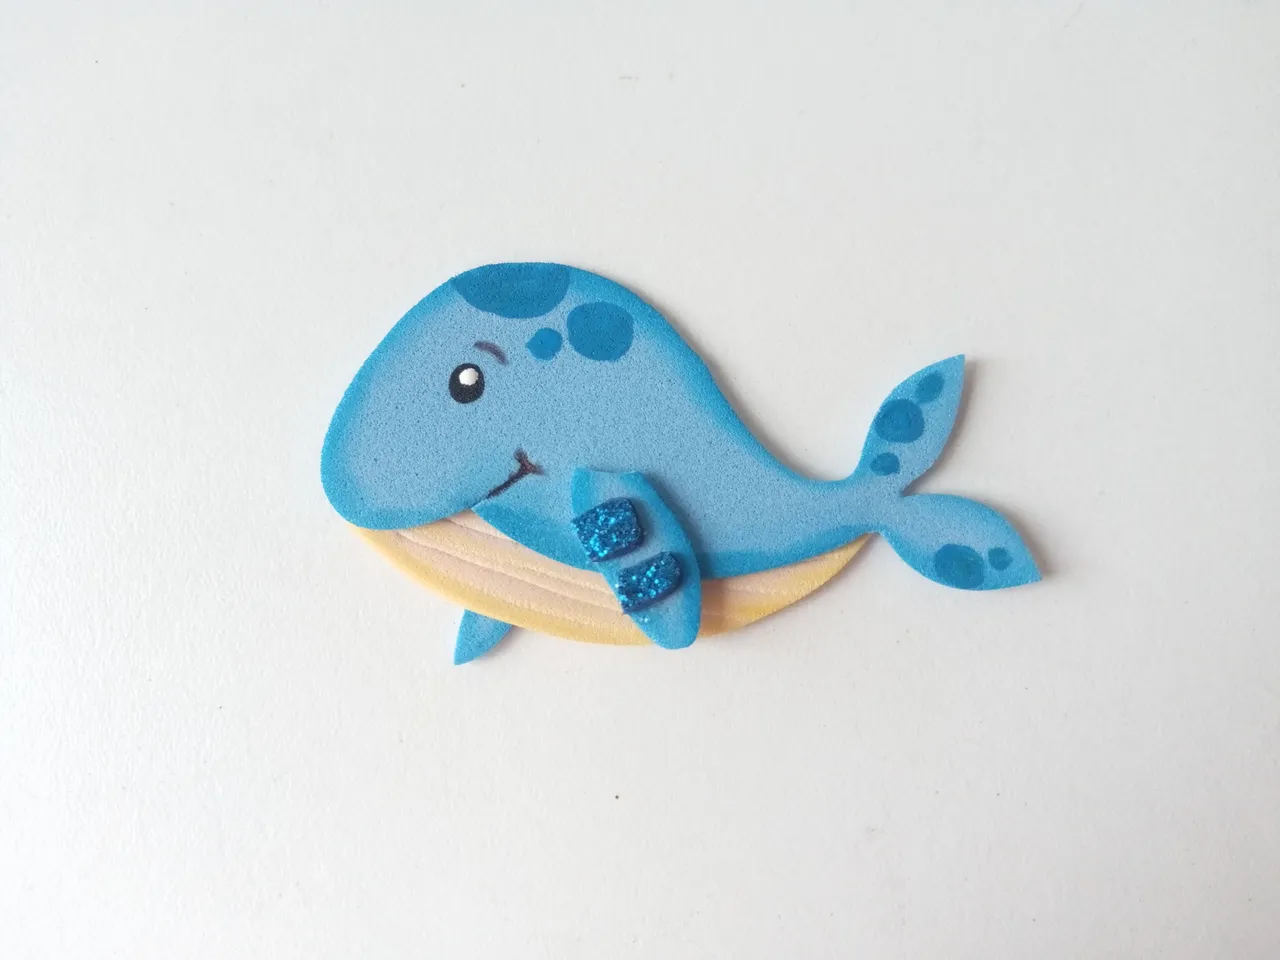
- ✨ PASO 3:
Luego, dibujé el rostro con marcador negro y di textura a la parte interior de la ballena con un palillo. Pegué todas las piezas y también, di más detalles con pintura azul, haciendo círculos de diferentes tamaños en algunas zonas y pinté el punto de luz en el ojo.
- ✨ STEP 3:
Next, I drew the face with black marker and textured the inside of the whale with a toothpick. I glued all the pieces and also gave more details with blue paint, making circles of different sizes in some areas and painted the light point in the eye.
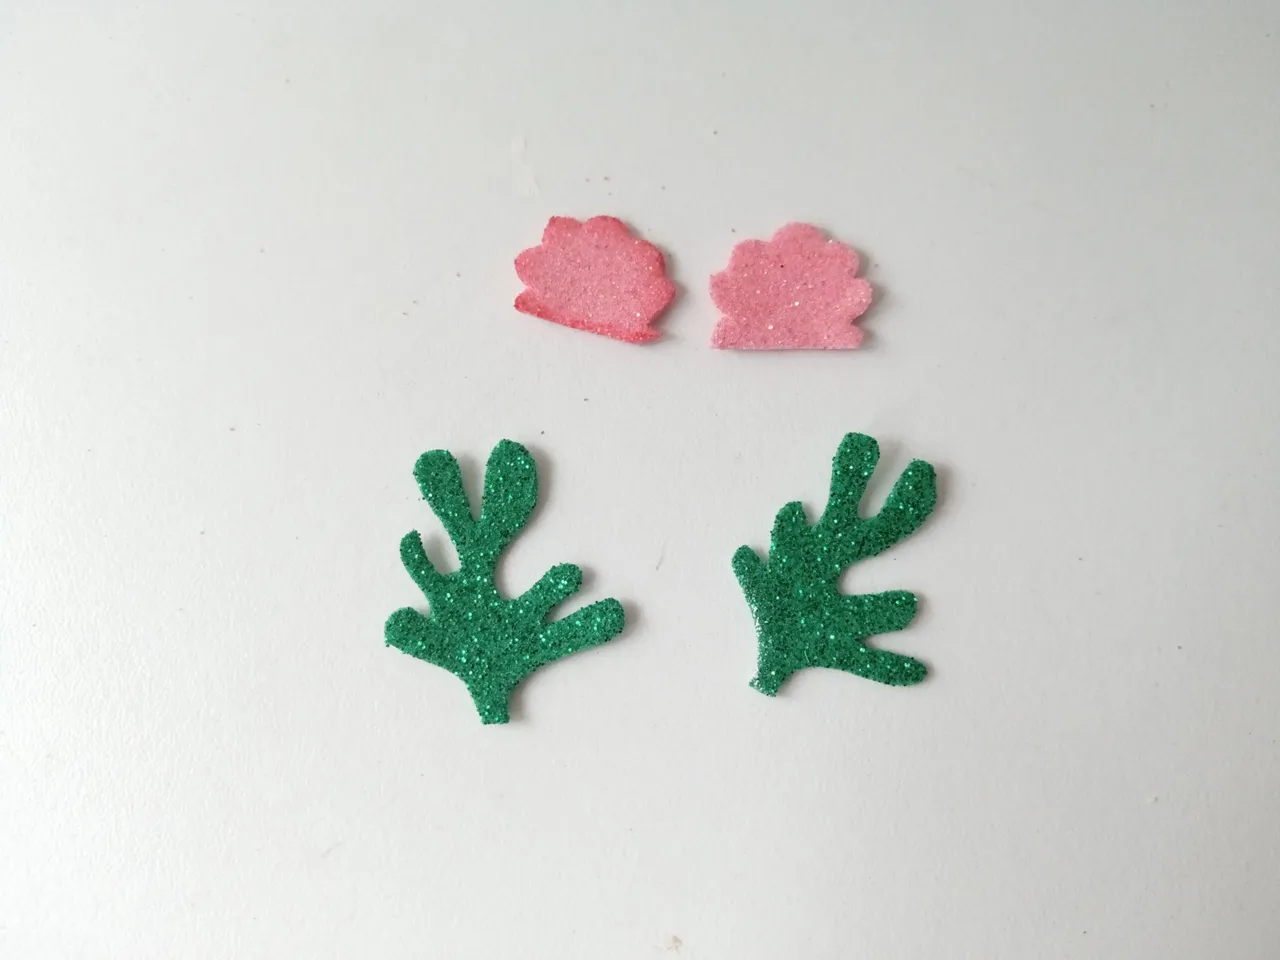
- ✨ PASO 4:
Pegué a la ballena en el medio del envase que pinté anteriormente y quise dar más detalles, así que dibujé y transferí al foami escarchado rosado y verde, un par de plantas marinas y ostras a las cuales le di un poco de textura con un palillo y pegué a los lados de la parte inferior de la ballena. Por último, recorté un par de gotas de agua con foami escarchado azul y las pegué en la parte superior de la cabeza.
- ✨ STEP 4:
I glued the whale in the middle of the container that I painted previously and I wanted to give more details, so I drew and transferred to the pink and green frosted foam, a couple of sea plants and oysters to which I gave a little texture with a toothpick and I glued to the sides of the bottom of the whale. Lastly, I cut out a couple of water drops with blue frosted foam and glued them to the top of the head.

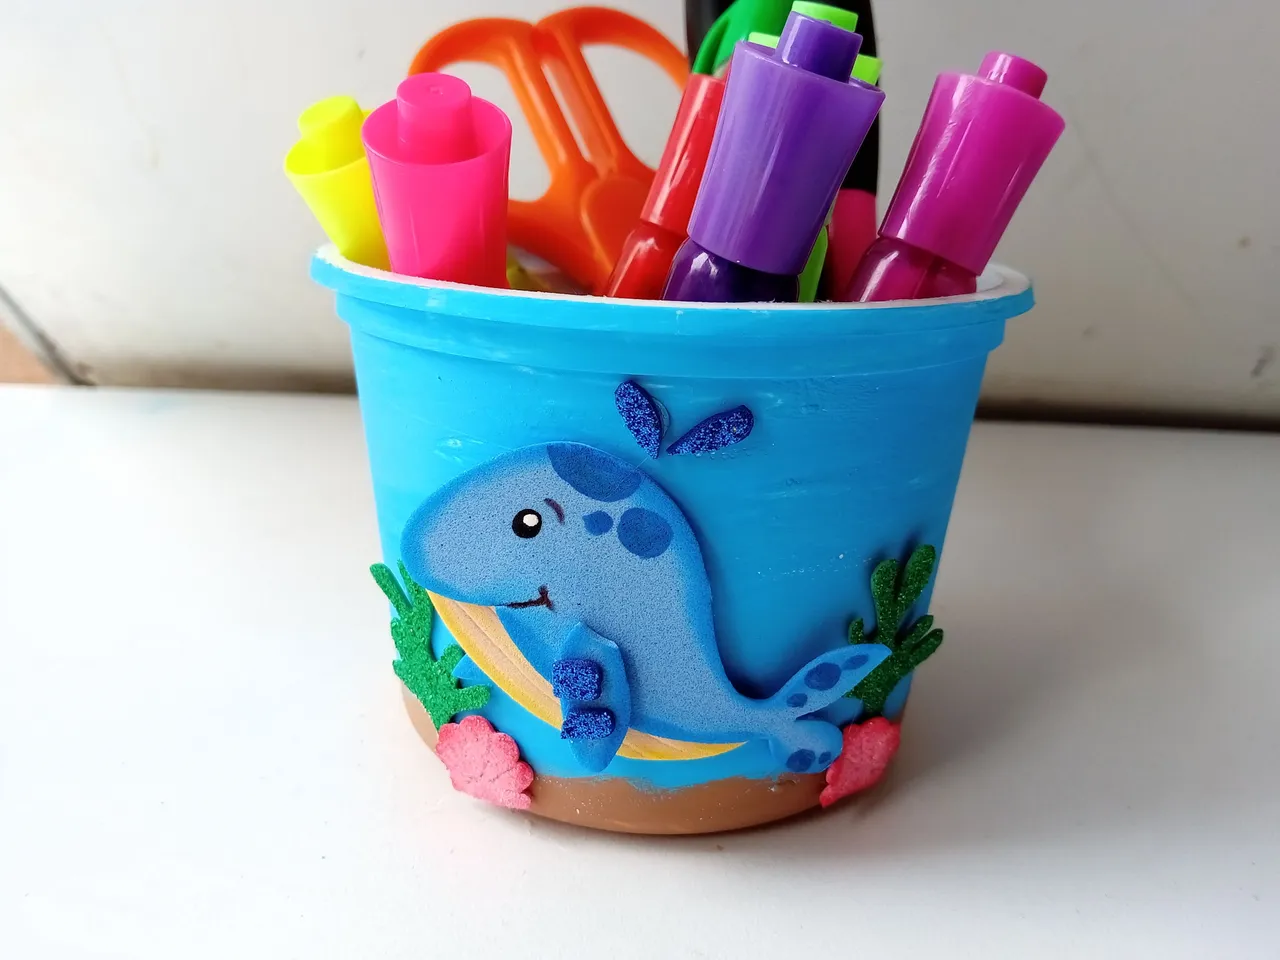
✨ 🐳¡And ready! 🐳✨ This way you can make a nice and easy pencil holder for the little ones at home, but you can also make it with the creature or character of your choice. I hope you liked the step by step and are encouraged to make it.
❤️Until the next post.
❤️ Hasta la próxima publicación.
❤️ Until the next post.
Todas las fotografías son de mi propiedad.
Separador y Fotos editadas en Canva
All photographs are my property.
Photos edited in Canva