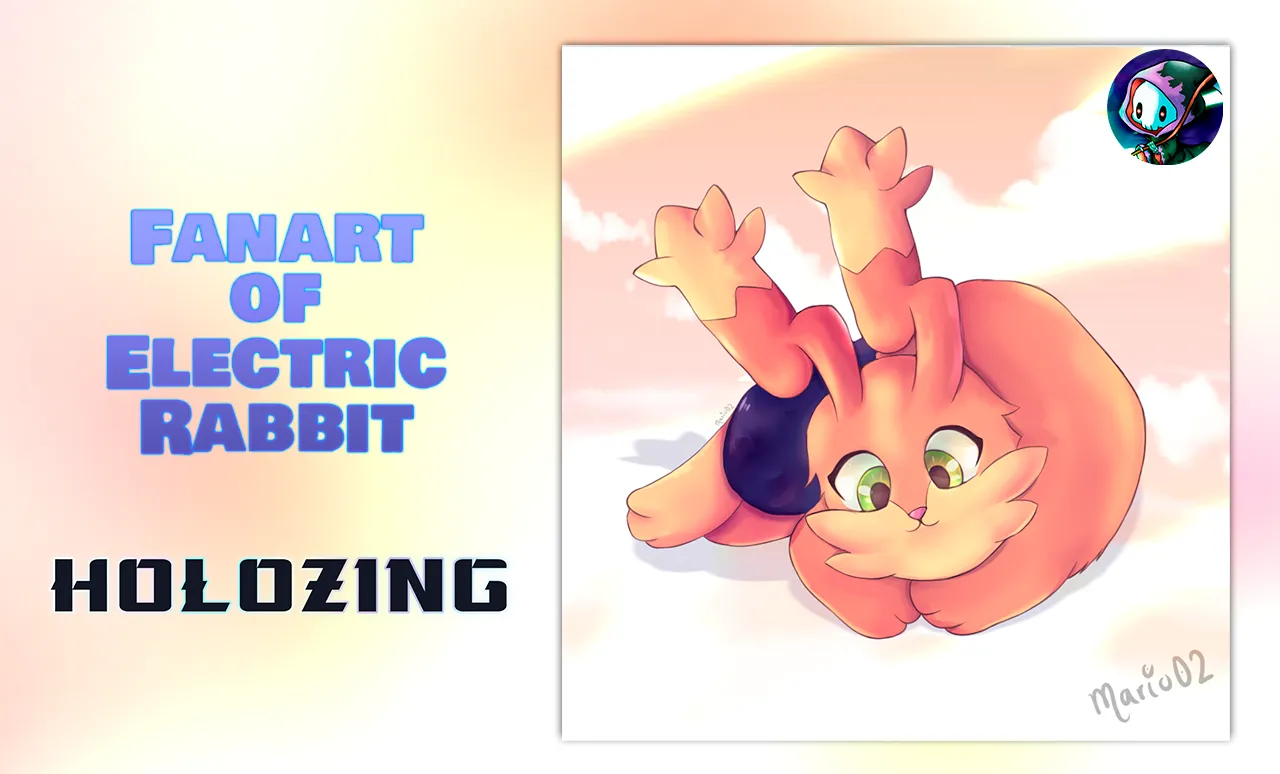

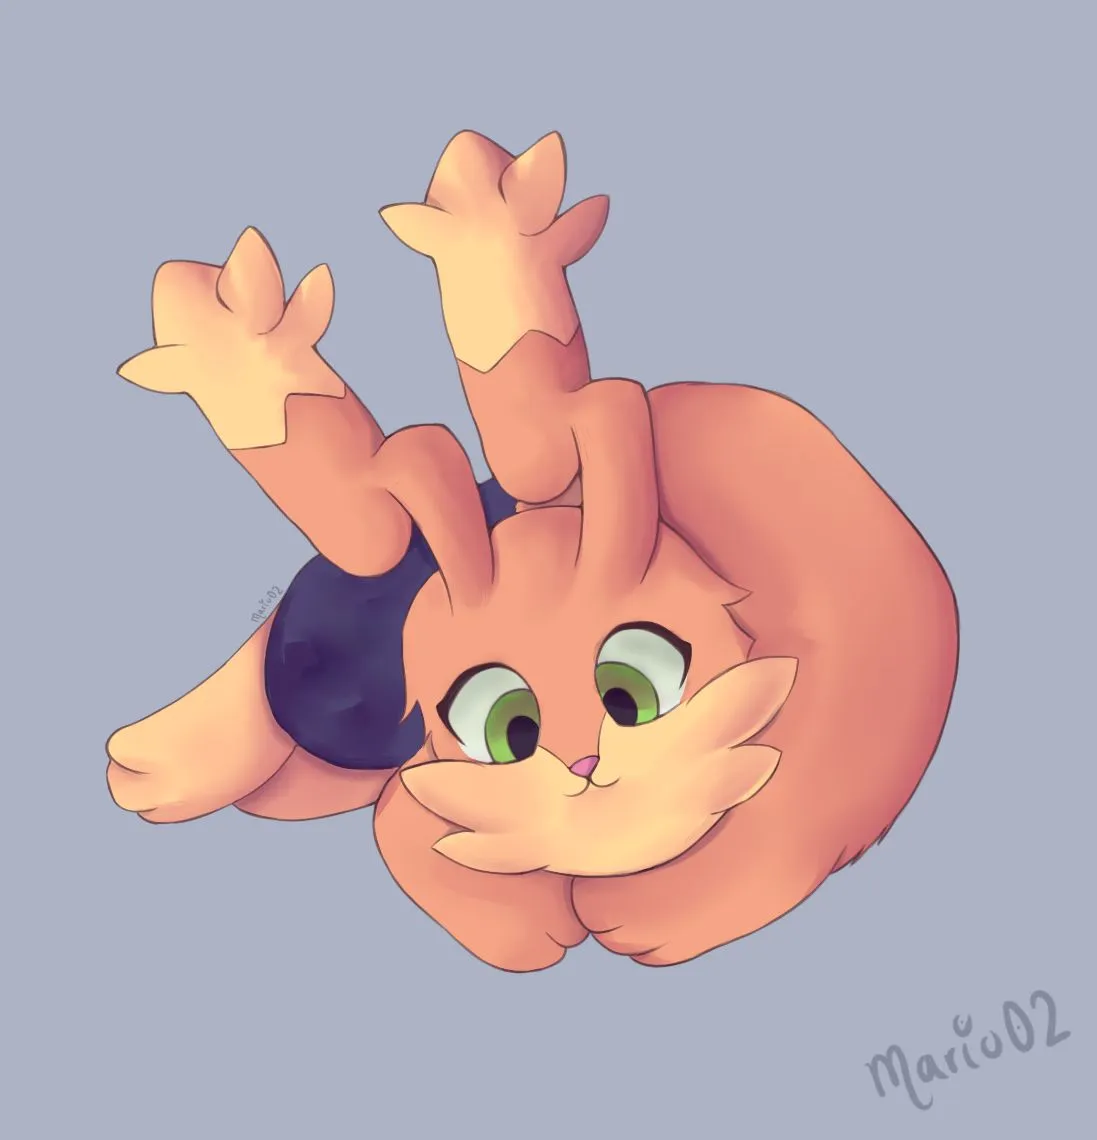
Electric Rabbit
¡Saludos comunidad! Espero se encuentren bien. 🙏
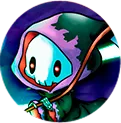
Les comento que he estado esta semana enfermo y un poco desanimado, aun así he estado haciendo algunos bocetos para desarrollarlos en los próximos días. Tal es el caso del día de hoy, he terminado una nueva ilustración fanart de Electric Rabbit probando algunas técnicas diferentes de coloreado para lograr otros acabados.
El diseño de esta ilustración me transmite algo de calma ante tanta dificultad. Espero les guste y sin mas que decir los dejo con el proceso.
Greetings community! I hope you are well. 🙏
I've been sick this week and a bit discouraged, even so I've been doing some sketches to develop them in the next days. Such is the case today, I've finished a new fanart illustration of Electric Rabbit trying some different colouring techniques to achieve other finishes.
The design of this illustration transmits me some calm in the face of so much difficulty. I hope you like it and without more to say I leave you with the process.
Creative Process | Proceso Creativo📘✏️
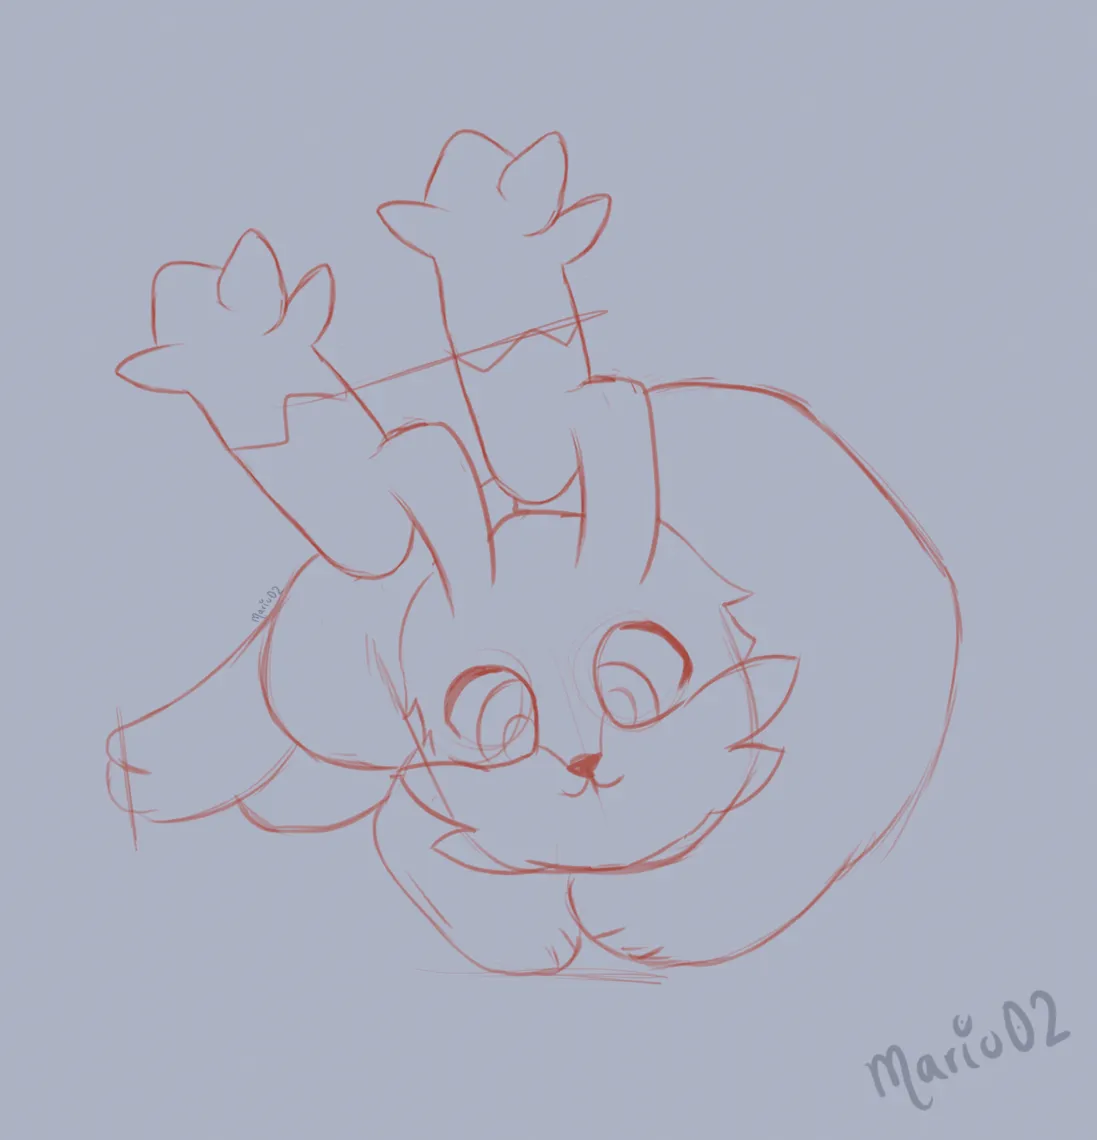
Comencé esta ilustración realizando el boceto del personaje en color rojo, mi idea era presentar al personaje acostado con una pose tierna y amigable. Con el boceto listo realice el lineart, aquí utilice un pincel diferente, dando un efecto de baja opacidad en las líneas.
I started this illustration making the sketch of the character in red colour, my idea was to present the character lying down with a tender and friendly pose. With the sketch ready I made the lineart, here I used a different brush, giving a low opacity effect in the lines.

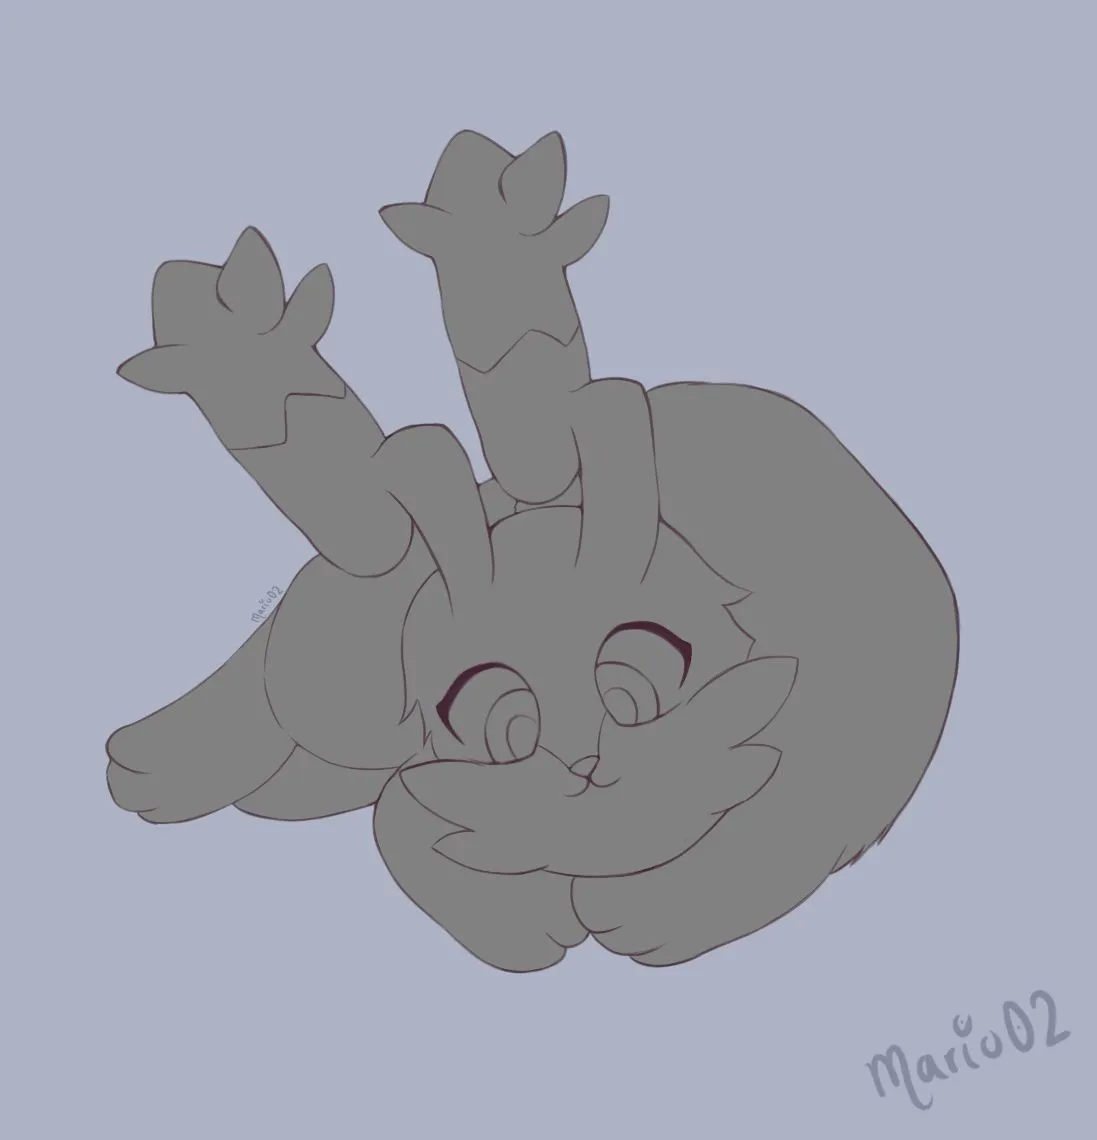
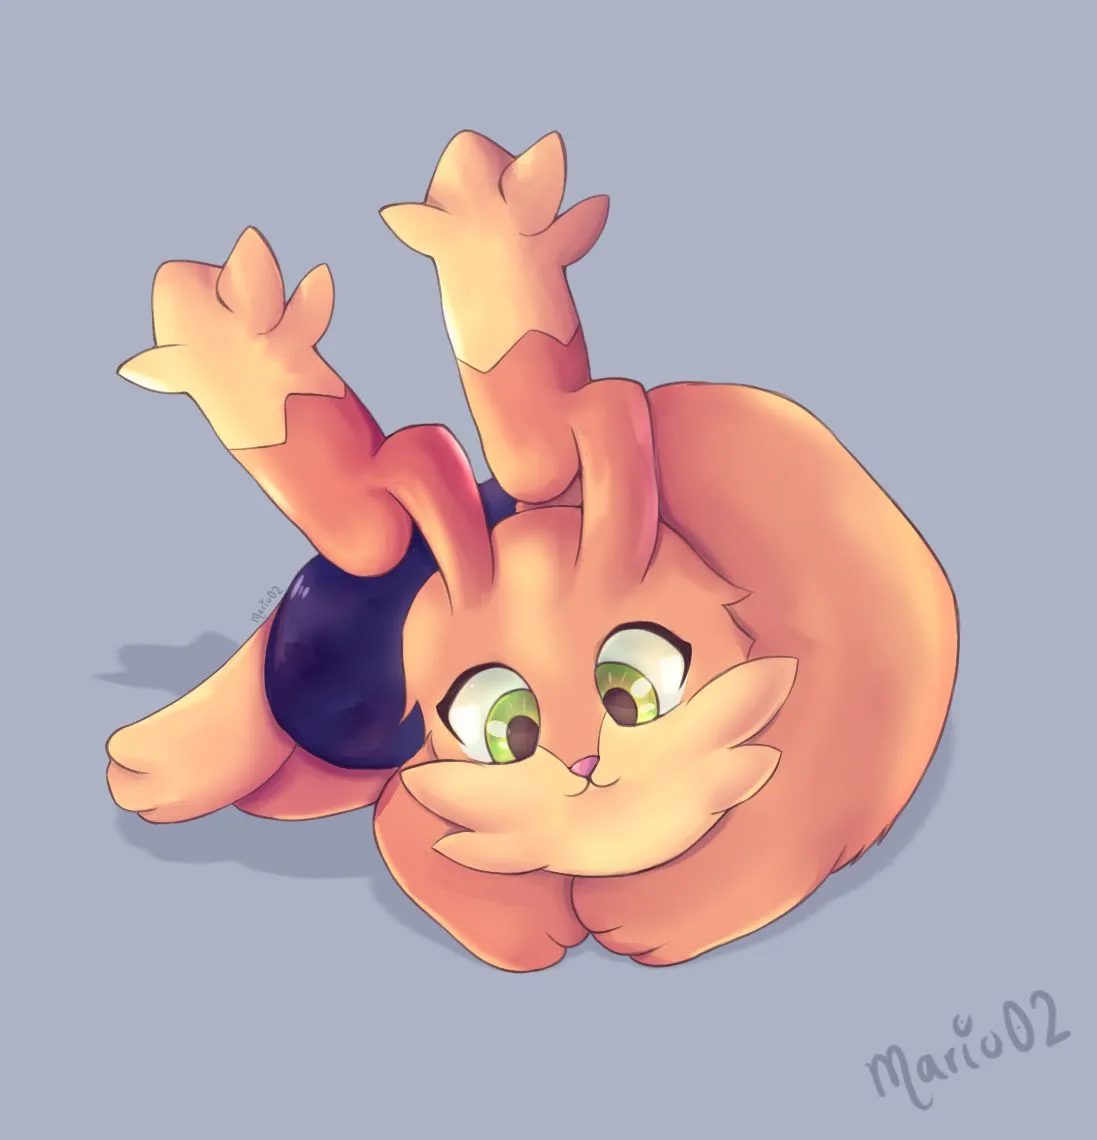
Debajo del lineart aplique una capa de color gris para marcar la silueta del personaje, luego comencé a aplicar los colores base, aquí utilice tonos desaturados para dar una sensación mas suave en la composición de la imagen.
Under the lineart I applied a layer of grey to mark the silhouette of the character, then I started to apply the base colours, here I used desaturated tones to give a softer feel to the composition of the image.
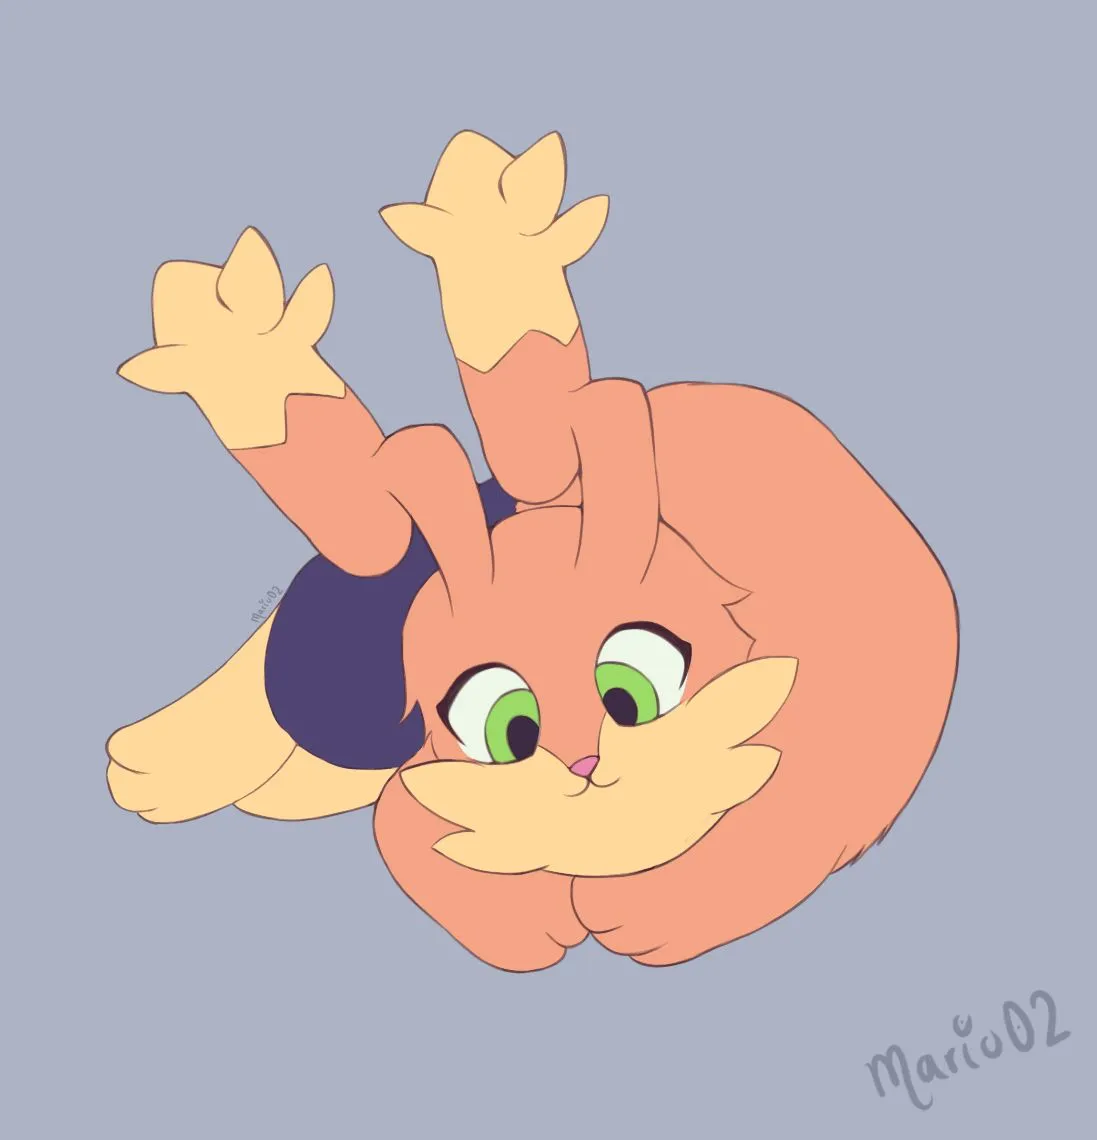
En una nueva capa comencé a trabajar en las sombras, aquí utilice un tipo de coloreado suave para generar el volumen, agregando un segundo nivel mas oscuro para lograr un poco mas de contraste en el personaje. Después con un aerógrafo y color amarillo aplique las iluminaciones en una capa en modo superponer.
In a new layer I started to work on the shadows, here I used a soft type of colouring to generate the volume, adding a second darker level to achieve a little more contrast in the character. Then with an airbrush and yellow colour I applied the highlights in a layer in overlay mode.
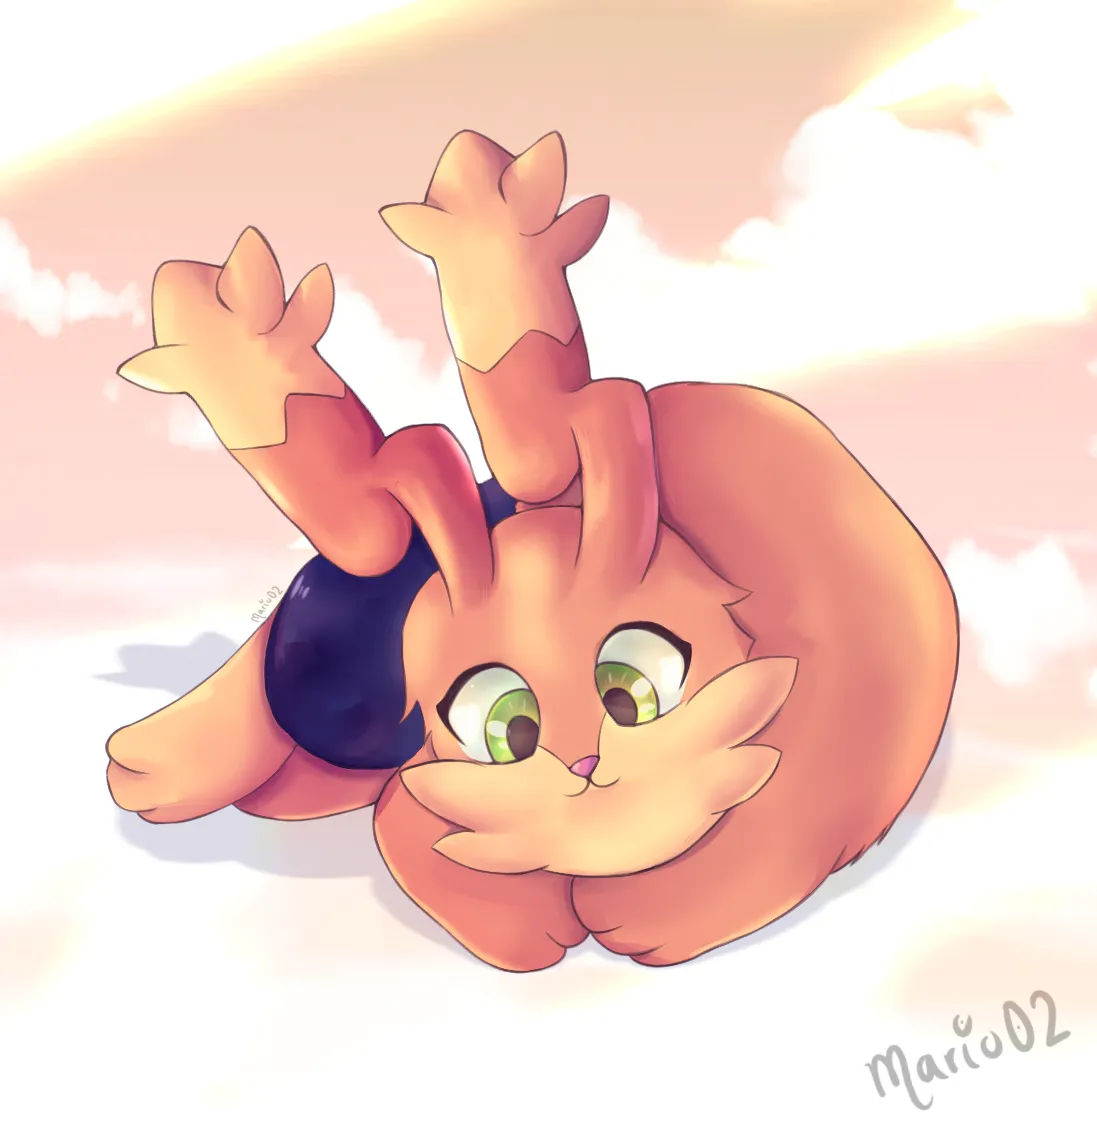
Final Art | Arte Final
Para finalizar trabaje en el fondo, aquí utilice algunos recursos para un fondo con nubes y agregue algunas líneas iluminadas para dar efecto de trueno, pero todo con un concepto muy claro y suave. ¿Que tal les pareció? Espero les haya gustado mi versión del personaje y nos vemos en un próximo post.
¡Muchas gracias por todo el apoyo! 🙏
Finally I worked on the background, here I used some resources for a background with clouds and added some illuminated lines to give a thunder effect, but all with a very clear and soft concept. How did you like it? I hope you liked my version of the character and see you in a next post.
Thanks so much for all the support! 🙏
Tools Used | Herramientas Utilizadas:
- Photoshop CC versión 64 bits
- Tablet Huion H610 PRO V2
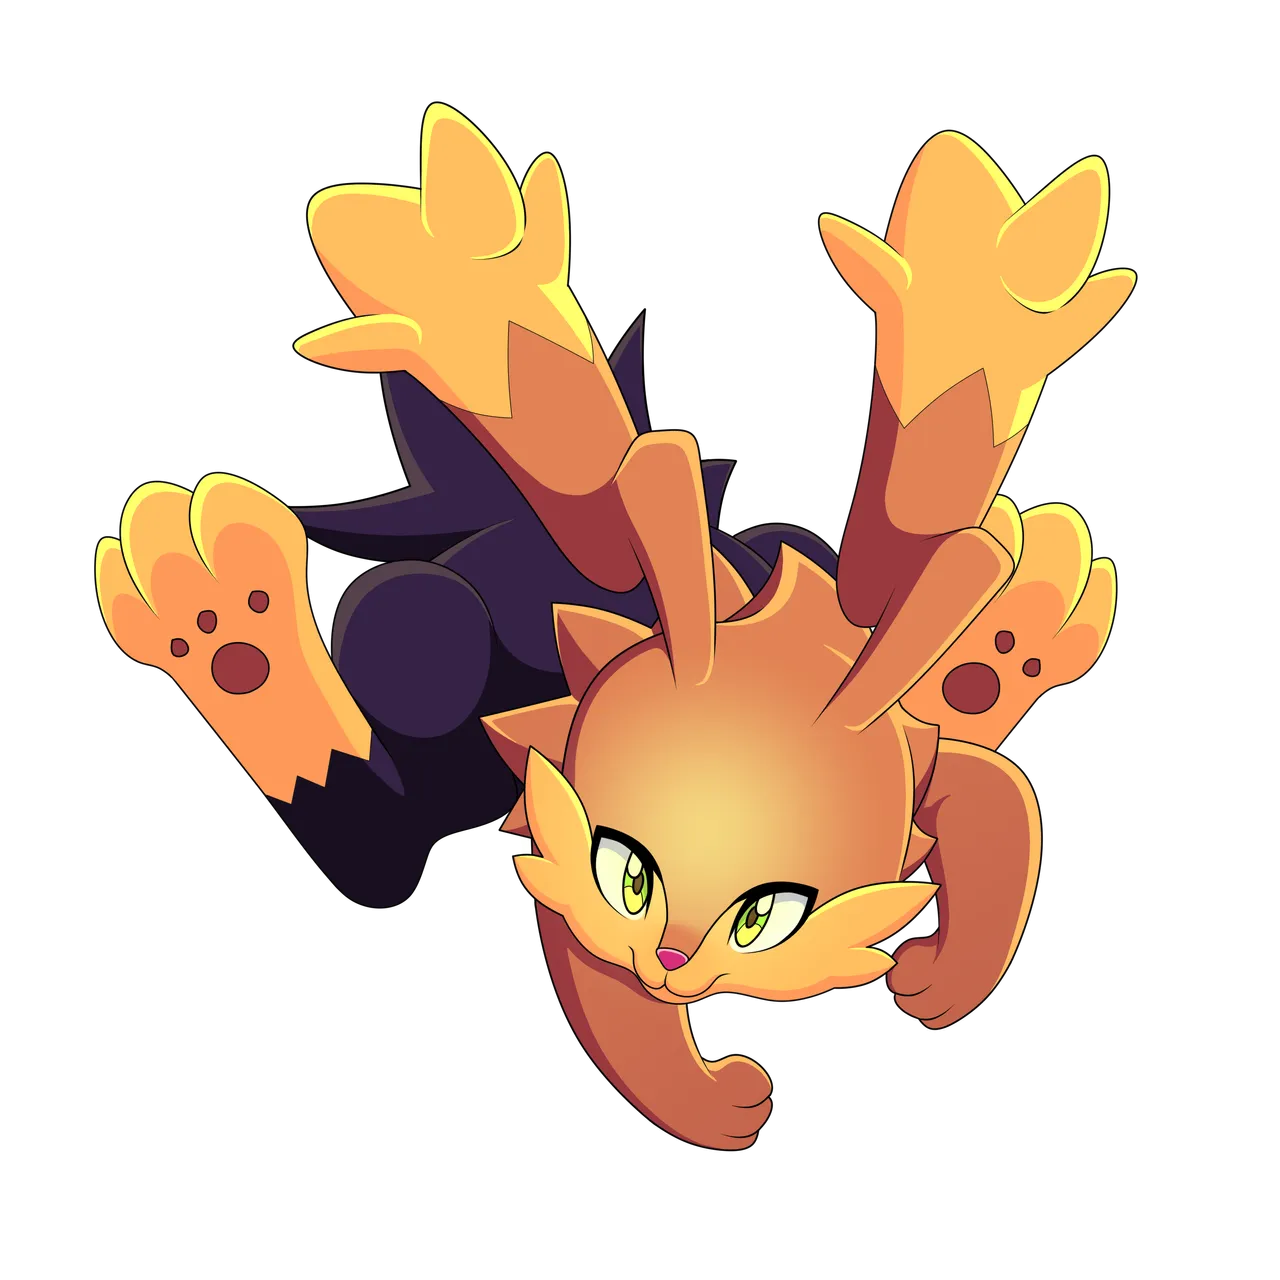
REFERENCE
The illustration and separators used in the post are my property.
Translated with DeepL (free versión)