En Español
Buenos días queridos amigos de las diferentes comunidades de hive que tengan una excelente semana con salud y éxitos.
Hoy les traigo una hermosa propuesta reciclando revistas o periódicos; ya le he dicho que cuando voy al supermercado agarro las revistas que dan las ofertas de la semana, aprovecho en ver la ofertas y después a reutilizar las revistas☺😋. Con revistas y periódicos podemos realizar una gran variedad de manualidades que sirven para decorar nuestro hogar como para realizar cualquier objeto educativo, entre otras. La manualidad que haremos hoy es tan sencilla y fácil de hacer que espero que se animen a realizarla ustedes y con tan poco materiales.
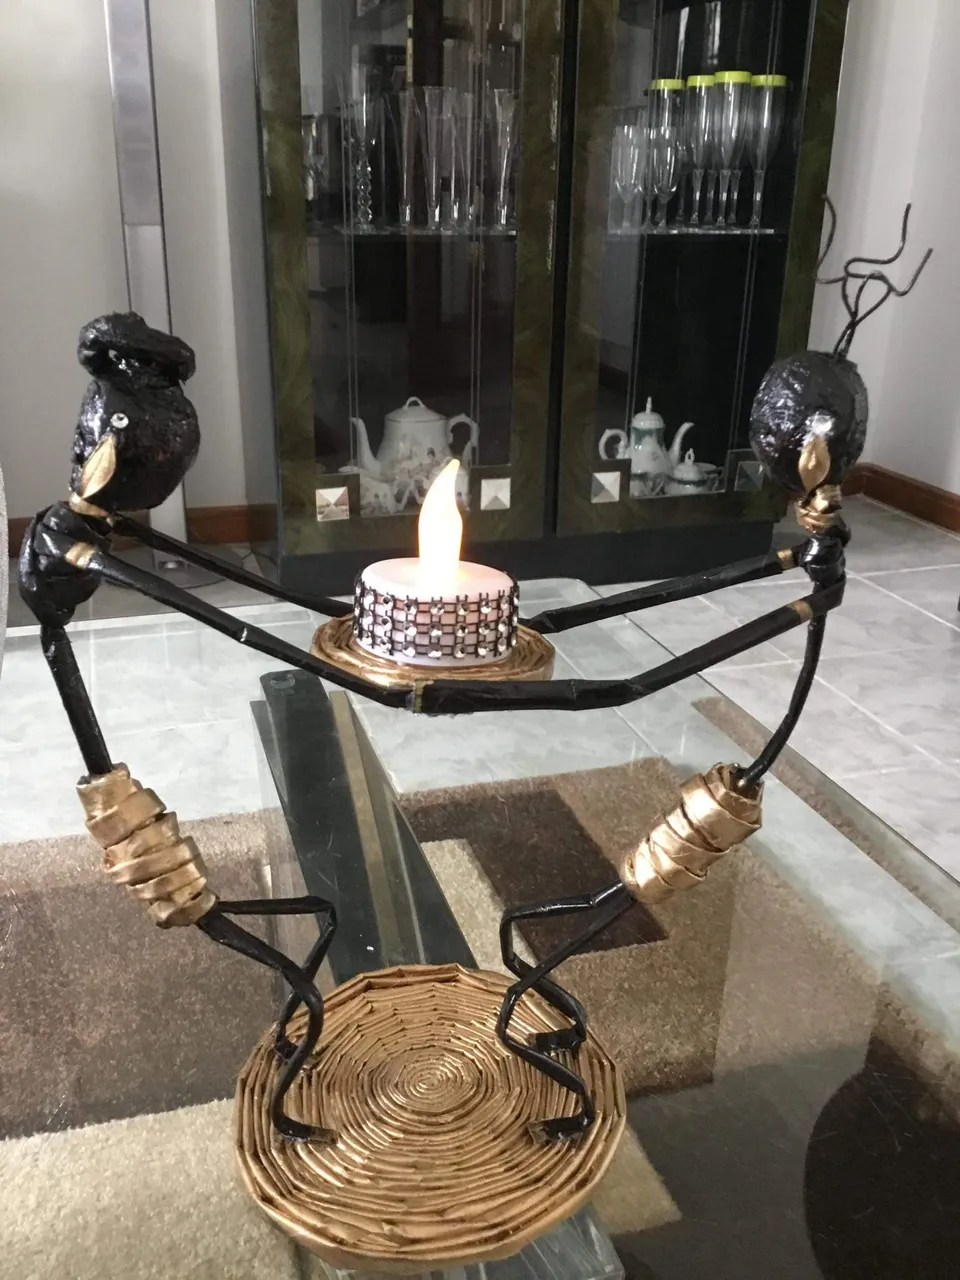
Les comento que muchas de las manualidades me han sacado de apuros; ya que han servido de regalos de situaciones imprevistas, como cuando voy a visitar a una amiga o familiar no tengo dinero en esos momentos y les llevo alguna de las manualidades que tengo en casa🎁 y no es por nada pero se emocionan cuando les digo que Yo la hice🥰. Les invito a que me acompañen a realizar este porta vela de revista de publicidad del supermercado.

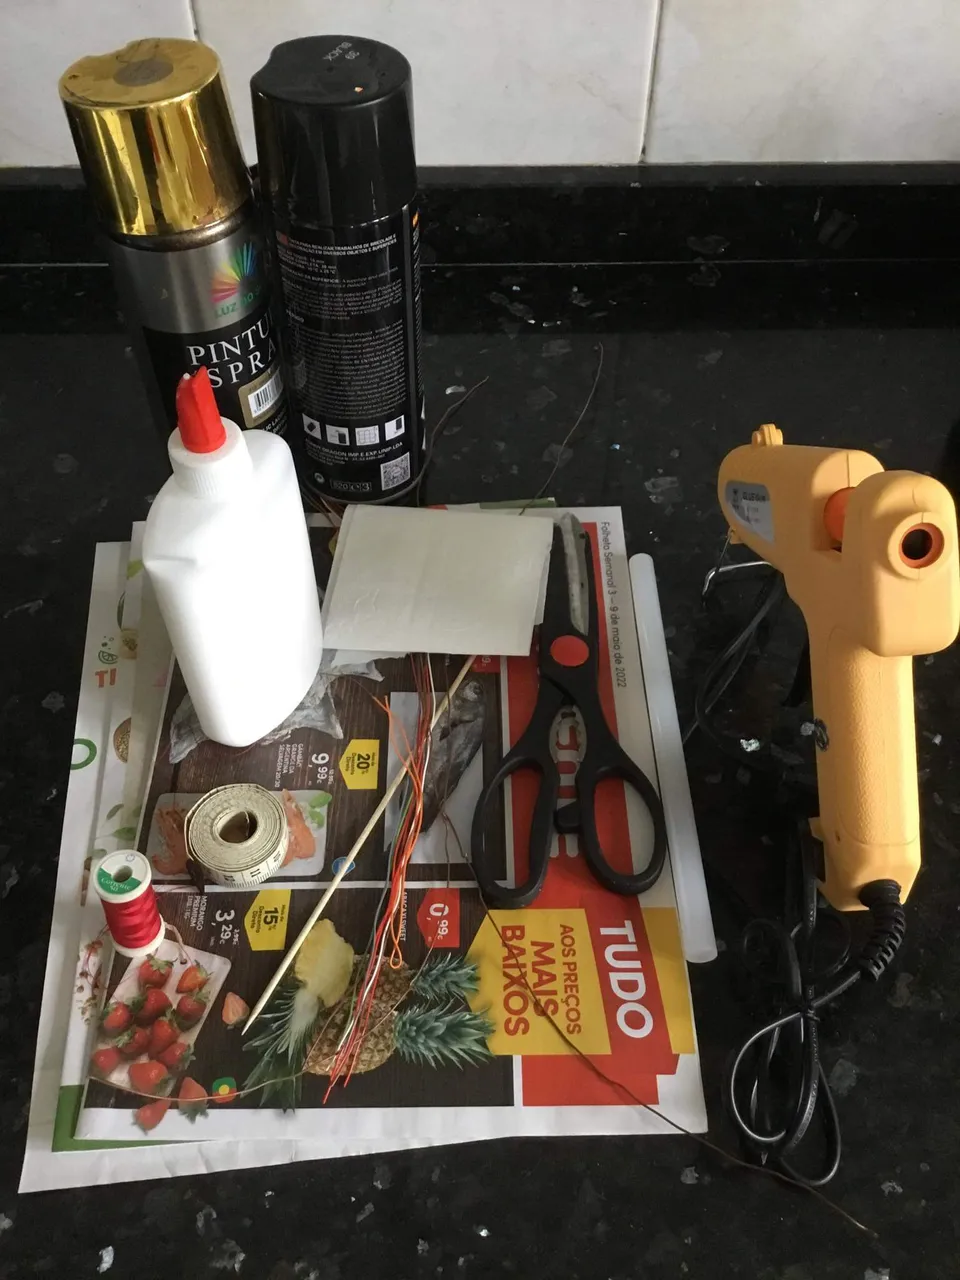
Los Materiales a utilizar para el porta vela 🕯son:
Revistas o periódicos
Tijera
Alambre no muy fino ni grueso que sea moldeable
Alambre fino
Papel sanitario
Pintura en spray o acrilica del color de su preferencia
Pegamento blanco
Pistola de silicola y barras de silicona
Pincel de celda fina
Piedra pequeña de bisutería
Cinta métrica o regla
Marcador o lápiz
1 Palito parrillero
Pasos a seguir para realizar este lindo porta velas
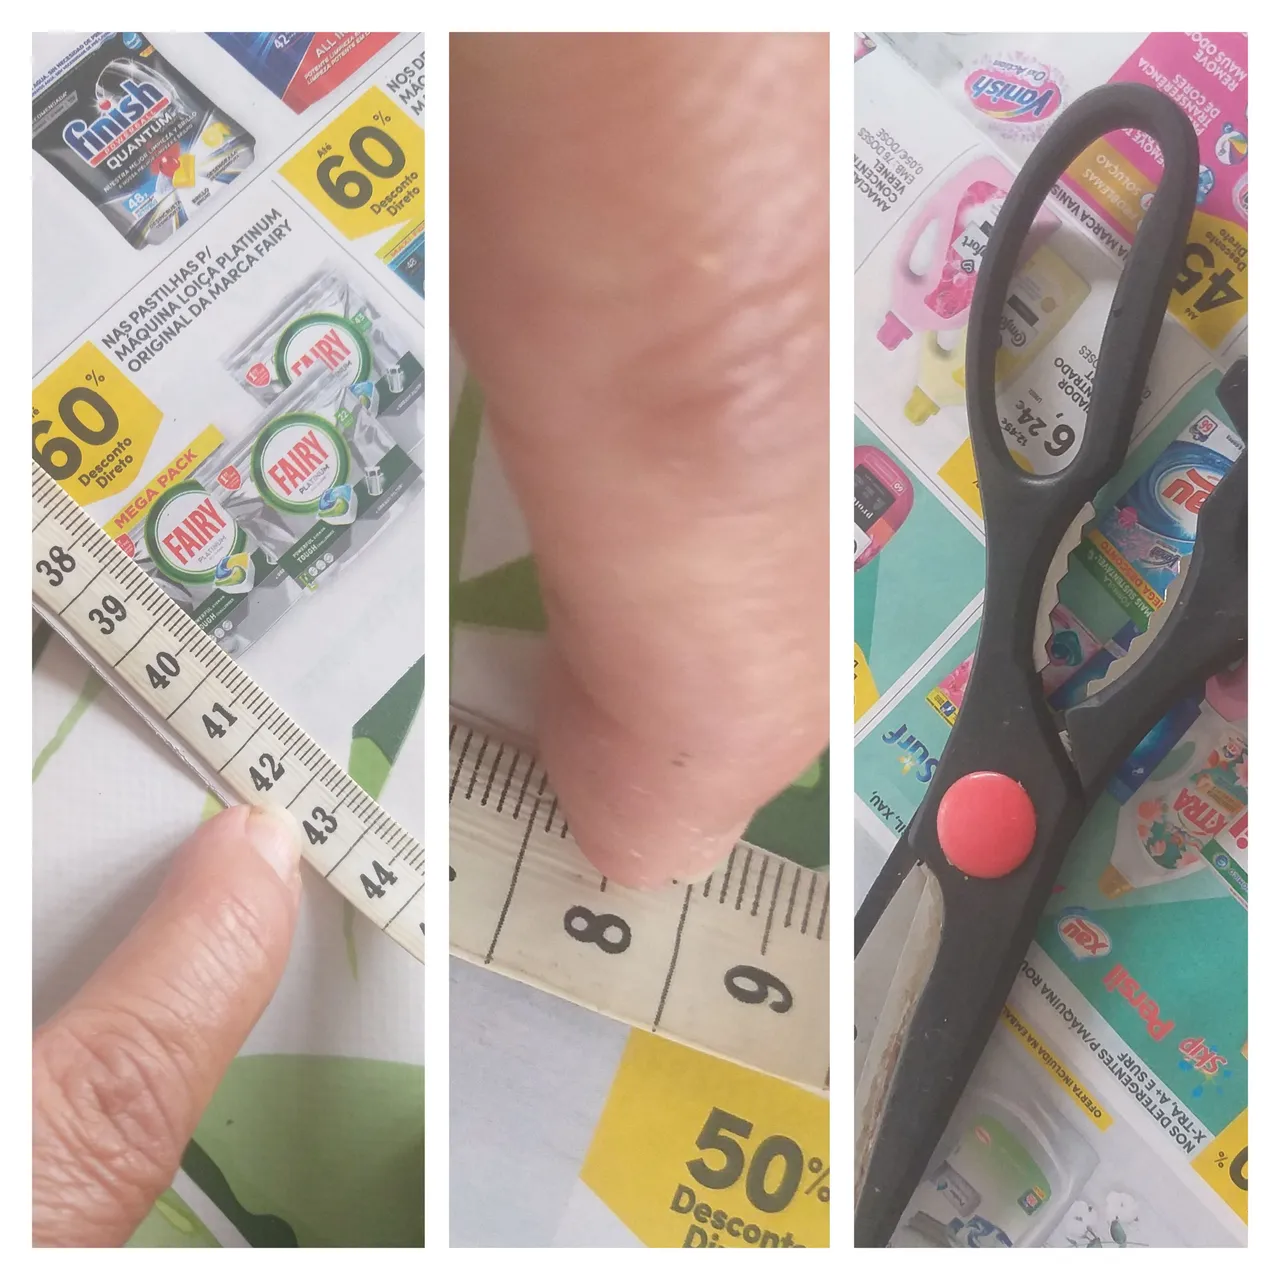
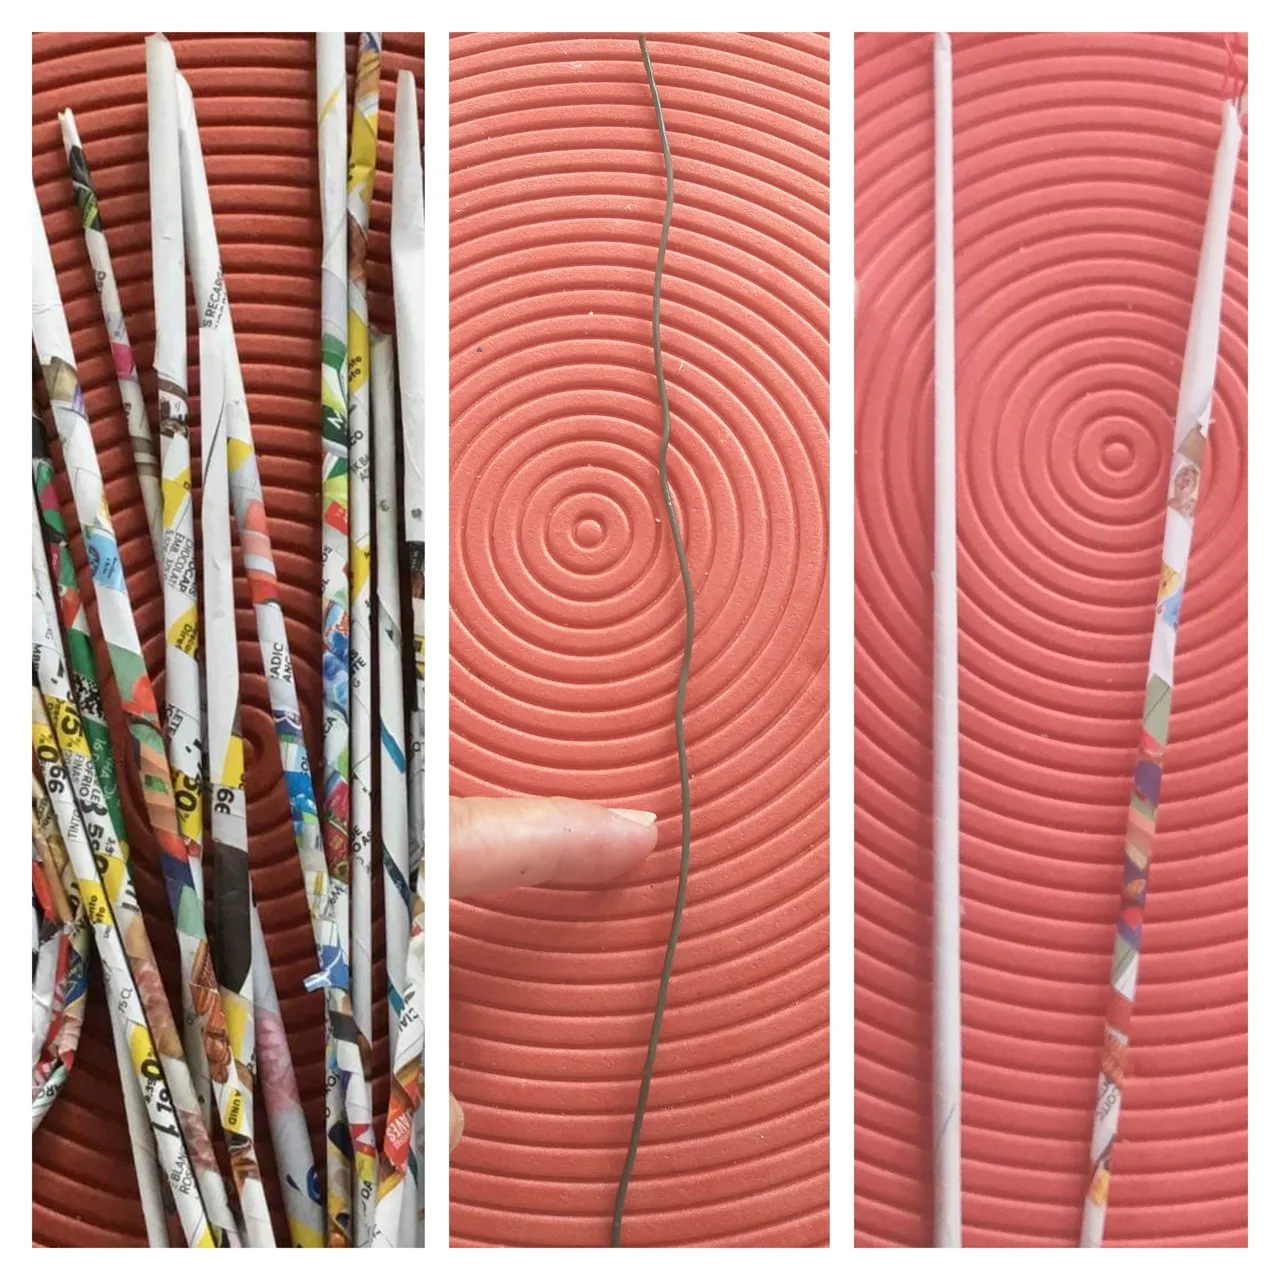
1👣🕯. Vamos a recortar con la tijera las revista o periódicos y medimos con la regla o cinta métrica medidas 30cm de largo por 10cm de ancho y recortamos varias tiras; yo hice 20.
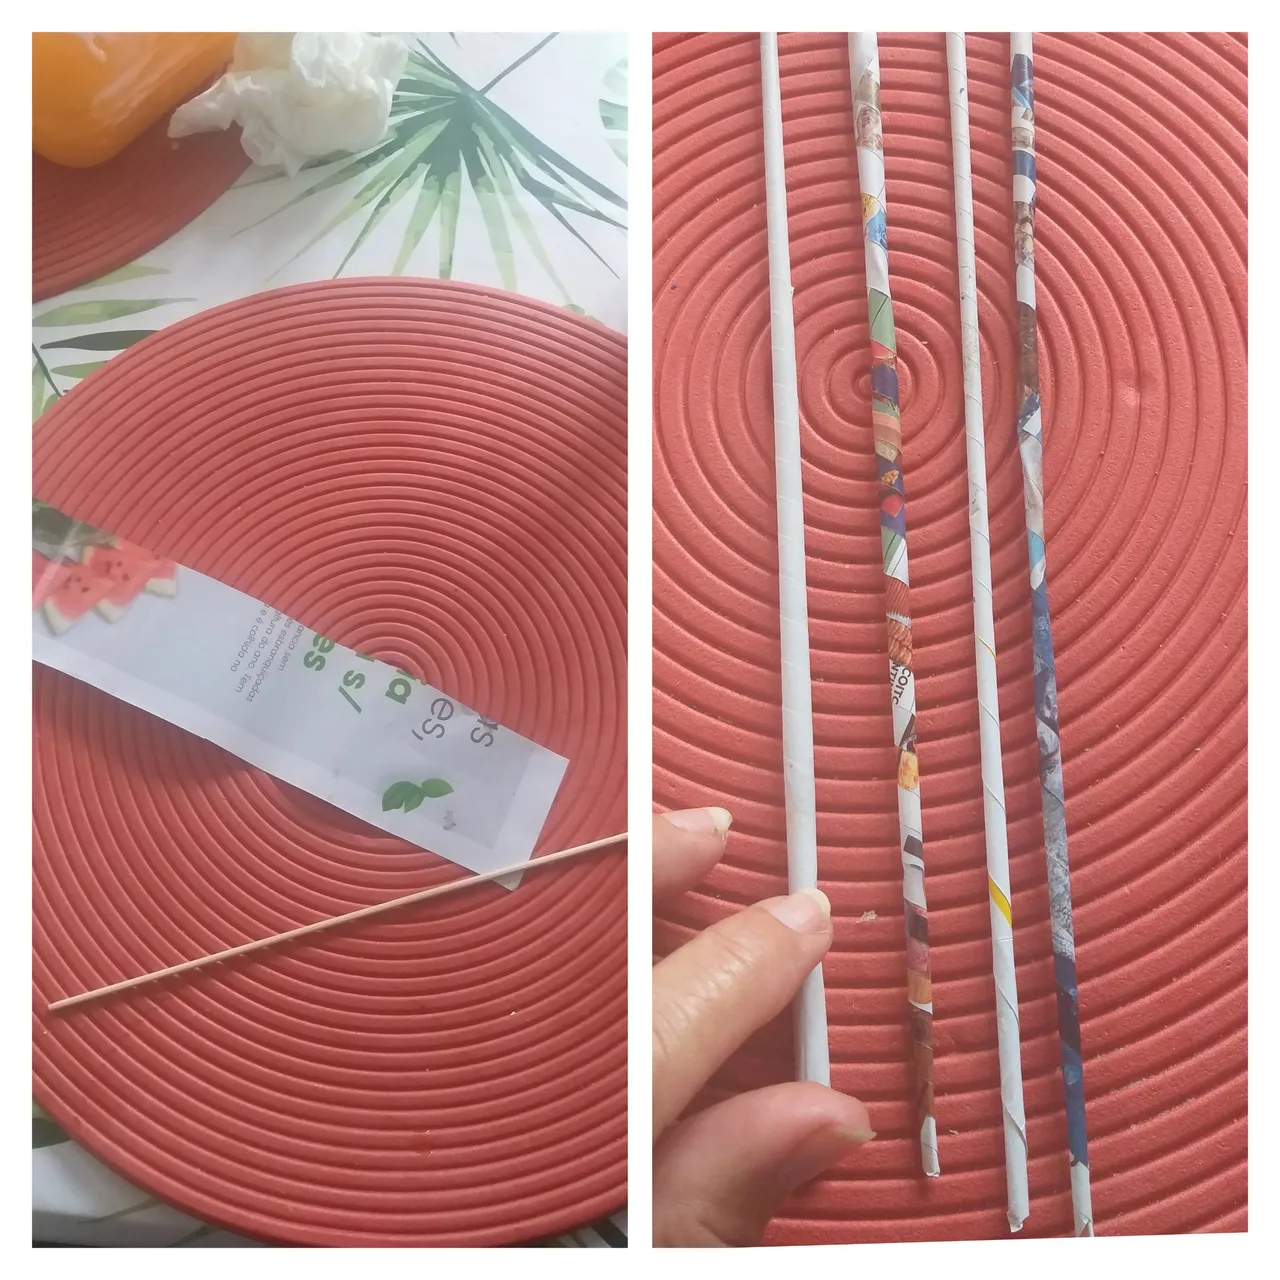
2👣🕯.Vamos a enrollar cada tira colocando las tiras inclinadas y el palo parrillero en una punta y comienza a enrollar hasta llegar a la otra punta que con pegamento blanco deberá pegar. Repetir el proceso con cada una de las tiras del papel hasta obtener las 20 o si quiere hacer más.
3👣🕯. Luego de tener todas las tiras enrolladas vamos a introducir un pedazo del alambre de la misma medida de la tira de papel,vamos a necesitar 6 tiras con él alambre.
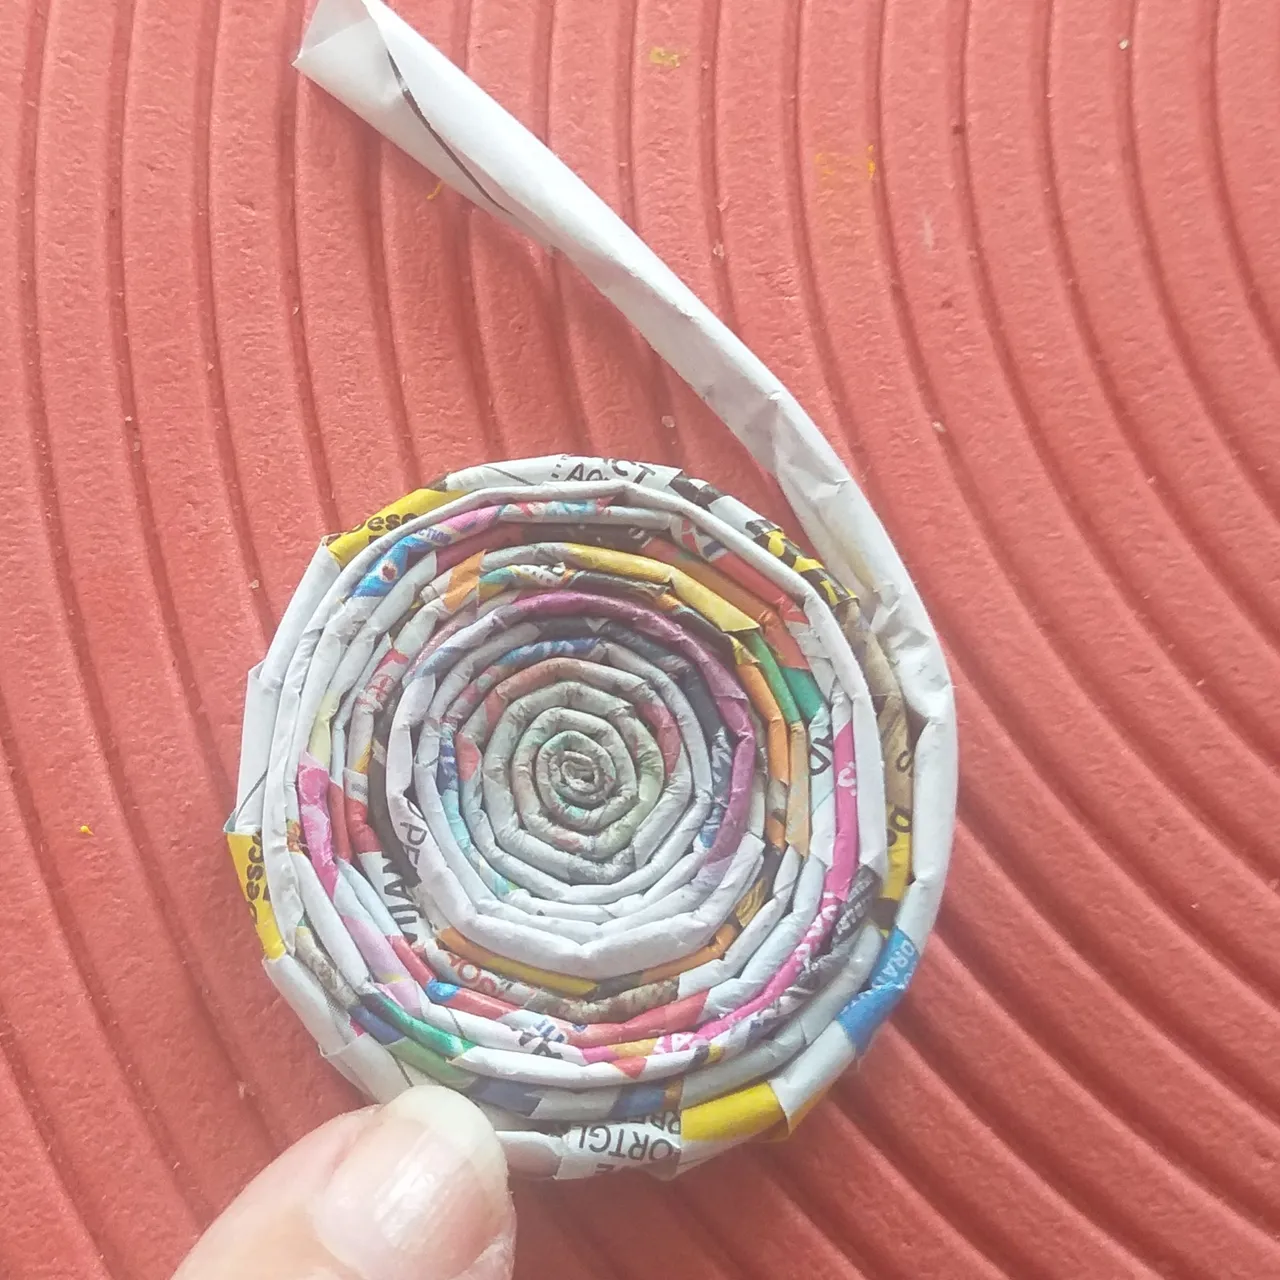
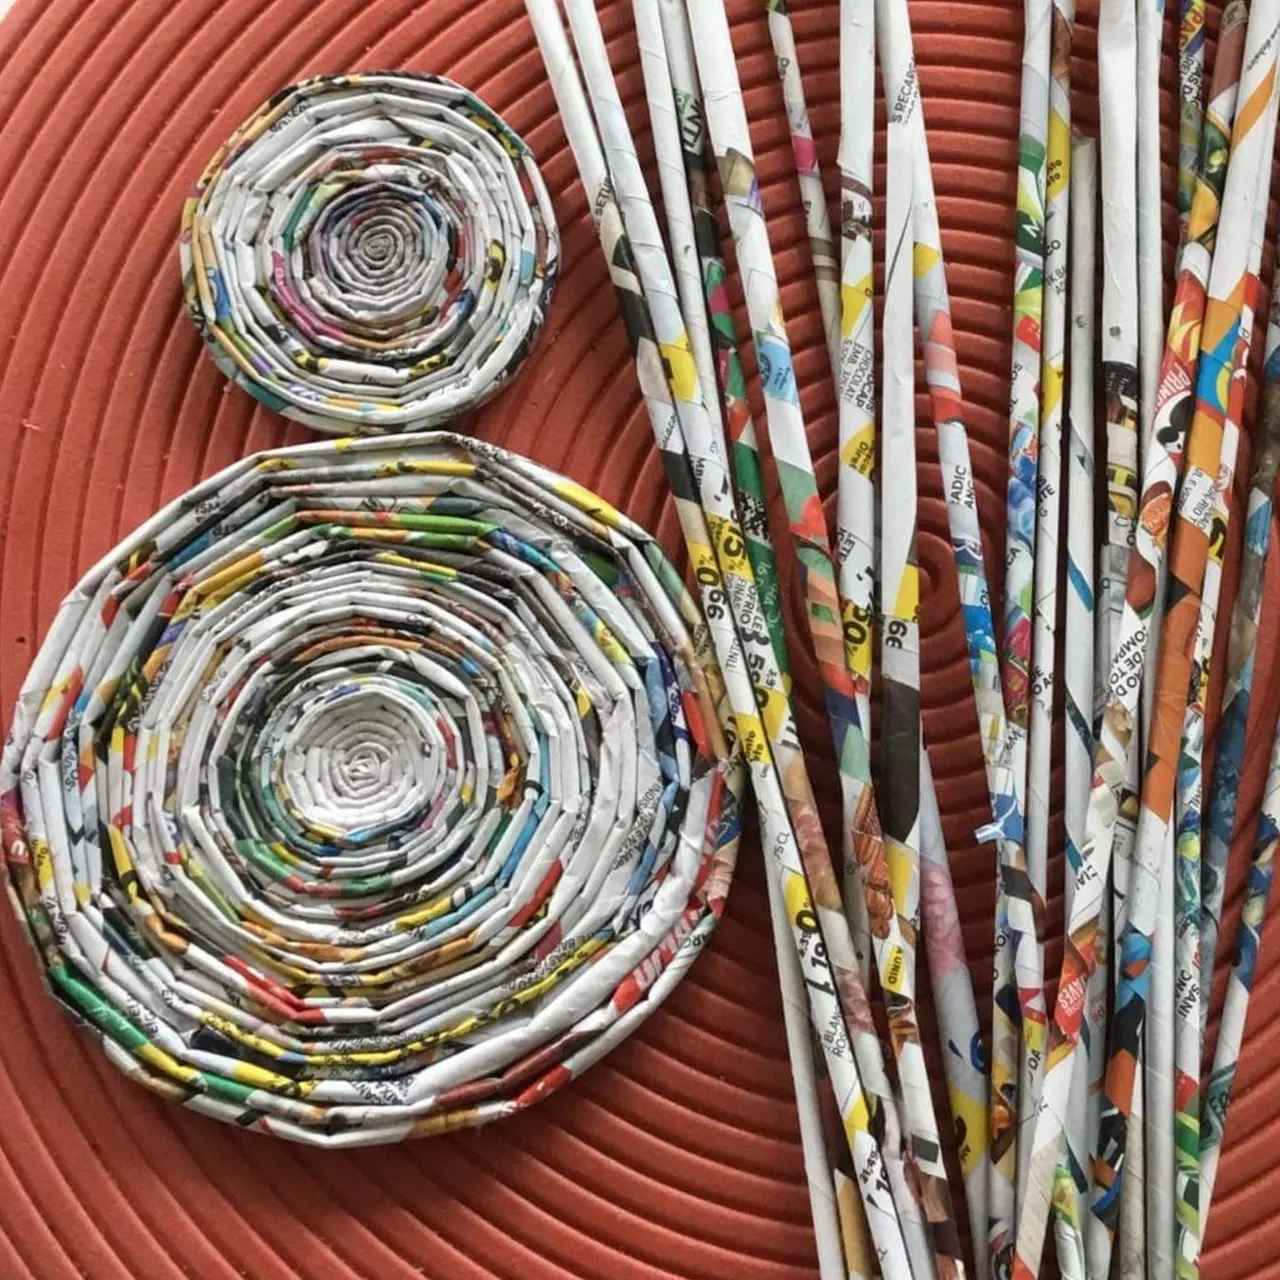
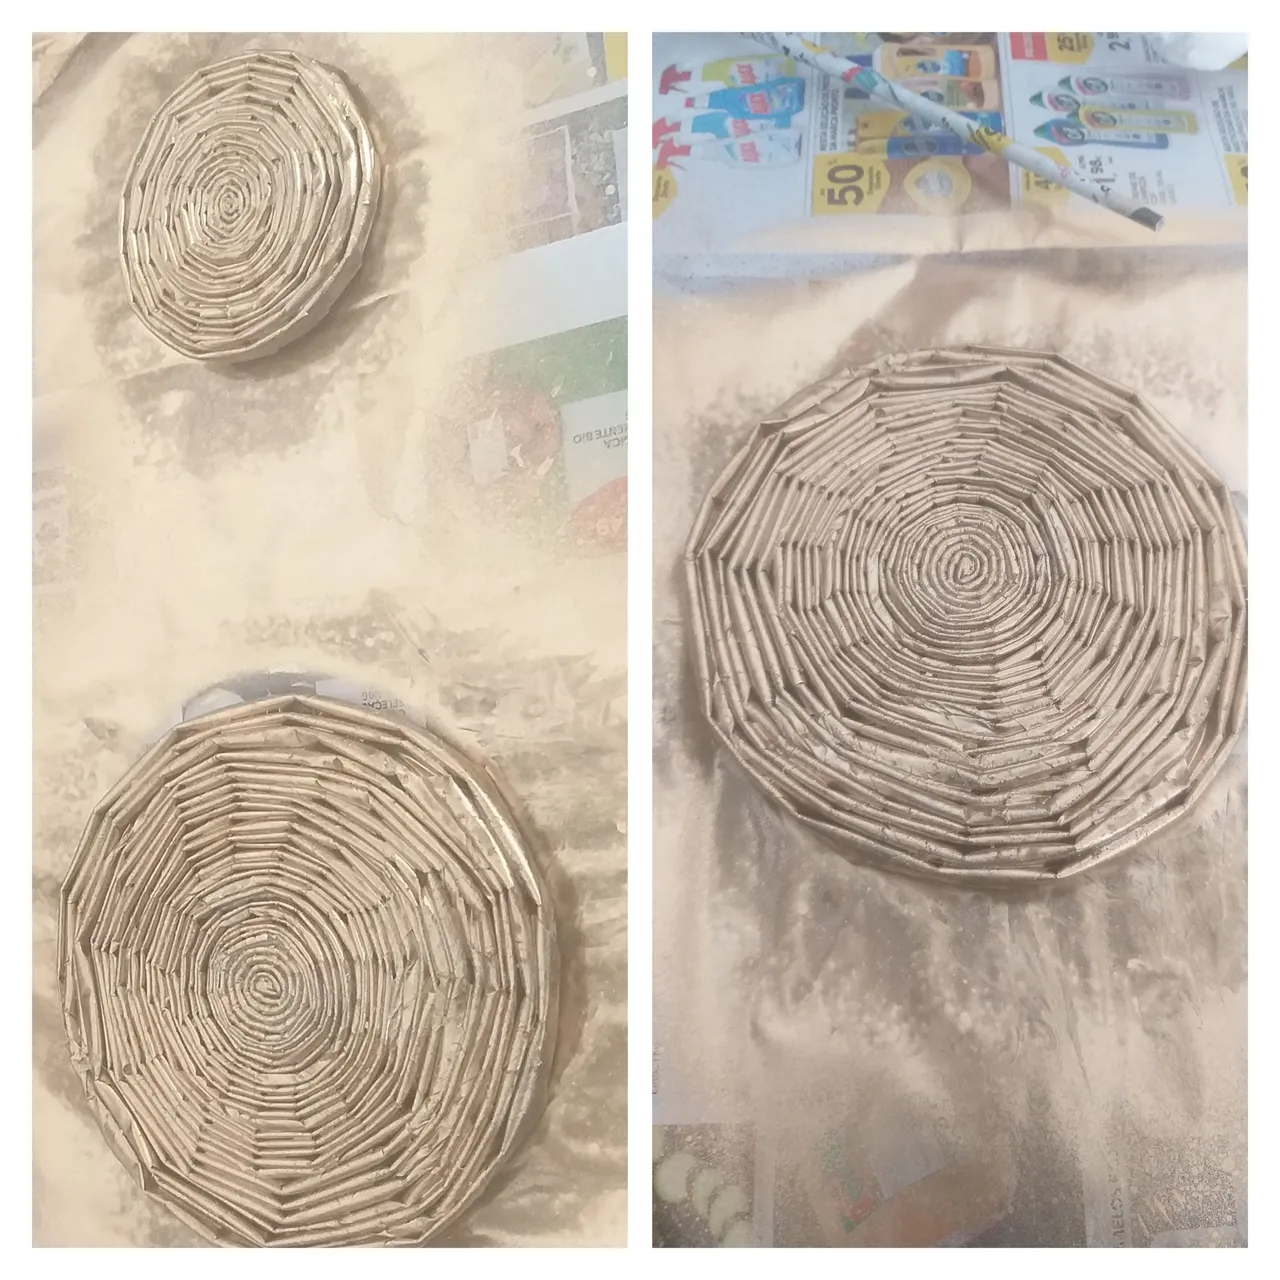
4👣🕯. En este paso vamos a enrollar todas las tiras como un espiral, comenzando por la punta y colocar pegamento blanco por fuera de la otra punta y introducir otra tira hasta hacer un circulo con 8 tiras y pegar la última punta. Para reforzar vaya colocando pegamento por las tiras así quedarán más firme.

5👣🕯. Vamos a realizar otro espiral pero con 4 tiras acá es donde colocaremos las velas. Haremos los mismos pasos que hicimos en el espiral más grande. Dejaremos que sequen.
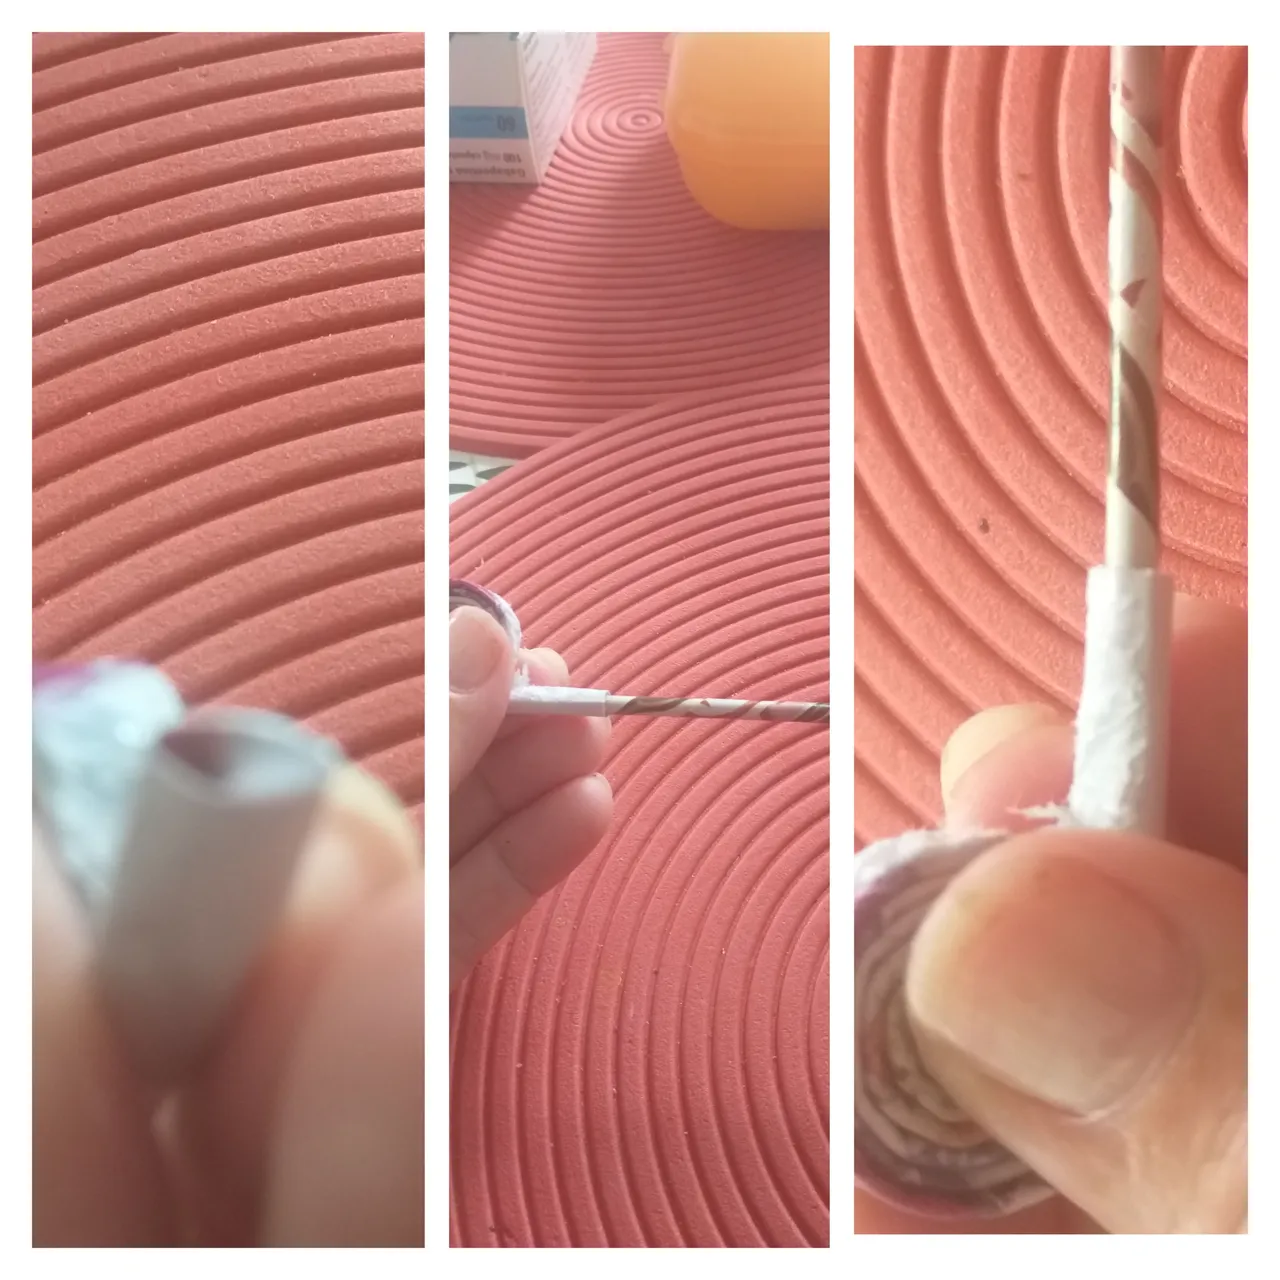
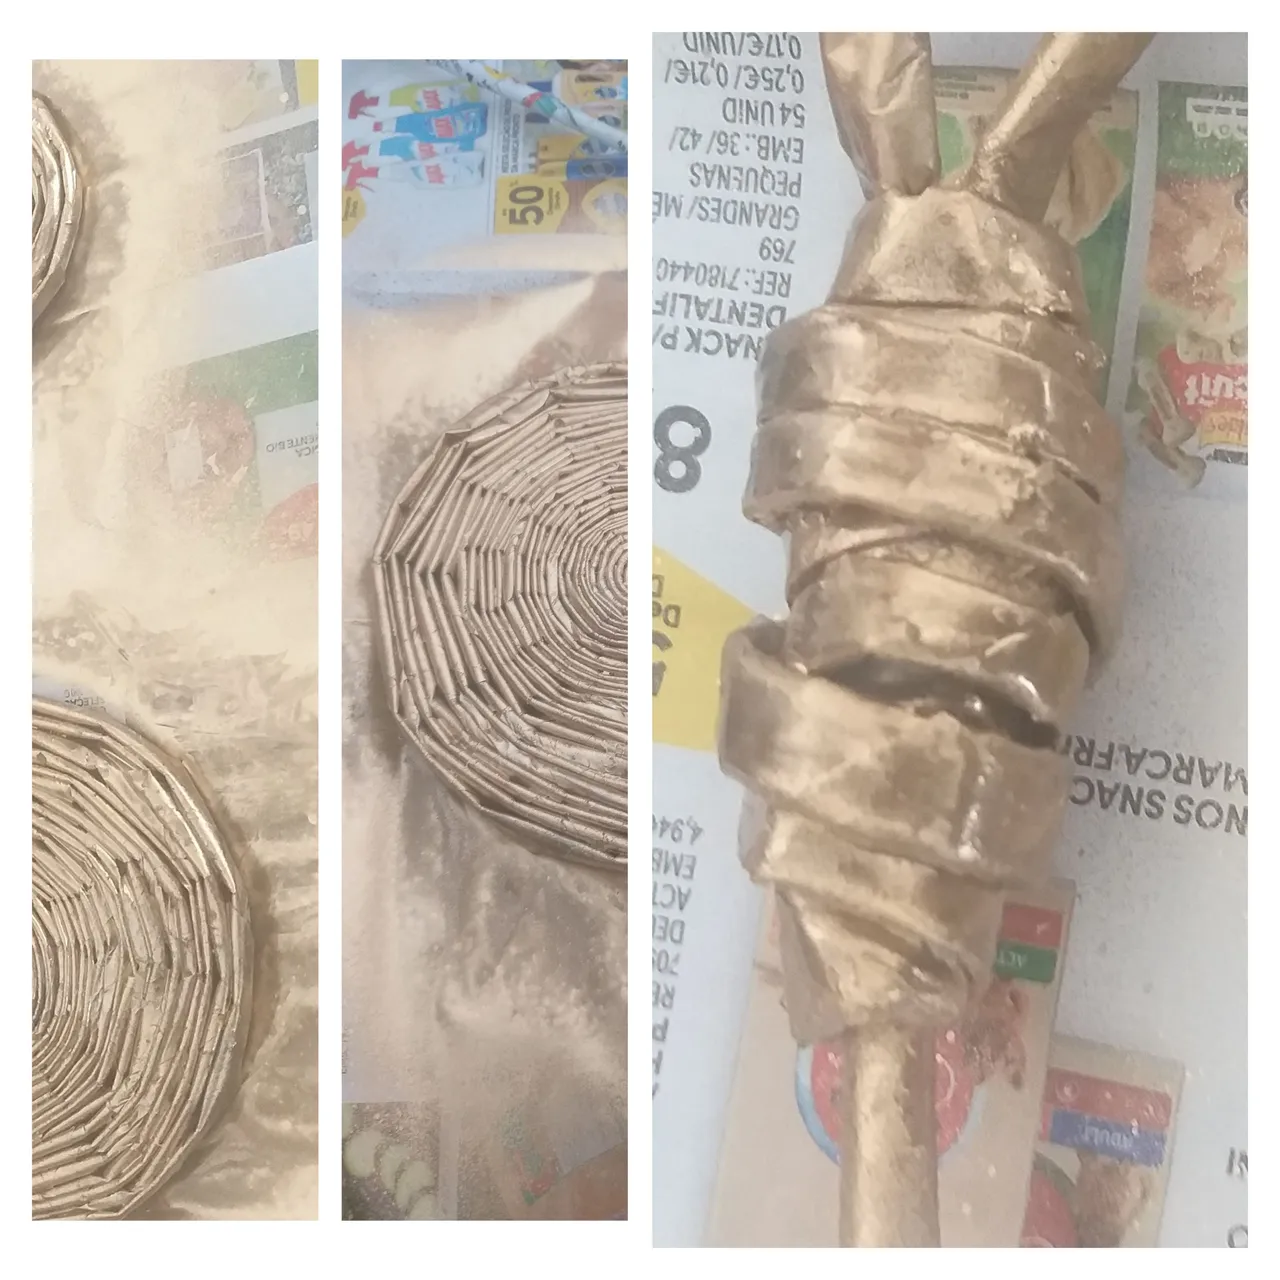
6👣🕯. En este paso haremos los dos indígenas. Con dos tiras que tienen alambre por dentro vamos armar la cabeza con papel sanitario y pegamento formando en cada tira las cabezas. Observar la imagen
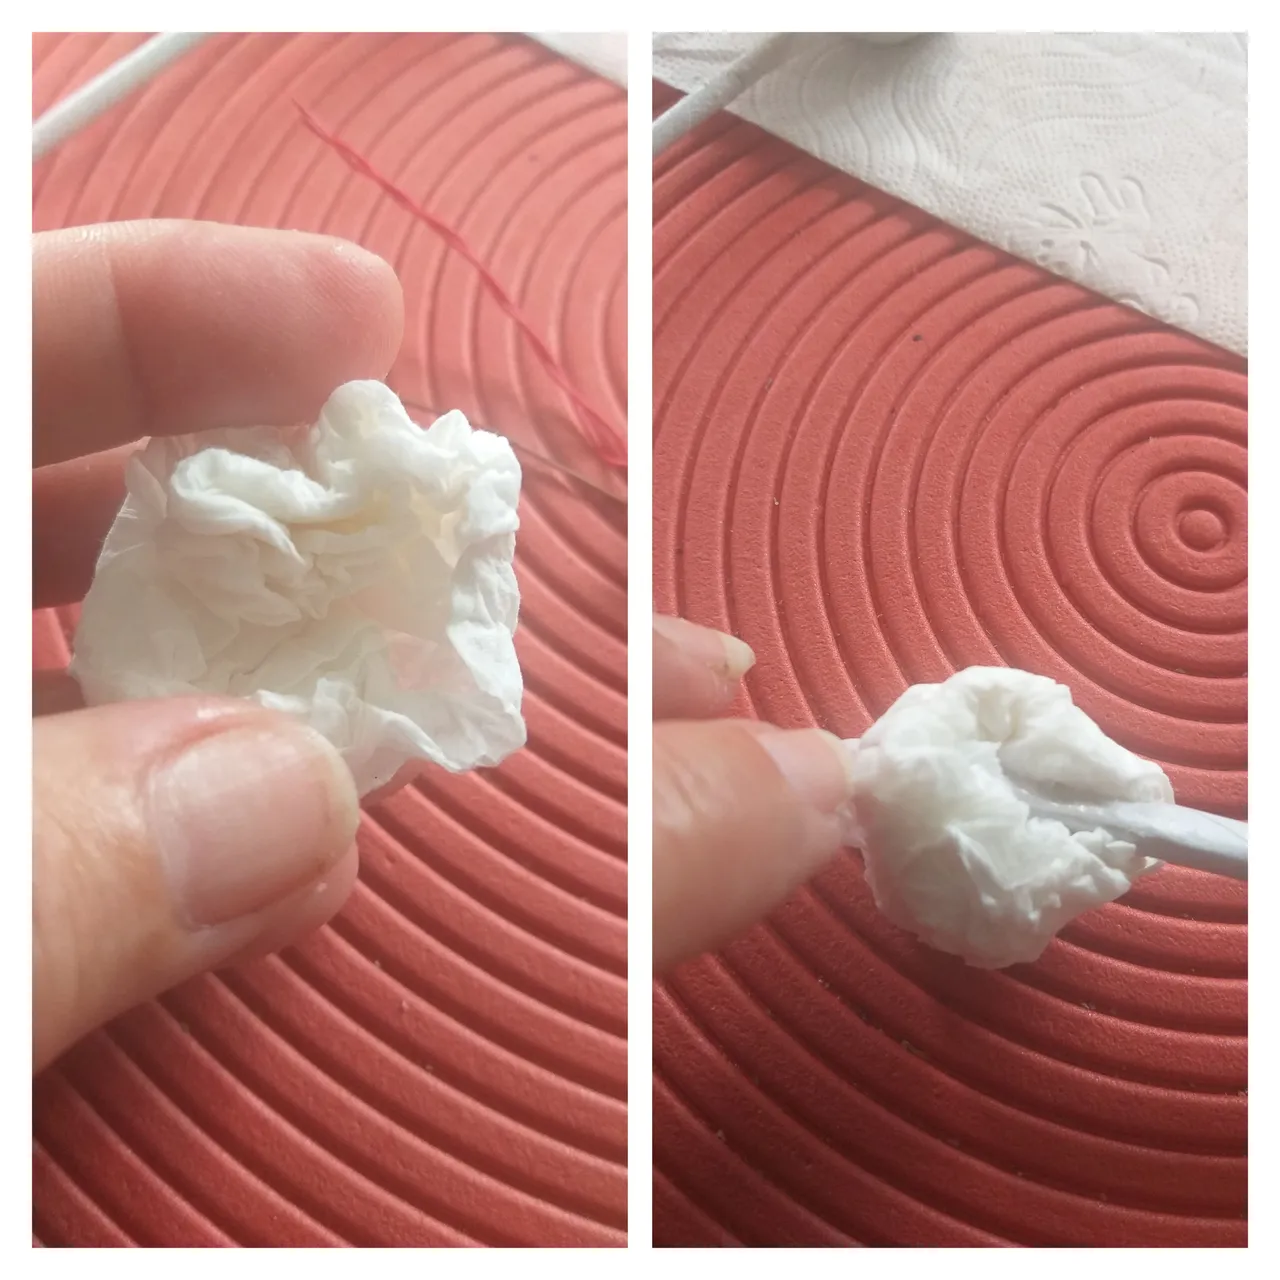

7👣🕯. Introducir un pedazo de alambre finos de 7cm de largo dentro de la cabeza y a otro tres alambres y terminar de cerrar la bola que será la cabeza con el papel y dejar secar bien. Observar la imagen

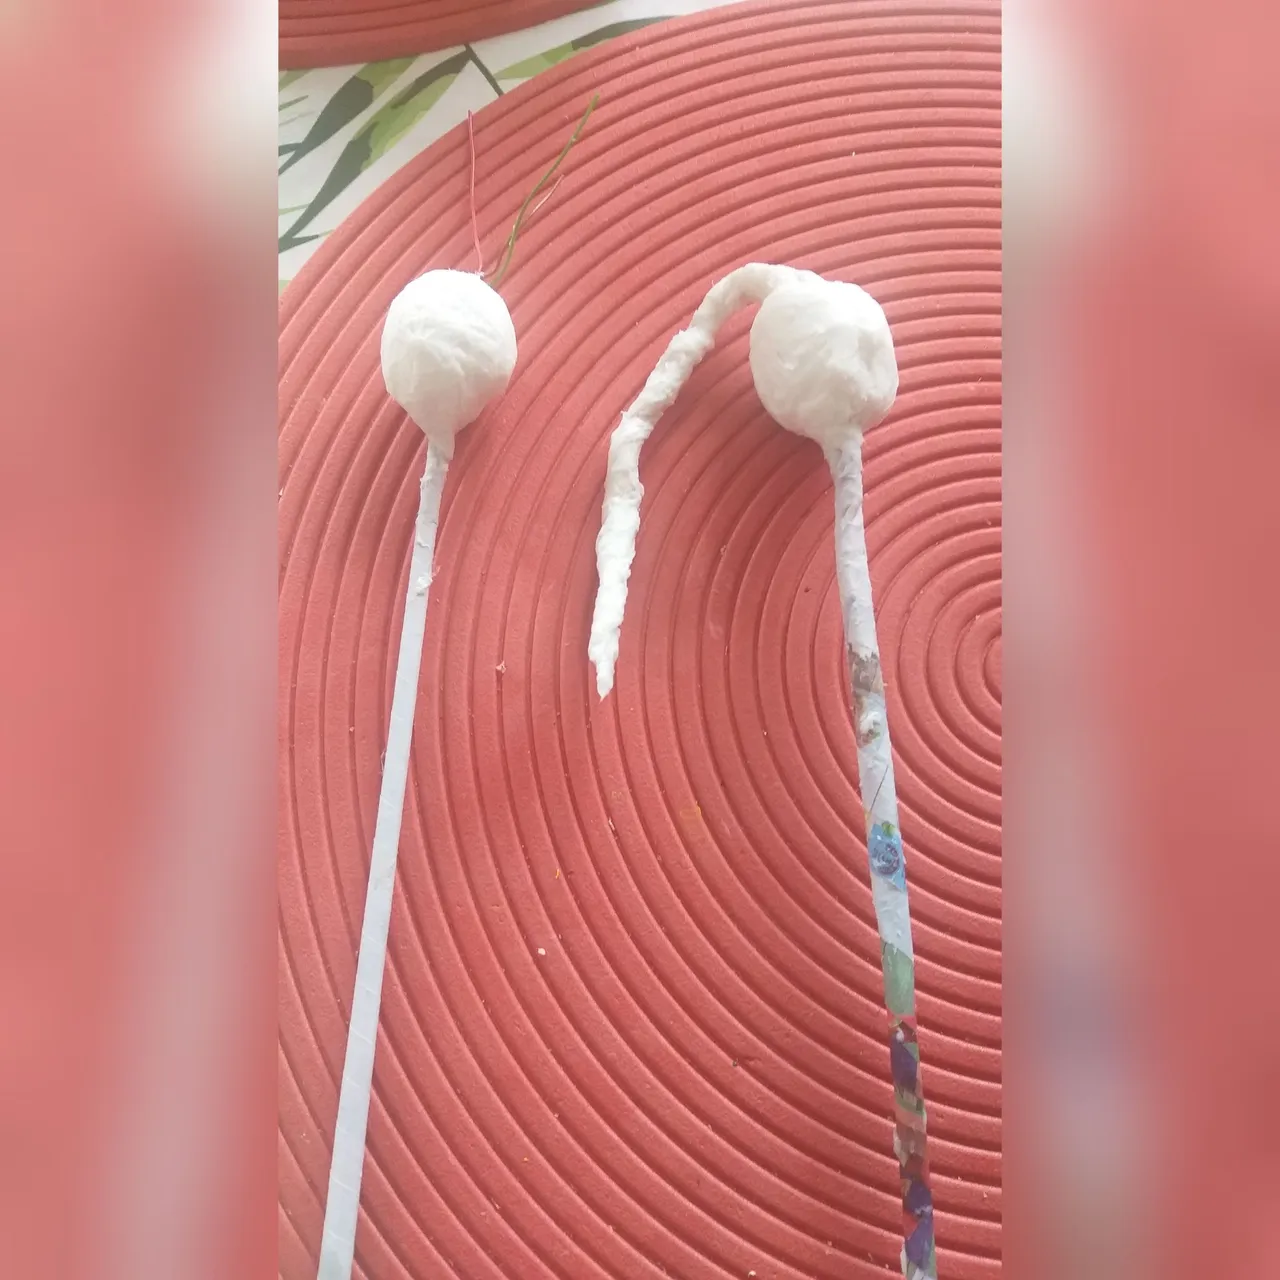
8👣🕯. Con papel sanitario y pegamento forrar el que tiene un sólo lambre al igual dejar secar.
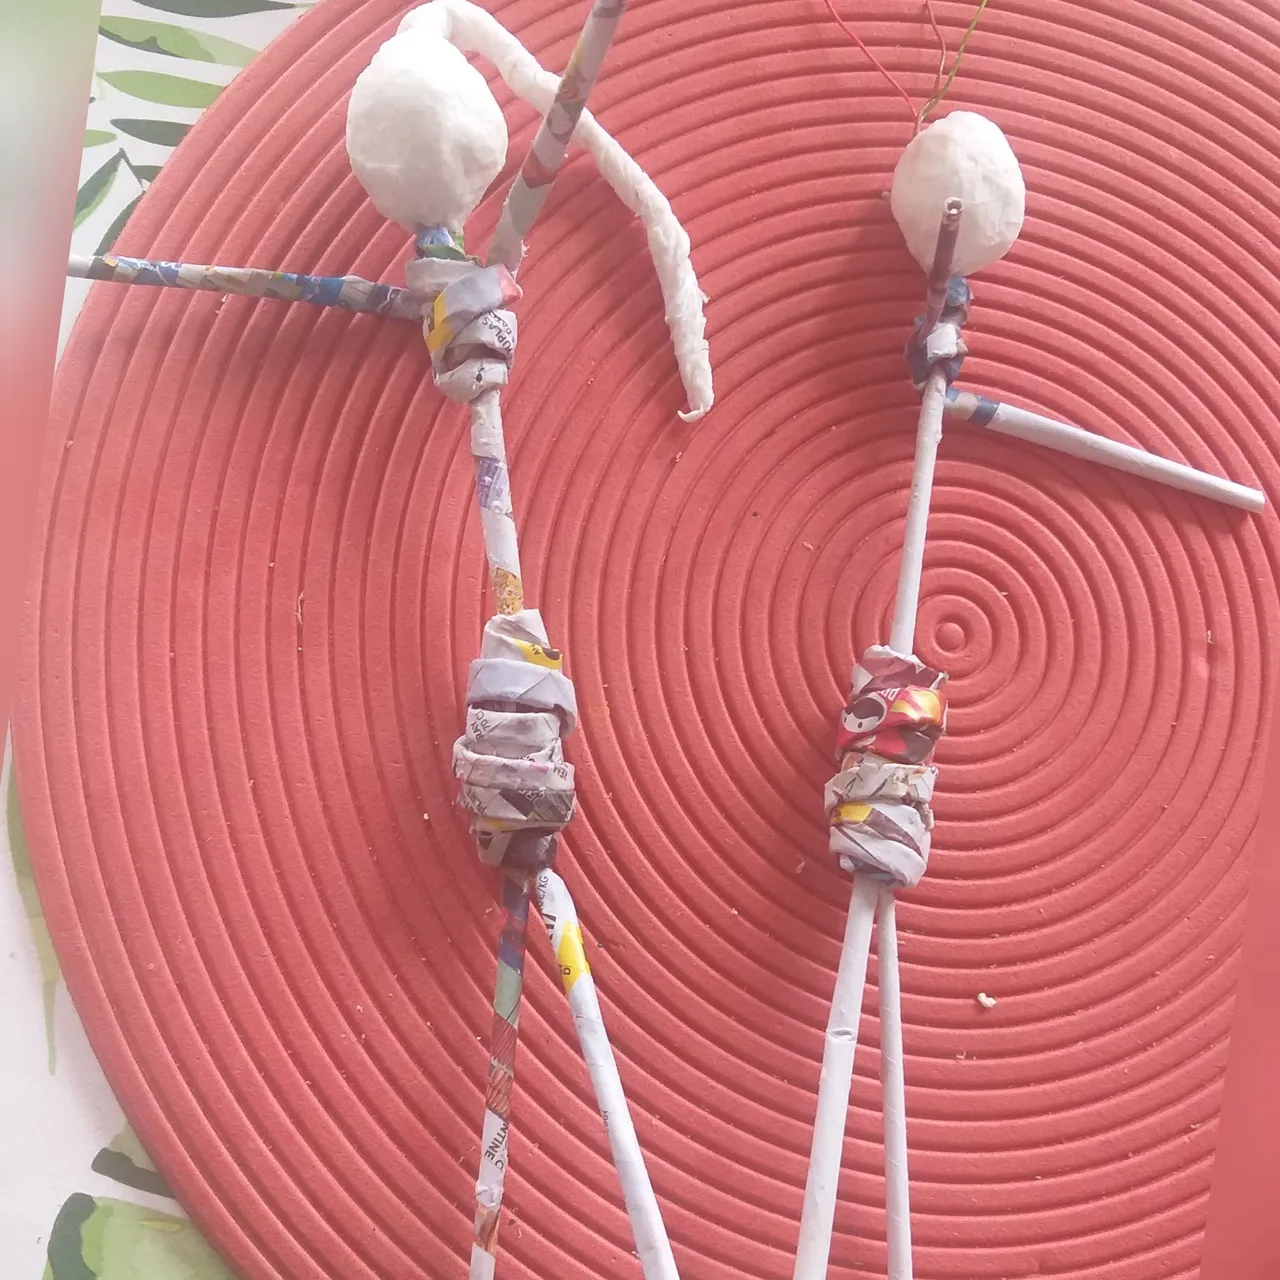
9👣🕯. Ahora vamos a colocar los brazos, colocamos una tira con alambre debajo de la cabeza y pegamos con siliconcaliente luego entrelazado los dos brazos al cuerpo que es donde está la cabeza. Eso lo hacemos con ambos indígenas.Deje 7cm de tiras que serán los brazos.

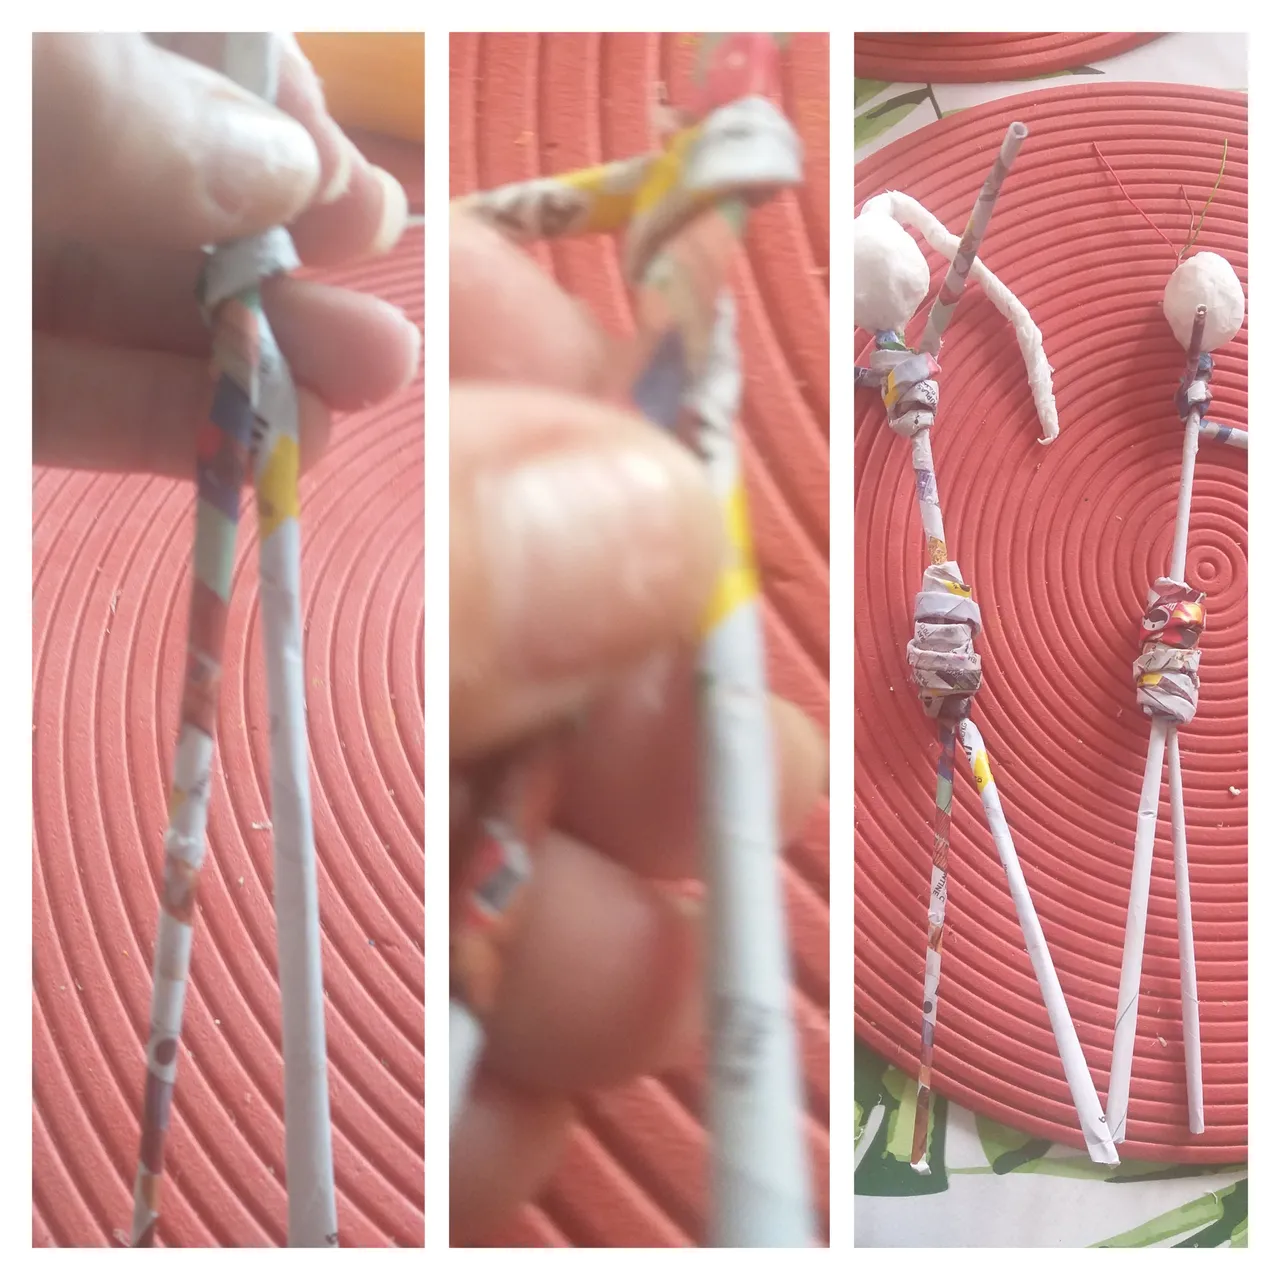
10👣🕯. Para las piernas colocamos otra tira con alambre junto al cuerpo dejando 9cm que serán las piernas y enrollamos el sobrante a la cintura y subimos un poco más o menos 3cm y medio y anexando otra tira sin alambre y enrollando y pegamos la punta. Puede guiarse por las imágenes. Este proceso es para ambos.
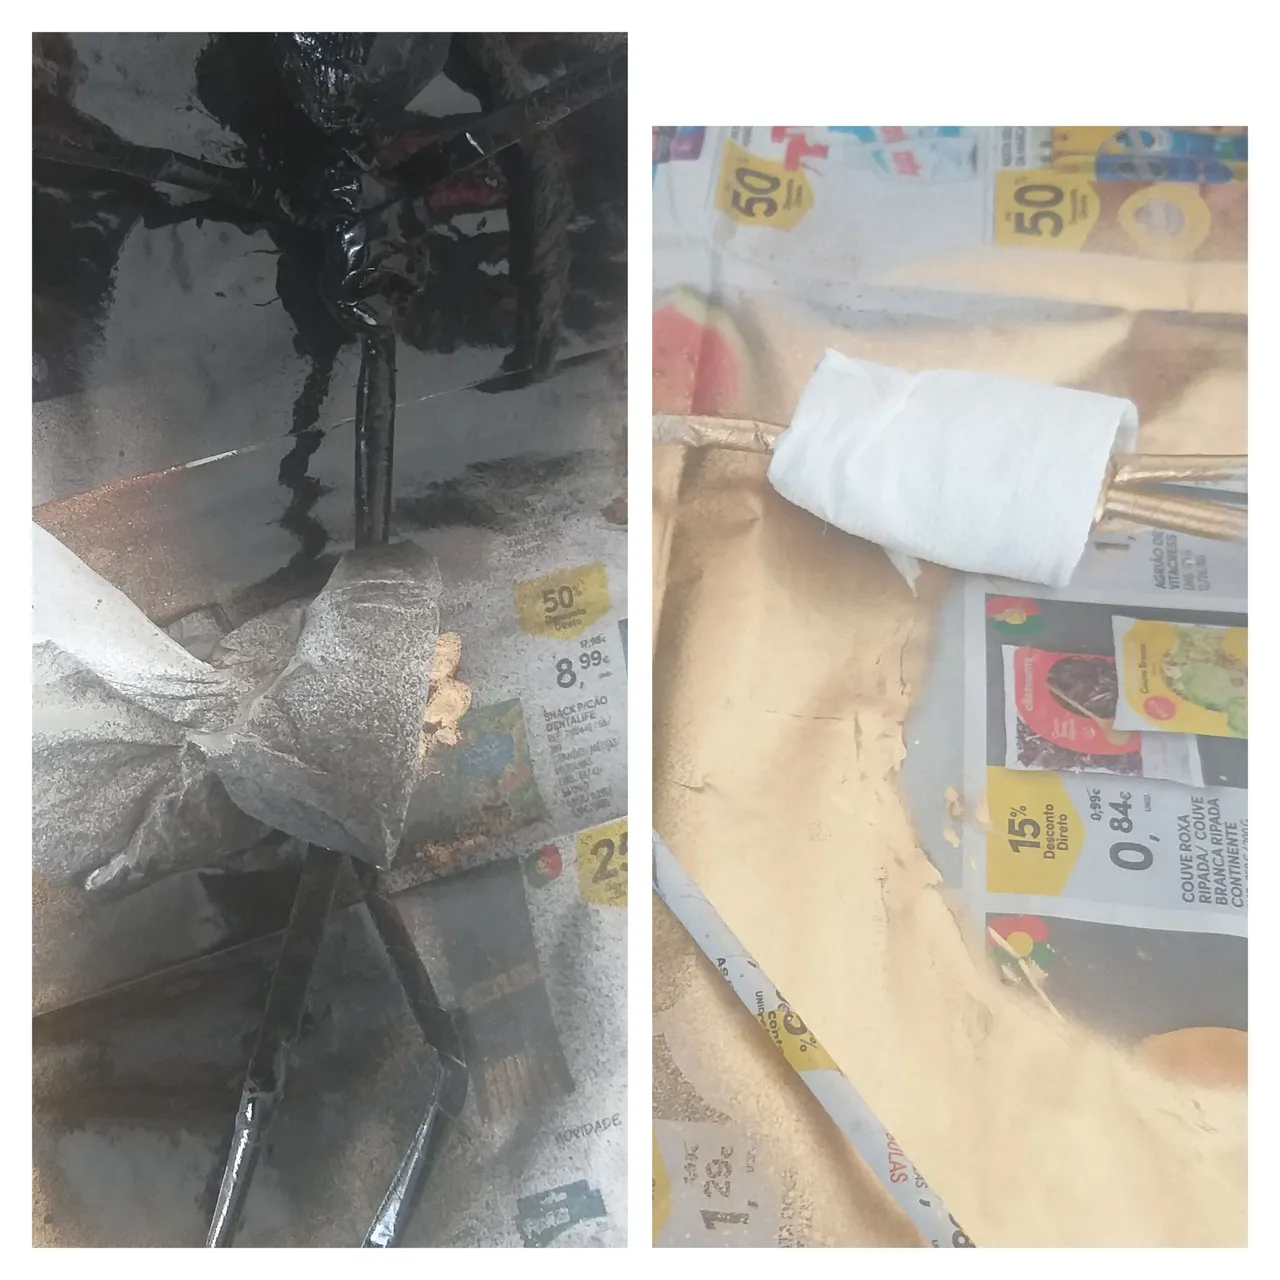
11👣🕯. Ahora es este paso pintaremos ambos indígenas con la pintura en spray color dorado los círculos y el pantalón. Dejen secar 5 minutos
12👣🕯. Luego tapamos los pantalones y pintamos lo restante del cuerpo del color negro. Consejo cada vez que va a usar pintura en spray deberá cubrir la mesa con papel periódico o plástico y batir la pin antes de usarla.
13👣🕯. En este paso armaremos el porta velas con los indígenas. Lo primero es pegar cada pie que hacemos doblando un pedazo de la tira y lo pegamos al círculo más grande y del otro lado hacemos lo mismo con el otro indígena.
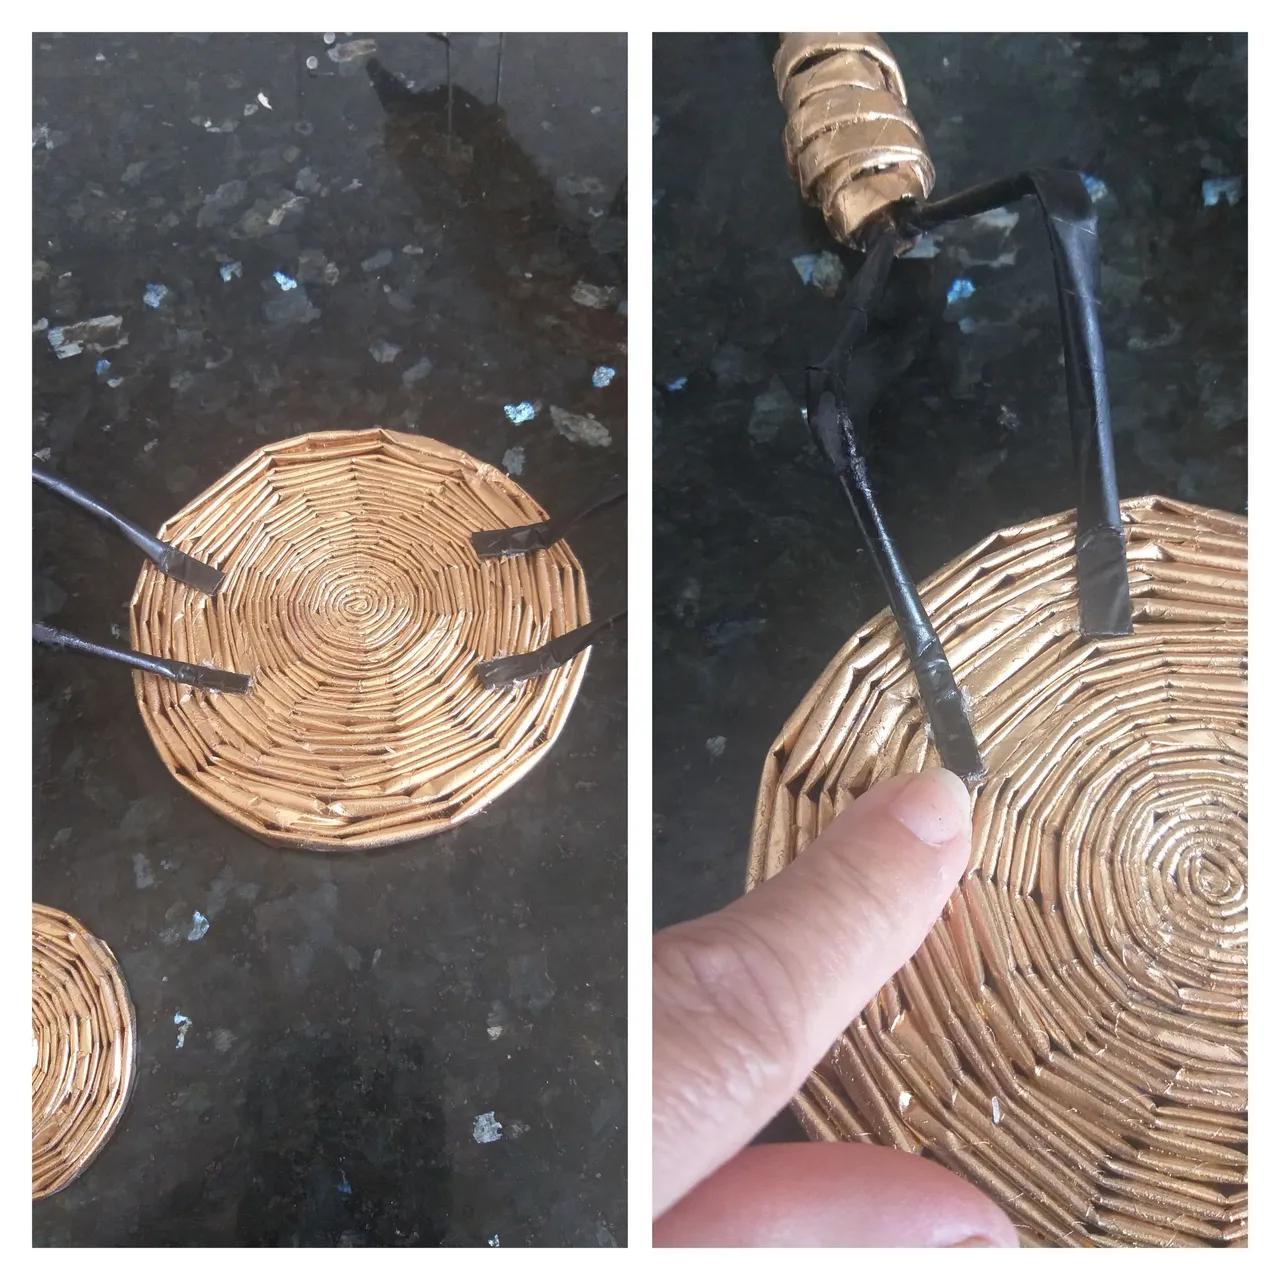
14👣🕯. Después pegaremos el círculo pequeño con los brazos como si estuvieran agarrando el círculo que va a servir para colocar la vela.
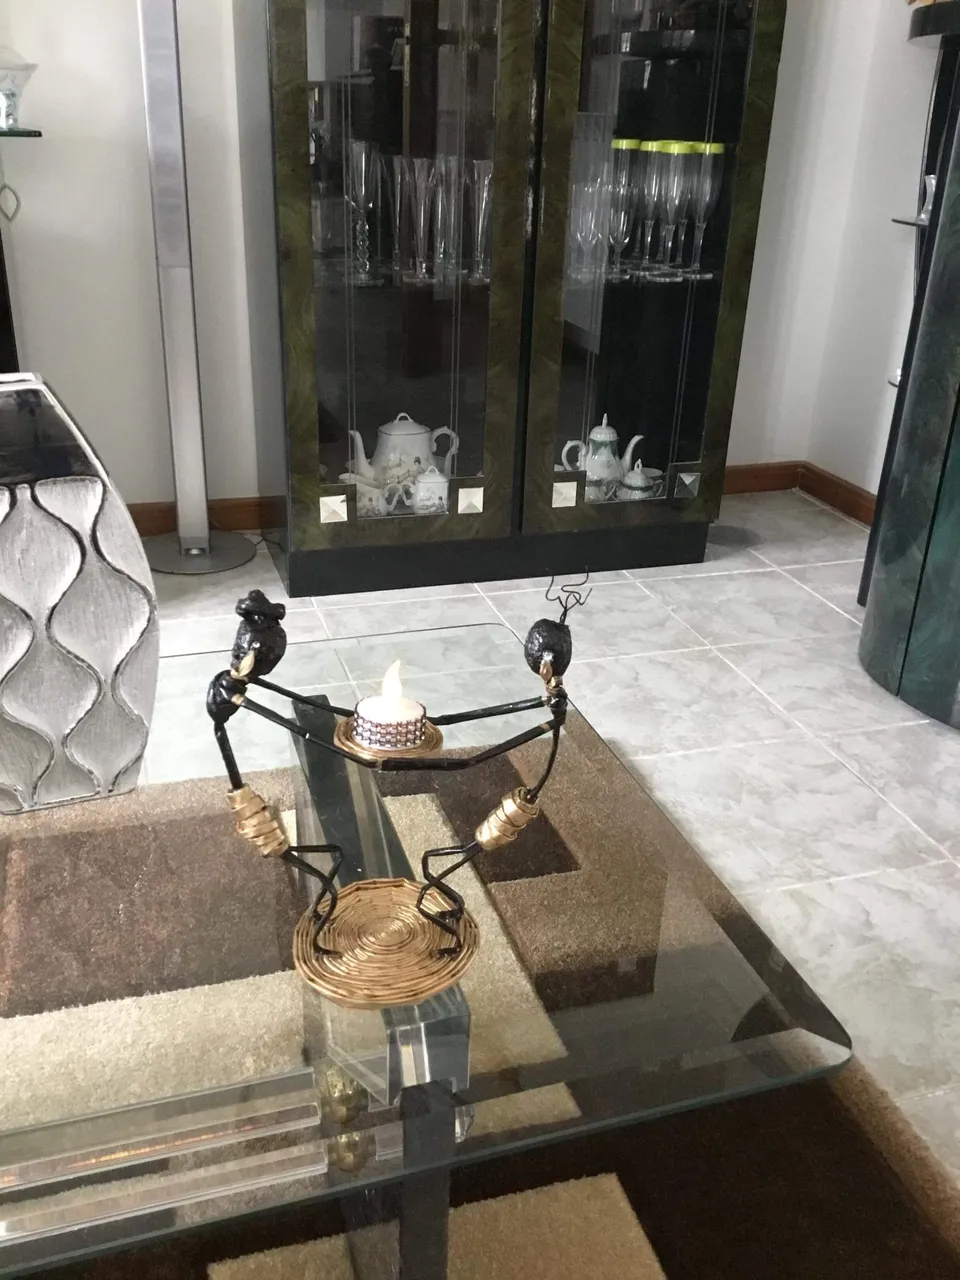
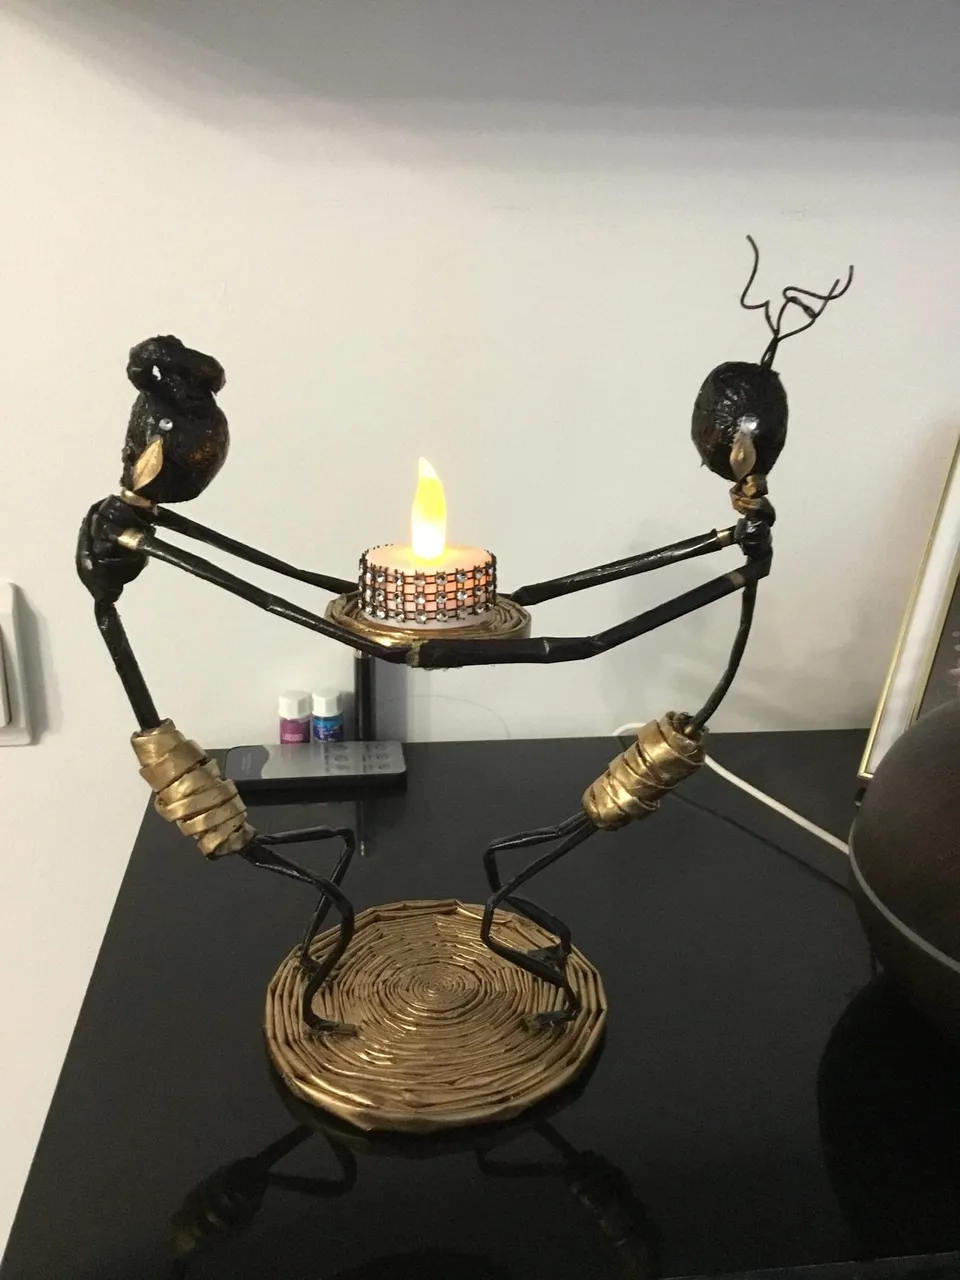
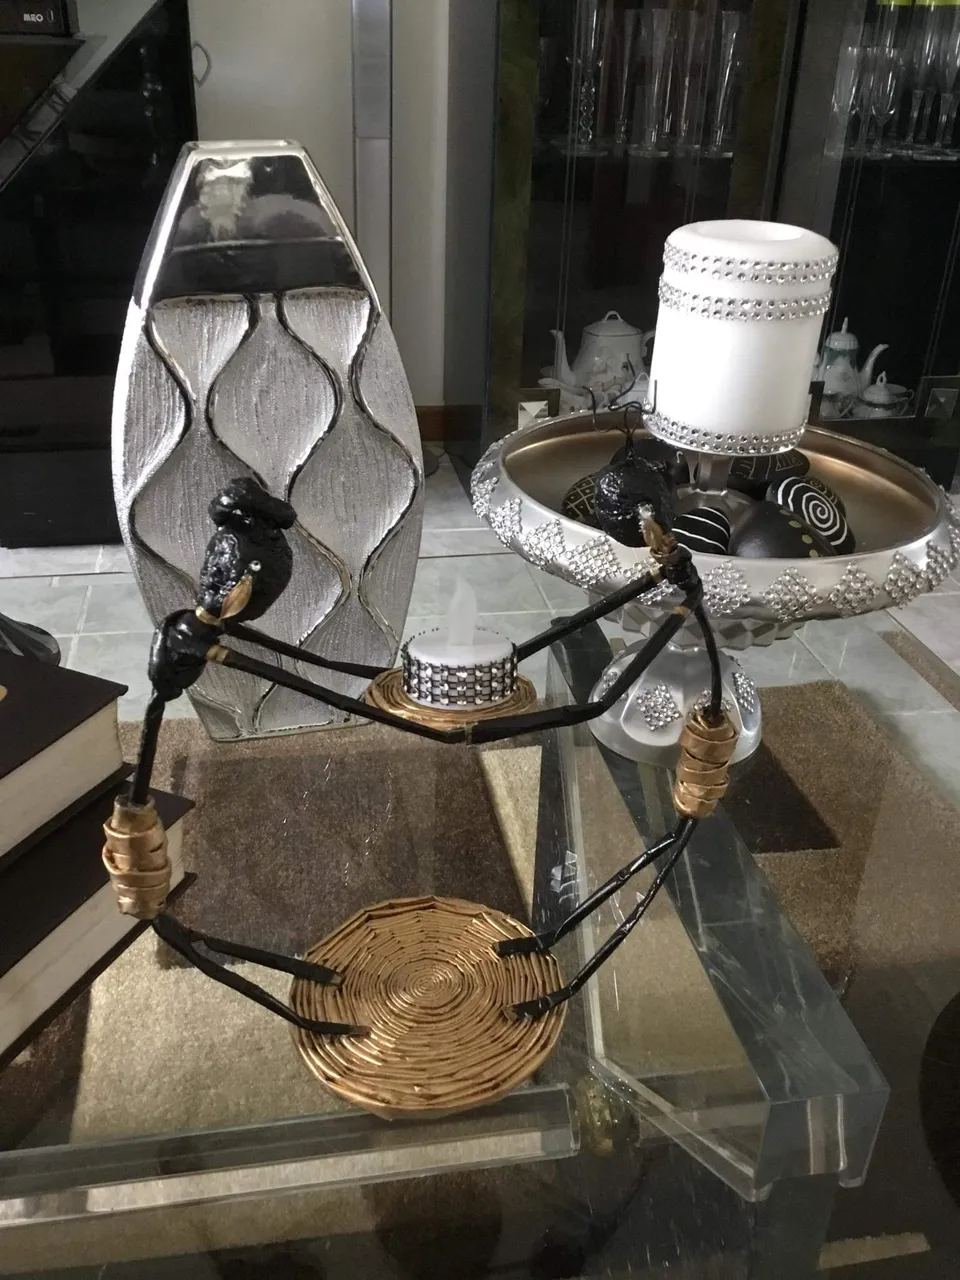
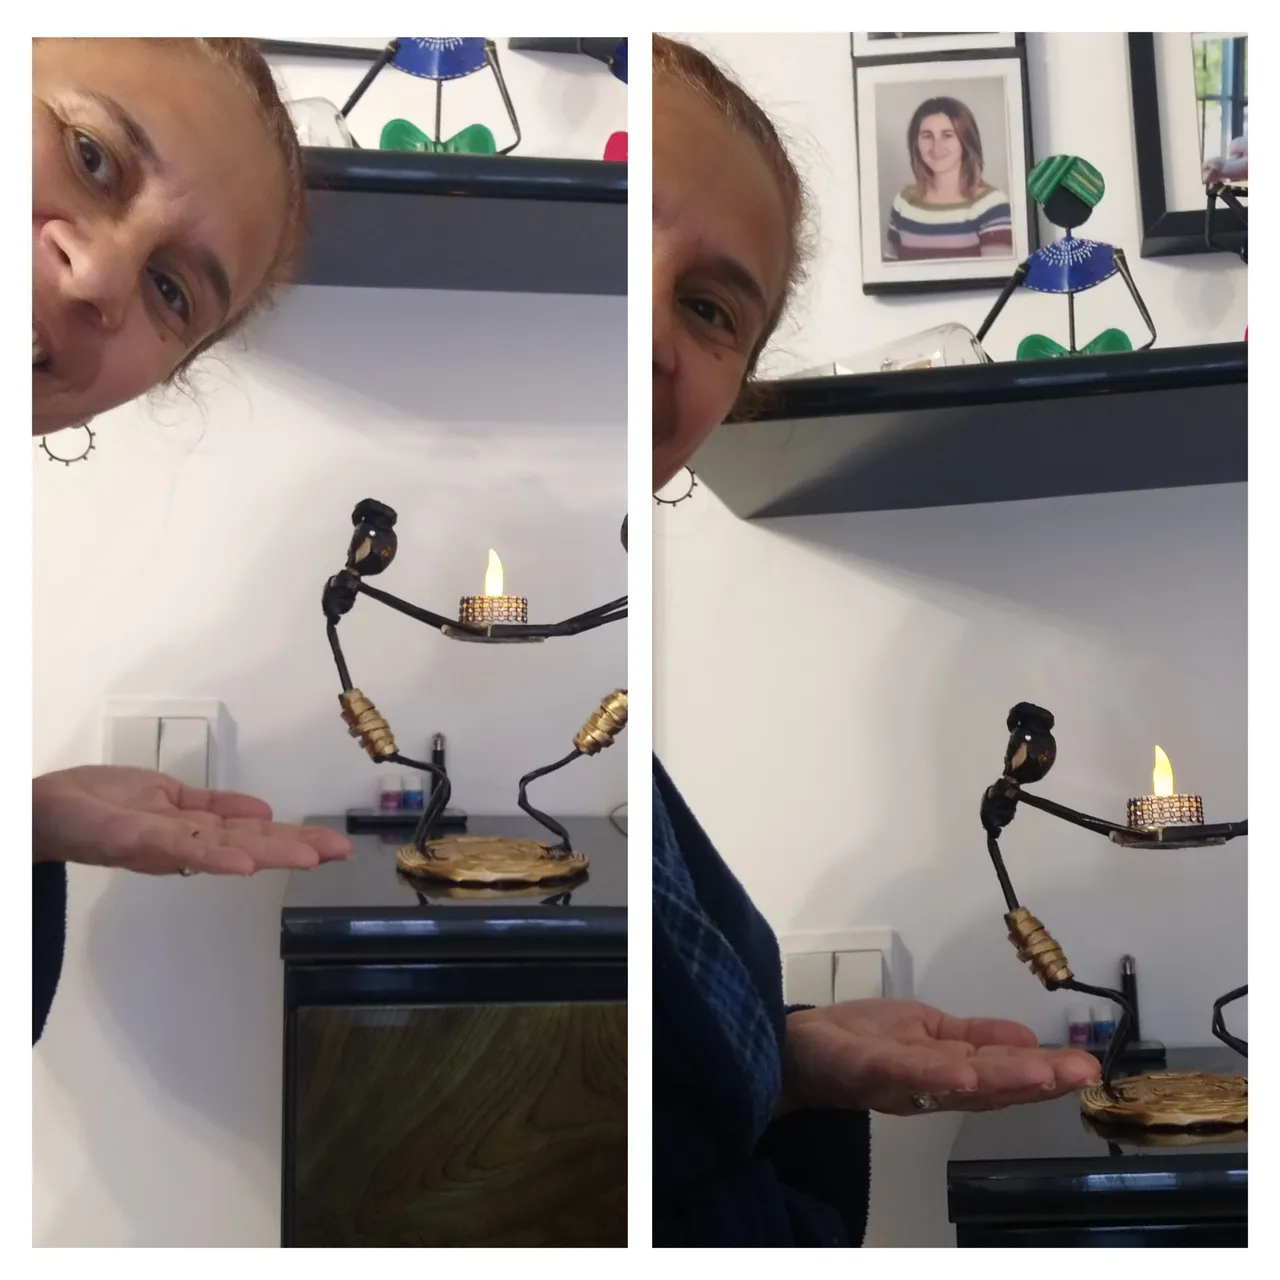
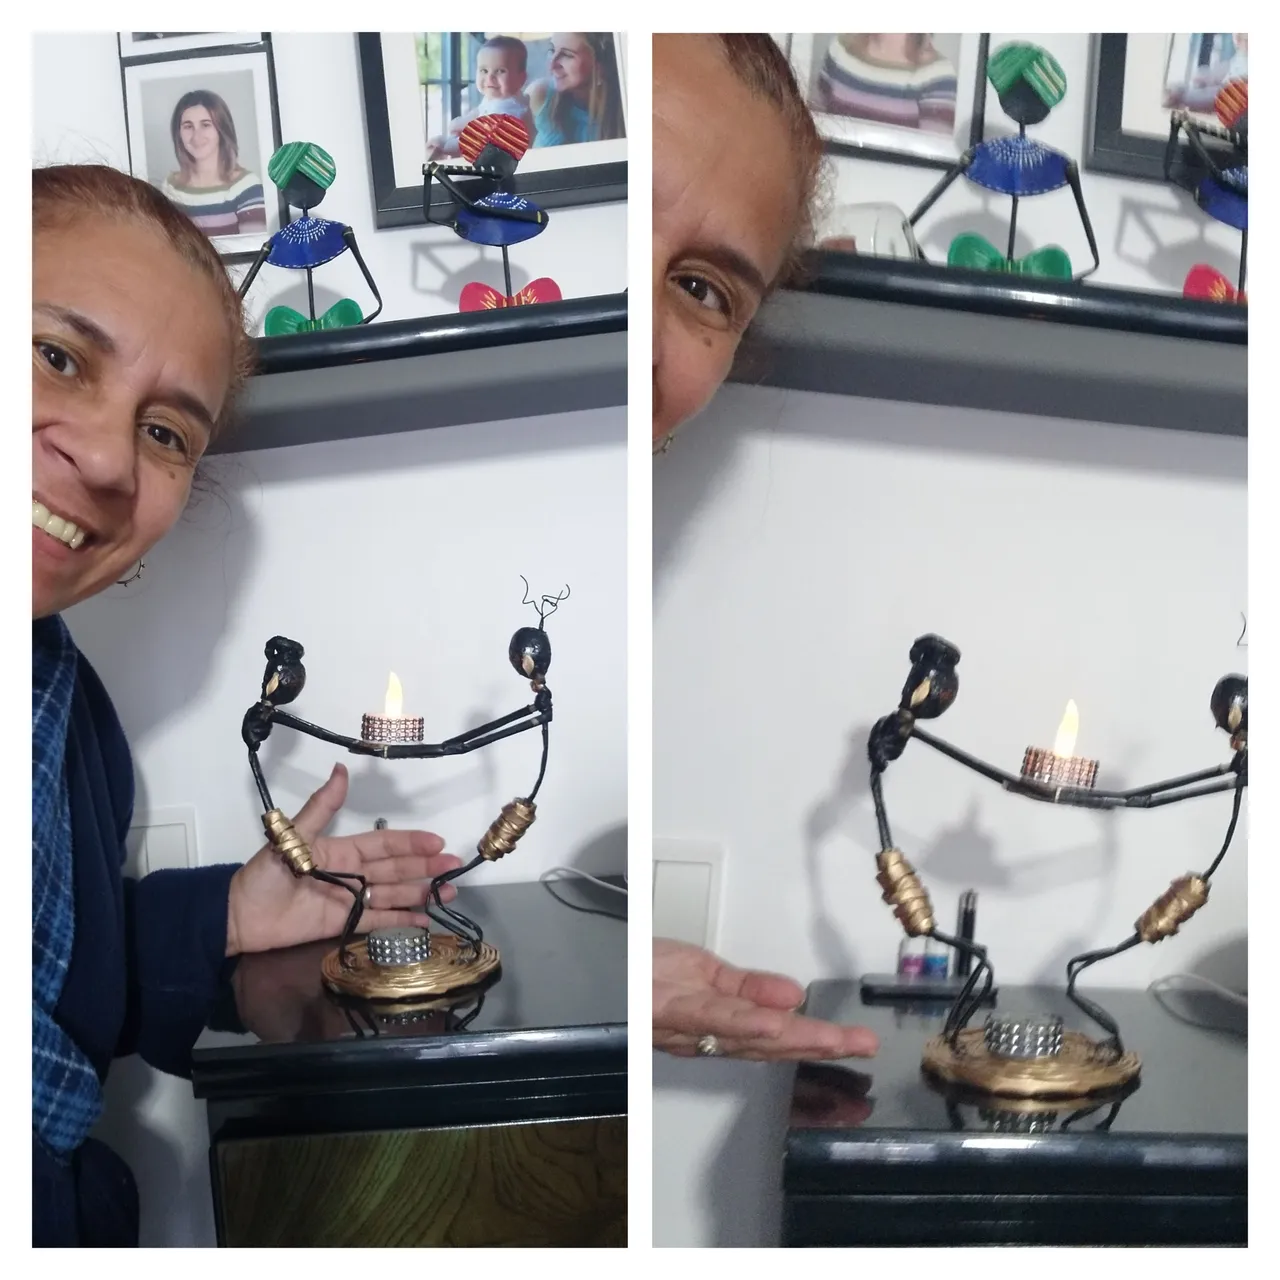
15👣🕯. Por último colocar un poco de pintura de spray dorada y con el pincel pintar rayas en los brazos. Pegar piedras en el área que serán las orejas. Y listo a disfrutar éste porta velas en cualquier rincón de su casa. Enrollar el pelo formando un turbante.
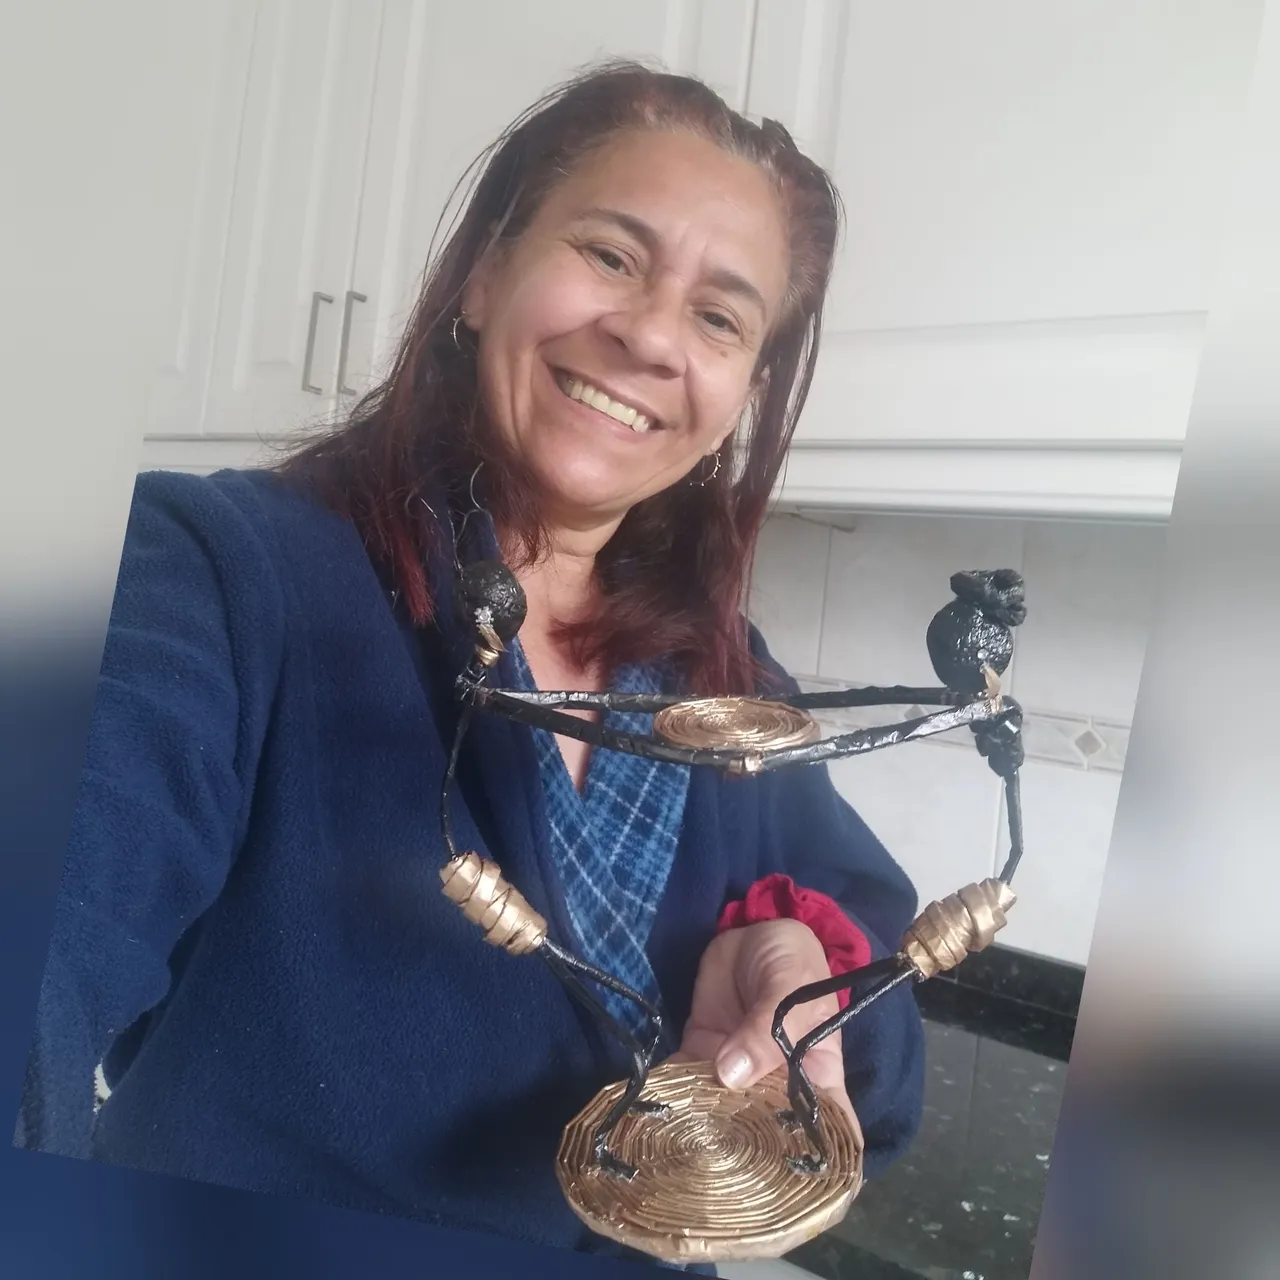
Bueno amigos espero que le haya gustado mi porta velas con figuras de Indígena; muy fácil de hacer y con poco materiales. Gracias por su apoyo🥰❤.
Las fotos son tomadas de mi teléfono móvil Samsung Galaxy y organizadas por la aplicación GridArt.


English
Good morning dear friends from the different hive communities, have an excellent week with health and success.
Today I bring you a beautiful proposal recycling magazines or newspapers; I've already told you that when I go to the supermarket I grab the magazines that offer the week's deals, I take the opportunity to see the deals and then reuse the magazines☺😋. With magazines and newspapers we can make a wide variety of crafts that serve to decorate our home as well as to make any educational object, among others. The craft that we will do today is so simple and easy to do that I hope you will be encouraged to do it and with so few materials.
I tell you that many of the crafts have gotten me out of trouble; since they have served as gifts for unforeseen situations, like when I go to visit a friend or relative I don't have money at that time and I bring them some of the crafts I have at home🎁 and it's not for nothing but they get excited when I tell them that I did it🥰. I invite you to join me in making this supermarket advertising magazine candle holder.
The Materials to use for the candle holder 🕯 are:
Magazines or newspapers
Scissor
Wire not very fine or thick that is malleable
fine wire
Toilet paper
Spray or acrylic paint of the color of your choice
White glue
Silicone gun and silicone bars
Fine cell brush
Small jewelery stone
Tape measure or ruler
Marker or pencil
1 grill stick
Steps to follow to make this cute candle holder
1👣🕯. We are going to cut the magazines or newspapers with scissors and measure with the ruler or measuring tape measures 30cm long by 10cm wide and cut several strips; I did 20.
2👣🕯. We are going to roll up each strip by placing the inclined strips and the grill stick at one end and start rolling until we reach the other end, which must be glued with white glue. Repeat the process with each of the strips of paper until you get 20 or if you want to do more.
3👣🕯. After having all the strips rolled up, we are going to introduce a piece of the wire of the same size as the strip of paper, we are going to need 6 strips with the wire.
4👣🕯. In this step we are going to roll up all the strips like a spiral, starting at the end and place white glue outside the other end and insert another strip until we make a circle with 8 strips and glue the last end. To reinforce, place glue on the strips so they will be firmer.
5👣🕯. We are going to make another spiral but with 4 strips this is where we will place the candles. We'll do the same steps we did on the larger spiral. We'll let them dry.
6👣🕯. In this step we will do the two indigenous. With two strips that have wire inside, we are going to assemble the head with toilet paper and glue, forming the heads on each strip. observe the image
7👣🕯. Introduce a piece of fine wire 7cm long inside the head and another three wires and finish closing the ball that will be the head with the paper and let it dry well. observe the image
8👣🕯. With toilet paper and glue, cover the one with only one thread, as well as let it dry.
9👣🕯. Now we are going to place the arms, we place a wire strip under the head and glue with hot silicone then intertwined the two arms to the body which is where the head is. We do that with both indigenous people. Leave 7cm of strips that will be the arms.
10👣🕯. For the legs we place another strip with wire next to the body, leaving 9cm that will be the legs and we wrap the excess around the waist and go up a little more or less 3 and a half cm and attach another strip without wire and wrap and glue the tip. You can be guided by the images. This process is for both of you.
11👣🕯. Now in this step we will paint both indigenous people with the gold spray paint the circles and the pants. Let dry 5 minutes
12👣🕯. Then we cover the pants and paint the rest of the body black. Tip every time you are going to use spray paint you should cover the table with newspaper or plastic and shake the pin before using it.
13👣🕯. In this step we will assemble the candle holder with the indigenous people. The first thing is to glue each foot that we make by folding a piece of the strip and we glue it to the largest circle and on the other side we do the same with the other indigenous.
14👣🕯. Then we will stick the small circle with the arms as if they were holding the circle that will serve to place the candle.
15👣🕯. Finally put some gold spray paint and with the brush paint stripes on the arms. Stick stones in the area that will be the ears. And ready to enjoy this candle holder in any corner of your house. Roll up the hair forming a turban.
Well friends, I hope you liked my candle holder with figures of Indigenous; very easy to do and with few materials. Thank you for your support🥰❤.
The photos are taken from my Samsung Galaxy mobile phone and organized by the GridArt app.