Greetings 🤗 to all the creative friends in this community, a pleasure to be posting here. My best wishes 🥰 to everyone, I hope you are well and happy. As for myself, I am, very excited and happy to belong to this fantastic world where art is so important. I wanted to share with you a tutorial on how I make these beautiful pom-pom keychains ✨️ that I love so much.
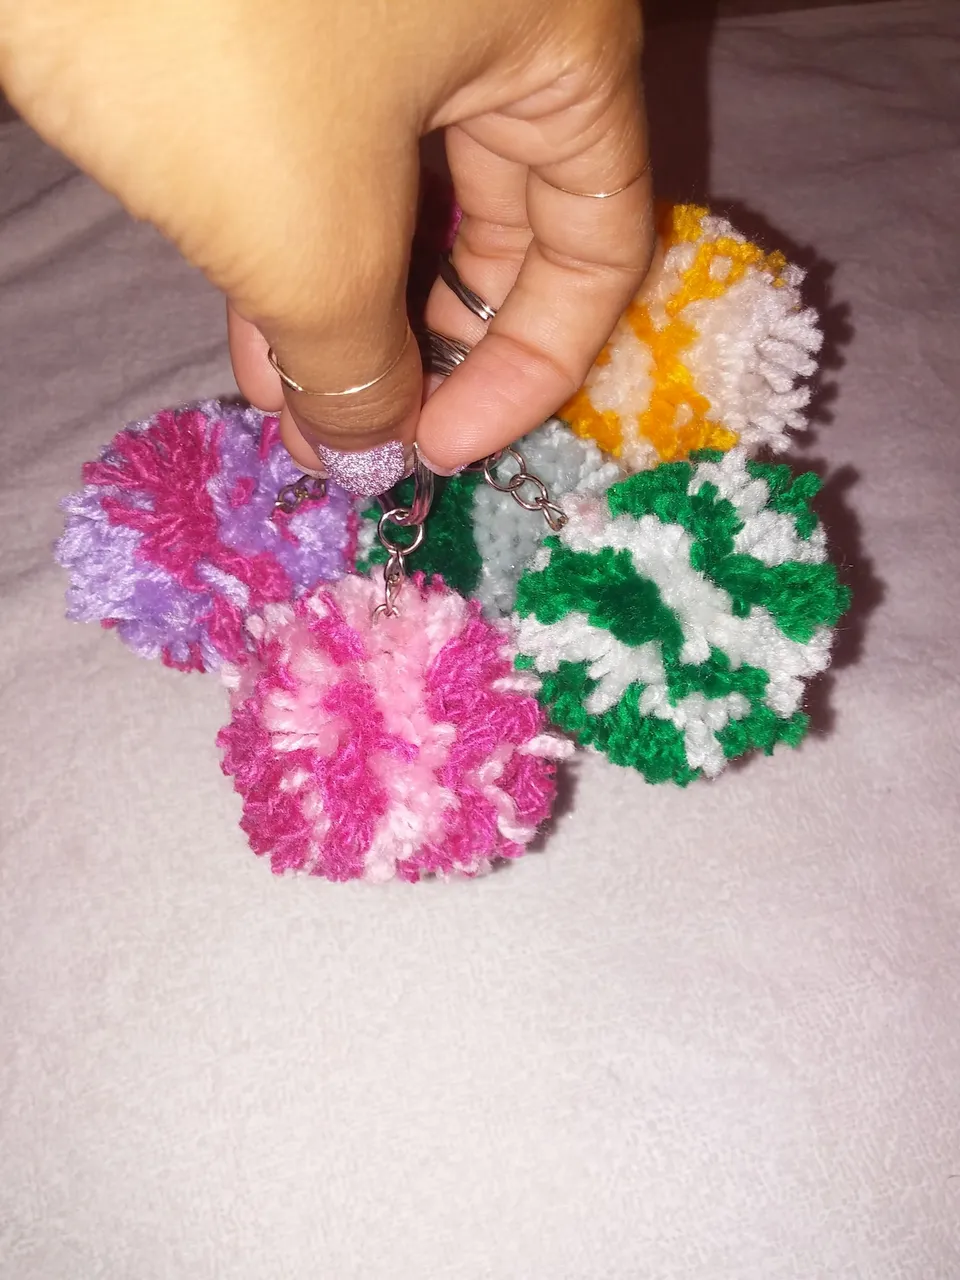
I love creating things with my ✋️hands and I am very happy that this community exists for people who love crafts, to share what we do and also learn from other artisans, so I am delighted to share it with you 😁.
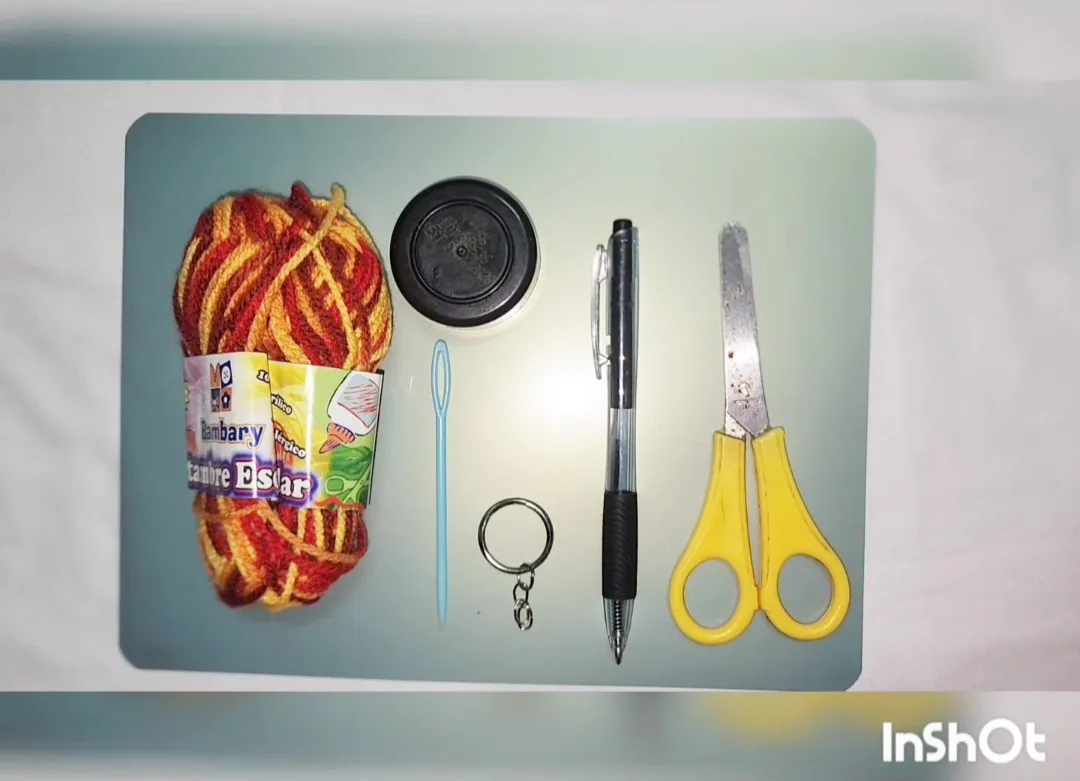
Materials
- Cardboard or plaque
- Circle for marking
- Scissors
- Pencil
- Yarn
- Wool needle
- Keychain ring
Steps to create
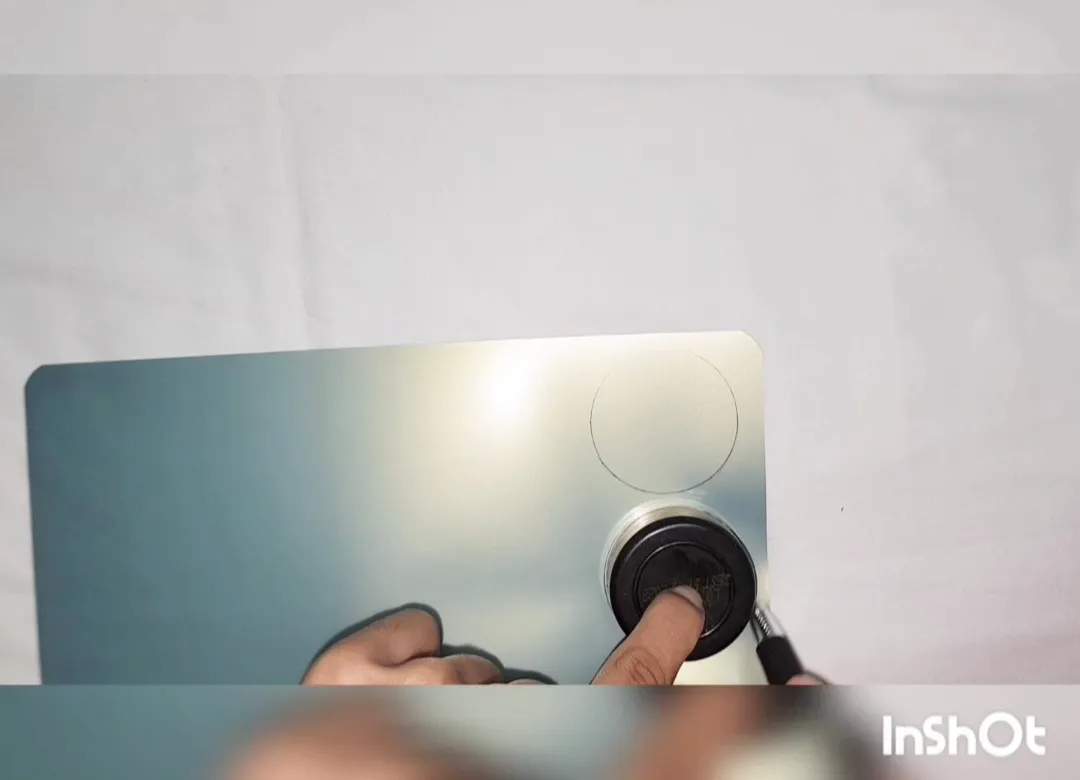
1- Start by marking two circles on the cardboard or plaque.
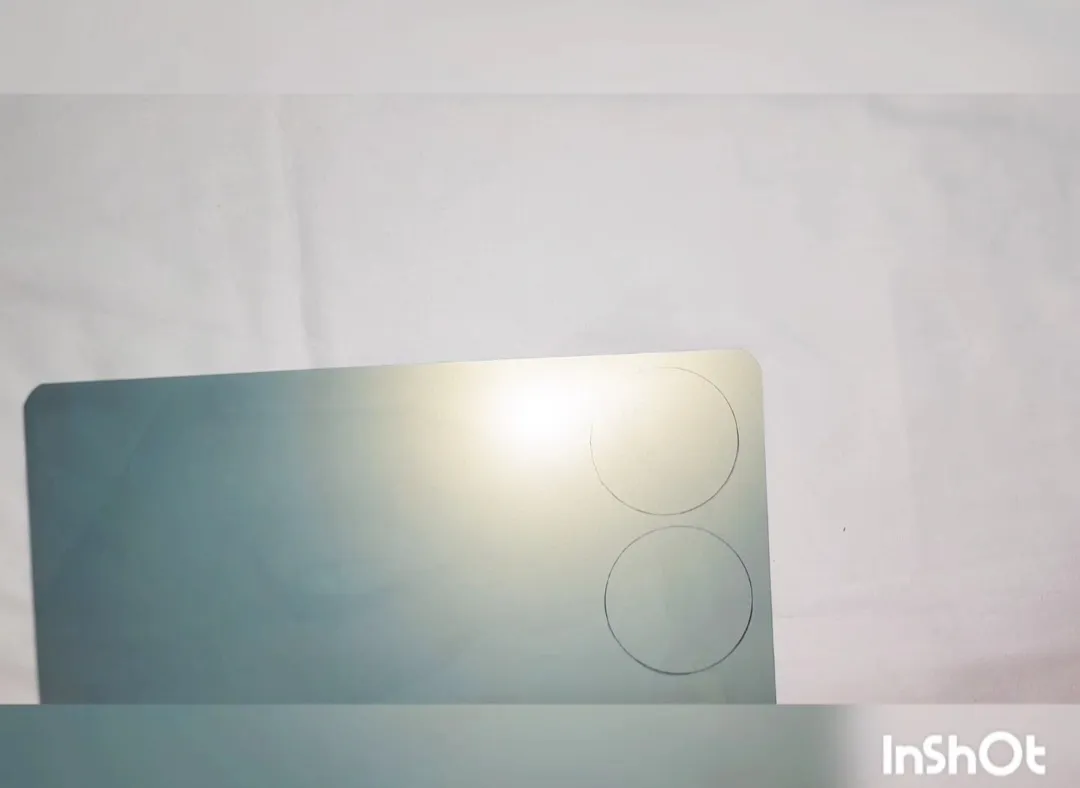
2- Cut the two circles, join them, and fold them together to find the center where we will make a hole that is not too small.
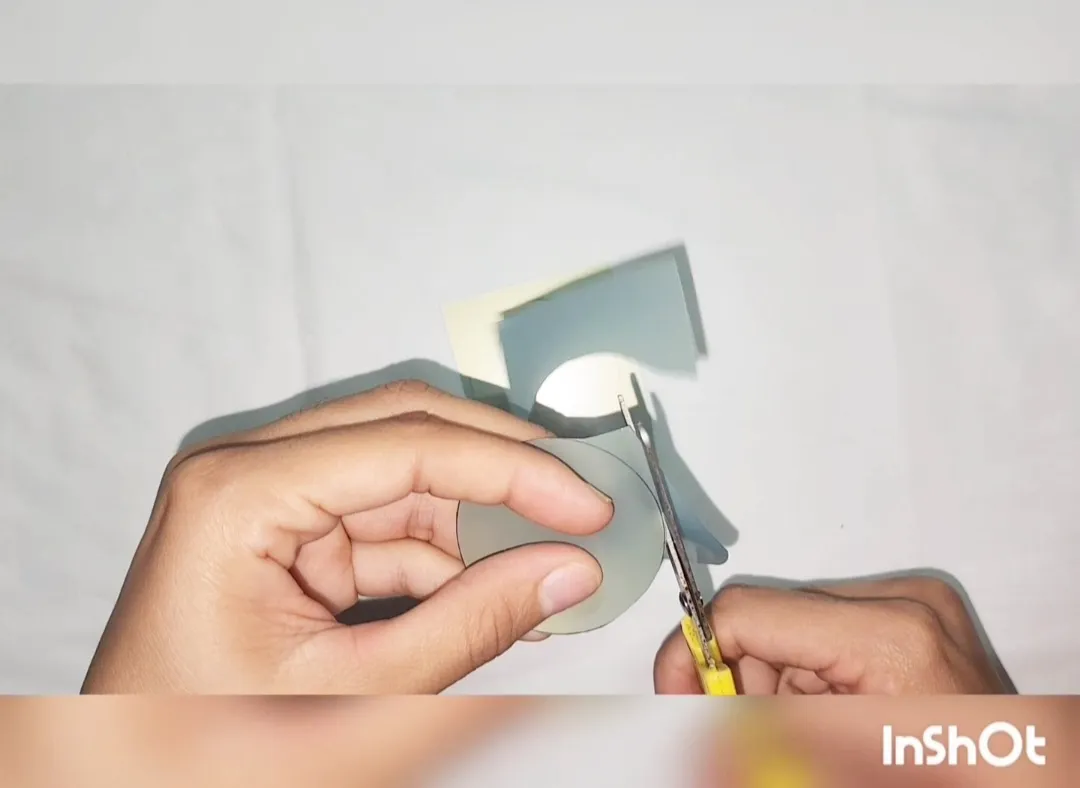
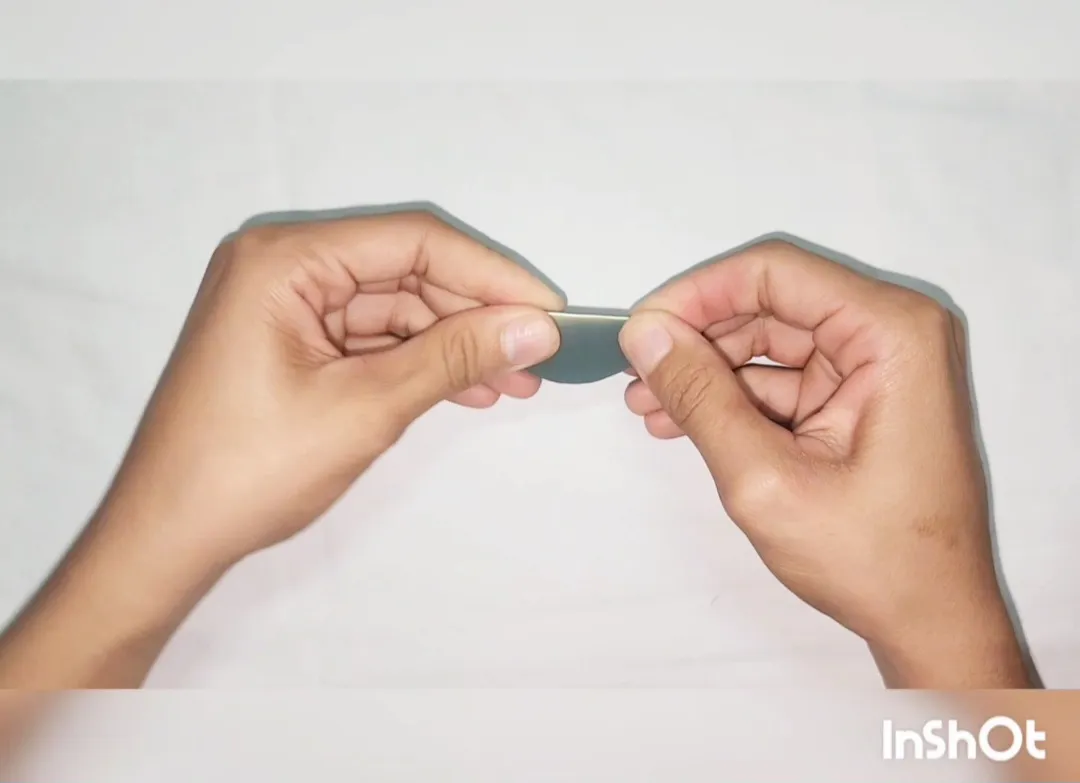
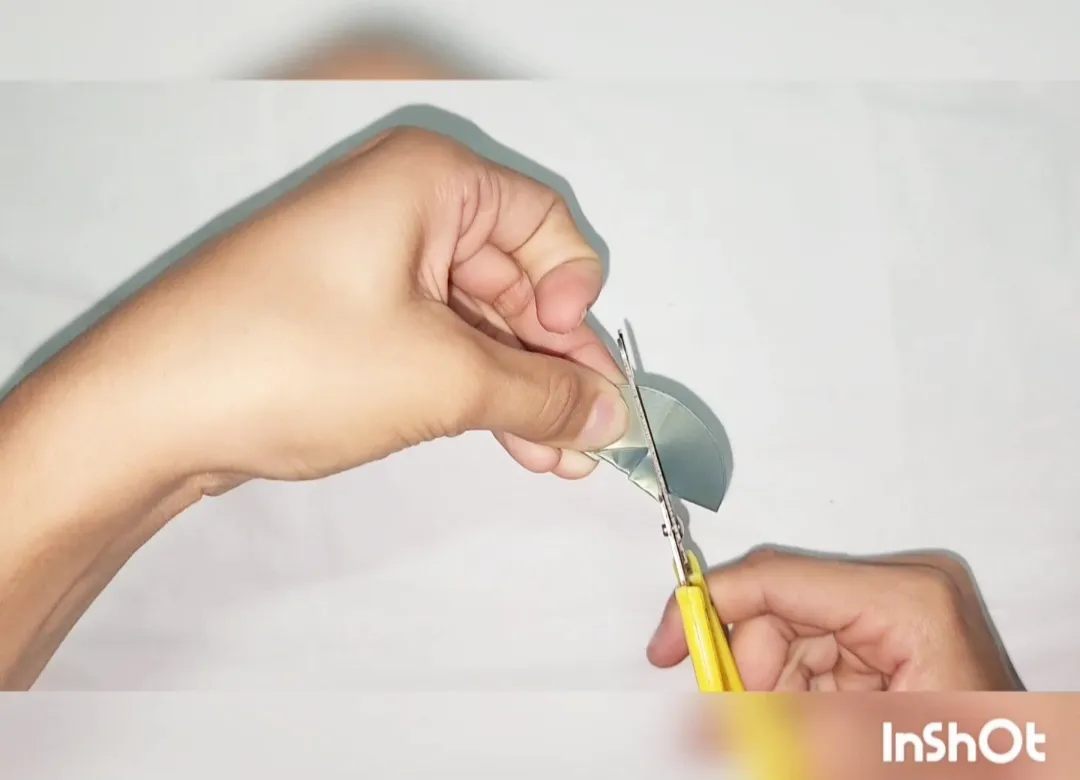
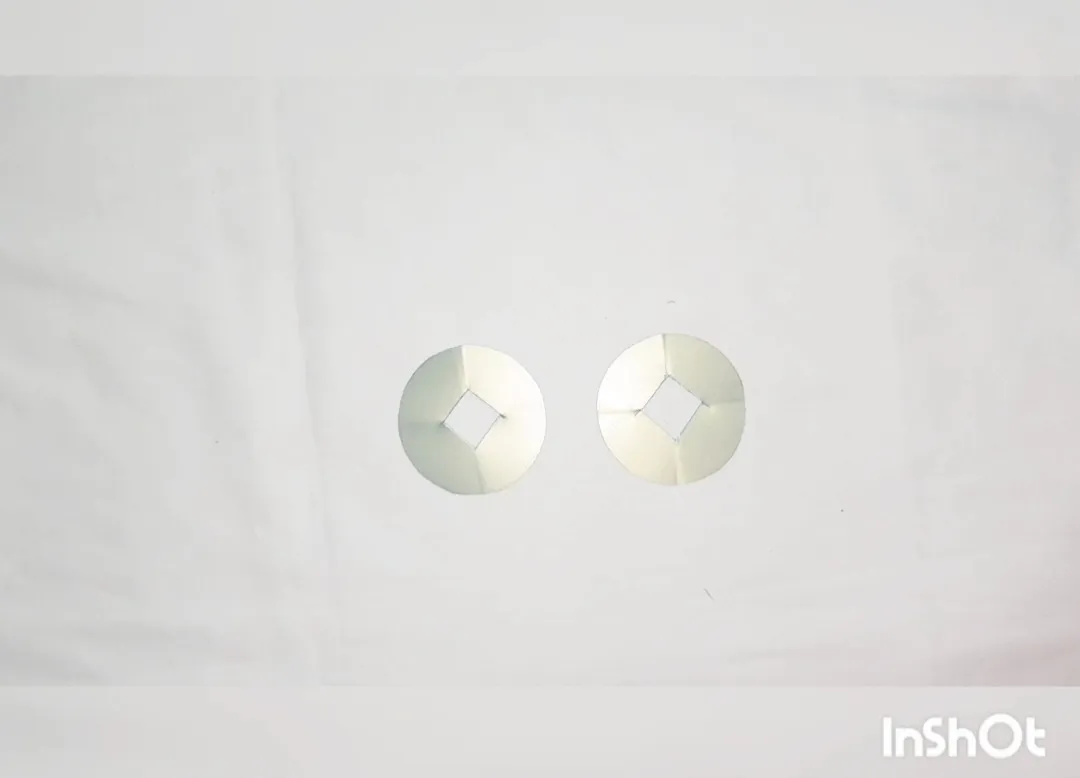
3- Cut the yarn a little long depending on the size of the circles we use.
4- Thread the yarn through the needle hole, double if possible for easier handling.
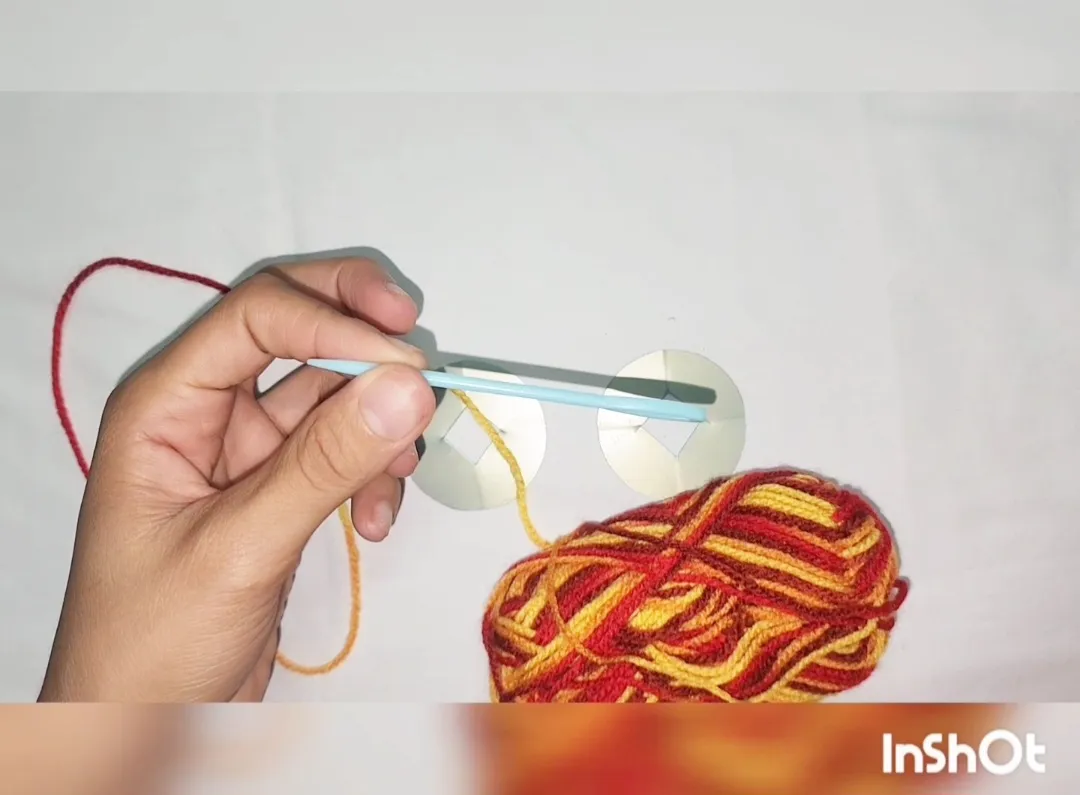
5- Join the two circles, and start passing the needle from the center to the outside, until the needle no longer fits through the hole.
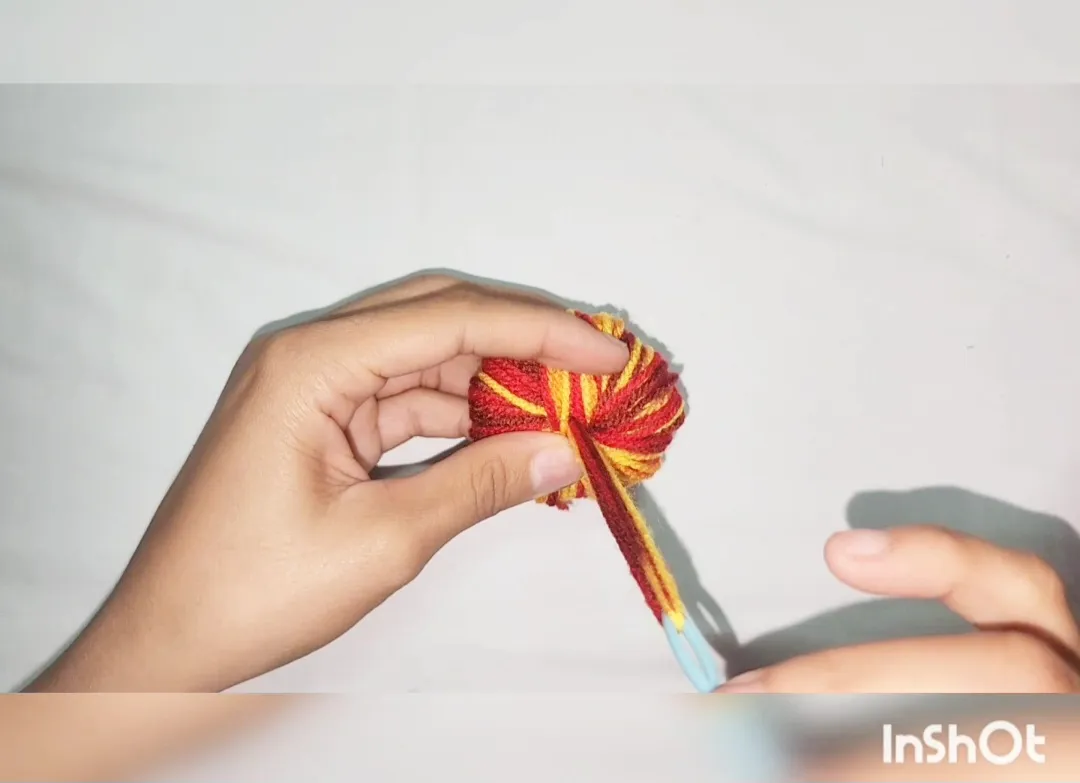
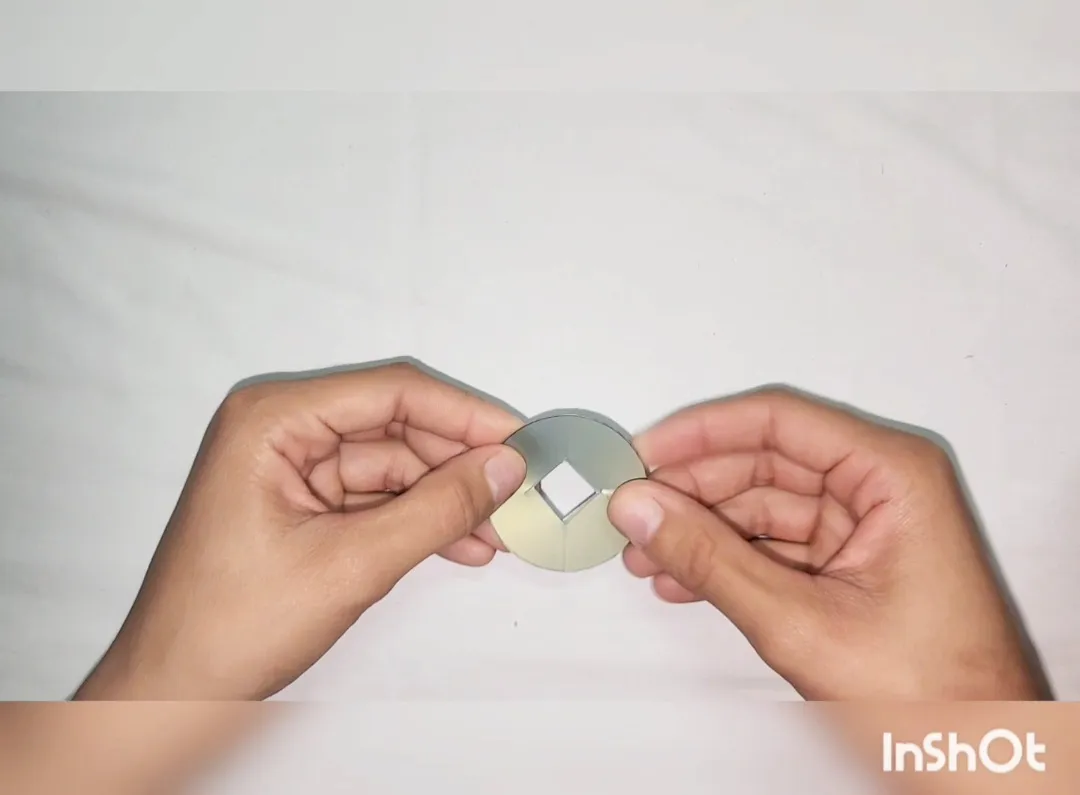
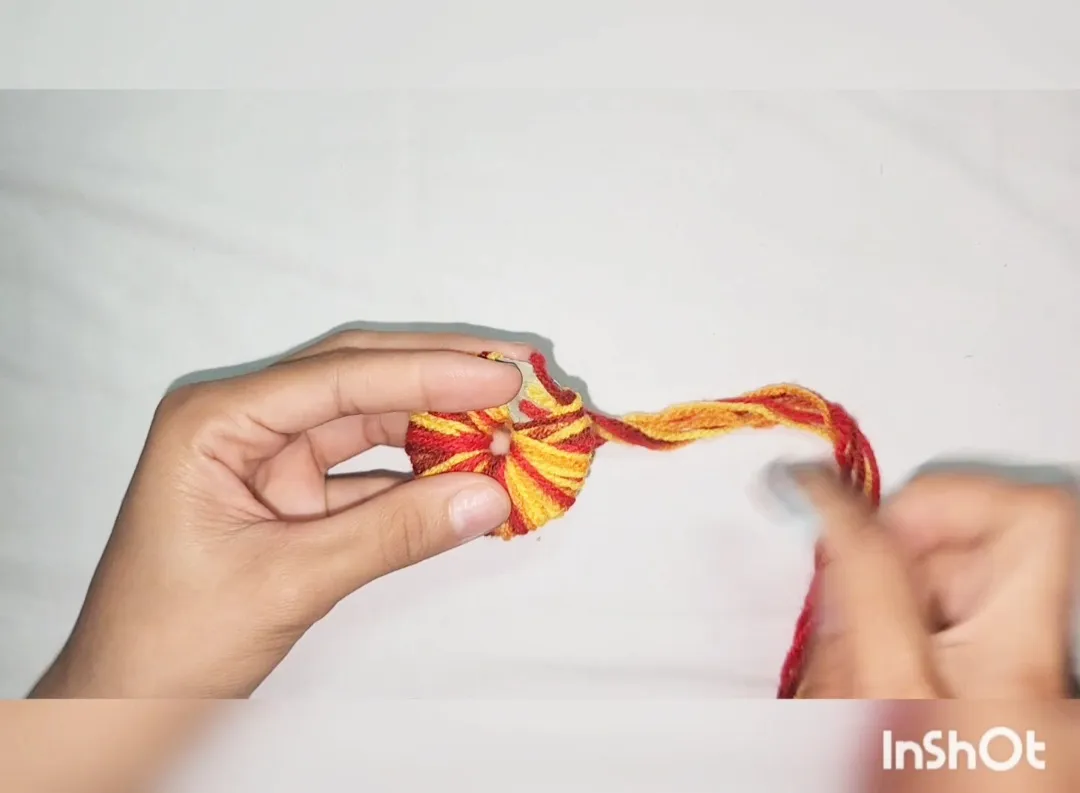
6- Cut the yarn around the edge of the circle.
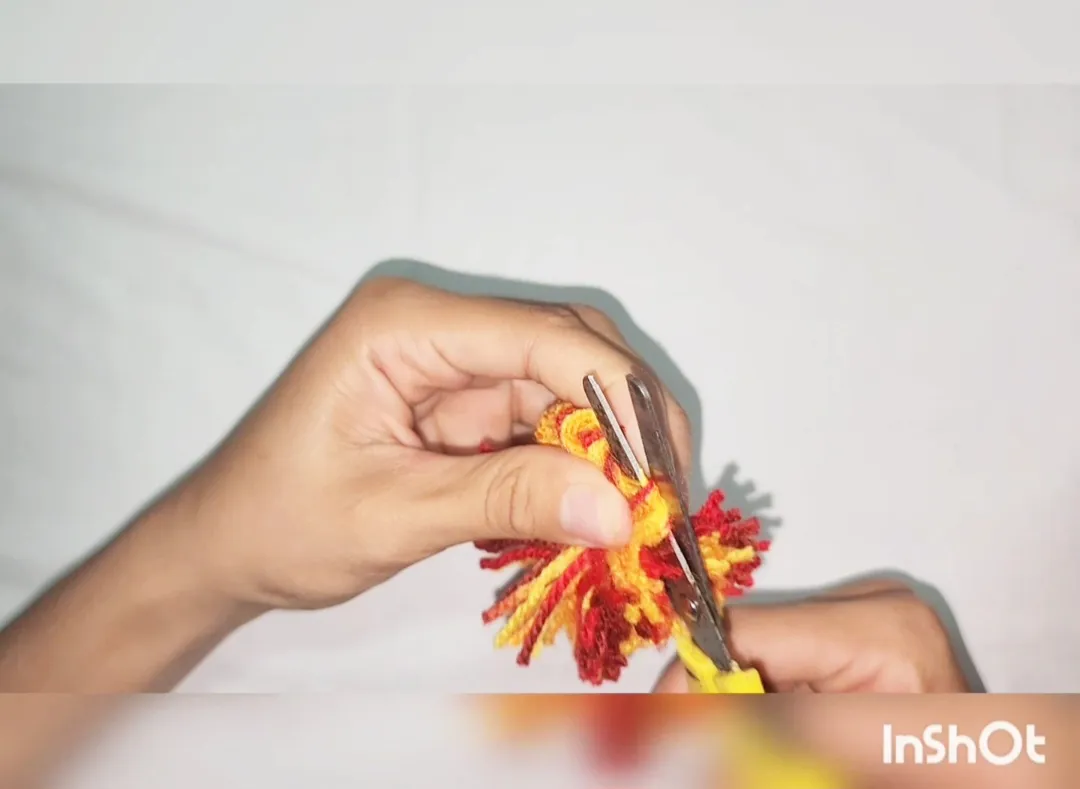
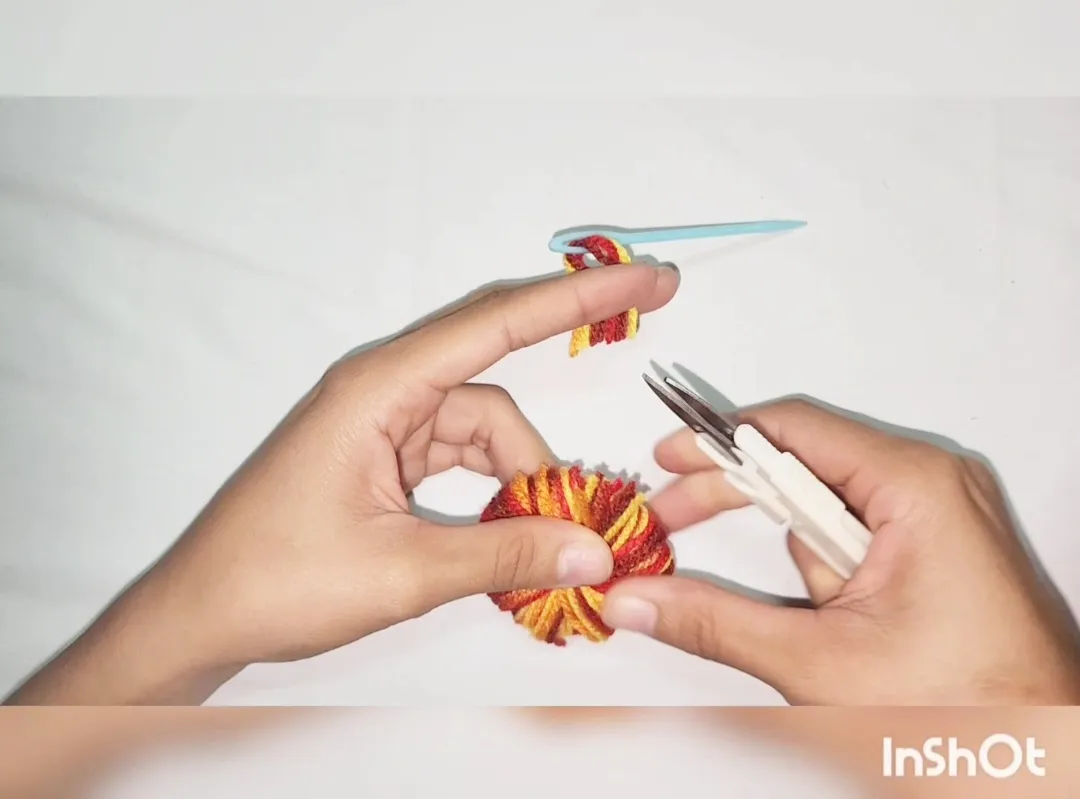
7- Cut another strand of yarn, separate the edges of the two circles, and place the yarn strand around the center and make a knot. Twice is better.
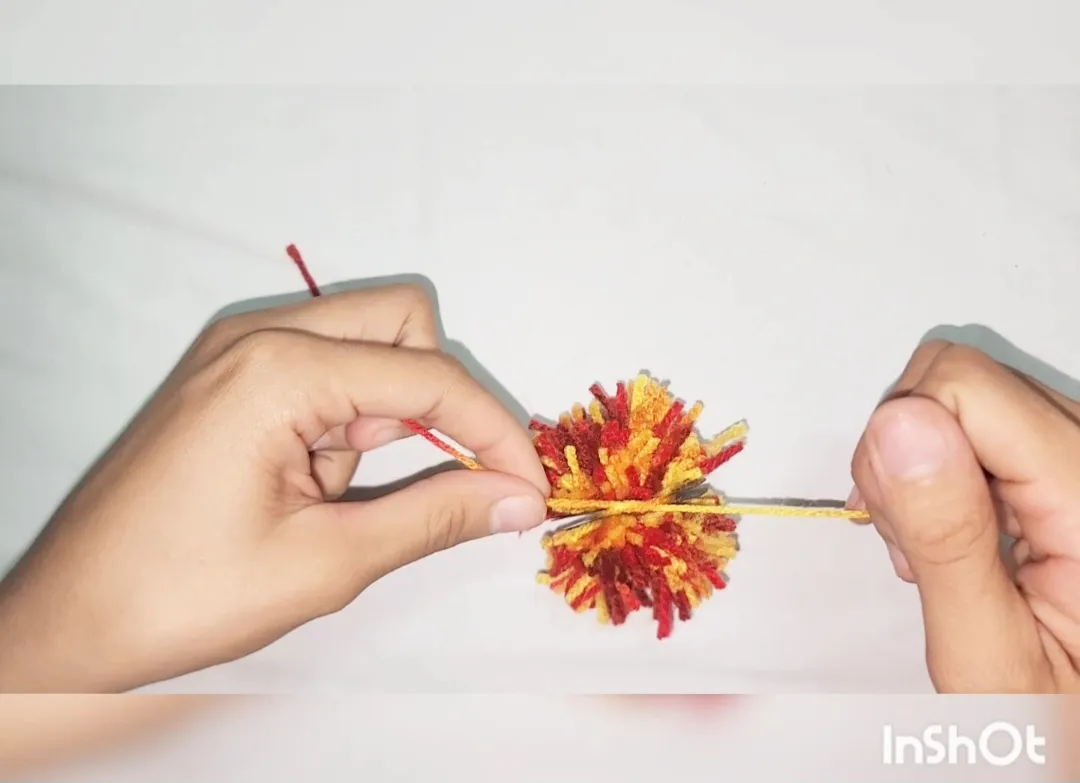
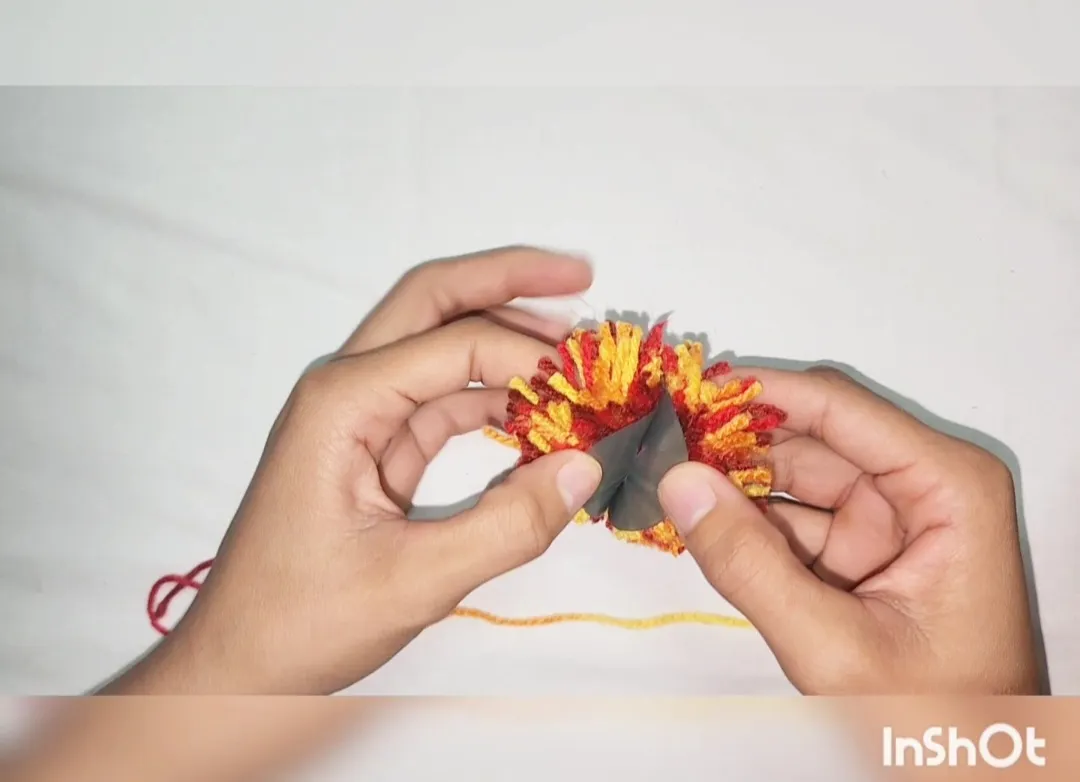
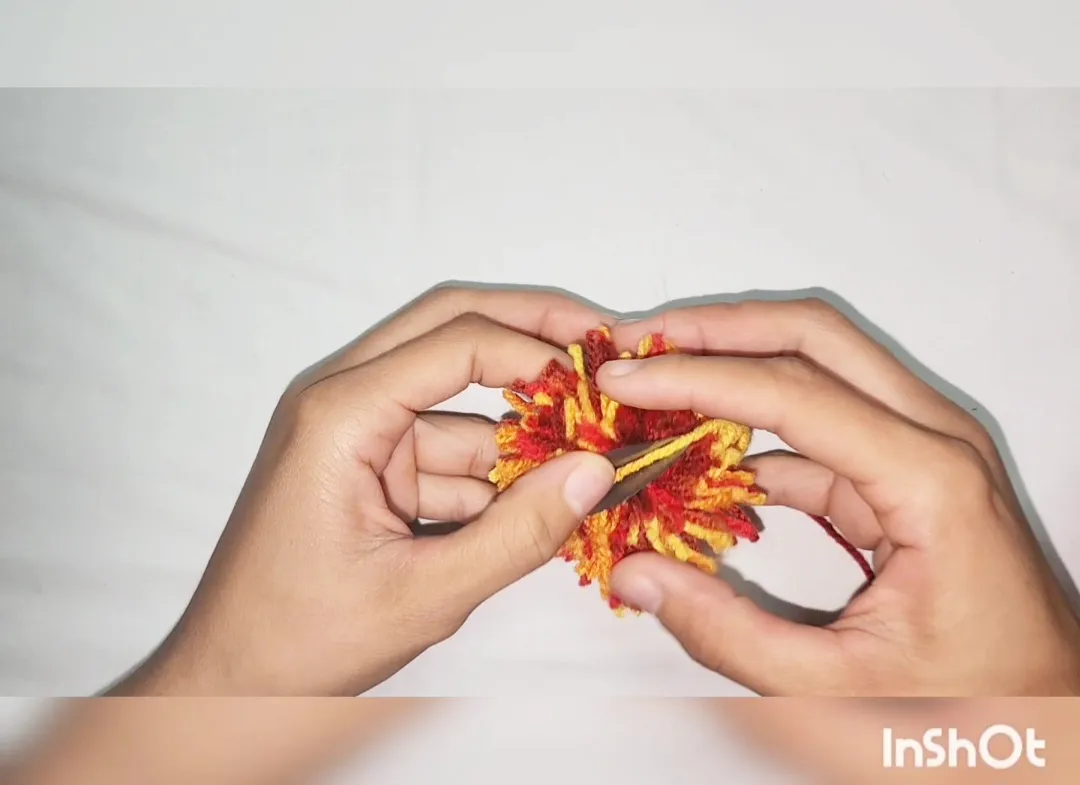
8- Carefully remove the circles.
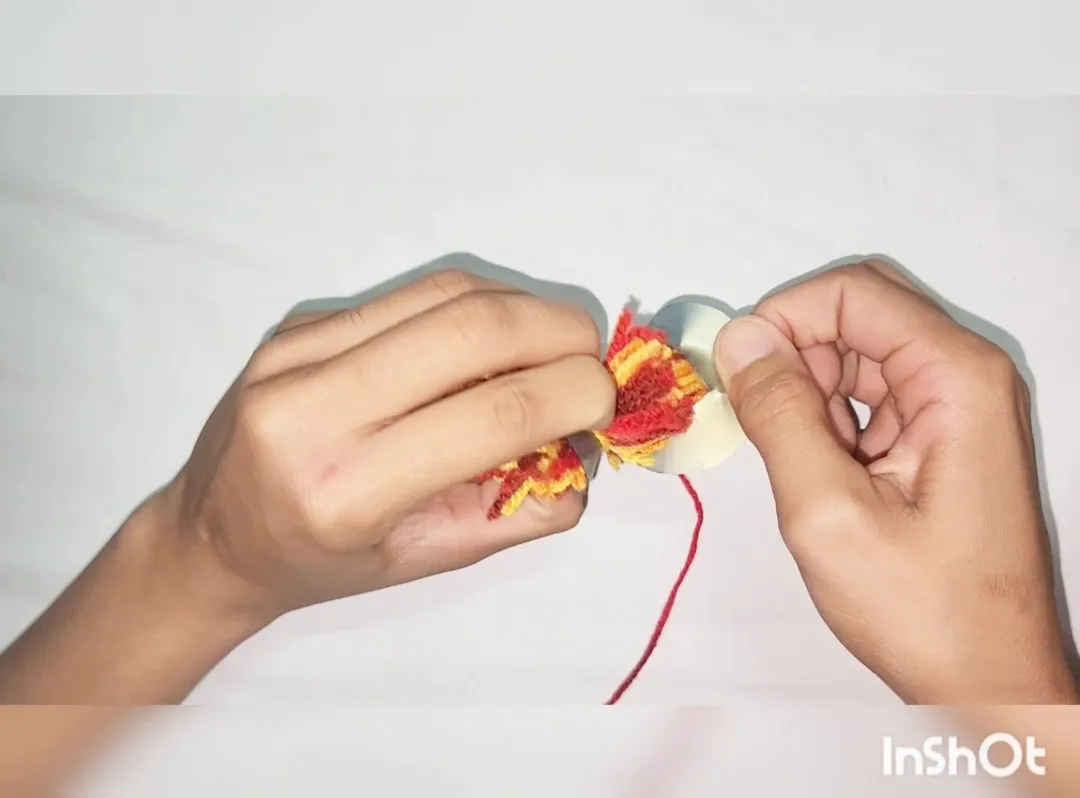
9- Take the keychain ring, find the yarn strand that we passed through the center, and hang it from there.
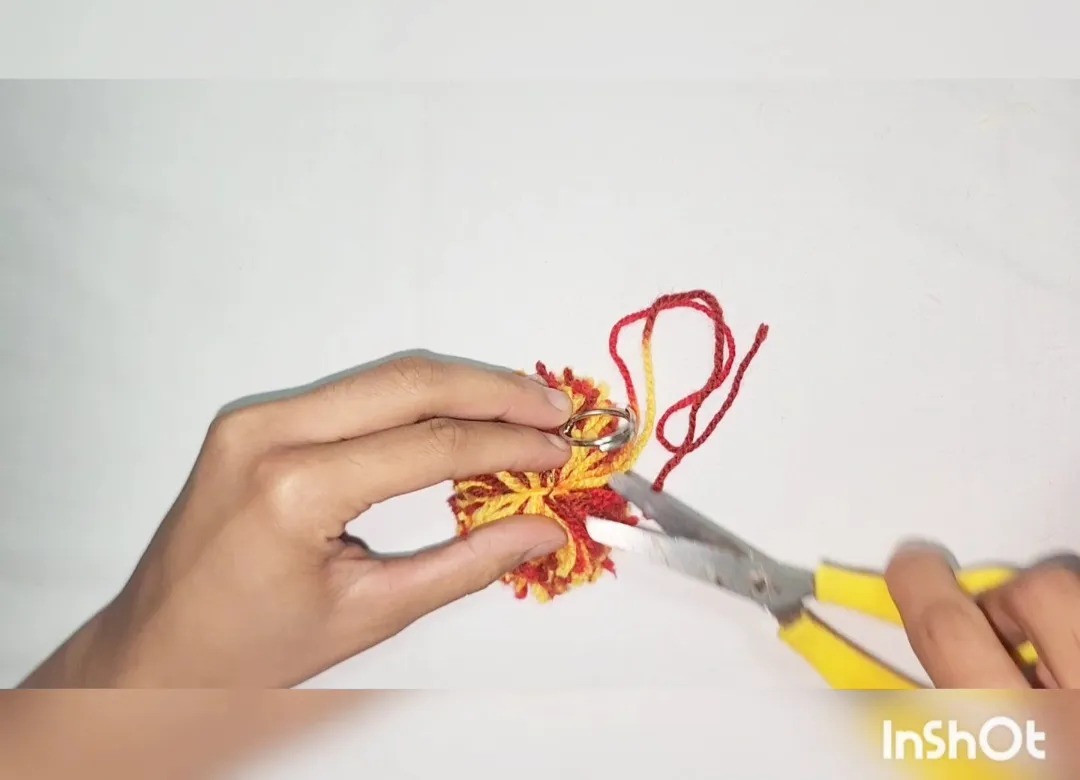

10- Cut the excess yarn.
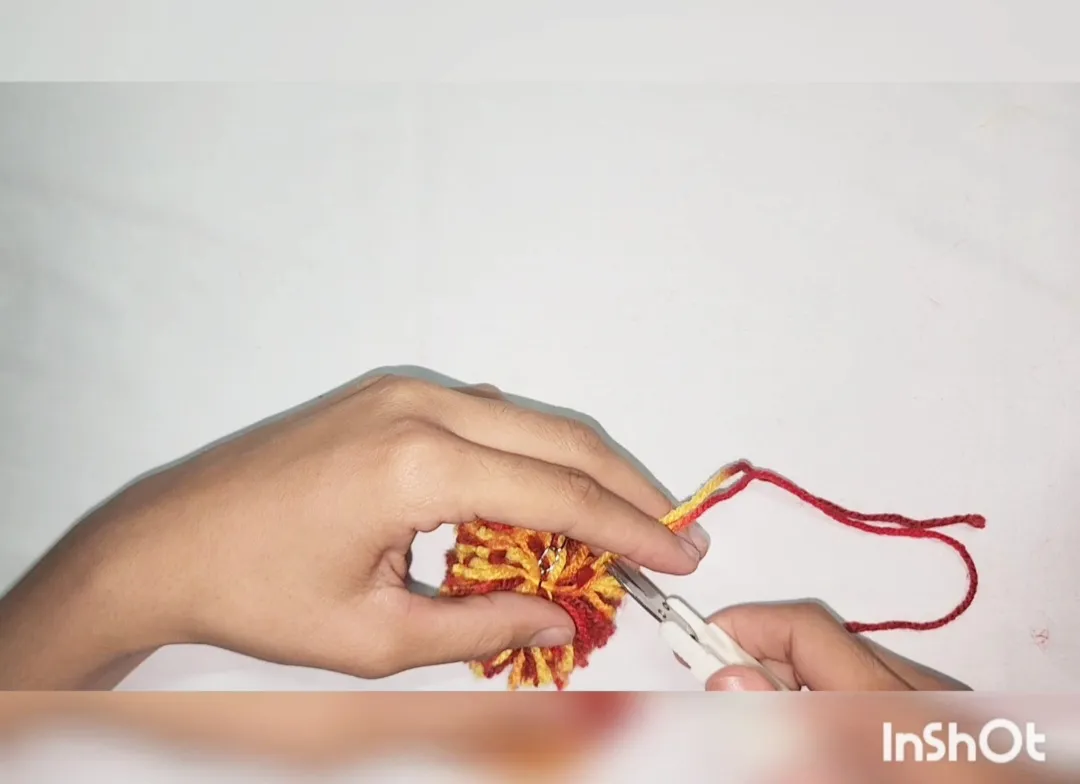
11- Fluff up the cut yarns to make them take a circular shape.
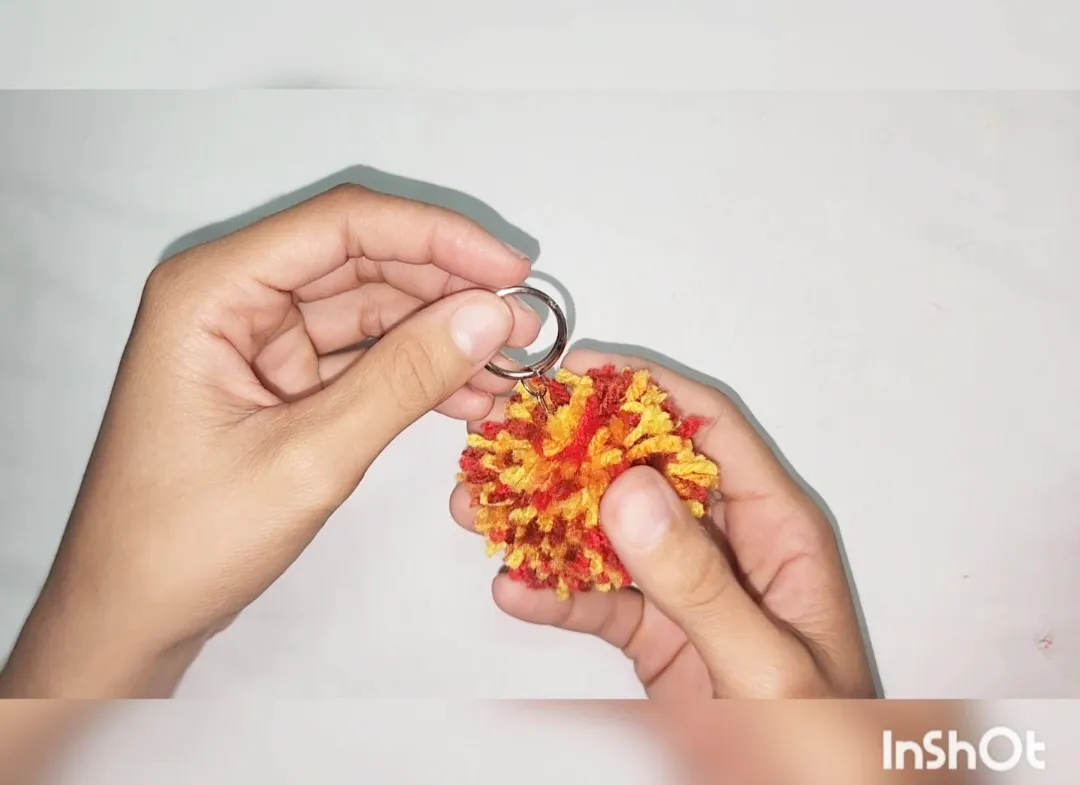
And there you have it, a pom-pom keychain for your keys, to hang on your favorite bag, or to decorate whatever you wish.
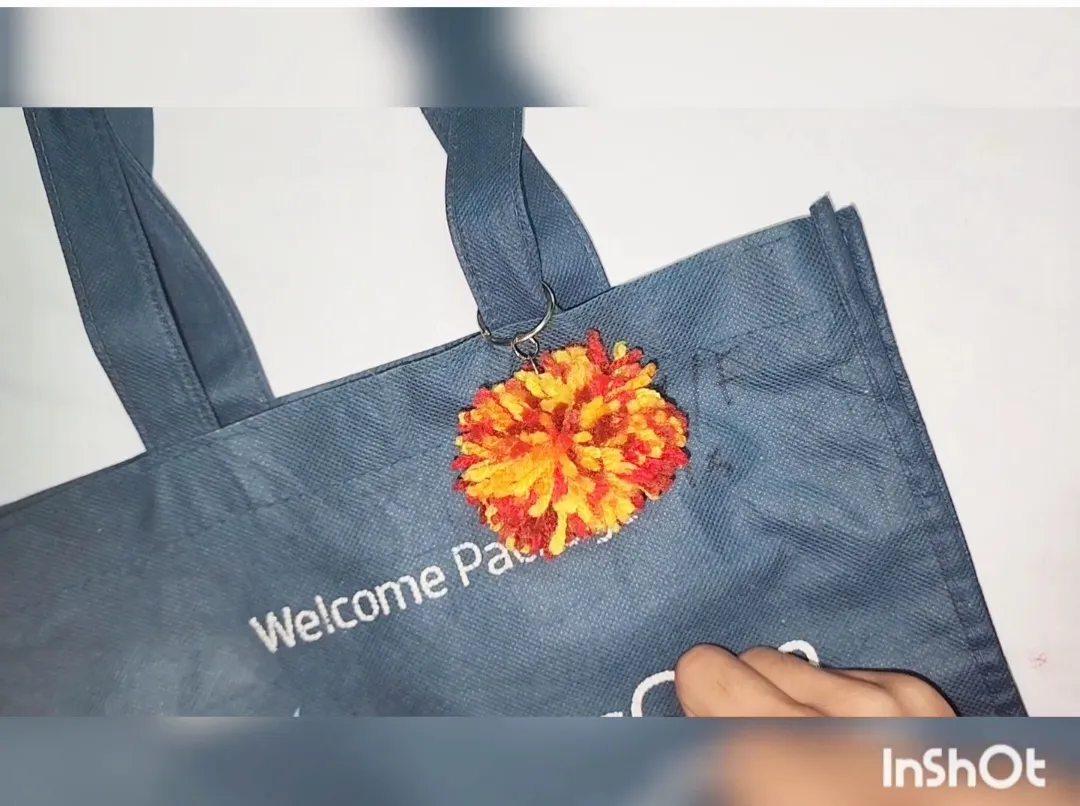

Happy to share this tutorial with all of you, I hope you like it so I can continue sharing what I know how to do. Blessings, thousands, and hugs to all.
Versión en Español
Saludos 🤗 para todos los amigos creativos de esta comunidad, un placer estar publicando en ella. Mis mejores deseos 🥰 para todos, espero que estén bien y felices. Yo por mi parte lo estoy, muy emocionada y feliz de poder pertenecer a este mundo fantástico donde es tan importante el arte.
Quise compartir con ustedes un tutorial de como hago estos hermosos llaveros pompones ✨️ que a mí me gustan muchísimo.

Me encanta crear cositas hechas con mis ✋️manos y estoy muy contenta de que esta comunidad exista para las personas que amamos las manualidades, poder compartir lo que hacemos y también aprender de los demás artesanos, así que yo encantada de compartirlo con ustedes 😁.
Materiales
- Cartón o placa
- Círculo para marcar
- Tijera - Lapicero
- Estambre - Aguja lanera
- Erraje de llavero

Pasos para crear
1- Comenzamos marcando dos círculos en la placa o cartón.

!

2- Cortamos los dos círculos, los unimos y lo doblamos juntos para buscar el centro donde le haremos un agujero que no quede muy pequeño.


3- Cortamos la lana que quede un poco larga dependiendo del tamaño de los círculos que utilicemos. 4- Pasamos la lana por el hueco de la aguja, si es doble mejor para menor dificultad.

5- Unimos los dos círculos, y comenzamos a pasar la aguja desde el centro hasta afuera, hasta que la aguja ya no tenga espacio en el agujero.


6- Cortamos la lana por toda la orilla del círculo.


7- Cortamos otra hebra de lana, separamos las orillas de los dos círculos y colocamos la hebra de lana por todo el centro y hacemos un nudo. Si lo hacemos dos veces mejor.


8- Sacamos los círculos con cuidado.

9- Tomamos el herraje de llavero, buscamos la hebra de lana que pasamos por el centro y lo colgamos de ahí.


10- Cortamos el sobrante de la hebra de lana.

11- Despeinamos las lanas ya cortadas haciendo que tomen forma de círculo.

Y listo, ya tenemos un llavero pompón para las llaves, para colgar de tu bolso favorito o para adornar lo que desees.


Feliz de compartir este tutorial con todos ustedes, espero les guste para seguir compartiendo de lo que sé hacer. Bendiciones, miles y abrazos a todos.
Recursos empleados
| RECURSO / RESOURCE | FUENTE / SOURCE |
|---|---|
| Edición / Edition: | @yunacrochet |
| Imágenes / Pictures: | Samsung Galaxy s22 Ultra |
| Translated / Traducción: | Hive Translator by @noakmilo |