¡Hola comunidad de Hive!
Hello Hive community!
Hola gente linda de Hive Blog, espero tengan lindo día. Los cumpleaños son una celebración especial que a todos nos gusta, y este mes estuvo muy movido en cuanto a este tema, días atrás mi primo me tragó los materiales para que le realizará un banderín de "Feliz Cumpleaños" pues el 17 es su cumpleaños y quiere celebrar su día y yo sin dudar le dije que si se lo podía realizar y este es el proyecto que hoy traigo para compartir con ustedes. Espero sea de su agrado.
Hello beautiful people of Hive Blog, I hope you have a nice day. Birthdays are a special celebration that we all like, and this month was very busy on this topic, days ago my cousin brought me the materials for me to make him a "Happy Birthday" banner because the 17th is his birthday and he wants to celebrate his day and without hesitation I told him that if I could do it and this is the project that I bring today to share with you. I hope you like it.
Materiales:
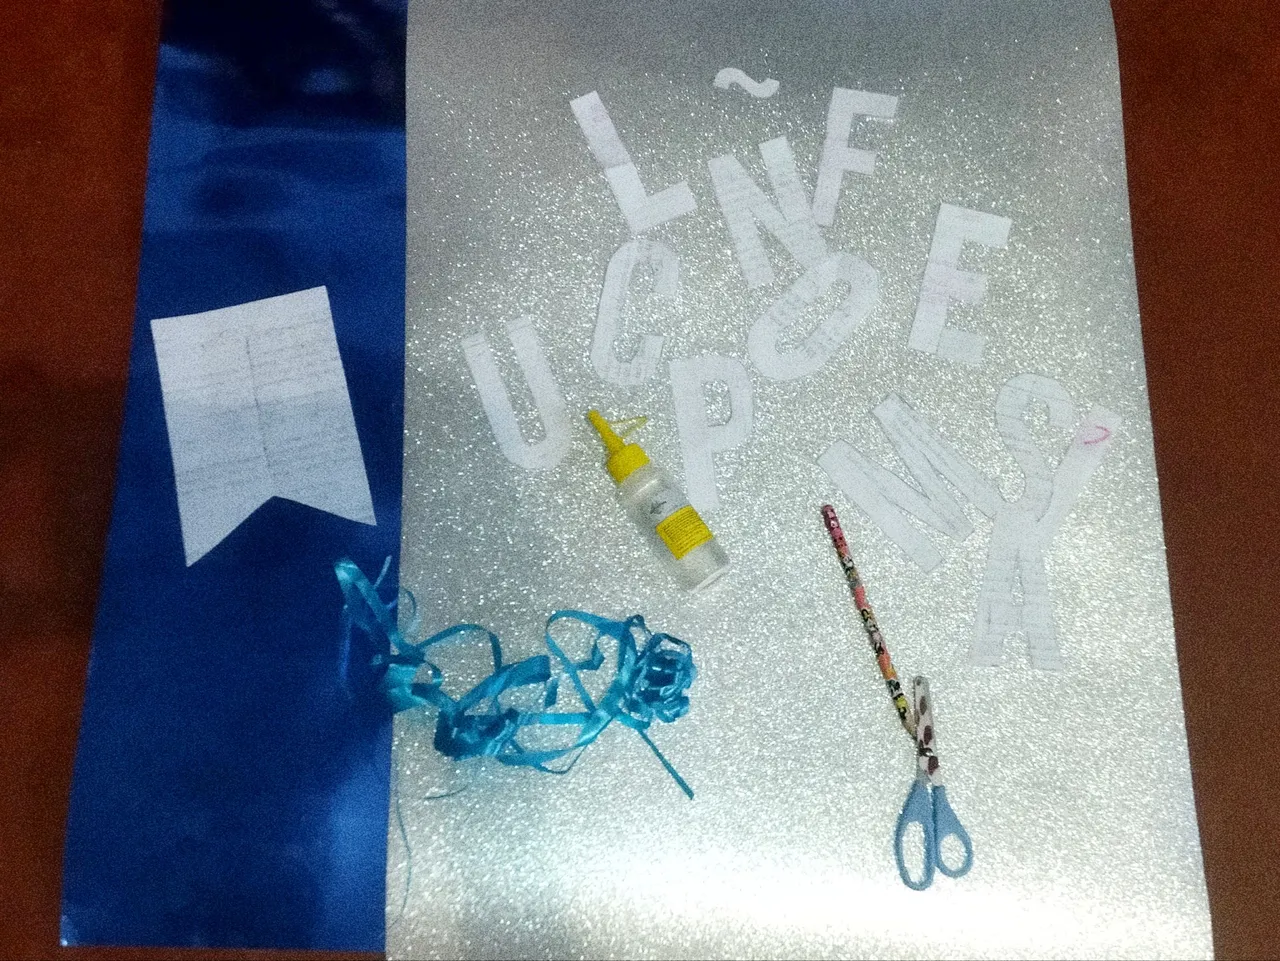
- Cartulina escarchada plateada
- Cartulina espejo azul
- Tijera
- Lápiz
- Molde de letras y banderín
- Cinta plástica
- Silicón al frio o caliente
- Saca huecos
Materials:
- Silver frosted cardboard
- Blue mirror cardboard
- Scissors
- Pencil
- Letter and pennant mold
- Plastic tape
- Hot or cold glue
- Hole punch
Paso 1 || Step 1
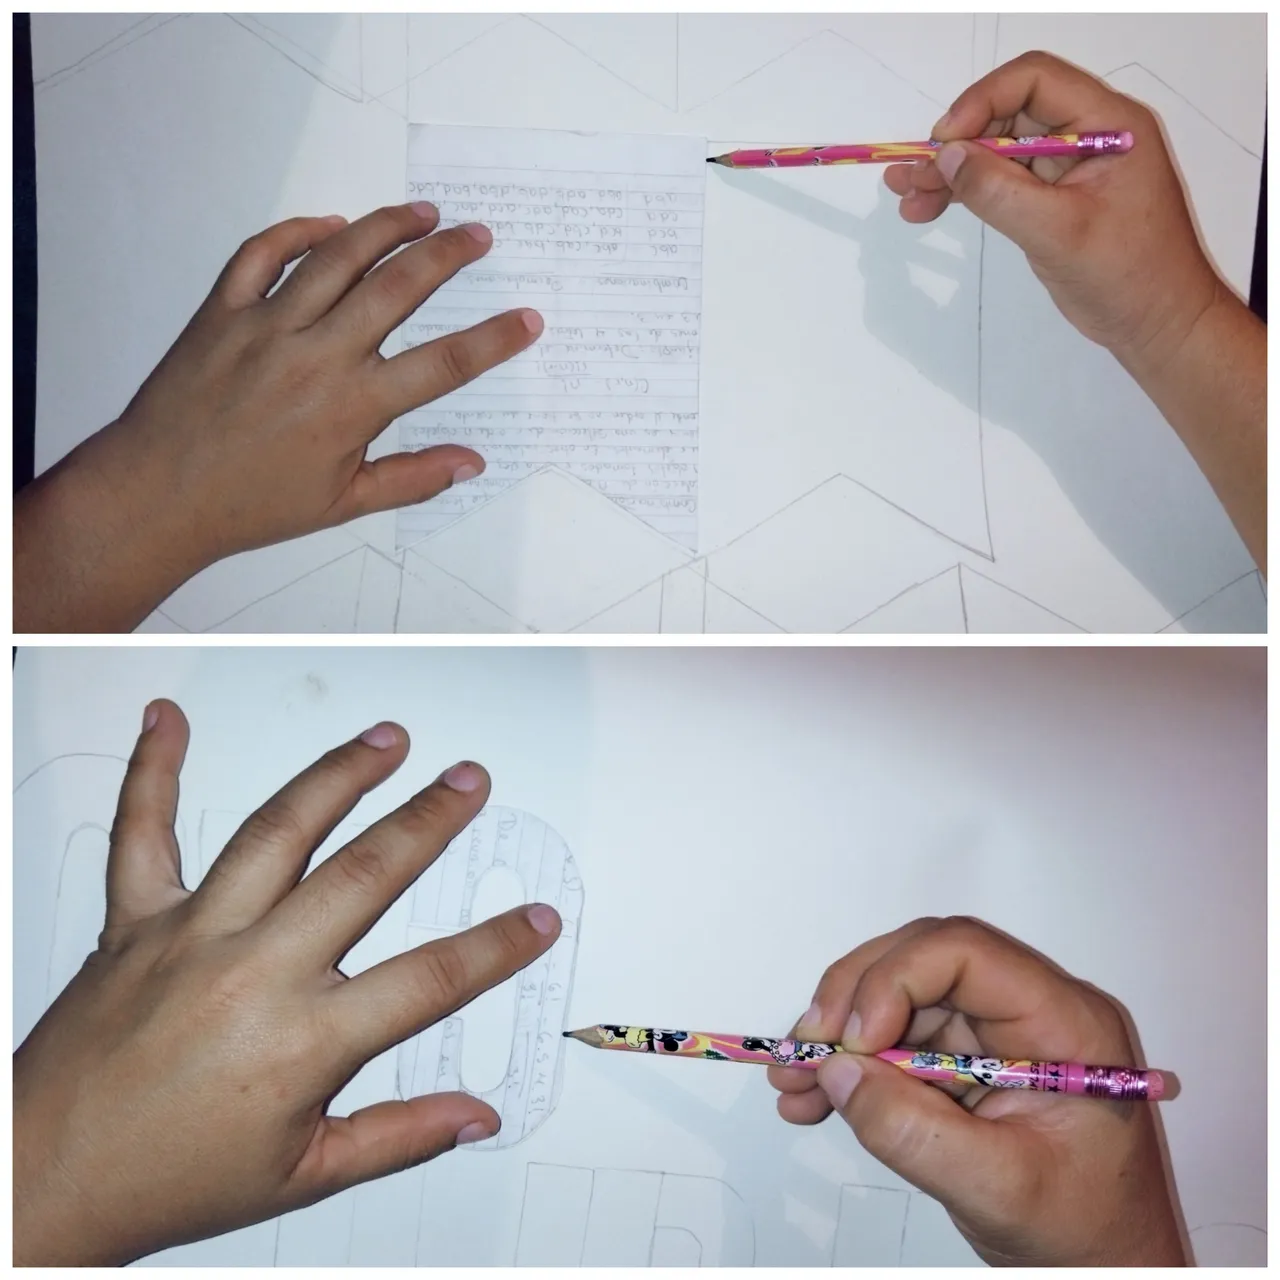
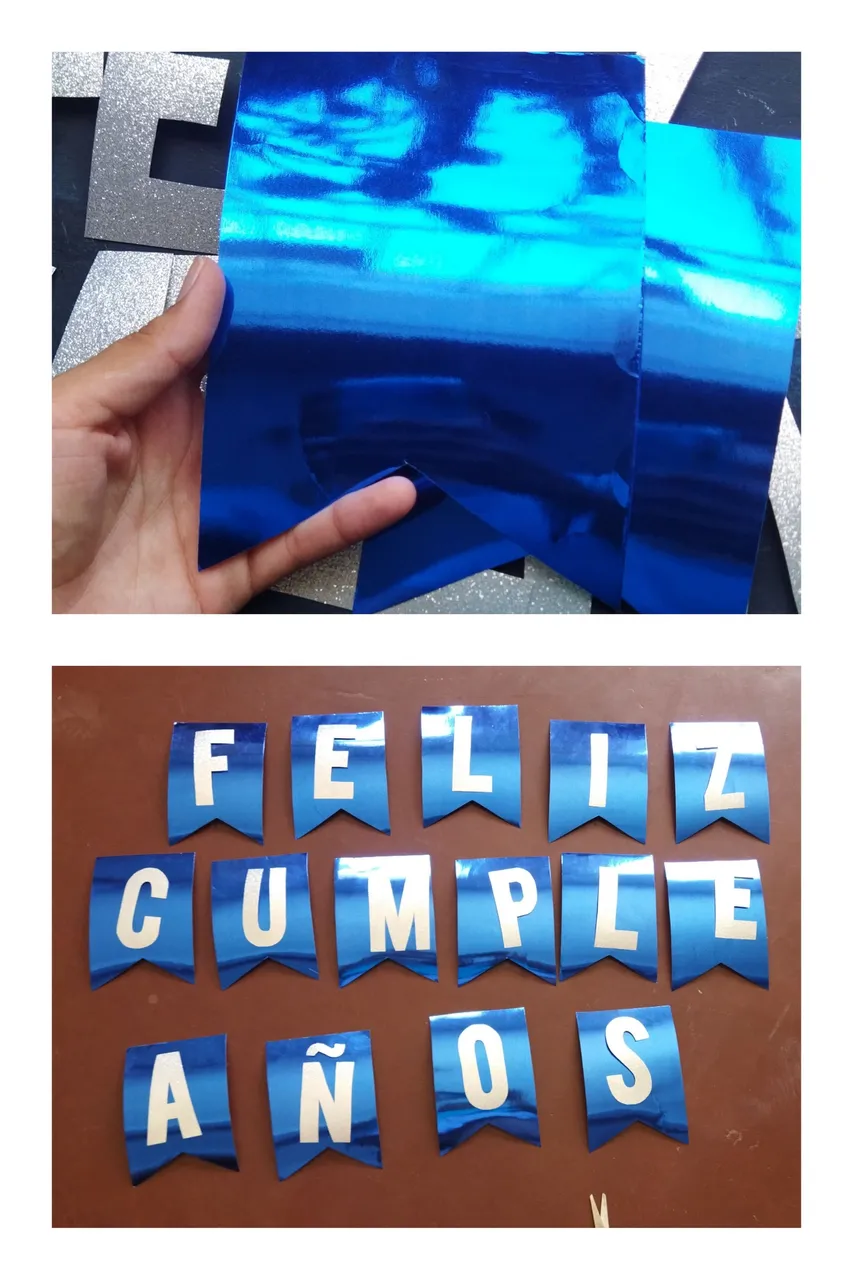
Teniendo todos los materiales a la mano comenzamos con marcar en la cartulina las letras y el molde del banderín en la parte trasera osea el lado blanco debemos de tener en cuenta la dirección de la letras para cuando cortemos no nos queden al revés.
Having all the materials at hand, we start by marking on the cardboard the letters and the mold of the pennant on the back side, that is, the white side, we must take into account the direction of the letters so that when we cut them, they are not upside down.
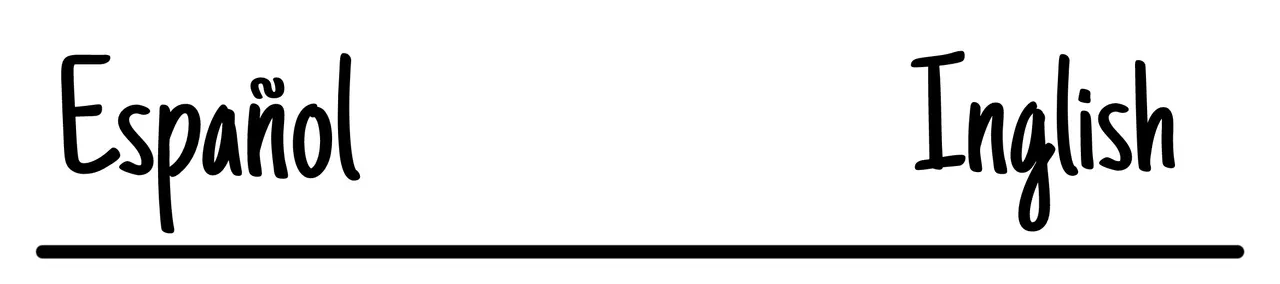
Paso 2 || Step 2
Cortamos las letras con mucho cuidado, para las partes internas de las letras me ayude con un bisturí para cortes más preciso.
We cut the letters very carefully, for the inner parts of the letters I used a scalpel for more precise cuts.
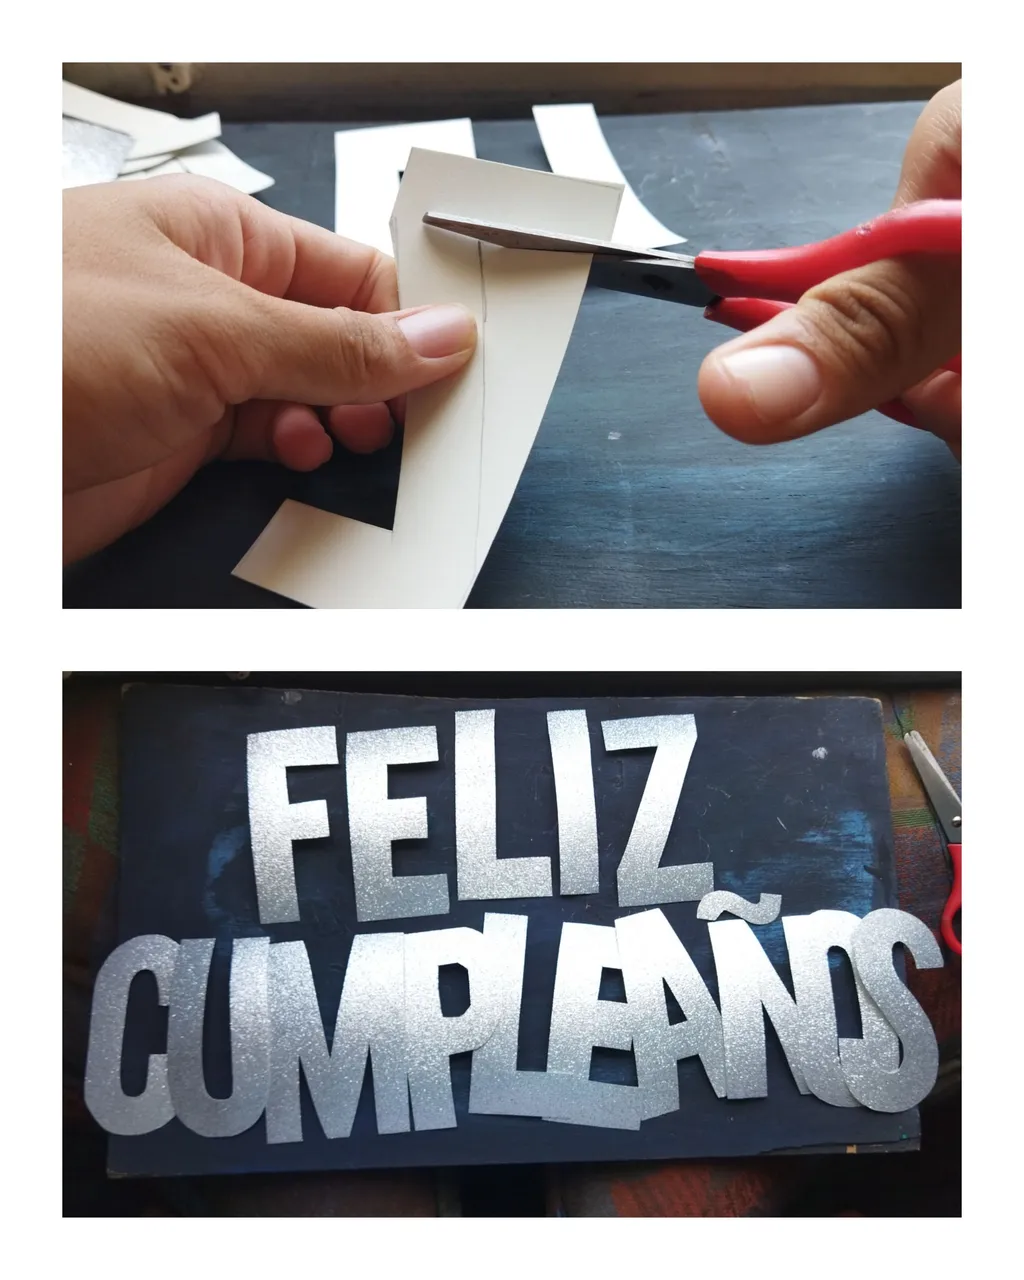
Paso 3 || Step 3
Cortamos los banderines en total son 15, uno para cada letras. Lo siguiente que hice fue armar para ver si todo estaba completo.
We cut the pennants in total there are 15, one for each letter. The next thing I did was to assemble to see if everything was complete.
Paso 3 || Step 3
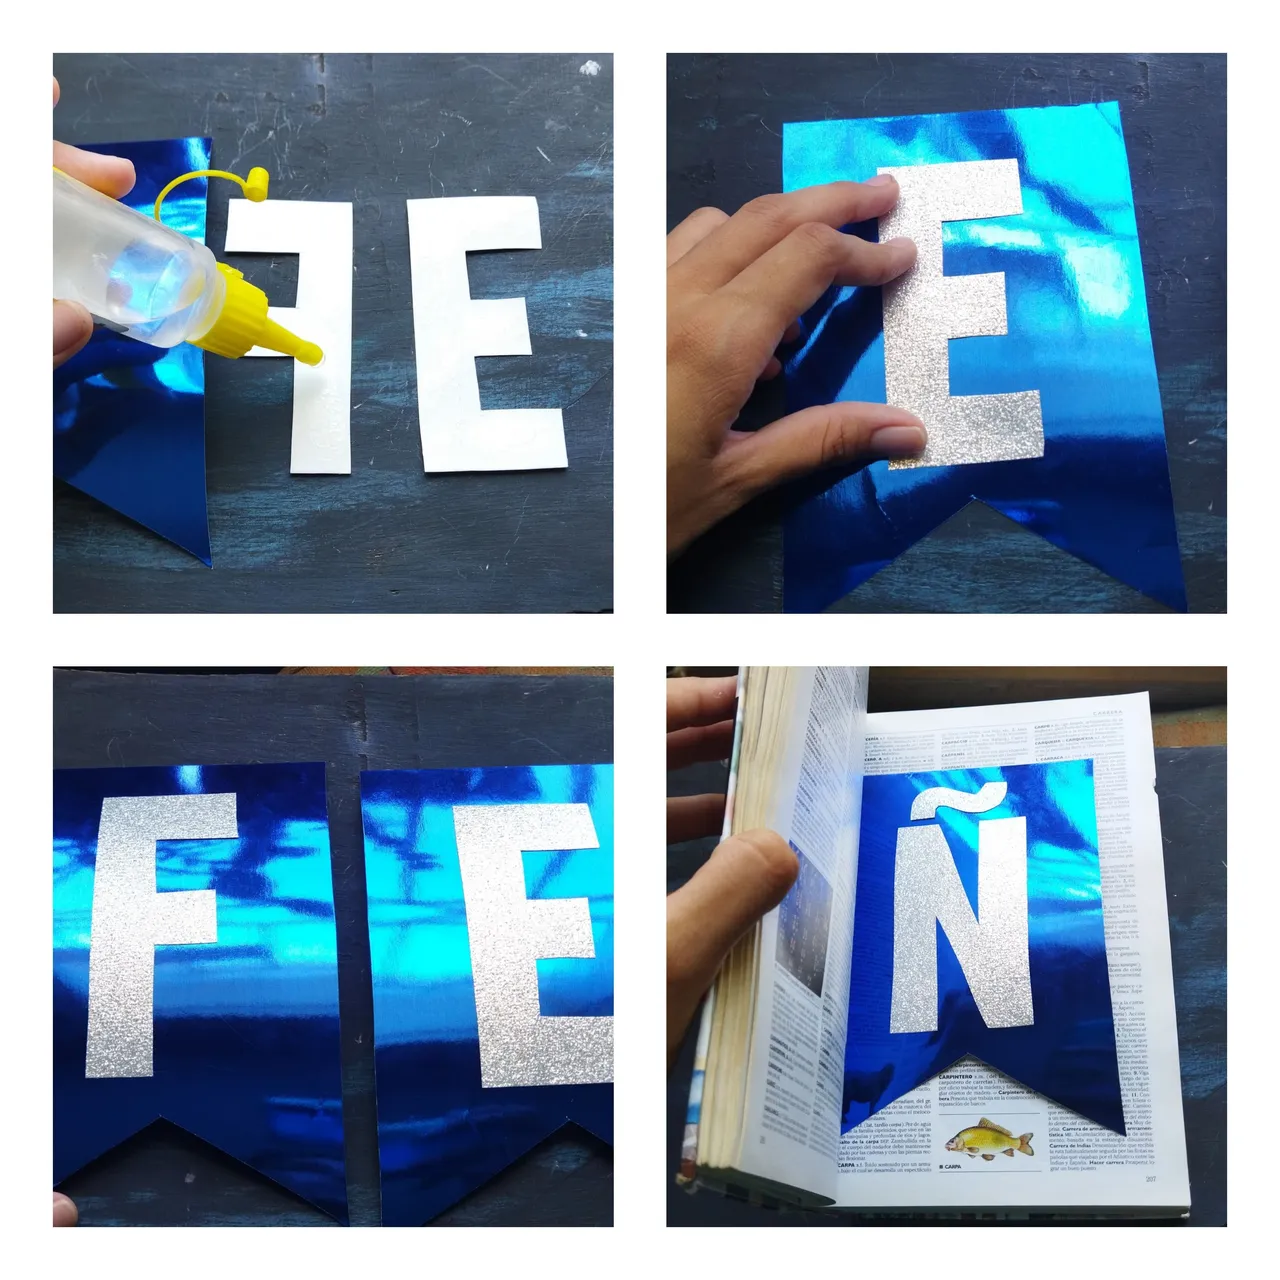
Pegamos con silicón al frío, aunque si tienes silicón caliente mejor pues me di cuenta que como la cartulina es muy lisa las letras se despegaban, pegamos las letras y las coloqué dentro de un libro para que se secaran y no se moviera.
We glued with cold silicone, although if you have hot silicone better because I realized that as the cardboard is very smooth the letters would peel off, we glued the letters and placed them inside a book to dry and not move.
Paso 4 || Step 4
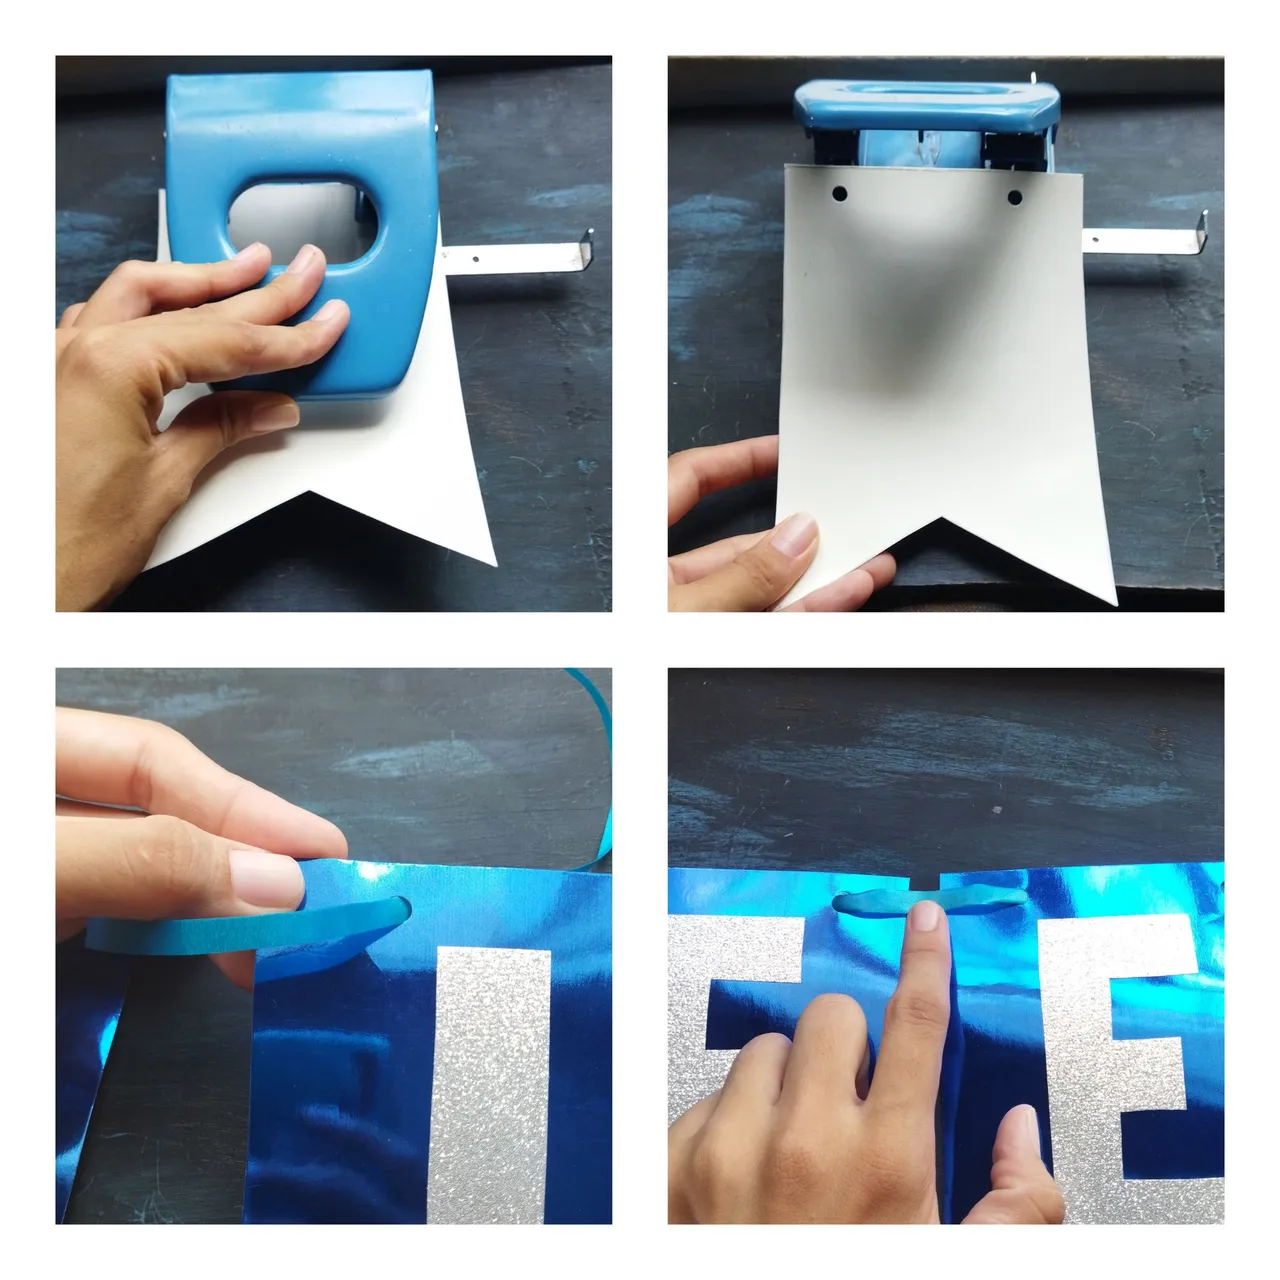
Ubicamos el saca huecos, yo tengo este que saca dos huecos de una vez, si no tienes uno así no pasa nada, vas a marcar dónde tienes que sacar en hueco y lo haces manual.
Pase la cinta plástica por los huecos y fui armando las palabras, hice cada palabra por separado.
I have this one that takes out two holes at a time, if you don't have one like this, it's okay, you will mark where you have to take out the hole and do it manually.
I put the plastic tape through the holes and I put the words together, I made each word separately.
Resultado final.
Final result.
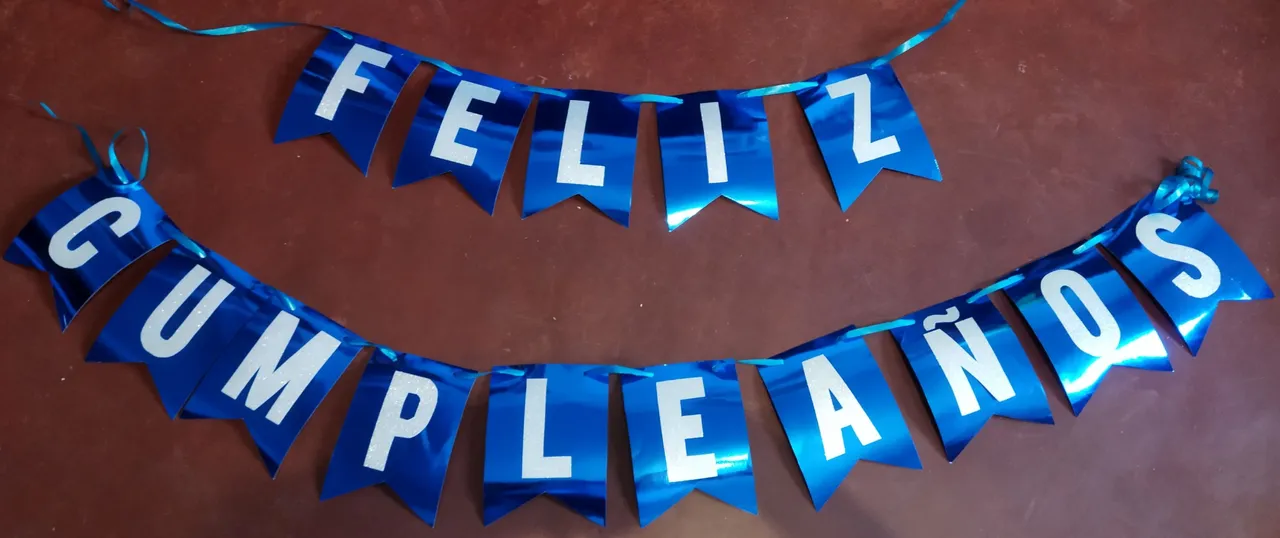
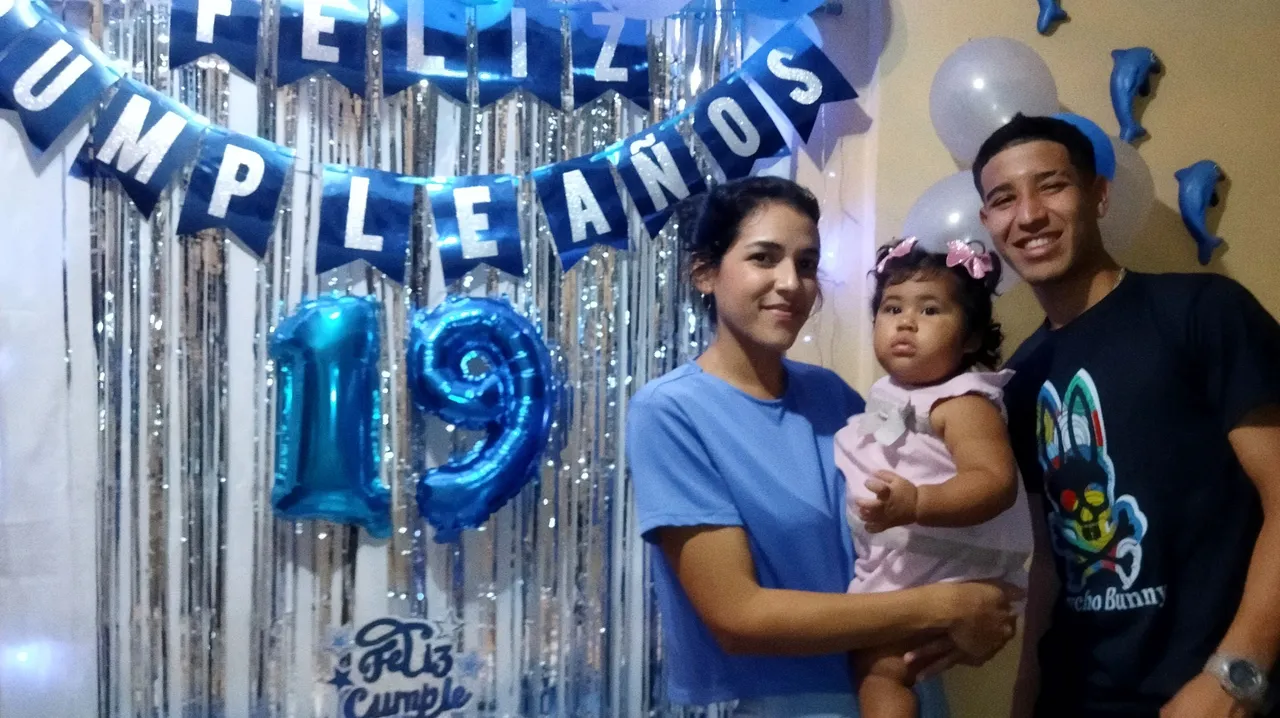
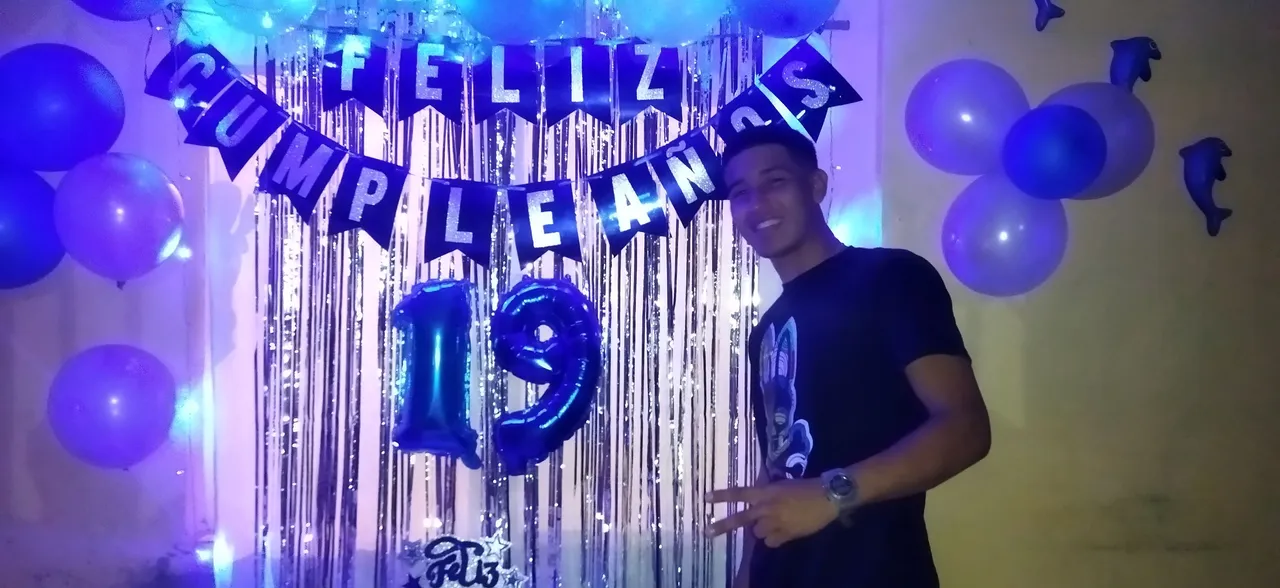
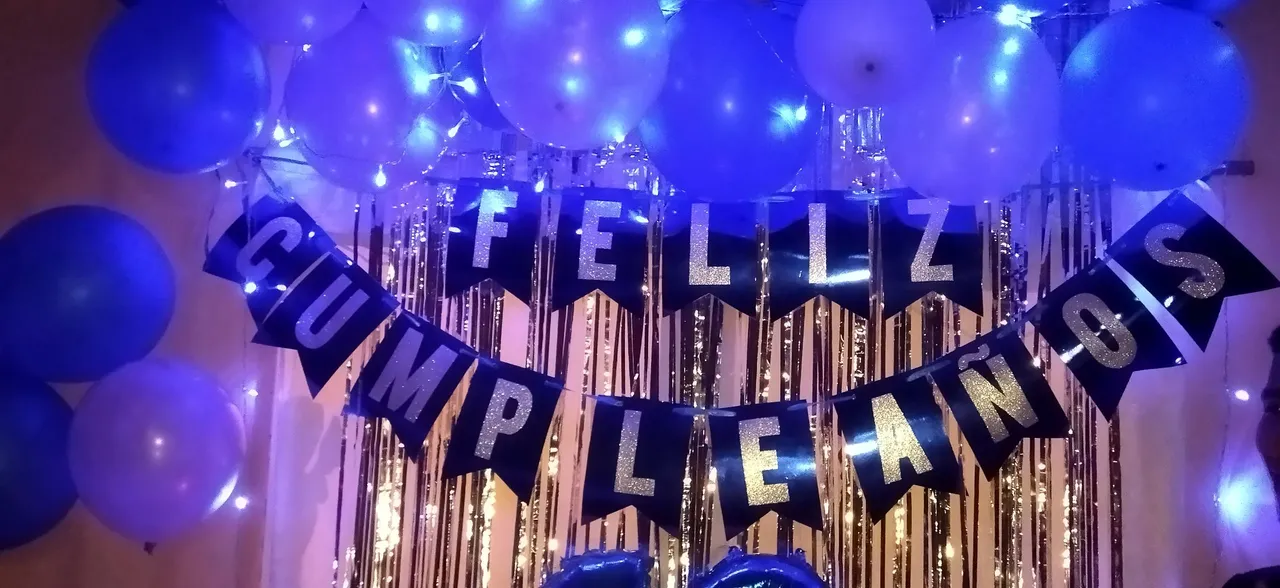
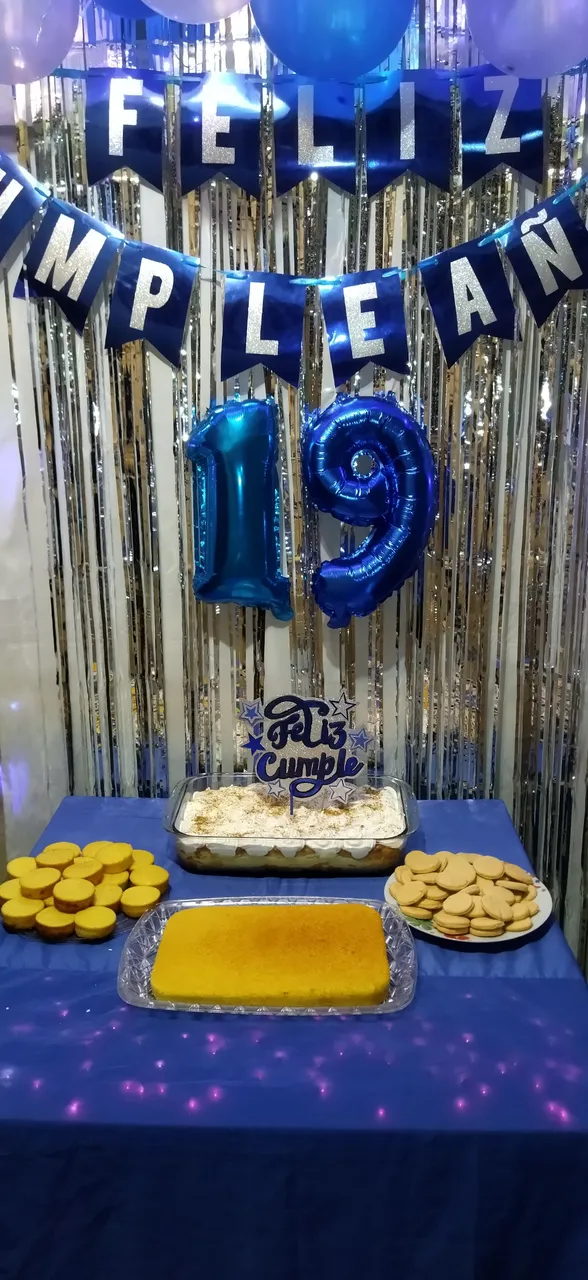
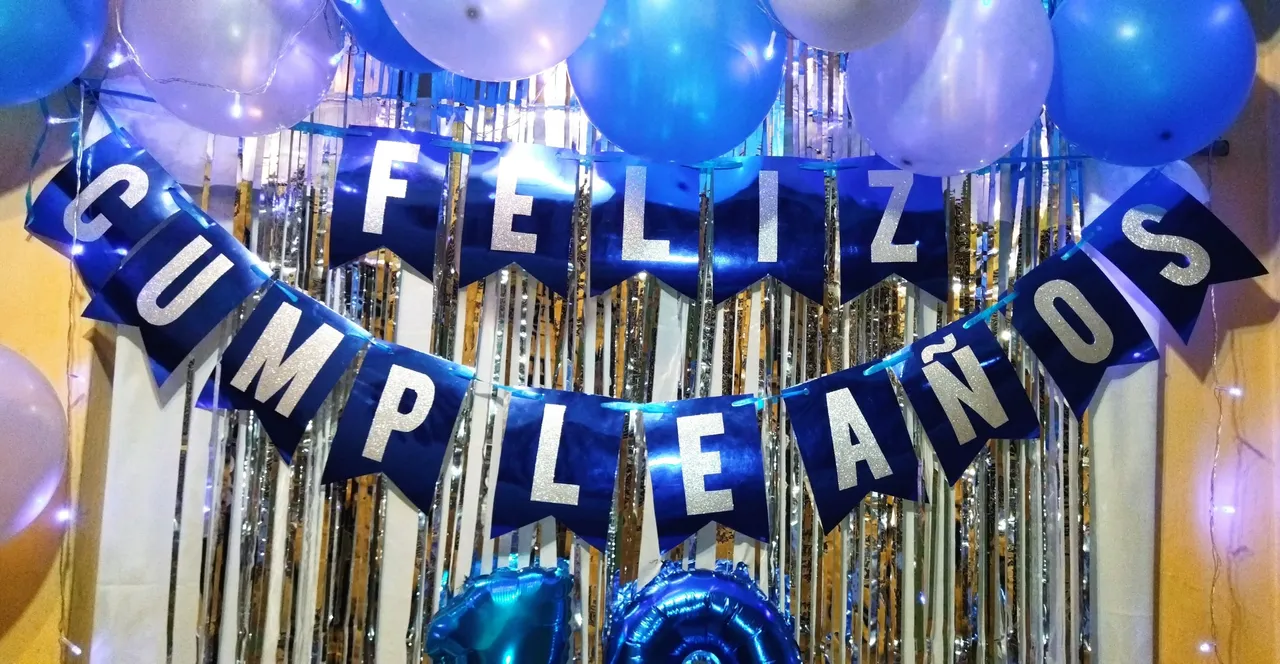
Este es el resultado final de mi banderín. Espero les haya gustado la elaboración de este banderín, mi primo quedo super contento con su banderín. Y a celebrar!!!
This is the final result of my pennant. I hope you liked the elaboration of this pennant, my cousin was very happy with his pennant. And let's celebrate!!!
All images are my property / Todas las imágenes son de mi propiedad
Camera: Xiaomi Redmi 9T.
Translation: Deepl.com