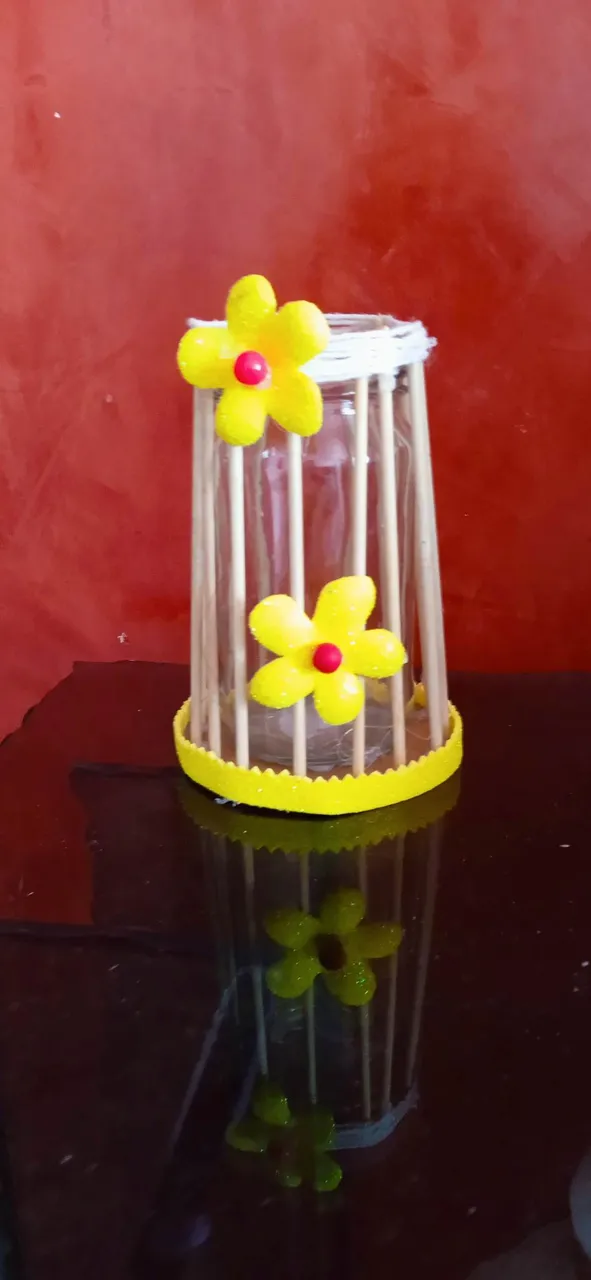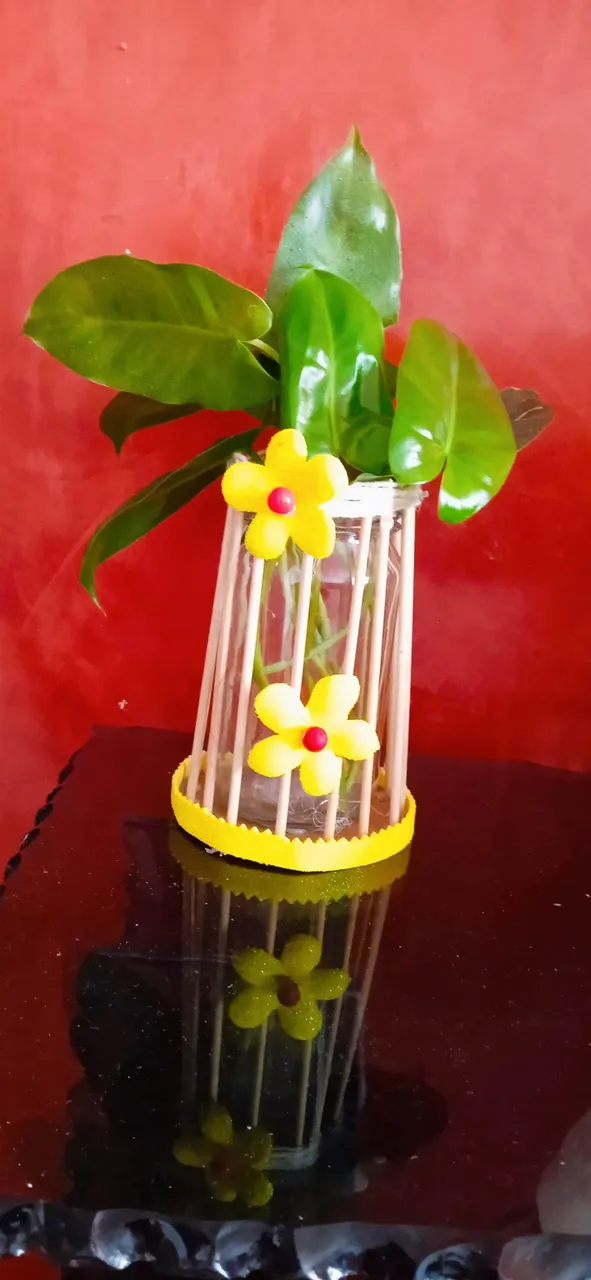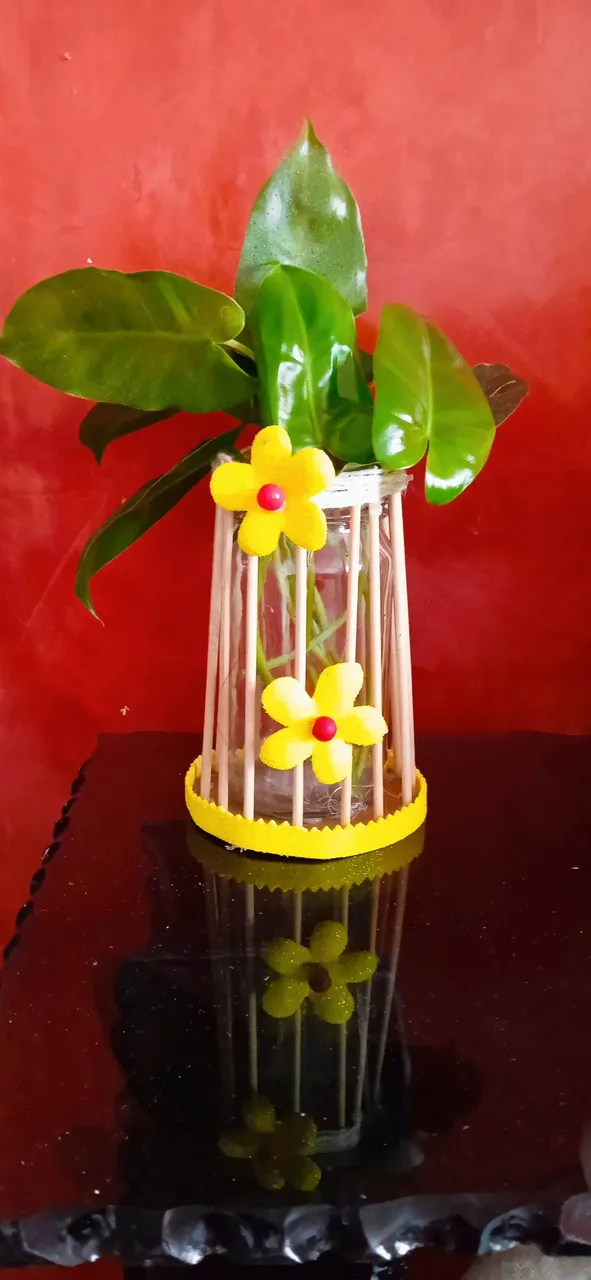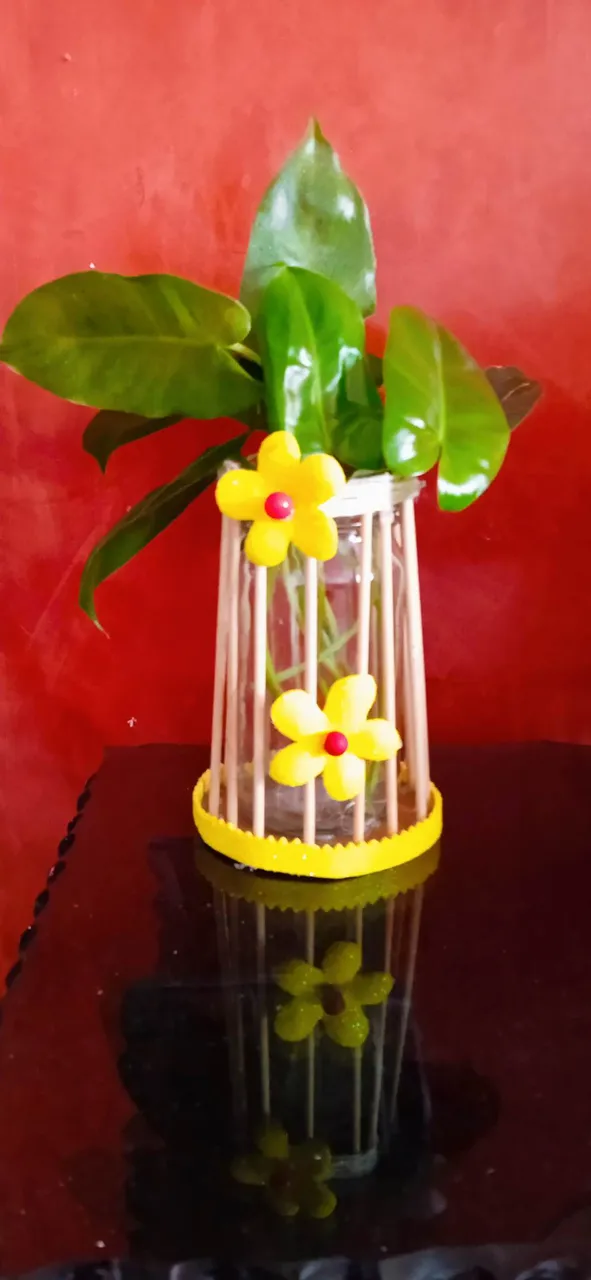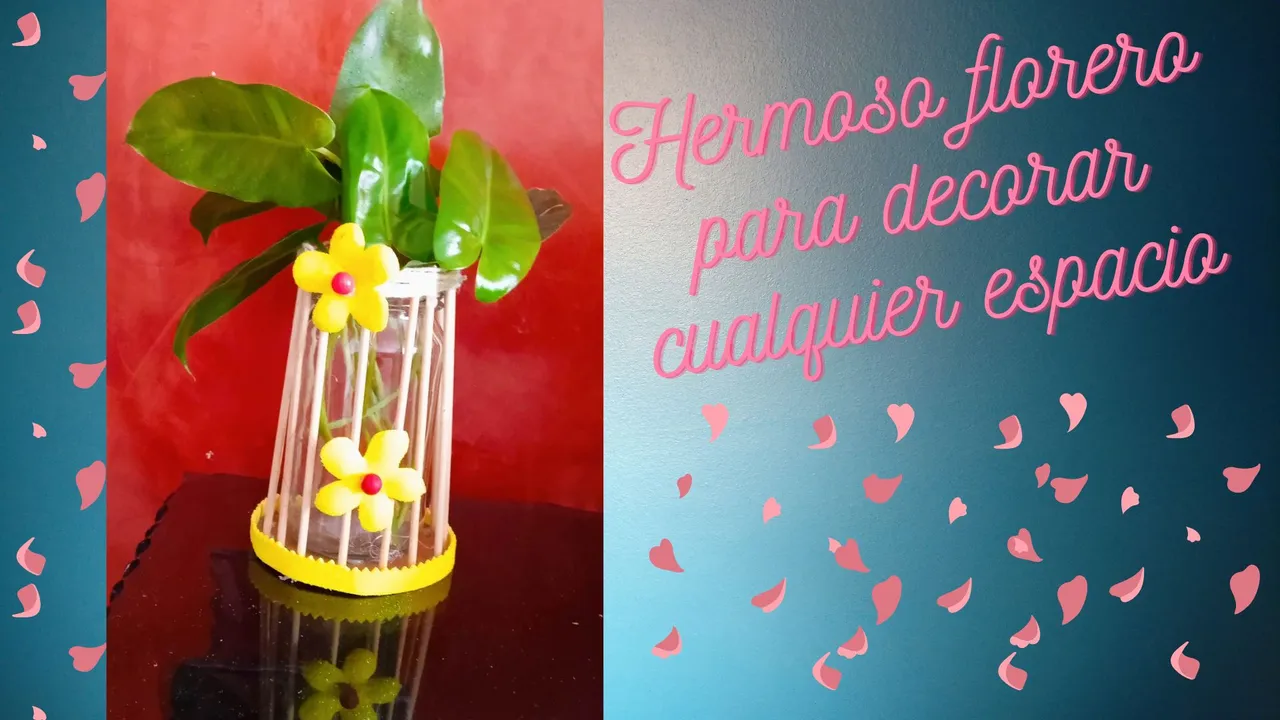
Blessings to all, I hope you are well and are full of health and energy, I want to share with you this nice vase that I made with useful materials, it looks great in any corner of our house, I placed it in my combing machine and the truth looks great, let's see the steps to follow.

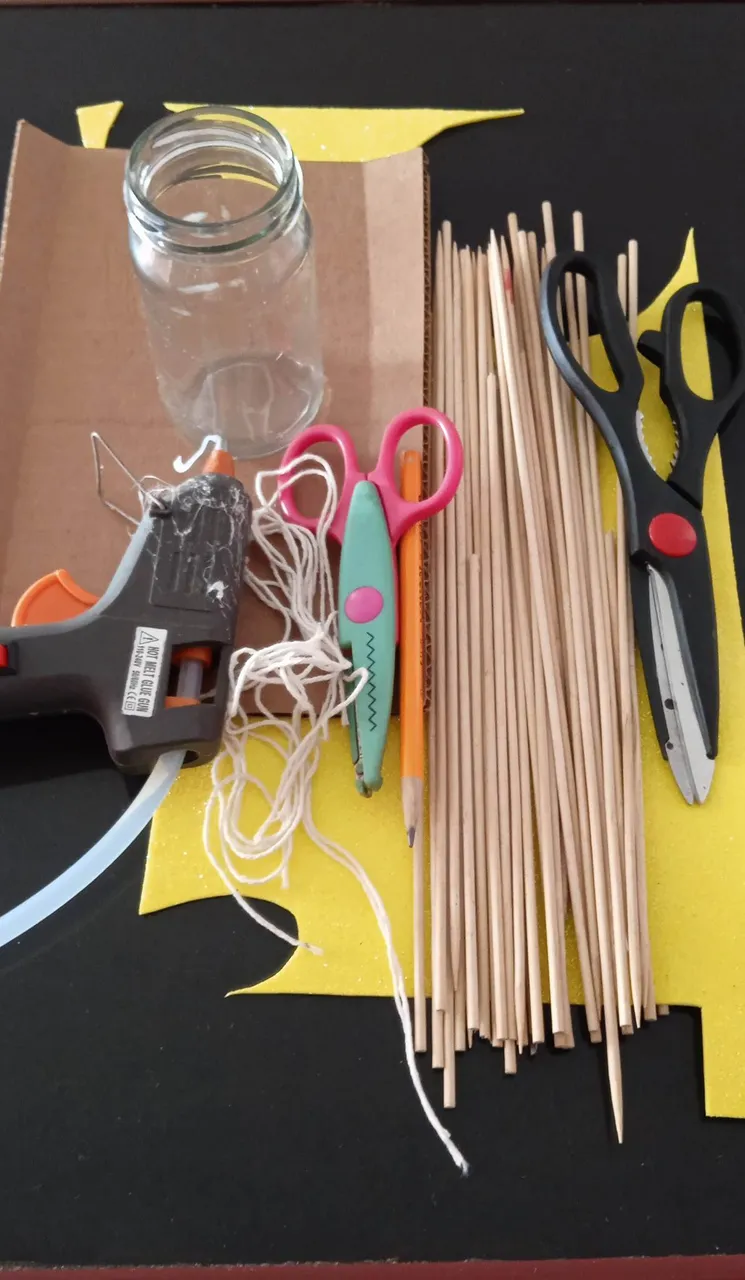
- Los materiales a utilizar son:
- Silicón en barra.
- Cartón.
- Hilo pabilo.
- Tijera.
- Tijera de diseño.
- Lápiz.
- Frasco pequeño, ya sea de mayonesa, mostaza o cualquier otro.
- Foami amarillo.
- Palitos de altura.
- The materials to be used are:
- Silicone stick.
- Cardboard.
- Thread wick.
- Scissors.
- Design scissors.
- Pencil.
- Small jar, either mayonnaise, mustard or any other.
- Yellow Foami.
- Sticks of height.

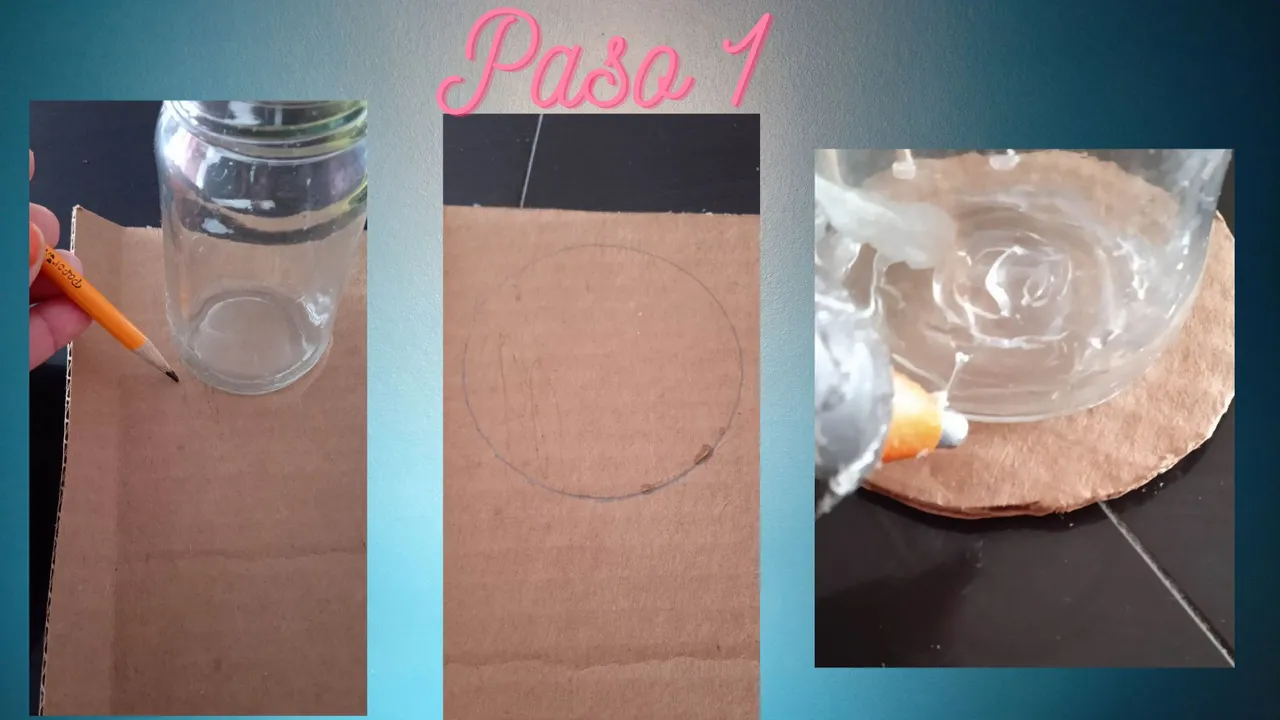
- Paso 1: Para comenzar a realizar este hermoso florero lo primero que debemos hacer es colocar el frasco sobre el cartón, luego marcamos dejando un espacio de 1 cm alrededor, recortamos y procedemos a pegar el frasco al cartón.
- Step 1: To start making this beautiful vase, the first thing to do is to place the bottle on the cardboard, then we mark leaving a space of 1 cm around it, cut it out and proceed to glue the bottle to the cardboard.

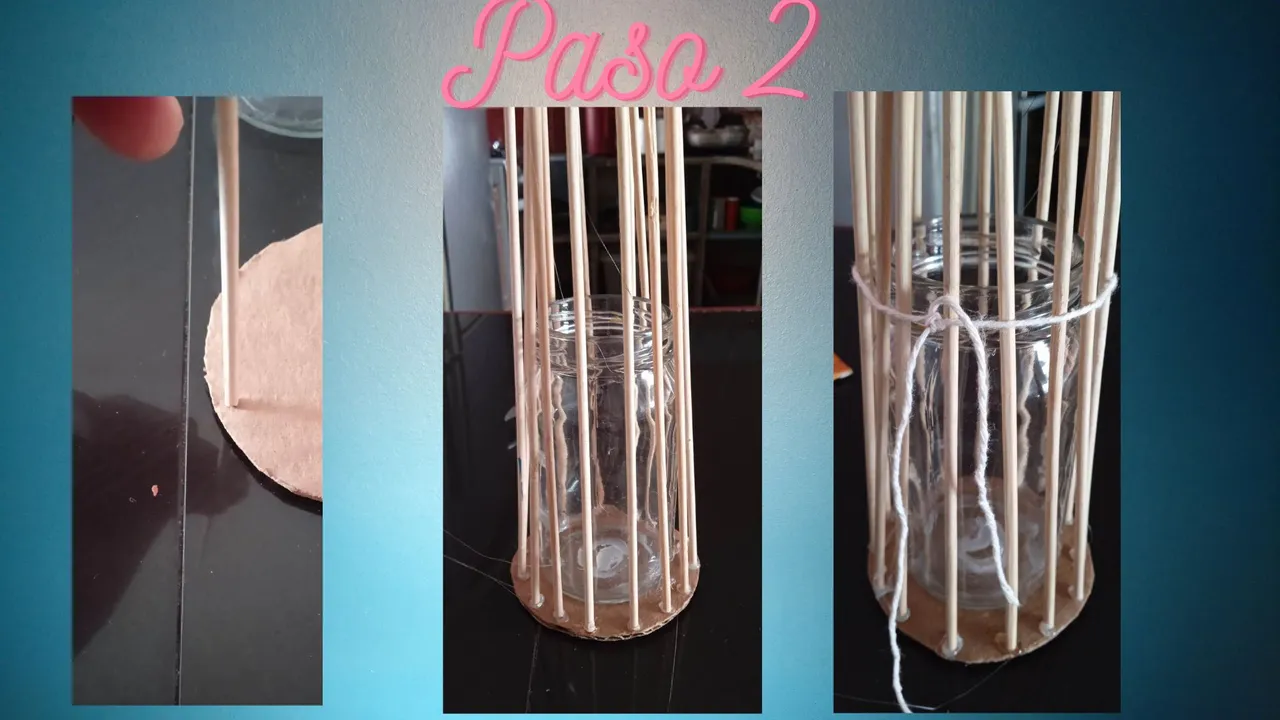
- Paso 2: Luego pegamos los palitos de altura por todo alrededor del cartón, seguidamente en la parte superior del mismo colocamos el hilo pabilo haciendo un pequeño nudo para sujetar todos los palitos de tal manera que queden fijos y no se puedan mover.
- Step 2: Then we glue the sticks of height all around the cardboard, then at the top of it we place the wick thread making a small knot to hold all the sticks in such a way that they are fixed and can not move.

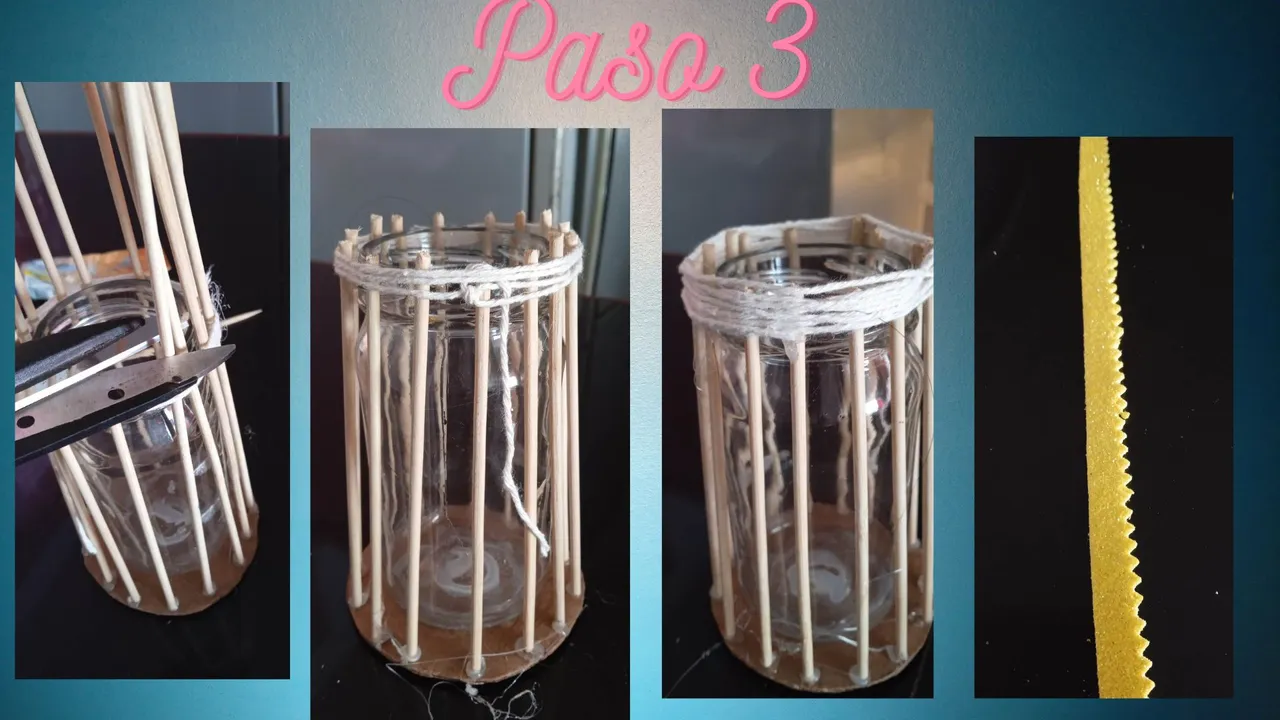
- Paso 3: Cortamos los palitos sobrantes con la tijera, deben quedar a la misma altura que el frasco que estamos utilizando seguimos amarrando el hilo pabilo en la parte superior esto para dar un toque especial al florero, recortamos una pequeña tira de foami con la tijera de diseño.
- Step 3: Cut the leftover sticks with the scissors, they should be at the same height as the bottle we are using, continue tying the wick thread at the top to give a special touch to the vase, cut a small strip of foami with the design scissors.

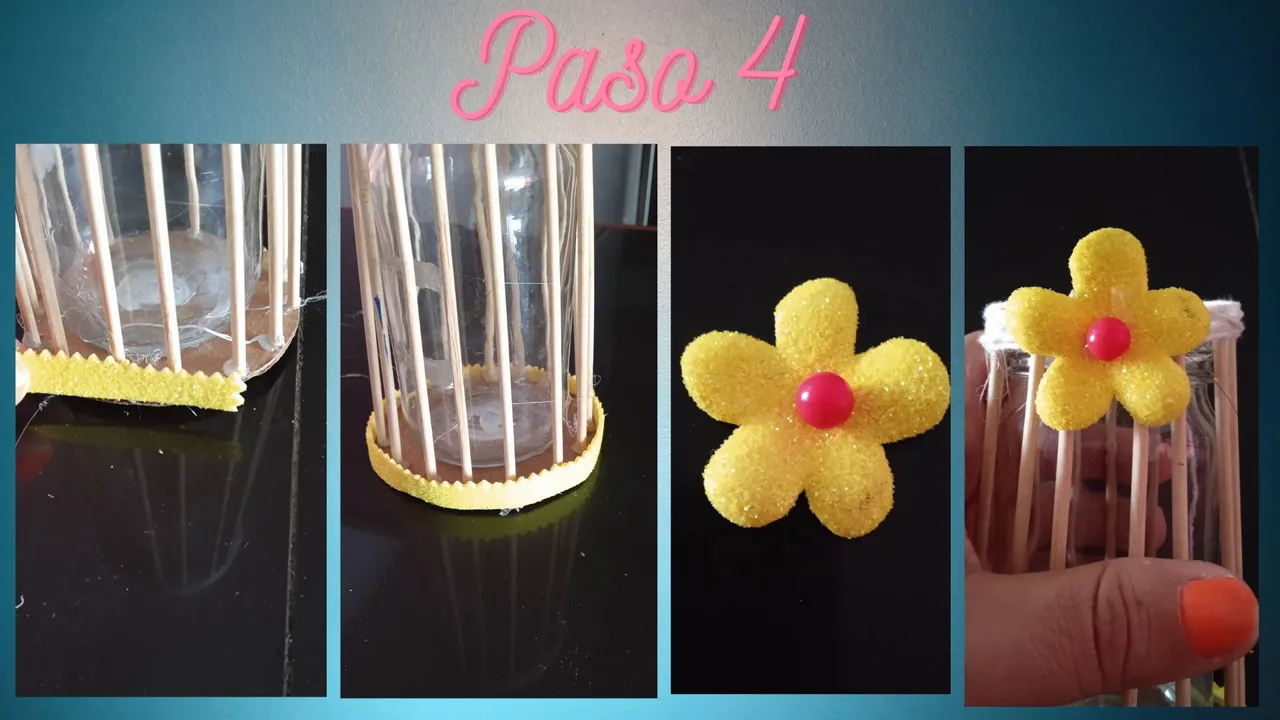
- Paso 4: Pegamos la tira de foami en la parte de abajo del frasco, por todo alrededor, luego hacemos 2 flores de foami de cualquier color, en mí caso las hice de color amarillo, pegamos una en la parte de arriba en todo el centro del frasco y la otra la pegamos un poco más abajo y más hacía la derecha.
- Step 4: Glue the foami strip on the bottom of the jar, all around, then we make 2 foami flowers of any color, in my case I made them in yellow, we glue one on the top in the center of the jar and the other one we glue a little lower and more to the right.

