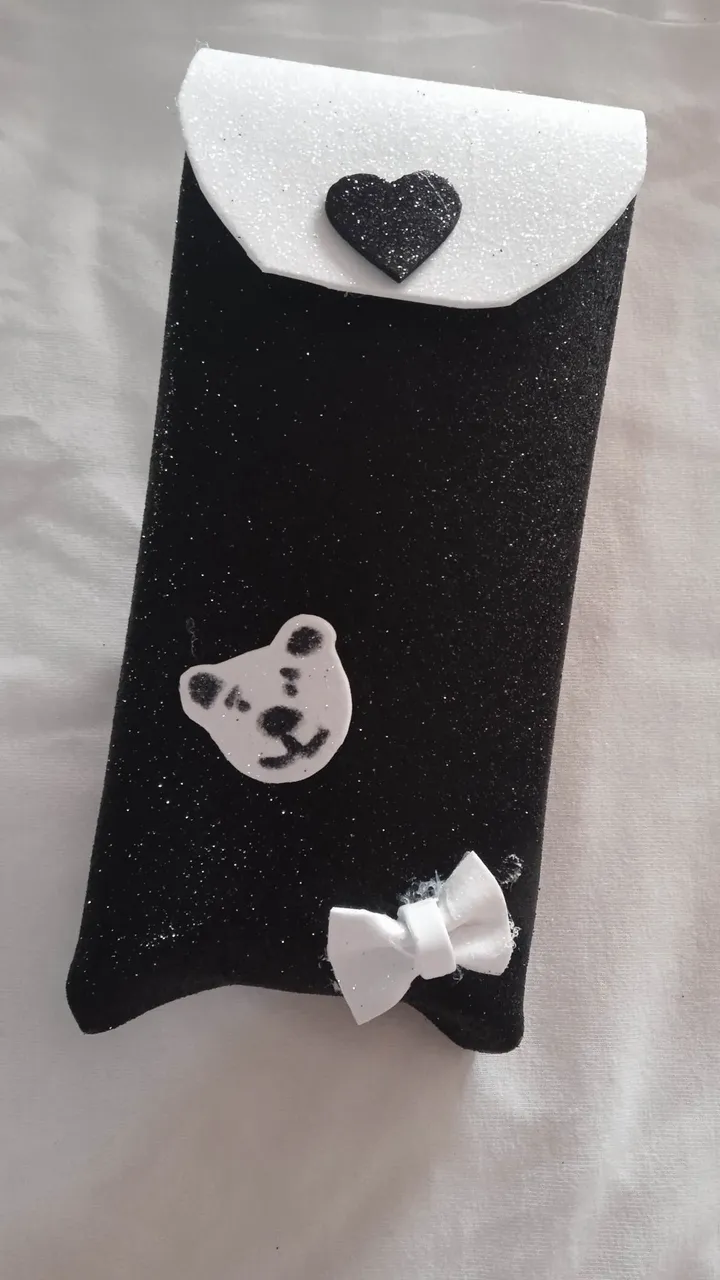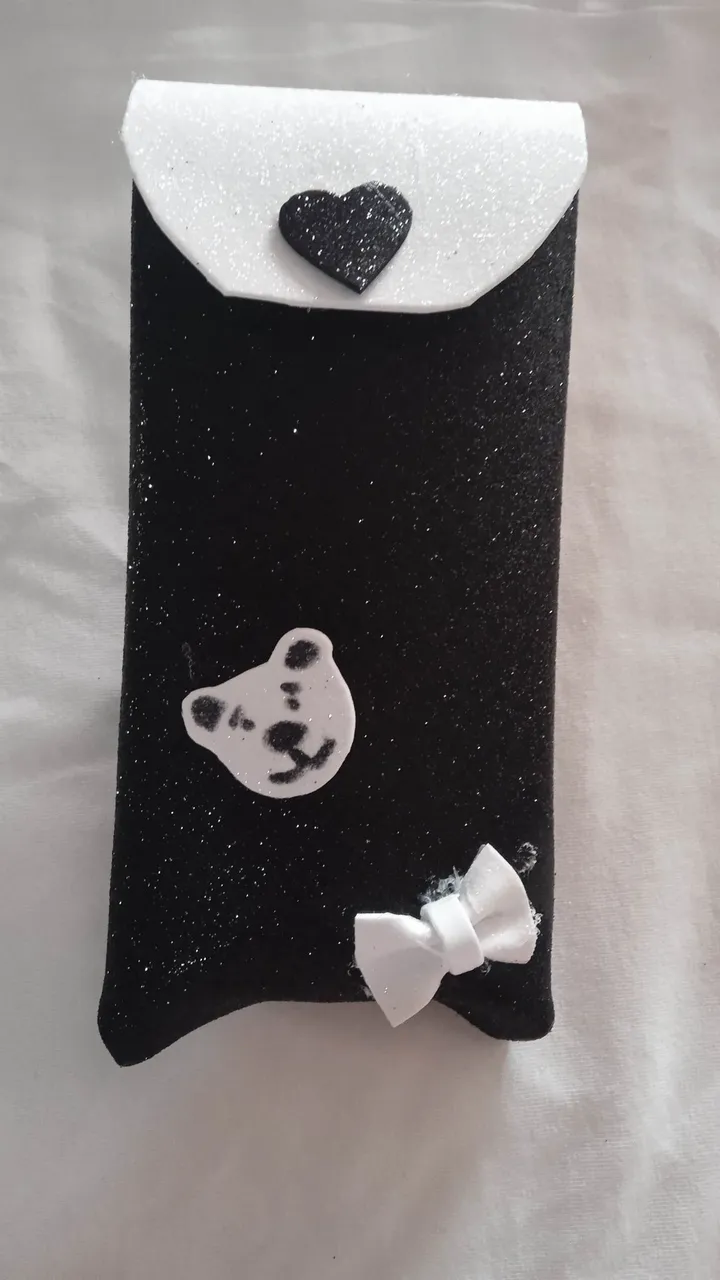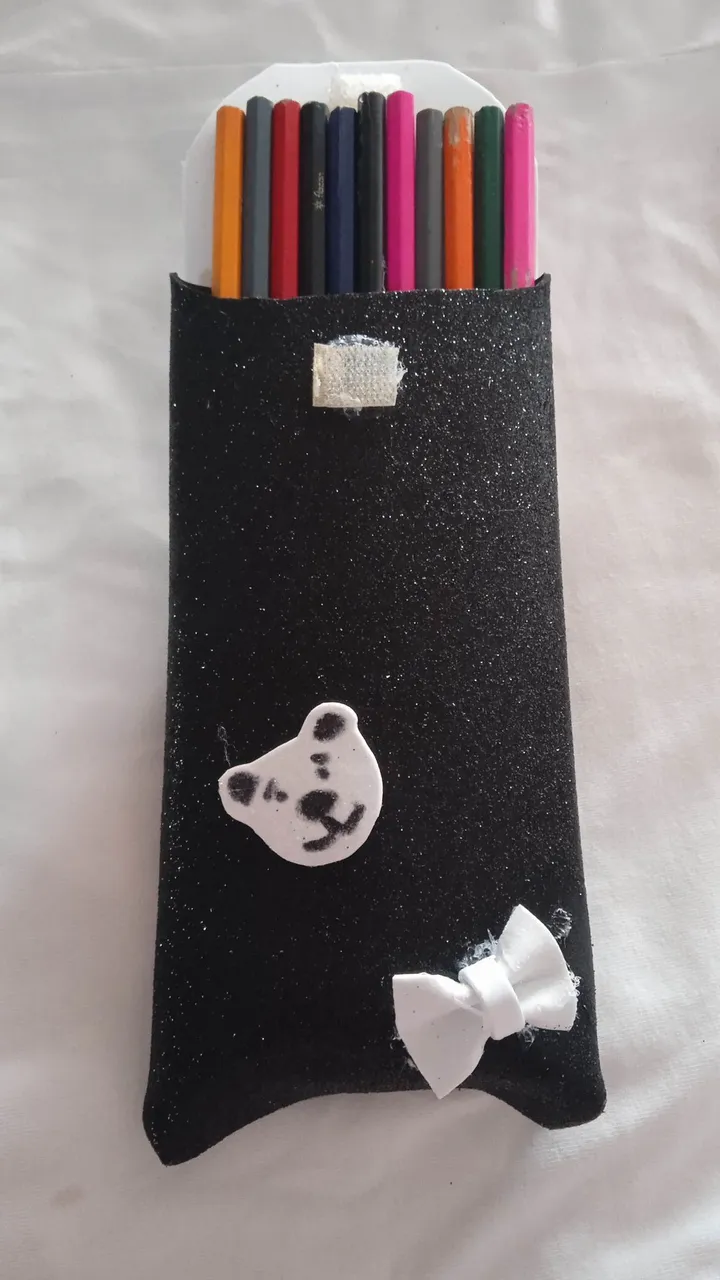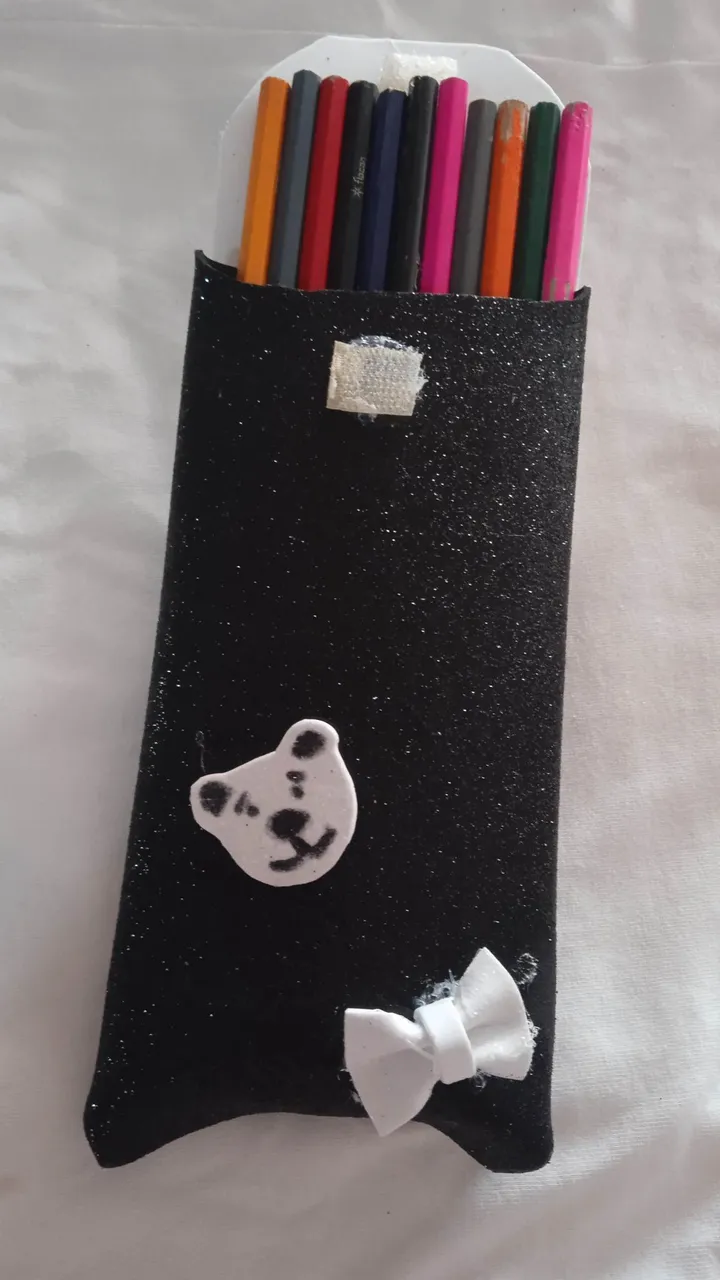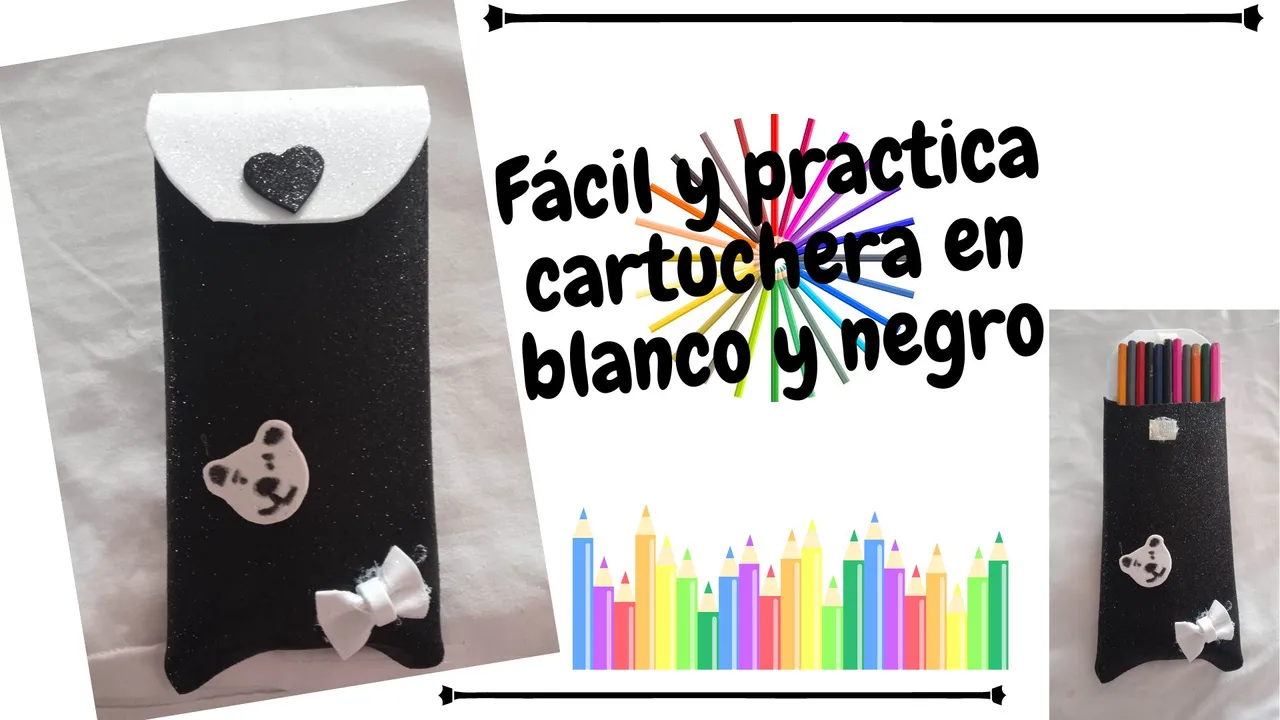
Happy start of the week for everyone, it is a pleasure for me to greet you and to share again with this great family of Hive, this time I share with you an easy and practical black and white pencil case especially to keep the pencils and colors of the little ones of the house, let's see the steps to follow.

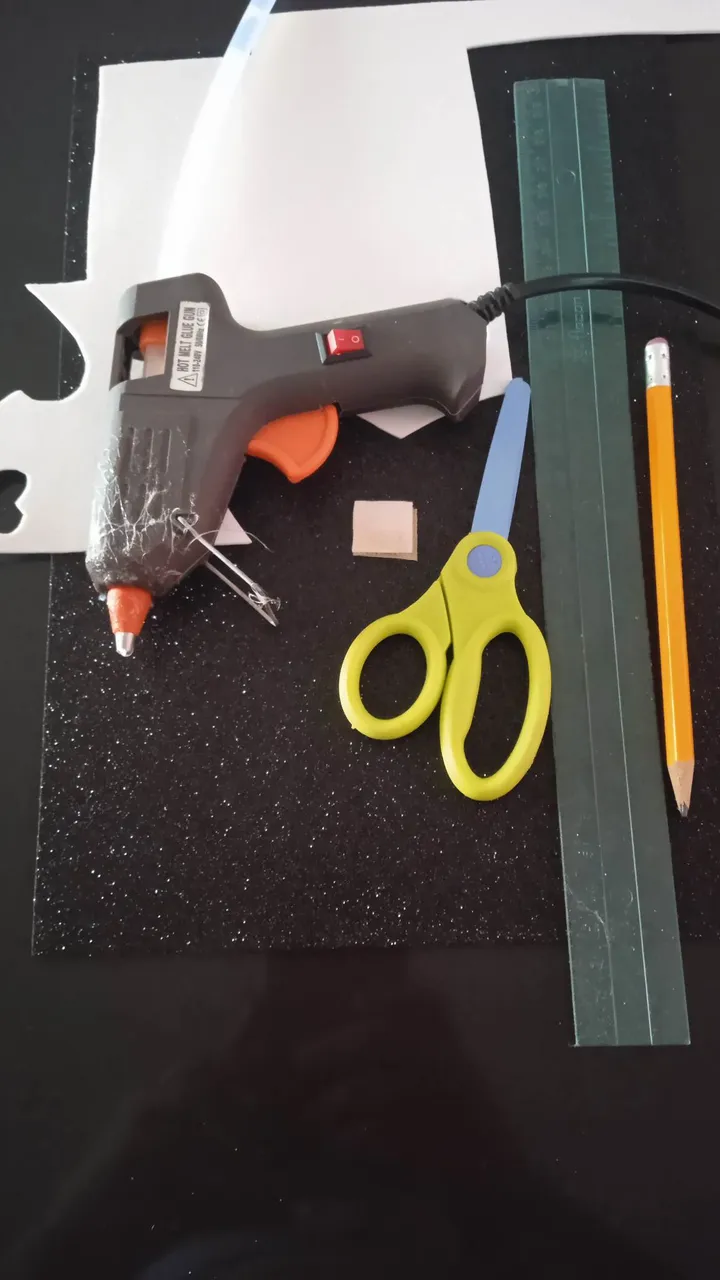
- Los materiales a utilizar son:
- Foami escarchado blanco y negro.
- Tijera.
- Cierre mágico.
- Lápiz.
- Regla.
- Silicón en barra.
- The materials to be used are:
- Black and white frosted Foami.
- Scissors.
- Magic clasp.
- Pencil.
- Ruler.
- Silicone stick.

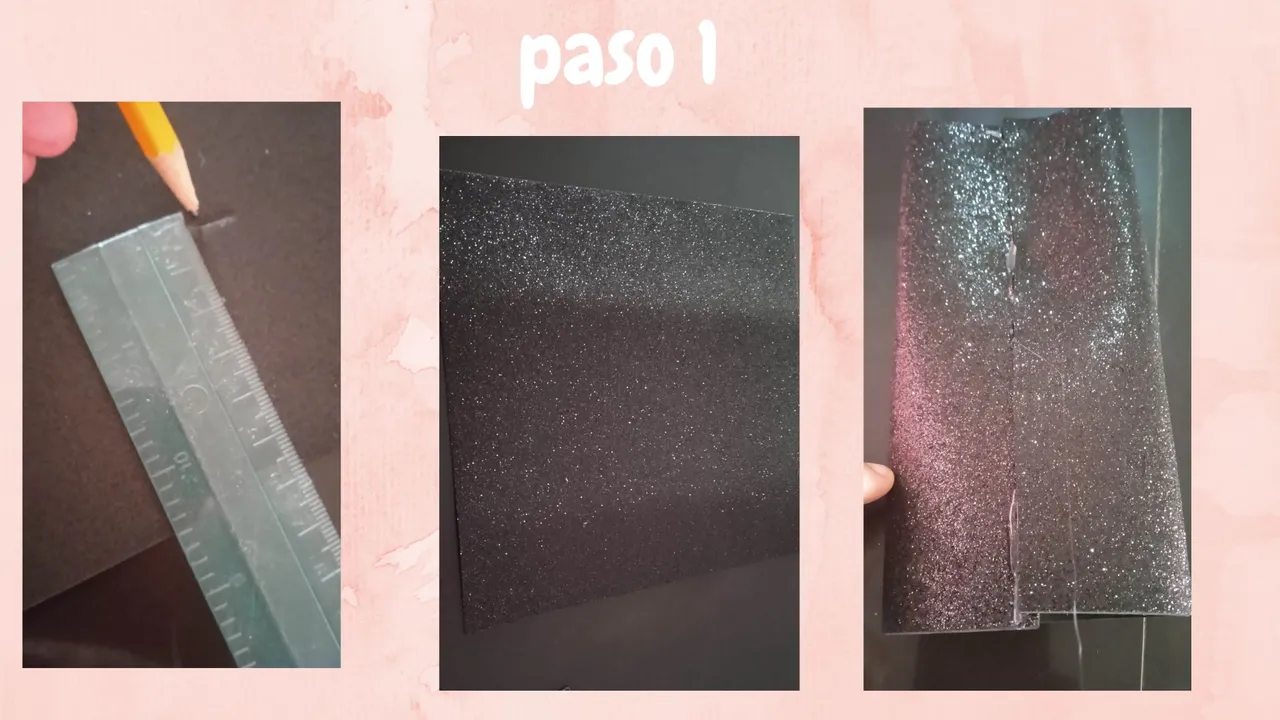
- Paso 1: Marcamos en el extremo de la hoja de foami 10 cm hacía adentro y recortamos, luego agarramos ambos extremos y los pegamos por toda la orilla.
- Step 1: Mark the end of the foami sheet 10 cm inwards and cut it out, then grab both ends and glue them all around the edge.

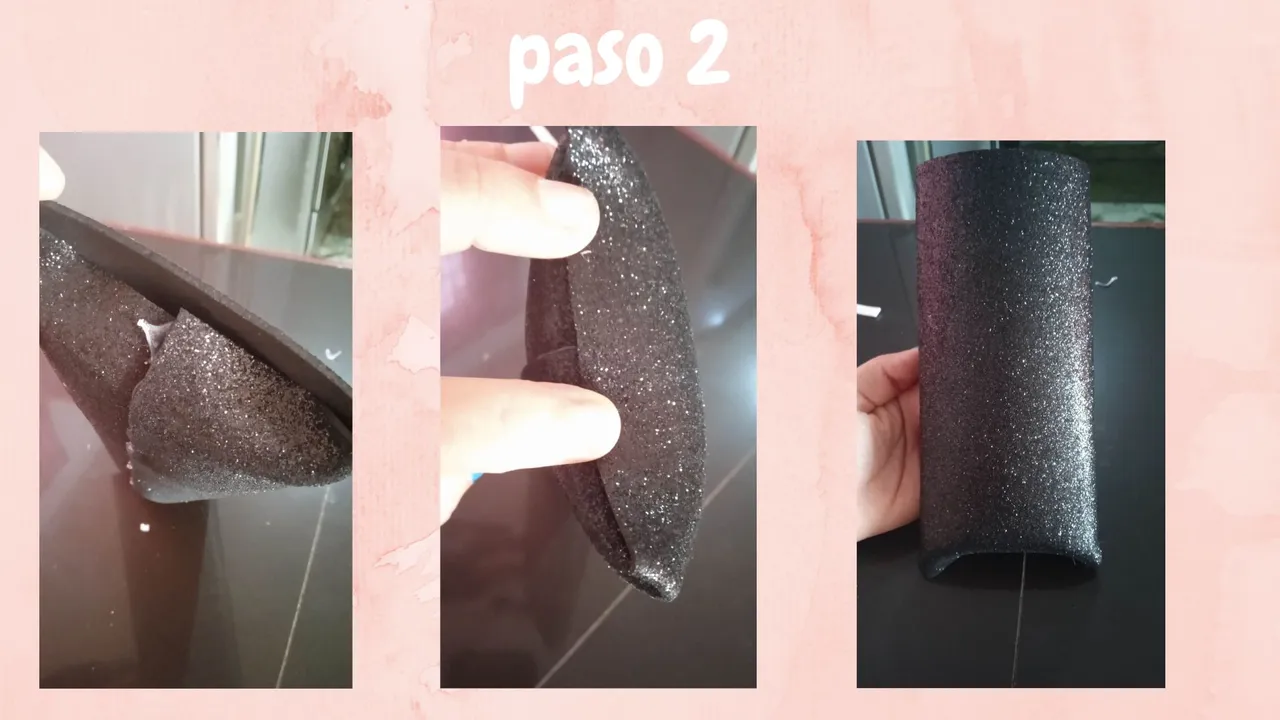
- Paso 2: Luego agarramos una de las partes, bien sea la de arriba o la de abajo , doblamos hacía adentro y pegamos el otro extremo, deberá quedar como muestra la tercera imágen.
- Step 2: Then we take one of the parts, either the top or the bottom, fold inwards and glue the other end, it should look like the third image.

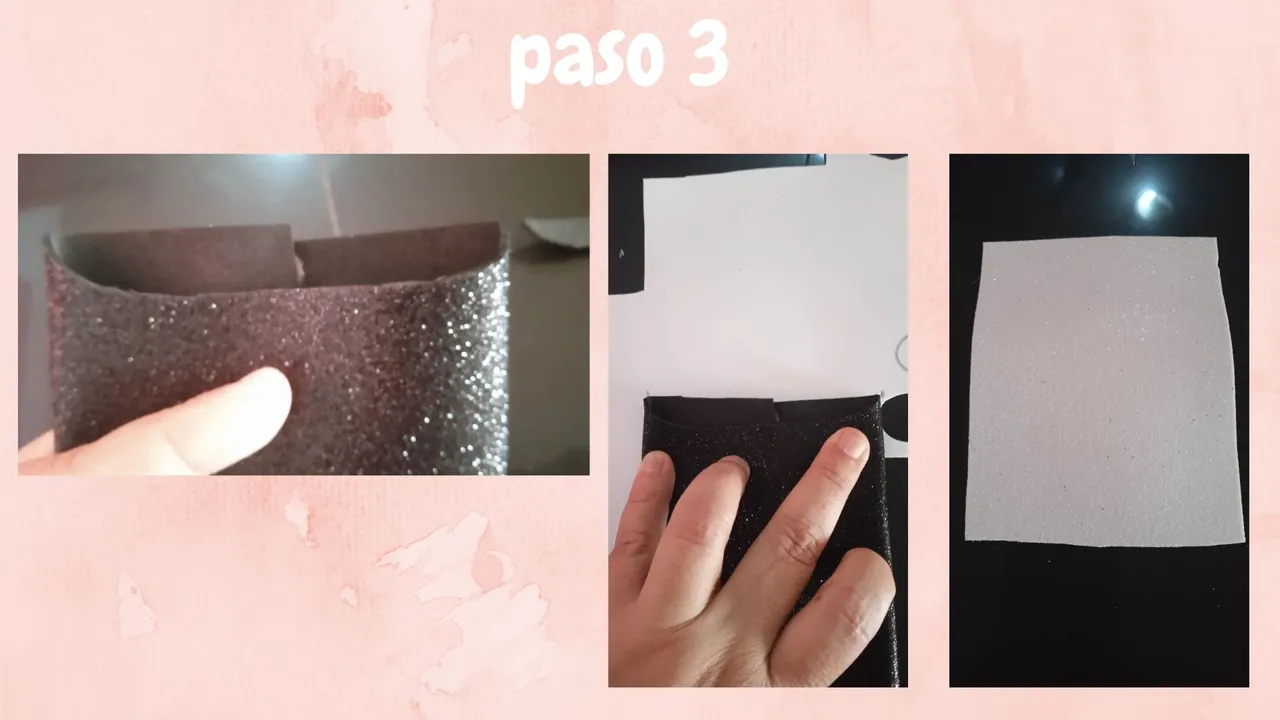
- Paso 3: En la parte delantera de la cartuchera recortamos en forma circular, luego la colocamos sobre el foami blanco y marcamos su anchura y de largo marcamos 15 cms sacando un pequeño cuadro.
- Step 3: On the front part of the pencil case we cut out a circular shape, then we place it on the white foami and mark its width and the length we mark 15 centimeters, making a small square.

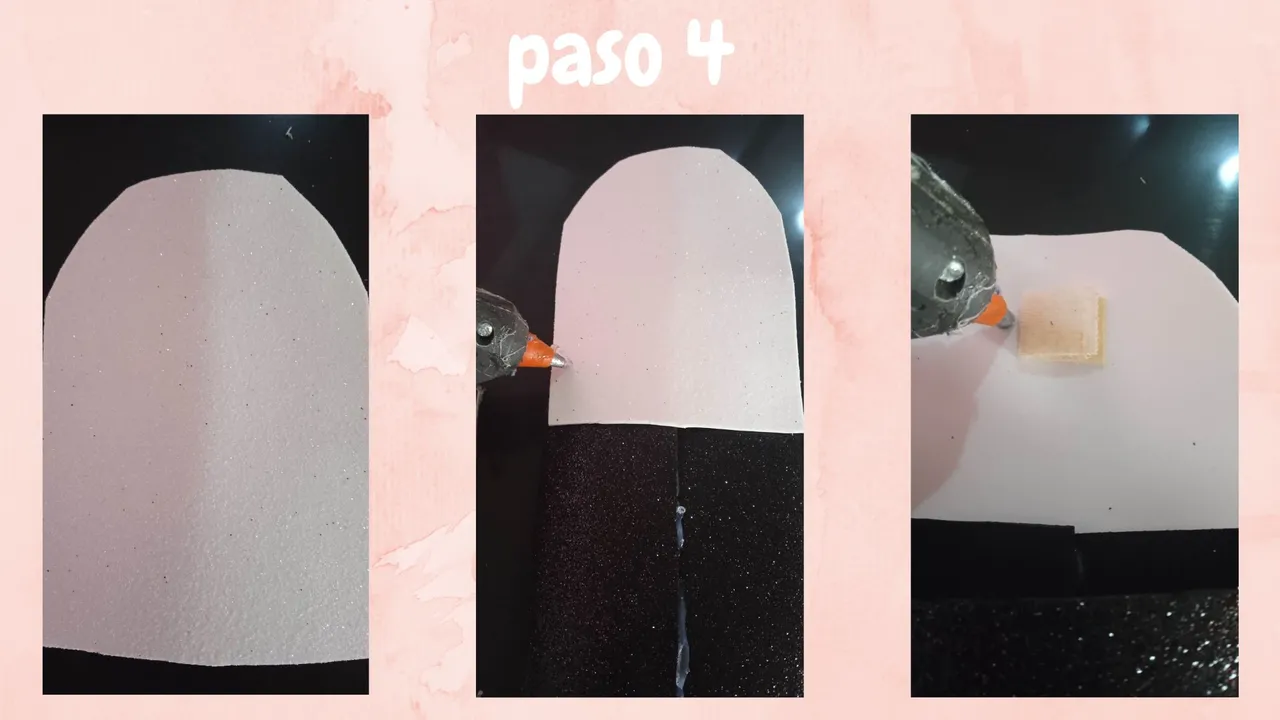
- Paso 4. Luego a ese cuadro de color blanco lo recortamos en un extremo de forma circular y lo pegamos en la parte de atrás de la cartuchera dejando un espacio sin pegar de 7 cms, posteriormente pegamos el cierre mágico en la parte de arriba y luego en la parte de abajo.
- Step 4. Then cut out the white square in a circular shape at one end and glue it on the back of the pencil case leaving a space of 7 cm without gluing, then glue the magic zipper on the top and then on the bottom.

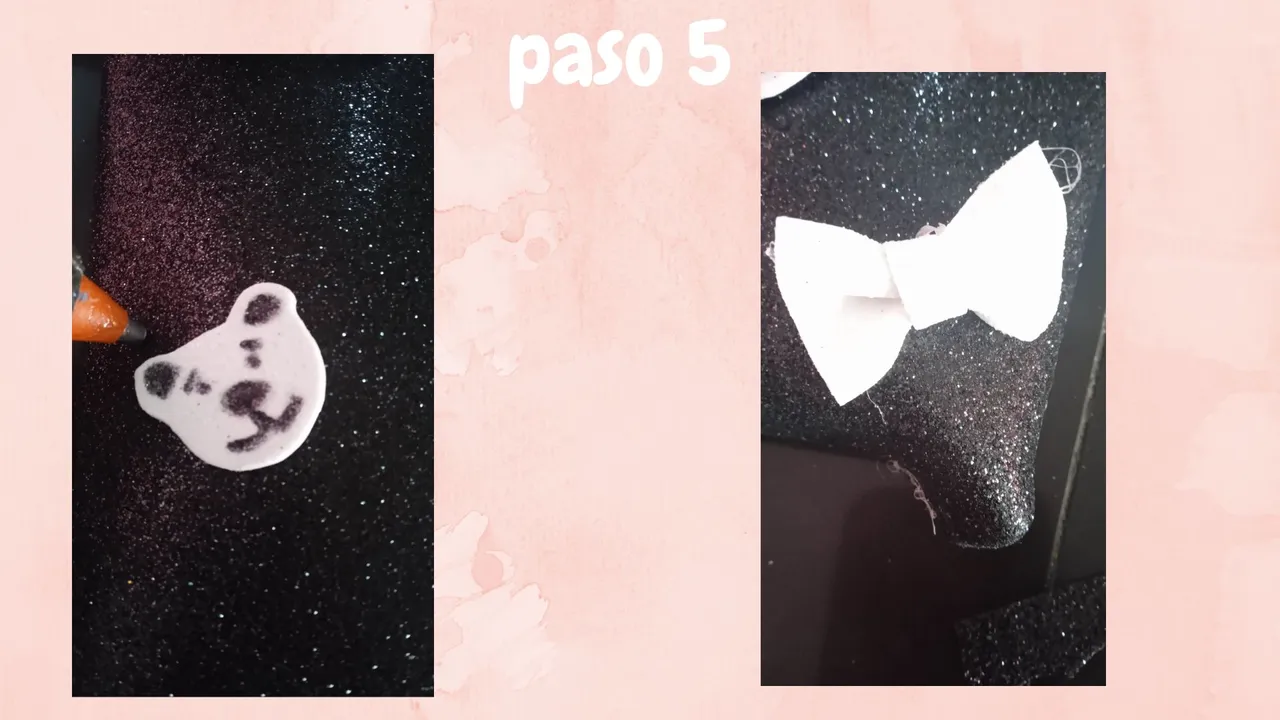
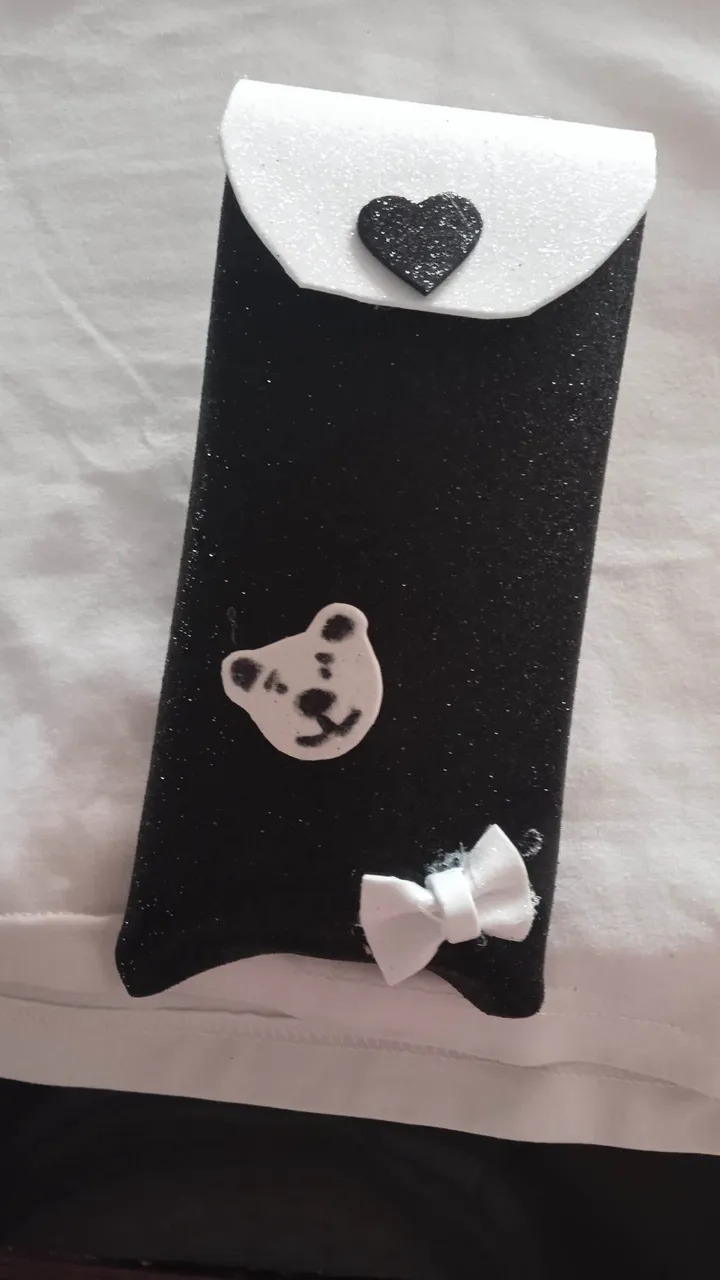
- Paso 5: Por último decoramos nuestra cartuchera como mejor nos guste, en mi caso lo hice con un osito, un lazo y un corazón.
- Step 5: Finally we decorate our pencil case as we like, in my case I did it with a teddy bear, a bow and a heart.

