"Hello people, how are you? I'm here to share with you another post where I share with you how I make my sketchbook. I have shared before how I make them, but I always like to bring to my blog the process of a new sketchbook."
"Hola gente, como están? Les vengo a compartir otra publicación en donde les comparto como hago mi cuaderno de dibujos. Ya he compartido anteriormente como los hago, pero siempre me gusta traer a mi blog el proceso de un nuevo cuaderno."
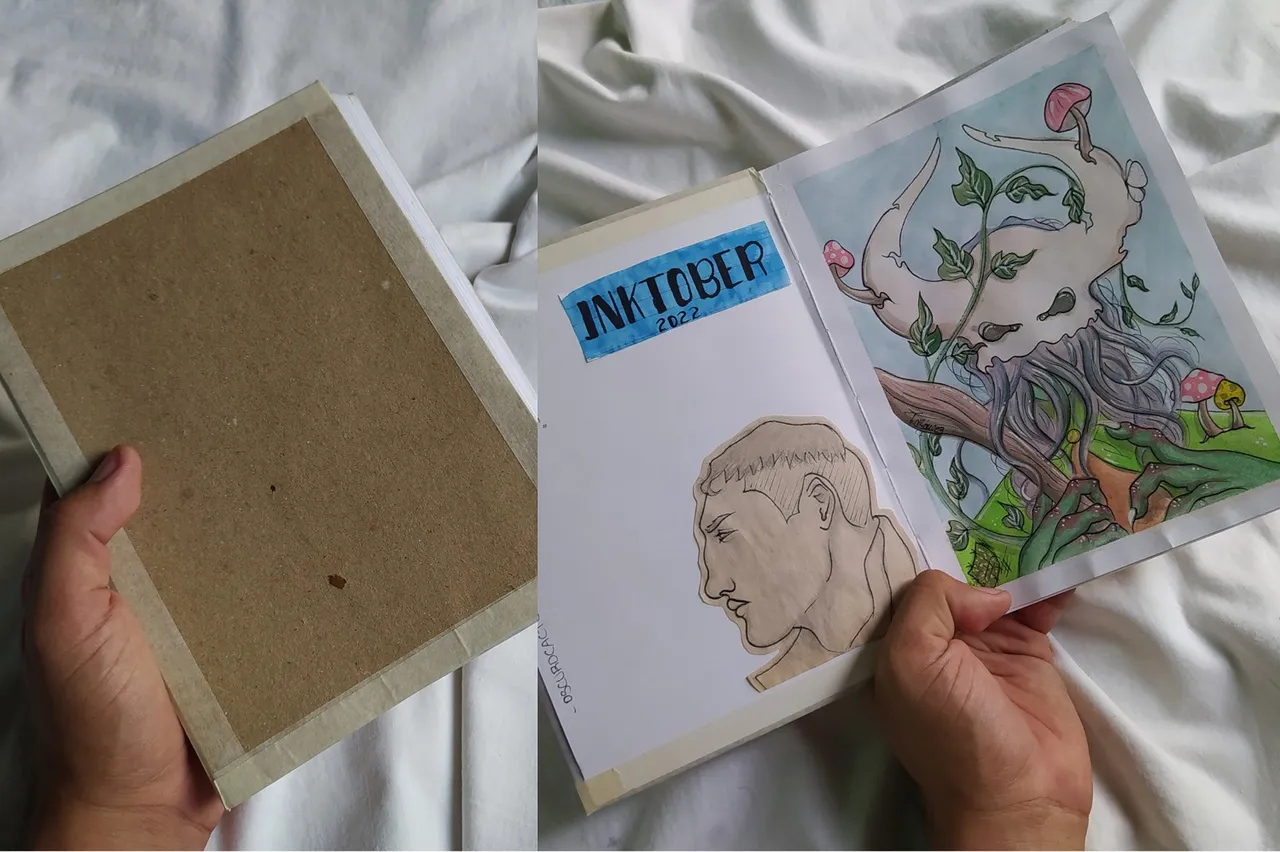

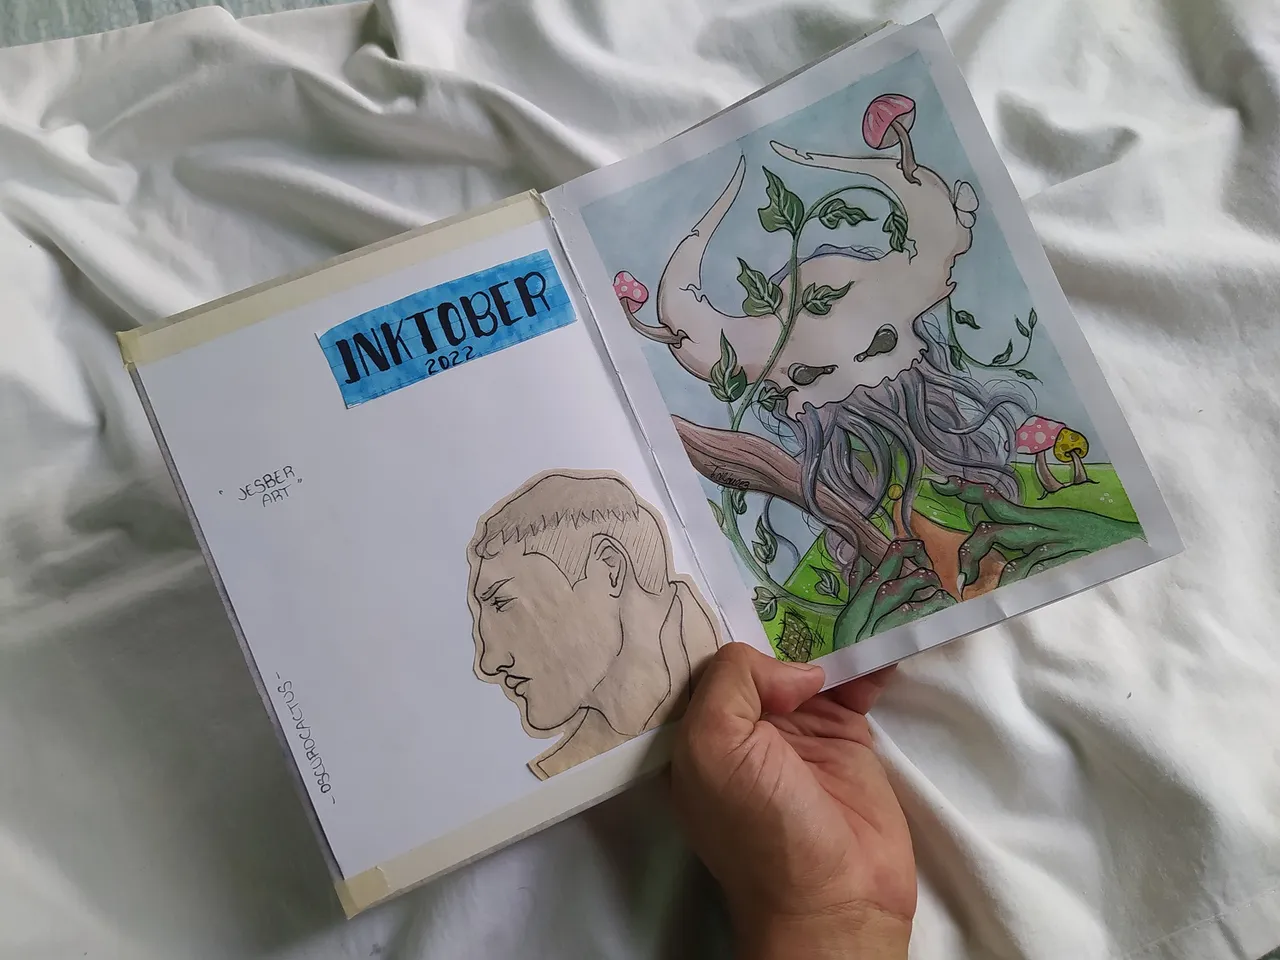
My current sketchbook is not finished yet, but I wanted to make another one because next month, that is, October, Inktober starts, the challenge to draw a daily drawing depending on the word assigned each day. So I prepared this new notebook to be ready to have it just for this year's Inktober. I also made a first drawing, I couldn't wait to try it.
Aún no se me termina el cuaderno de dibujos que uso actualmente, pero quise hacer otro porque el mes que viene, es decir; octubre, comienza el Inktober, el desafió de dibujar diario un dibujo dependiendo de la palabra asignada cada día. Así que prepare este nuevo cuaderno para estar listo y tenerlo solo para el Inktober de este año. Ademas hice un primer dibujo, no aguante las ansias de probarlo.

🌵PROCESS // PROCESO🌵

✨ 1 ✨
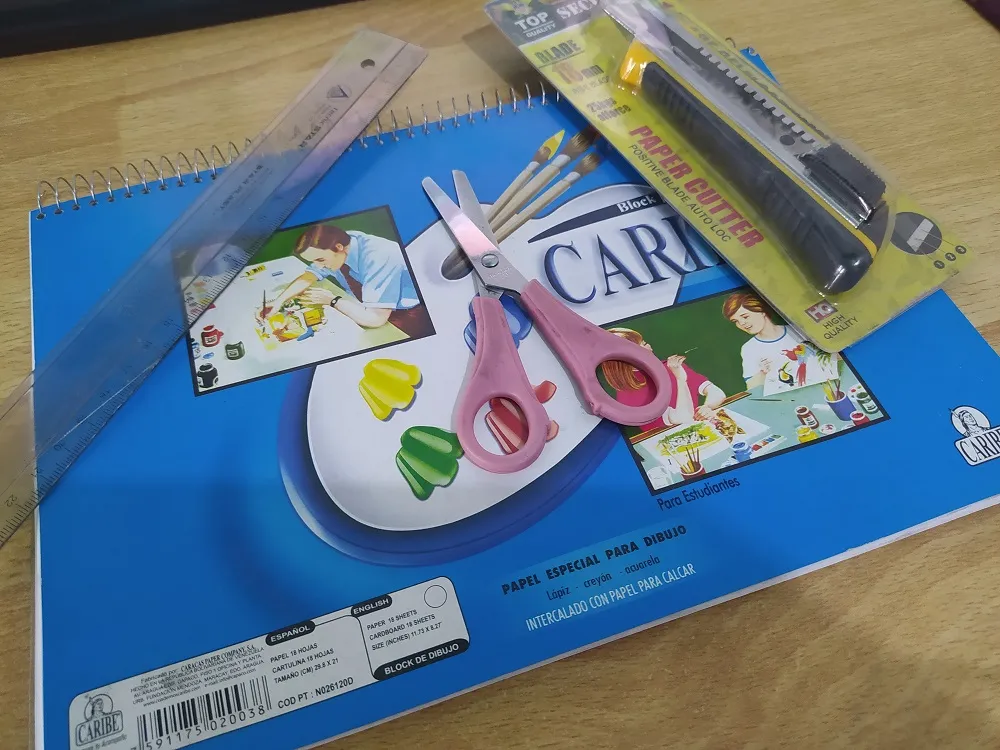
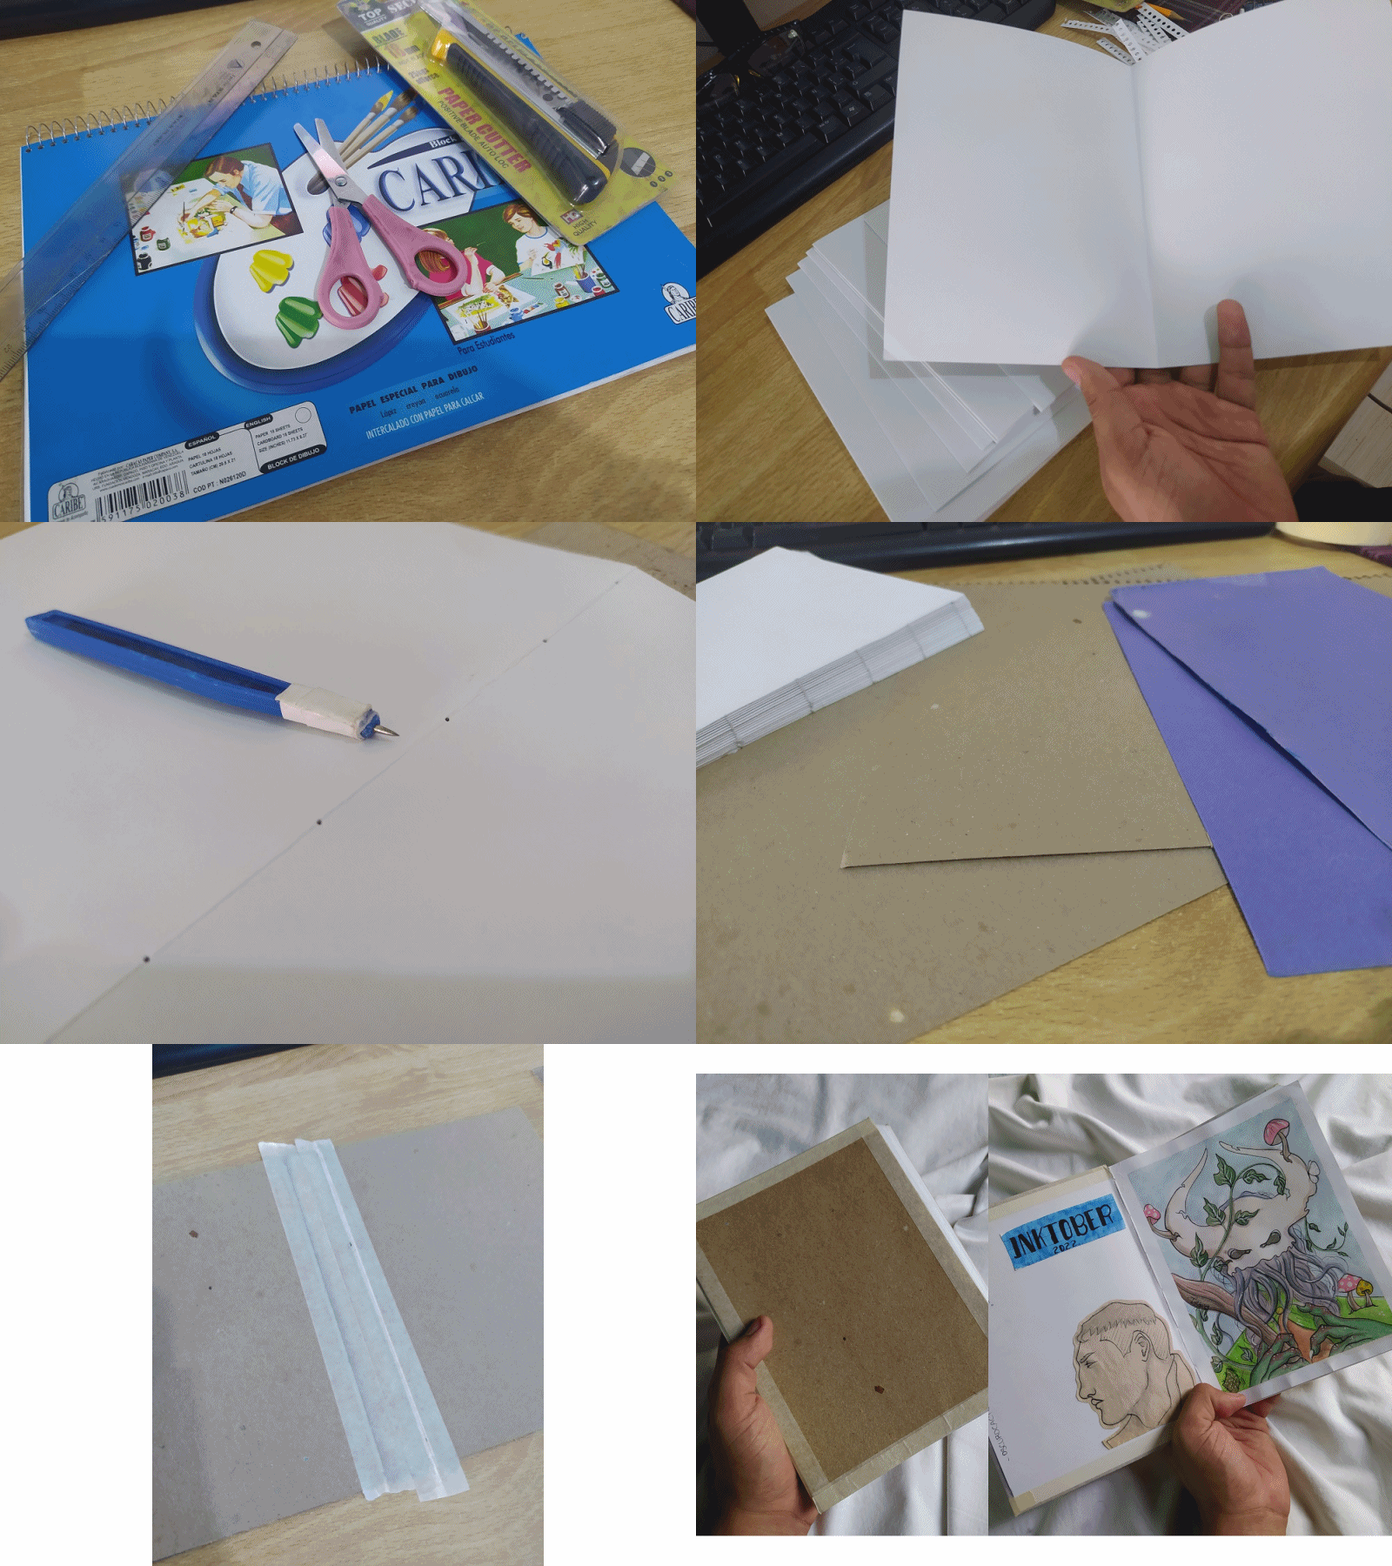
The first thing I start to do is...well, first of all to have a blog, to be able to make the notebook, of course. I use any blog really, but I always make sure that the sheets are between 45 or 50 grammage at least, since I mostly work with wet materials and I need a good support to work with, although I always recommend sheets between 100 to 150 grammage, which are perfect for use with wet materials.
Lo primero que comienzo a hacer es...bueno, tener primeramente un blog cualquiera, para poder hacer el cuaderno, claro está. Yo uso cualquier blog en realidad, pero siempre me fijo que las hojas tengan entre los 45 o 50 de gramaje como mínimo, ya que mayormente trabajo con materiales húmedos y necesito de un buen soporte para trabajar, aunque siempre recomiendo las hojas de entre 100 a 150 gramaje, que son perfectas para usar con materiales húmedos.
✨ 2 ✨
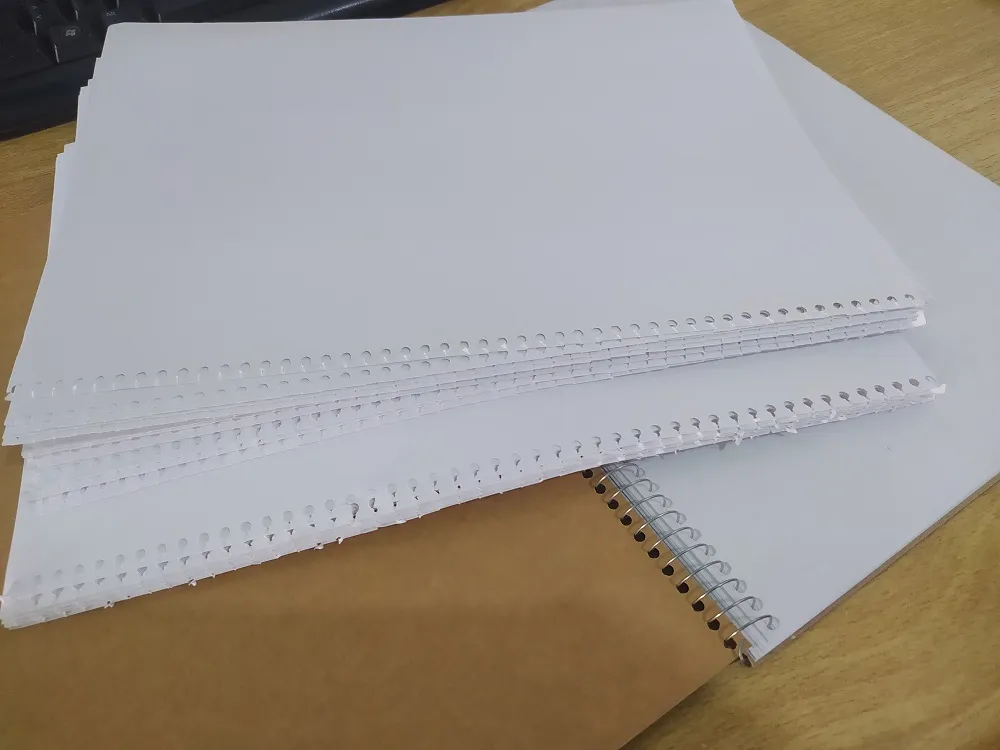
When I have the blog that I will use to make the notebook, what I do is tear off each and every one of the pages of the blog, which will be the pages of the future notebook. Normally, the type of blog I am using and the vast majority of blogs I use, have two types of sheets, one of cardboard and one of protection, much thinner, obviously we will use the cardboard one.
Cuando tengo el blog que usare para hacer el cuaderno, lo que hago es arrancar todas y cada una de las paginas del mismo, que serán las hojas de futuro cuaderno. Normalmente, el tipo de blog que estoy usando y la gran mayoría de blogs que uso, poseen dos tipos de hojas, unas de cartulina y otra de protección, mucho mas delgada, obviamente usaremos la de cartulina.
✨ 3 ✨
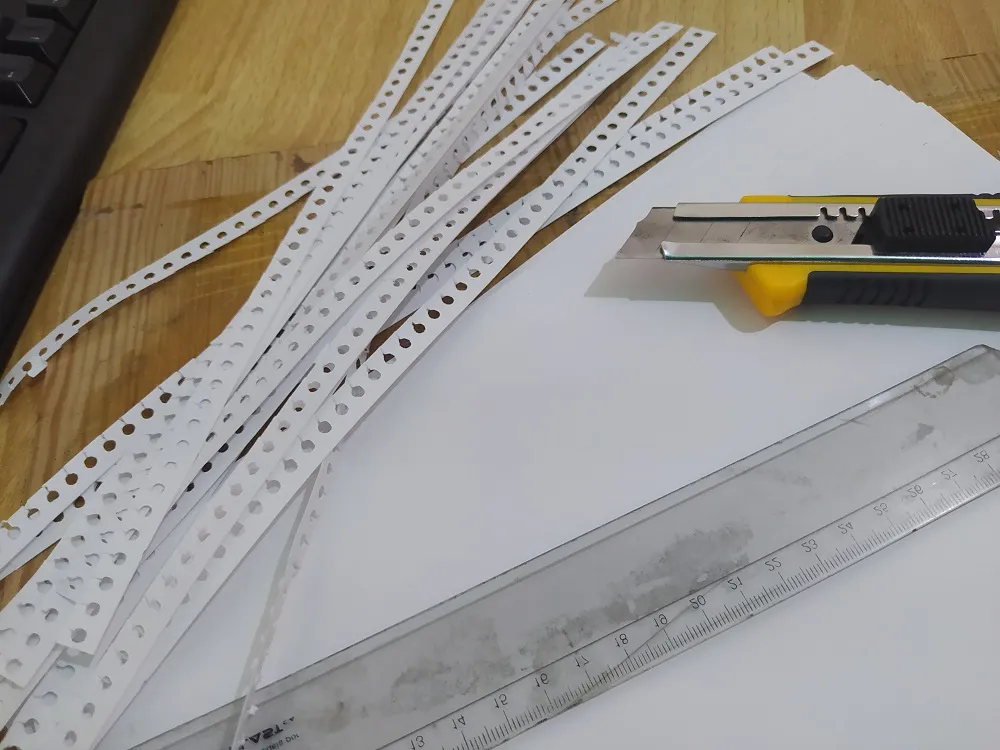
Once I've torn the carline sheets off the blog, what I proceed to do is to cut the joins of each page, the linear strip with gaps that you see on the pages.
Una vez que he arrancado las hojas de carlina del blog, lo que prosigo a hacer es cortar las uniones de cada pagina, la franja lineal con huecos que se ven en las paginas.
✨ 4 ✨
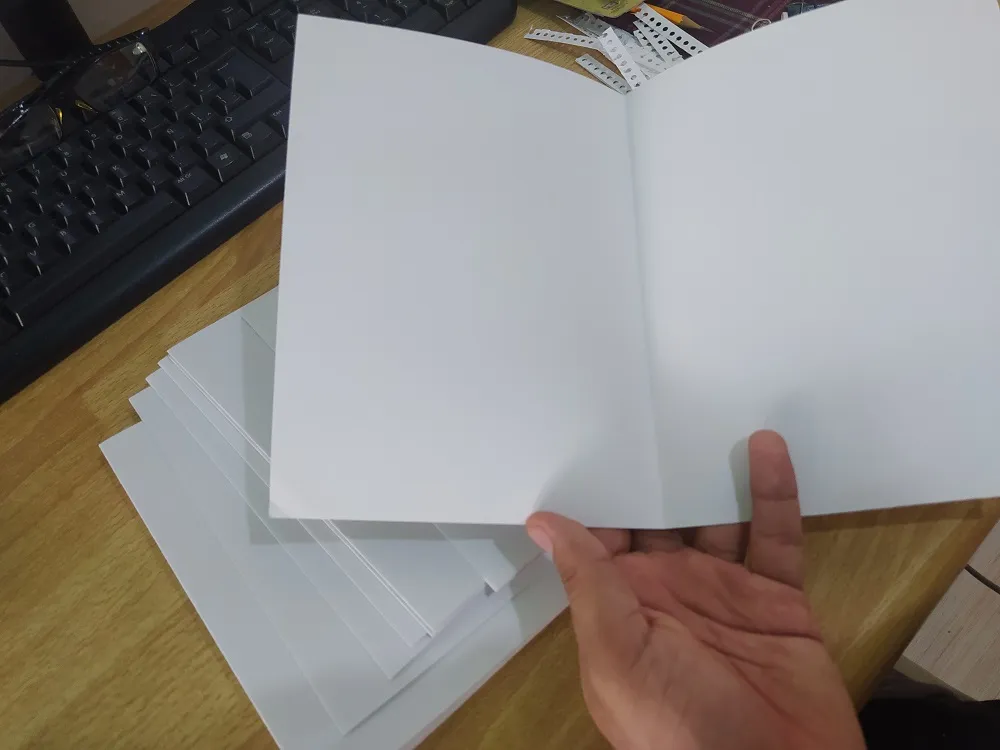
The next step is to fold each sheet of cardboard in half, once I have cut each end with the joint. This would be the beginning of the formation of the notebook.
El siguiente paso es doblar cada hoja de cartulina por la mitad, una vez que he cortado cada extremo con la unión. Esto ya seria el inicio de la formación del cuaderno.
✨ 5 ✨
When I have folded each and every one of the sheets of cardboard in the middle, the next thing I do is to take a ruler and go marking points, which then serve as a guide to make the holes to then bake the notebook.
Cuando he doblado todas y cada una de las hojas de cartulina por el medio, lo siguiente que hago es tomar una regla e ir marcando puntos, que luego me sirvieran de guía para hacer los hoyos para luego cocer el cuaderno.
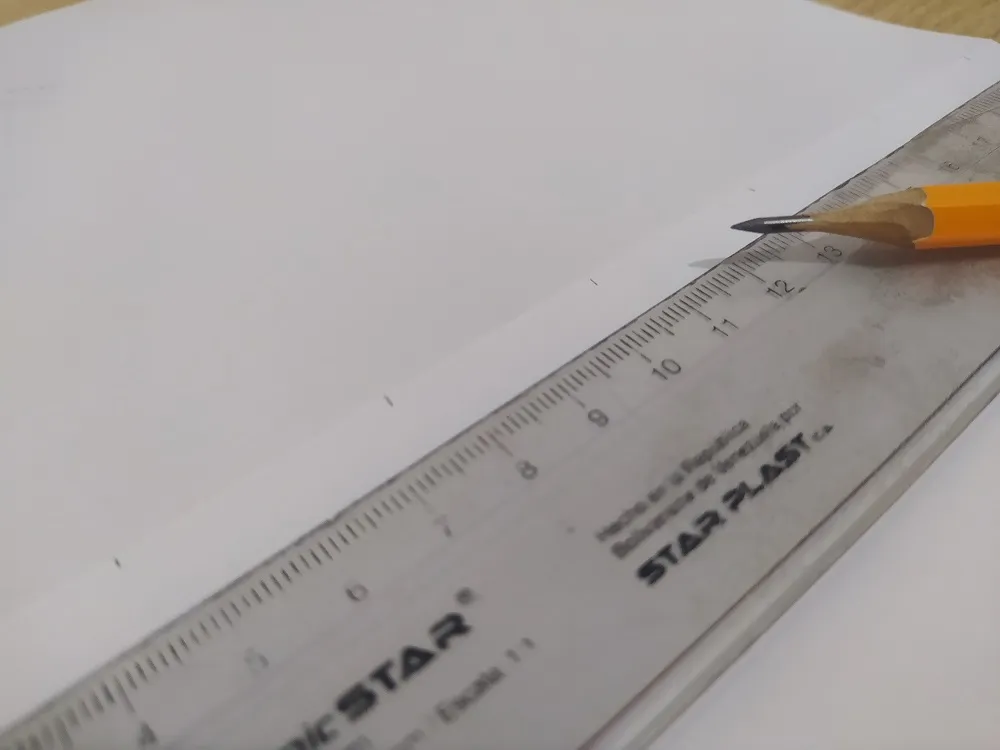
This way you will see all the leaves already marked with the same distance between each point. The distance I left between each point was 3 cm.
Así se verán todas las hojas ya marcadas con la misma medida de distancia entre cada punto. Yo la distancia que deje entre cada punto fue de 3 cm.
✨ 6 ✨
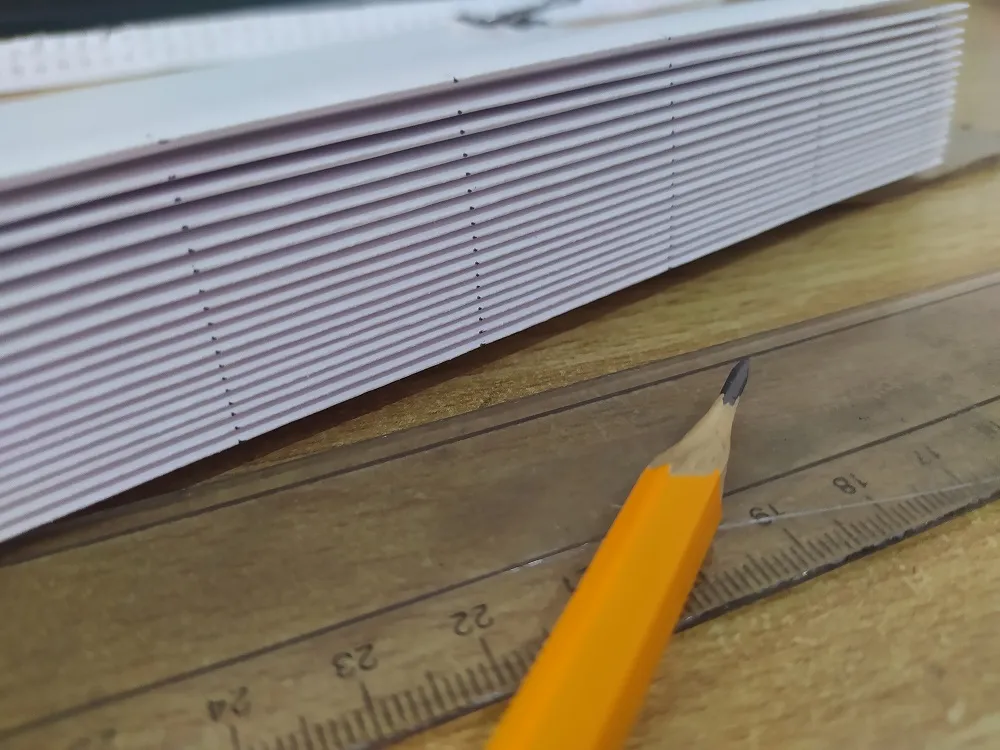
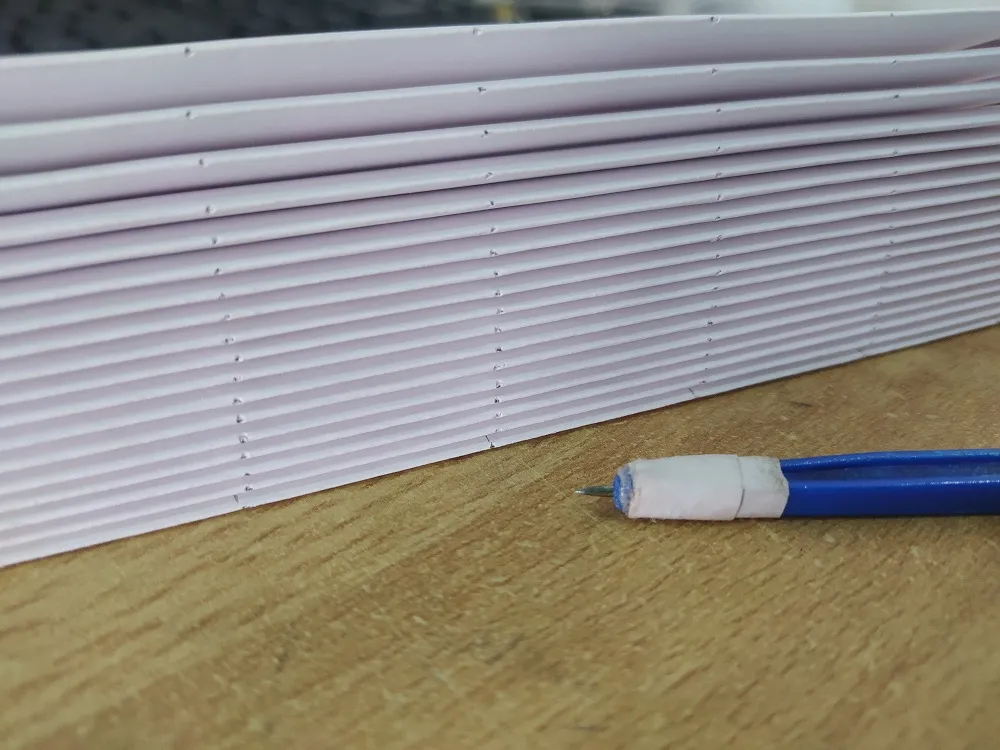
As I mentioned before, the dots or marks made on each sheet would be used to make the holes, which is what I do in this step.
Como mencione antes, los puntos o marcas hechas en cada hoja, me servirían para hacer los hoyos, que lo que hago en este paso.
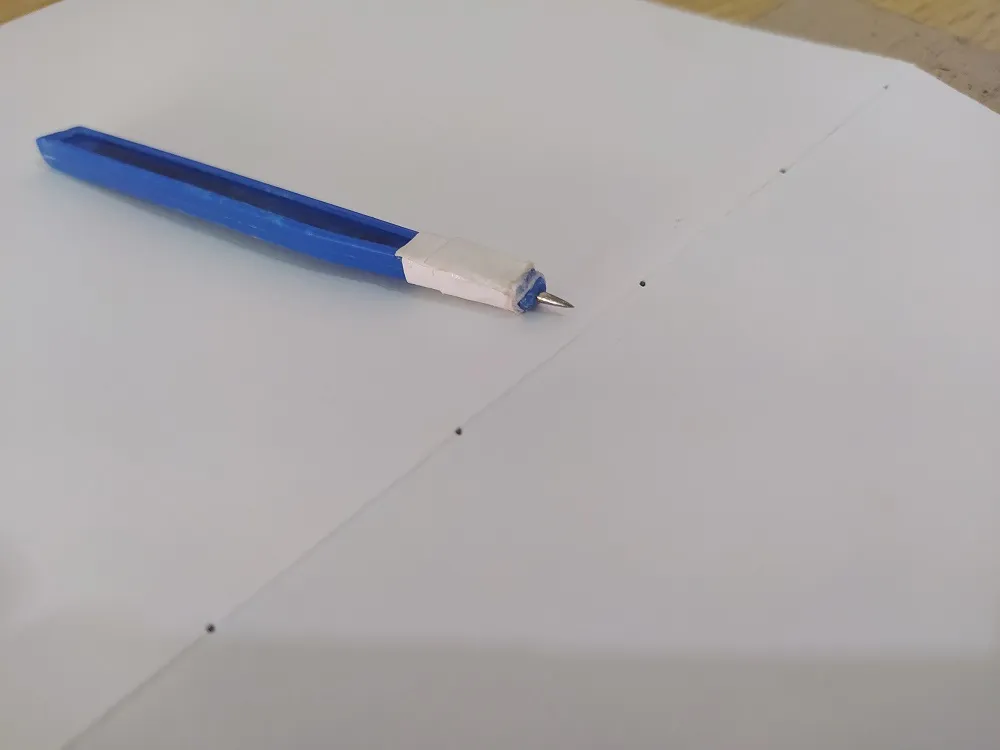
Usually what I use to make each hole is an old compass, since it has a sharp point that allows me to make each hole much faster and easier.
Por lo general lo que uso para hacer cada hoyo es un compás viejo, ya que posee una punta afilada que me permite hacer mucho mas rápido y fácil cada hueco.
✨ 7 ✨
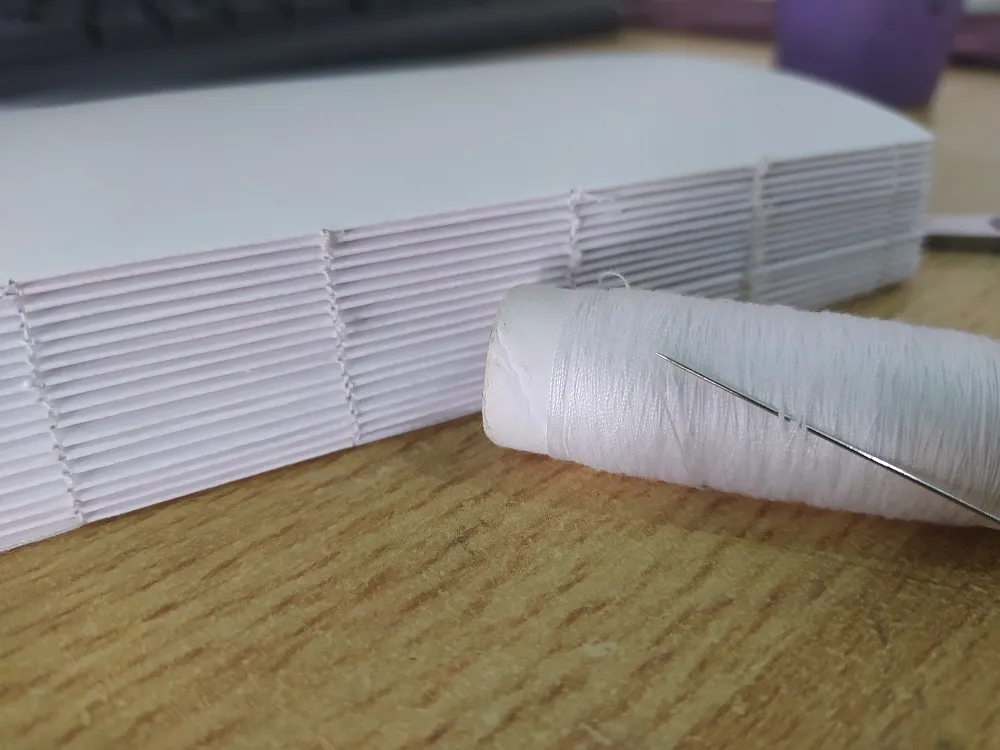
Once I have made each hole in each sheet of cardboard, what follows is to start with the most tedious or tiring step, baking everything. For this step, I learned to bake the notebooks watching a few videos on Youtube and I'll tell you the truth, it is a bit complicated at first if you do not have experience baking, but it is also true that in a short time you learn quickly and the mechanism of baking, so to speak, becomes quick and easy once you start.
Una vez que he hecho cada hoyo en cada hoja de cartulina, lo que sigo es comenzar con el paso mas tedioso o cansado, cocer todo. Para este paso, yo aprendí a cocer los cuadernos viendo unos cuantos vídeos en Youtube y les voy a decir la verdad, es un poco complicado al principio si no tienes una experiencia cociendo, pero también es verdad que en poco tiempo aprendes rápido y el mecanismo de cocer, por decirlo de alguna manera, se hace rápido y fácil una ves comiences.
✨ 8 ✨
Once I have baked all the pages, in due time, what I do next is to make the front and back covers for the notebook.
Una vez que he cocido todas las paginas, en su debido tiempo, lo que sigo a hacer después es sacar las portadas tanto delantera como trasera para el cuaderno.
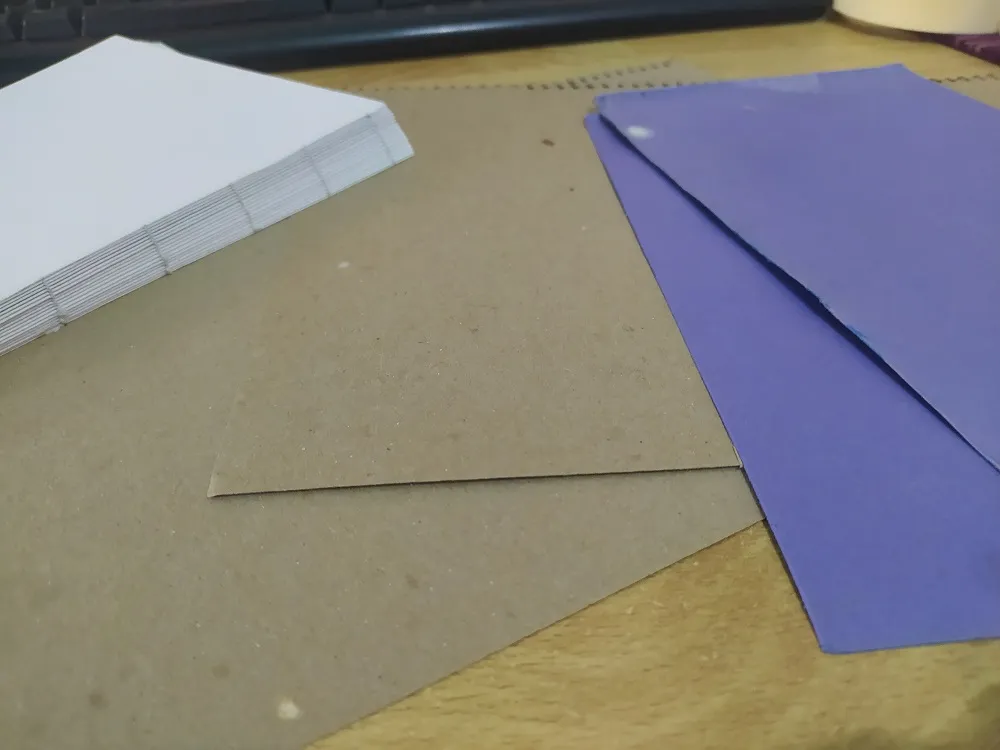
In general, I always use whatever material I can find for the covers. For these covers I used an old binder and the back cover of the blog I am using to make this notebook. I measured the notebook for size and then cut out the covers.
Por lo general, siempre suelo usar cualquier material para las portadas. Para estas portadas use una carpeta vieja y la portada trasera del blog que estoy usando para hacer este cuaderno. Medí el cuaderno para saber su tamaño y luego cortar las portadas.
✨ 9 ✨
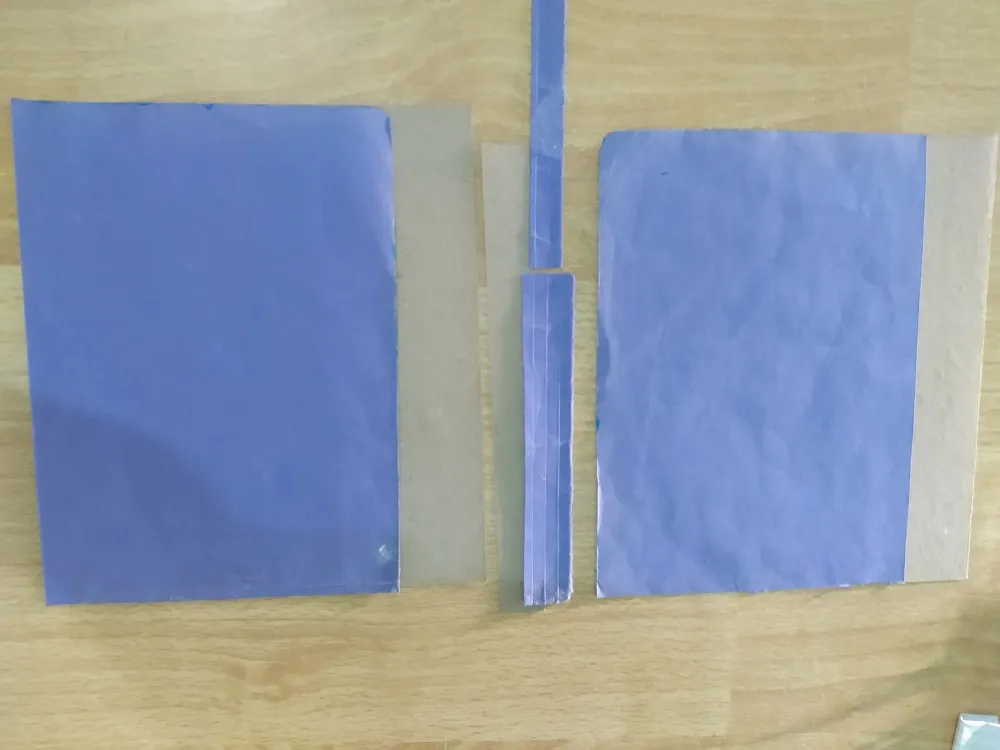
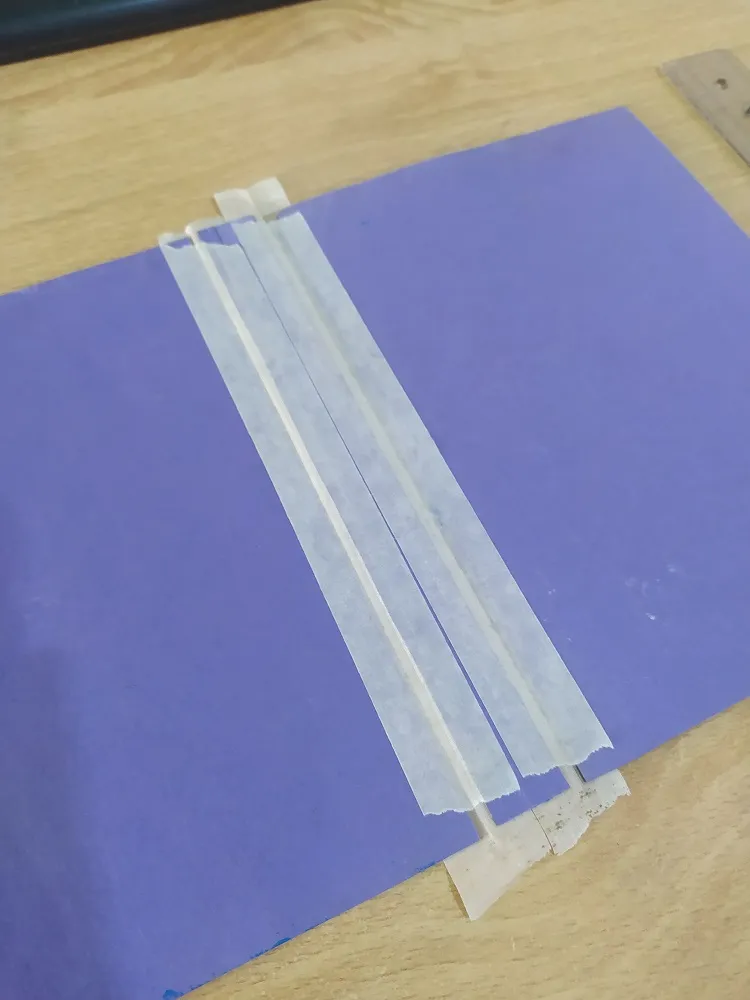
In this step what I do is to glue the covers to form what would be the structure or protection of the notebook, the covers in this case.
En este paso lo que hago es pegar las portadas para formar lo que seria la estructura o protección del cuadernos, las portadas en este caso.
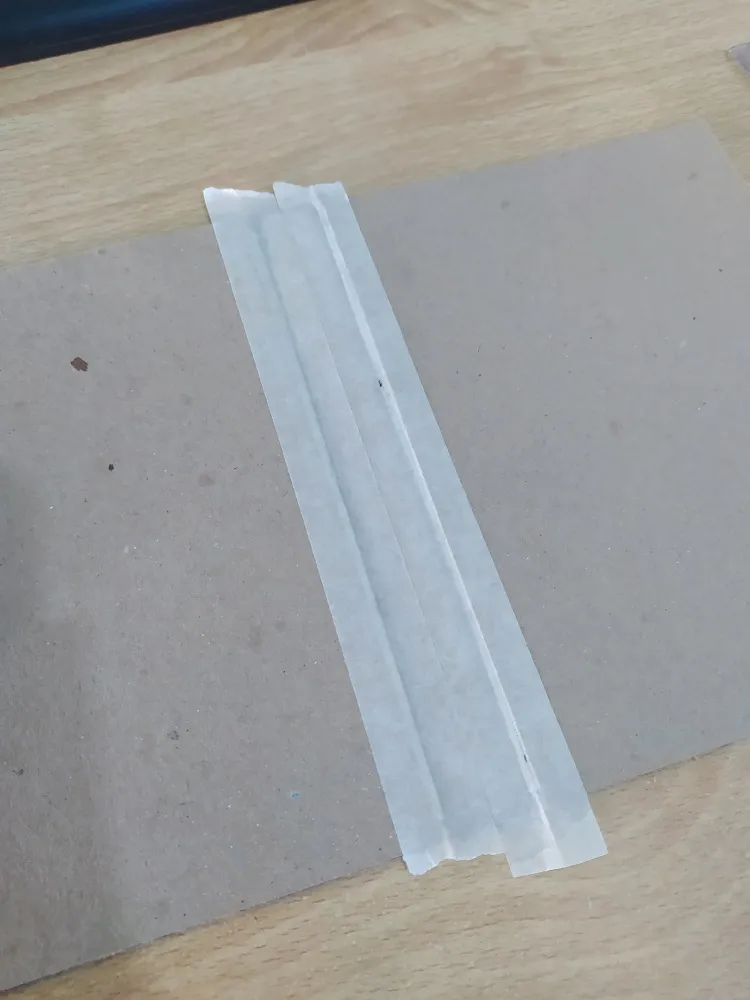
I used glue and paper adhesive to give a little creative touch to the notebook, but at the same time simple. The strip that goes in the middle of the two covers is where all the pages themselves will rest, so I measured that too, once I baked the pages to know the exact thickness of all the pages.
Use pegamento y adhesivo de papel para darle un pequeño toque creativo al cuaderno, pero a la vez simple. La franja que va en medio de las dos portadas, es donde se apoyaran todas las paginas en si, así que eso también lo medí, una vez cocí las paginas para saber con exactitud el grosor de todas las paginas.
✨ 10 ✨
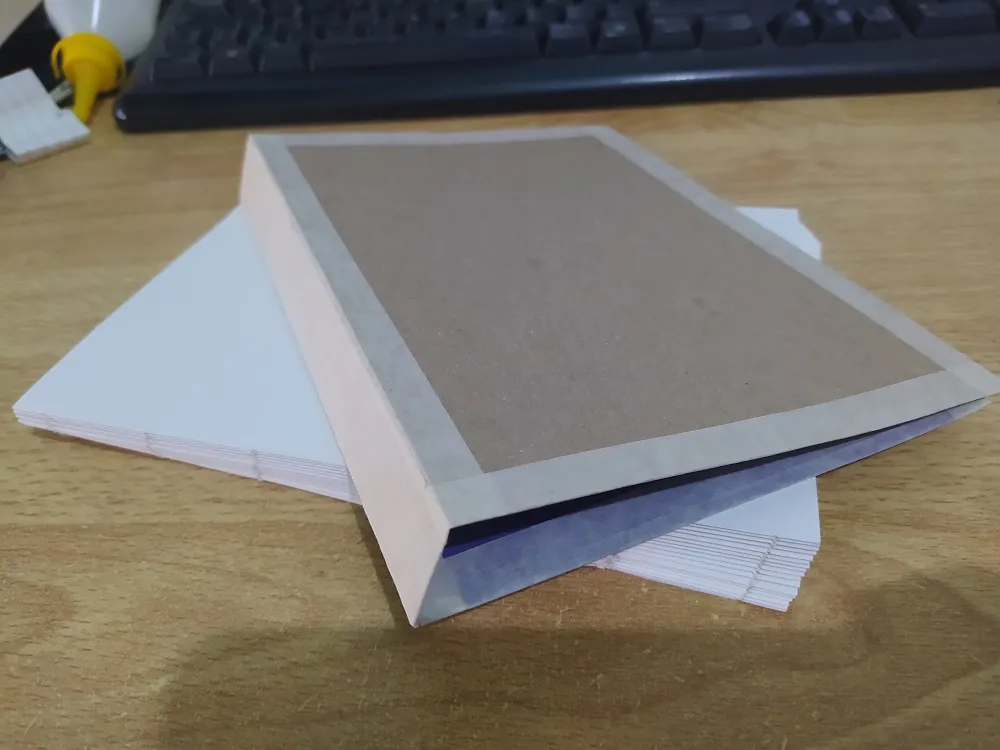
In this step what you have to do is to glue a page from each end, that is to say; a front page to the front cover and a back page to the back cover. In a few words, the first page of the notebook itself, you glue it to the front cover and the last page you glue it to the back cover, this will help to give body to the whole notebook and that's it, I would have my new notebook ready.
En este paso lo que hay que hacer es pegar una pagina de cada extremo, es decir; una pagina delantera a la portada delante y una pagina trasera a la portada trasera. En pocas palabras, la primera pagina del cuaderno en si, la pegas en la portada delantera y la ultima pagina la pegas en la portada trasera, esto ayudara a darle cuerpo a todo el cuaderno y listo, ya tendría mi nuevo cuaderno listo.
¡Espero que te guste!

⬜️◾️Final Work◽️⬛️
⬜️◾️Trabajo Final◽️⬛️
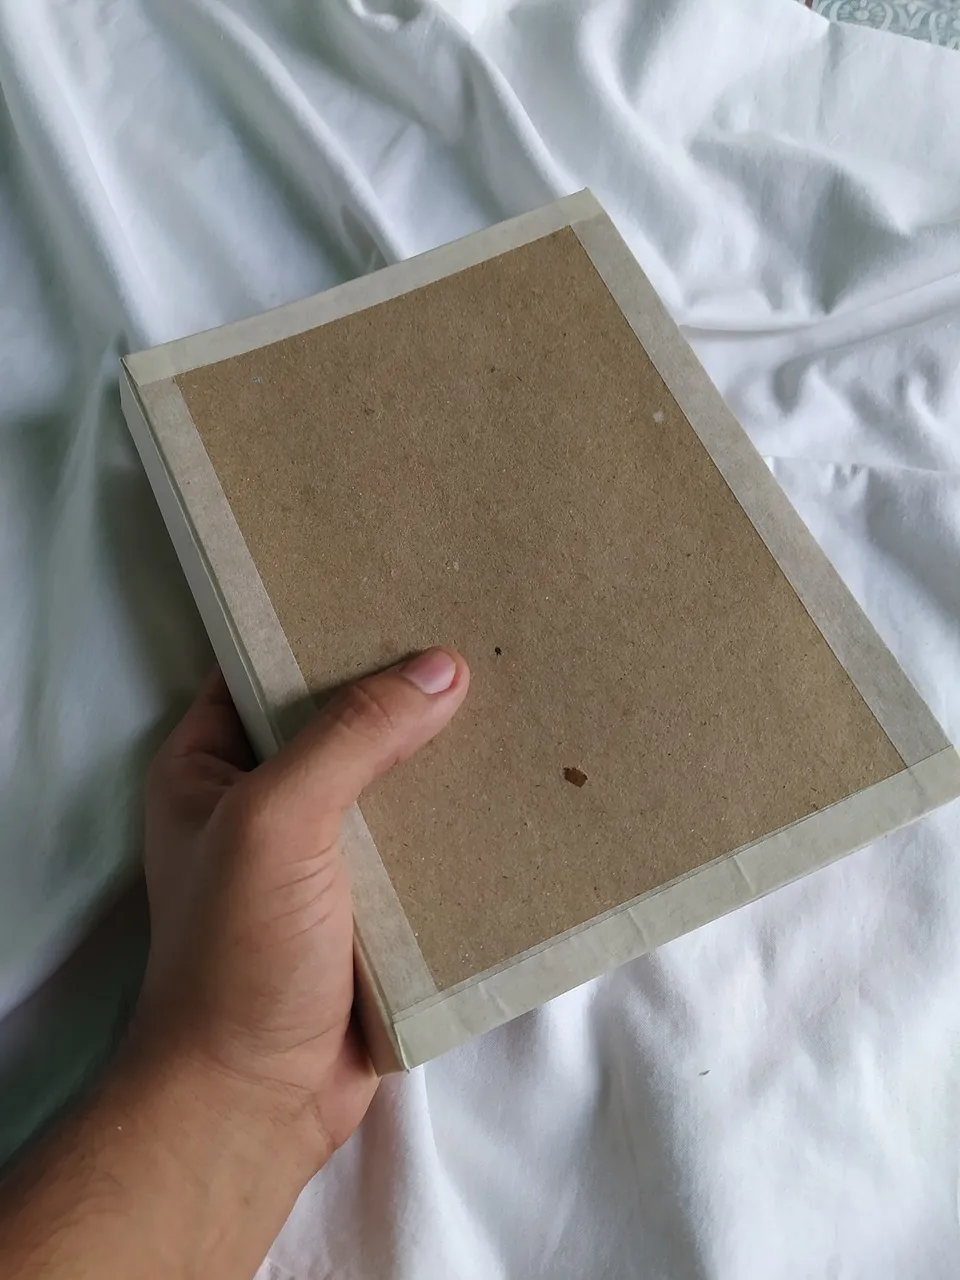
I am ready to start with this year's Inktober, I want to complete everything, as I did two years ago.
Estoy listo para comenzar con el Inktober de este año, lo quiero completar todo, como hice hace dos años atrás.

Summary of the whole Process
Resumen de todo el Proceso

 |
Rarible
GhostMarket
Traducido gracias a Deepl