

Hello my dear readers, I hope you are well and that you have or have had an excellent and wonderful day.
When it comes to Christmas decorations, we want to decorate every corner of our house and we always start with the living room, the place most visited by visitors.
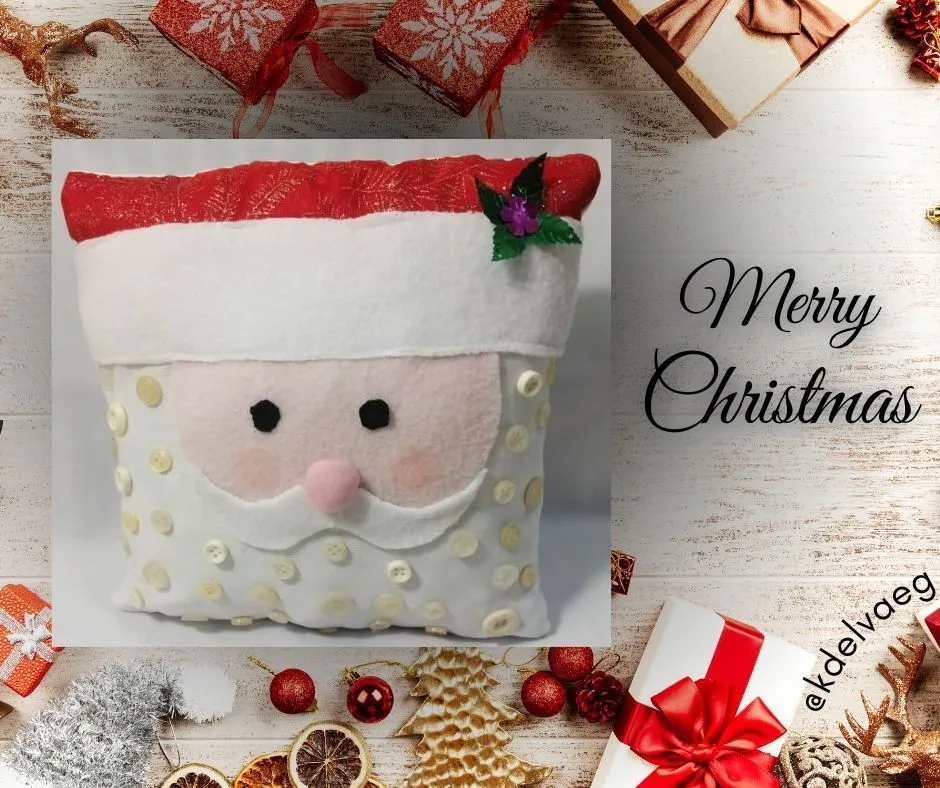
So today I bring you a beautiful decorative cushion, ideal for your furniture or just to give it to someone, although in a room it would look great too. I made it with recycled materials, so it is not expensive to make one like this, I explain how I made it.

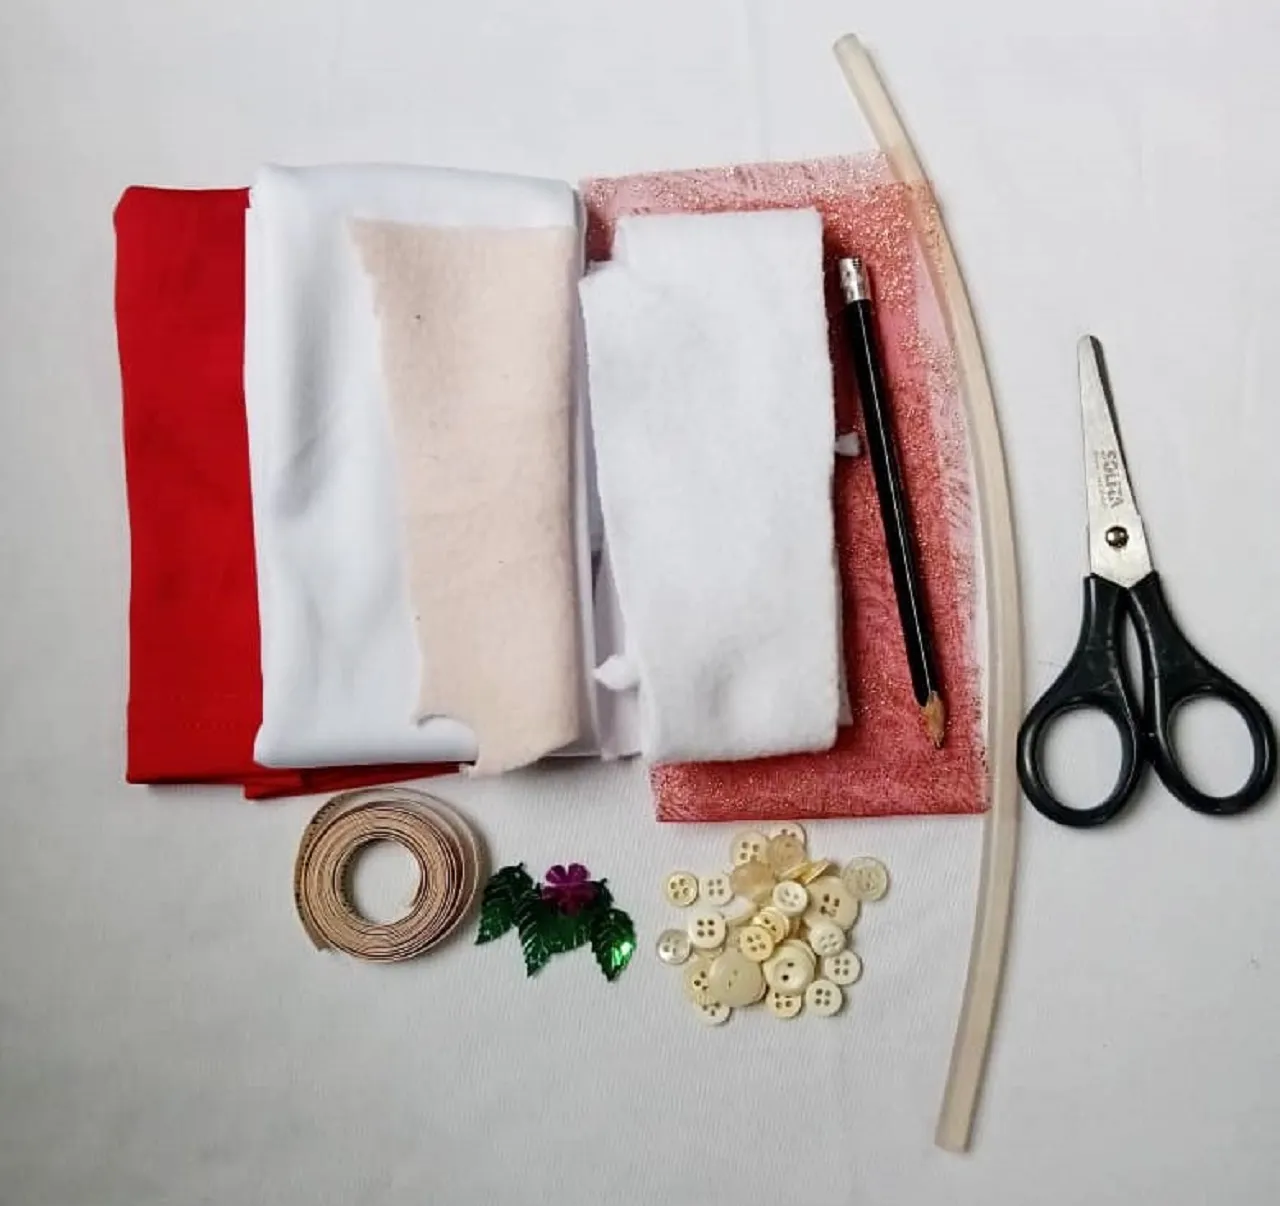
STEP BY STEP:
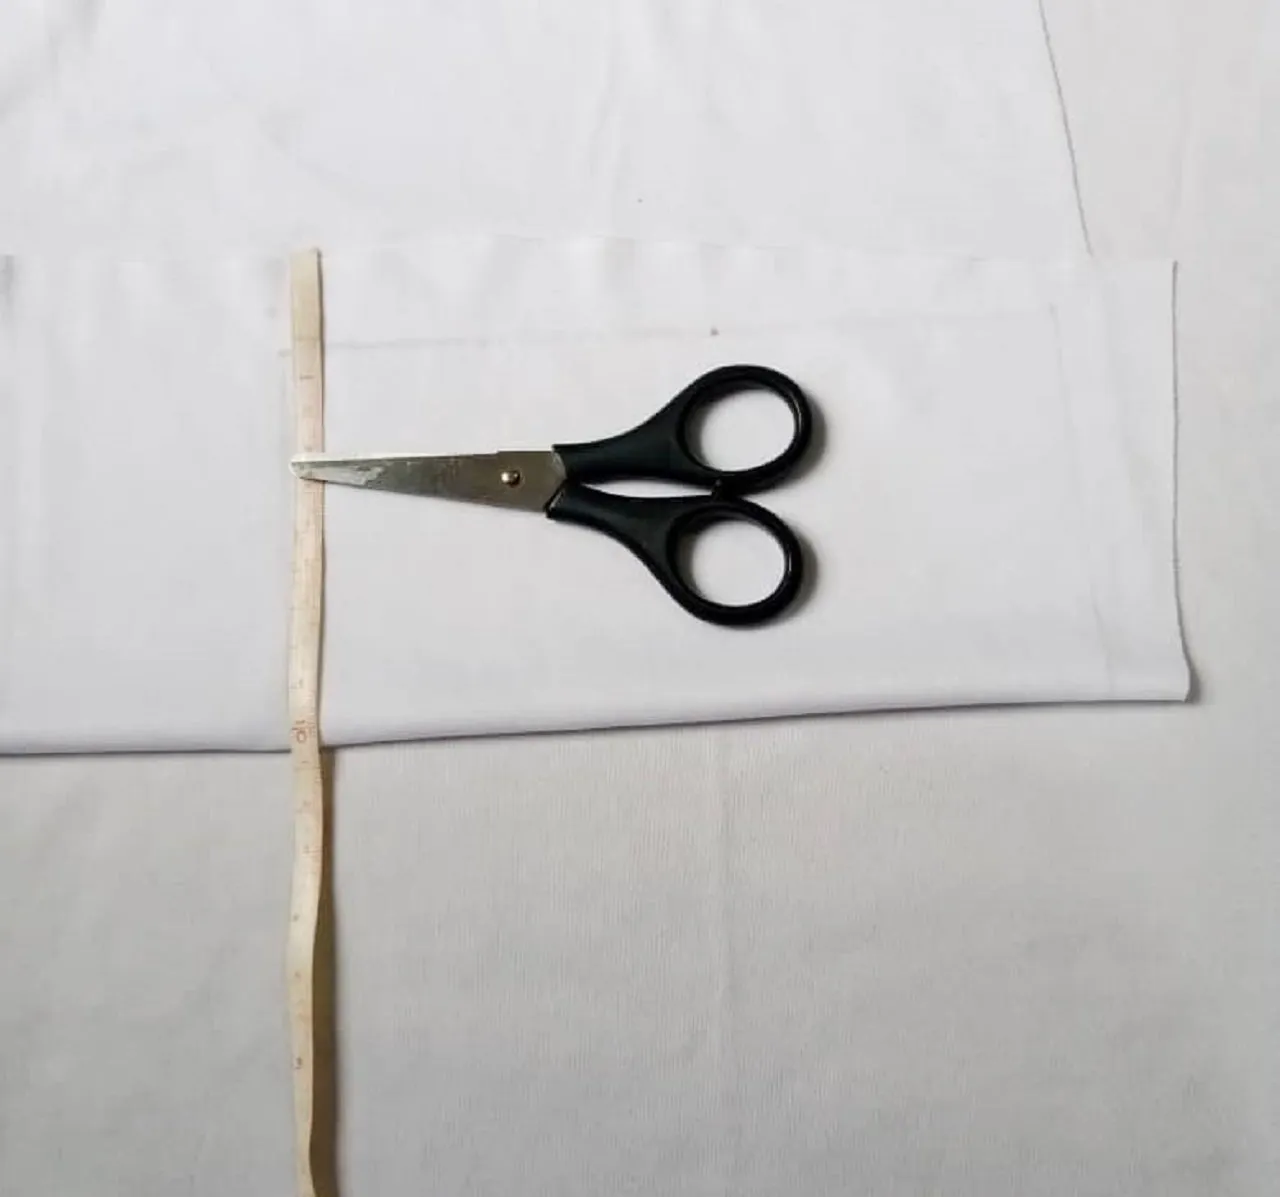
I will start by cutting out what will be the cushion, for this I will take the white fabric, fold it in half and mark a rectangle of 10 x 20 cm. I will cut two equal pieces, leaving 1 cm more fabric on all sides, to be able to sew it.

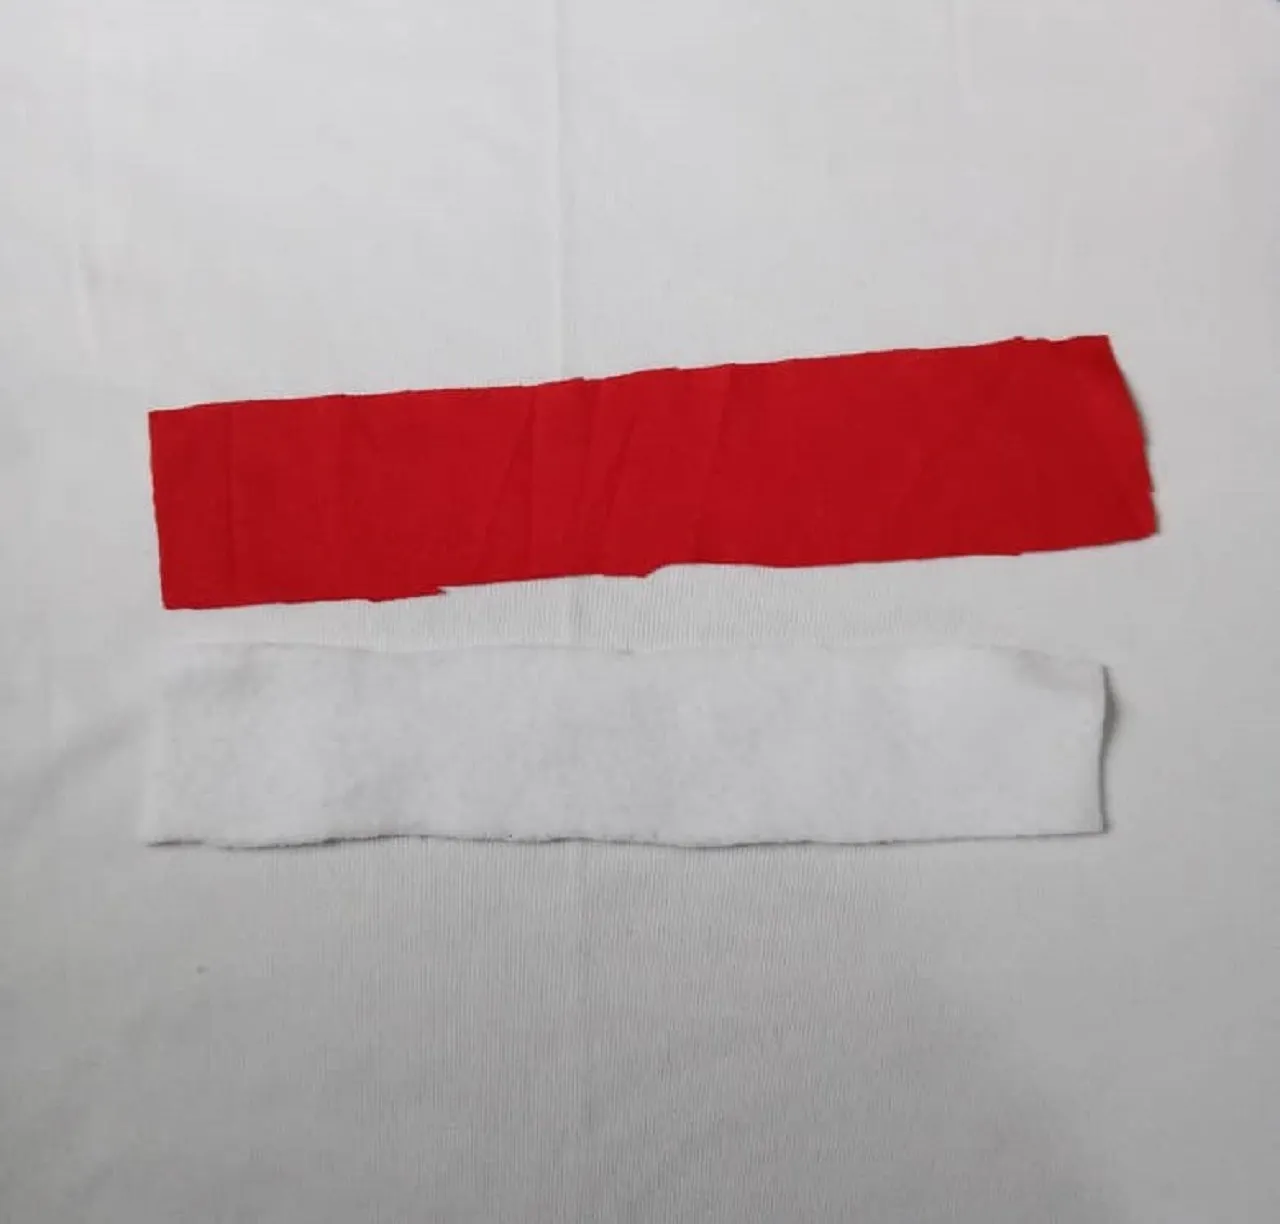
With the piece of red fabric, I will cut a strip of 6 x 21 cm. And I will also cut a strip with the same measurements but in white fabric.

From the pink fabric I will make the face and cut it out as shown in the image. Once the 3 pieces are ready, I will pin them to one of the white fabric pieces and then sew,


I had a decorative ribbon, one of those used to decorate the trees and I thought it would give a bright touch to the cushion, so I cut a strip just like the red one and placed it on top of the red fabric and now I sewed it with the machine.
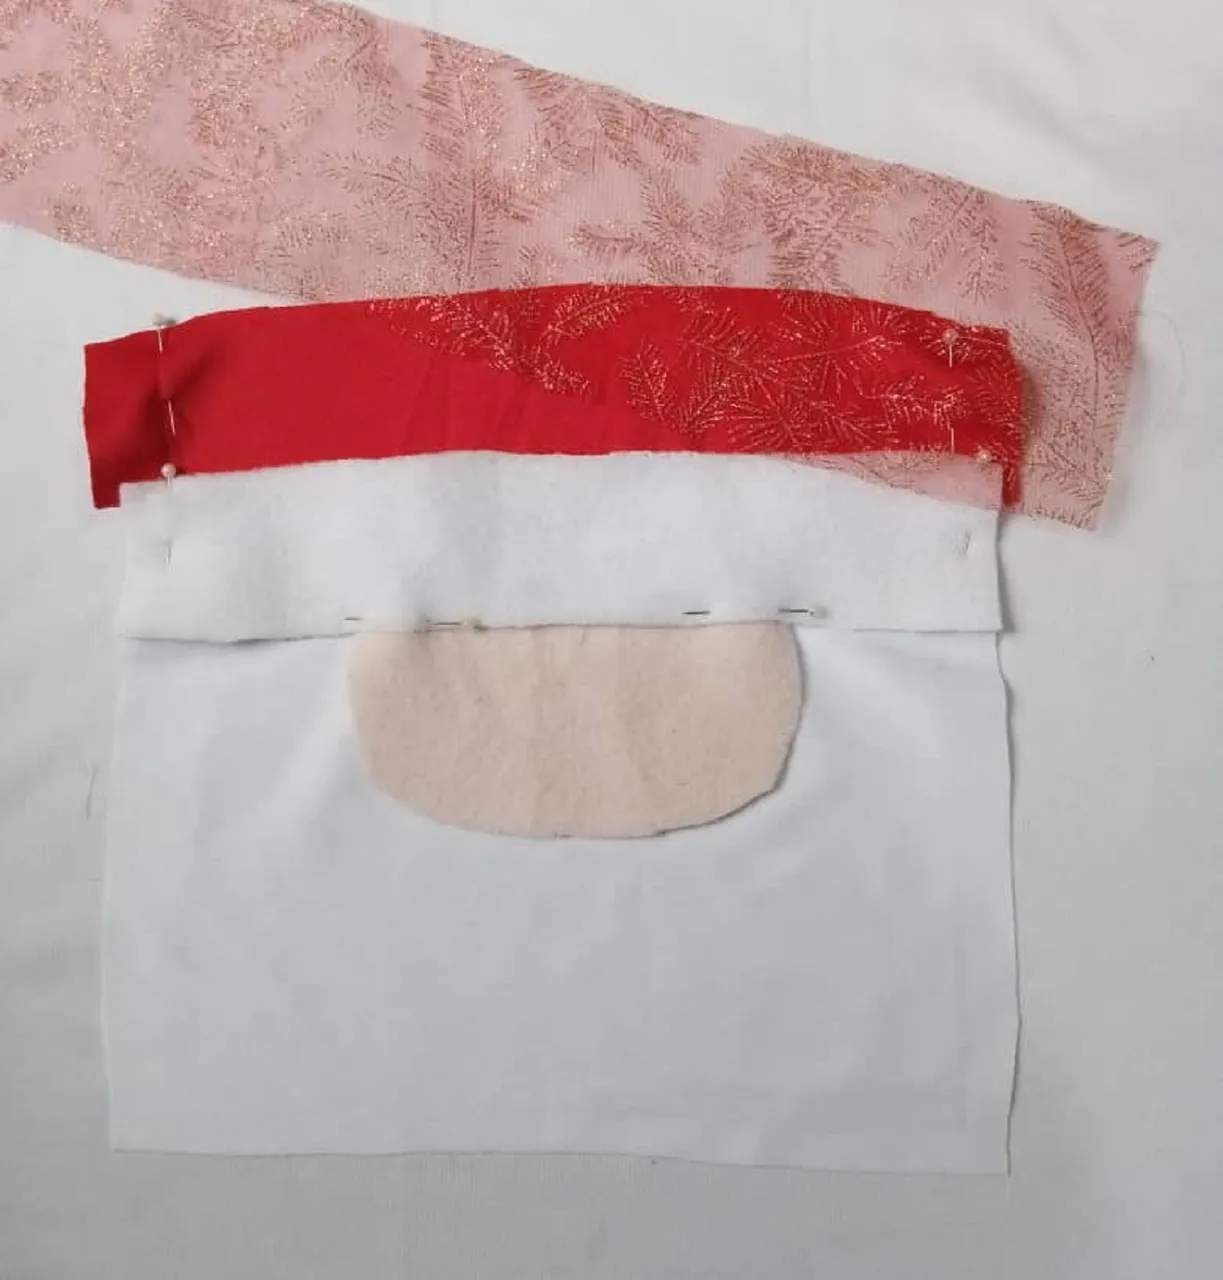


After attaching all the strips, I will sew the two white pieces all around, leaving an opening to turn over and stuff the cushion.


With a piece of white fabric, I will make the whiskers, so I drew it on the fabric and cut it out. Take advantage and cut two small circles from the black fabric and a pink circle to make the nose.
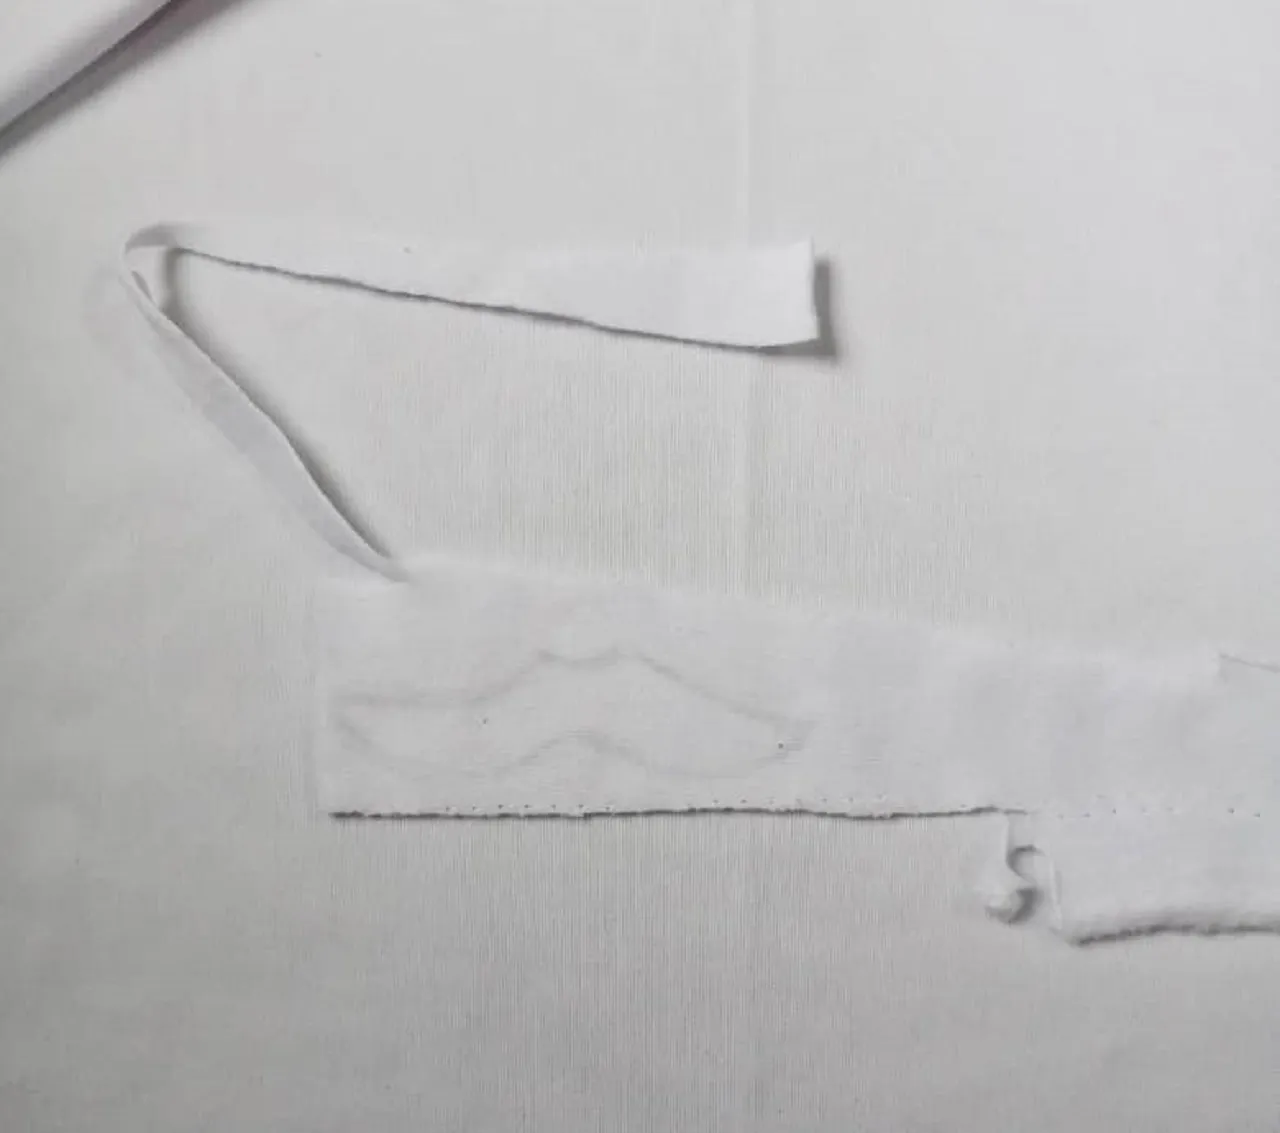

Now that I have the cushion assembled, I will proceed to decorate it.
With the silicone I will glue the face, the whiskers, the nose and the eyes.


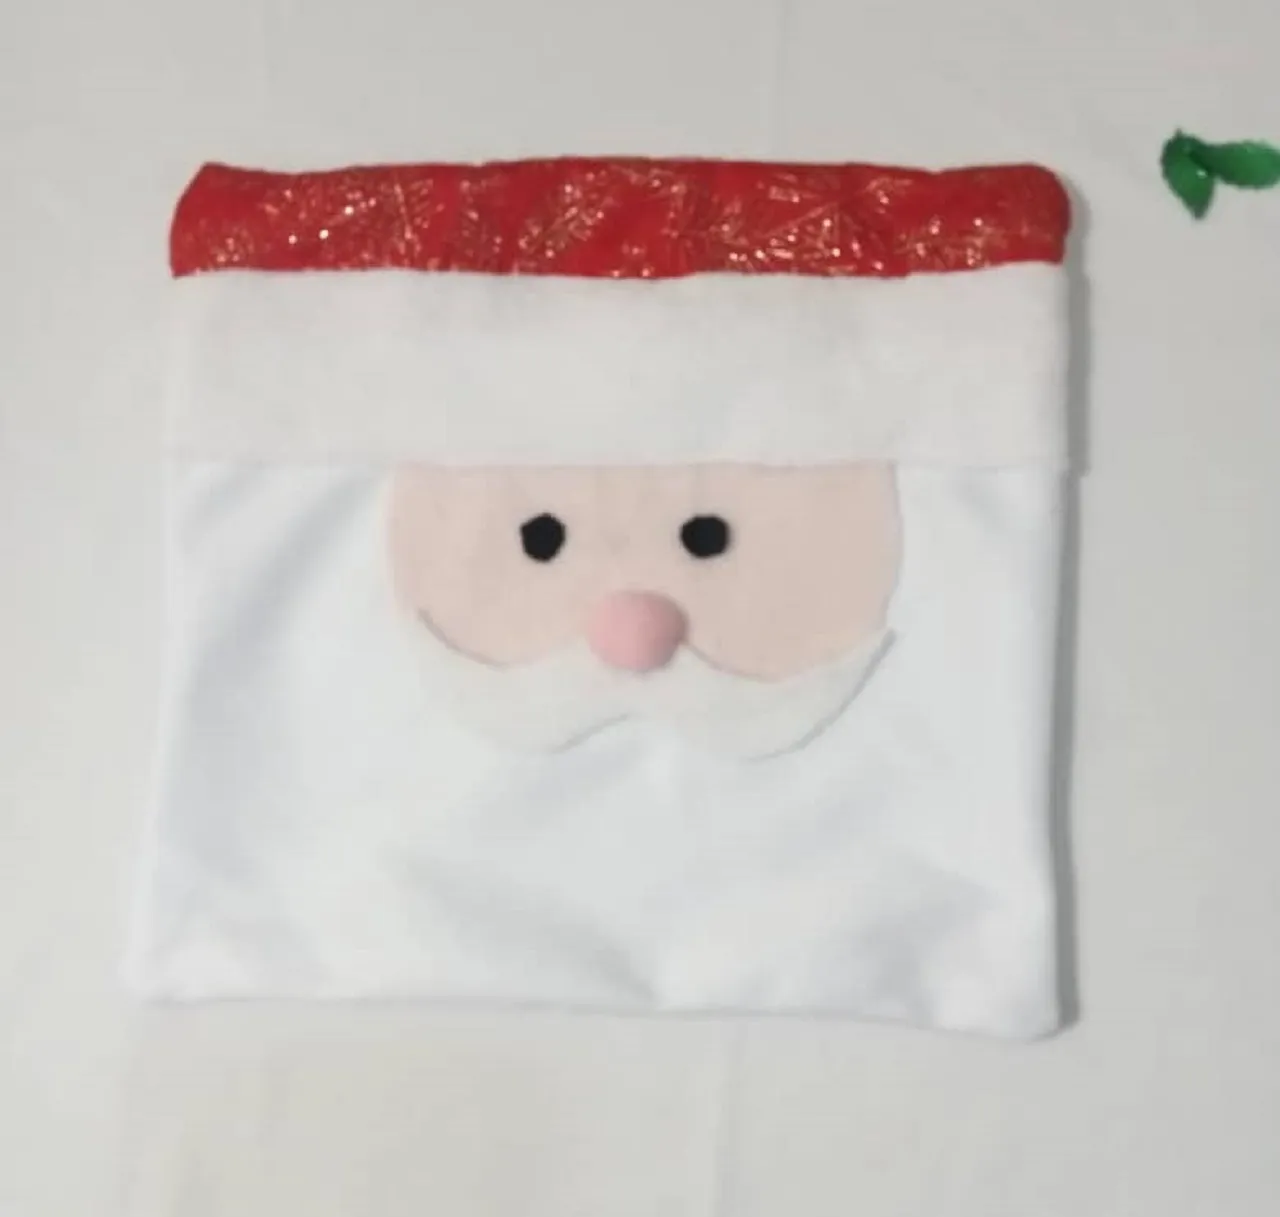
I decorated with some leaves and plastic flowers that I had saved from some Christmas decorations from previous years, so I wanted to take advantage of them and made a flower with it, as shown in the image.
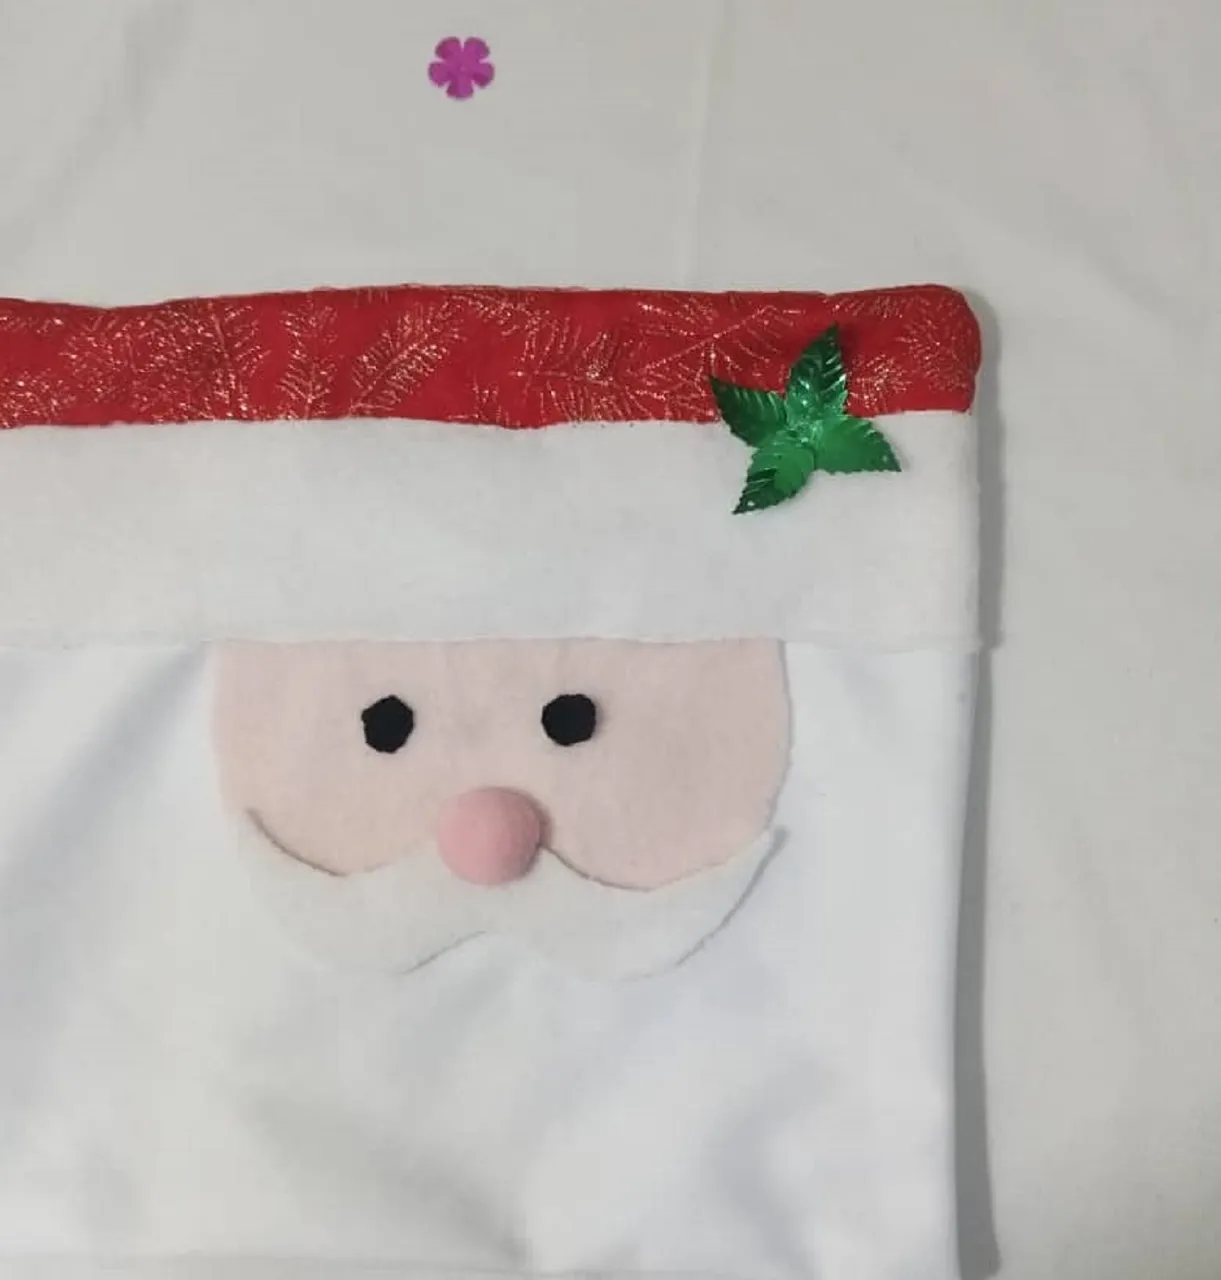

I had a bag of buttons stored for years, it had a long time without any use, so I said to myself, this would be ideal to give a different touch to Santa's beard, so with the help of silicone, I was placing them all over the white fabric, without any specific order.
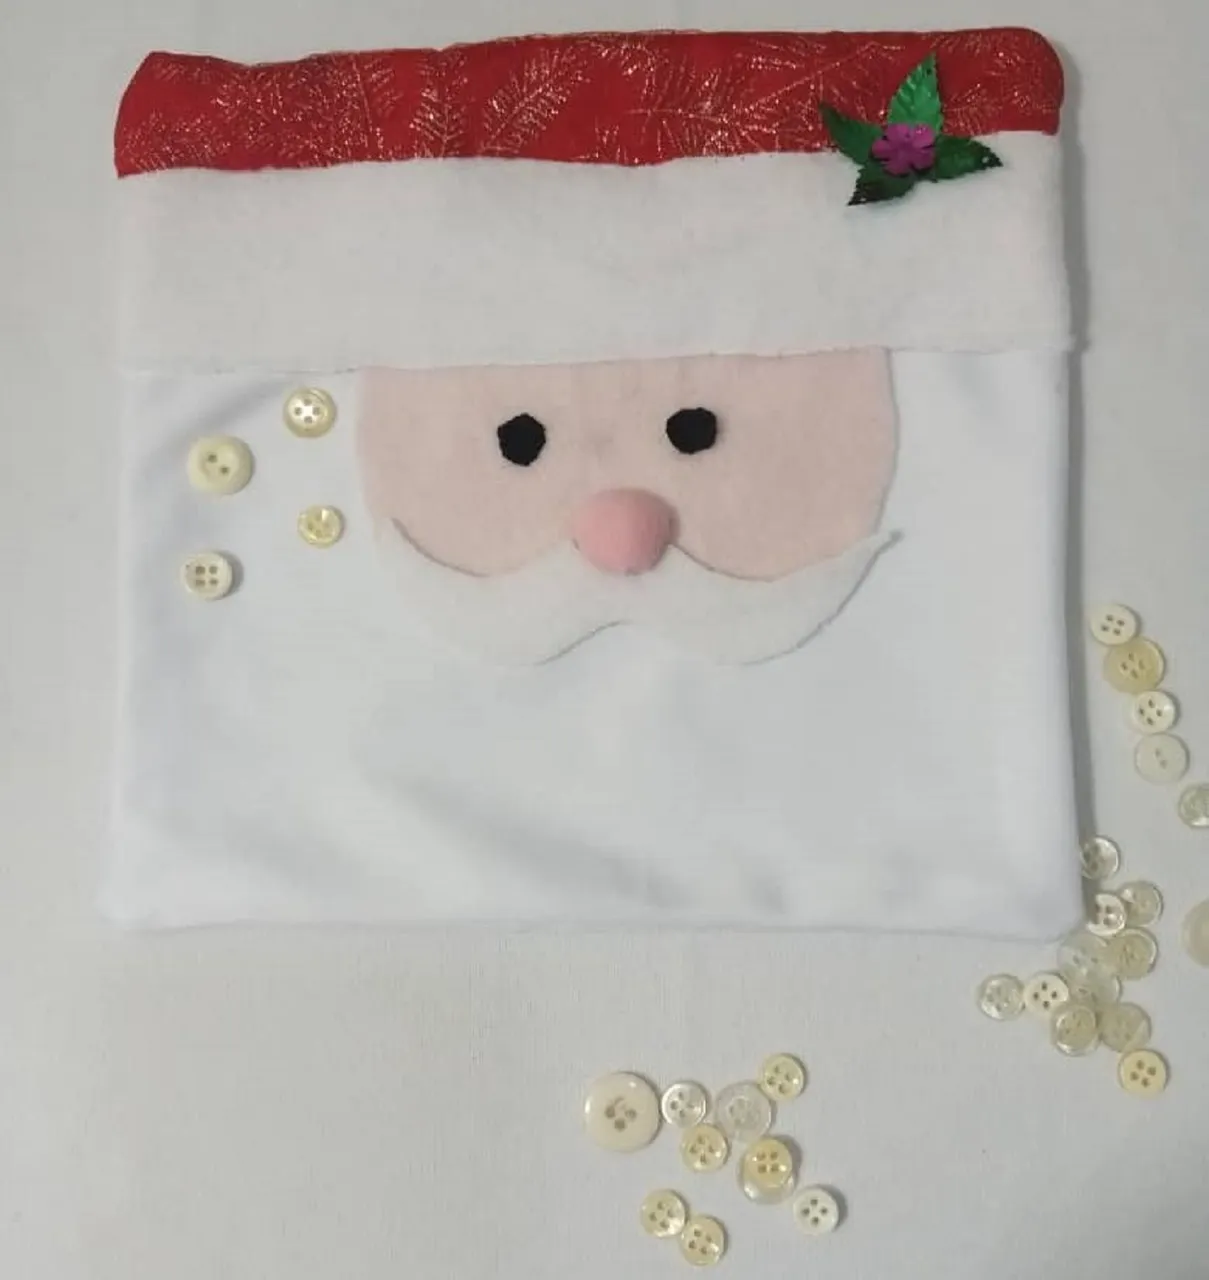
And that's it, almost ready.
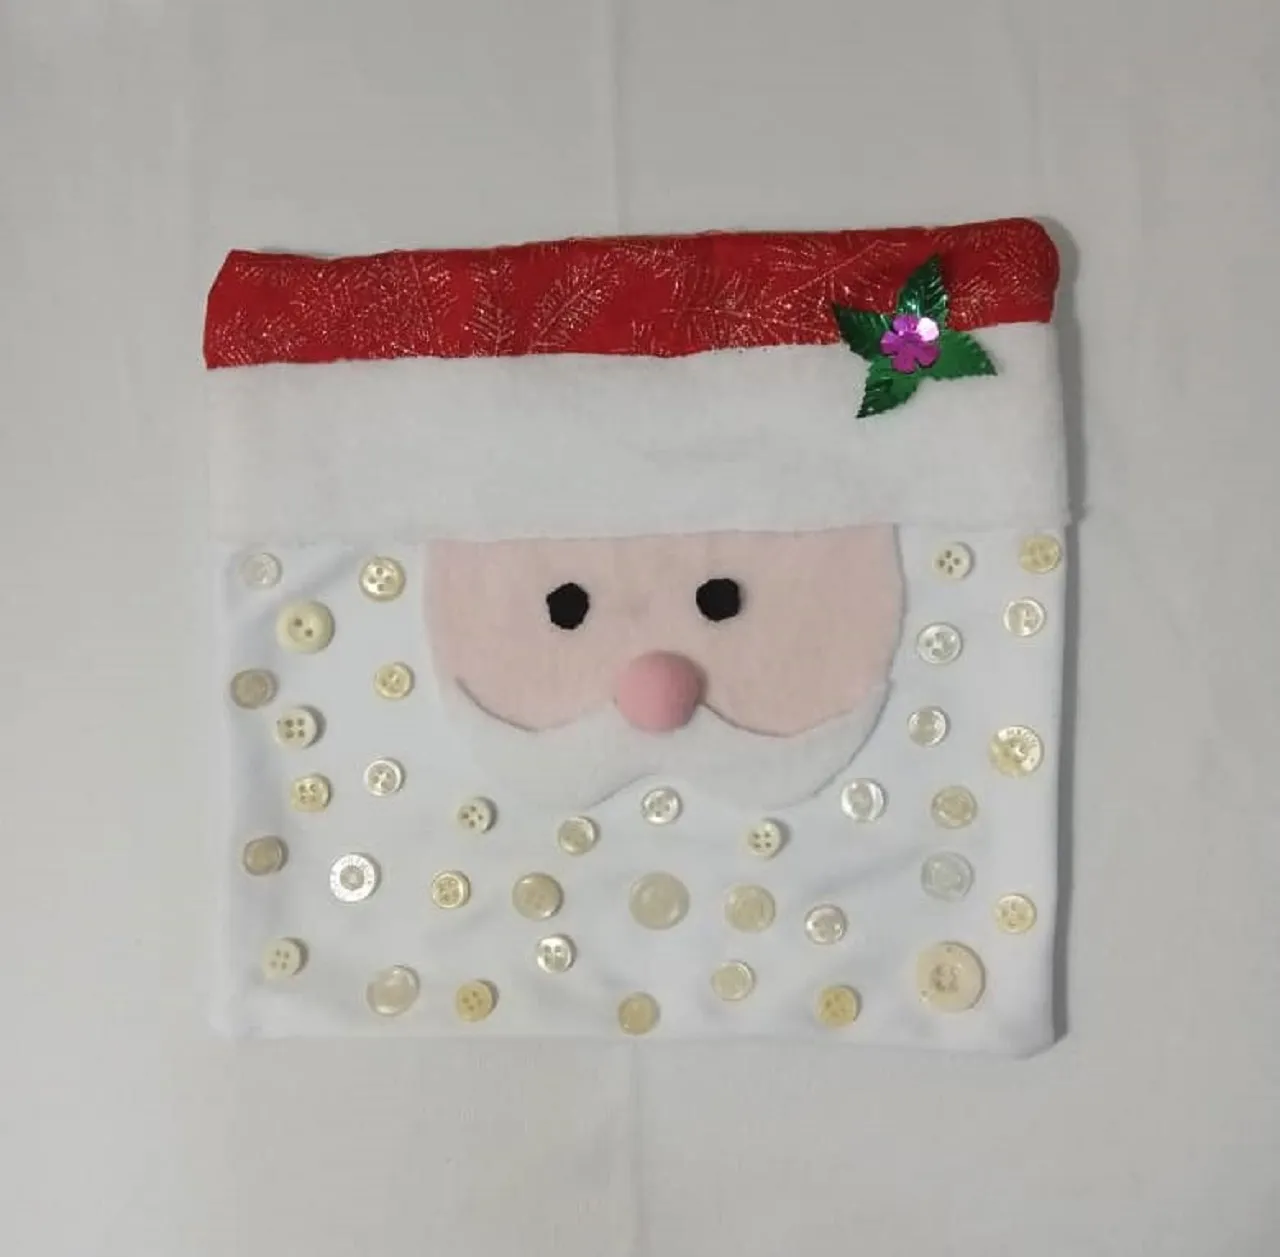
Now all that's left to do is to fill it with the cotton and then close the opening with the silicone.

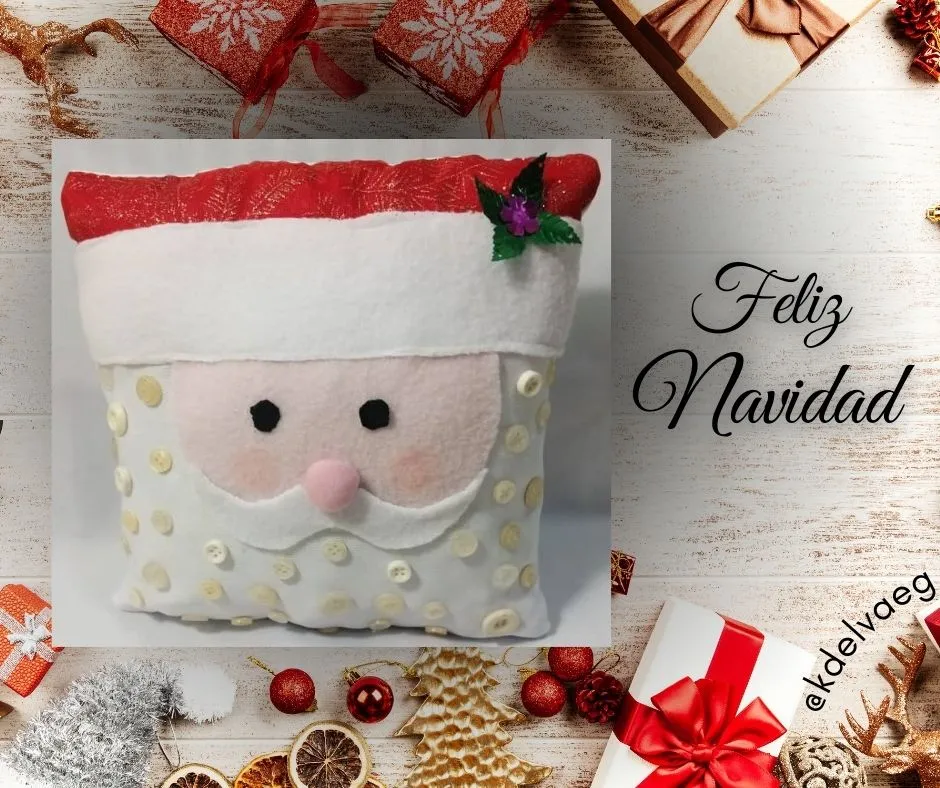
And so beautiful was my cushion, the truth is that I loved the end result. I hope you do too and you can make it, because it is quite easy and quick to do.

I say goodbye as always, but not before thanking you for dedicating a little bit of your valuable time to me. I hope to see you in my next publication, be well and take care of yourselves.


Original creation content:
🎅All photos are my own taken and edited with my Alcatel cell phone.
🎅 The cover image was made with Canva application and edited by me.
🎅 The divider images were taken from the Canva page and edited by me in Paint.
🎅 The English translation was done with the help of DeepL.
🎅 The letters indicating the languages were taken from the Cooltext page.


Hola mis queridos lectores, espero que se encuentren bien y que tengan o hayan tenido un excelente y maravilloso dia.
Cuando se trata de decoraciones navideñas, queremos decorar cada rincón de nuestra casa y empezamos siempre por el salón de estar, lugar mas visitado por las visitas.
Así que hoy les traigo un hermoso cojín decorativo, ideal para sus muebles o simplemente para regalarselo a alguien, aunque en una habitation quedaría genial también. Lo realice con materiales reciclados, así que no es nada costoso hacer uno asi, les explico como lo realice.


PASO A PASO:
Empezaré recortando lo que será el cojin, para ello tomaré la tela blanca, la doblare por la mitad y marcaré un rectángulo de 10 x 20 cm. Cortaré dos piezas iguales, dejando 1 cm más de tela por todo los lados, para poder coserlo.


Con el retazo de tela roja, voy a sacar una tira de 6 x 21 cm. Y también recortaré una tira con las mismas medidas pero en tela blanca.


De la tela rosada voy a realizar la cara y recortaré tal cual como se muestra en la imagen. Ya con las 3 piezas listas, las fijaré con alfileres a una de las piezas de tela blanca y después coseré,


Tenía una cinta decorativa, de esas con las que se decoran los arbolitos y pensé que le daría un toque brillante al cojín, así que recorte una tira igual que la roja y la coloque encima de la tela roja y ahora si cosi con la máquina.


Luego fijar todas las tiras, coseré las dos piezas blancas por todo el alrededor, dejando una abertura para luego voltear y rellenar el cojín.


Con un retazo de tela blanca, sacaré los bigotes, así que lo dibuje en la tela y recorte. Aproveche y corte dos círculos pequeños de la tela negra y un círculo en rosado para hacer la nariz.


Ahora que tengo el cojin armado, procedere a decorarlo.
Con el silicón pegaré la cara, los bigotes, la nariz y los ojos.


Decore con unas hojas y flores plásticas que tenía guardadas por allí de alguna decoración navideña de años anteriores, así que quise aprovecharlas y realice una flor con ella, tal como se muestra en la imagen.


Tenía una bolsa de botones guardada desde hace años, tenia mucho tiempo sin darle ningún uso, así que me dije, esto sería ideal para darle un toque diferente a la barba de Papá Noel, así que con la ayuda del silicón, los fui colocando por toda la tela blanca, sin ningun orden especifico.

Y asi quedo, ya casi listo.

Ahora solo queda rellenar con el algodón y luego con el silicon cerrar la abertura.

Y así de hermoso quedo mi cojín, la verdad es que a mi me encanto el resultado final. Espero que a ustedes tambien y lo puedan realizar, pues es bastante facil y rapido de hacer.

Me despido como siempre, no sin antes agradecerles, por dedicarme un poquito de su valioso tiempo. Los espero en mi próxima publicación, portense bien y cuidense mucho.


Contenido de creación original:
🎅Todas las fotos son de mi propiedad tomada y editadas con mi celular Alcatel.
🎅 La imagen de portada fue realizada con la aplicación Canva y editada por mi.
🎅 Las imagenes del separador fueron tomadas de la página Canva y editado por mí en Paint.
🎅 La traducción al idioma inglés fue realizada con ayuda de DeepL.
🎅 Las letras de indicación de los idiomas, fueron tomadas de la página Cooltext.